Sweet Rainbow Treats for
St. Patrick’s Day or Easter
#TigerStrypesBlog
I haven’t posted a craft in some time…probably because I haven’t had much time. How about you? I saw something like this on Pinterest and thought it would be fun to make something like it that could be used for both St. Patrick’s Day and/or Easter. They seem to be a bit close to each other this year anyway, so I figured that it would work out perfectly. Plus, who doesn’t love a bit of candy and being able to share some treats with friends?
Take a look at the tutorial below and leave me a comment about what you think of them, or who you would give them to. I sure hope that you like it!! I hope you have a blessed day, and please be sure to comment and share this craft on your social media channels – thanks so much!!
Make some Sweet Rainbow Treats for #StPatricksDay or #Easter #ResurrectionDay - Find out more at Share on X
 Make Some Sweet Rainbow Treats
Materials/Tools Used:
- Pretzel Bags w/Ties
- Rainbow Colored Candy
- Gold Wrapped Chocolate
- Cricut Explore
- Craft Paper
- Printer
- Ribbon
- & Time!
Instructions for the Sweet Rainbow Treats:
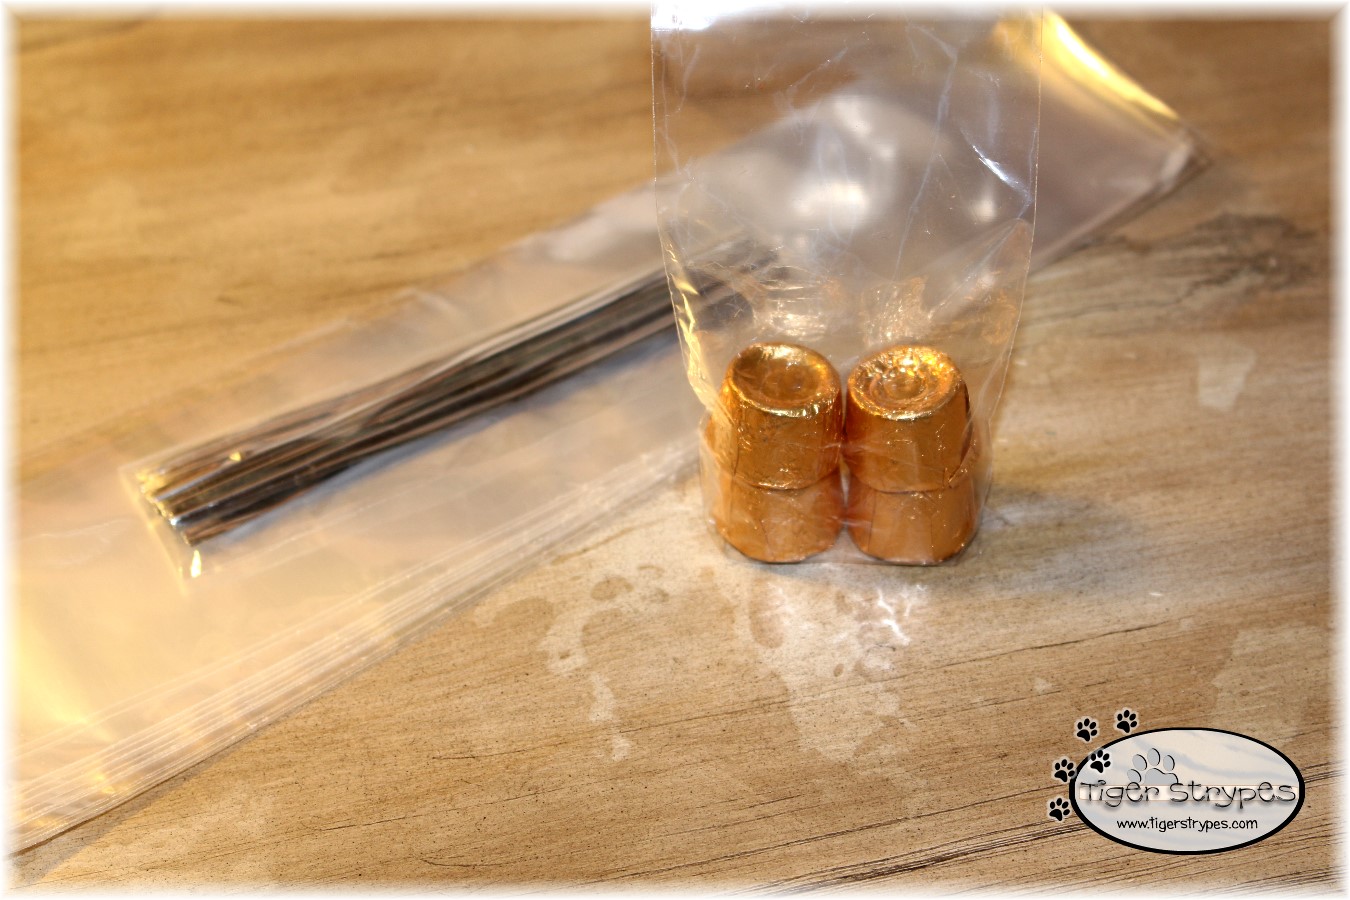
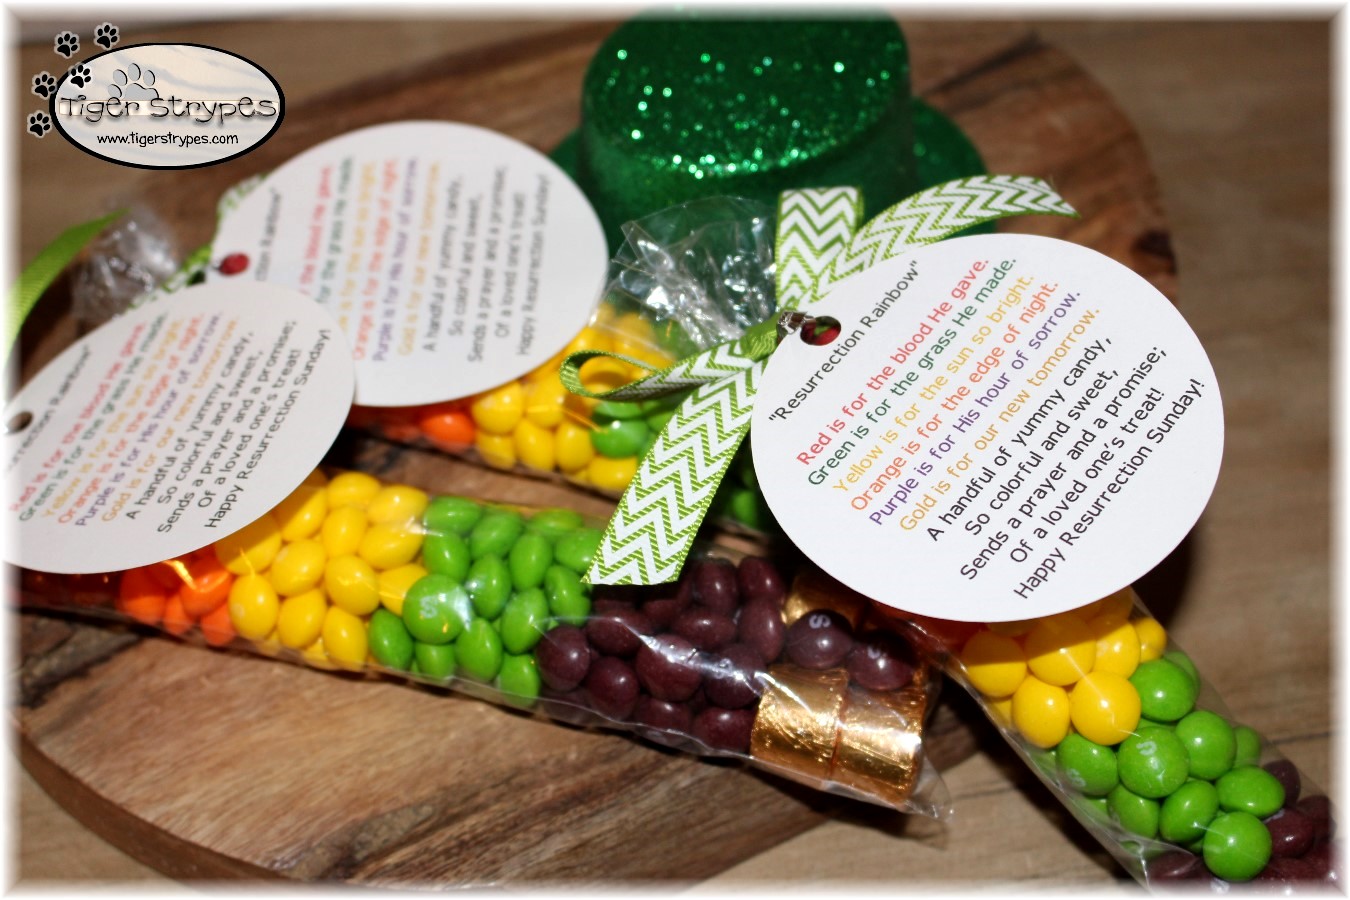
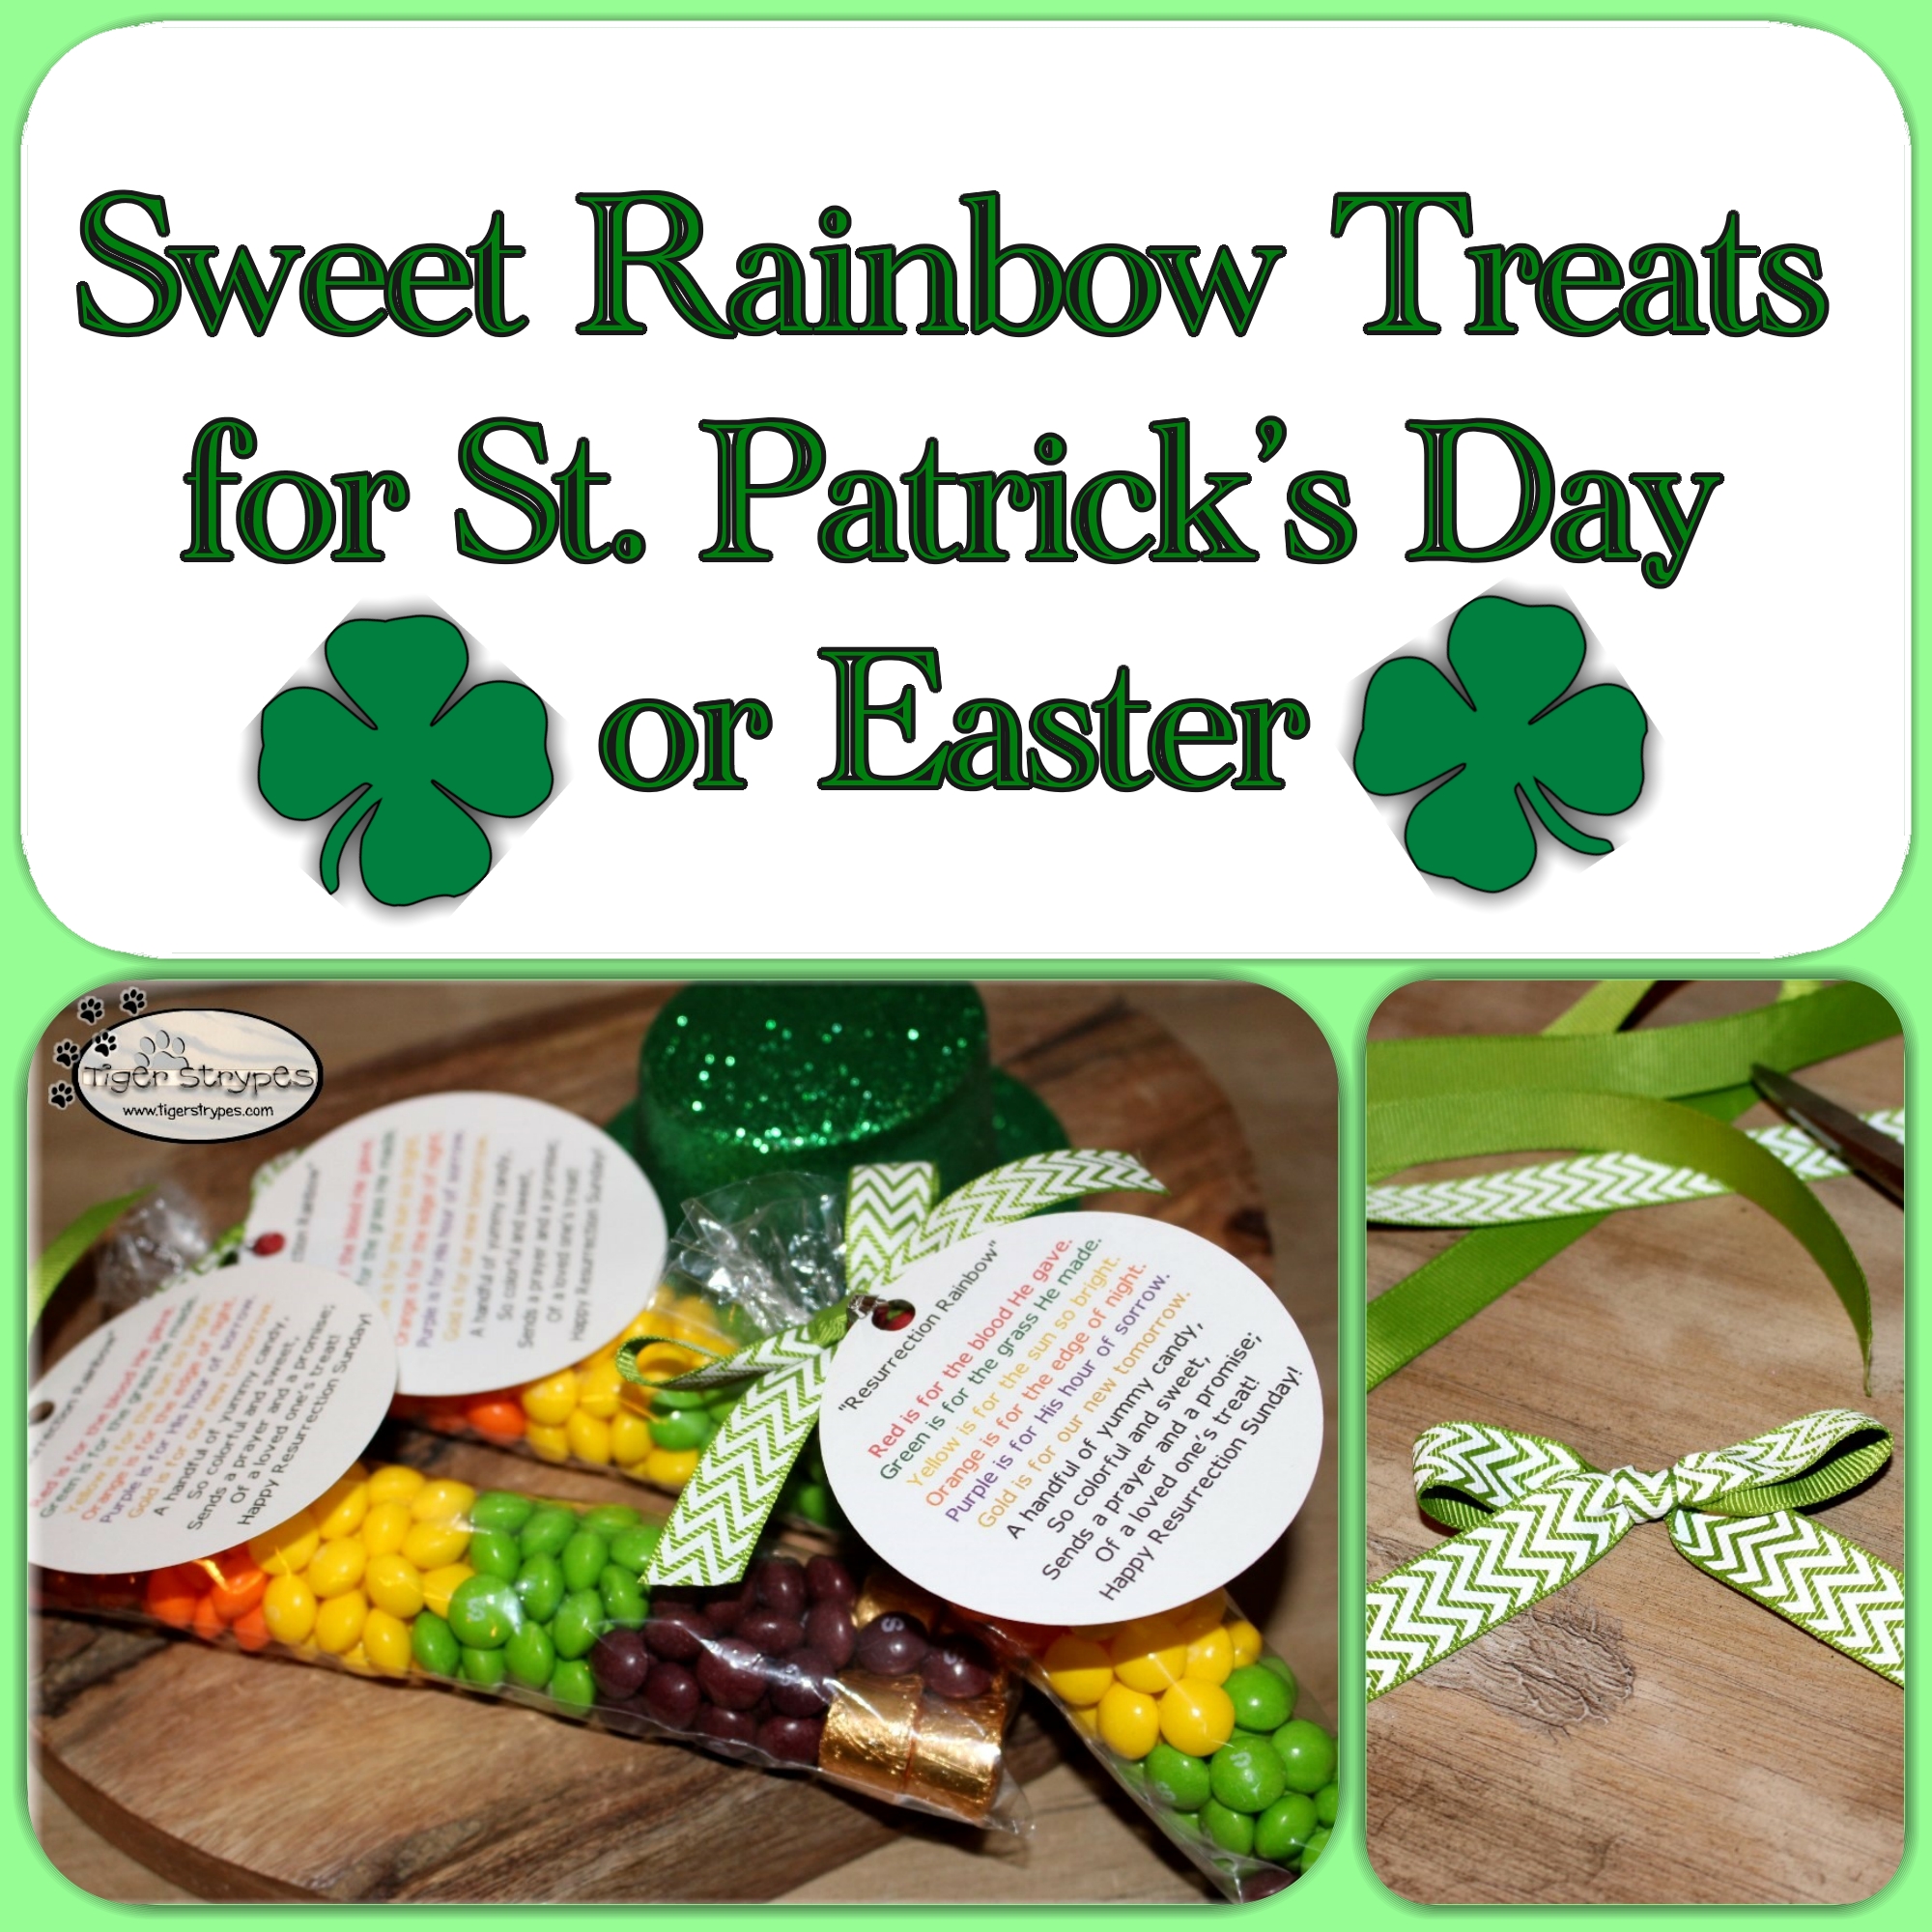
I started by putting four (4) pieces of the gold covered candy into one of the pretzel bags. I had to make sure they were in there upright to help it stand up easily.
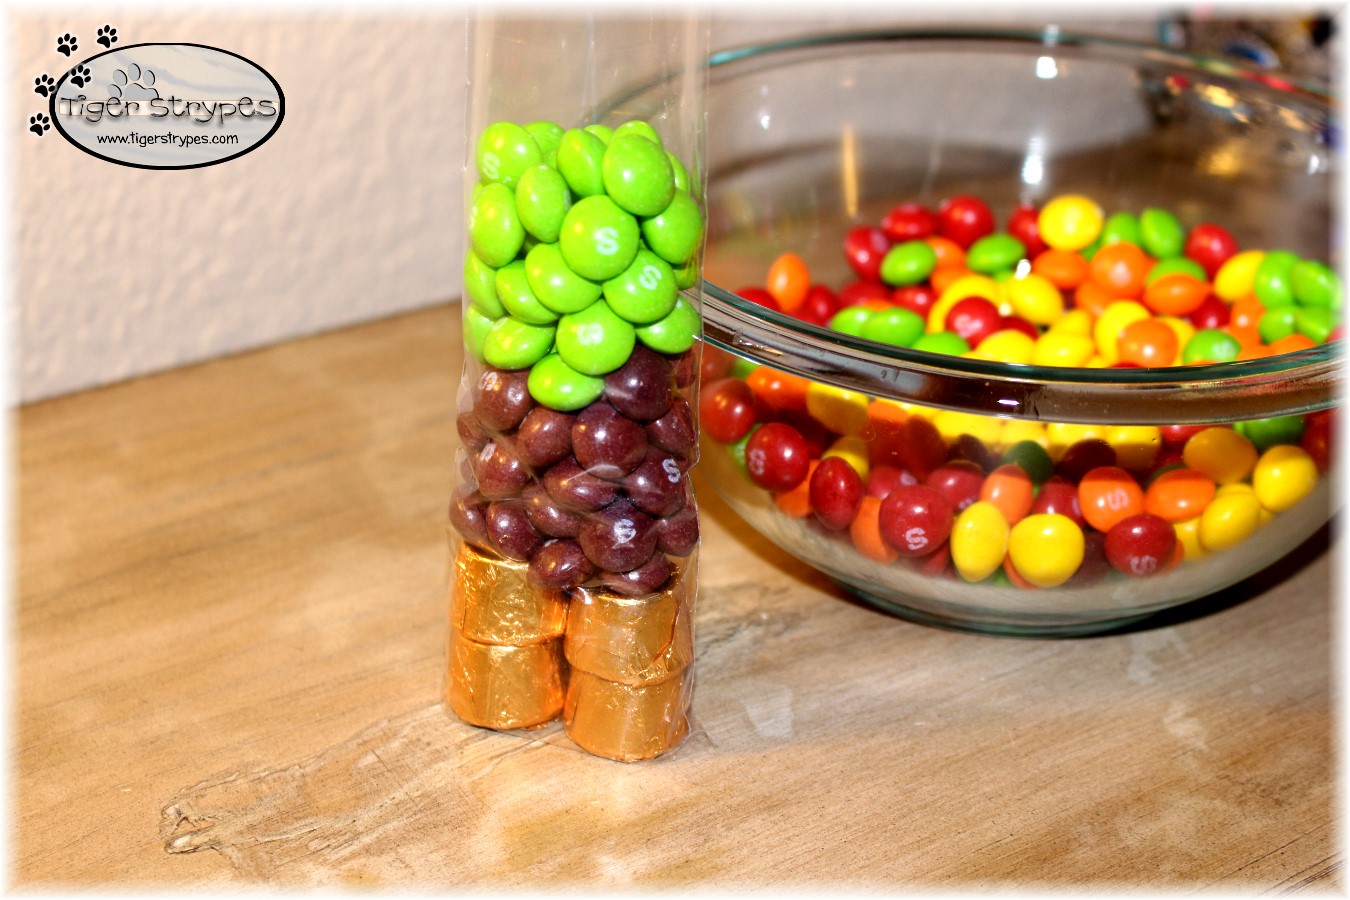
Next, I poured the rainbow colored candy into a bowl and after washing my hands, started separating them into like colors for each pretzel bag.
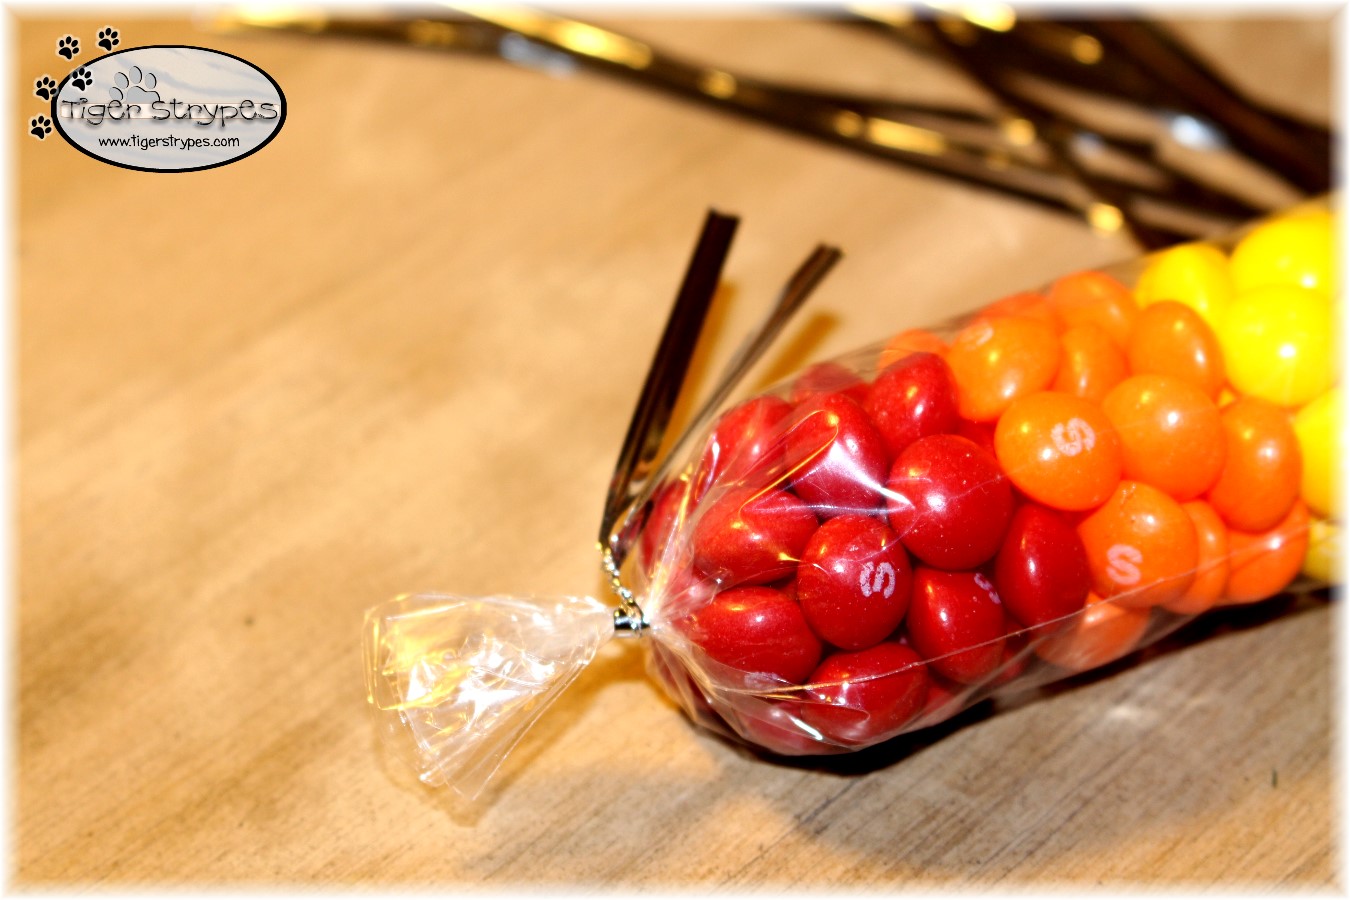
Once I had a bit of each color in there, I used the twist ties that came with the pretzel bags to close them up securely.
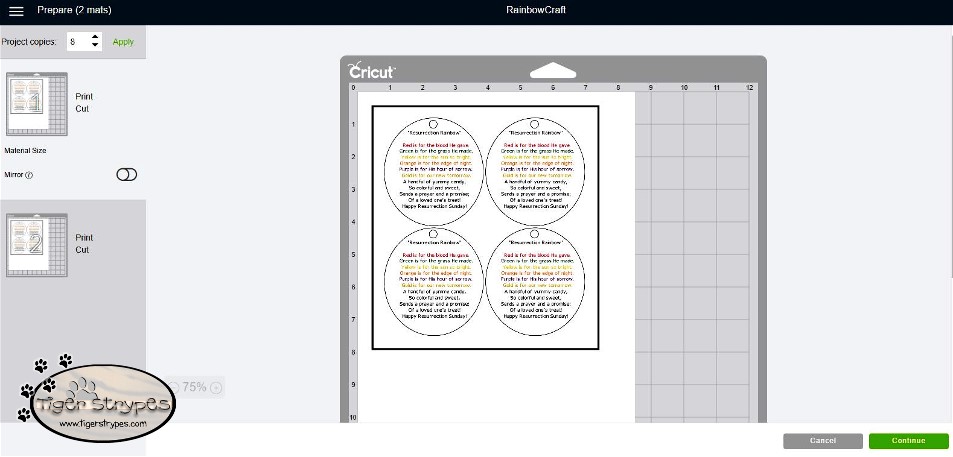
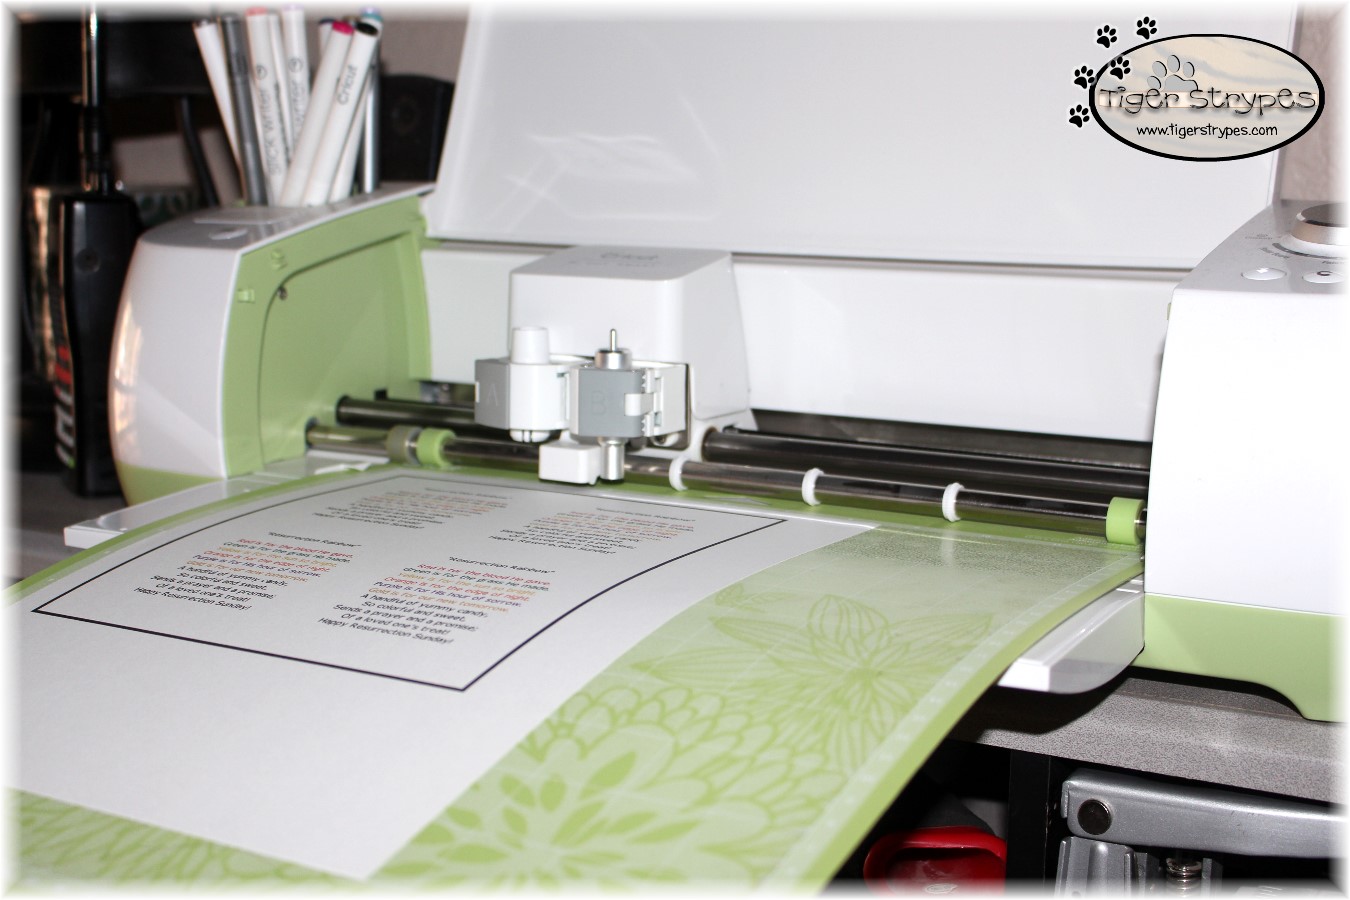
Next, using my Cricut, I designed some little poems that would be first printed out on my regular printer and then cut out with the Cricut Explore. I’ve never done the Print Then Cut option, so this was a learning curve. Have you ever used it before – leave some tips in the comments.
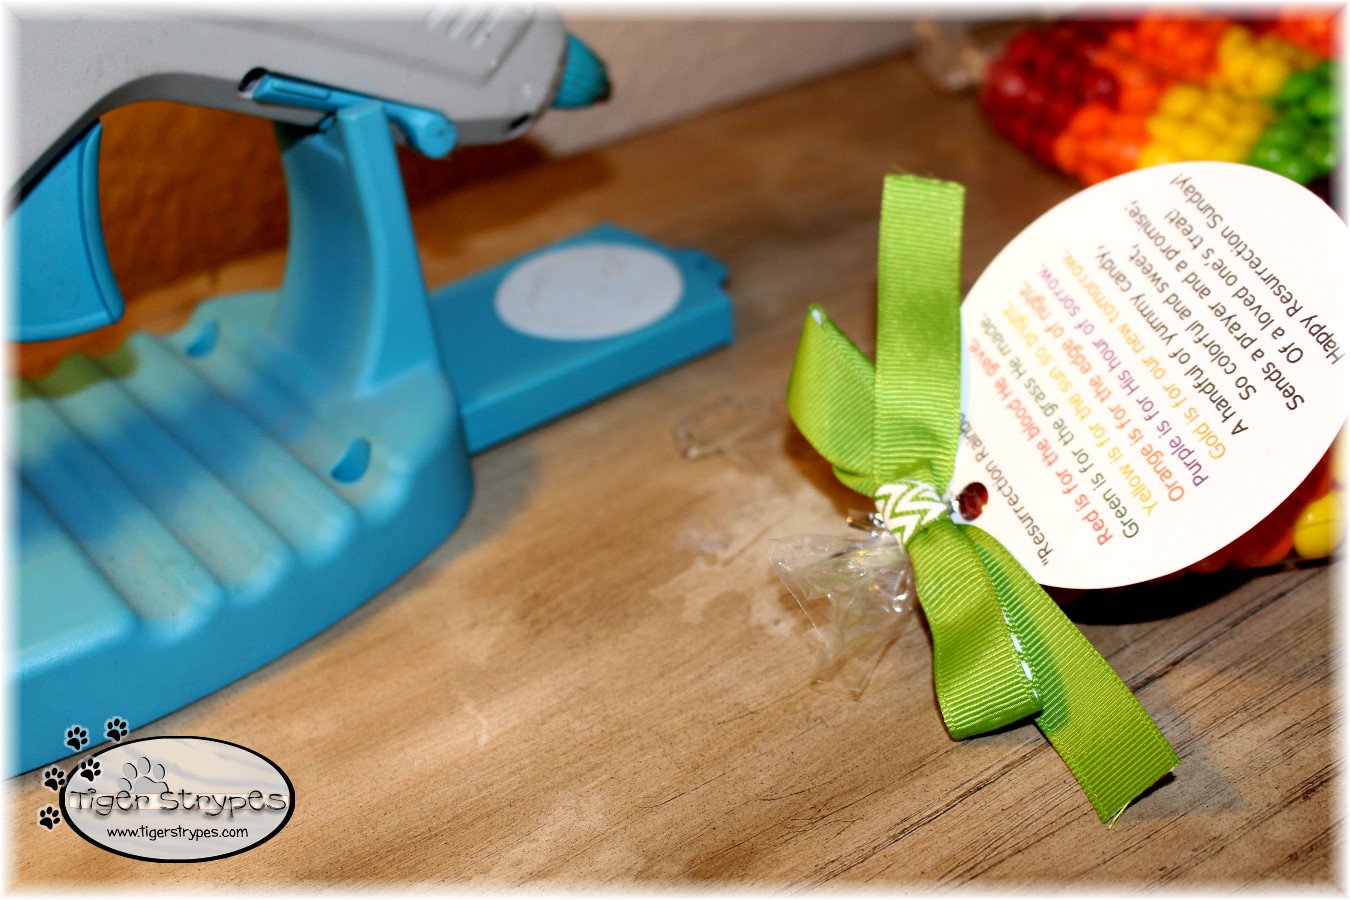
After they were cut out (with the small hole I added to the top), I attached one to each bag with the same tie that was already on there.
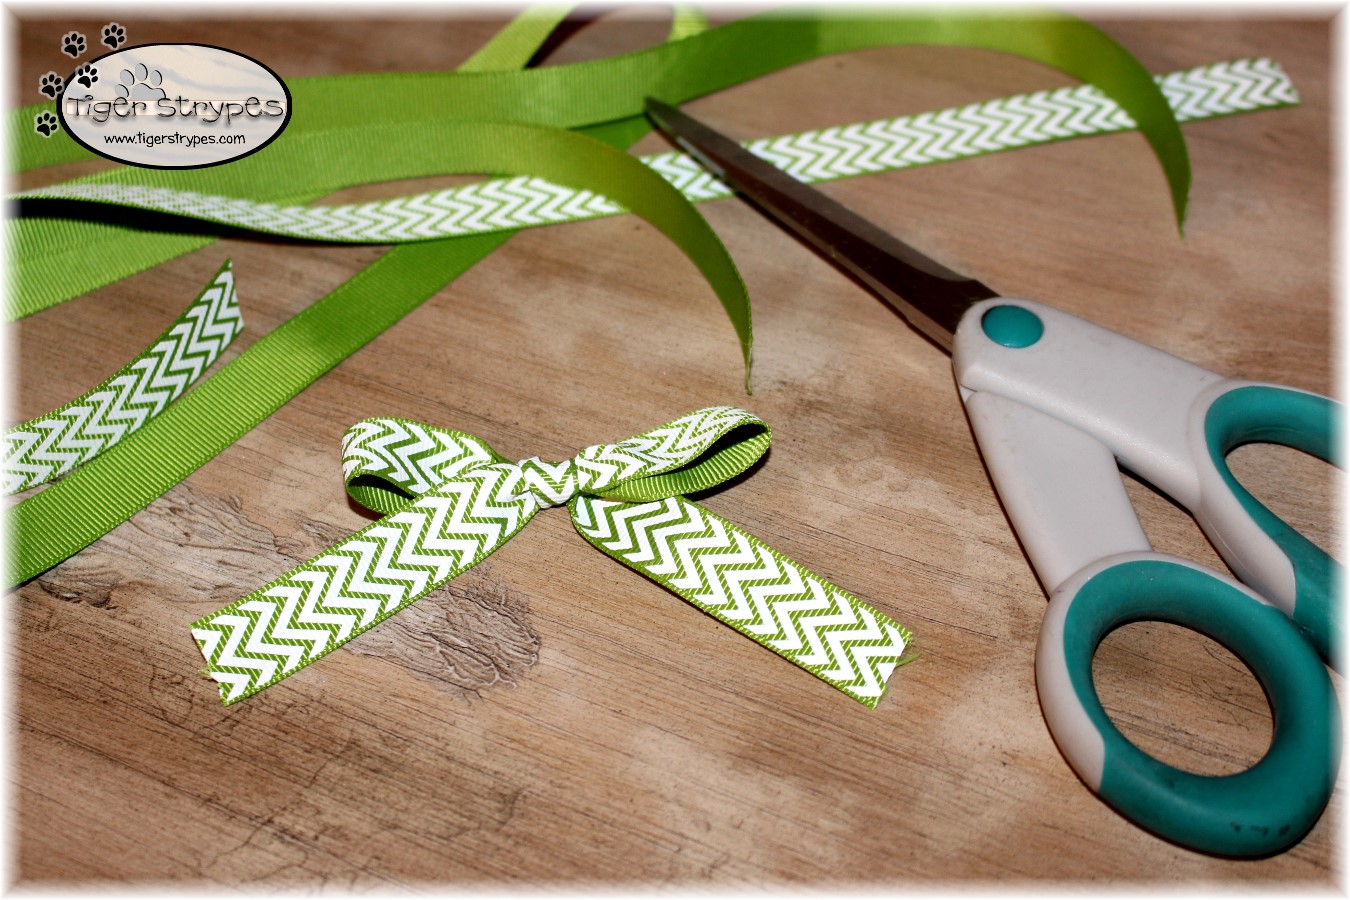
Next, I started creating the bows. Using some craft ribbon, I tied up a bow for each bag. Heating up the glue gun to attach them to the top, I just twisted the tie to hide it behind the piece of paper and added a dot of glue to the center of the back of the ribbon and pushed it on. I held it for just a bit, until the glue dried to secure it.
That’s it!! Now they are ready to give out to whoever you’d like. Friends or family and for either St. Patrick’s Day or Easter. The candy is perfect for either, right? You could personalize these however you wished or add other pieces to them, etc. The ideas are limitless! Leave a comment below and let me know who you would give one to.
I hope you like it! Please take a minute to leave me a comment. Let me know what you would do different, or what you would add, etc. Be sure to tweet, pin, share, etc. – thanks!!
If you’d like to get a Cricut Explore for your craft room, check out the deal here (ad):

“Gracious speech is like clover honey — good taste to the soul, quick energy for the body.” –Proverbs 16:24






I love how you tied scripture to each color. Very cute idea for the upcoming holidays.
Thank you, Monica – I figured it would be a good way to bring God’s Word into another holiday. 🙂
Kids always love treat for any occasion! I am sure they will love this idea!
I have some big kids in the family that love it, as well! 🙂
Those are seriously the cutest! They don’t look difficult to make either! Great for school treats.
The hardest part was separating the pieces. After that, it was simple! 🙂
I love these colorful treats. They could be an incredible gift to anyone! What a sunshine during the day, a mood lifter!
Those are the things that I love to make! 🙂
I love that they can be used for St. Patrick’s Day or Easter. With everything going on right now, it looks like I’ll have to make them for Easter!
I figured it’s good to have options! 🙂
I need to make these. They are perfect party favors for the boys and school
For sure! I hope that they like them.
Super cute idea and looks so easy to make!
Thanks, Jasmine – I figure the easier, the better! 🙂
Those would be so much fun to make – and eat! Your tutorial was really thorough.
They were fun to make, Lisa. I’m glad that it explained it well. You can personalize these however you wish, that’s what I love about it! 🙂
My kids would love making these! I think they’d like eating them just as much!
I hope they would, Holly. I had to refrain from using the leftovers for lunch! 🙂
What a creative idea. These would be perfect to hand out in the classroom.
Thanks, Jennifer – I bet the kids would love them!
These are super cute! I love them!
Thanks, Leah – they were fun to make! 🙂
I love the poem you chose! These are cute, festive and nice I’m thinking of you gifts! I have no Cricut so my sister and I used taller than wider plastic bags with seals to put candy in then added card stock (for our notes and Easter sticker) the size of the bag which we slipped in first. Not as fancy, although, cute little thinking of you treats for the Meals On Wheels Participants to go with their delivered lunch.
That sounds amazing, Gladys. I’m sure that everyone loves what they receive. Not having a Cricut, doesn’t make it so you can’t do it. My writing just stinks, so I have to cheat a bit! 🙂
What a great idea! These would be super cute for classroom gifts too- love the idea of the Rolo candy as the gold- clever!
Thanks Jenn!! I bought a roll of the candy and didn’t know that they wouldn’t each be wrapped, so had to go back and get the back version. Just a note, in case you’re wanting to make some! 🙂
This would be a great idea to put in an Easter Basket or to hand out at a St Patrick’s Day party. Actually these would make really good party favors for any time of the year!
I figured that they could be used for either St. Patrick’s’ Day or Easter. I’m sure anyone would love to get candy for either, right?