
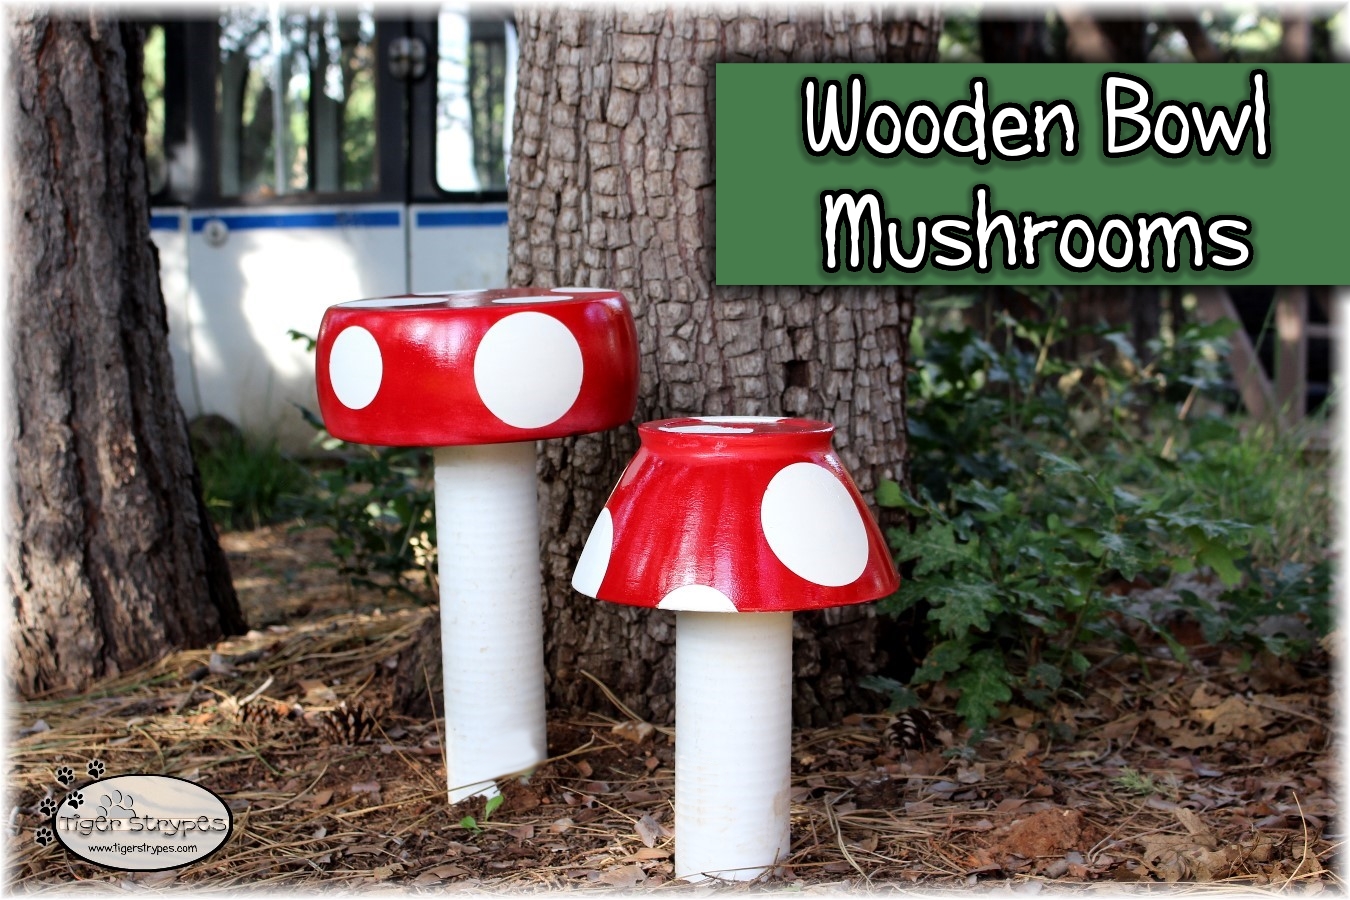
 Make Some Wooden Bowl Mushrooms
#Craft #Outdoor #Upcycle
I had some old wooden bowls laying around that were either never getting used, or in pretty bad shape. I wanted to make some decor for the yard and thought it would be fun to turn them into some mushrooms. Some of you remember back in the day, the good old Super Mario Bros.? I always loved the little mushrooms, so I thought this would be a fun way to bring some of that to life in our yard. They were pretty simple to make and I got to use stuff that was just laying around, or that I already had in my craft drawers, so it didn’t cost much at all.
I used my Silhouette Cameo to make the templates for painting, but if you’re pretty good at doing it yourself, you could just skip those steps. I just wanted mine to look precise, so I decided to do it that way. These would also be great to do with smaller items and make that little gnome in your yard, have a place to call home. Any way you do it, they are easy to create and look great!
I sure hope that you like it!! I hope you have a blessed day, and please be sure to comment and share this craft on your social media channels – thanks so much!!
Learn how to make some Wooden Bowl Mushrooms #Craft #Upcycle - Find out more at Share on X
Materials/Tools Used:
- Wood Bowls
- Sandpaper
- Paint
- PVC Pipe
- Glue
- & Time!
Instructions for the Wooden Bowl Mushrooms:
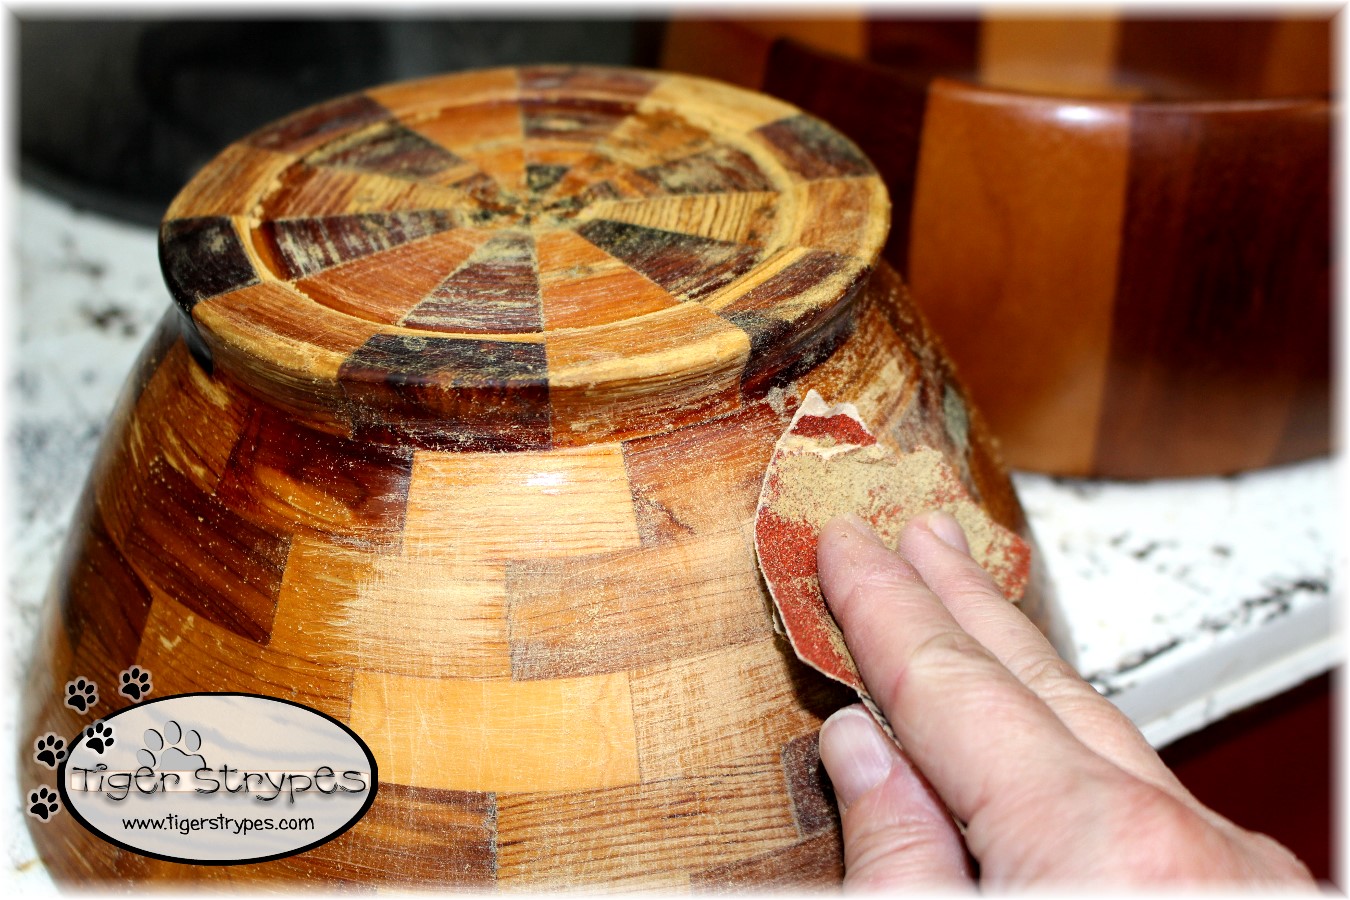
I started by sanding the bowls completely, to make it easier for the paint to stick. You could use a sander, or just some paper and do it by hand. Depending on bowl size, it usually doesn’t take very long.
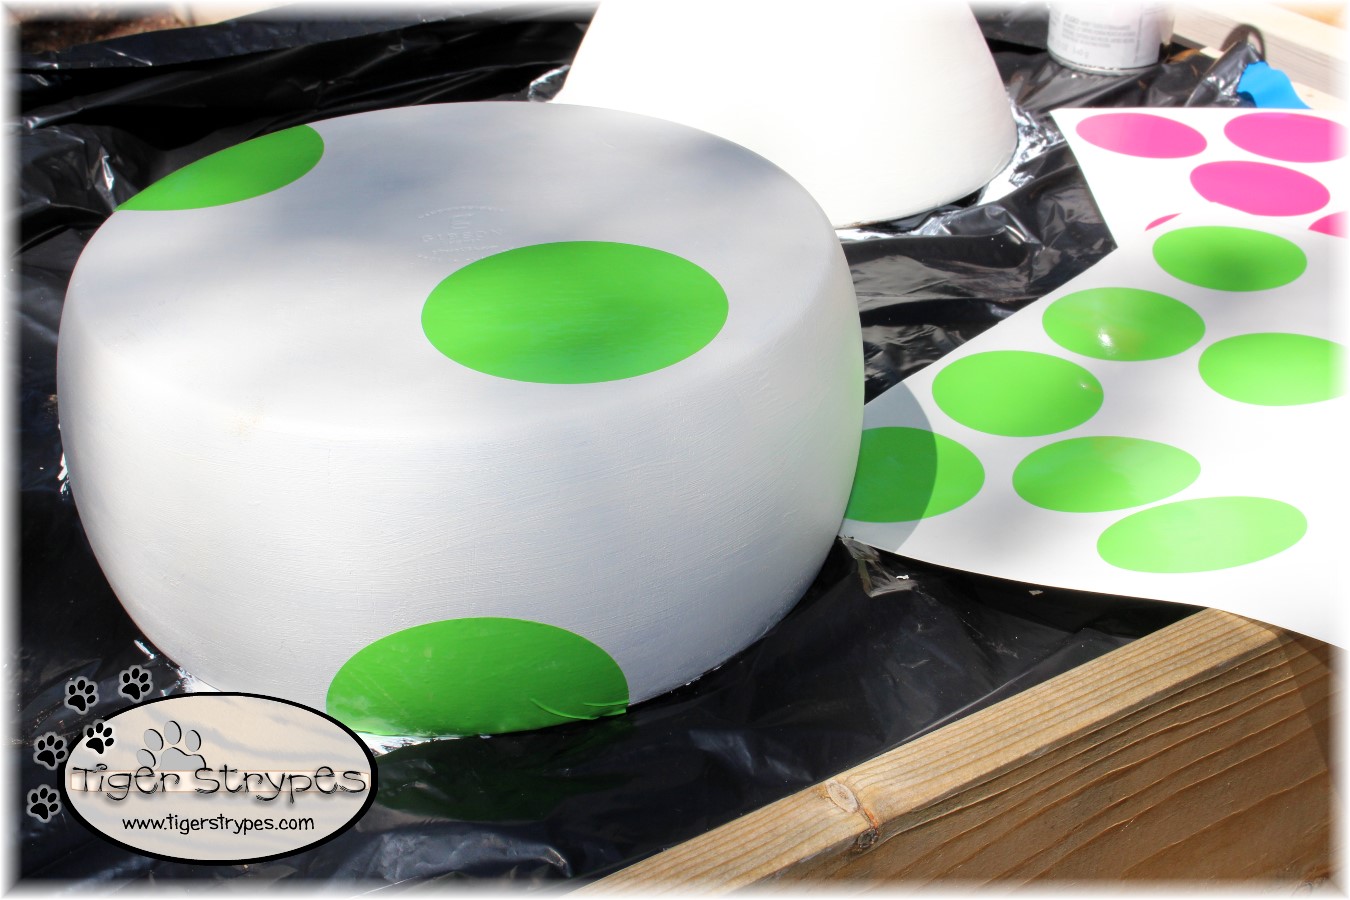
When that was done, I started the task of painting the base color of white. That way it would be under where I put my stickers and I could just paint over the rest with the red color.
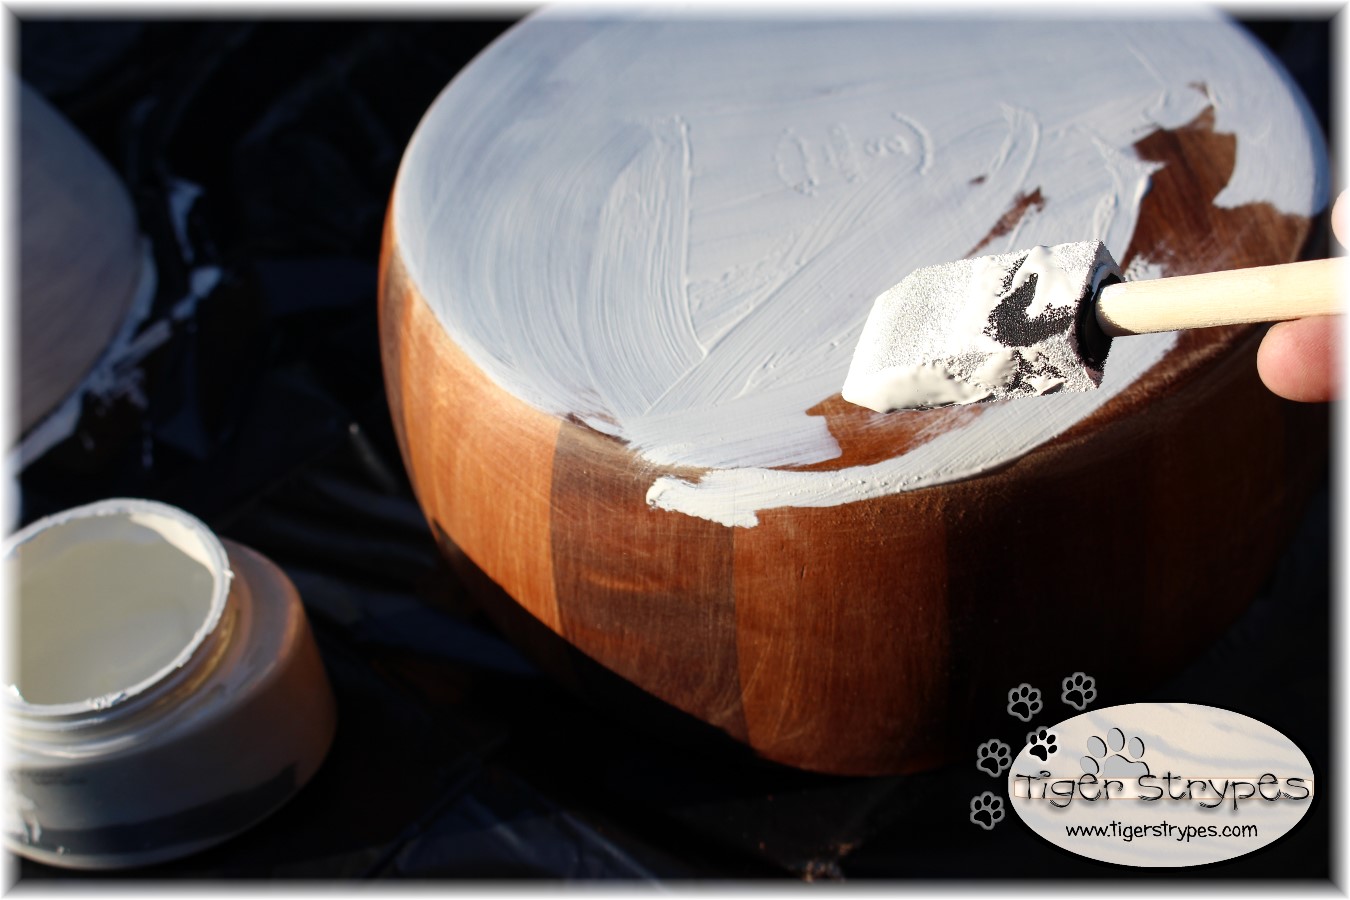
I was making two (2) mushrooms, so I just did both of them, and let them sit to dry for awhile.
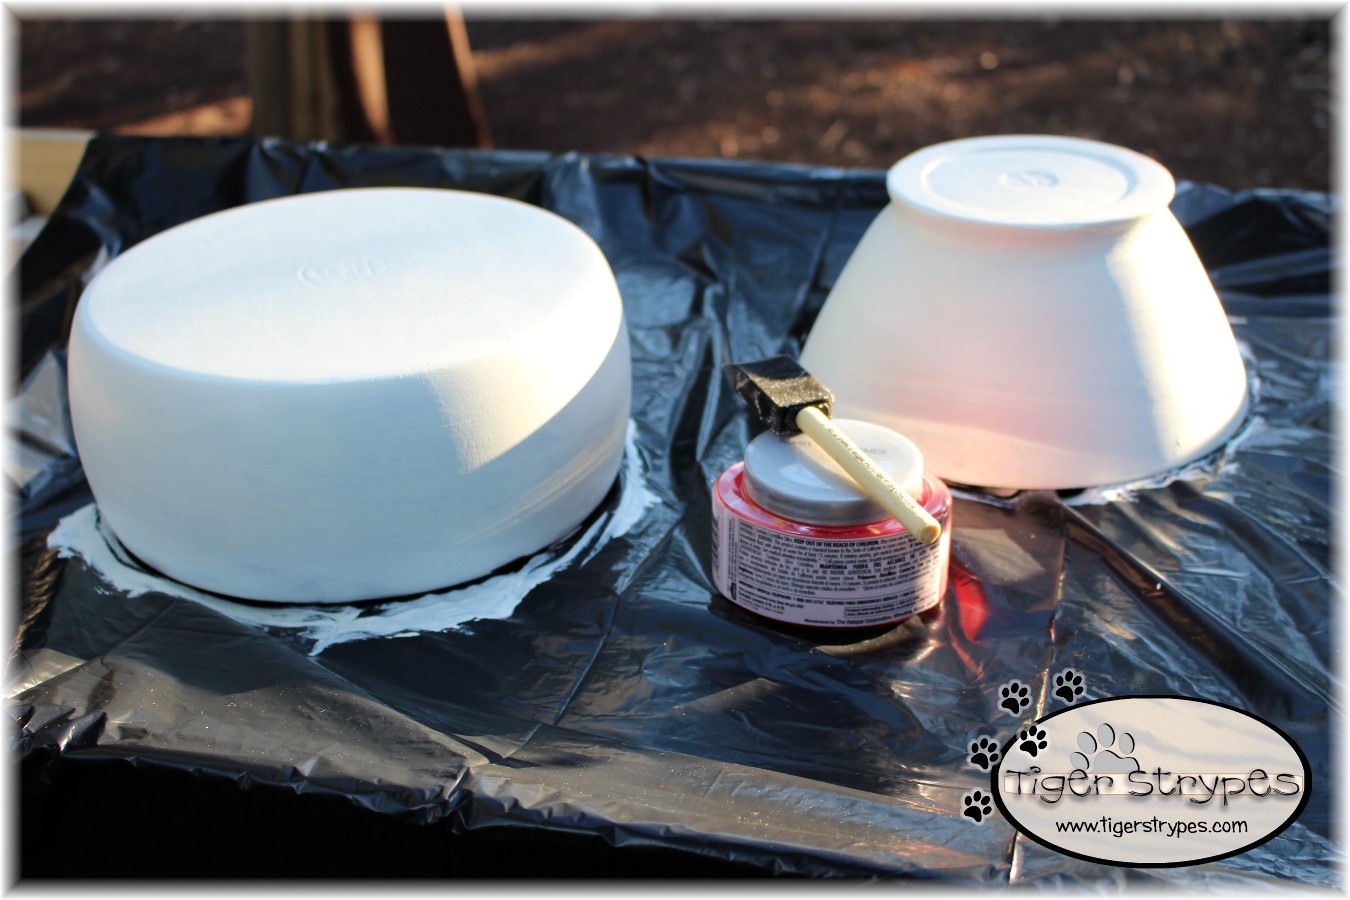
When they finally did dry, I started on the next step. Using my Silhouette Cameo I made some circle pieces to use for stencils, as I painted the top coat.

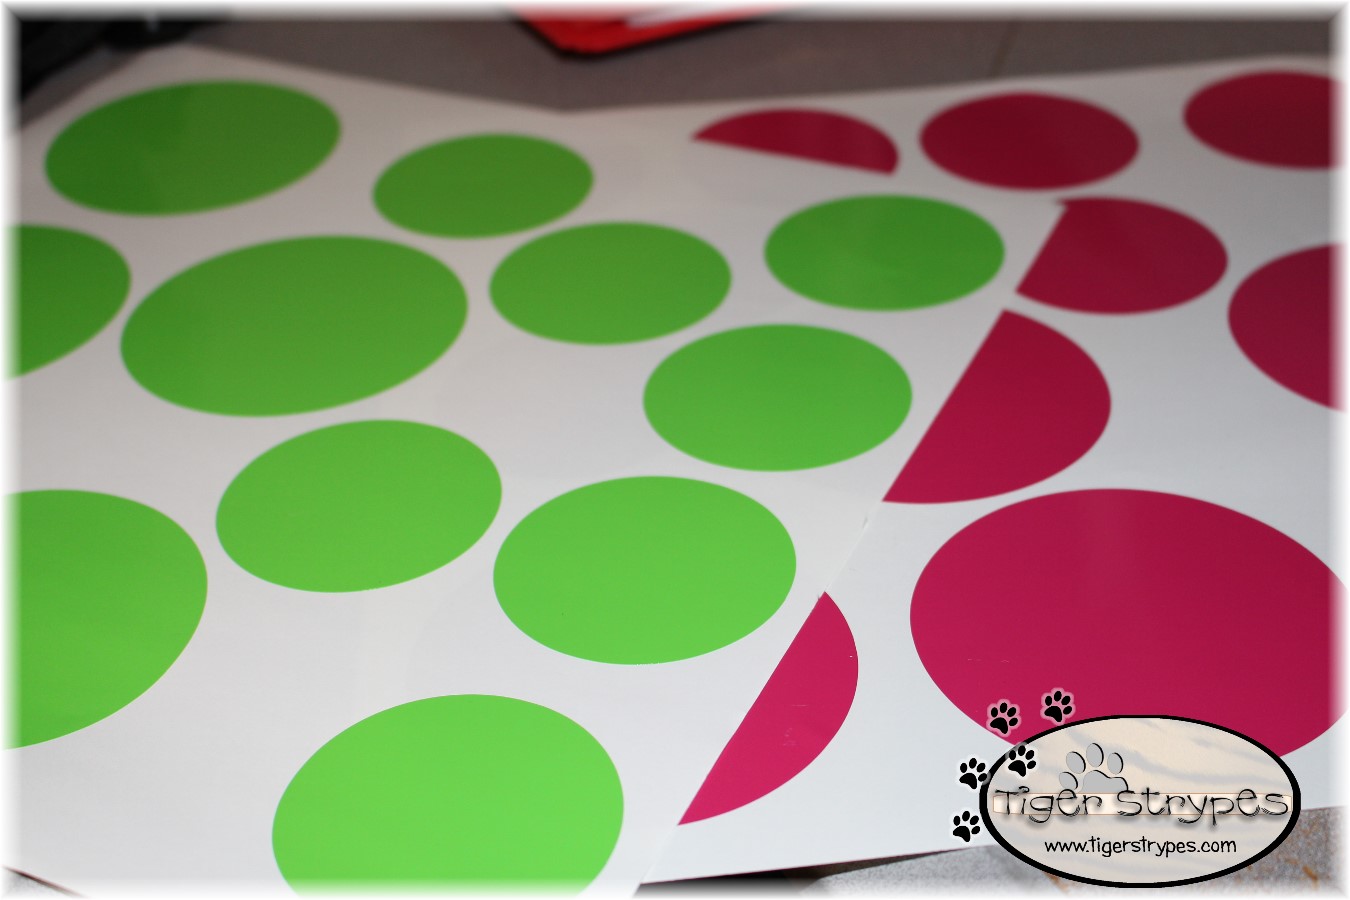
I then attached the circles onto the bowls, in the places where I wanted it to stay white, after the other color was put on.
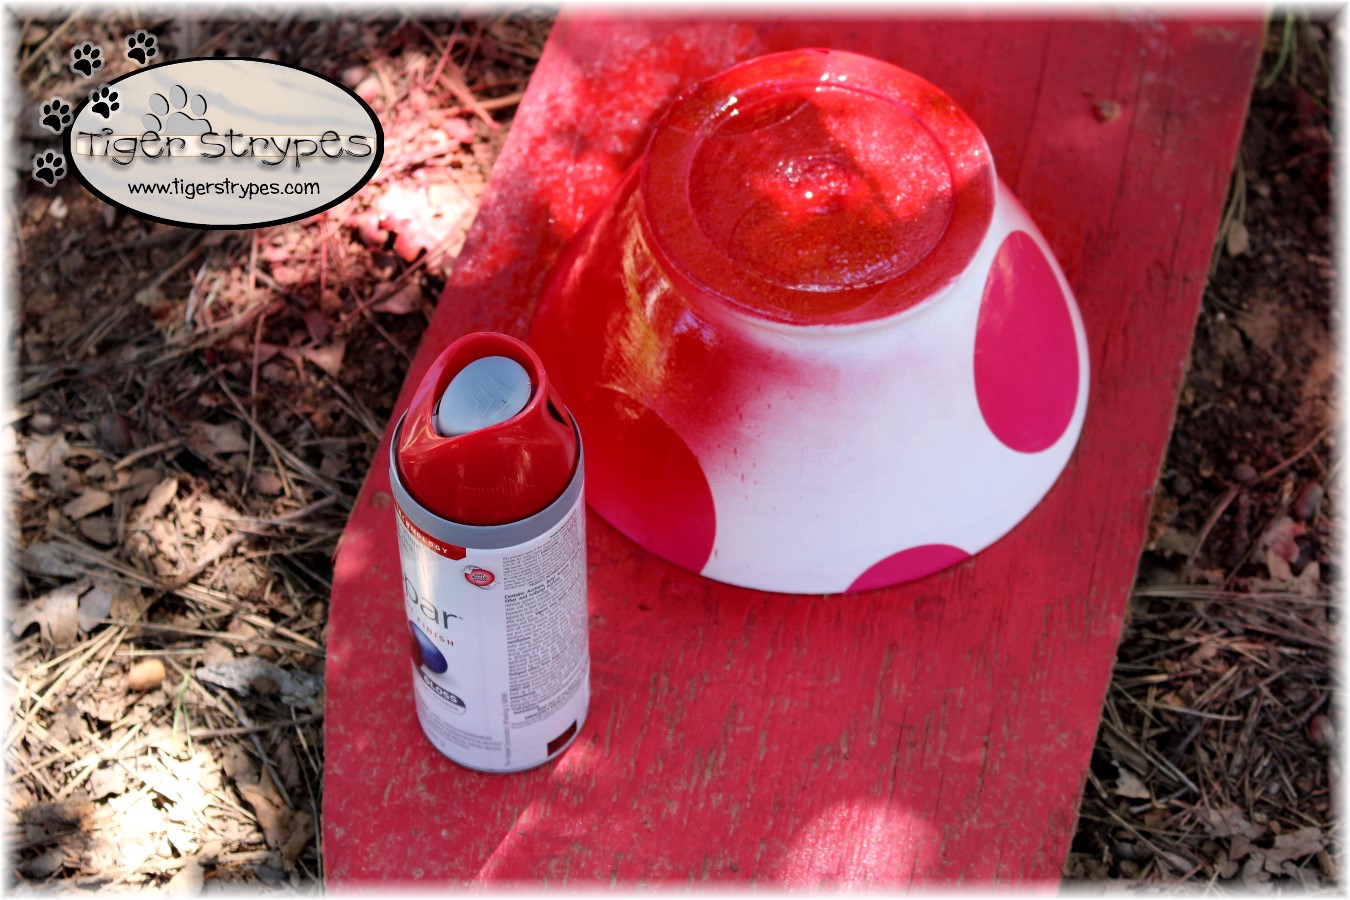
When that was finished, I got out some red spray paint, and painted over the stencils that were attached. The final process took a few coats, since the portion at the very bottom had to be touched up, as well as other places that I missed.
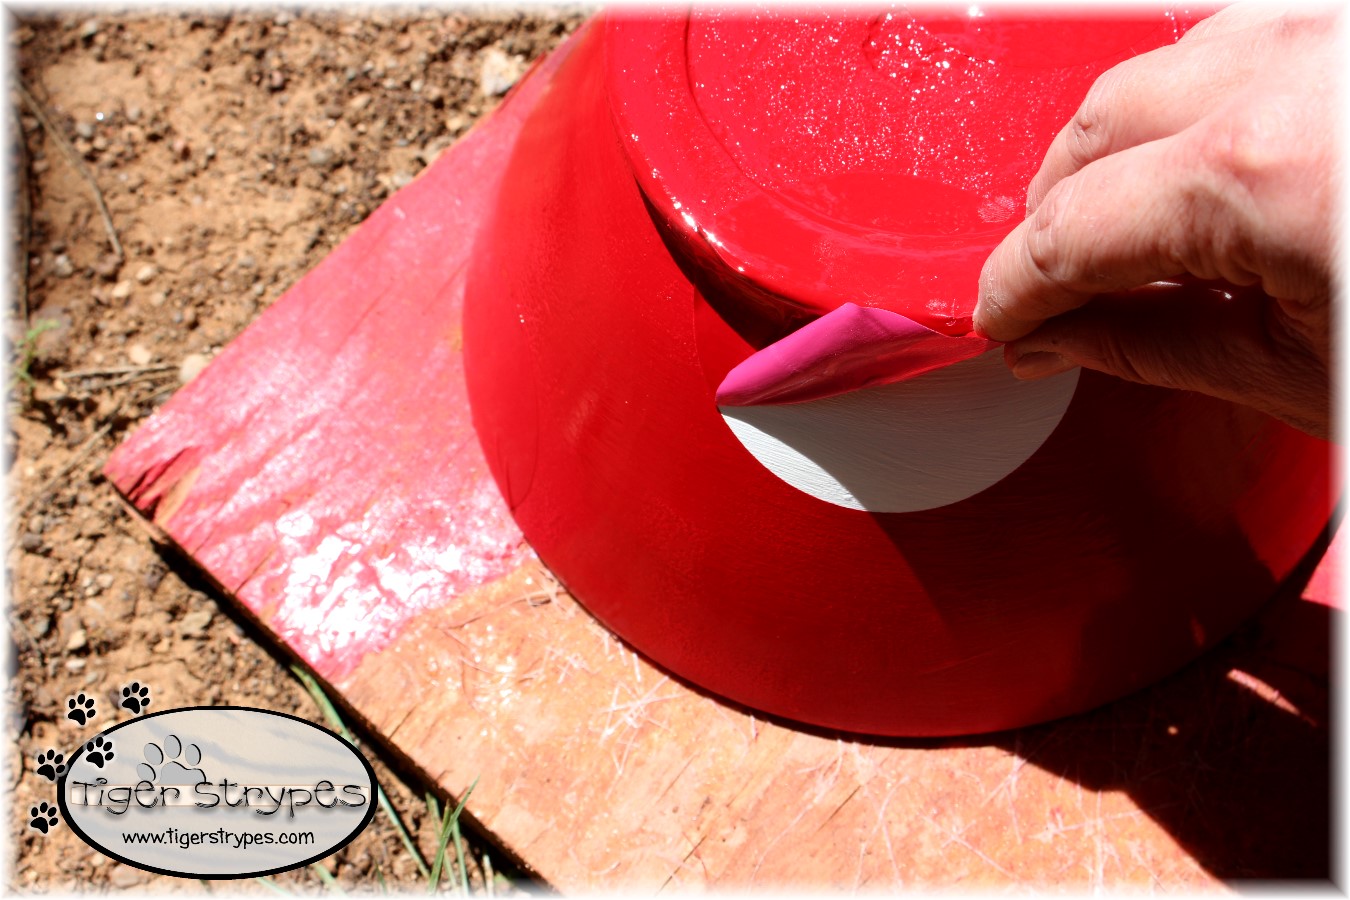
After the paint in this step was finally dry, I started removing the stickers from the bowls. I tried not to wait too long, so that it would pull the paint up at the edges, but it was dry enough not to make me wonder what I was doing to my hands! 🙂
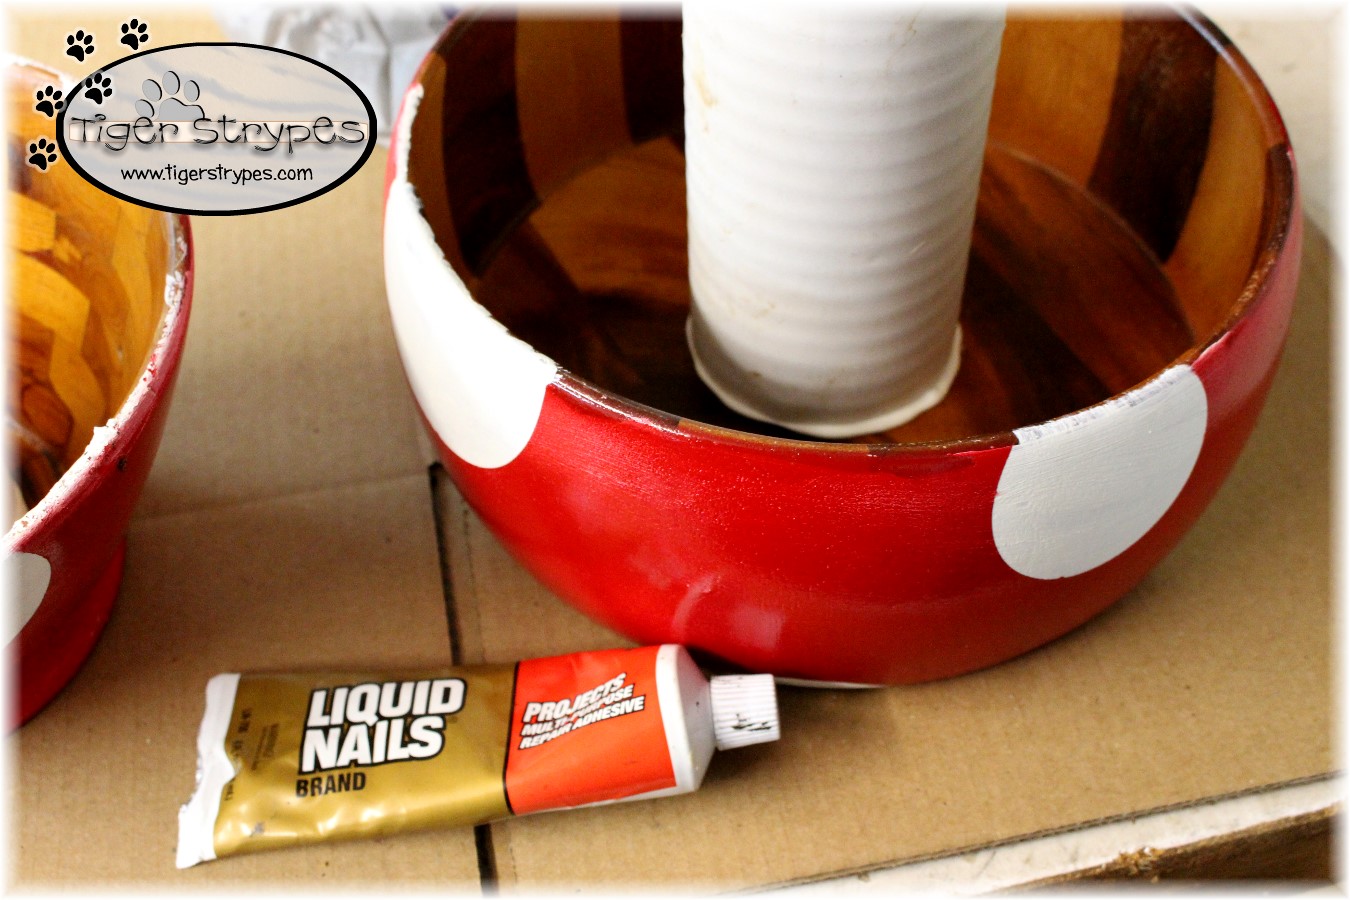
I had my husband cut a piece of pipe that was just out in our backyard. Free supplies are always a bonus!! He cut it into 2 pieces, so I could use them as the stems.

After the pipe was cut, and sanded a bit, I used Liquid Nail to attach it to the inside of the bowl. This is something that takes some time to set. Just put it in an area with plenty of ventilation and let it sit overnight, or even a few days.
When the glue had finished drying, I then put them out in the yard to enjoy. Be advised, the mushrooms that I made, aren’t really strong enough to be sat on. I’m sure you could make the stem out of wood and nail it on to make them more sturdy. Mine were just for decoration. 🙂

I hope you like it! Please take a minute to leave me a comment. Let me know what you would do different, or what you would add, etc. Be sure to tweet, pin, share, etc. – thanks!!
“And God said, “Behold, I have given you every plant yielding seed that is on the face of all the earth, and every tree with seed in its fruit. You shall have them for food.” –Genesis 1:29
![]() HERE ARE SOME OF MY PREVIOUS PROJECTS:
HERE ARE SOME OF MY PREVIOUS PROJECTS:
 |
 |
 |
 |
 |
 |
Those are so cute! I love them!
Thank you, Lisa – they were sure fun to make! 🙂
So doggone cute! I love a good repurposed project and this one is a great one. Thanks for sharing at the This Is How We Roll Link Party.
Thank you Susan. I don’t like things to go to waste, so I love to use them for other projects! 🙂
I love how these turned out Jamie. Super cute and colorful DIY idea. Pinning for later.
Thank you, Linda. I think the hardest part was waiting for the paint to dry! 🙂
These are super fun! What a great way to upcycle and add some garden decor too.
Thanks Erlene – I just like making old things new again and figured these matched in our mountain backyard. 🙂 Thank you for stopping by, and sharing!
Those really look great! I love that you were able to make them out of stuff that was just hanging around–recycling at it’s best!
Thanks Michele – I really like to reuse items and have nothing go to waste! 🙂