I figure with Easter, or Resurrection Celebration, just around the corner, that I would make some fun things for around the home or giving as gifts. Even though the “bunnies” and “eggs” have nothing to do with what the day is truly about, they are something that still happen in almost every city to celebrate this day.
There are stories of rabbits and eggs that are so popular, being about the talk of gods of fertility, and things of the Pagan sense. However, I personally feel that the things associated with whatever holiday depend on the family that is involved. Like our family during the halloween time, we say that they pumpkin is us, the guts (pulp) are our sin, and God comes in to remove that and put His light in us!
So for Easter, even though people think that the eggs and the rabbit are all what it is for, let’s turn it around for God’s glory! If you go back to ancient Mesopotamia and Syria over three thousand years ago, the hare symbolized death and rebirth to these ancient people. Over time the associations made with hares shifted to rabbits, because they have many of the same characteristics. So let’s see the bunnies as showing how Christ died for us, and rose again to allow us to have rebirth in heaven with Him!! Take that Pagans!! 🙂
I hope you like it!! Have a blessed day, and please be sure to comment on, and share this #TBCCrafters craft on your social media channels – thanks!!
Materials/Tools Used:
- Plastic Canvas 10-Count
- Needle
- Yarn
- Googly Eyes
- Small PomPoms
- Felt
- Glue Gun / Glue
- Scissors
- & Time!
Instructions:
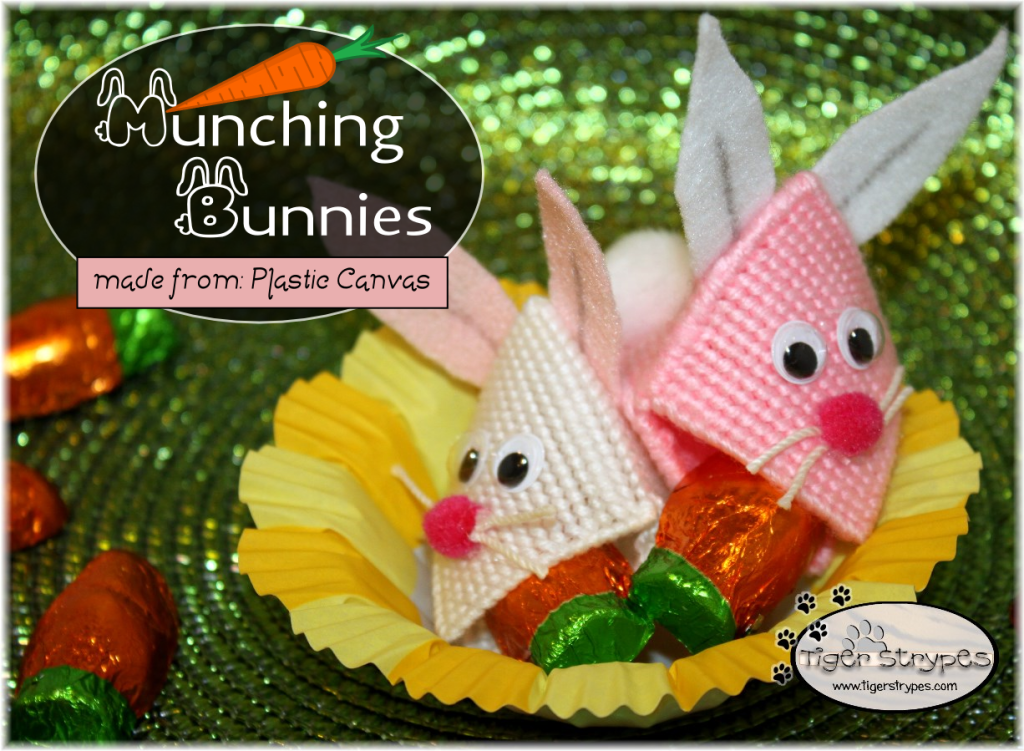
I started by cutting out three pieces of about 15×15 stitch, 10-count plastic canvas. Making sure to have the edges trimmed to have no leftovers of “pins” from where I cut.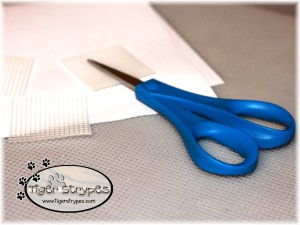
Next, using a thin yarn, I did a “Continental Stitch” over the entire area and an “Overcast Stitch” along two (2) of the sides of two (2) of the pieces. The third piece only needs the “Continental Stitch” and no “Overcast”.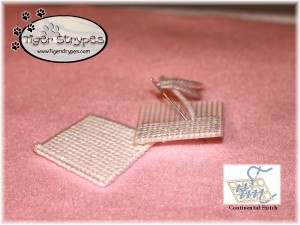
After the pieces were finished, I attached the third piece to one of the open edges of the first piece using a “Whipstitch”, finishing it off with a knot at the end.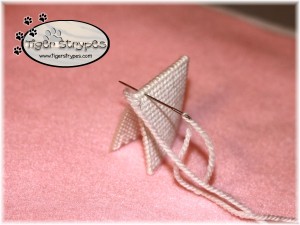
Now, I attached the other piece to the 3rd piece, again using a “Whipstitch”, making sure to have the edges that had been “Overcast” to be at the front (left side in pic).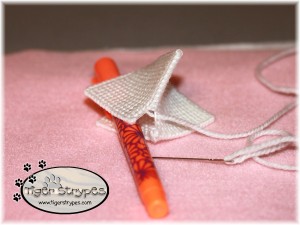
When I had all of the pieces connected, I cut some “bunny” ears from a piece of thin felt. Size and shape is completely up to you.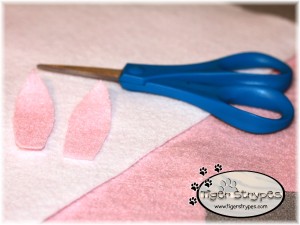
I attached the ears to the back of the 3rd piece using small dots from the hot glue gun.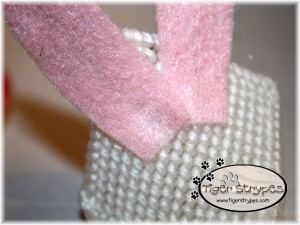
I then added a small white pompom for the “tail” at the bottom.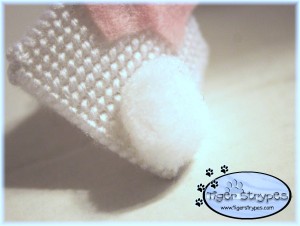
Now using some craft string, I cut a few small pieces for whiskers. Adding a dot of glue, I attached the whiskers and a mini pink pompom for his face, as well as some wiggly eyes.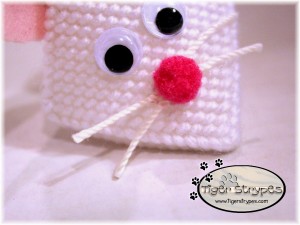
When they were finished, I just used some little candy shaped like carrots that I found at the dollar store to let them enjoy their meal! 🙂
Hope you like it! Please take a minute to leave me a comment and let me know what you would do different, or what you would add, etc. Be sure to tweet, pin, share, etc. – thanks!!
All pictures and text are my own and have not been copied in any way. I, Jamie Tomkins, own and operate Tiger Strypes Blog located at www.TigerStrypes.com. From time to time you’ll hear about my real life experiences or creations with products and/or services from companies and individuals. Let it be known that I have no affiliation with these said companies, and have not received compensation for reviewing or using their service/product. The information that I give regarding the product/service is based off my own personal experience, I do not guarantee that your experience will be the same.
PLEASE SHARE THIS POST USING THE OPTIONS BELOW…THANKS!!
*****************************************************************************************************


These are adorable! Thanks for sharing at the #HomeMattersParty 🙂
Thanks Brittany, they were really fun to make, too!
These are really adorable. I know many kids will love to make and use these little bunnies.
These are so cute! They make for pretty decor and it would also be great to add a few to Easter baskets, too.
I remember things like these from when I was a child. They are so stinking cute.
What a cute craft! I am sure my MIL has all the materials I could borrow from her to make a cute gift for my friends.
That’s what I loved, April. They were really quick to make and looked so cute!
These are so cute. I remember having a reindeer similar to this bunny. Very creative, thank you for sharing.
That’s a great idea – might borrow that for Christmas!! 🙂
Oh my gosh, these munching bunnies are too cute! I love how you added the carrots, too, perfect! Pinned this 🙂
Thanks Bernadyn – I saw the candy at Dollar Tree and jumped on it!! Loved it!
Oh! These are absolutely adorable! I love how easy they are. They are super kid friendly too! What a great little addition to any Easter basket!
You never cease to amaze me, these bunnies are adorable. Love them. I’ve got to figure out some creative Easter crafts too!! xo
Oh Rose!! 🙂 Can’t wait to see your Easter crafts!!
I wish I was crafty! Those look so cute and would definitely add a little something extra to an Easter basket!
I believe in you, Marta!! You can be crafty at whatever you have on your heart to do!! 🙂
[…] Plastic Canvas “Munching Bunnies” Craft (#TBCCrafters) I figure with Easter, or Resurrection Celebration, just around the corner, that I would …read more […]