
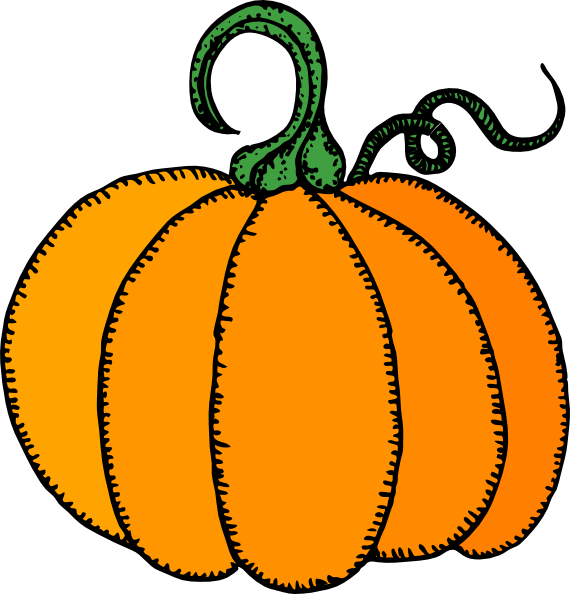
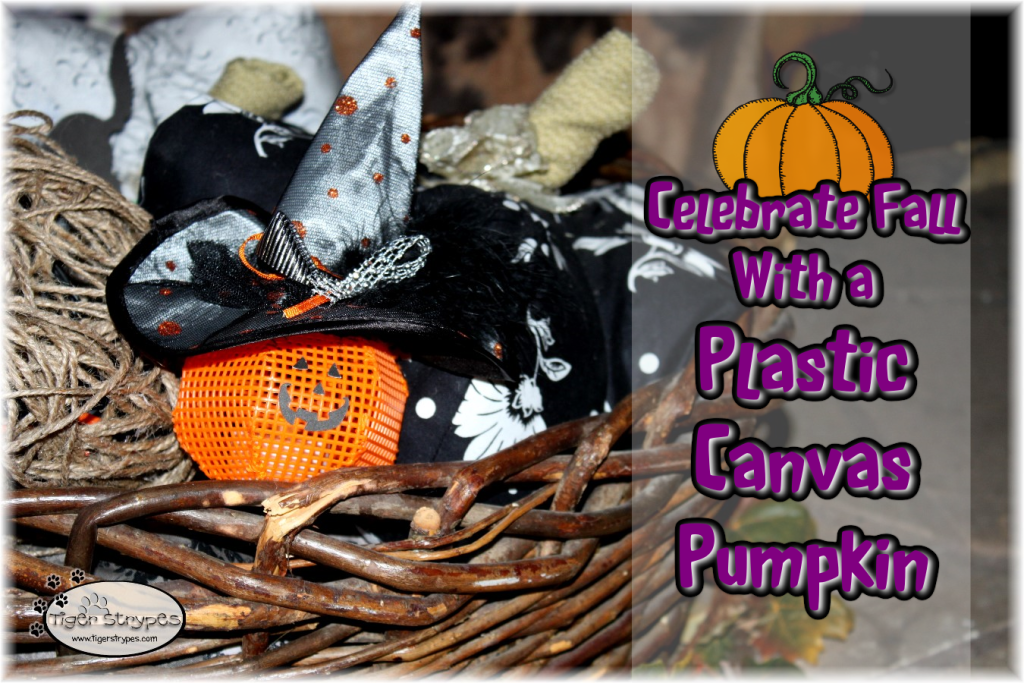
Celebrate Fall With a Plastic Canvas Pumpkin
#Halloween #Craft #DIY
I saw a kit to make something like this in the Mary Maxim catalog that I received recently. I figured that I had some extra plastic canvas laying around, and that it would be fun to try and make my own. It ended up being pretty easy and turned out really cute. I love that you could personalize it, however you wanted it to look.
I ended up buying a headband that had the hat attached, which saved me a lot of time. You could always just make your own with construction paper…totally up to you. It’s fun to see it sitting in our living room with the “candle” burning and the smile on its face.
I hope you like them!! Have a blessed day, and please be sure to comment on, and share this craft on your social media channels – thanks!!


Celebrate Fall With a Plastic Canvas Pumpkin
Materials/Tools Used:
- Plastic Canvas (Orange)
- Thread (Orange)
- Sewing Needle
- Battery Operated Candle
- Hat
- Cutout of Pumpkin Face
- & Time!
Instructions:
I started by printing out this template, that I found online, to use as the base for the pumpkin shape. It made it a lot easier to put it all together.
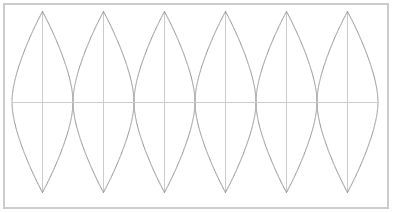
After it was printed, I cut it on the lines to make my template for the plastic canvas, which would be cut next.

I put it on top of my plastic canvas, and cut the piece at the bottom, that would fit. This way, I could save the rest for another project!

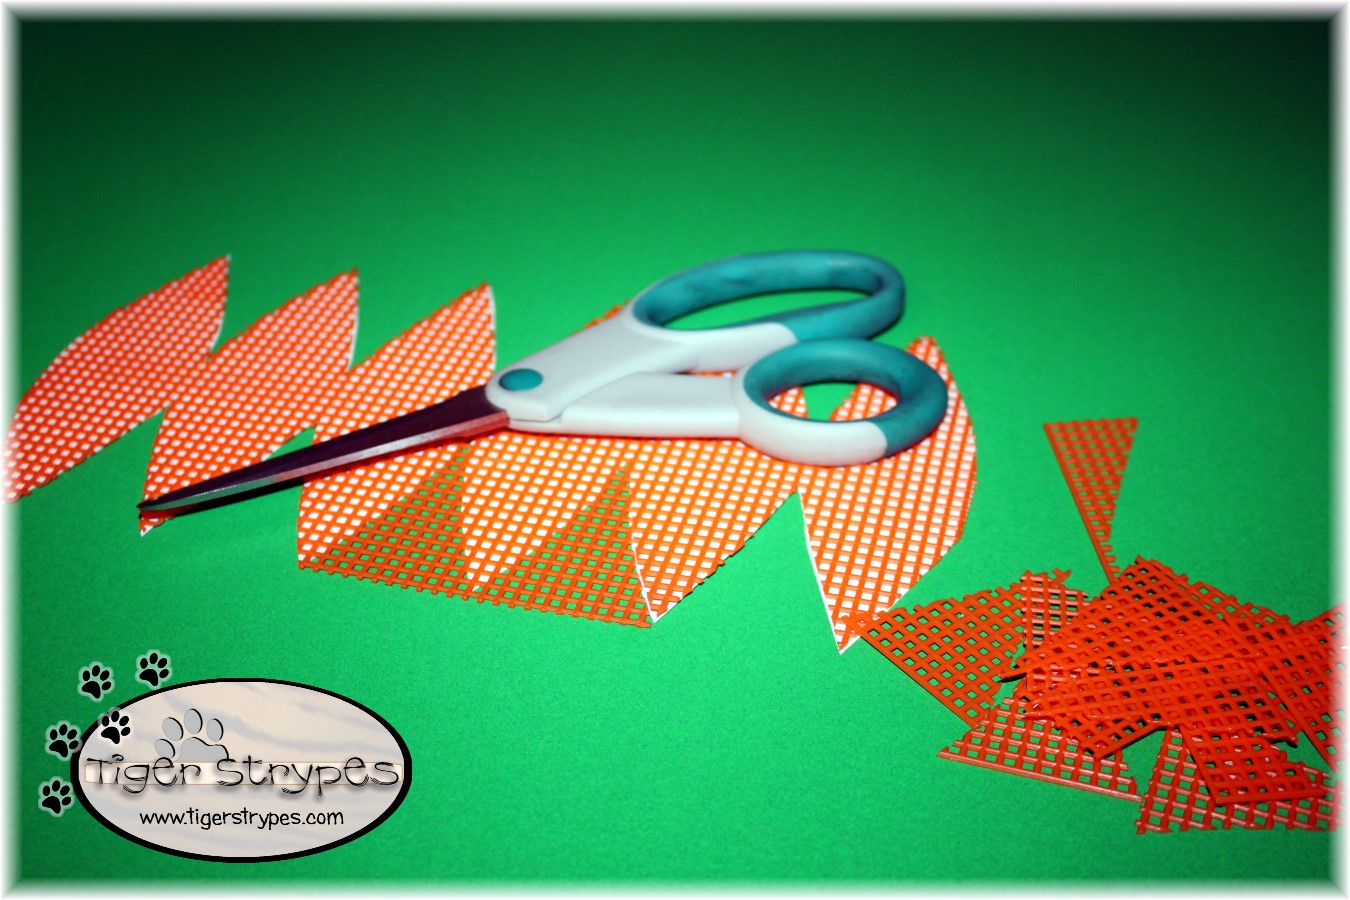
After that, I used my craft scissors to trim the plastic canvas around the template. I had used some double sided tape to adhere it to the piece, to make it easier to cut around. How many times have we started cutting something, and had the template slip and it messed up our whole project? Is it only me?
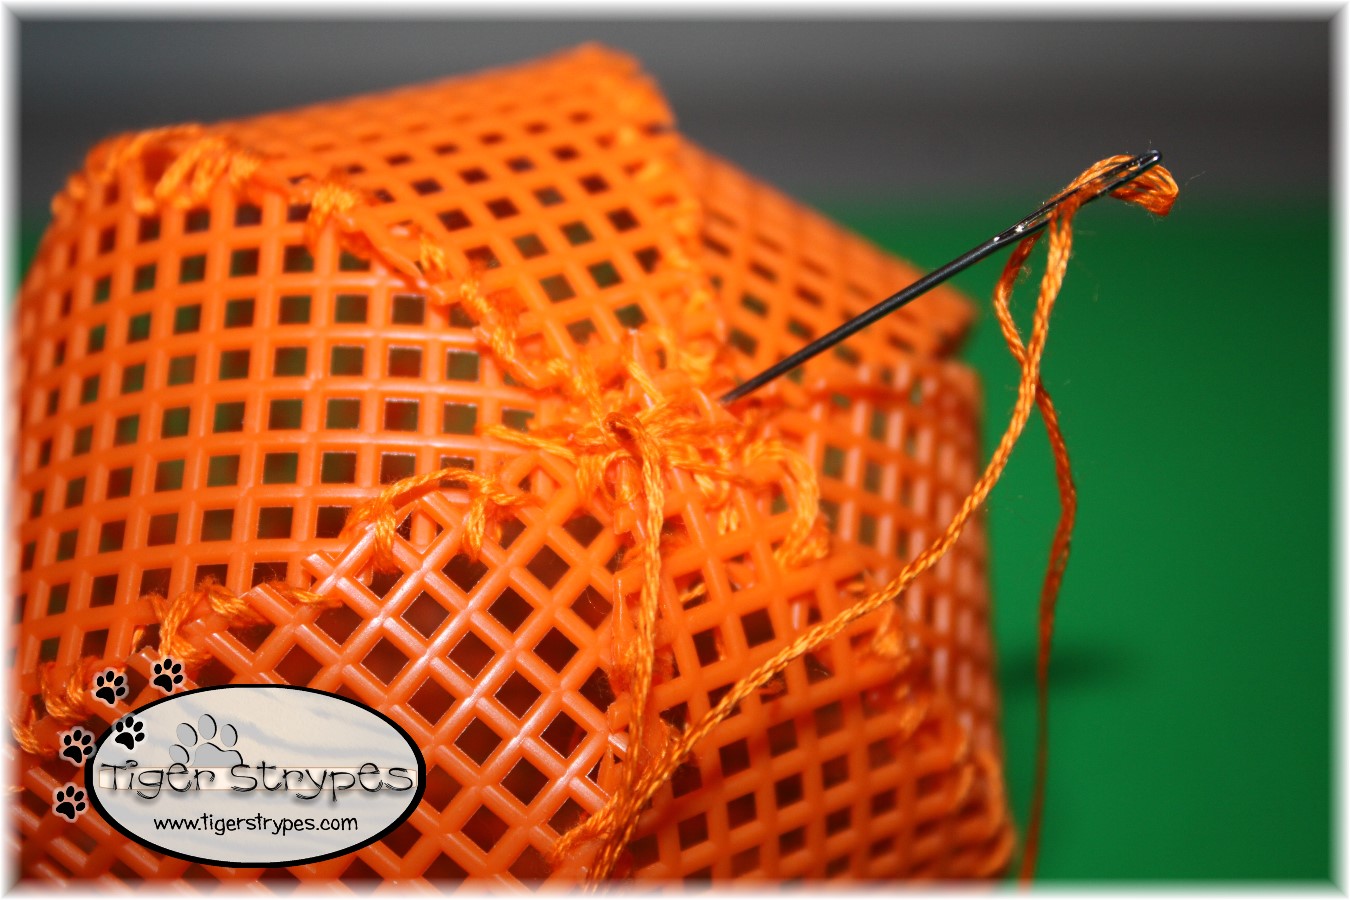
Once I had it all cut out, I started sewing the pieces together with the orange thread. With some of the edges that were cut not having closed up boxes, I just went a square in or so, to make sure that it stayed together. Do this on the top and bottom…making sure to leave one of the parts open (to be able to insert the candle).
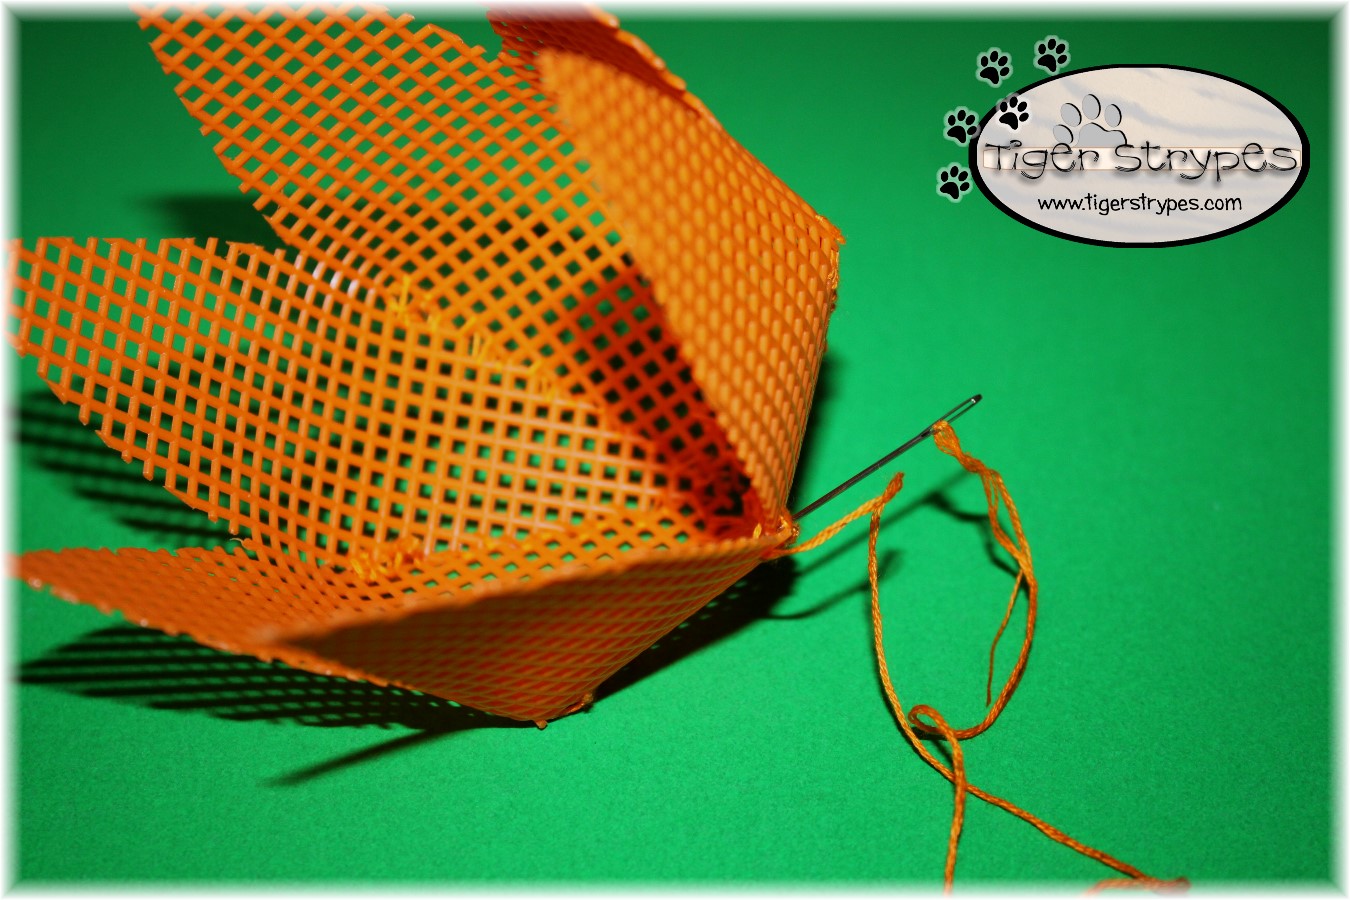
Once the edges were complete, I went back over the top and bottom to add more stitching to keep it closed a bit tighter. I had not done this at first, and it was a bit off with the top part open…this helped to finalize the shape.
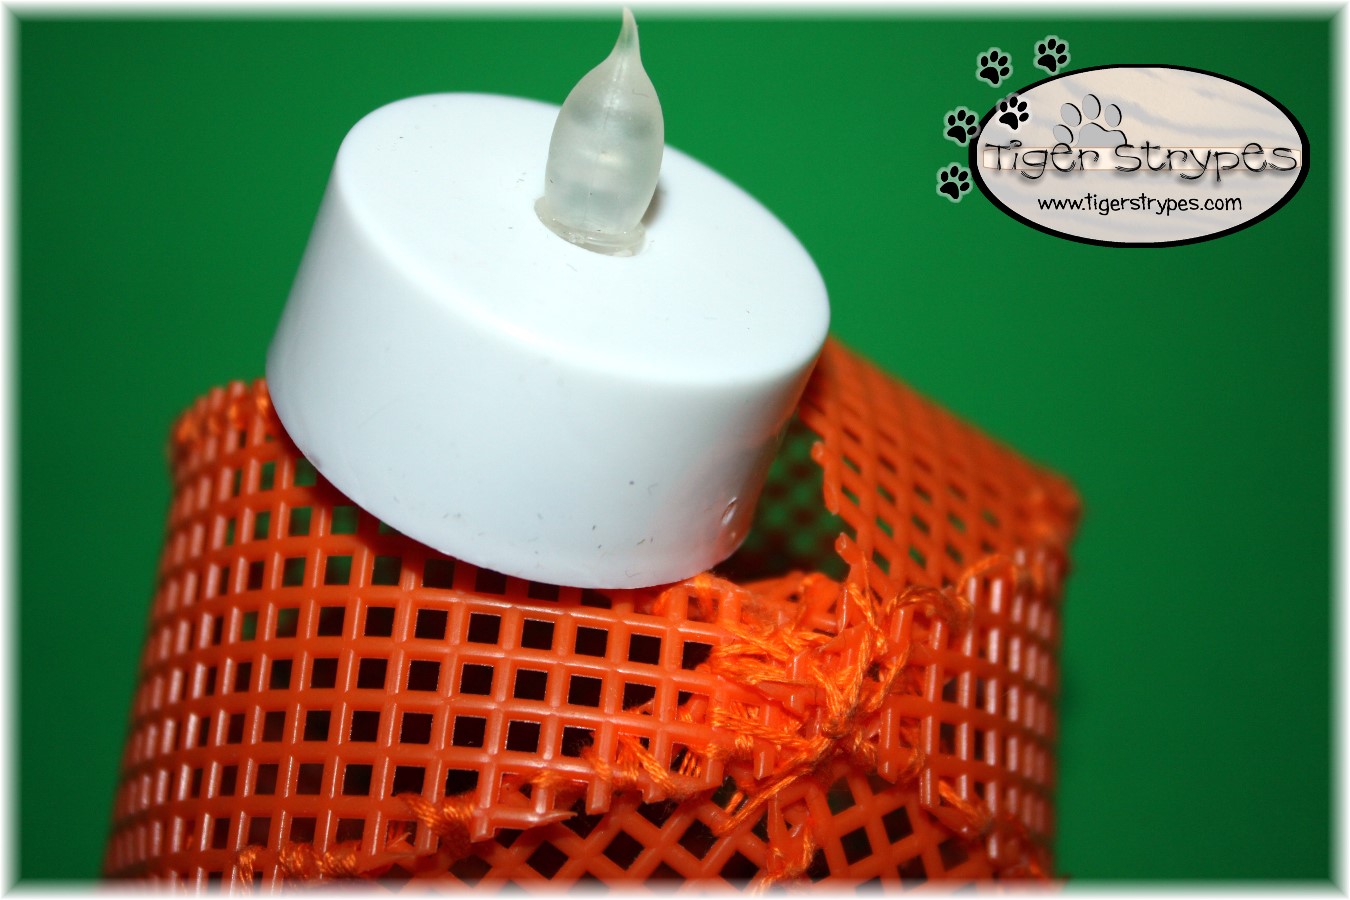
After that, I inserted the battery-operated candle into the opening that I had left in the one side. You can turn it on before you put it in to make it a bit easier…or feel like the kitty trying to catch the treat, and do it when it’s in there. ….not like I know what that’s like. :/
After the candle was in, I glued on a jack-o-lantern face, that I cut out with my Cricut, and then attached the hat that I had decided to buy (well, actually I got it for free – I love the “Shop Your Way” rewards!!). Like I said, you could always make your own, but I figured it was easier to just use this one. It’s kind of hard to see the candle in the photo, but it’s adorable to see the flicker, just like a real one!
I hope you like it! Please take a minute to leave me a comment, and let me know what you would do different, or what you would add, etc. Be sure to tweet, pin, share, etc. – thank you!!
“When Jesus spoke again to the people, he said, “I am the light of the world. Whoever follows me will never walk in darkness, but will have the light of life.”-John 8:12
![]()
HERE ARE SOME OF MY PREVIOUS PROJECTS:
 |
 |
 |
 |
 |
 |
PLEASE SHARE THIS POST USING THE OPTIONS BELOW…THANKS!!
*****************************************************************************************************


[…] Jamie Celebrates Fall With a Plastic Canvas Pumpkin […]
What a cute and fun idea! Thanks for sharing and being a wonderful co-host of the #HomeMattersParty – we love having you on the team! 🙂
~Lorelai
Life With Lorelai
Thanks Lorelai – and thank you for letting me join your awesome #HomeMattersParty team! 🙂
So cute. Love that you were able to use something you already had on hand. #HomeMattersParty
Thanks Chelsea!! Upcycling is something I love to do!! 🙂
Love this idea !!My neighbor used to make designs with wool and use this plastic canvas for making bags and purses 🙂 This is another great use for the plastic canvas, Jamie 🙂 #HomeMattersParty
Thanks, Sahana – I love finding new ways to use things! 🙂
I haven’t worked with plastic canvas in awhile. I forget how many fun things you can make with it, like these cute pumpkins. #HomeMattersParty
There is so much you can do with it – figured it would be fun to make this!
I haven’t thought about plastic canvas for years! My daughter would probably love to work with that – she’s always trying to create things lately (don’t know where she gets it! 😉 ) That little witch hat is just the right touch – so cute!
#HomeMattersParty
It was fun to make…I love being able to use scraps for other things! 🙂
[…] Jamie Celebrates Fall With a Plastic Canvas Pumpkin […]
[…] Jamie Celebrates Fall With a Plastic Canvas Pumpkin […]
[…] Jamie Celebrates Fall With a Plastic Canvas Pumpkin […]
[…] Jamie Celebrates Fall With a Plastic Canvas Pumpkin… […]
Cute idea and something fun for older kids to try. I enjoy co-hosting with you #HomeMattersParty
For sure, Enzie!! Thanks for stopping by and being a great #HomeMattersParty co-host with me! 🙂
I love it. I couldn’t wait and had to scroll down and see what it looks like. You did a great job-I couldn’t add a thing! It’s great co-hosting with you at the #HomeMattersParty
Jumping ahead, huh? ha/ha Glad you liked it! 🙂
This is too cute!!! And what a great way to add a fun piece to that Halloween and fall home decor. Thanks for sharing!
Thanks Jamie – they were really fun to make!
These are so cute. They would be a safe way to decorate wit.