
Turn Placemats Into Pillows
(#CreateDesignDiscover)
How many of you like to redecorate during different seasons of the year? I always hear about it on design shows, and online, about the changing of colors, patterns, etc. Well, for me, I think it’s a bit too expensive to change things out (like pillows) in my house every 6 months. We use what we have, until it can no longer be used, and then replace it.
I guess since I’m one who couldn’t care less about what’s in style, or the newest fashion, it spills over into my home decorating, as well. We have rooms that are mostly themed (tiger living room, wine country kitchen, etc.), so doing a change out of certain things, really doesn’t fit with my family. Now as far as outdoors, and the patio furniture, we sometimes need new things due to the weather. Those all need to be changed out a bit more often. Now I have an pretty inexpensive way to do that, and help you do it, too!
I hope you like it!! Have a blessed day, and please be sure to comment on, and share this craft on your social media channels – thanks!!
Turn Placemats Into Pillows
Materials/Tools Used:
- Placemats (2 for each pillow)
- Sewing Machine
- Pins
- Needle
- Thread
- Stuffing
- & Time!
Instructions:
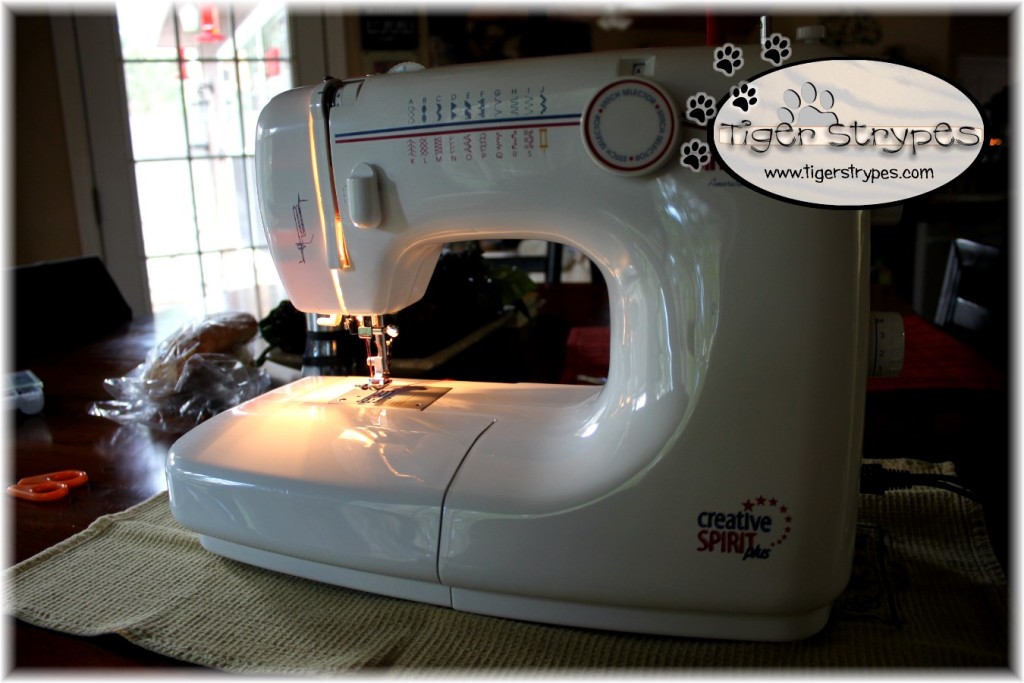
I started by getting my sewing machine out, and putting a thread in that matched the placemat material. Then, I set it to straight stitch at normal tension. You could always change that to whatever you want.
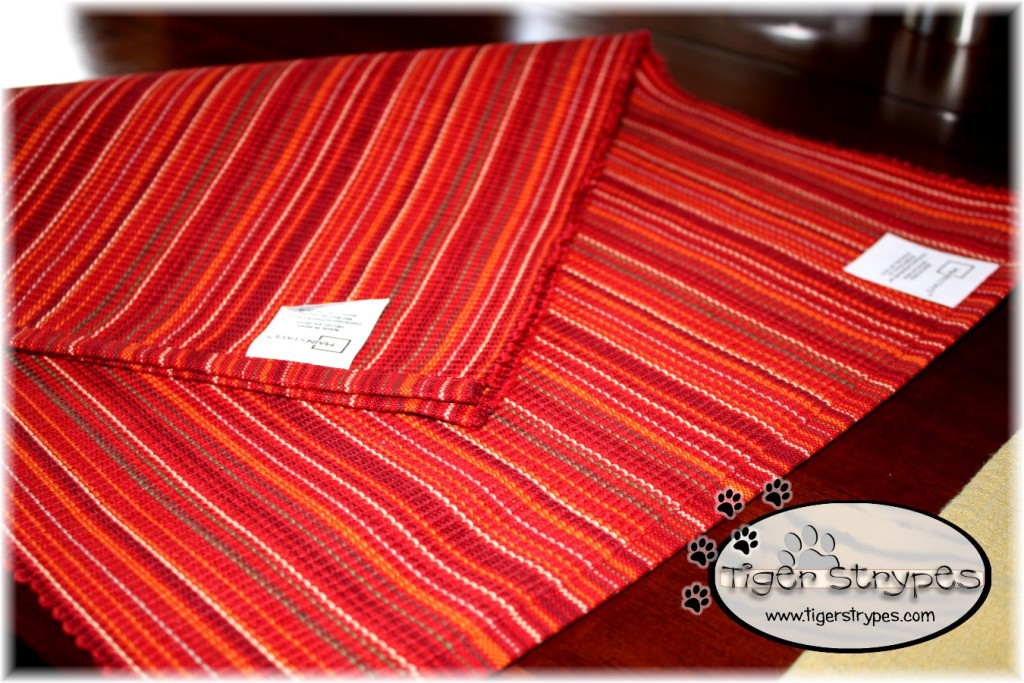
Turn two (2) placemats back to back, with the tag side facing out (this will be inside, once we turn the fabric back).
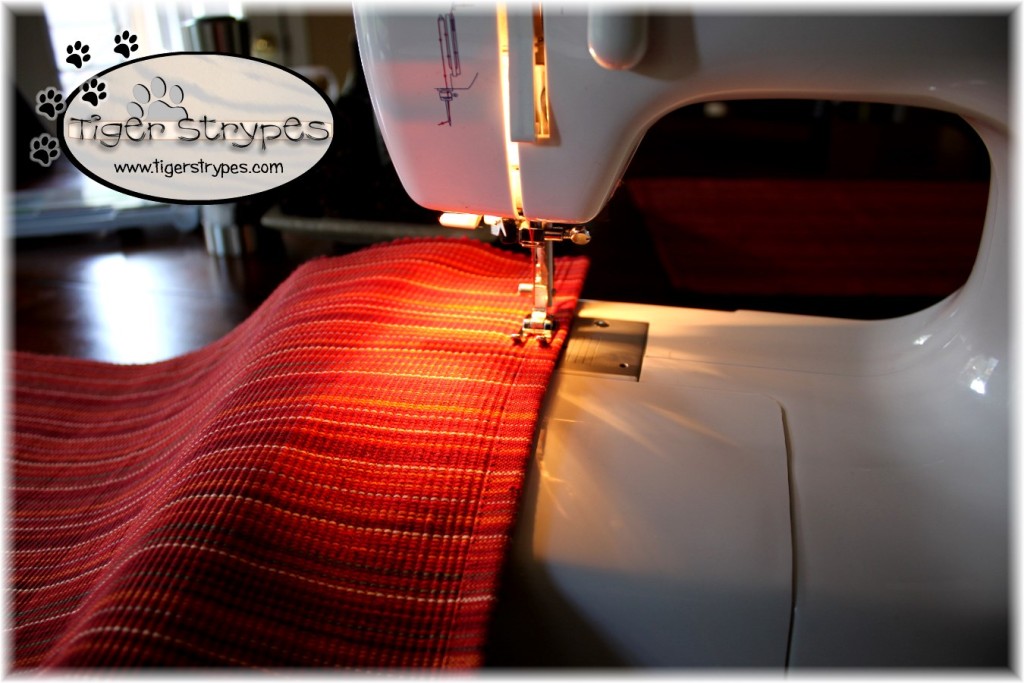
Next, start stitching each side to close up the two (2) pieces. You can use pins to hold them together evenly, if you wish. I just held mine tight, and didn’t want to take the time to take pins out every few inches, but that’s up to you. Make sure to leave about a 3-4″ opening on one side to insert the stuffing.
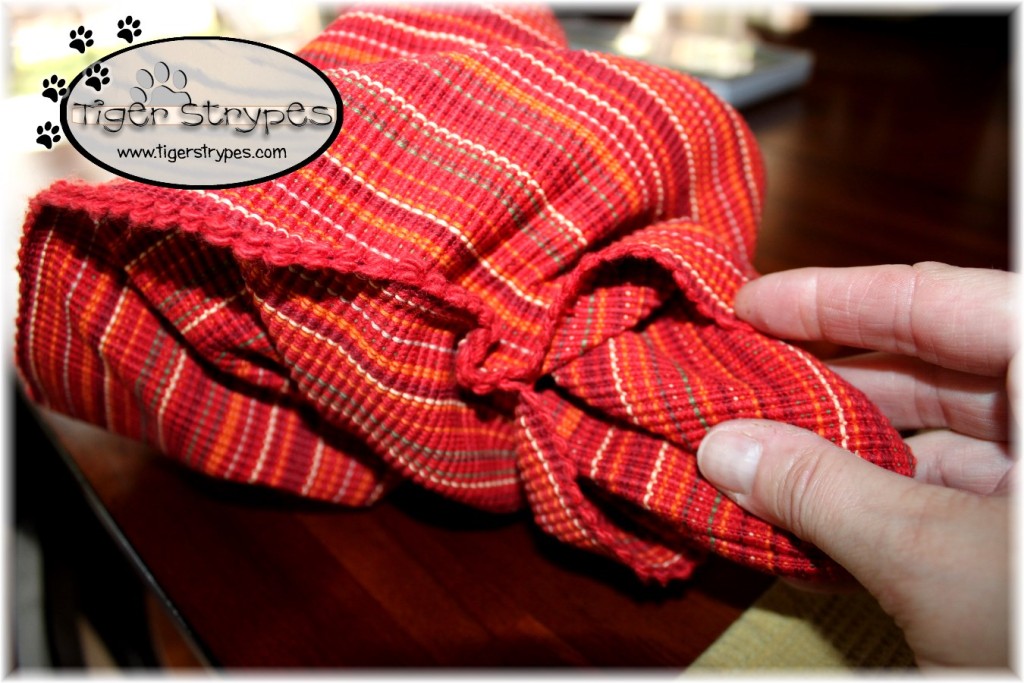
Now, grabbing the opposite corner of the portion that you left open, start to invert the pillow fabric. Be sure to push out the edges, and the corners, once you get it all of the way out to create your un-stuffed pillow shape. Using a wooden chopstick or just your fingers helps with that, if you don’t have a point tool.
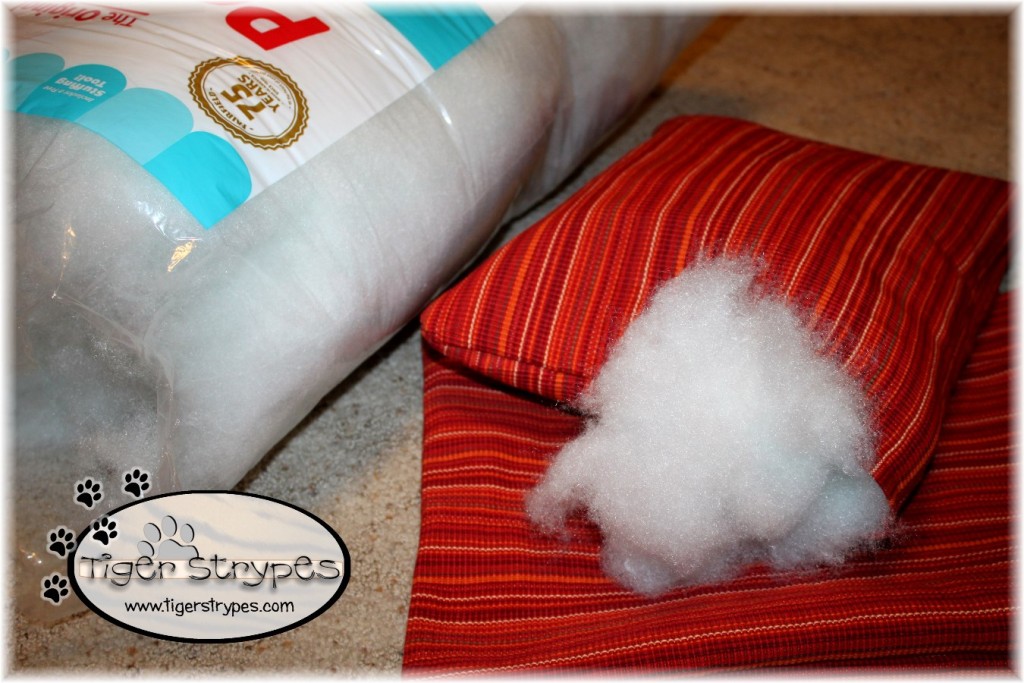
Now, using some stuffing, just insert as much as you want into the pillow case. Be sure to add a bit extra, so that after you hand sew the opening, it will be enough to finish it up completely.
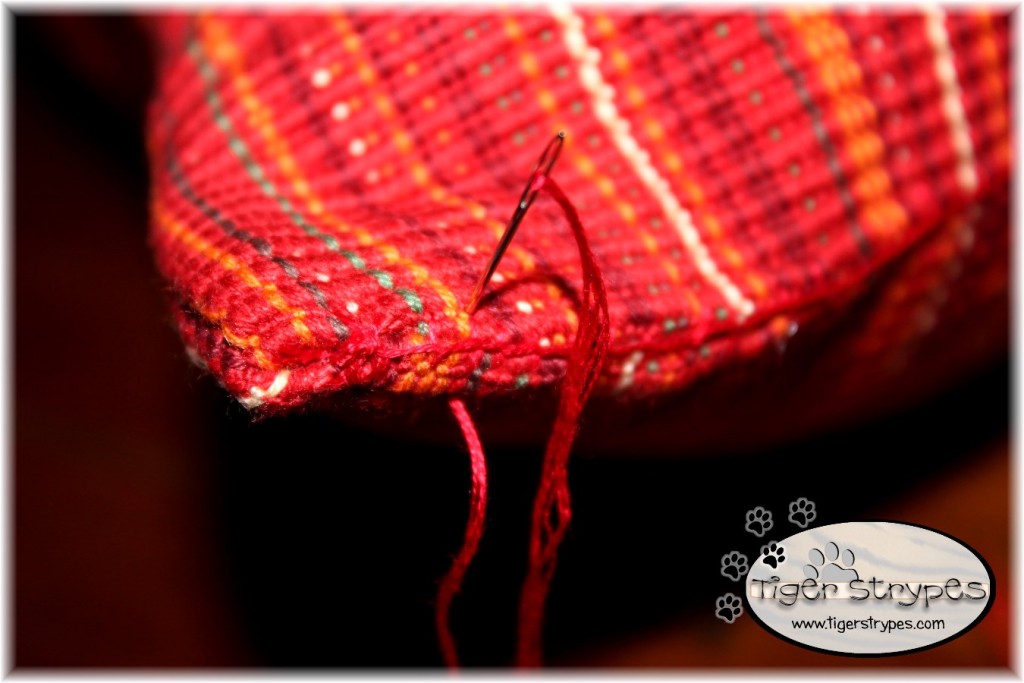
Next, using a blind stitch, finish sewing up the opening that you left in the corner. Be sure to fold the edges in tightly, so that this matches the rest of the pillow.
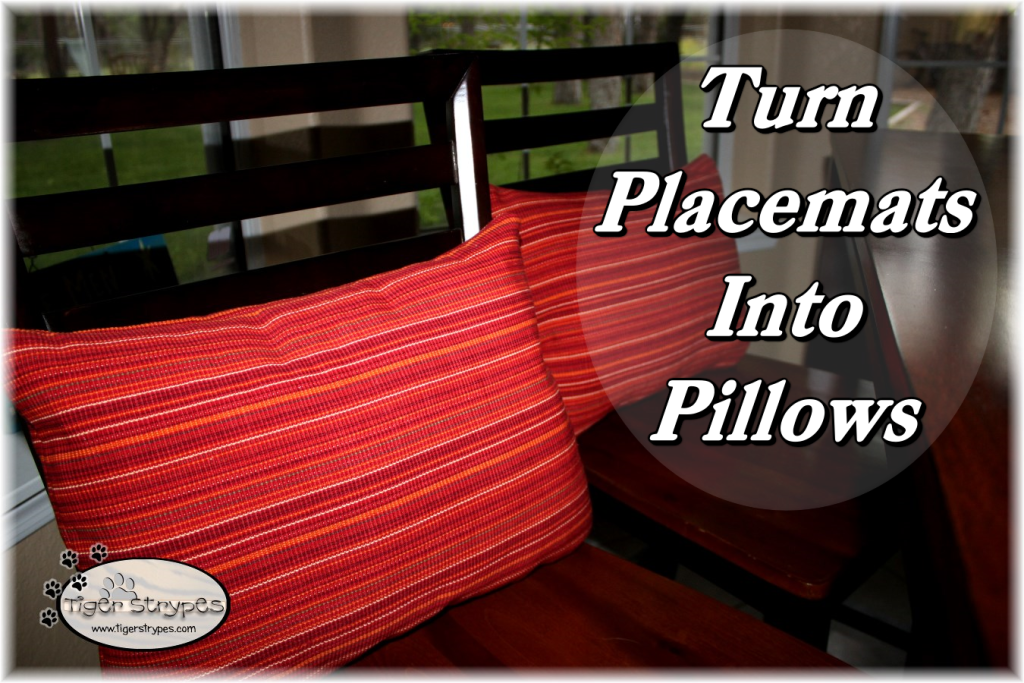
Then, just put them anywhere that you would like to have some great accent pillows! You could even use some weatherproofing spray to be able to enjoy them on the patio furniture, etc.
I hope you like it! Please take a minute to leave me a comment, and let me know what you would do different, or what you would add, etc. Be sure to tweet, pin, share, etc. – thank you!!
“I go and prepare a place for you, I will come back and take you to be with me that you also may be where I am.” -John 14:3
All pictures and text are my own and have not been copied in any way. I, Jamie Tomkins, own and operate Tiger Strypes Blog located at www.TigerStrypes.com. From time to time you’ll hear about my real life experiences or creations with products and/or services from companies and individuals. Let it be known that I have no affiliation with these said companies, and have not received compensation for reviewing or using their service/product. The information that I give regarding the product/service is based off my own personal experience, I do not guarantee that your experience will be the same.
PLEASE SHARE THIS POST USING THE OPTIONS BELOW…THANKS!!
*****************************************************************************************************


Love these festive fun pillows (they’d look great on the bench in my kitchen) and you know that I love a good repurposing project.
Thanks Susan – they were fun to make!
This is so awesome and clever. I LOVE THEM!! Imagine the more affordable possibilities, my new pillows cost me a small fortune.
I am so impressed on how well these pillows turned out…you’d never know that they were made from placemats just by looking at them.
Thanks Yona – that’s the joys of upcycling!! 🙂
What a fun idea! looks easy to do too, I like it. 🙂 My teen thinks it’s cute too.
What a fun idea! Thanks for joining us at the #HomeMattersParty and I hope you’ll link up with us again next week!
Thanks Sarena – I always love seeing what on the #HomeMattersParty page! 🙂
This looks beautiful & creative. The color is bright & very attractive too. I would love do this craft work during my weekend. Thanks for the detailed instructions.
Thanks Lisa – let me know if you make some, I’d love to see a pic! 🙂
How cute is this !!! And I wonder if you had smaller pillows if you could just use these as covers and skip the stuffing? Thanks for sharing. Stopping by from Home Matters.
That would be a great idea, Rebecca!!
How creative! Placemat fabrics are thick and won’t fray easily. They are the perfect materials to make a pillow.
What a great idea. I never thought of making pillows out of placemats.
what an awesome DIY! Might have to try this myself!
That is absolute brilliance right there! I am going to be looking at placemats with more of a designer eye from now on.
oh my goodness I love this idea! Super cute and easy
So simple! And so cute!!!
What a great idea. I wish I could sew but that is not something I am good at.
They look great, but I’m not good with machines 🙁
That is so cool that you created pillows from placemats. I am not allowed near a sewing machine as I always broke my moms
That is a brilliant idea. I think I need to try this.
This is such a neat sewing project. I love how easy it is, and the finished results are so pretty!
Thanks Anne!! Anything that is quick and easy, but turns out great, is for me! 🙂