

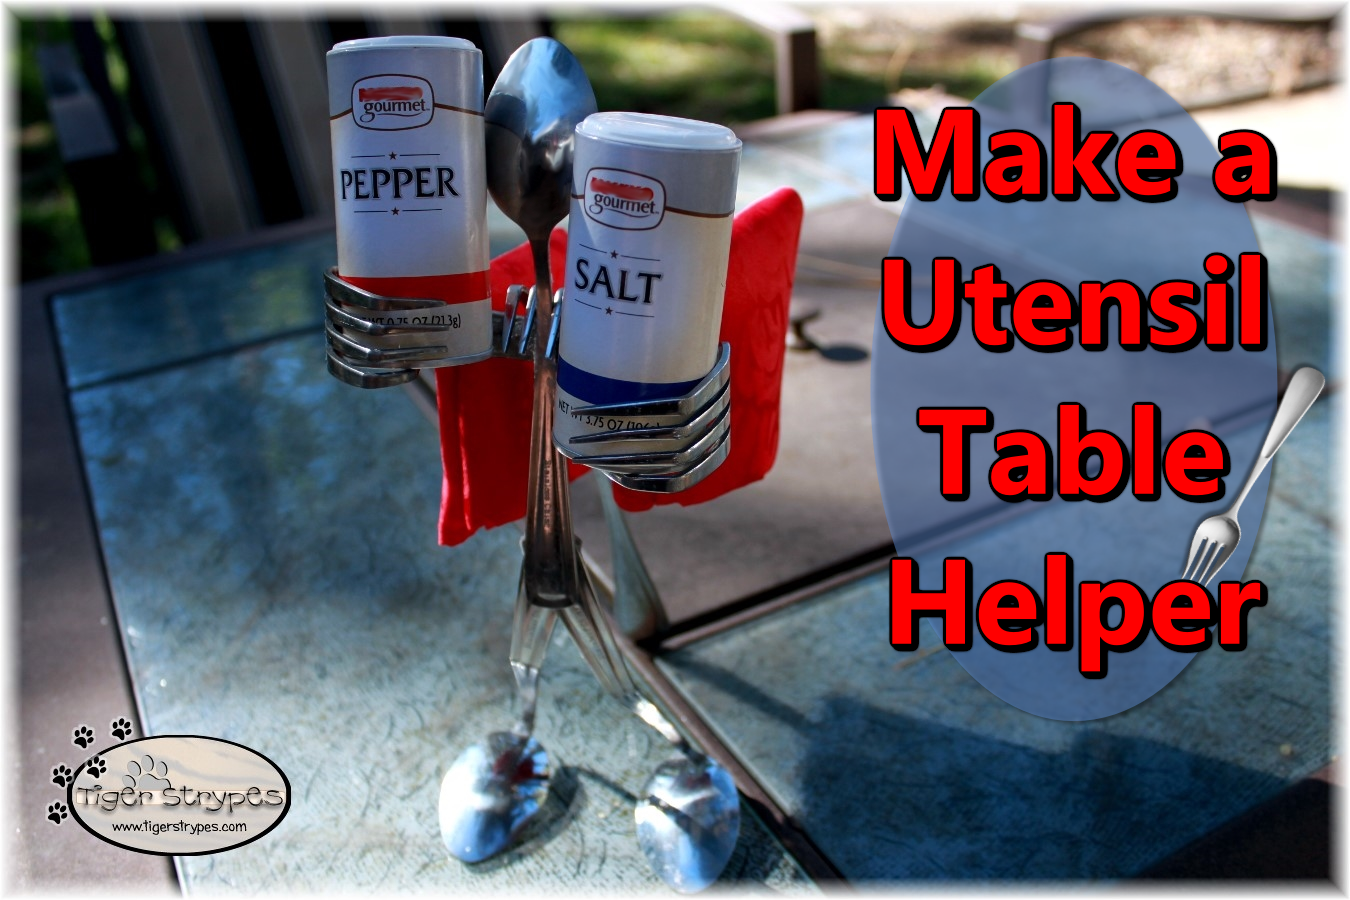
Make a Utensil Table Helper
I always love seeing things, that are made out of something else. You know, old detergent bottles turned into watering cans…things like that? The great thing of upcycling or reusing items for something else, always make me smile. I saw something like this for sale in a catalog the other day…at about $25.00 and thought, hmmm, I’ll just make my own. Now, granted, it didn’t come out exactly as the one that was for sale, but it’s mine! I figured it would be fun to use at backyard parties, or when we’re out camping with friends. Figured it was a great way to use up some old utensils from the kitchen, that either had seen better days, or no longer have a friend to match at the table.
I used some Gorilla Gel Glue to keep it all together, and wish that I could have just welded it, but was worried about melting the metal. It does hold together really well, but I just don’t like the look of the dried glue. I did sand it a bit to make it be a bit better, and guess that I could always just paint the whole thing. Otherwise, it was fun to make, and is really cute to look at standing on our table. What do you think of it – does it look like something that your family would use? Let me know in the comments below.
I hope you like it!! Have a blessed day, and please be sure to comment on, and share this craft on your social media channels – thanks!!

Make a Utensil Table Helper
Materials/Tools Used:
- Three (3) Spoons
- Two (2) Forks
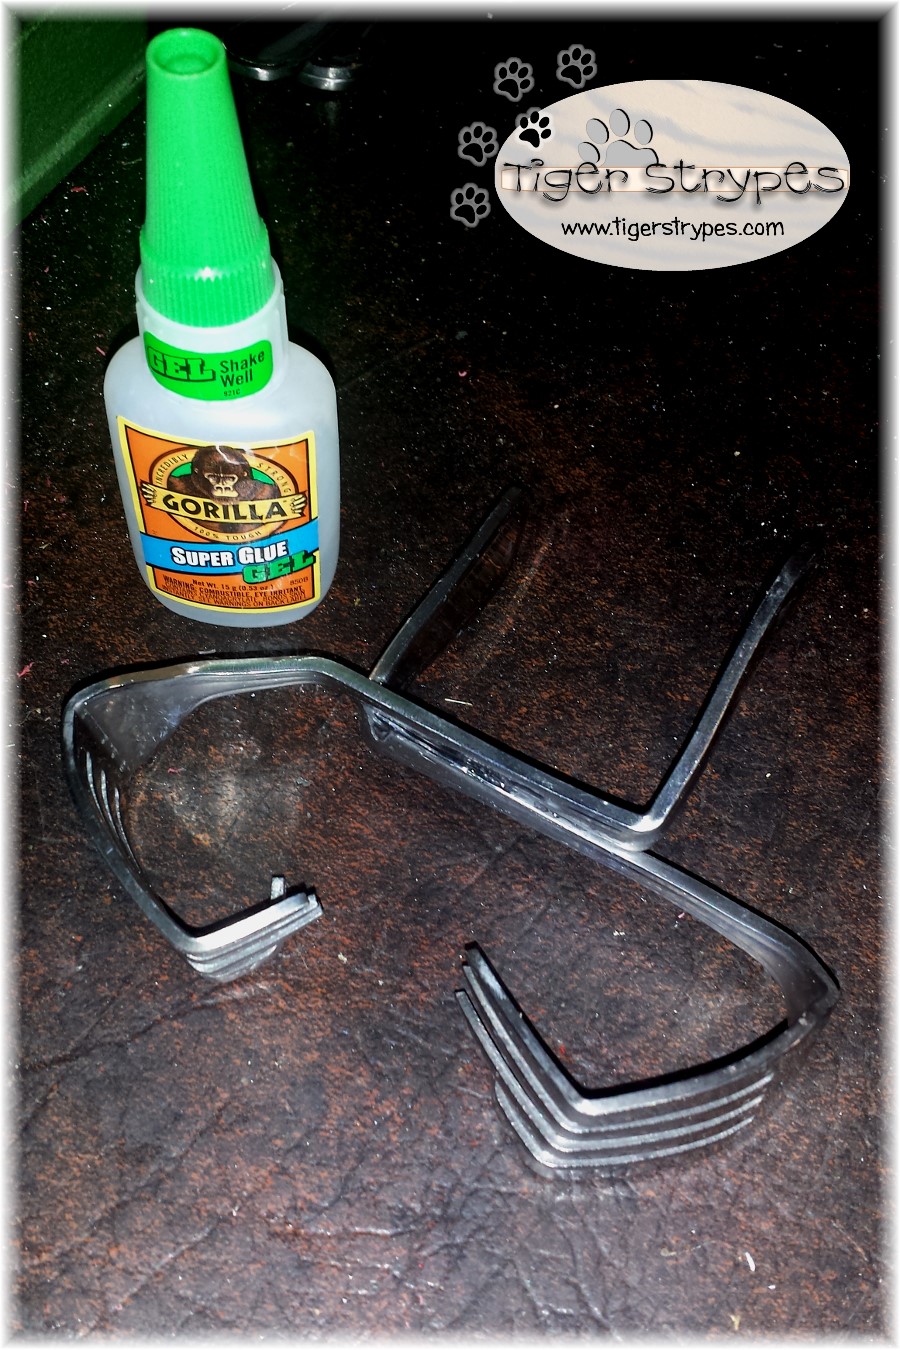
- Gorilla Gel Glue
- Pliers
- Vise
- & Time!
Instructions:
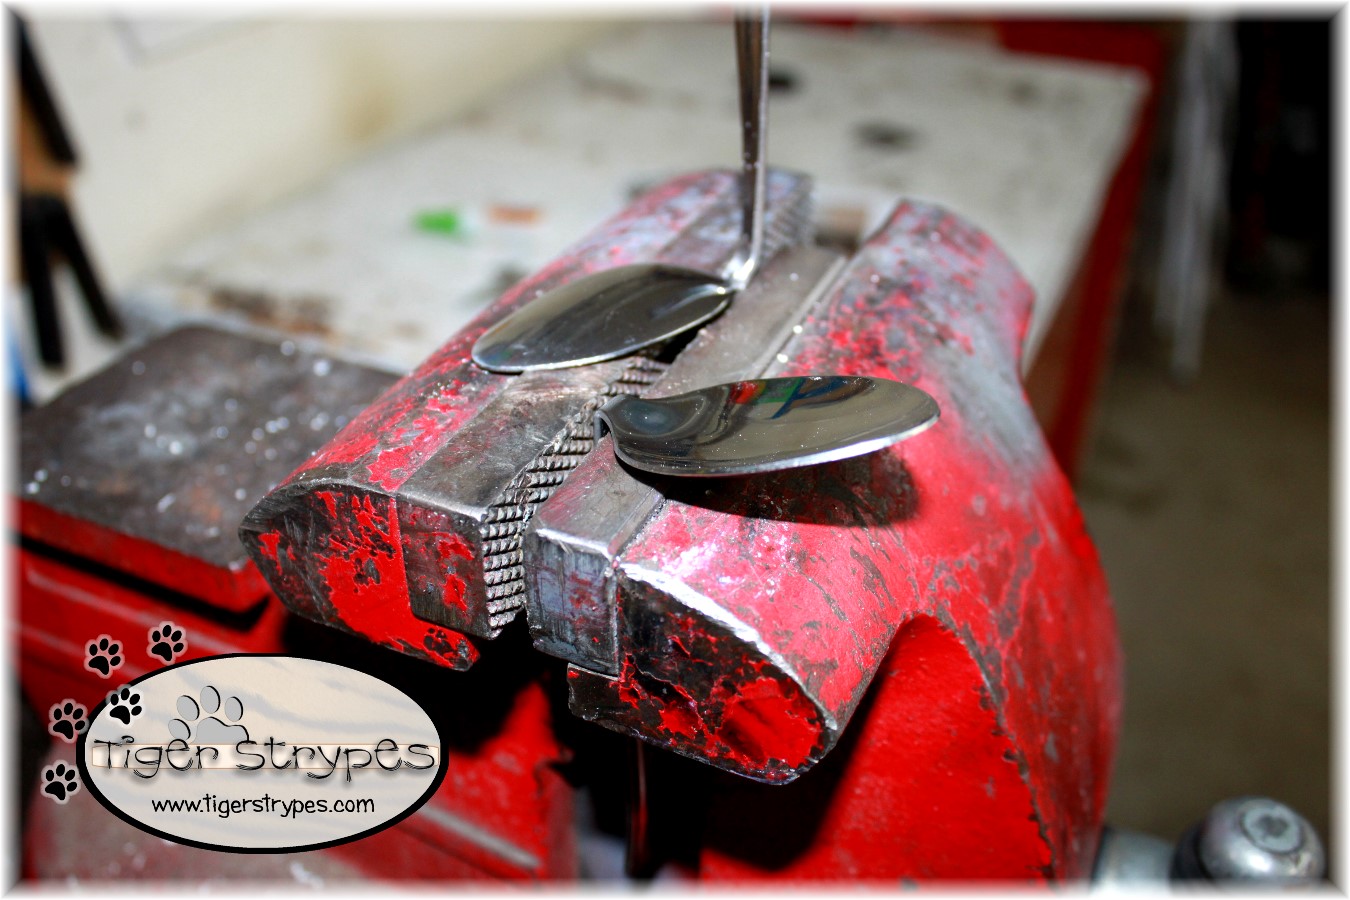
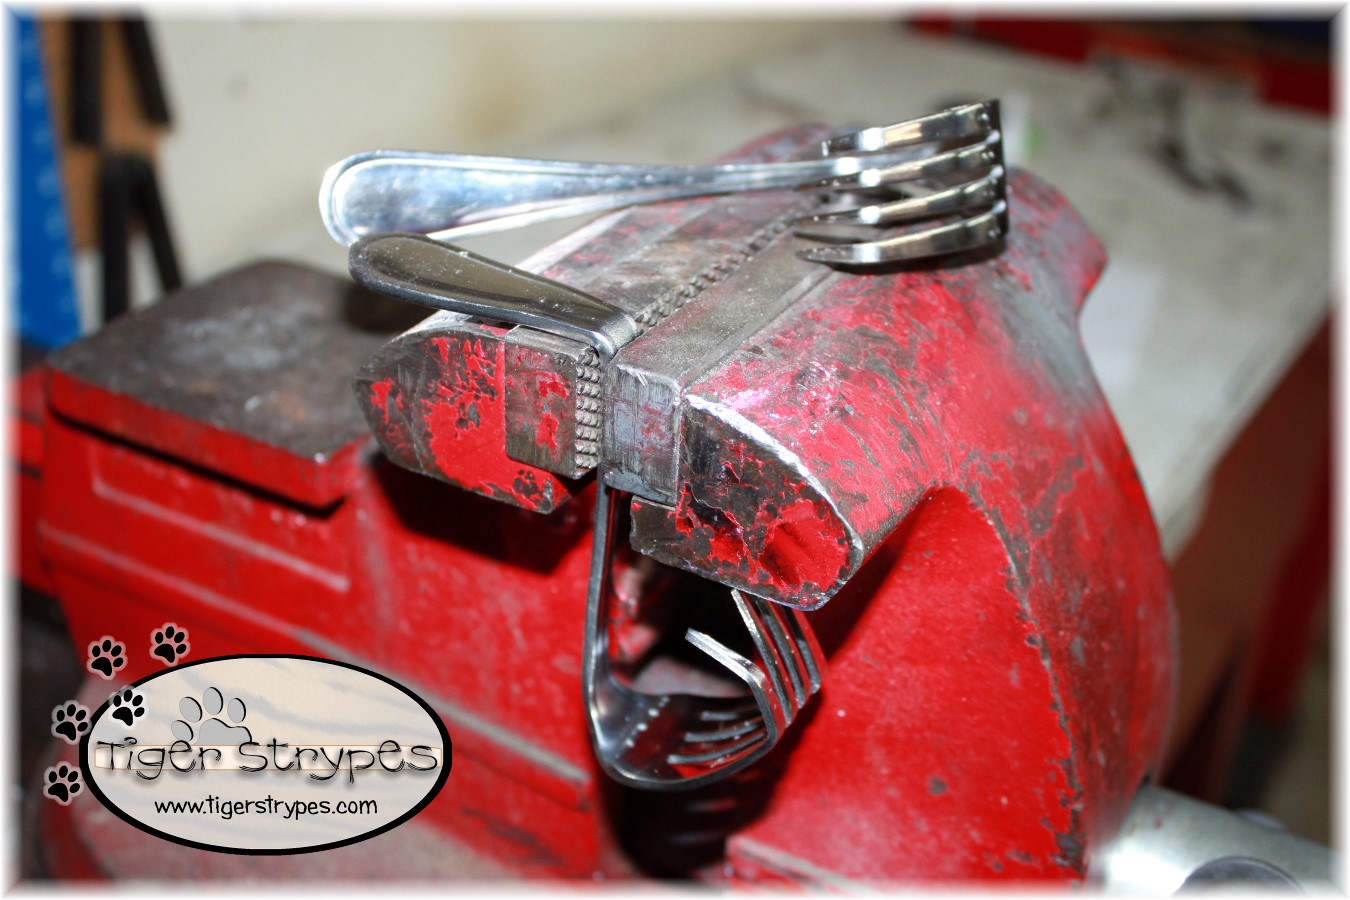
I started by bending the two (2) of the spoons backwards in our vise, to form the “feet” of my table helper.
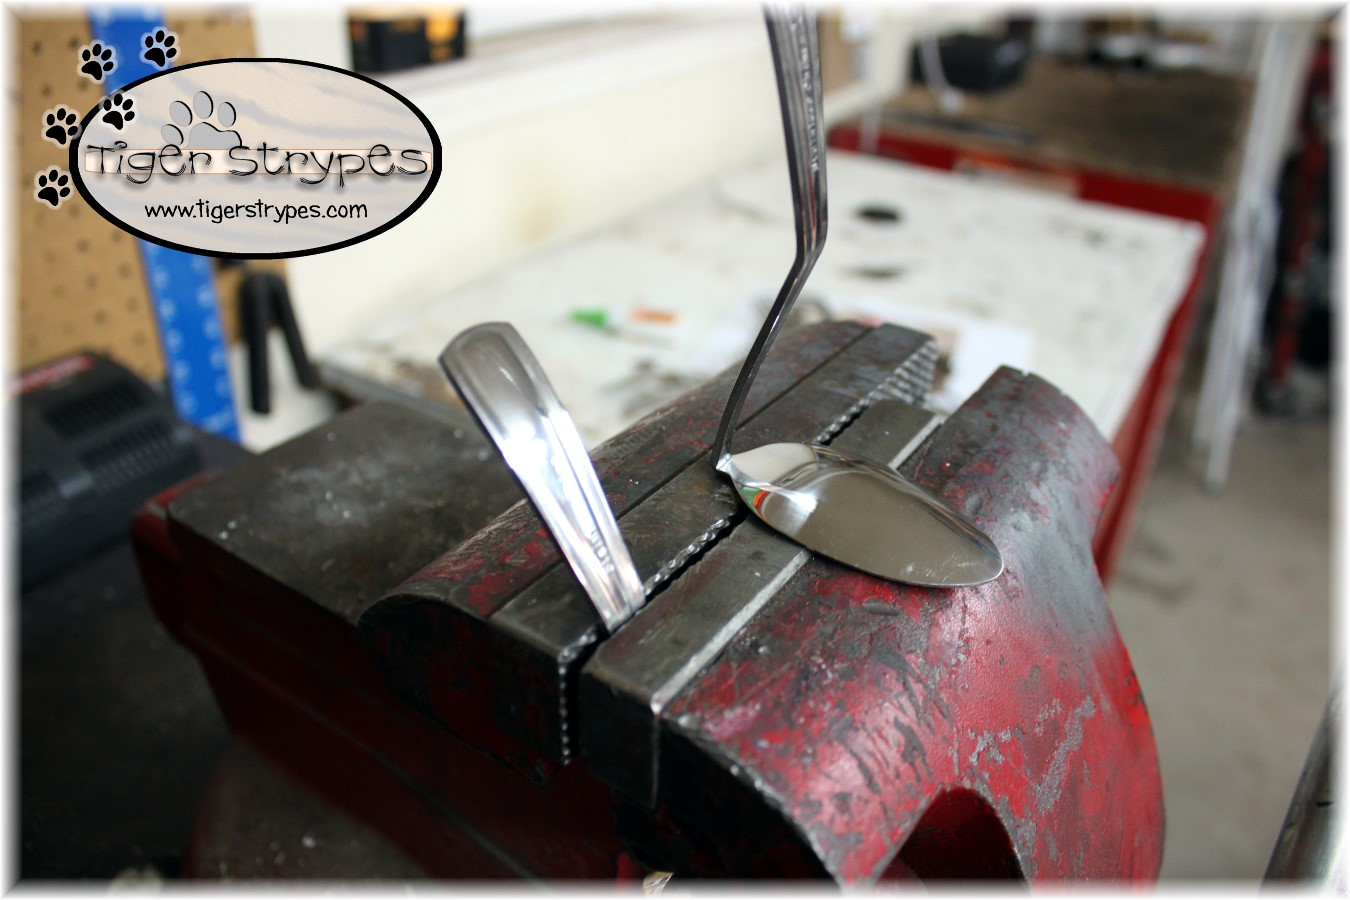
Next, I used the vise, and some pliers to give him some “knees”. The angle will depend on how you want it to stand. (I ended up not bending mine enough to stand on it’s own, but found out after it was all glued together and I couldn’t bend it anymore…so I had to add the stand behind it.)
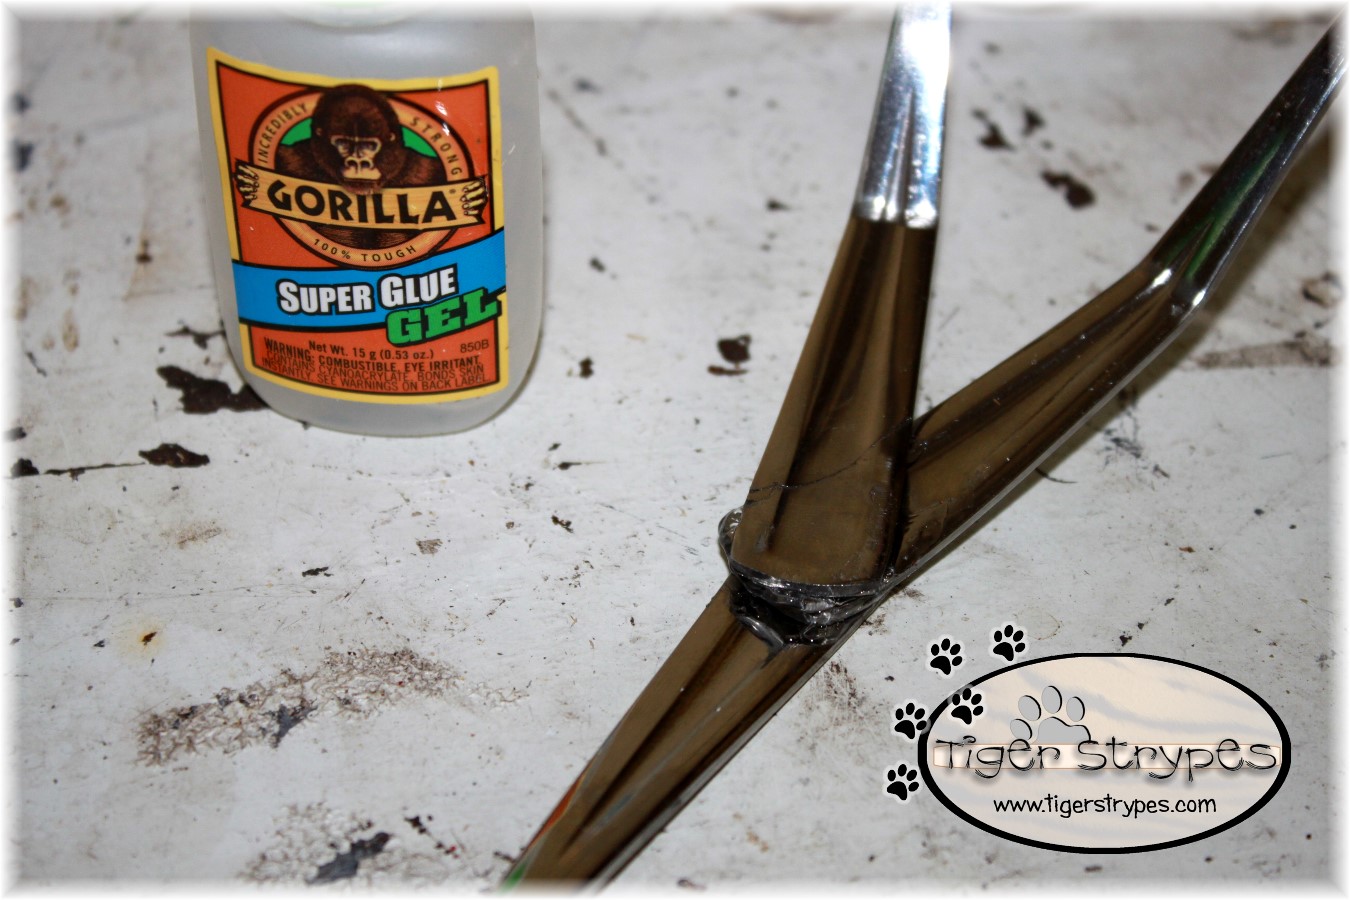
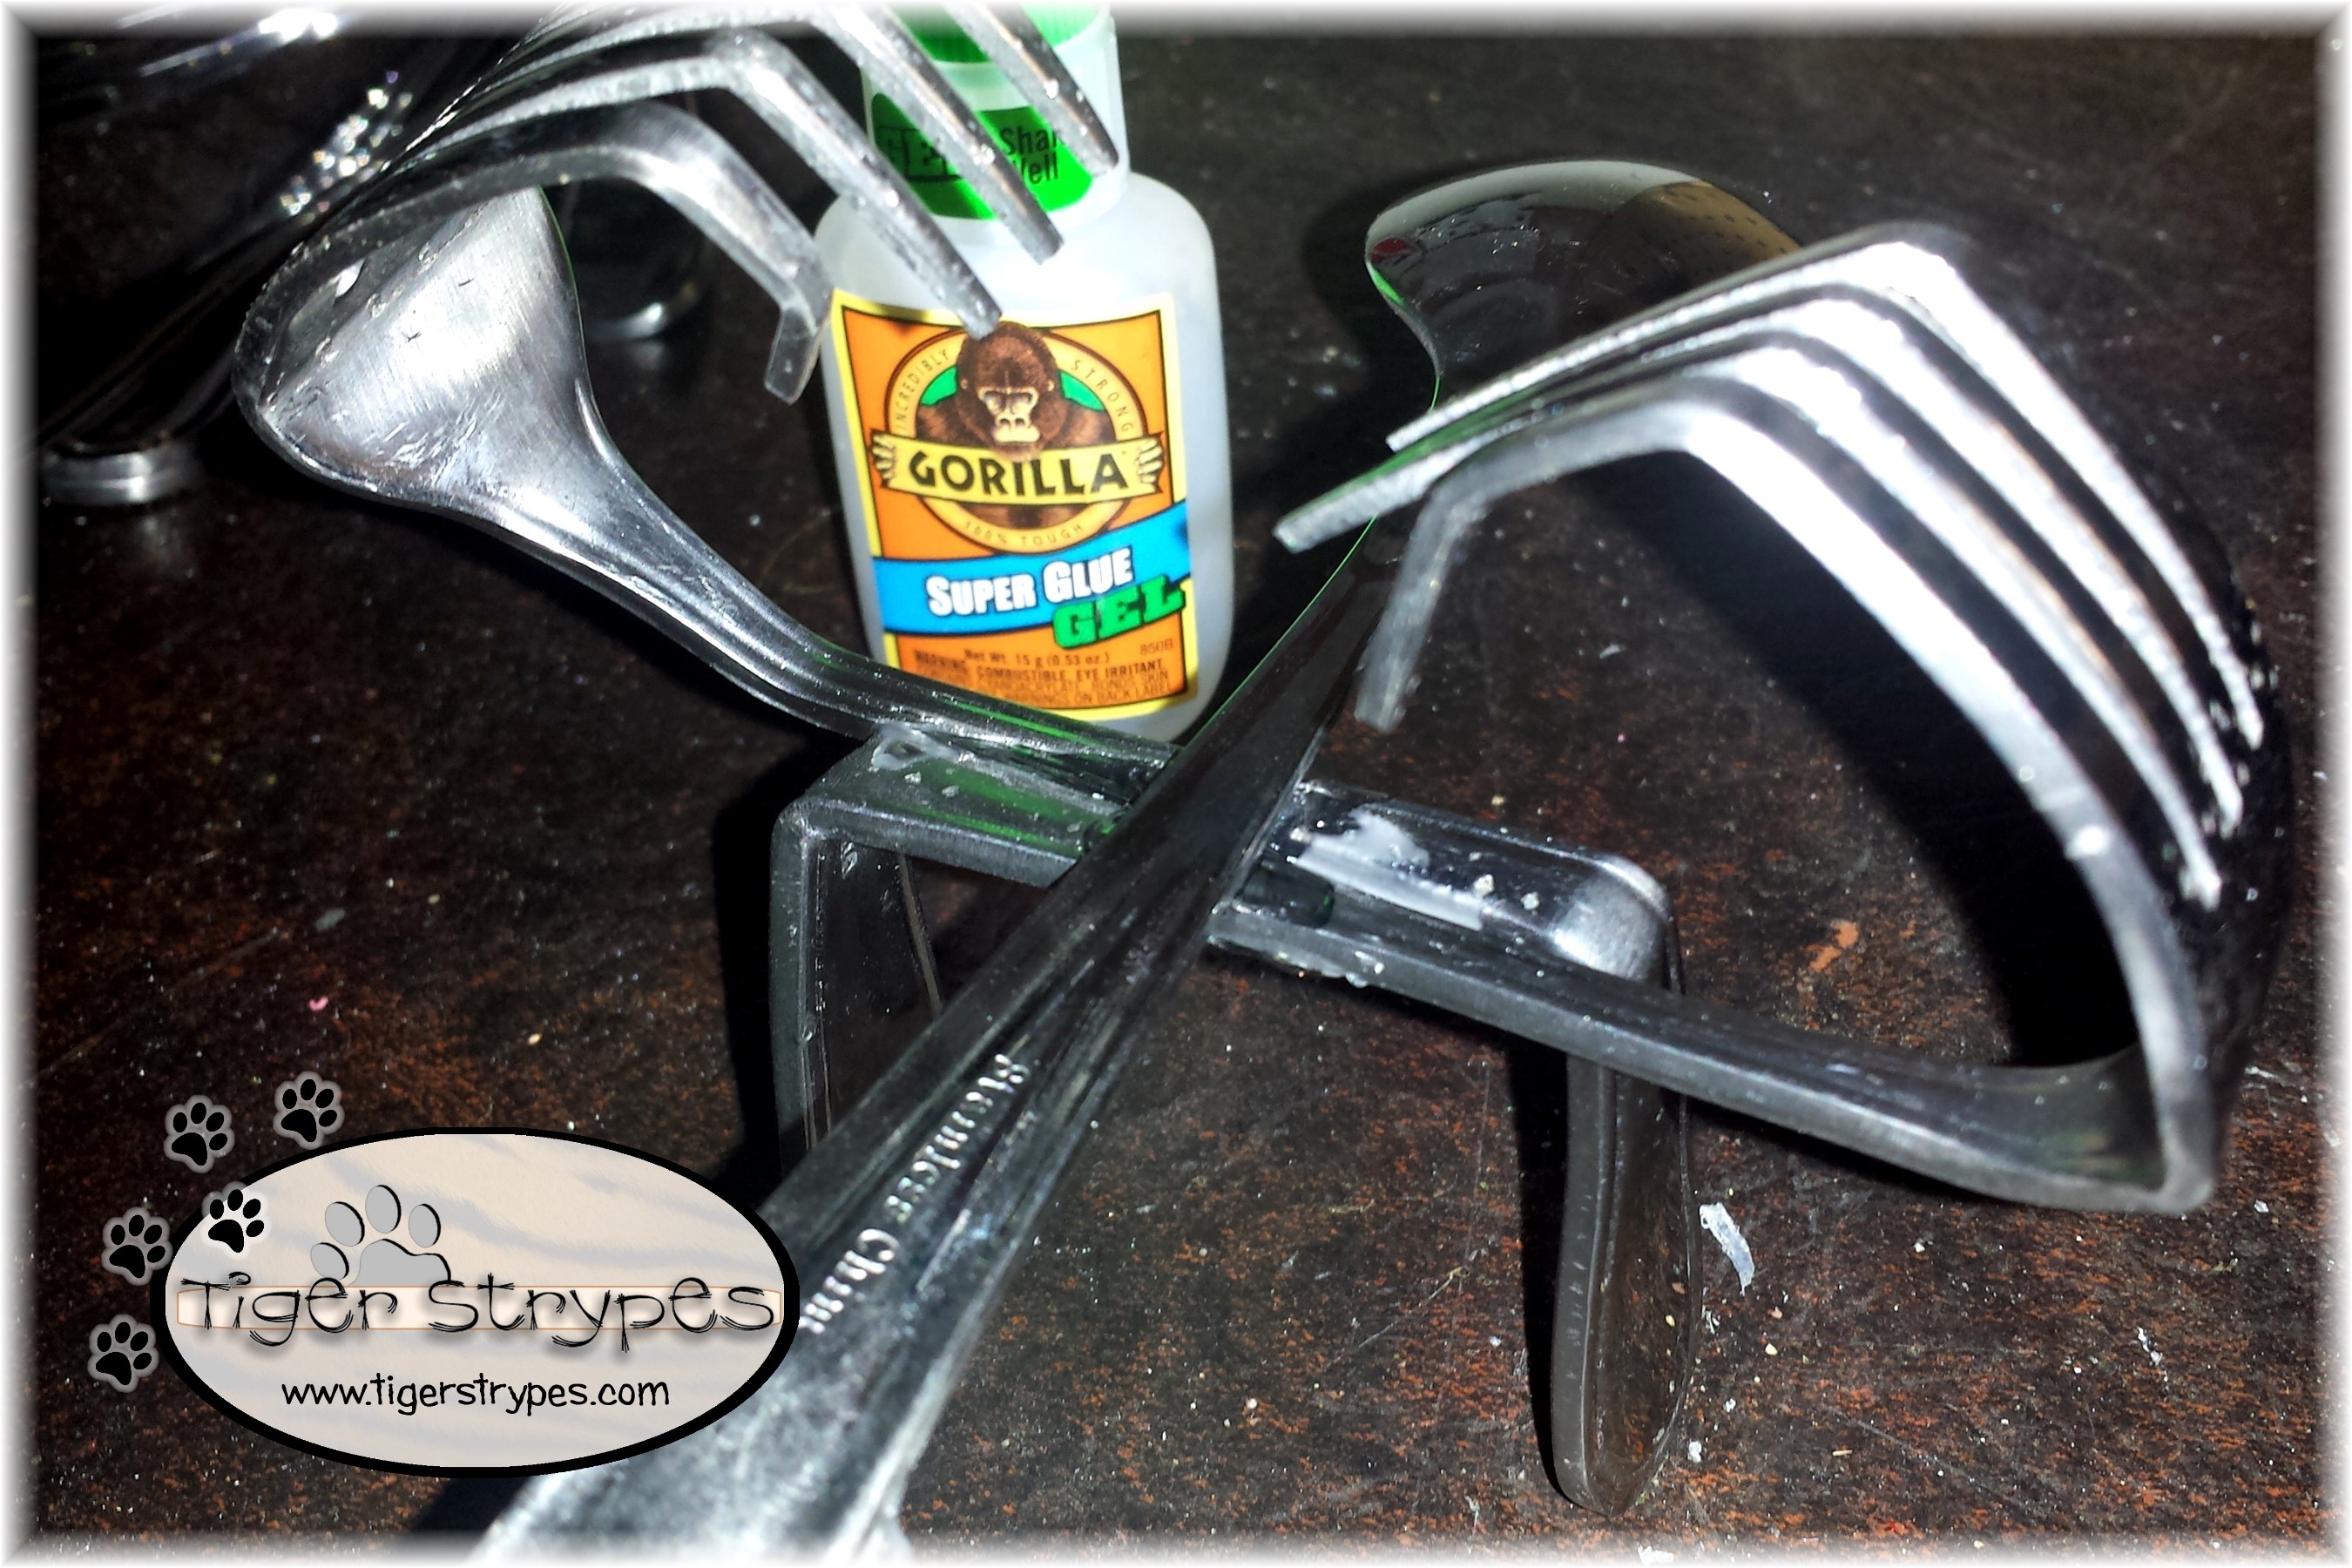
After that, I glued the two (2) tops of the legs to the bottom of the other spoon, which will be his “body”. Make sure to let the glue fully dry before you continue…usually cures in about 24 hours.
Next, I bent the two (2) forks to be his arms and hands.
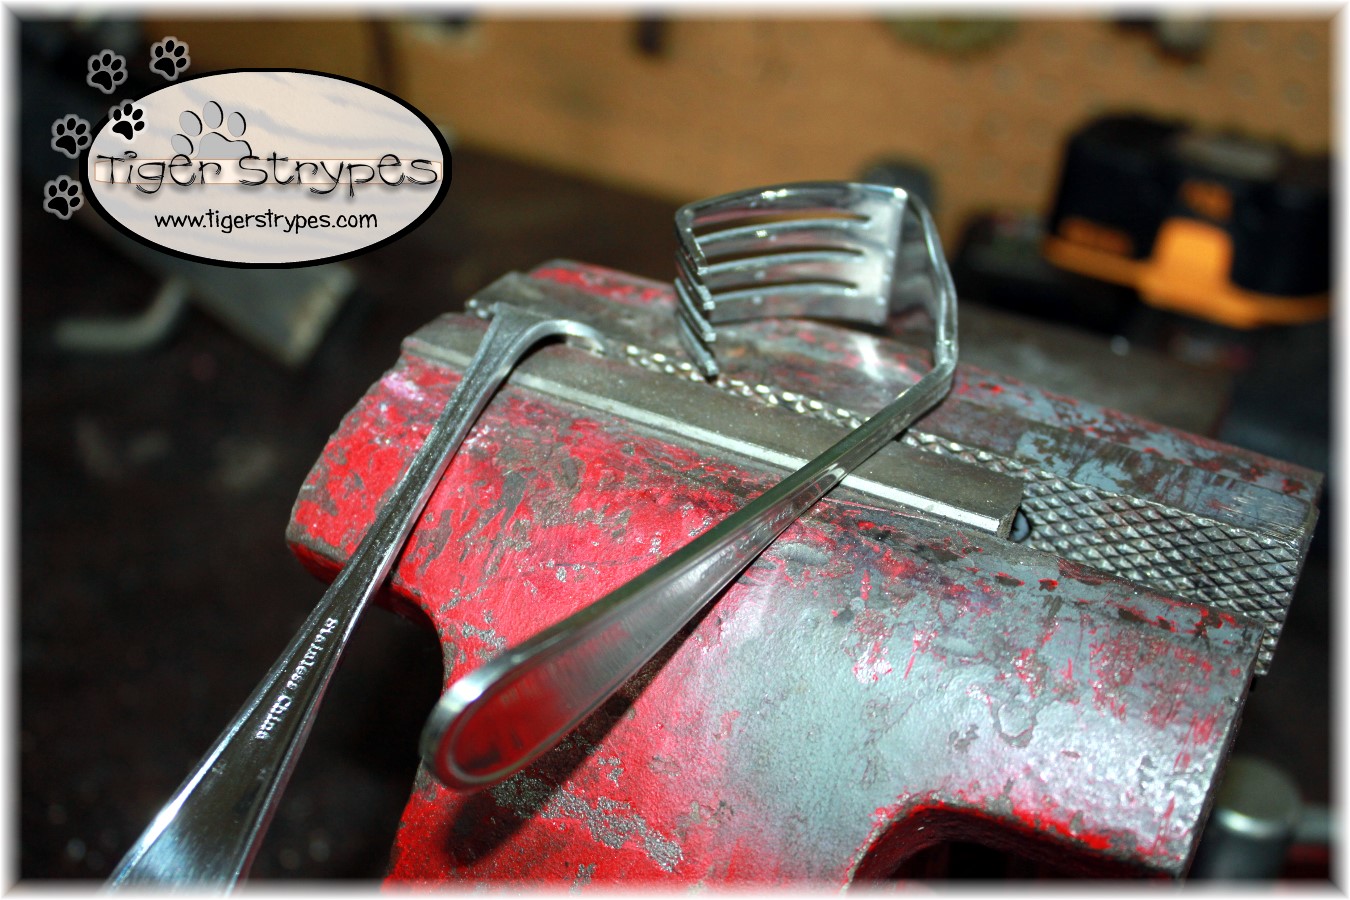
Once they were bent, I made sure to push one of the bottom “fingers” in a bit to be able to hold the shaker better (and not fall through). I also bent the handle back at a 90° angle, to make the arms not so wide. I should have just cut it off, to make it smaller, but it allowed me to have “napkin hangers” on his back.
Once I had the forks bent, I laid them on top of each other and glued them together, again with the Gorilla glue. This is another time, that you’ll need to allow them to set for at least 24 hours to cure.
After the glue dried, I then glued the arms to the back of the spoon body. …another time you’ll need to let it set for 24 hours to cure. Why can’t I just have the instant glue, like the dentist has? :/
Now you can just insert some salt & pepper shakers in his hands, and hang some napkins on the back part. I used another fork, to make the stand for him. This made it even sturdier, and worked really well.
I hope you like it! Please take a minute to leave me a comment, and let me know what you would do different, or what you would add, etc. Be sure to tweet, pin, share, etc. – thank you!!
“The Lord God said, “It is not good for the man to be alone. I will make a helper suitable for him.” -Genesis 2:18
![]()
HERE ARE SOME OF MY PREVIOUS PROJECTS:
 |
 |
 |
 |
 |
 |
PLEASE SHARE THIS POST USING THE OPTIONS BELOW…THANKS!!
*****************************************************************************************************


Haha! This is so cute and definitely would make me smile everytime I used it. Very creative. Having fun co-hosting with you at the #HomeMattersParty
The photo of the finished product made me smile 😉 I didn’t have a clue what the finished project would look like as I scrolled through. Fun!
I’m enjoying co-hosting the #HomeMattersPaty with you!
This is so creative, Jamie !Love it 🙂 Yet another great week co-hosting with you. #HomeMattersparty
This is certainly fun and creative. My son likes it because you use Gorilla Glue (he loves their commercials, ha ha!) #HomeMattersParty
[…] Make A Utensil Table Helper with Jamie […]
[…] Make A Utensil Table Helper with Jamie […]
[…] Make A Utensil Table Helper with Jamie […]
[…] Make A Utensil Table Helper with Jamie […]
FANTASTIC !!
I’m really impressed. There is not even a slight chance that I could do it myself, let alone do something different.
Don’t ever say that – you can do anything that you set your mind to!! Mine didn’t turn out like the original, but hey – I made one! 🙂
That is so cute! I bet that you could make a fortune creating and selling these.
This is really cute. I love things with personality and this has loads of personality. I love it. Now I need to make one for me
It’s a challenge to make, but was worth it! 🙂 I love my little guy!
That is so cool looking. This would be great on my table