
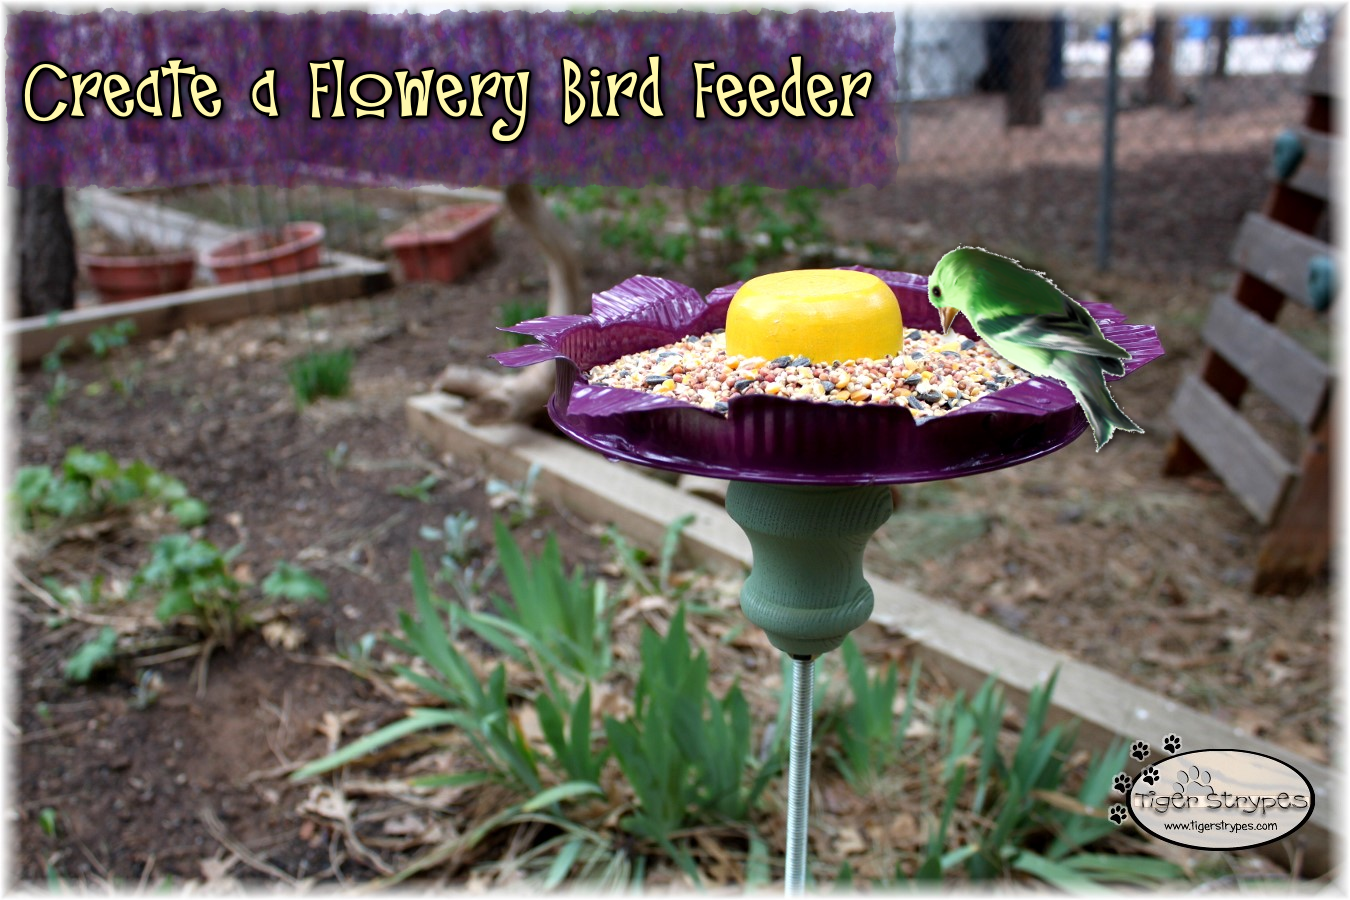
Create a Flowery Bird Feeder
#DIY #Garden #Birds
I saw this craft in one of the Lowe’s Outdoor magazines. It was just for garden decor, but I decided to change it up a bit and make it into a bird feeder for my yard. I actually saw one of the squirrels using it this afternoon!
It was pretty easy to make. You just have to make sure you’re wearing safety gloves when cutting and handling the duct cap, since the edges are very sharp. You could make it whatever color you wanted, and change it up to a different size, shape, etc. I would love to be able to find more of the items at a cheaper price, since it was a bit expensive to buy new things. I’m going to keep an eye out at yard sales, etc. to be able to make more for less and add some extra color to the yard! I sure hope that you like it! Have a blessed day, and please be sure to comment on, and share this craft on your social media channels – thanks!
Create a Flowery Bird Feeder
Materials/Tools Used:
- 6″ Round Duct Cap
- 3/8-16 Hex Nut
- 3/8-16 All-Thread Rod
- Small Round Bun Foot
- Hampton Simple 4″ Leg
- Clear Silicone Adhesive
- Spray Paint
- Tin Snips
- Pliers
- Drill with 3/8″ Bit
- Protective Gloves
- & Time!
Instructions:
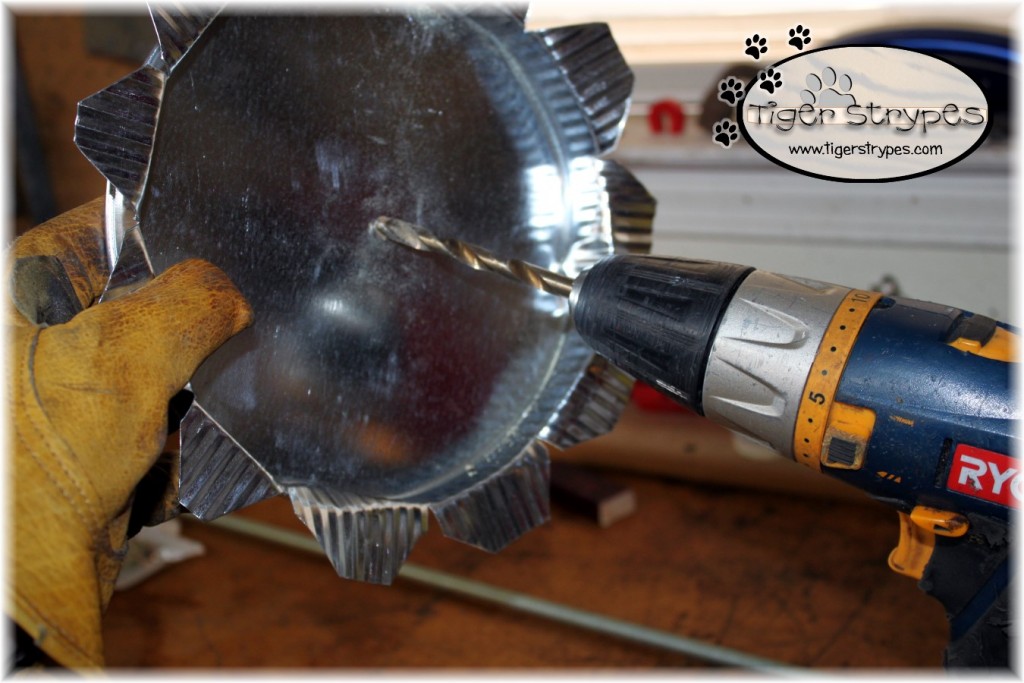
Start by placing evenly spaced marks no more than 2 inches apart around the edge of the duct cap. Wear protective gloves, and use tin snips to cut down almost to the bottom of the cap at each mark. Then cut rounded corners on each section.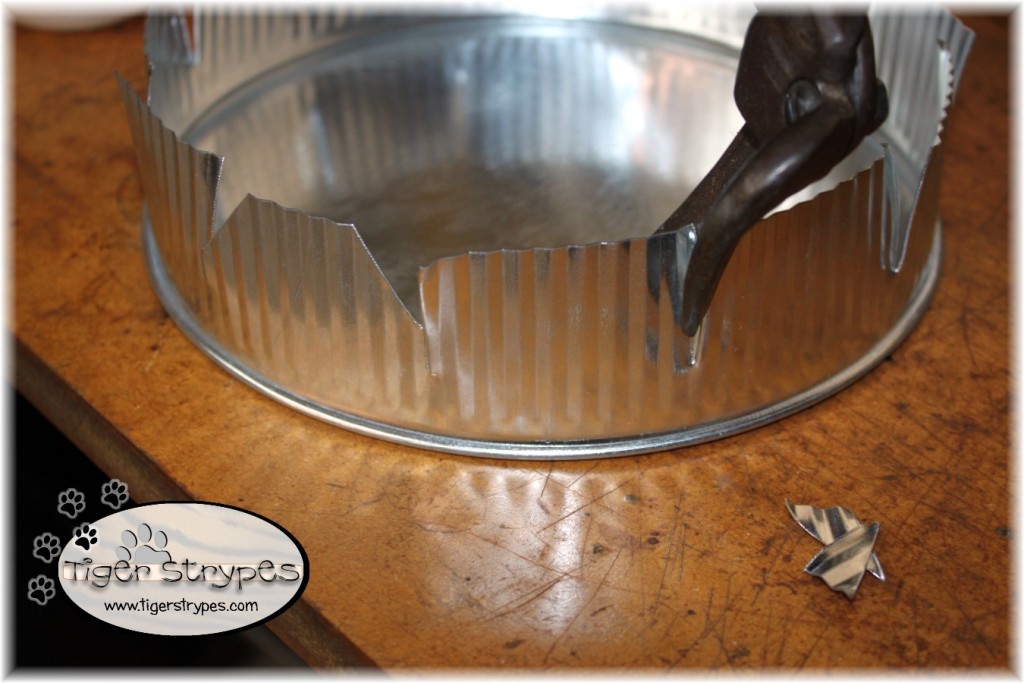
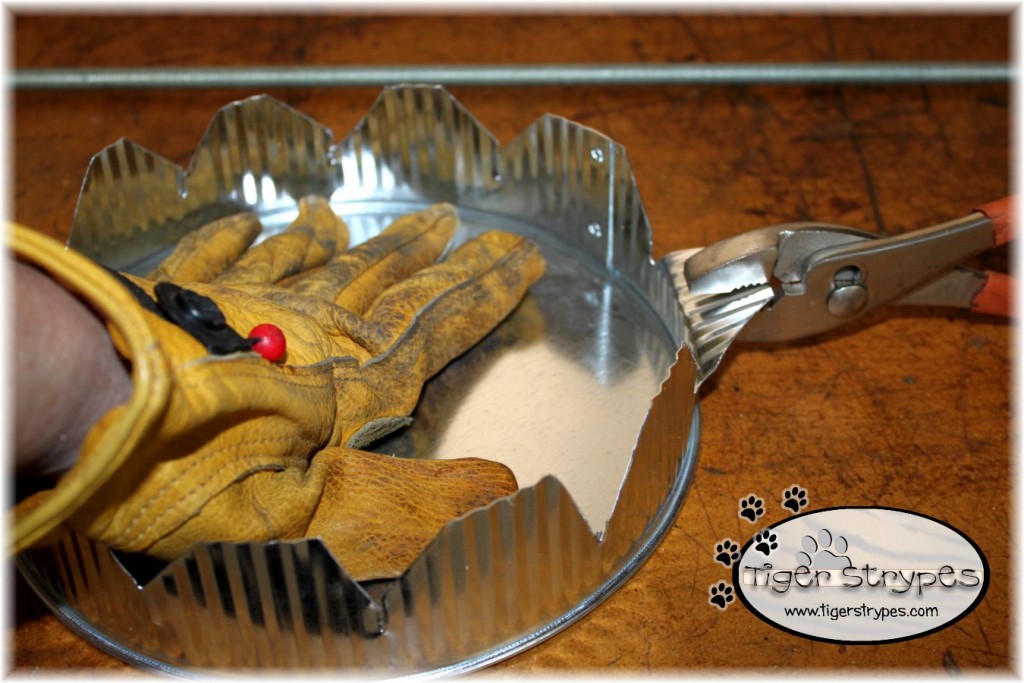
Next, with one hand holding steady, press the duct cap firmly against your work surface with your fingers pushing against the inside of the cap. Using your pliers, carefully bend the tab at about 45°. Make sure to avoid pulling the sides out of the base at the bottom (not firmly attached, all of the way around). Repeat this around the edge for all of the remaining pieces.
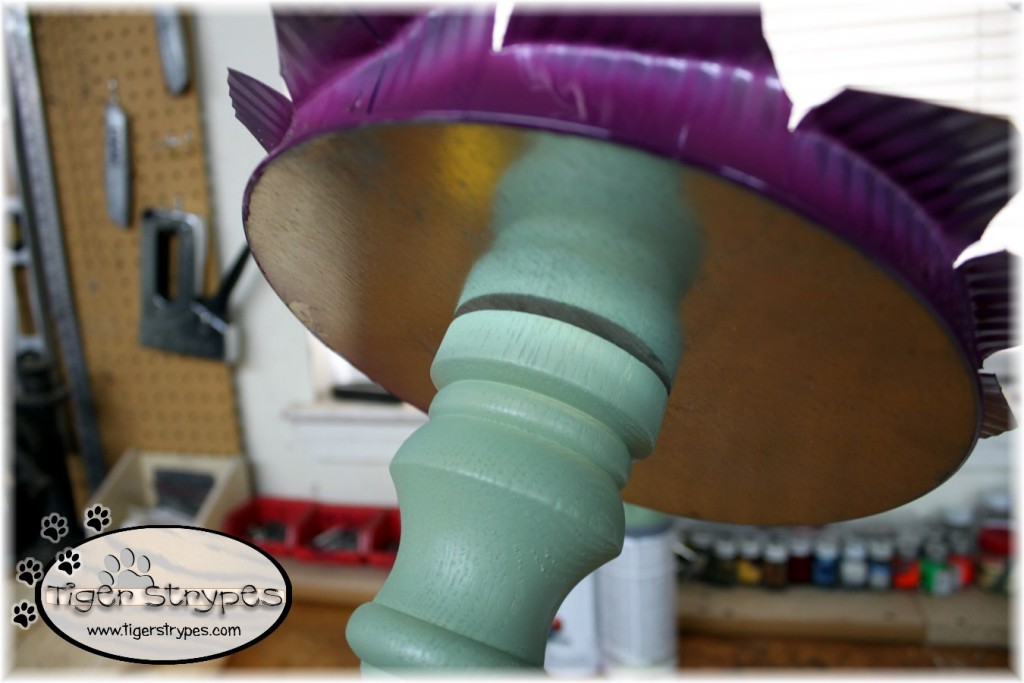
Measure to find the center of the cap, and make a mark. Using your drill, make a centered 3/8″ hole in the middle. You might have to sand the edges to make it flat. (NOTE: I did not drill this in the air, just wanted to show you a better picture)
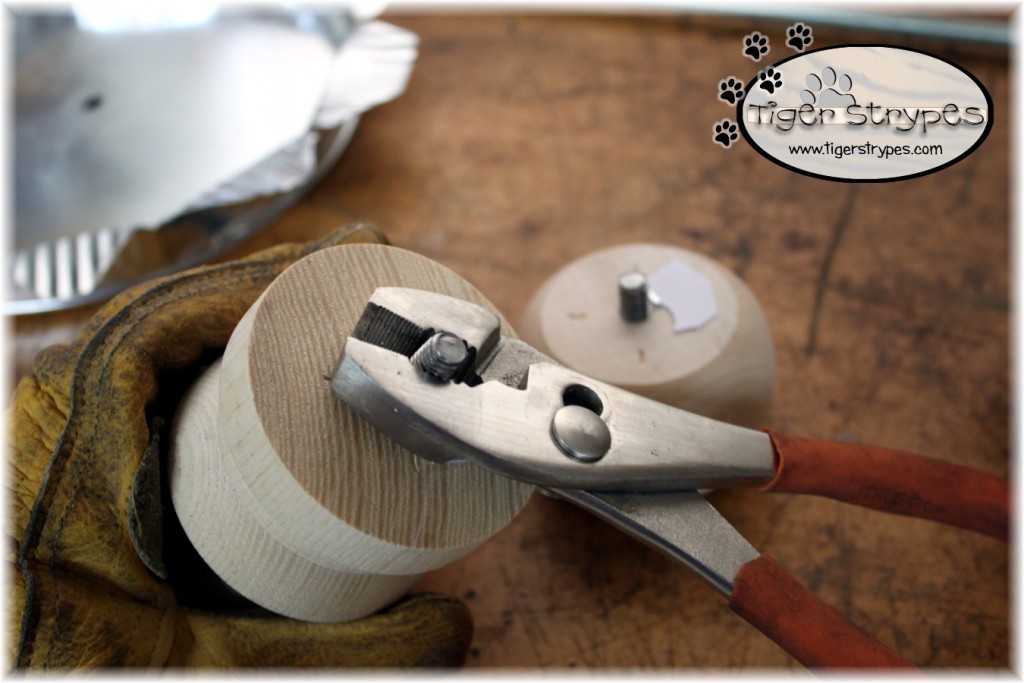
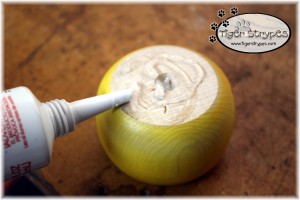
Now using some pliers, unscrew the metal hardware from the bun foot and the leg. Use your drill and 3/8″ bit to widen the hole. Drill a hole completely through the leg piece, using the original screw hole as a guide. Mark a centered line along the length of the oval rosette, and about 1″ from one of the ends, drill a 3/8″ hole (not all of the way through).
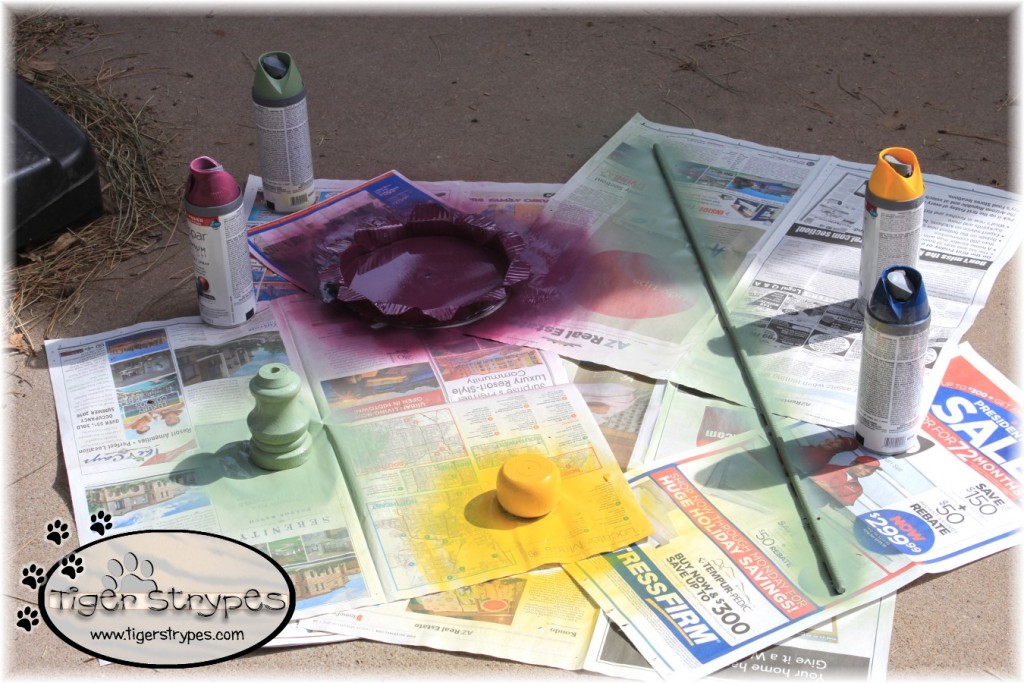
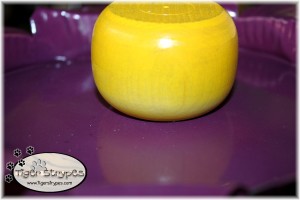
Using spray paint, color the duct cap, bun foot, and leg whatever color you would like. Leave them to fully dry, and then you can continue. You could add as much detail here, as you would like.
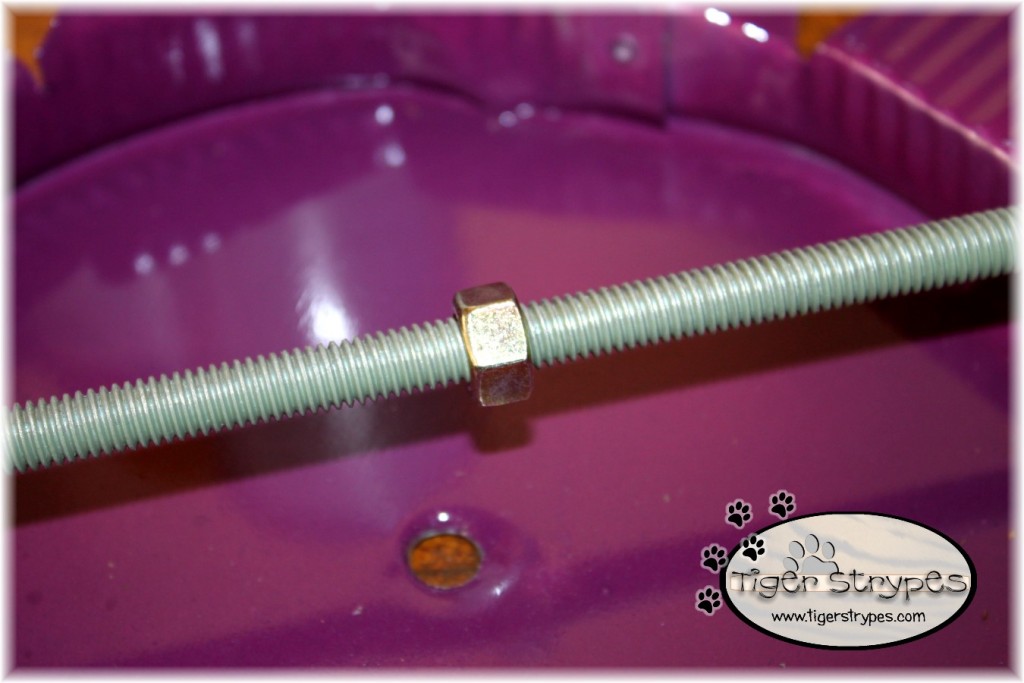
Thread the nut about 4.5″ below the top of the metal rod.
Then add the leg with the narrow end pointing down.
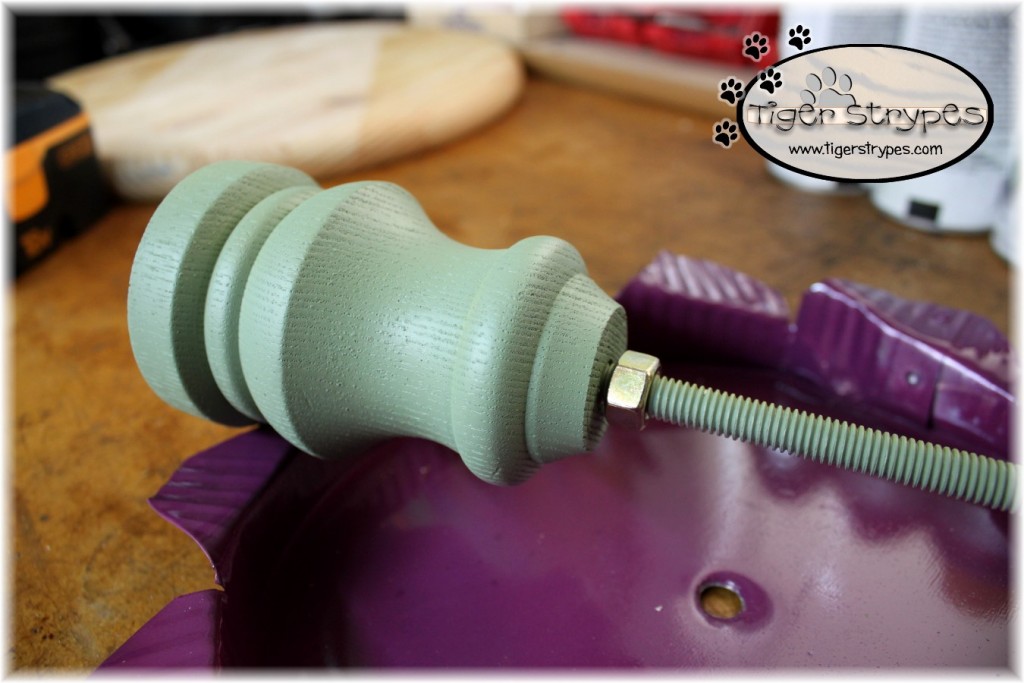
Next, add the metal cap to the rod.
Pour some silicone adhesive in the hole on the bun foot, and press it onto the threaded rod. Stand the flower upside down on the foot until the adhesive dries. After it’s dry, use your fingers only to tighten the nut holding the leg and metal cap against the foot.
Now, you can display it wherever you wish!
I hope you like it! Please take a minute to leave me a comment, and let me know what you would do different, or what you would add, etc. Be sure to tweet, pin, share, etc. – thank you!!
“I know all the birds in the mountains; indeed, everything that moves in the field is mine.” –Psalm 50:11
![]()
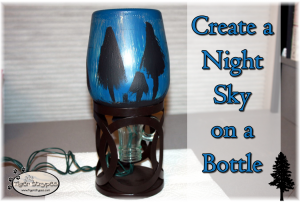
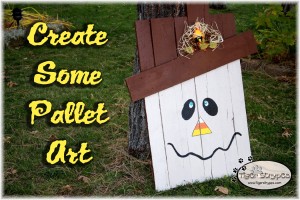
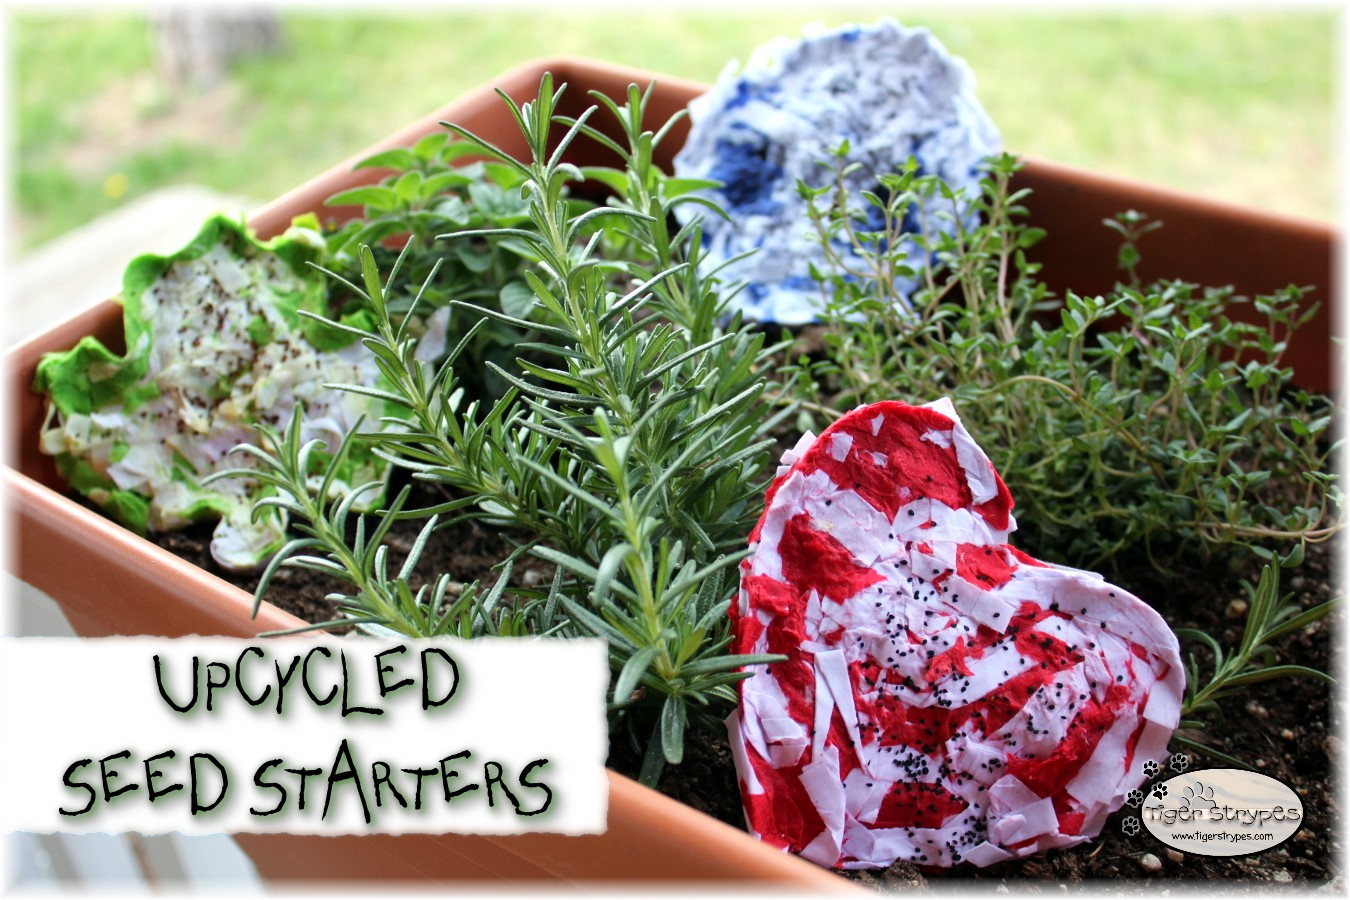
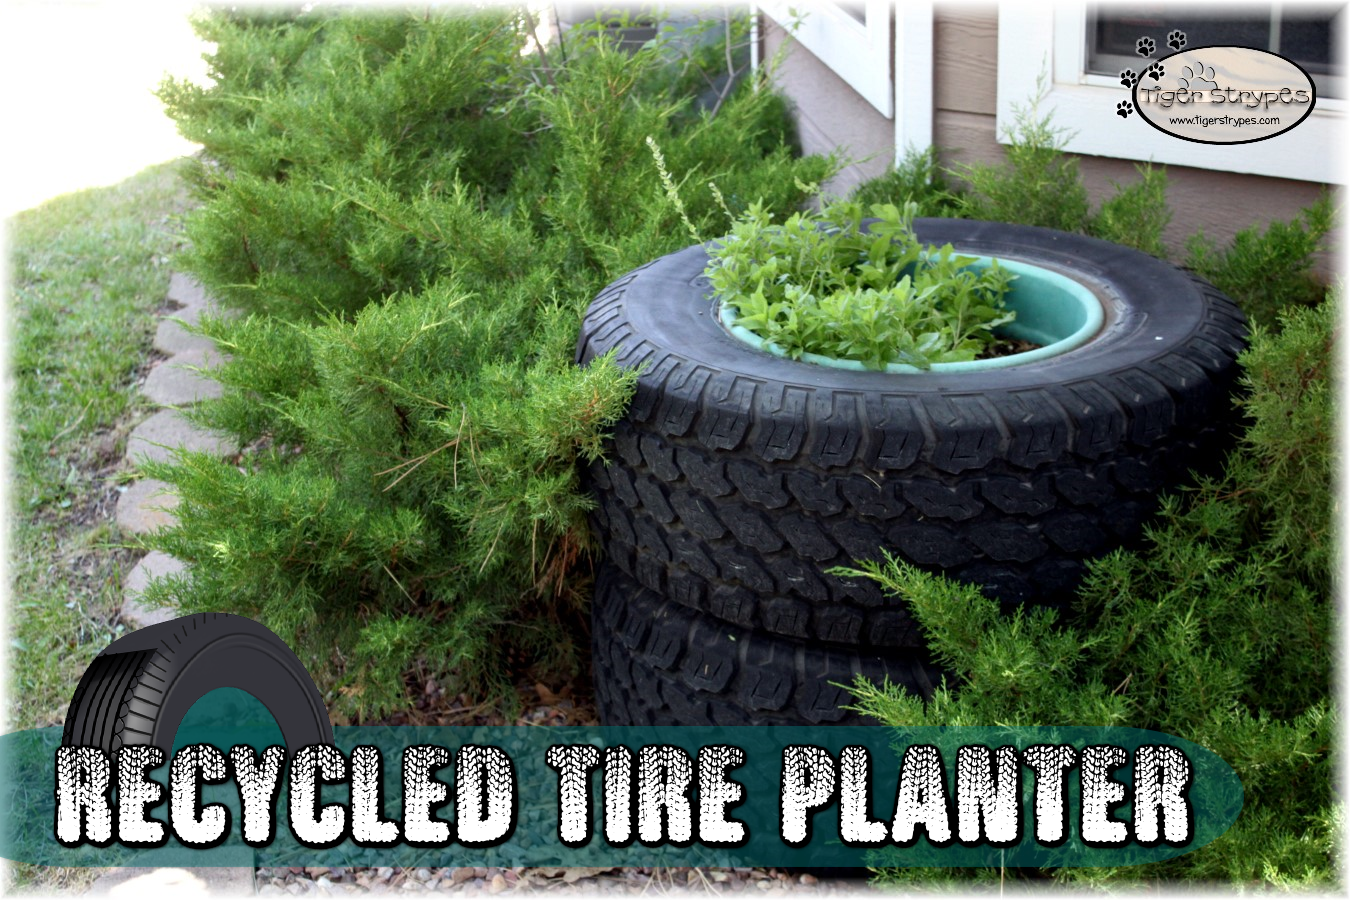
HERE ARE SOME OF MY PREVIOUS PROJECTS:
 |
 |
 |
 |
 |
 |
PLEASE SHARE THIS POST USING THE OPTIONS BELOW…THANKS!!
*****************************************************************************************************


[…] spring to your garden with this Flowery Bird Feeder from […]
[…] spring to your garden with this Flowery Bird Feeder from […]
[…] spring to your garden with this Flowery Bird Feeder from […]
This is such a beautiful bird feeder & so creative! Thanks for sharing #HomeMattersParty
Thank you – it was sure fun to make!
Lovely! I love home made projects like this. Thank you for sharing it on the #HomeMattersParty
It was sure fun to make and the birds (and squirrels) love it!
This project turned out so cute. I bet the birds are loving it. We love to watch the birds in our yard, so relaxing. 🙂
~Lorelai
Life With Lorelai
Thank you, Lorelai – I think the squirrels like it more. :p
Jamie, that turned out so beautiful! I would paint mine a Tiffany blue color! My daughter would have a ball watching all of the birds come our way. Great tutorial 🙂 #HomeMattersParty
That would look great, Crystal. I think the dumb squirrels love it more than the birds here. :/
Wow!! Your bird feeder looks so cute, Jamie.
Thank you Sahana!
[…] spring to your garden with this Flowery Bird Feeder from […]
[…] spring to your garden with this Flowery Bird Feeder from […]
[…] spring to your garden with this Flowery Bird Feeder from […]
[…] spring to your garden with this Flowery Bird Feeder from […]
Oh this is SO CUTE! My daughter would love this project! We were just looking at bird feeders the other day, it would be much more fun to make one.
Let me know if you make one – I’d love to see the pix! 🙂
What a fun DIY project. It would be nice to see which birds in my area come to feed.
It’s fun to watch them. Now that Spring is here, there are so many birds back and enjoying it! 🙂
The flower bird feeder looks so much fun to make! Along with feeding the birds, it will decorate the garden too. I will definitely try it, thank you!
Zaria
That’s why I loved it – it makes it look like the flowers are always in bloom! 🙂