 Convert A Colander Into A Planter
(#TBCCrafters)
The oaks here in the mountains still haven’t sprouted, so I’m still delaying my gardening. Even though it’s Spring, so many times, we end up planting things and then Mother Nature says “ha/ha suckers”. We then get a snow storm over our newly planted garden…even in the month of April. So for that, I’ll just wait, and make some things for outside, that can be taken down and stored inside, if need be.
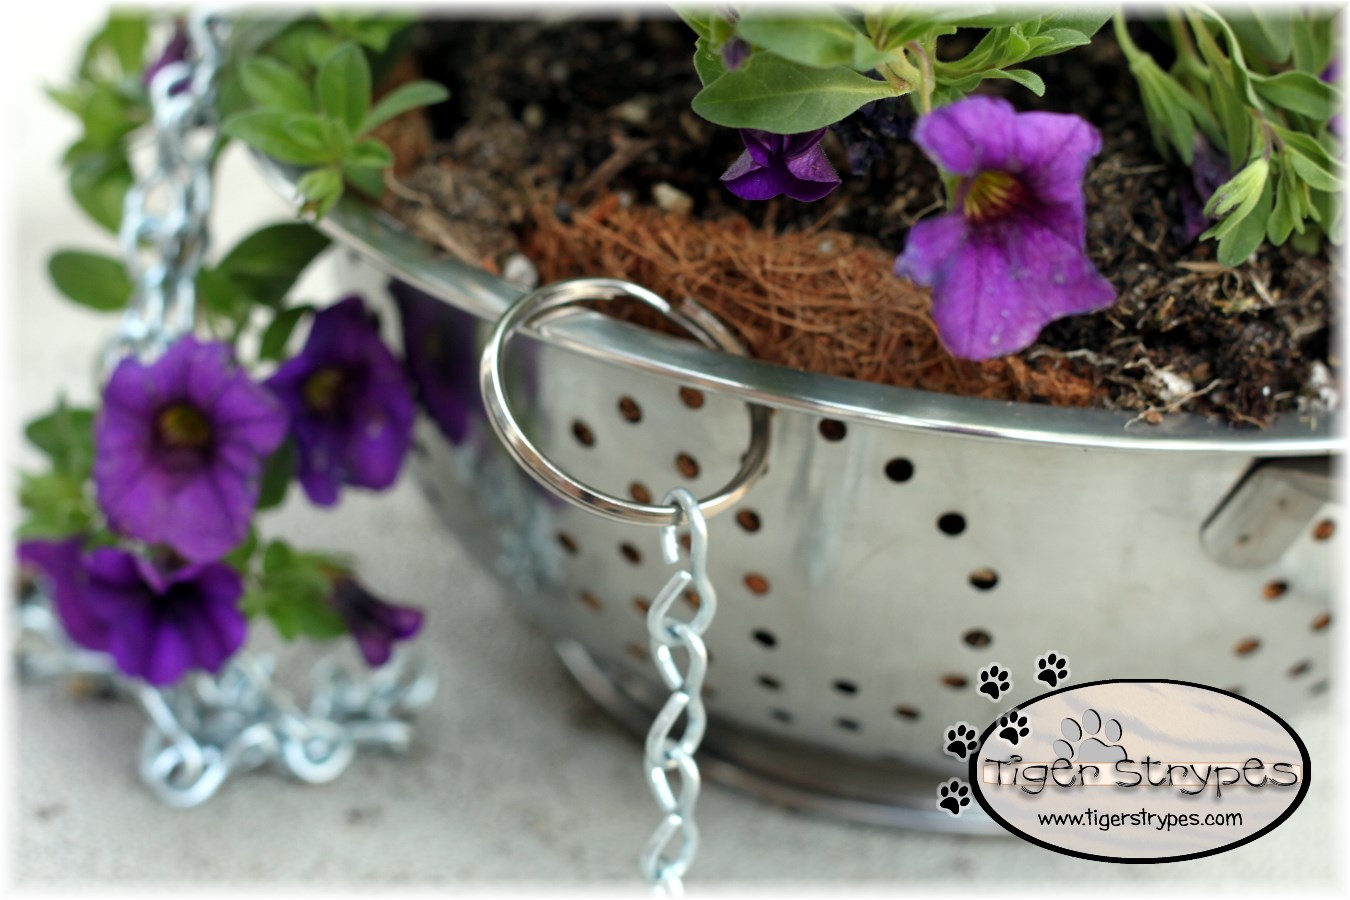
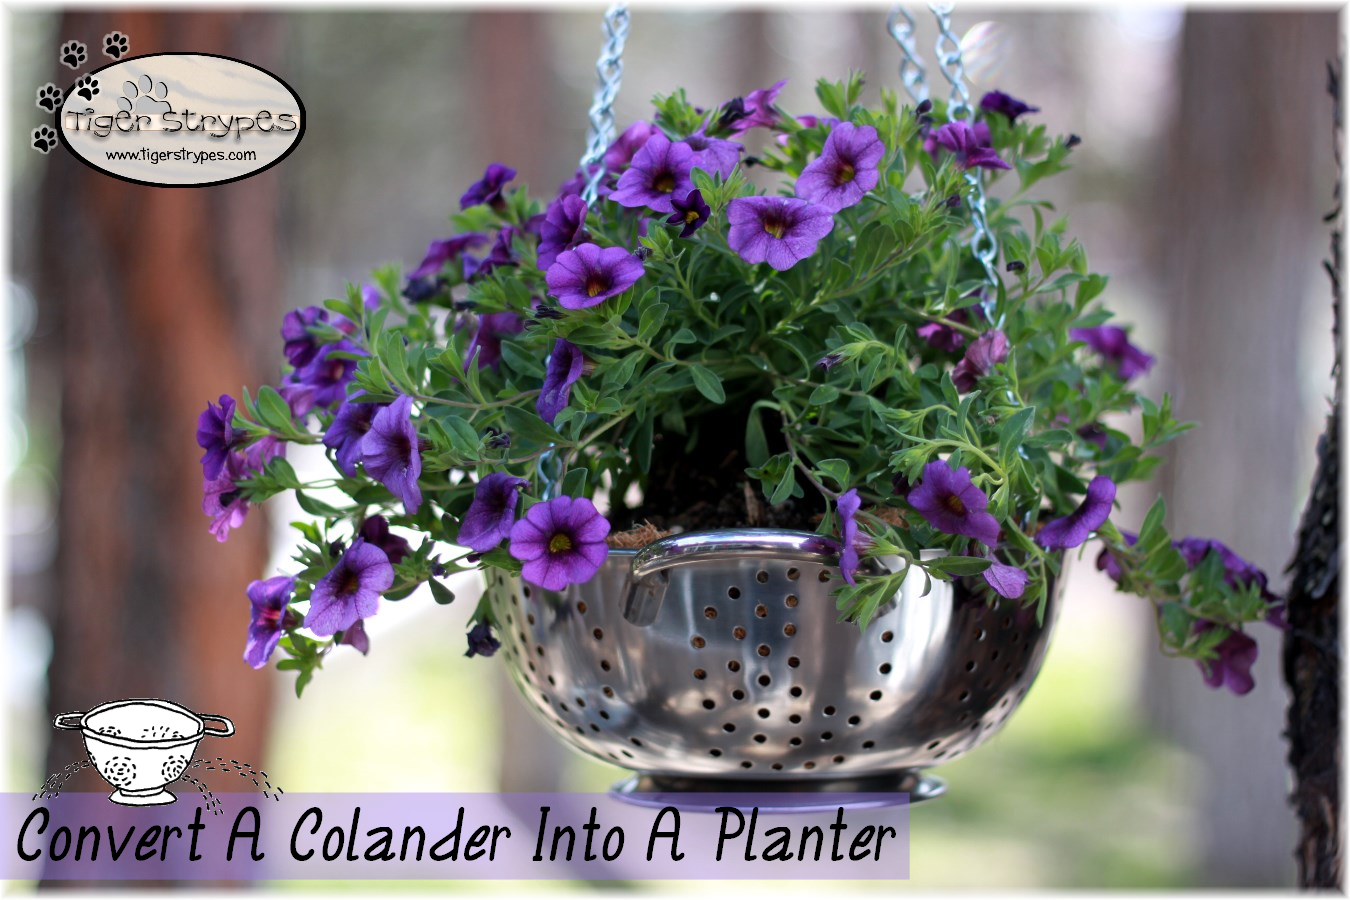
I figured that making a planter out of a kitchen tool that most of us have more than one of, would be a fun thing. I knew that it would drain really well, look pretty in the yard, and be something that could serve a different purpose, since it was no longer needed in the kitchen. It was really easy to make, and looks great hanging in our yard.
I hope you like it!! Have a blessed day, and please be sure to comment on, and share this #TBCCrafters craft on your social media channels – thanks!!
Convert A Colander Into A Planter
Materials/Tools Used:
- Colander
- Coconut Fiber Liner
- Chain
- (4) Round Key Rings
- (1) 3″ x 1⁄4″ Metal Slotted Square Plate
- (1) “S” Hook
- Bolts/Nuts
- Pliers
- Plant/Flower
- Dirt
- & Time!
Instructions:
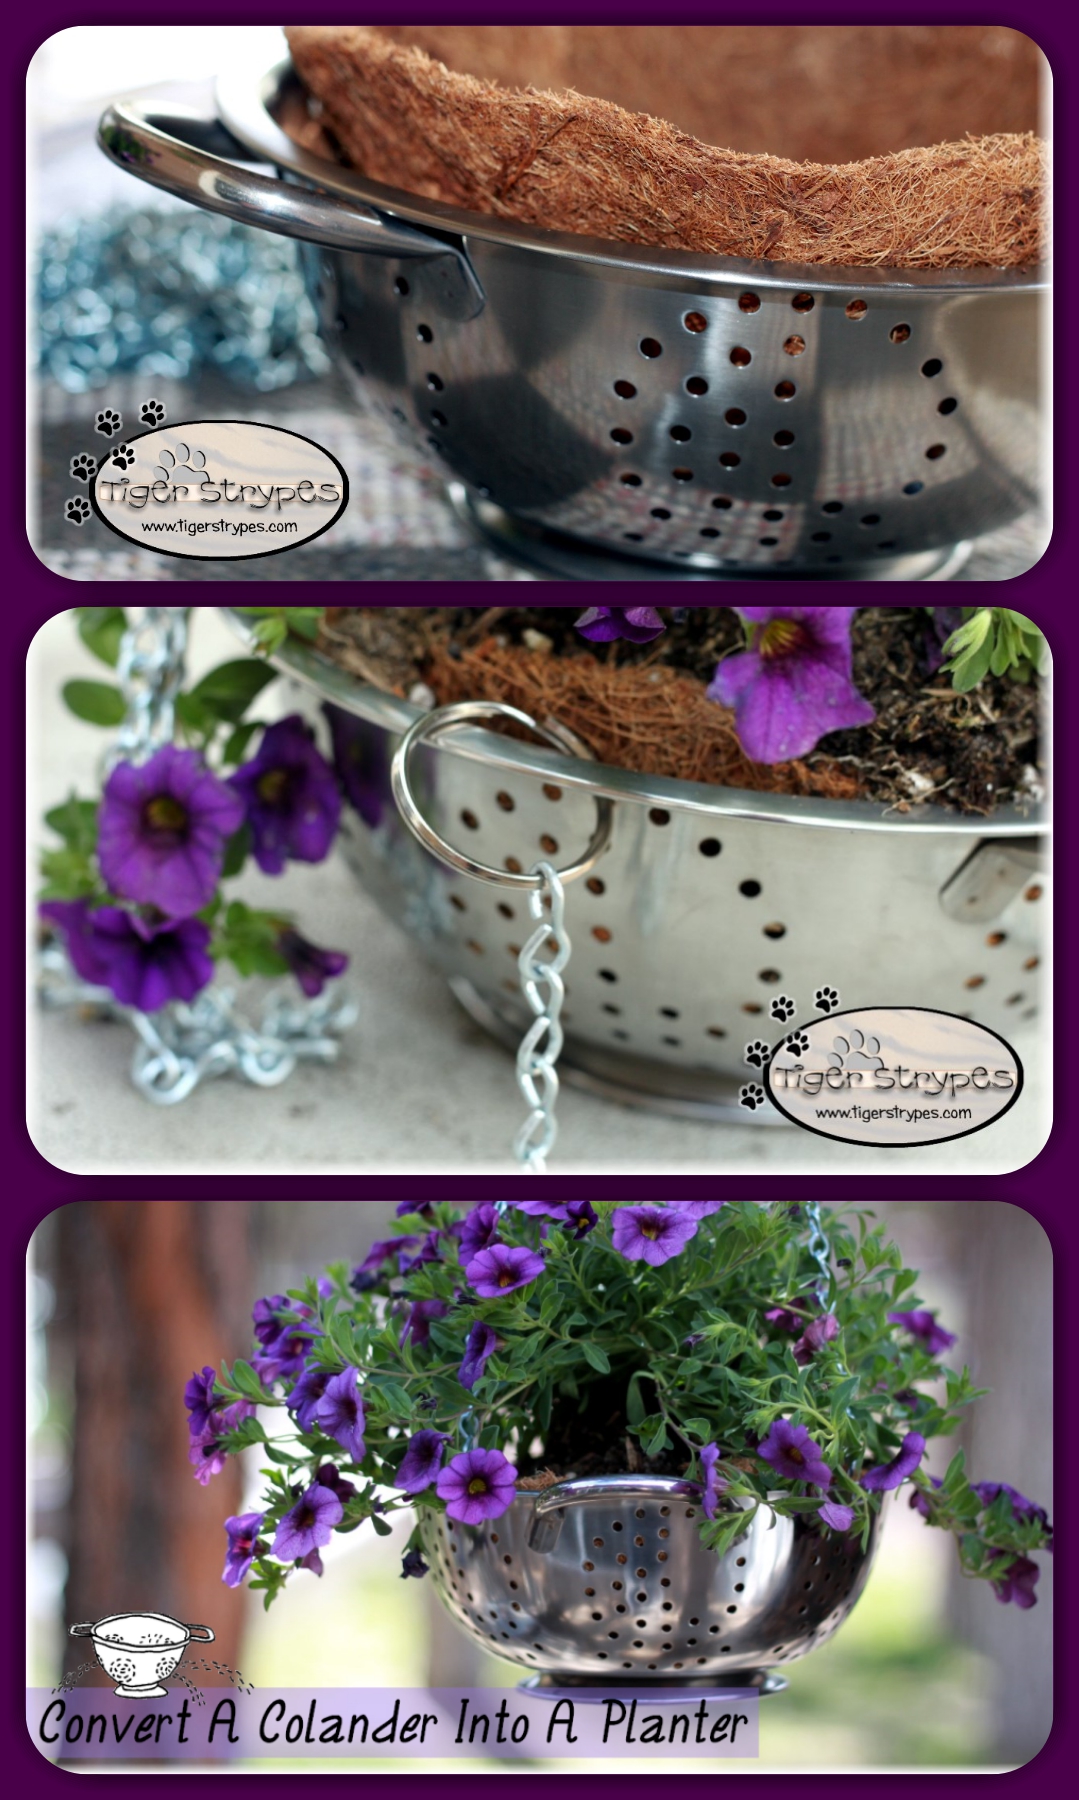
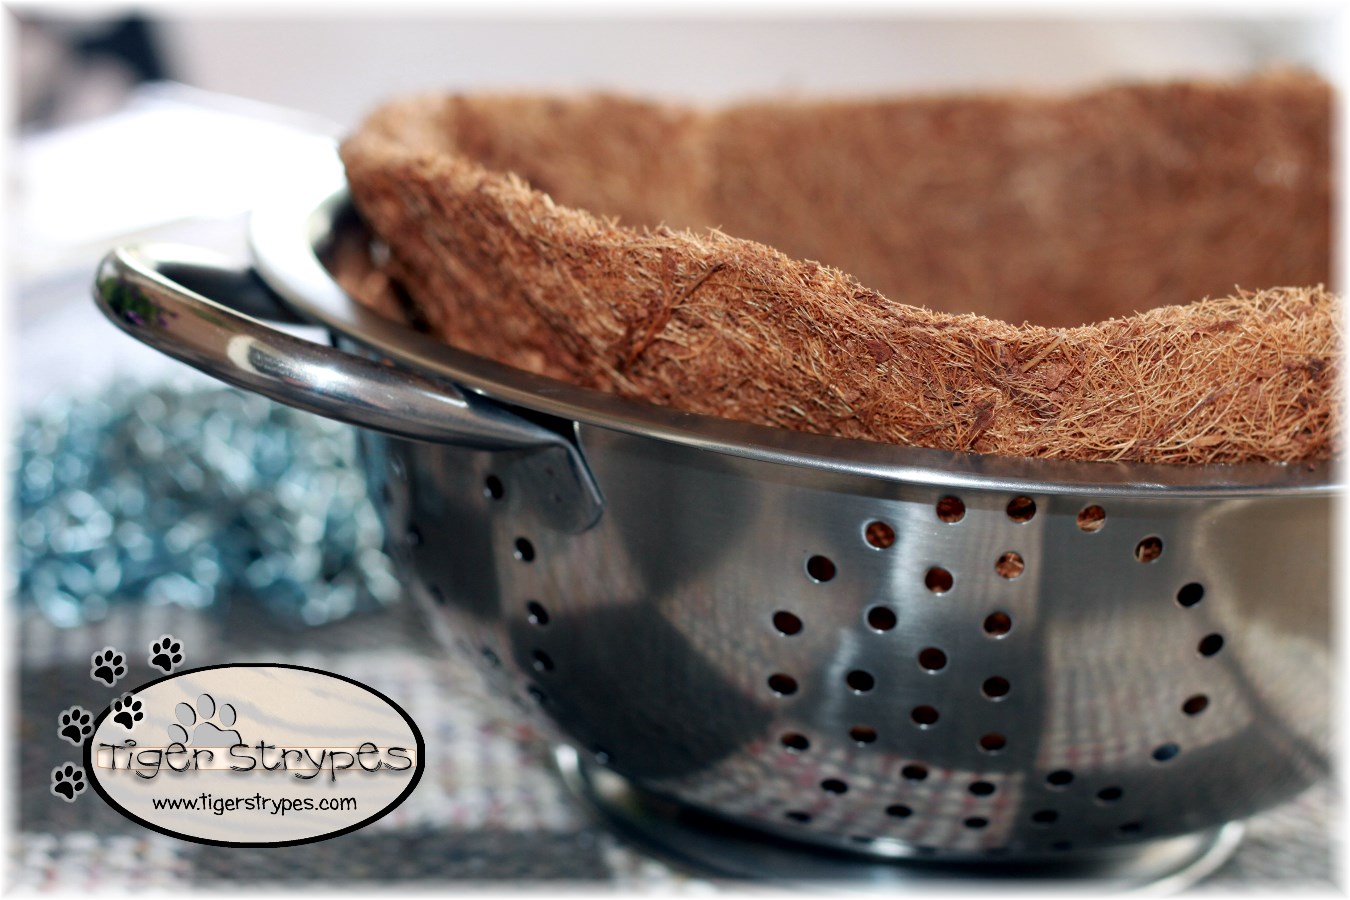
I started by adding some coconut fiber liner (those used for a hanging pot), that I got at the hardware store. I had to trim it a bit with scissors to fit into the colander I was using. It was pretty easy to do. The leftovers can be used for other craft projects, or in my garden later.
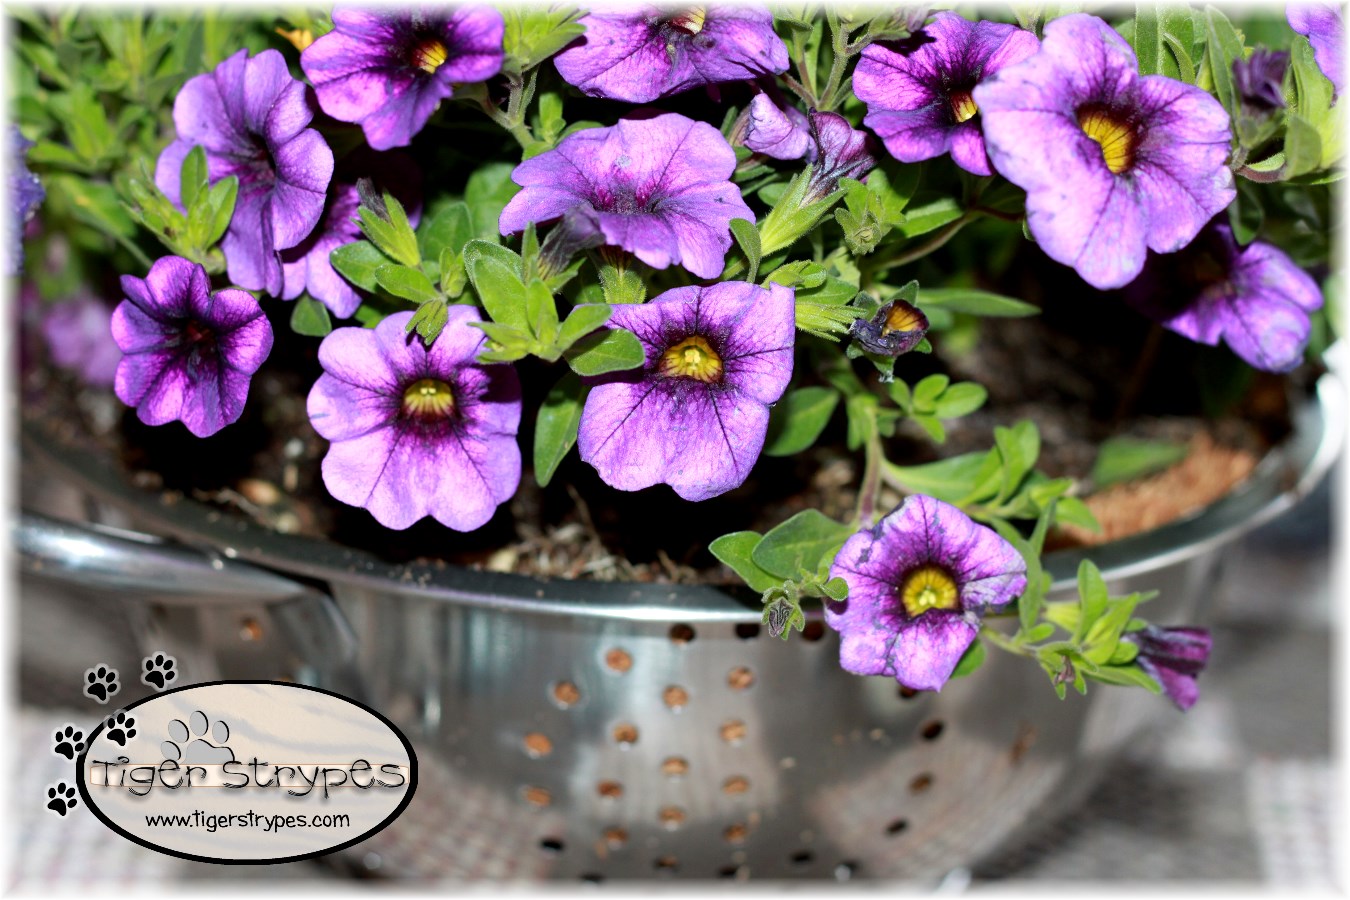
I then added some potting soil to the liner, and inserted the flower that I chose to fill it with. This could be used for anything. A plant that drapes would be beautiful, too!
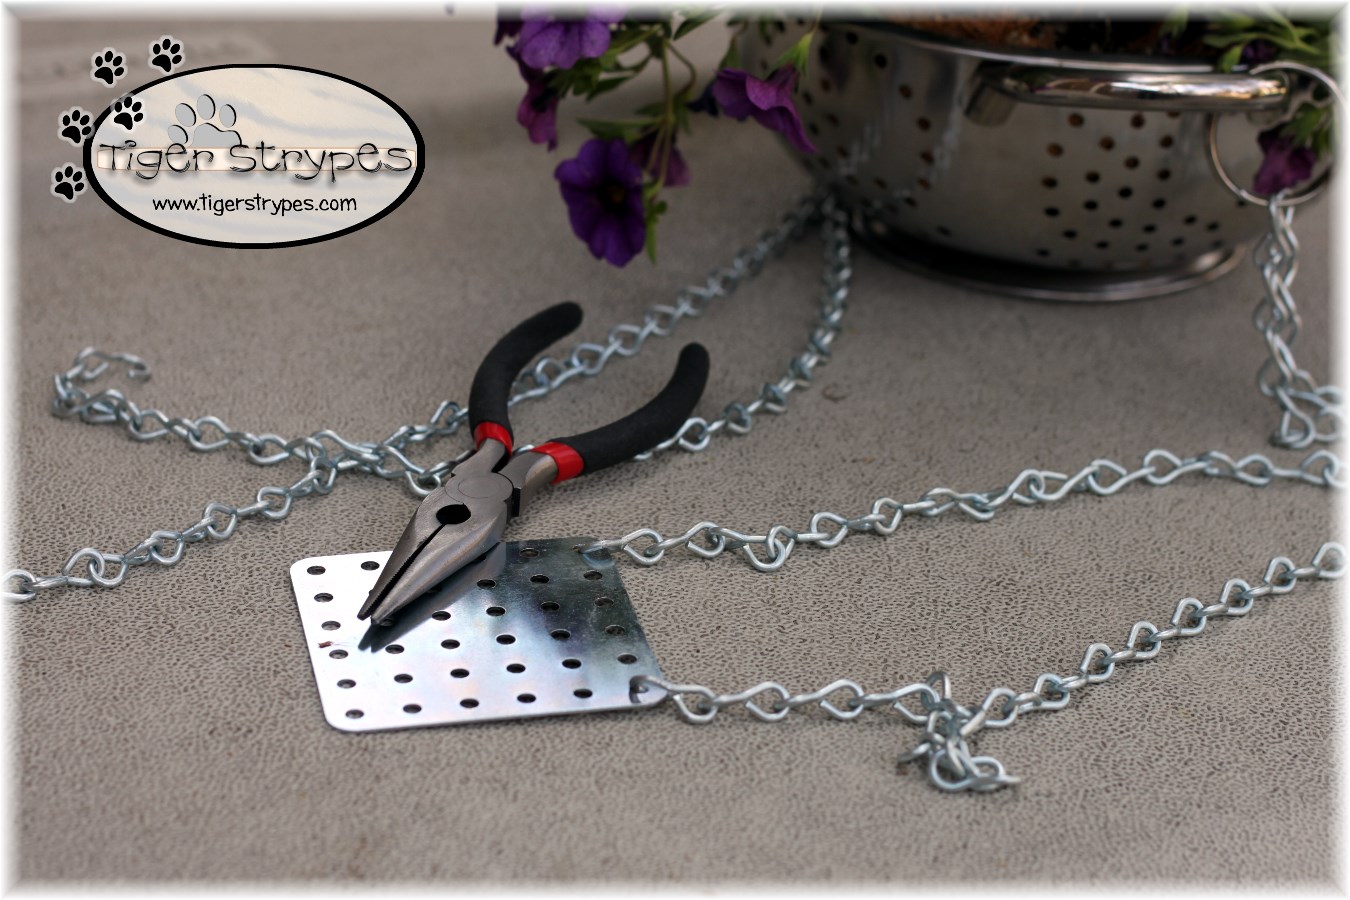
After that, I started adding the chain to hang it. I just used four (4) equal sizes, which were a bit shorter than how long I wanted it to hang (since I would be adding the top to it). I then hooked the chain to the colander by using some large key rings to attach it to alternating corners – four (4) total.
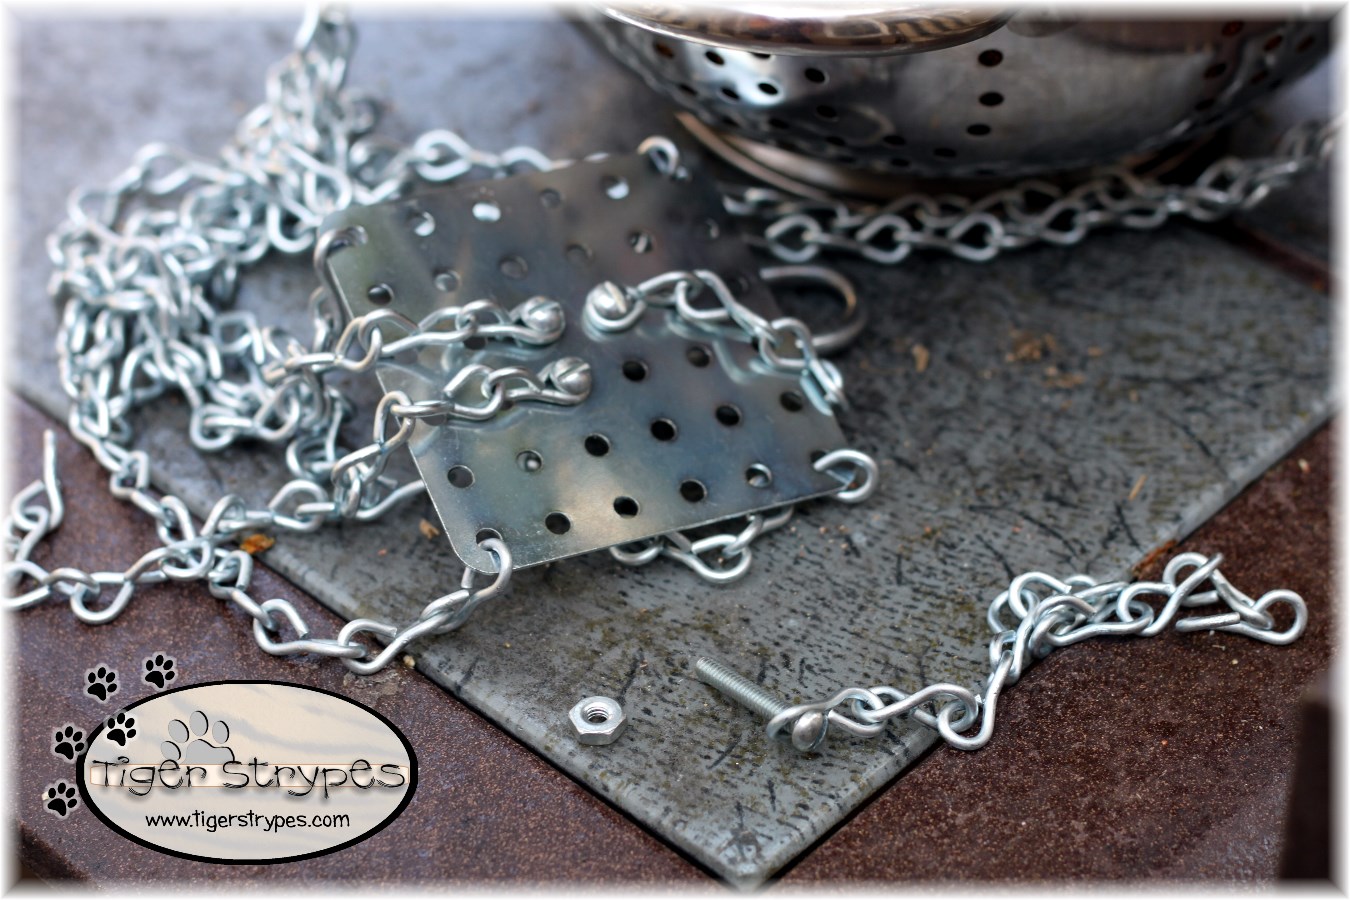
Now, I used the pliers to bend out the ends, and attached the each of the chains to the corners of the square plate.
Next, I used some regular small bolts and nuts, to attach four (4) more smaller pieces of the chain to the top, to use as the hanger. This will help to keep the colander level, and steady. Can you tell that I tried it with just the chains by themselves first, and about had to do a cleanup on aisle backyard!?! 😛 Adding the extra piece, and chains, just helped to make it even and stay even.
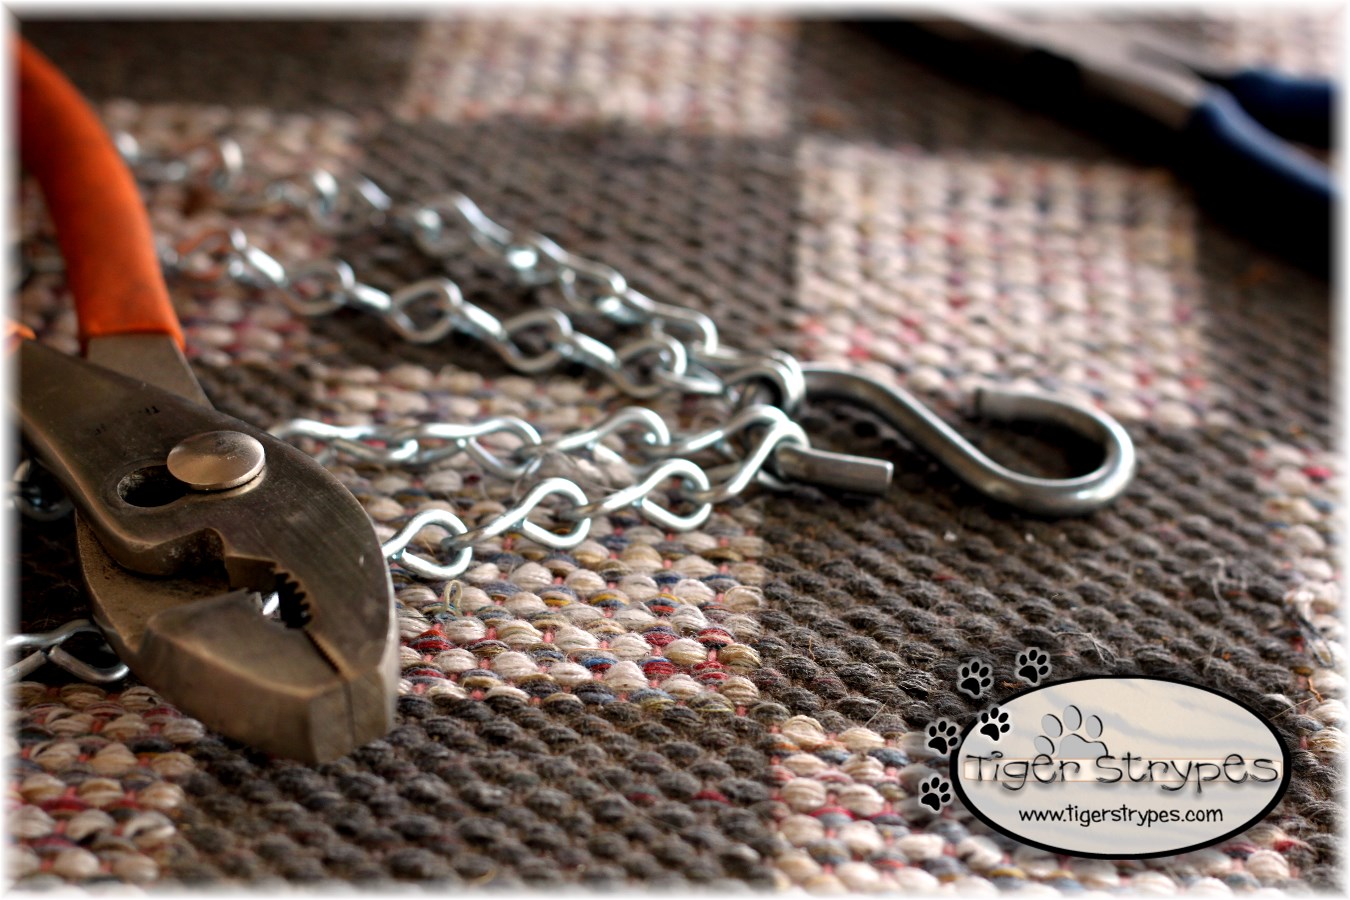
Now, to hang it, I just used a large “S” hook at the top, and attached the four (4) chains to it.
Now you can just hang it wherever you wish, and enjoy the beauty it gives to your yard. Makes it really easy to water, too, since it can drain without any problem! I love being able to look out the back window and see this cute piece of “Spring”. I figure it will come in handy near my hummingbird feeders, since they can probably snack here, too! 🙂
Hope you like it! Please take a minute to leave me a comment and let me know what you would do different, or what you would add, etc. Be sure to tweet, pin, share, etc. – thanks!!
All pictures and text are my own and have not been copied in any way. I, Jamie Tomkins, own and operate Tiger Strypes Blog located at www.TigerStrypes.com. From time to time you’ll hear about my real life experiences or creations with products and/or services from companies and individuals. Let it be known that I have no affiliation with these said companies, and have not received compensation for reviewing or using their service/product. The information that I give regarding the product/service is based off my own personal experience, I do not guarantee that your experience will be the same.
PLEASE SHARE THIS POST USING THE OPTIONS BELOW…THANKS!!
*****************************************************************************************************




I’ve never been one for gardening but that looks amazing! Definitely learned something new today.
It’s easy and fun to do! 🙂
Such an awesome idea! I just bought some plants and can’t wait to try it!
I love this idea! It looks so nice too! I would have never thought to use one as a planter, but I love this!!
I love making things into something else. 🙂 Keep an eye out at yard sales, and let your creativity go! 🙂
I bought a ceramic colander last year and one of the handles broke. When I went to throw it in the garbage, my husband pulled it out and turned it into a planter.
Great job! I’m proud of him for upcycling! 🙂
This is such an awesome idea! I love that you transformed something practical into something beautiful.
Thank you. I always love making something, out of something different! 🙂
What a great idea. I might have to try this for my plants
It works great! I also put lint and other things in it for the winter to help the birds with their nests. When the plants won’t grow, it can be useful for something else. 🙂
[…] Convert A Colander Into A Planter from Jamie @ Tiger Strypes […]
This is such an awesome idea! We totally loved it at the #HomeMattersParty. Congrats on being Highlighted!
~Lorelai
Life With Lorelai
Thanks Lorelai – I just love making things from other stuff and things that serve a purpose! 🙂
Just wanted to stop by and say that we loved your post so much over at the #HomeMattersParty last week that we highlighted it this week! We’d love for you to come by and check it out! Happy Friday! http://theroadtodomestication.com/2015/05/22/home-matters-linky-party-38/
Wonderful Kristen – thank you!!
[…] Convert A Colander Into A Planter from Jamie @ Tiger Strypes […]
[…] Convert A Colander Into A Planter from Jamie @ Tiger Strypes […]
[…] Convert A Colander Into A Planter from Jamie @ Tiger Strypes […]
What a lovely idea! I never would have thought to do this! Thanks so much for taking the time to link up with us over at the #HomeMattersParty – we hope to see you again on Friday 🙂 Feel free to bring a friend or two!
Figured it was a great way to use something that usually just sits around!! Thanks for the #HomeMattersParty! 🙂
Wow. This is a very innovative and useful idea for a hanging plant!
Figured it’s best to make something that doesn’t do much, have an actual job! 🙂
This is totally cool! – my mother-in-law would love this! I’m visiting from Two Uses Tuesday.
Thanks
Angie
PS – I also wanted to invite you to link up to the CLIMB – it’s a month long networking blog hop: http://www.godsgrowinggarden.com/2015/05/may-2015-chain-linky-climb-giveaway.html
Thanks Angelique!!
Love it! Great idea & looks so cute ~ I have an old coffee pot I’ve been saving to plant something in….someday.
That would be perfect!! I even have another spin I’m working on…should have it posted in a few weeks! 🙂
First of all, I Love it! So pretty, you must have a green thumb, mine was blackened at birth, I kill everything. I get that you needed the square plate to keep it level, but I am a bit confused on the details as to where you put the plate, up top? Anyway, fabulous, I love your creativity!
Yes, Rose, the plate is at the top of the chains and then has the other chains attached to it, to hang. Otherwise, it was just leaning to either side and almost spilling out! 🙁
This is such a creative idea. I love how the water can drain naturally through it and not make a big mess.
I put it up above another plant, too – that way both get watered! 🙂
We just started our garden again last week very slowly but going to try to get there in the next few weeks. I would love to include this idea in ours, it’s so practical and we have a colander we’re no longer using. I love the plant you chose, too. You’re right, a draping one would be so pretty. Pinned!
Would love to see it, if you do make one!! Good luck on the garden! 🙂