

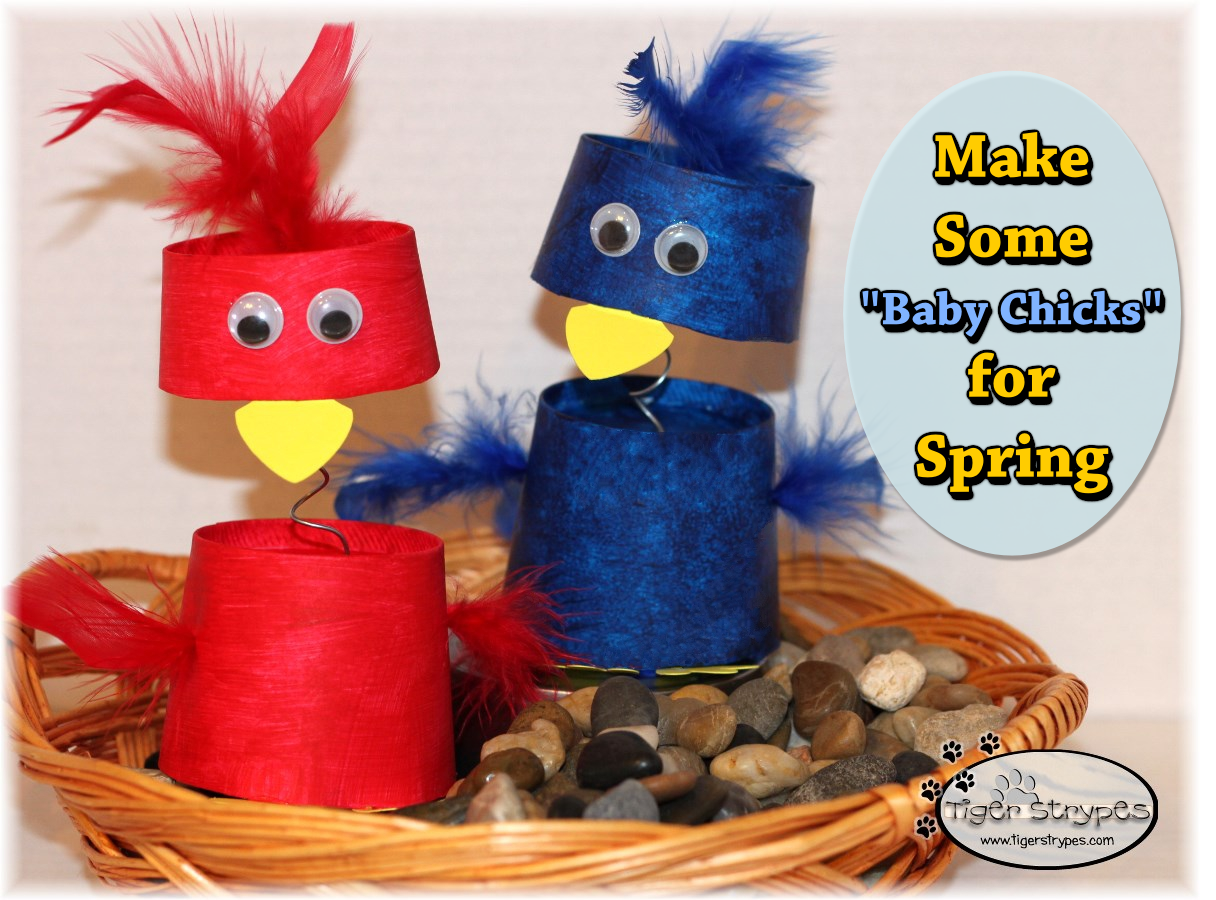
Make Some “Baby Chicks” for Spring
Well, since good old Winter has decided to not show his presence in our area this year, I figured it was best to just go on to Spring! We only had about 3 days of snow this whole season, all of which melted in no time. I keep seeing the stories on the news of the East Coast and want to just tilt the world to get some of that moisture in our area. Living in the mountains of AZ, we know the fire season all too well (Wallow Fire, Rodeo-Chedeski Fire), and really don’t want to be biting our nails during the summer monsoon season. I’m sure hoping that March will be a bit like a “lion” and leave us with some of this much needed moisture, before leaving like a “lamb.”
I saw these cute little guys in Better Homes & Garden magazine awhile back, and thought it would be fun to try. They were pretty easy to make and just a bit messy with trying to hold the pieces and paint them, but that was probably just me! 🙂 Also, I used some pretty heavy wire and think in the future, if I made more, I would tone that down a bit, so their heads were a bit more wiggly. 🙂
I hope you like it!! Have a blessed day, and please be sure to comment on, and share this #TBCCrafters craft on your social media channels – thanks!!
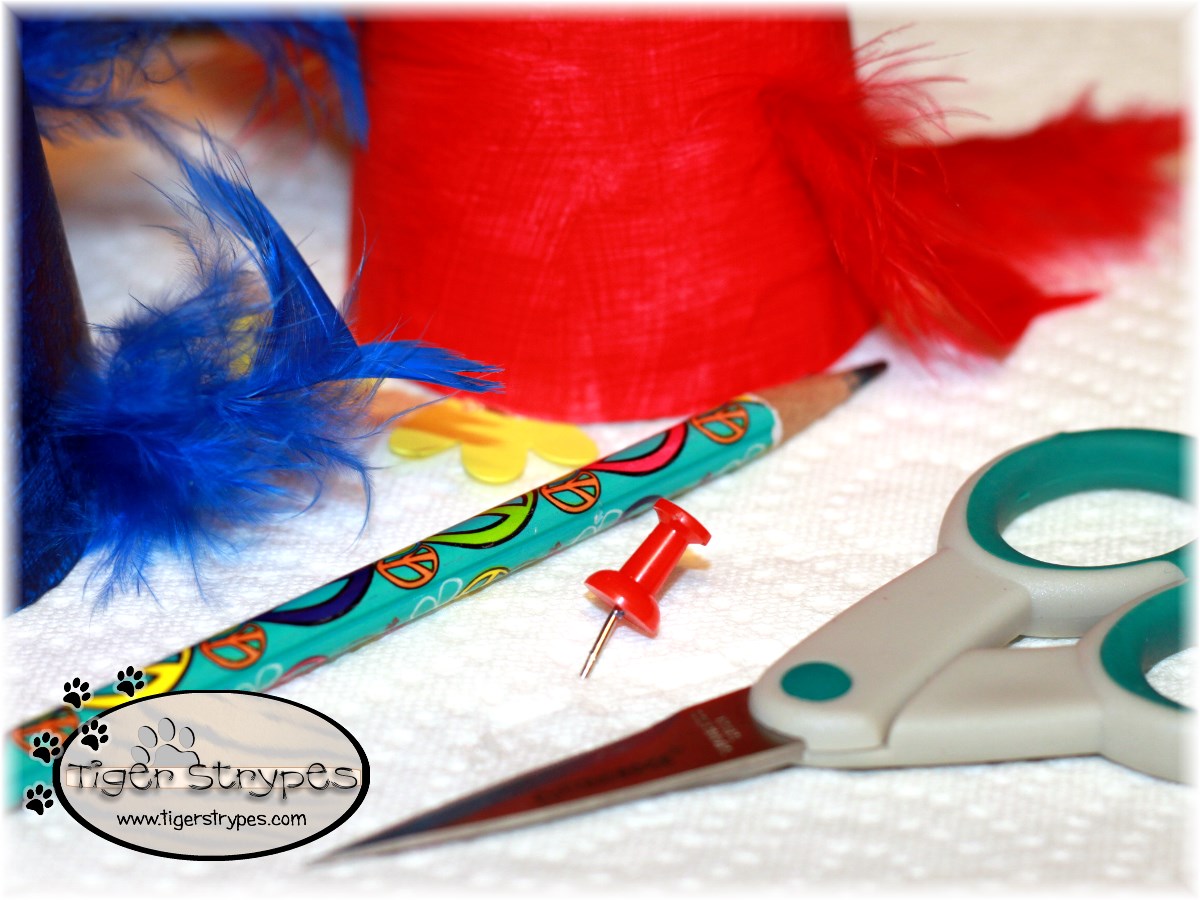
Materials/Tools Used:
- Small Cups
- Craft Knife
- Craft Paint / Paintbrush
- Googly Eyes
- Glue Gun / Glue
- Feathers
- Craft Paper / Cricut
- Craft Wire
- Pencil / Pin
- & Time!
Instructions:
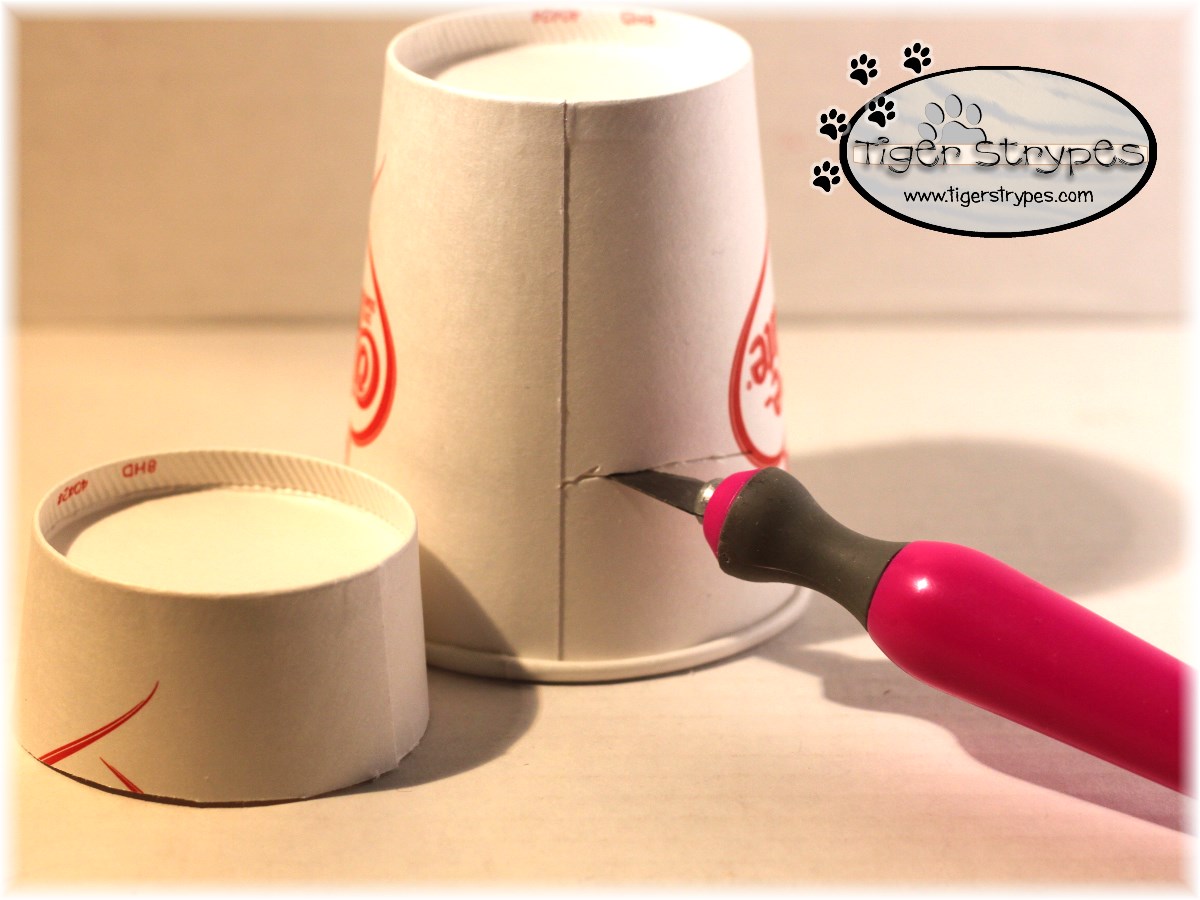
The craft I saw was made using an egg carton, but I just could not find one that would work for this. I just decided to use some small cups that I had in the pantry instead, and make them a bit bigger. I started by cutting the tops off of some small cups. You’ll need a smaller one for the head and larger for the body portion. I figured the easiest way to do it was with my craft knife, but be careful, since it can slip.
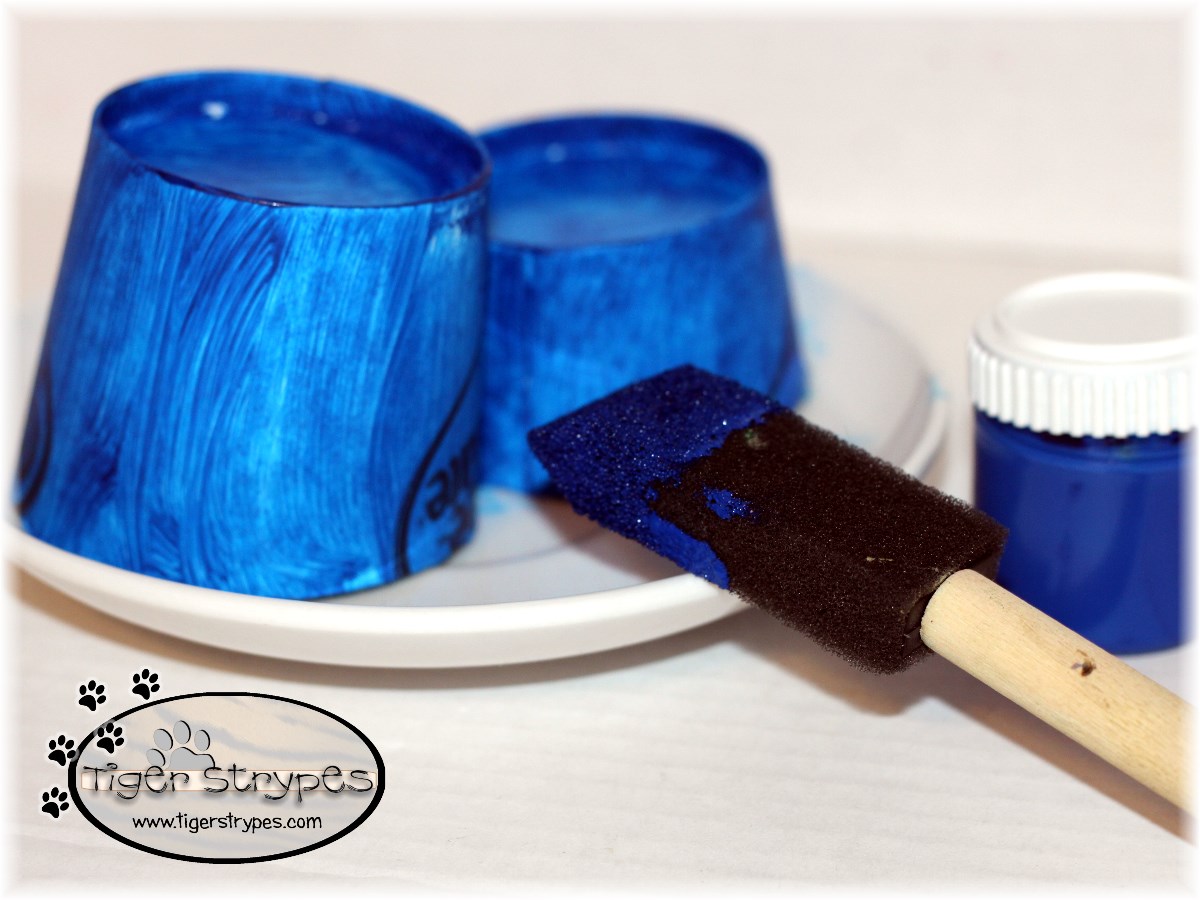
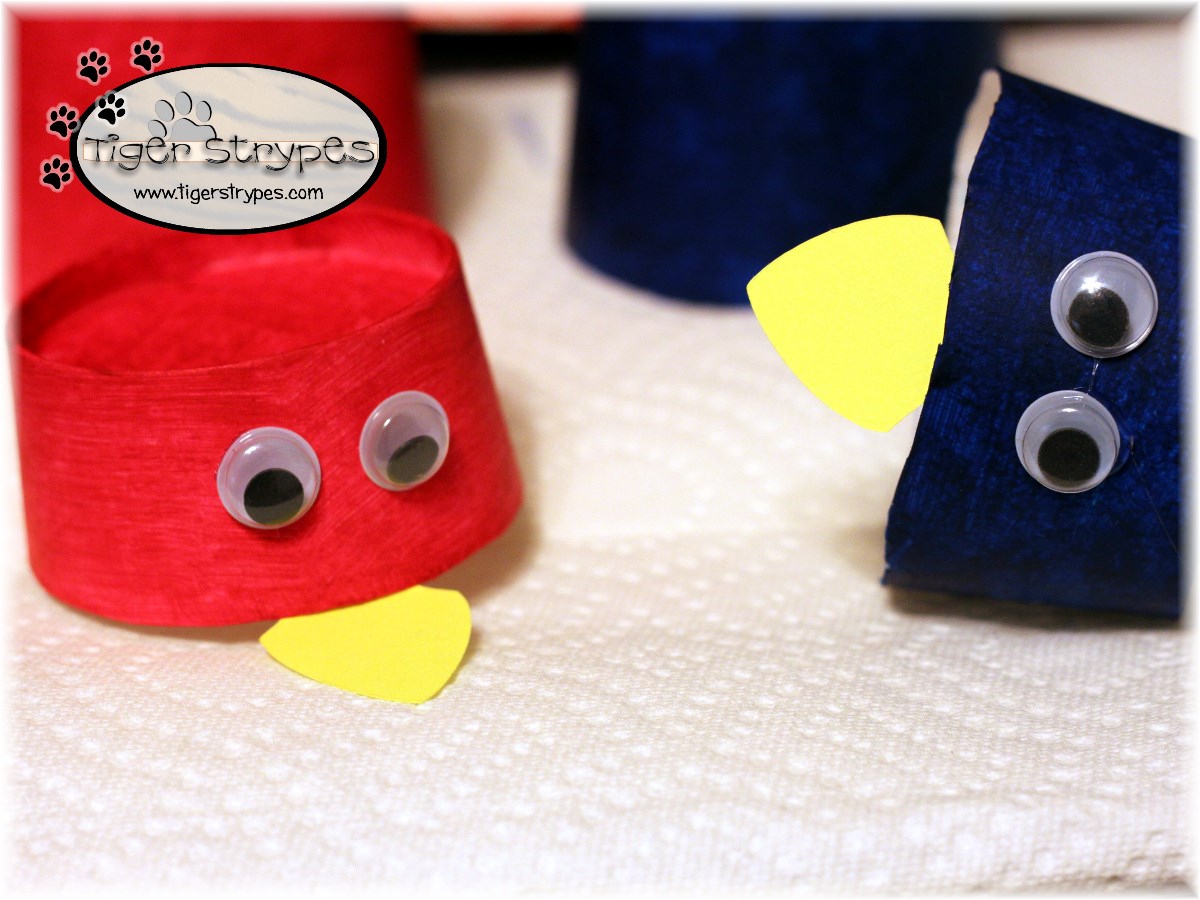
Next, I used some craft paint and painted each of the pieces. It needed a few coats to completely cover the logo on the cup. If you’re able to find a blank cup, this might not take as long.
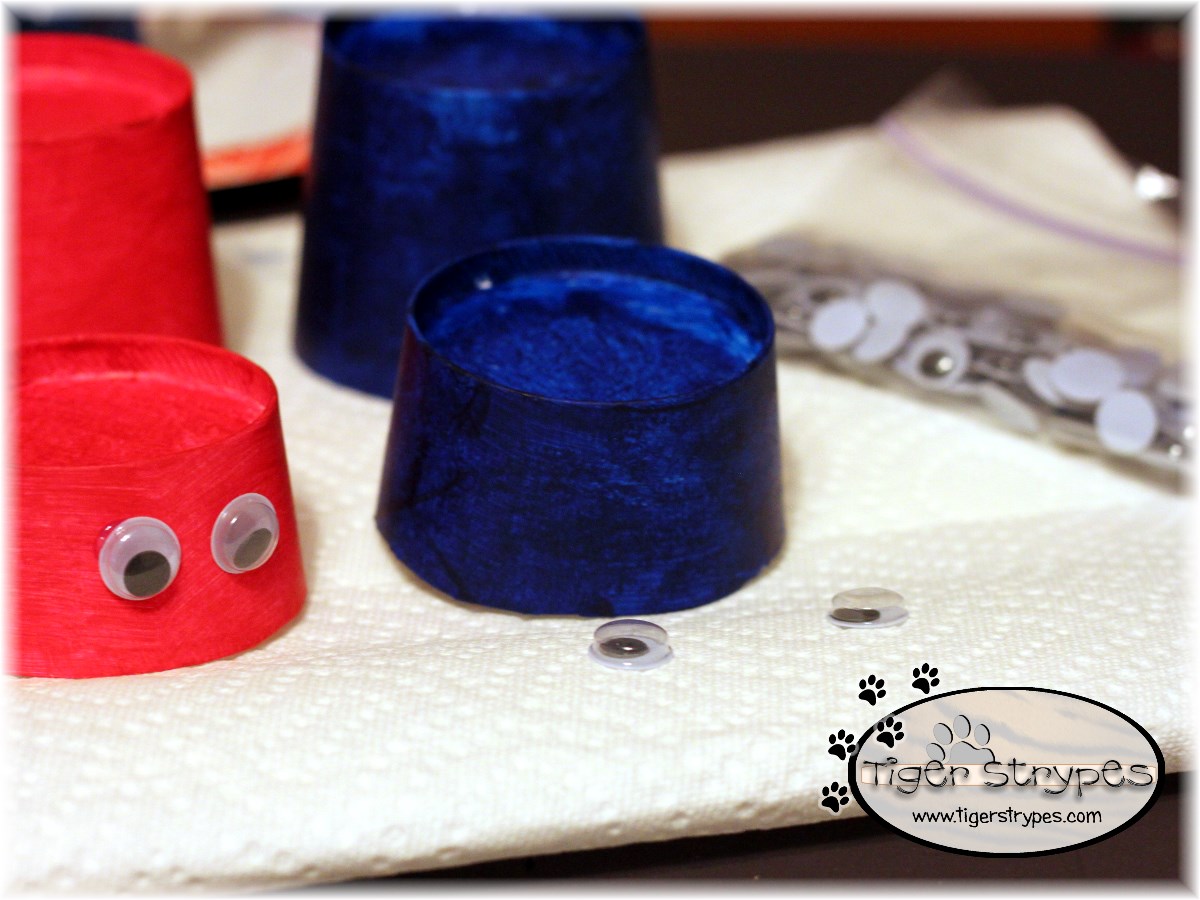
After those had dried, I used my hot glue gun to attach some little eyes to the head portion.
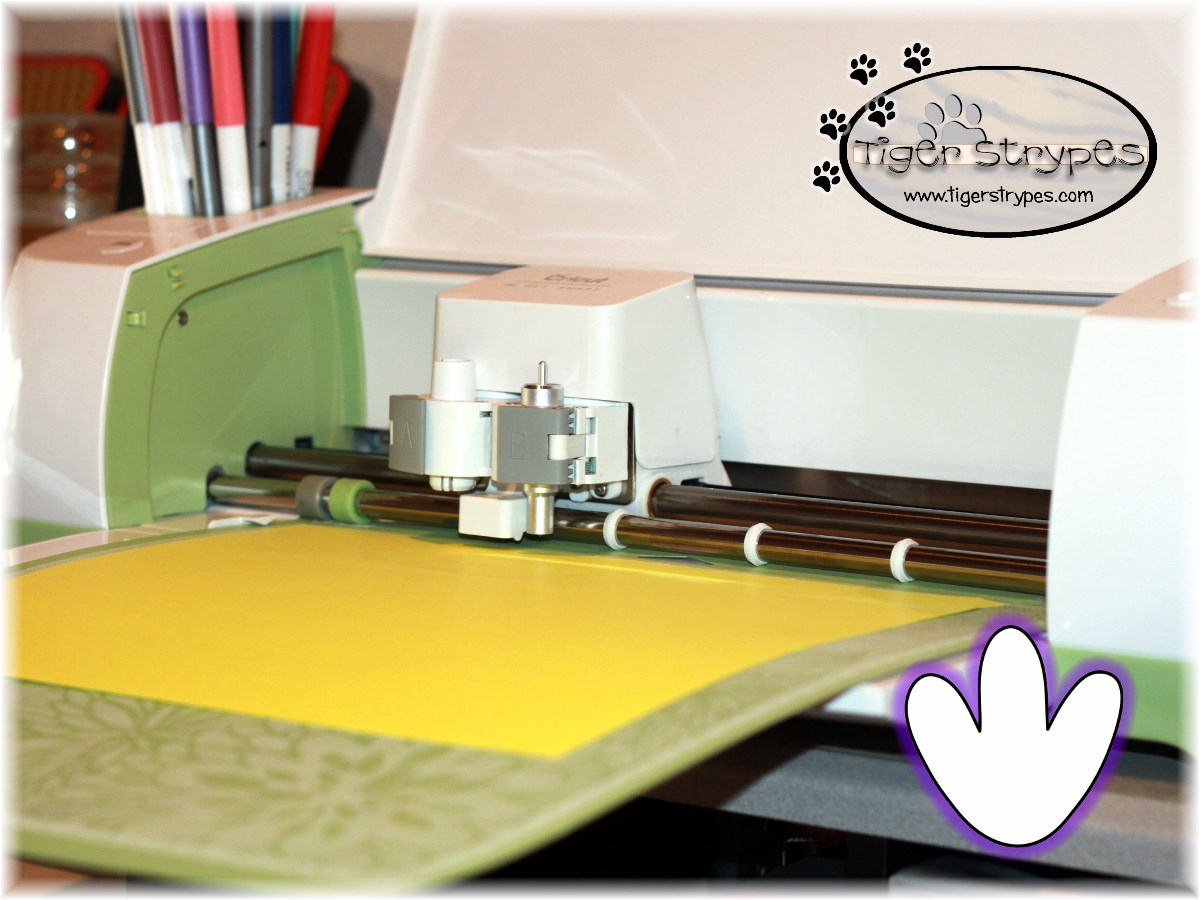
Now, using my Cricut Explore, I created some feet and beaks for the birds. The size and shape are completely up to you and how large you make these.
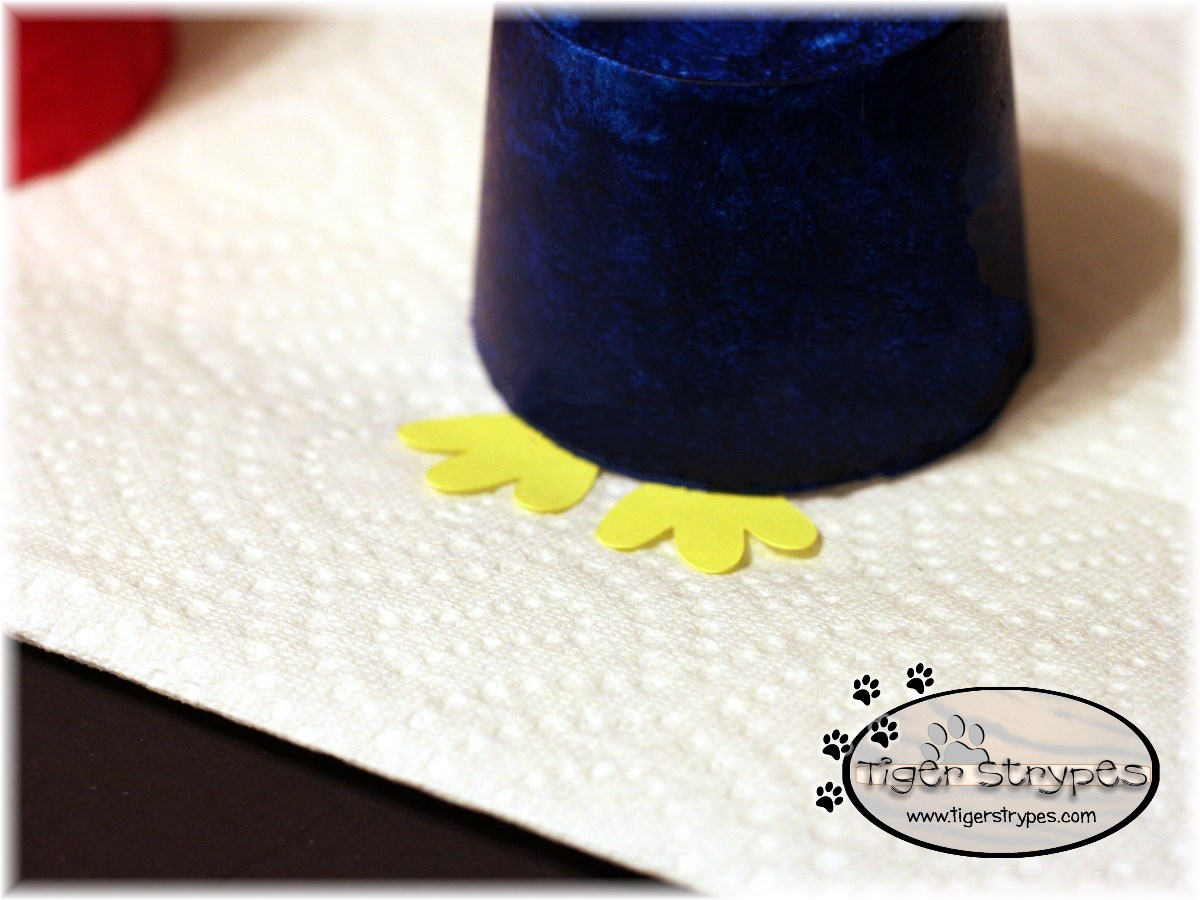
When I had the pieces finished, I just used a dot of hot glue to attach the beak and the feet to the top and bottom portions of the cups.
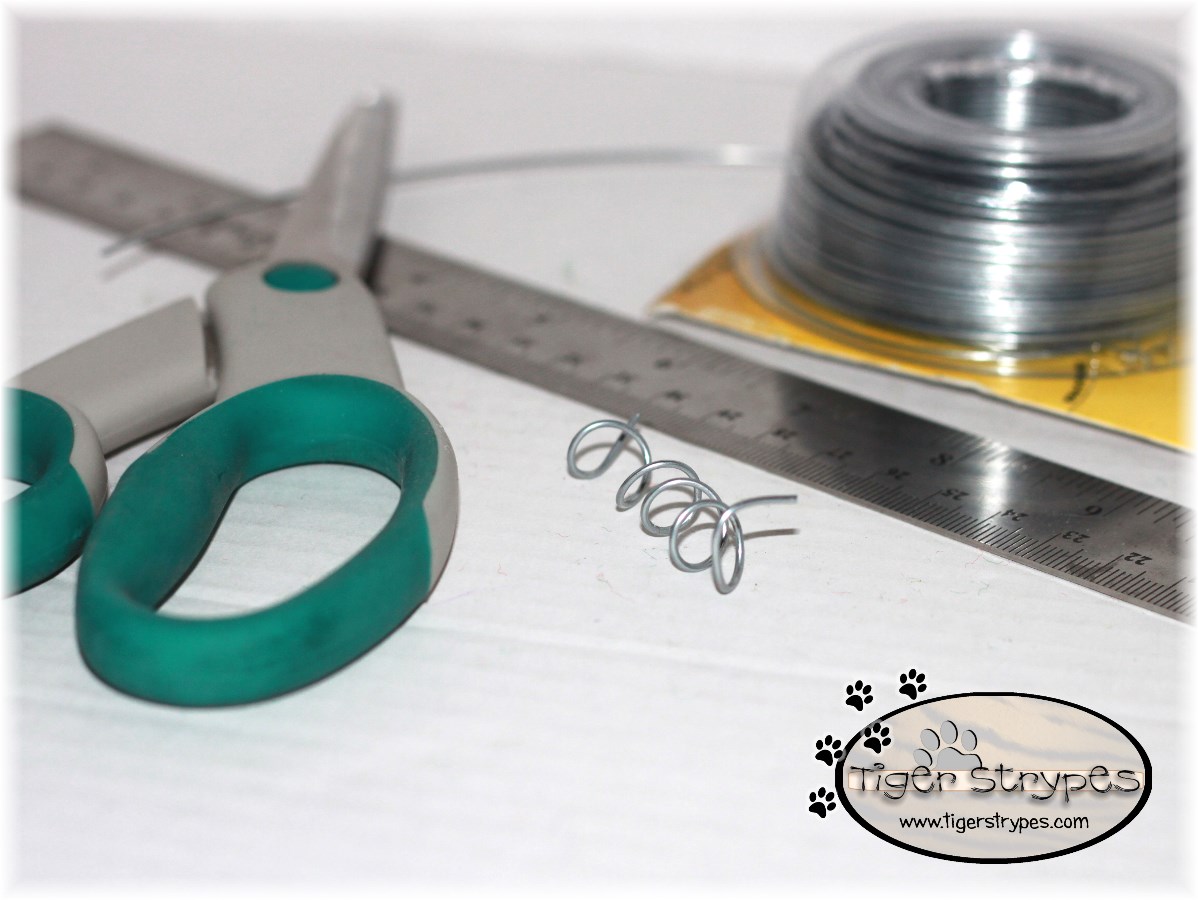
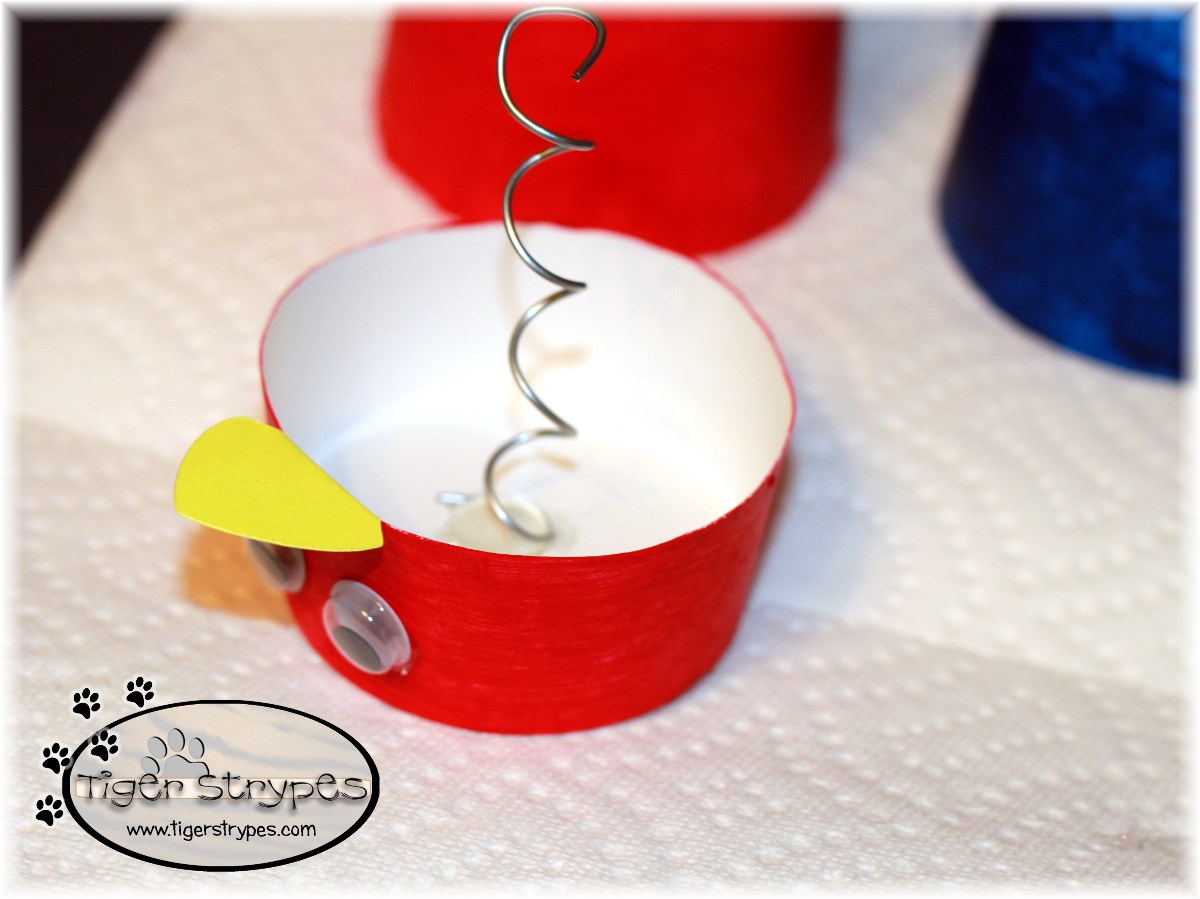
Next, I cut about 6″ of the wire and twisted it over a pencil to make a “spring” for the heads of the birds.
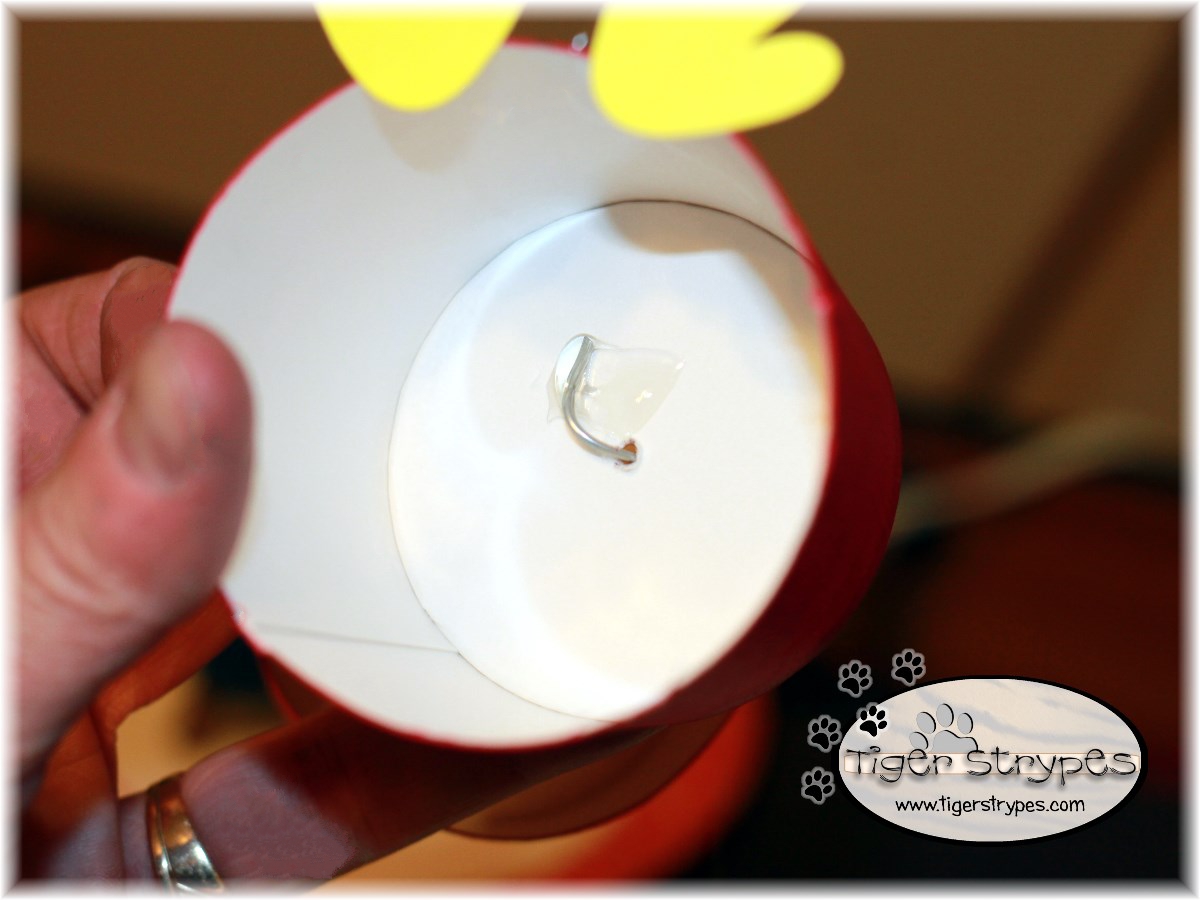
I attached the spring to the top piece with hot glue and then to the bottom, through a hole punched in the top of the bottom portion cup. Then just add some hot glue to that to secure it.
Now using some craft feathers, I punched holes in the sides for “wings”, back for “tail and top of head for some added decor.
When they are finished, they are great to use to decorate around the home. Not all of our birds have come back to the area yet, but until they do, these are a lot less expensive to feed! 🙂
Hope you like it! Please take a minute to leave me a comment and let me know what you would do different, or what you would add, etc. Be sure to tweet, pin, share, etc. – thanks!!
All pictures and text are my own and have not been copied in any way. I, Jamie Tomkins, own and operate Tiger Strypes Blog located at www.TigerStrypes.com. From time to time you’ll hear about my real life experiences or creations with products and/or services from companies and individuals. Let it be known that I have no affiliation with these said companies, and have not received compensation for reviewing or using their service/product. The information that I give regarding the product/service is based off my own personal experience, I do not guarantee that your experience will be the same.
PLEASE SHARE THIS POST USING THE OPTIONS BELOW…THANKS!!
*****************************************************************************************************


[…] from Tiger Strypes always takes ordinary everyday items and turns them into something amazing and adorable like this […]
[…] from Tiger Strypes always takes ordinary everyday items and turns them into something amazing and adorable like this […]
[…] from Tiger Strypes always takes ordinary everyday items and turns them into something amazing and adorable like this […]
I actually have some little white cups, what a great repurpose for them to make these adorable chicks with my little one for Easter!!! yay!
Cool – let me see pix if you make some!! 🙂
Those are SUPER cute! We might add them into our spring crafting this year at home.
Oh gosh! These are so cute! What a great family craft! I’m so excited for spring!
Too adorable, love how they look! I think the only thing I would add is more feathers, my daughter would love that. Pinned this!
I wanted to, but kept having issues with trimming them, so I made them babies before they had a lot of feathers! 🙂
Cute Spring craft! I know, we didn’t have a Winter either… really was hard to ski with no snow here in OR. But Spring is in full swing and we are planting, so it is a great time to make Spring and Easter friendly crafts. Love the spring in these. 🙂
Glad you liked them, Andrea!! Now I need to make a letter marquee for them to sit on! 🙂