 Use a Special Photo to Make a Photo Luminary
So, I hope you all had a fun Valentine’s Day last week. If you went out with friends, or family, you might have some great photos that you want to create a piece to decorate your home. I saw a post about making a luminary like this over at Our Best Bites and thought that it would be fun to make. You just need to purchase some vellum paper and use a printer to turn your photo into a work of art!
I hope you like it!! Have a blessed day, and please be sure to comment on, and share this craft on your social media channels – thanks!
Materials/Tools Used:
- Glass Jar / Vase / Candleholder
- Vellum Paper
- Printer
- Double Sided Tape
- Battery Powered Candles
- Ribbon / Decor
- & Time!
Instructions:
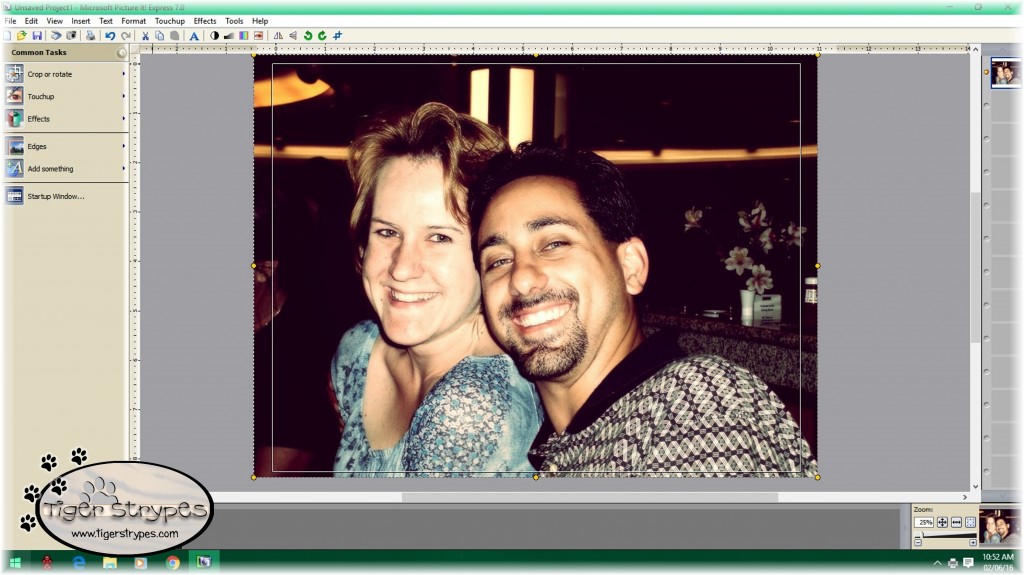
I started by setting the dimensions of the picture that I would use, based on the size of the candleholder. You will probably have to trim pieces off to make it perfect. I printed it on some vellum paper that is great for see-through pieces.
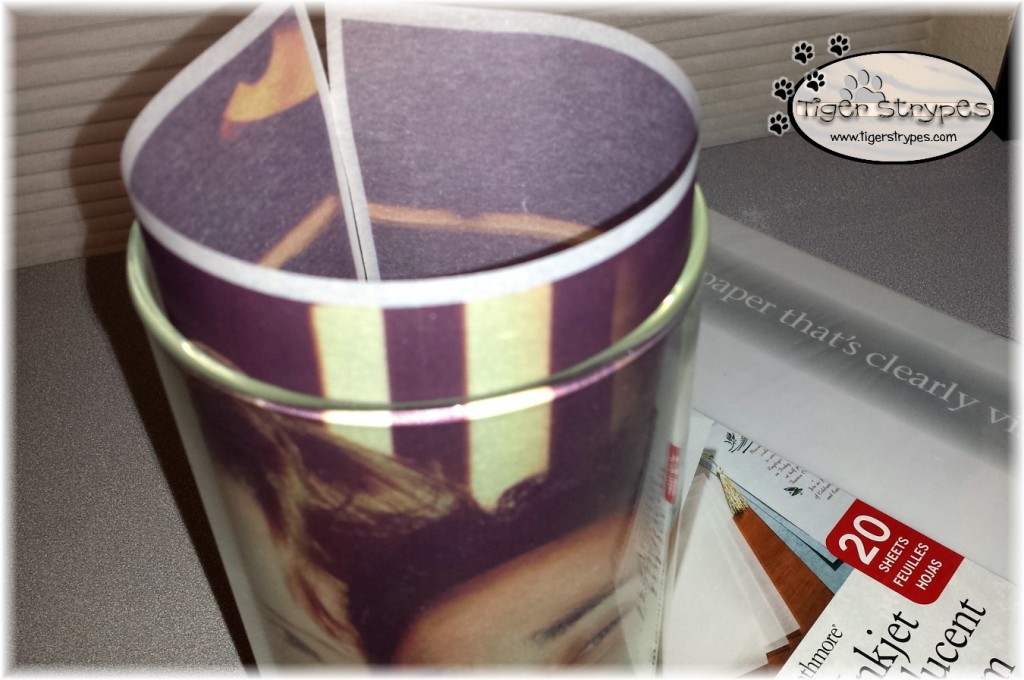
Once it was printed and fully dry, I rolled it into the candleholder. This will let you see the parts that you need to trim. Make a mark where it needs to be cut.
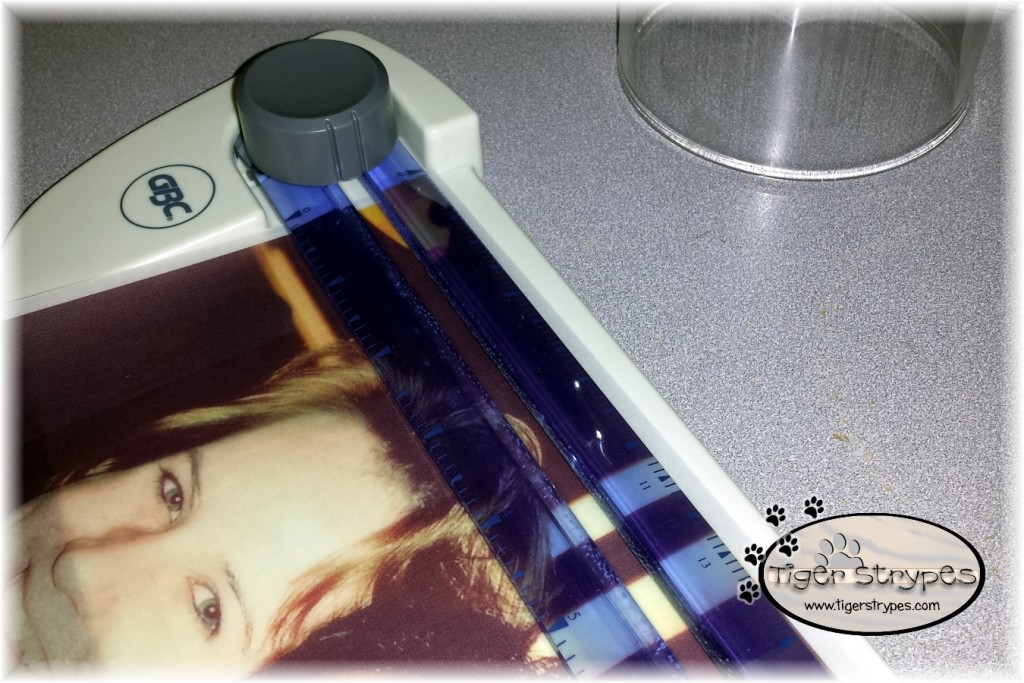
Using my paper trimmer, I cut the edge off to make it even with the top of the candleholder.
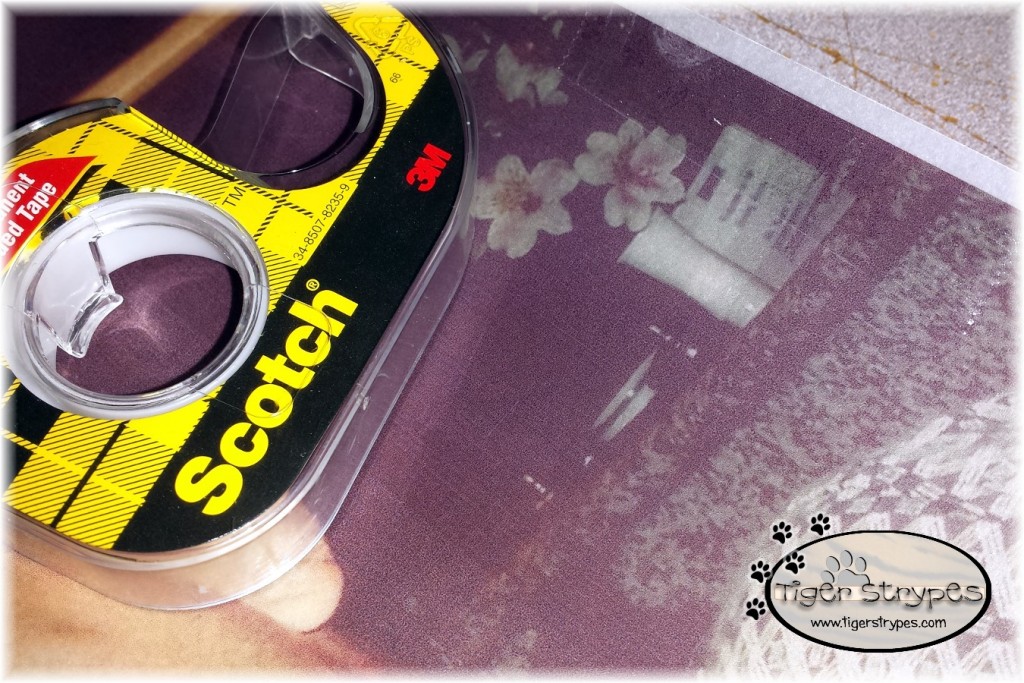
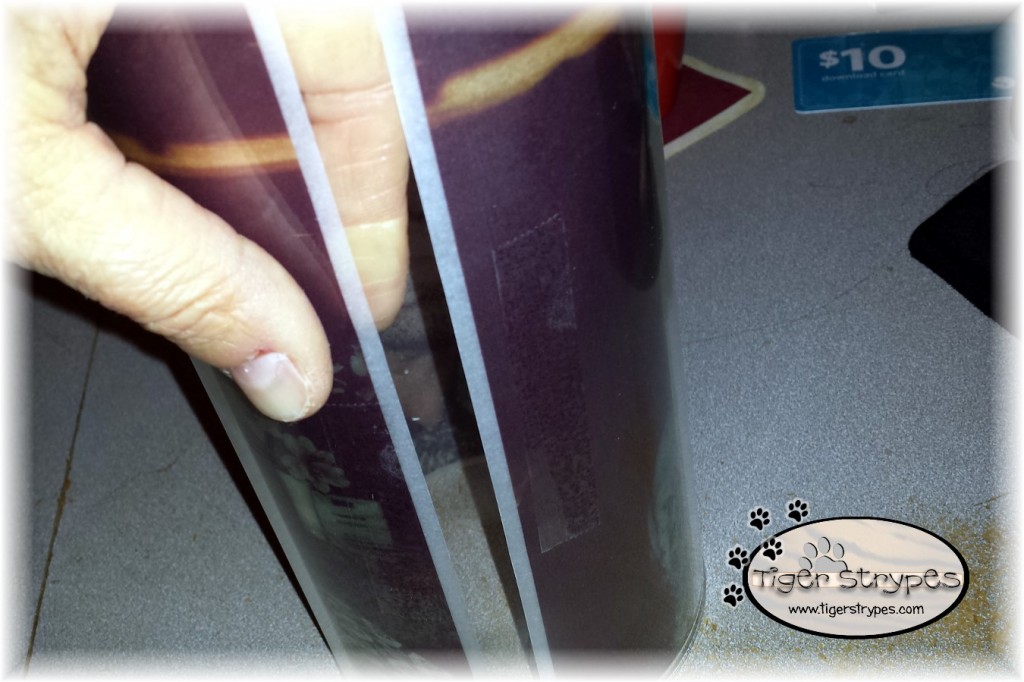
Now, using some of the double-sided tape, add a few pieces to the side of the photo that will touch the inside of the candleholder – or opposite of that, if you want to put it on the outside, to use an actual candle.
Be careful when inserting the photo, so that the tape doesn’t stick where you don’t want it to. Yes, I am telling you this due to experience. :-p
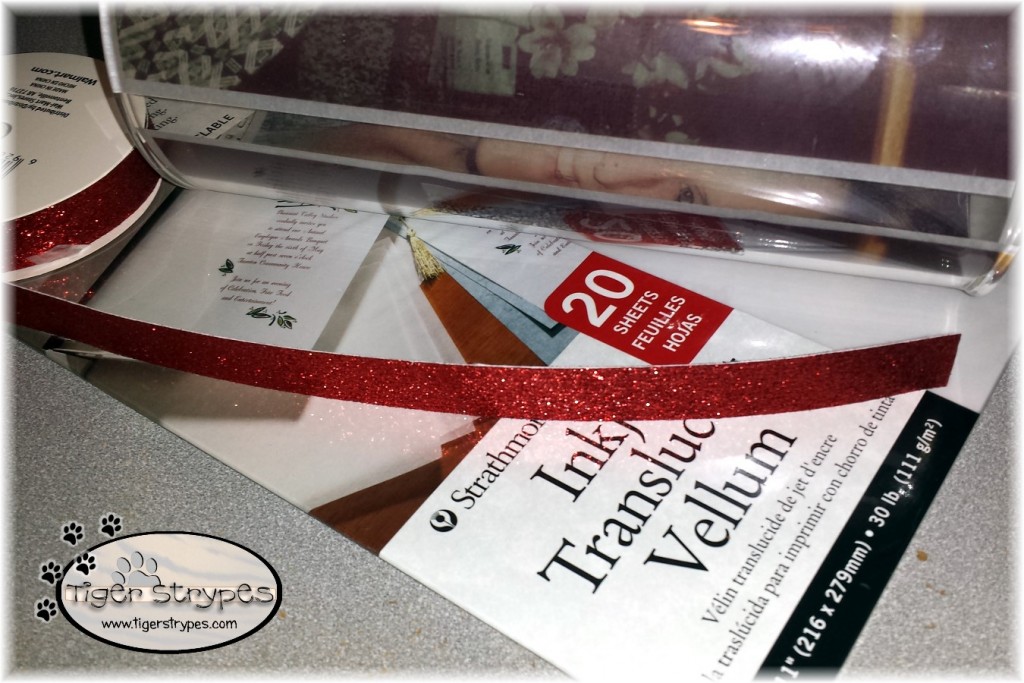
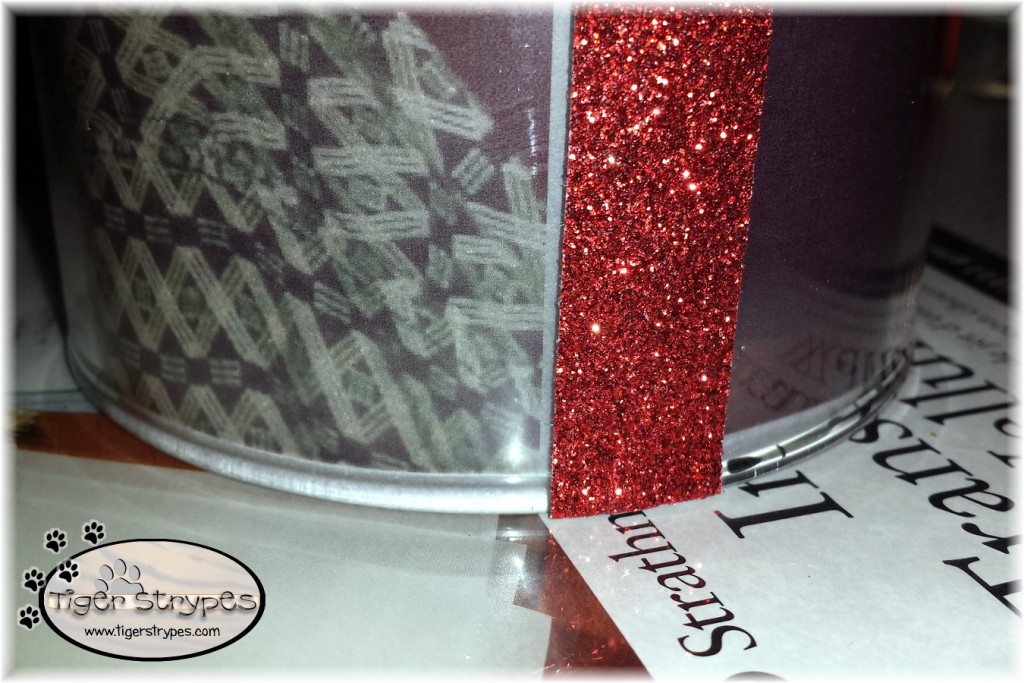
Depending on the photo size, and the candleholder you use, you might need to “camouflage” the open area. Using some craft ribbon, cut a piece that is even with the side of whatever you are using.
Next, using the double sided tape again, just attach it to the outside of the candleholder. You might need to trim the edges if you didn’t measure it right. 🙂
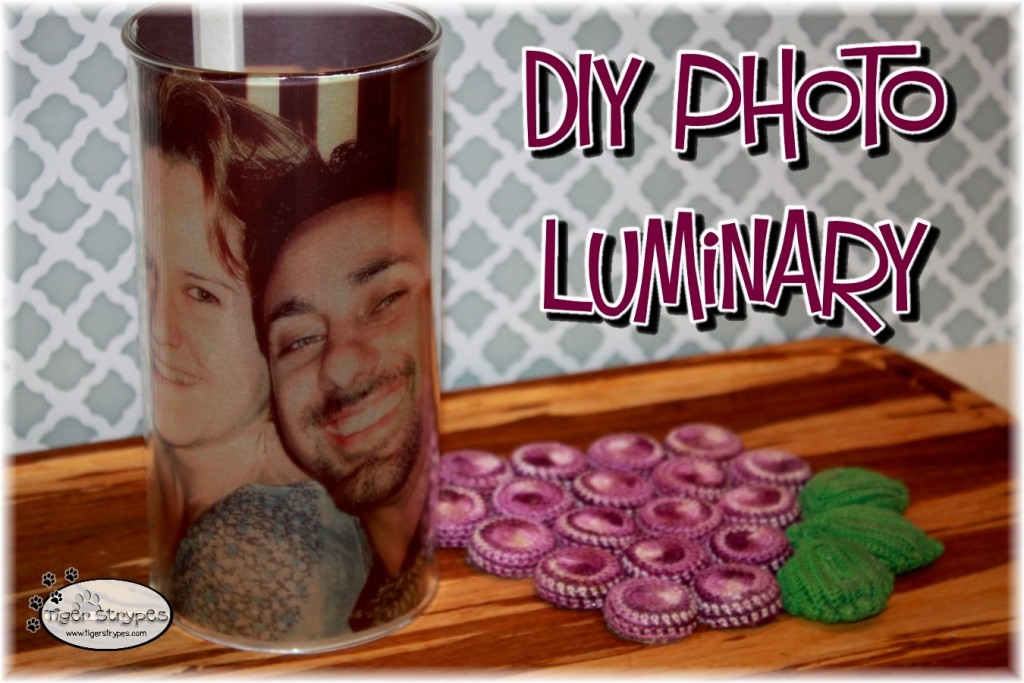
After that, you can insert your battery operated candle or light of some kind and have a beautiful piece to showcase your memories. I sure wish photos could show the candlelight better. :/
I hope you like it! Please take a minute to leave me a comment, and let me know what you would do different, or what you would add, etc. Be sure to tweet, pin, share, etc. – thank you!!
“After this I saw another angel coming down from heaven. He had great authority, and the earth was illuminated by his splendor.” –Revelation 18:1
PLEASE SHARE THIS POST USING THE OPTIONS BELOW…THANKS!!
*****************************************************************************************************








[…] Jamie shows us how to make a DIY Photo Luminary […]
[…] Jamie shows us how to make a DIY Photo Luminary […]
[…] Jamie shows us how to make a DIY Photo Luminary […]
Oh, how cute! And easy! I often intend to make photo projects, but then convince myself it takes too much work. No excuse now! Thanks for sharing at #MommyMeetUpMondays.
Thanks Jules – it was really fun to make…and pretty easy!
What a cute idea! I’ll have to keep this in mind for some upcoming gifts!
Thank you for sharing with us at #mommymeetupmondays!
What an awesome project! This would make such a nice gift too! #HomeMattersParty
I love how simple you made this appear to be to make. Thank you for this tutorial. I would have thought this would be harder to do.
Thank you Crystal – I don’t really have time for hard projects! 🙂 Glad you liked it.
What a terrific idea! I like this craft because it is so easy that even I could actually do it. Thanks for sharing it and so happy to have “met” you via the #HomeMattersParty
Thank you Jeanne – it was really fun to make!
This is so cool. I want to make one of these.
Thank you, Tara – it was pretty easy to make! 🙂
Jamie, your creativity is so amazing. I love this project, I actually did this a few years ago, but my holder broke. Now I can recreate it because you’re a genius!
Thank you, Rose – I get some great ideas online. Send me a pic when you make yours! 🙂