 Make a Turkey Out of Mittens
This week, I’m going to make a turkey from mittens. I was recently looking around on the web, and came upon the site called Family Corner. They had so many cute ideas for crafts, and many other things. I saw one like this and thought that it looked like fun! With Thanksgiving just next week (can’t believe it’s already here, time is sure going faster as I get older), I figured that this would be a fun way to add a bit of decoration to our table. It was really easy to make, and came out really cute…in my opinion. You could change it up with different sizes, or colors and let everyone make the face be in their style. Perfect family craft time project!
I hope you like it!! Have a blessed day, and please be sure to comment on, and share this craft on your social media channels – thanks!!
NOTE: Some people have been very rude about me calling these mittens. Sorry I grew up in California and we never even wore them much. Gloves and mittens were about the same thing. Sorry if it seems weird to you. For those that have been disrespectful online about this, I pray that you will see how being mean like that is not a good thing!
![]() Make a Turkey Out of Mittens
Make a Turkey Out of Mittens![]()
Materials/Tools Used:
- Pair of Mittens/Gloves
- Polyester Stuffing/Fill
- Scissors
- Heart Shaped Plastic Canvas
- Thread/Needle
- Glue Gun
- Rubber Band
- Decor (eyes, beak, etc.)
- & Time!
Instructions:
I started by filling one of the brown mittens with polyester fill. I just filled the fingers (not the thumb), and half of the hand.
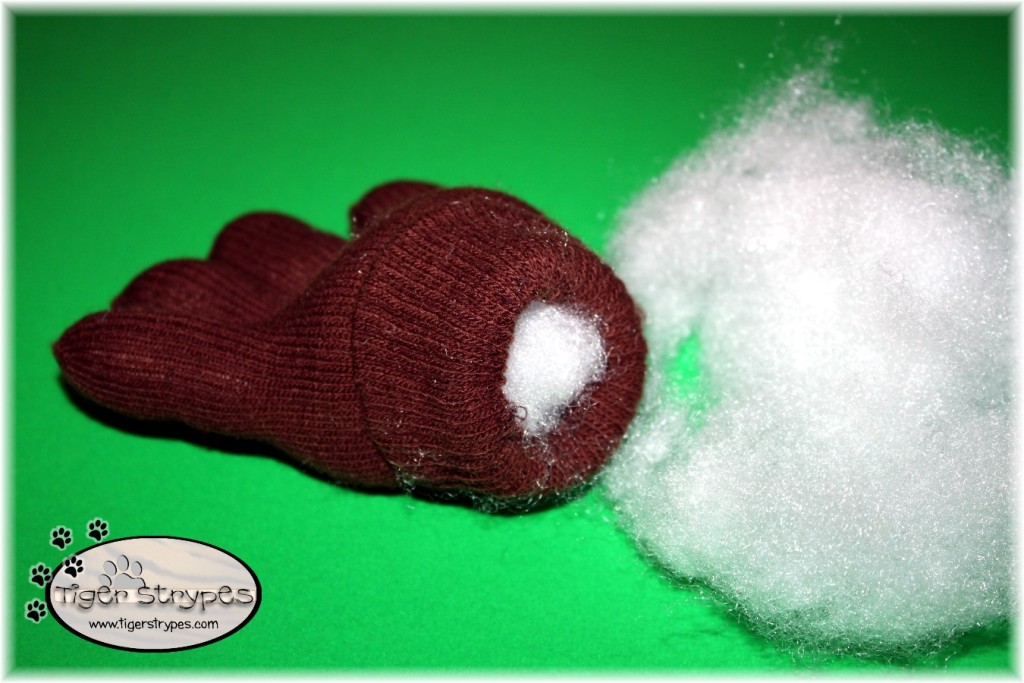
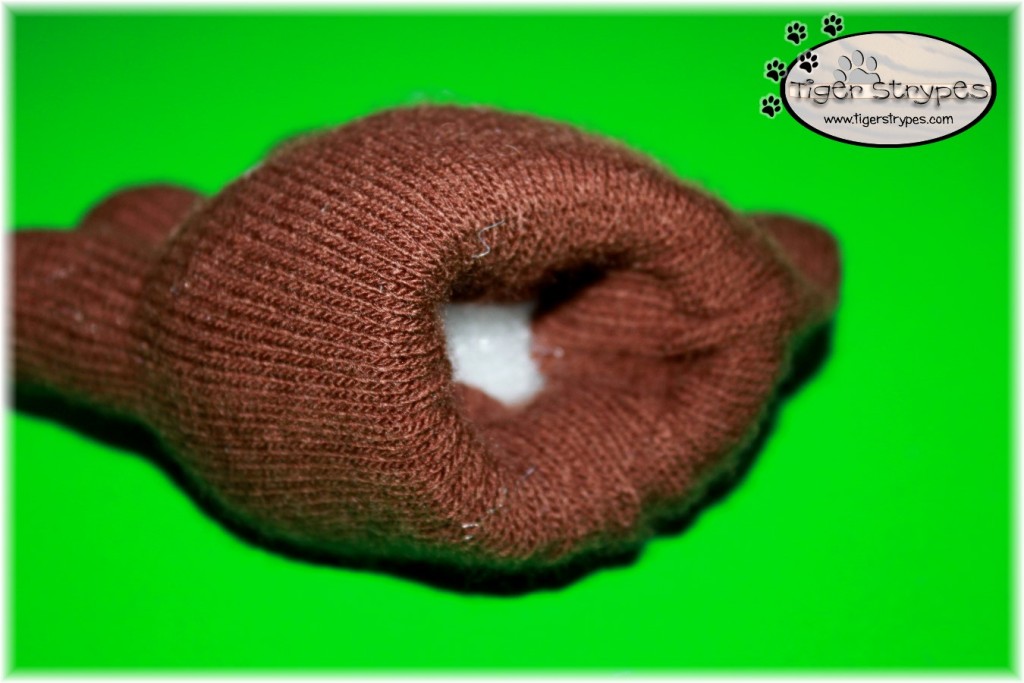
When I was finished, I folded the wrist portion into the mitten, so that there was no fabric that didn’t match on the outside.
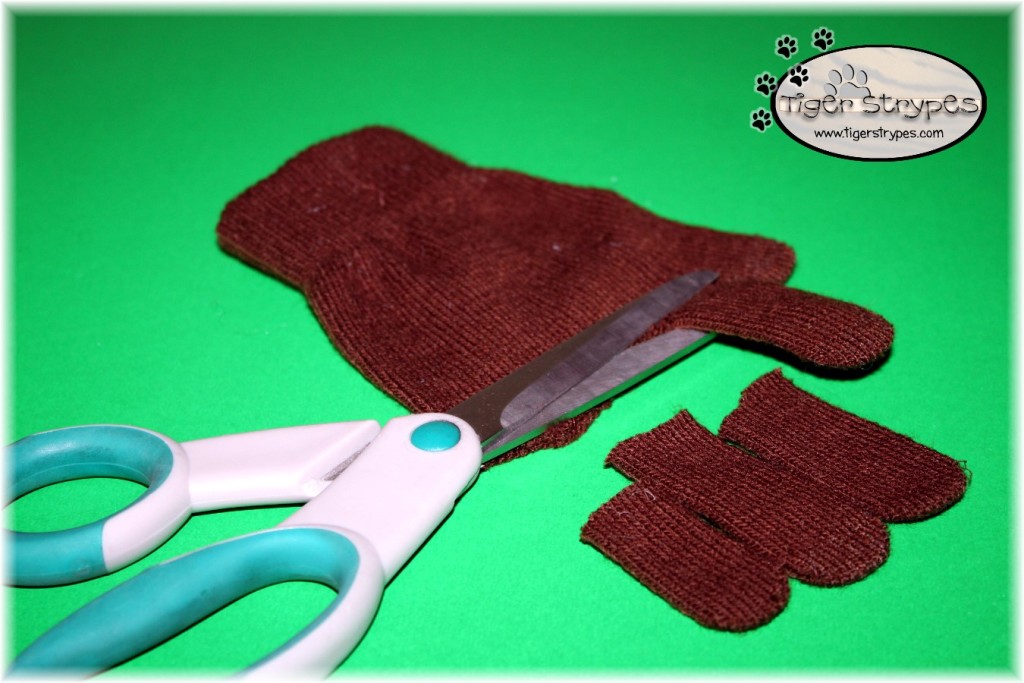
Next, I cut the fingers off of the other mitten (leave the thumb), with some sharp scissors. Be sure to save one for later on.
I used my glue gun to close up the top of the mitten that I had removed the fingers from.
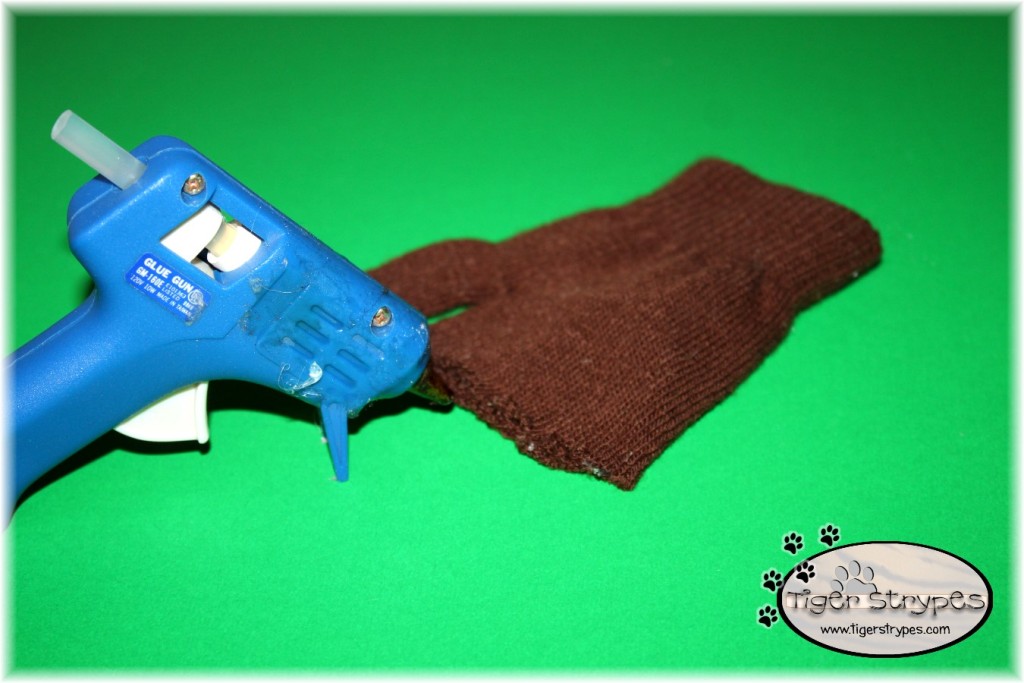
Next, I stuffed that mitten halfway, as well as the thumb. That will end up being the turkey’s head.
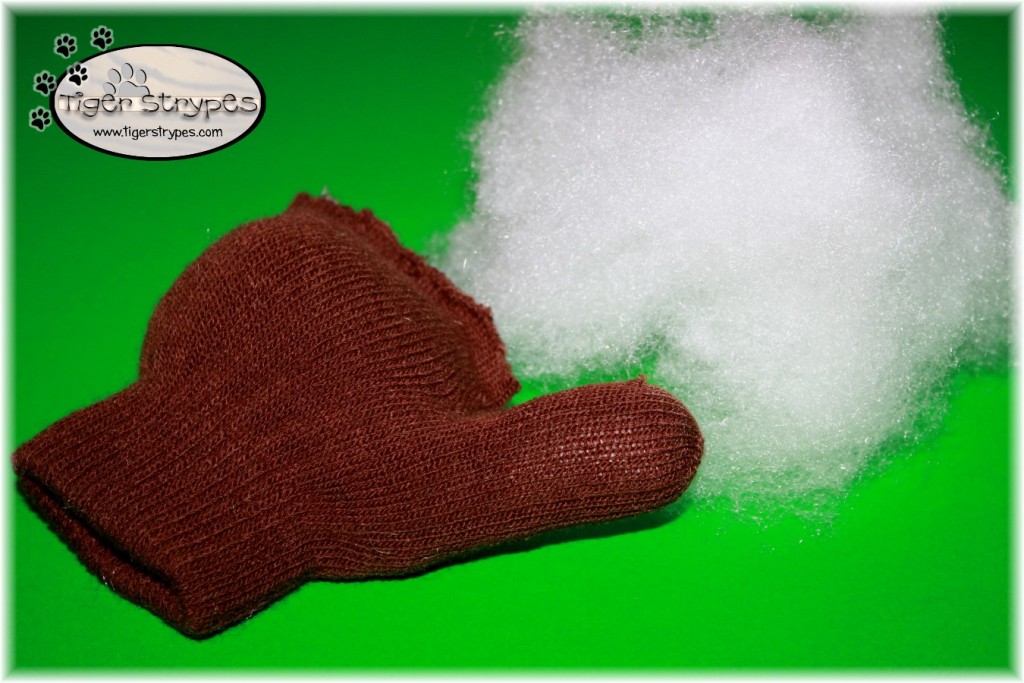
When you have that done, insert the “thumb” mitten sideways into the full one. You really only want the “head” portion to be sticking out of the other mitten. You can now see why I folded the wrist part of the first one to the inside. 🙂
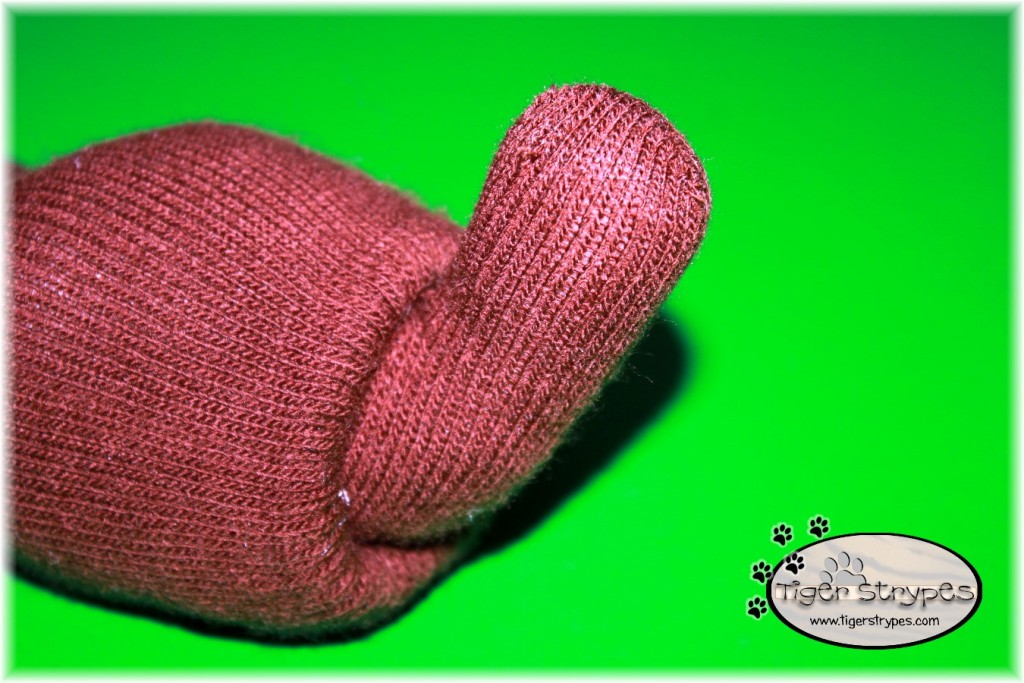
Now, hold the “fingers” of the mitten that is the body up. Using your glue gun, and a rubber band, add some glue to the crease of each of the fingers to secure them to the body. This will help them to become the tail feathers. When you have them glued, put the rubber band around the whole thing to hold them in place until the glue is completely dry.
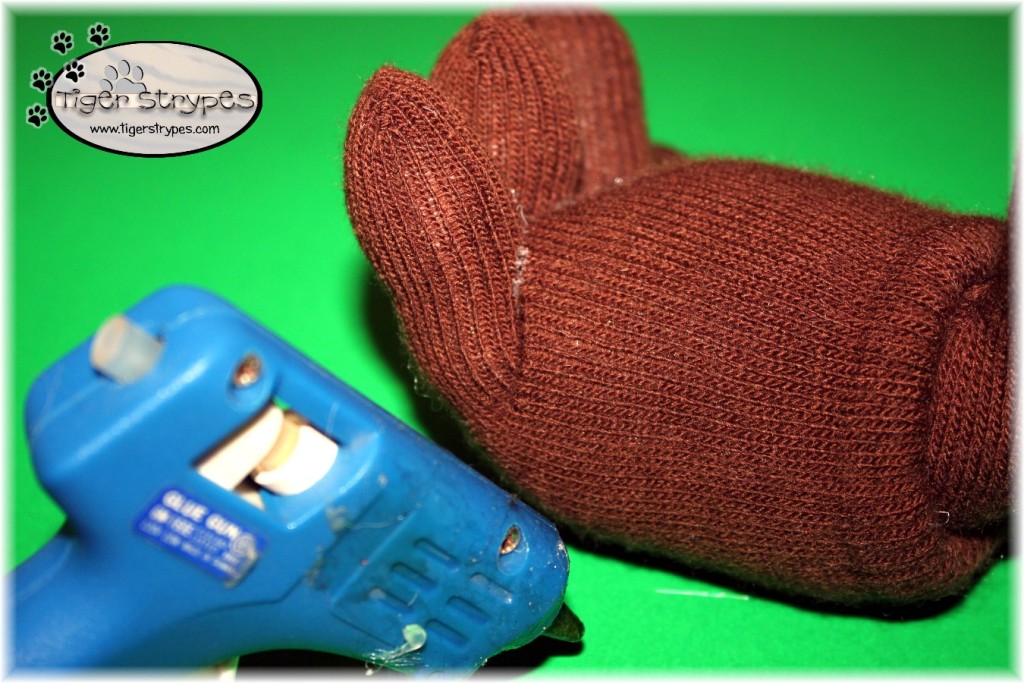
Remember, those fingers that I cut off of the one mitten? Well, now I’m going to glue one to the side of the body to become one of the wings.
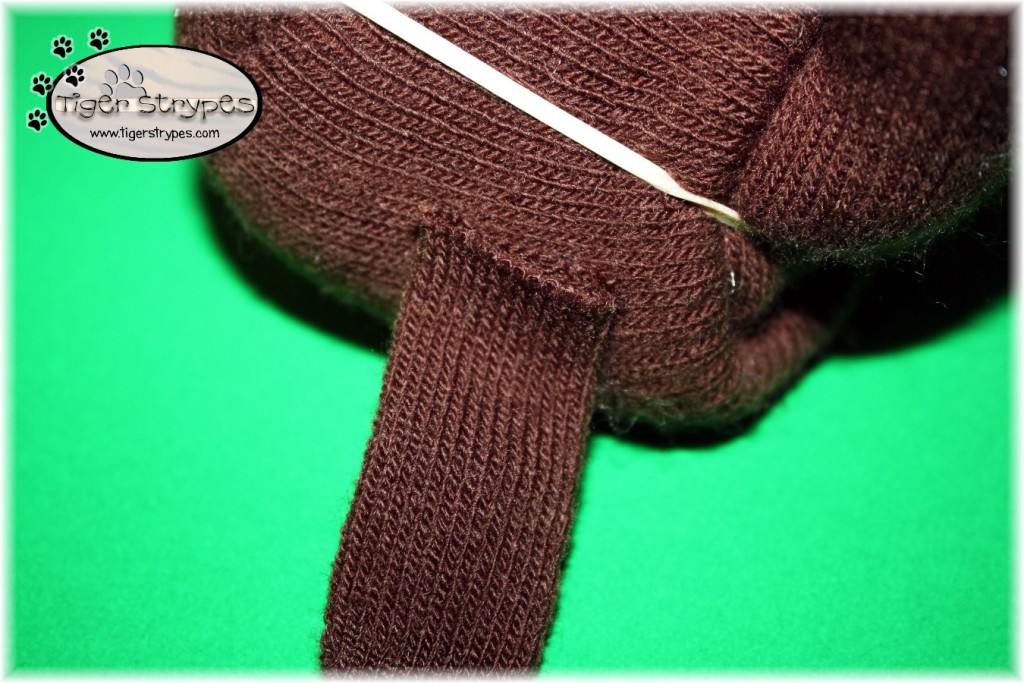
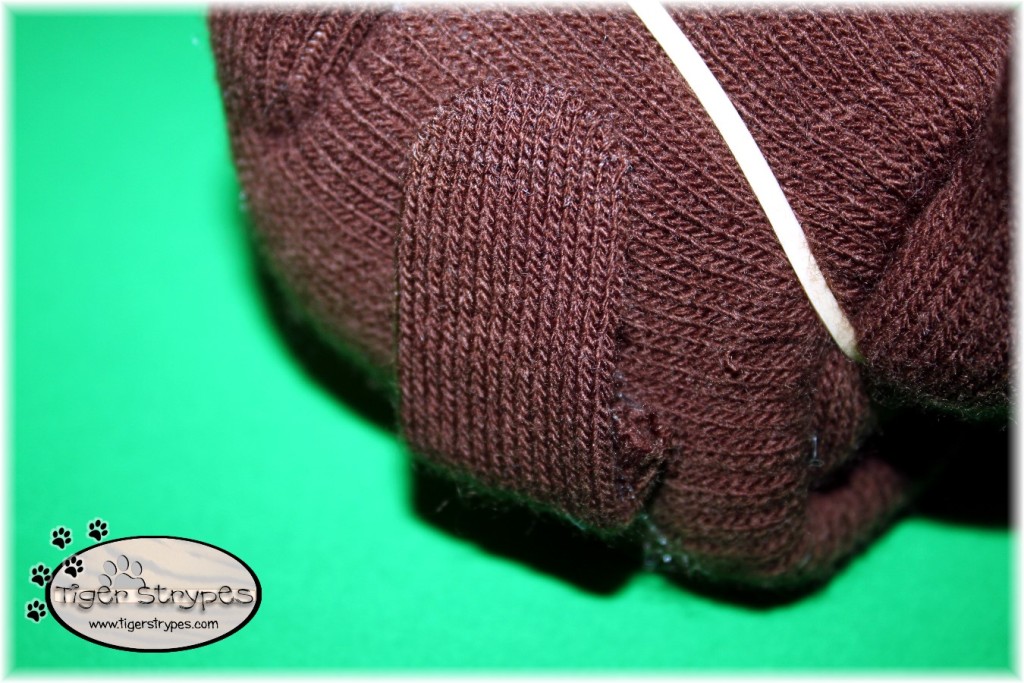
When you have that attached, use a dot of glue to fold it up and make it look like the turkey wings. Do this to the other side, as well, where you have the thumb of the first mitten that was not stuffed.
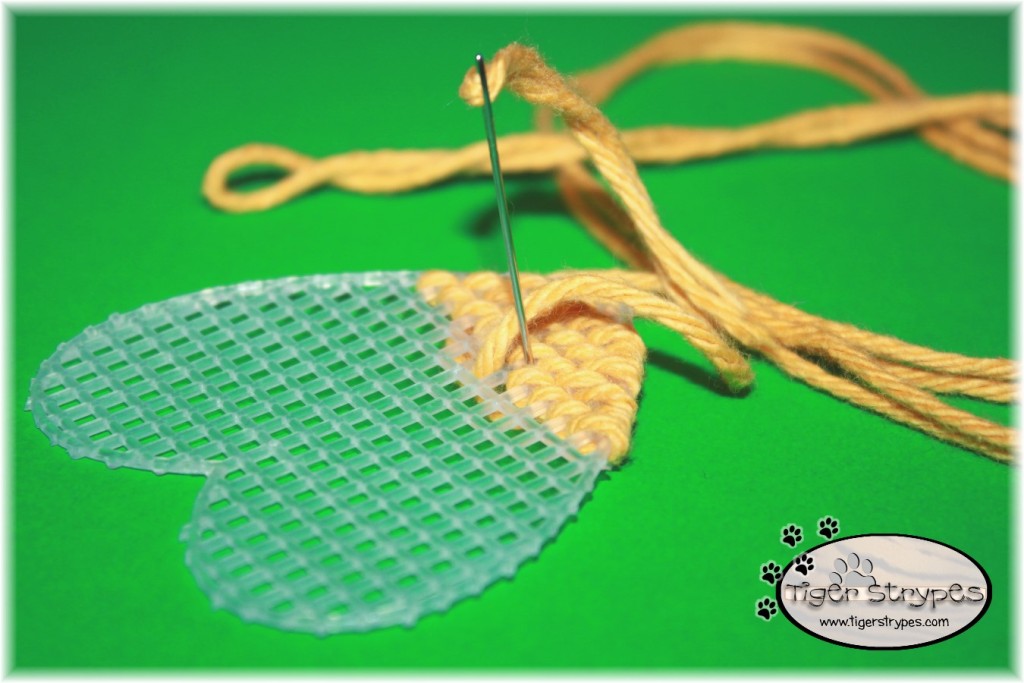
Now, I used a heart shaped piece of plastic canvas, and some yellow yard to create the feet. I just used needlepoint stitch to fill it in.
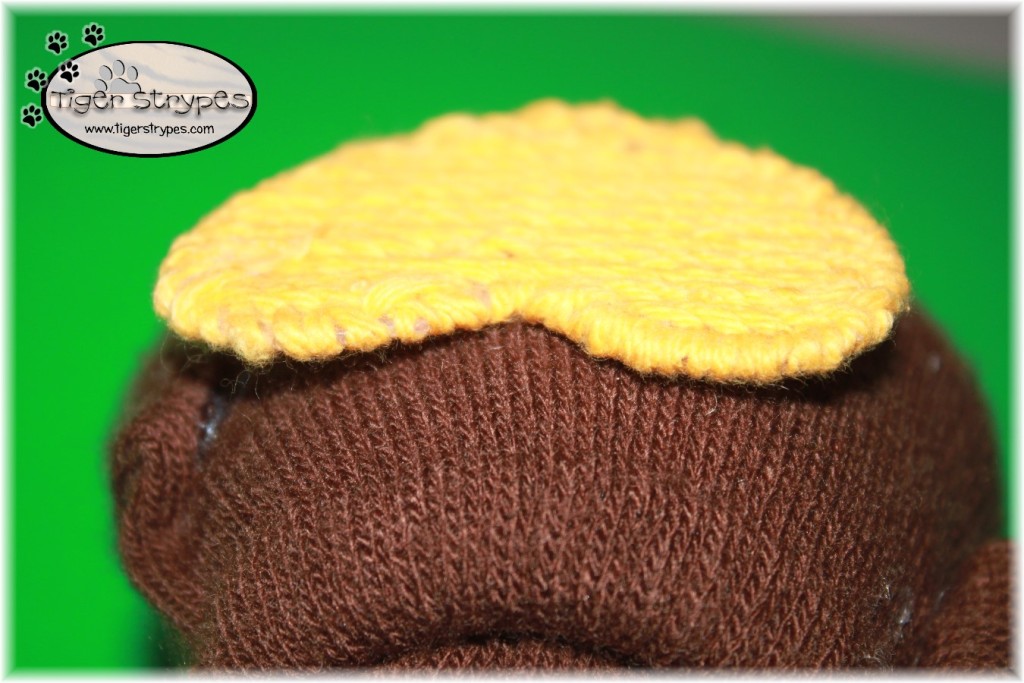
Now, just glue the “right side” to the bottom of the turkey body. Make sure to have the top of the heart to the front to look like the two feet.
When that was dry, I cut out some pieces for the head and used some google eyes. I found a little beak in my leftover craft supplies and just decided to use that (I love recycling). You can add anything else that you like to personalize it.
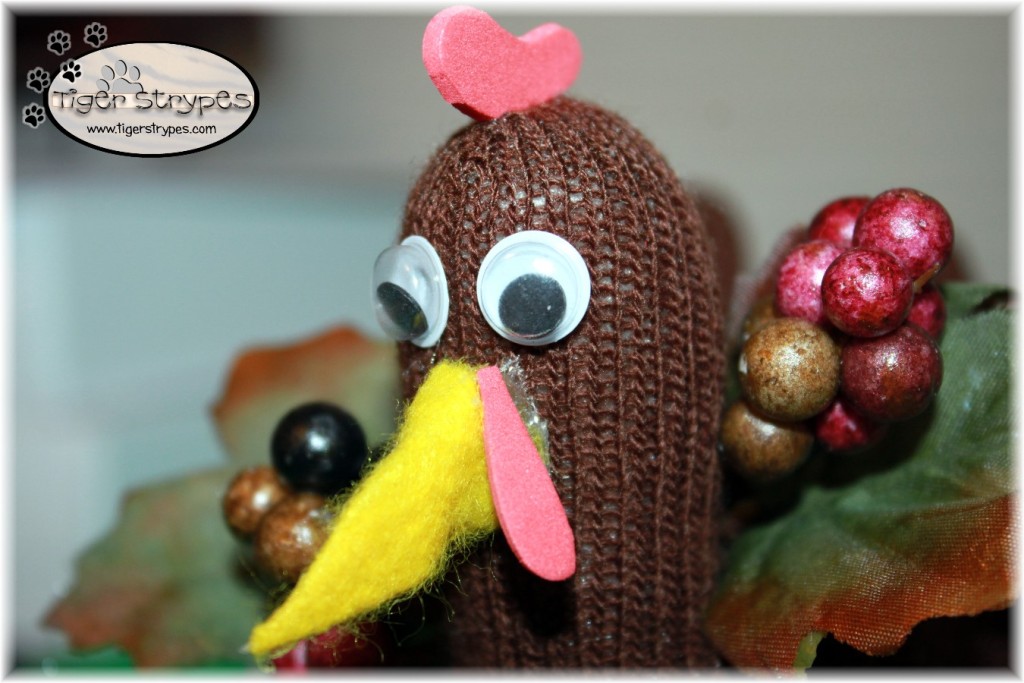
Now my little turkey friend was all finished. I just set him on the counter to be a part of our Thanksgiving holiday. Praying that yours is blessed!
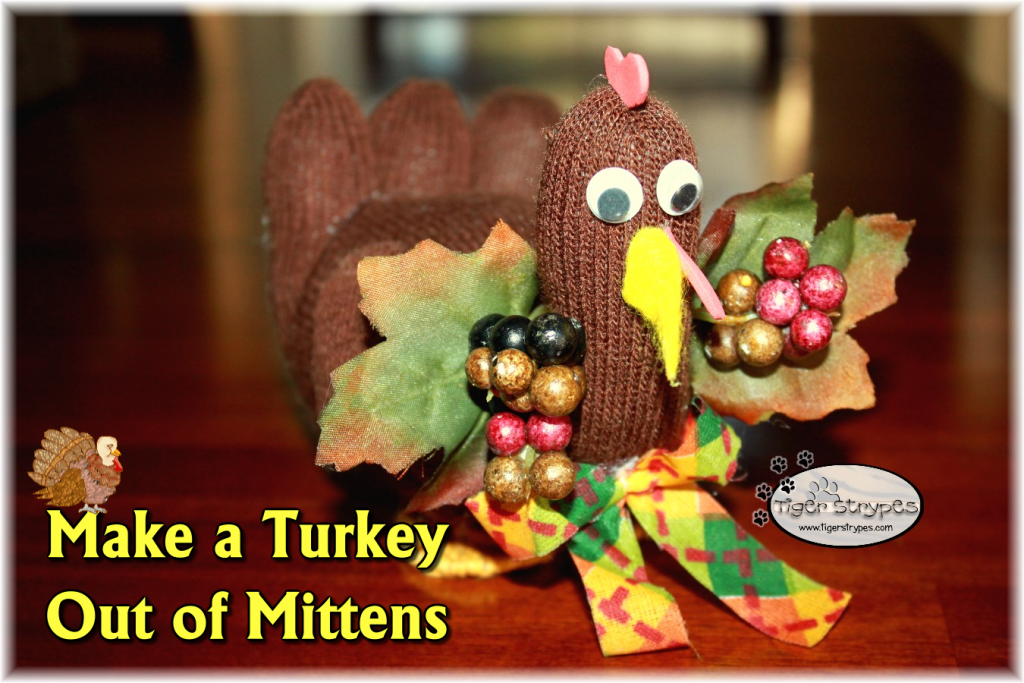
I hope you like it! Please take a minute to leave me a comment, and let me know what you would do different, or what you would add, etc. Be sure to tweet, pin, share, etc. – thank you!!
“Give thanks to the Lord, for he is good; his love endures forever.” –1 Chronicles 16:34
PLEASE SHARE THIS POST USING THE OPTIONS BELOW…THANKS!!
*****************************************************************************************************

so cool and nice idea. These sound a fun way to do. My kids would love this. Thanks for the wonderful idea.
Thanks Onica – they were fun to make!
This is a great little project for my Gabby! Her mommy can do all the cutting and stitching and she can do all the stuffing and decorating!
I bet she would love it!
This is really cute and unique idea for sure making a turkeys out of a mittens. I will have to try doing this with my nephew and they would make cute little gift ideas too. Thanks for sure the idea.
You’re welcome, Rebecca – I hope you can have fun with it!
[…] Full Instructions: Make a Turkey Out of Mittens – Tiger Strypes Blog […]
[…] Full Instructions: Make a Turkey Out of Mittens – Tiger Strypes Blog […]
That sure is a cute turkey! I would never have thought of using a glove to make a turkey!
Thanks Naomi – I figured that it would be fun!
Absolutely adorable! I can envision these cute little gobblers all in a row as name tag place markers at our holiday table. Something to work on for next year.
That would be great – you could use ones for babies and make them really little! 🙂
You did a fantastic job. This is adorable!
Thank you Mandie!
Very cute, and this would also be a cute toy for our cat. I will look at mittens in a whole new light now.
I’m sure that they would love it!