Create a Photo Book Craft
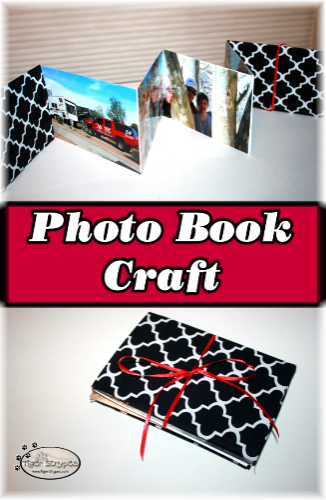
Who doesn’t love having photos from past events or family vacations that you can enjoy later on? I always share my photos from trips online, but love to have some that are special sitting around, or even for sharing with family. I saw this available on a photo sale site and figured, “why not just make my own?” It was really easy to make, and could be changed up to whatever style, colors, etc. that you wanted.
The photo book could be made smaller, larger, or even different sizes…just depends on how creative you want to get. I sure hope that you like it! Have a blessed day, and please be sure to comment on, and share this craft on your social media channels – thanks!
Learn how to create a Photo Book Craft #DIY #Memories #TigerStrypesBlog – https://t.co/XzujBkCJJR via @satrntgr pic.twitter.com/qIedUuuAsp
— Jamie (TigerStrypes) (@satrntgr) August 6, 2016
Materials/Tools Used:
- Poster Board
- Craft or Recycled Cardboard
- Material
- Ribbon
- Glue Gun / Glue Dots / Tape
- Photos
- & Time!
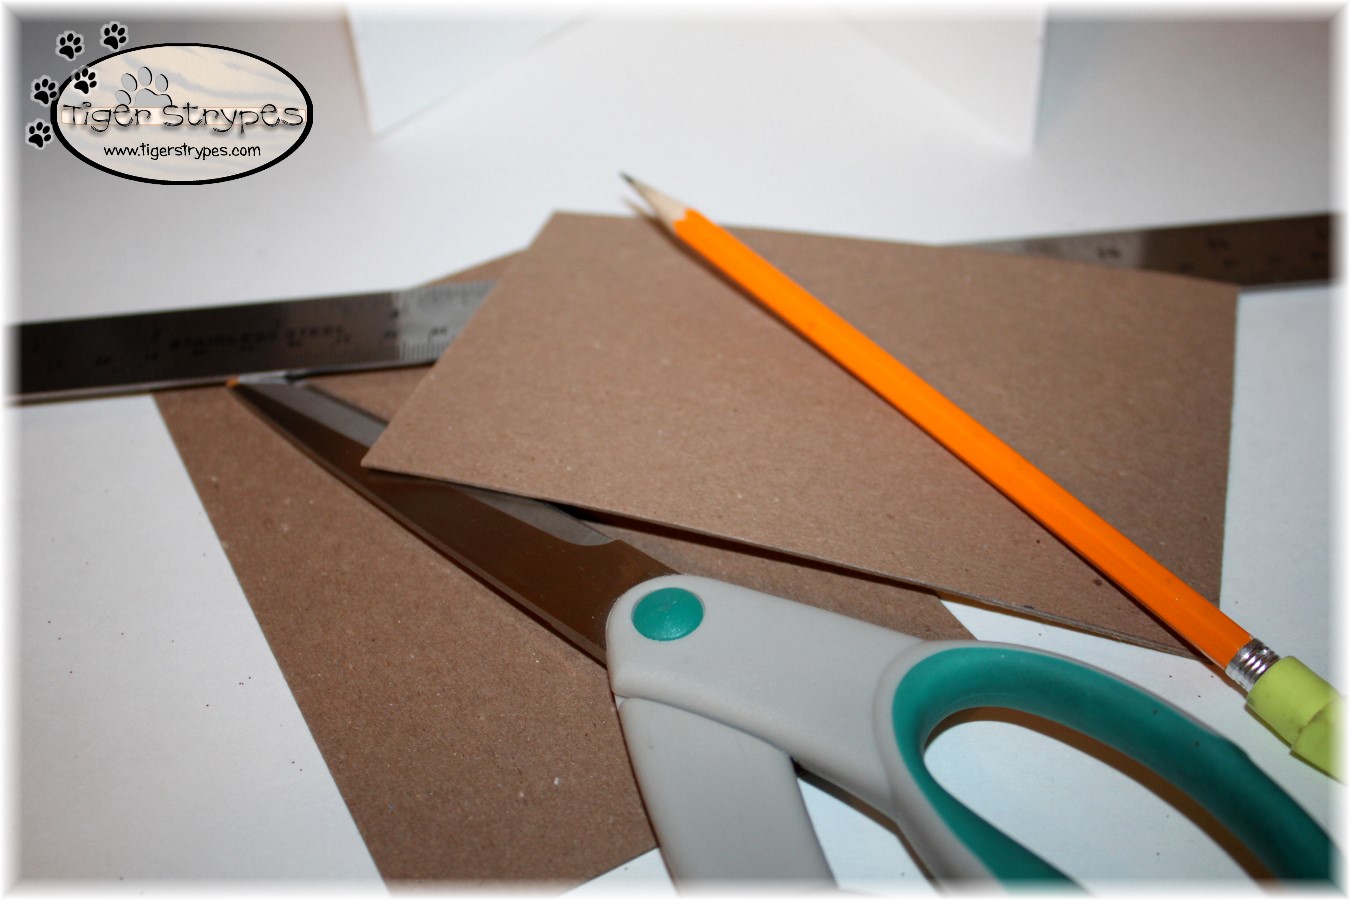
I started with a template of how many photos that I wanted to use. Since I was doing a total of (8) photos, there will be (4) on each side that are the 4×6″ photo size. I also left some end pieces that were about 2″ wide each. Using a pencil, I marked this on the poster board to know where to cut at the 4″ line.
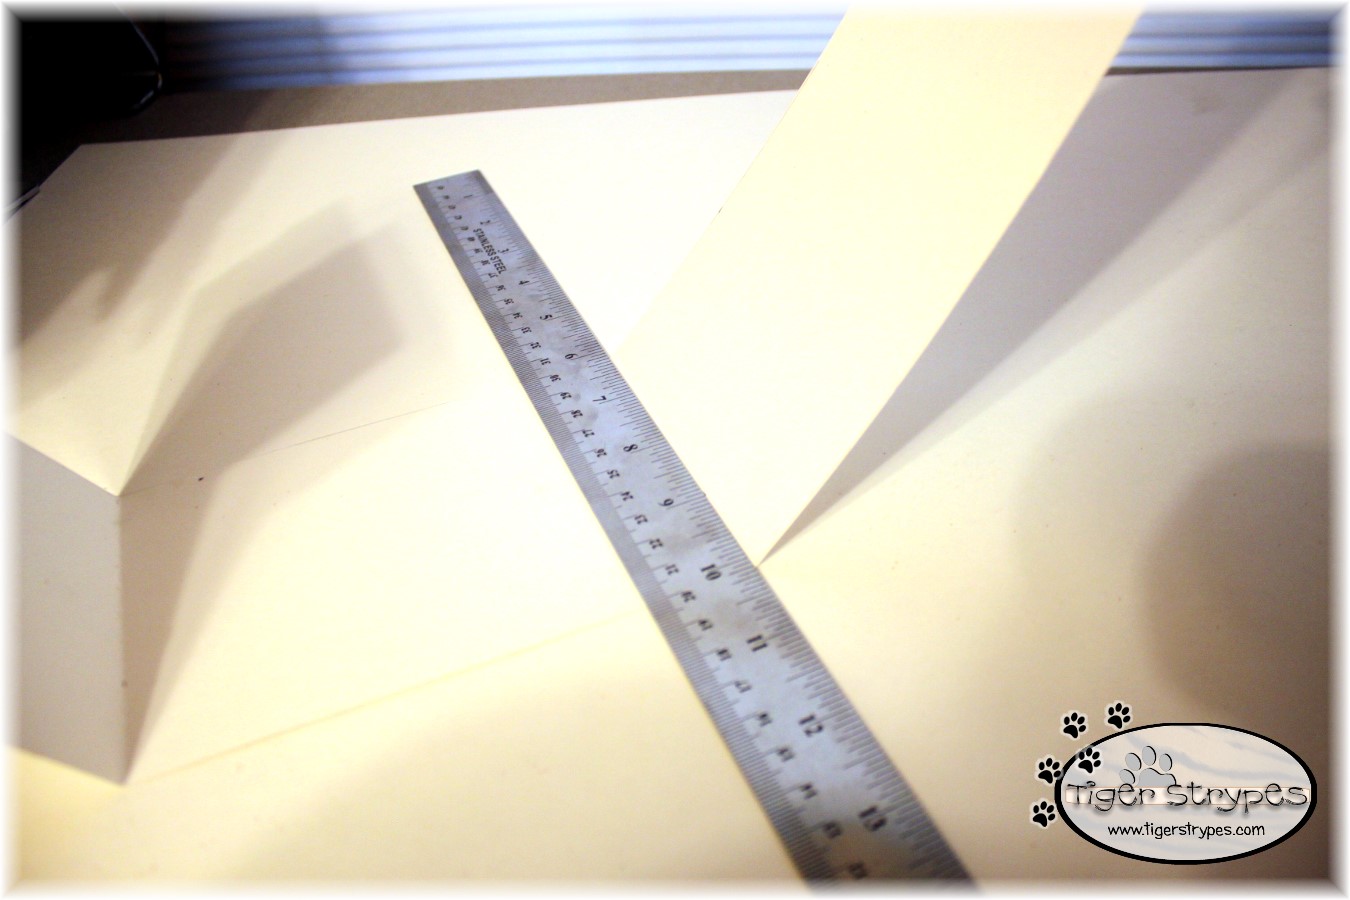
After the whole piece was cut out, I used my metal ruler to make folds at the 2″ ends, and then every 6″ on the piece.
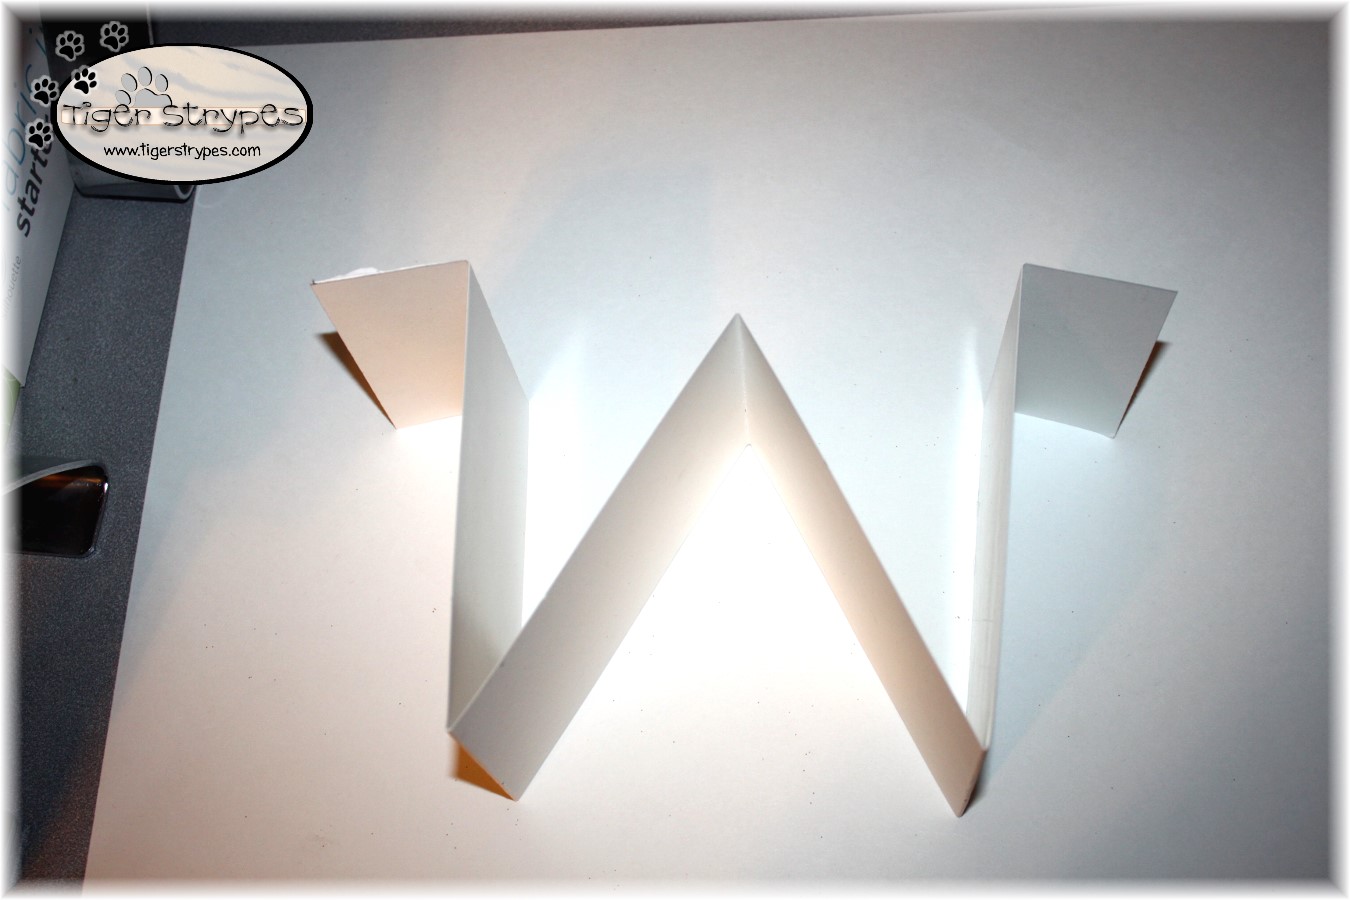
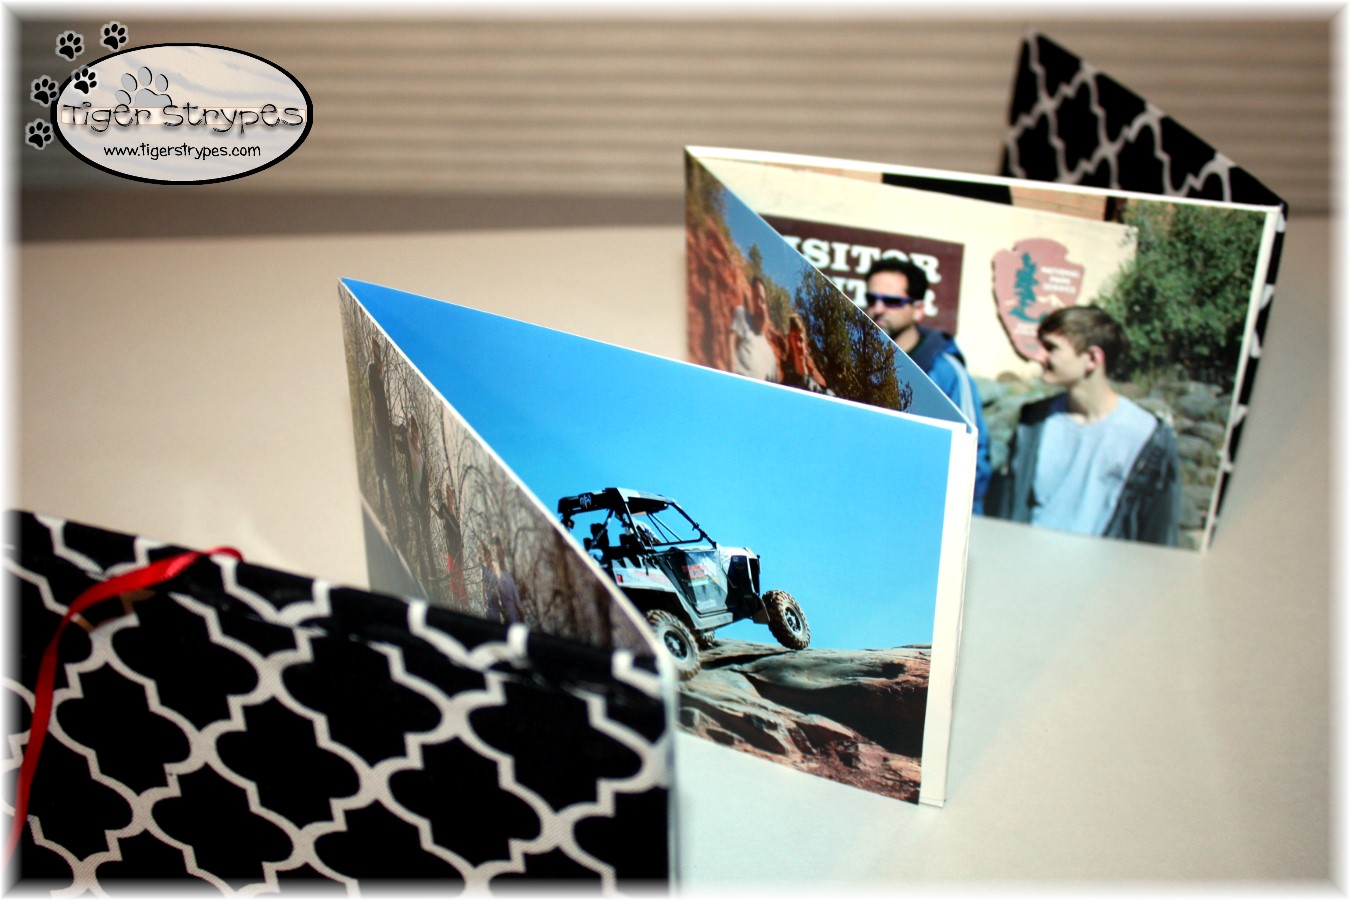
I then folded them a bit more tightly to come out with a piece that looked like this:
Next, I cut (2) 4×6″ pieces of the thicker cardboard to make the front and back covers for the book.
I wrapped just a bit of scrap fabric around the cardboard, and trimmed it to about 1″ on each side. Using my glue gun, I attached the edges to the cardboard piece.
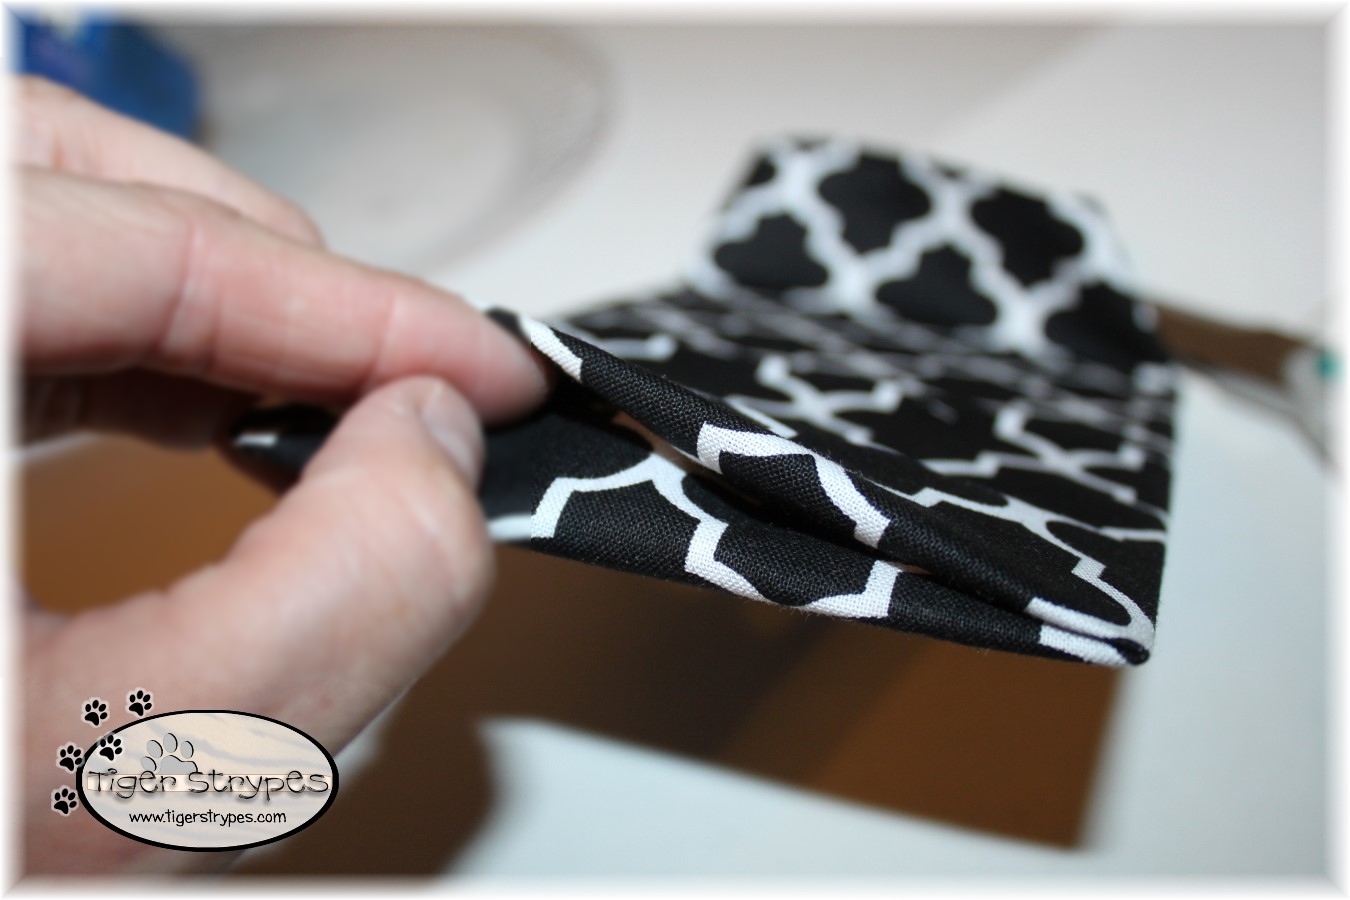
Then, using my fingers to push it in with folds on the edges (kind of like wrapping a gift), I finished up the sides of the cardboard. Using my glue gun, I secured just one side on each piece, since you’ll be finishing the other edge in a different way.
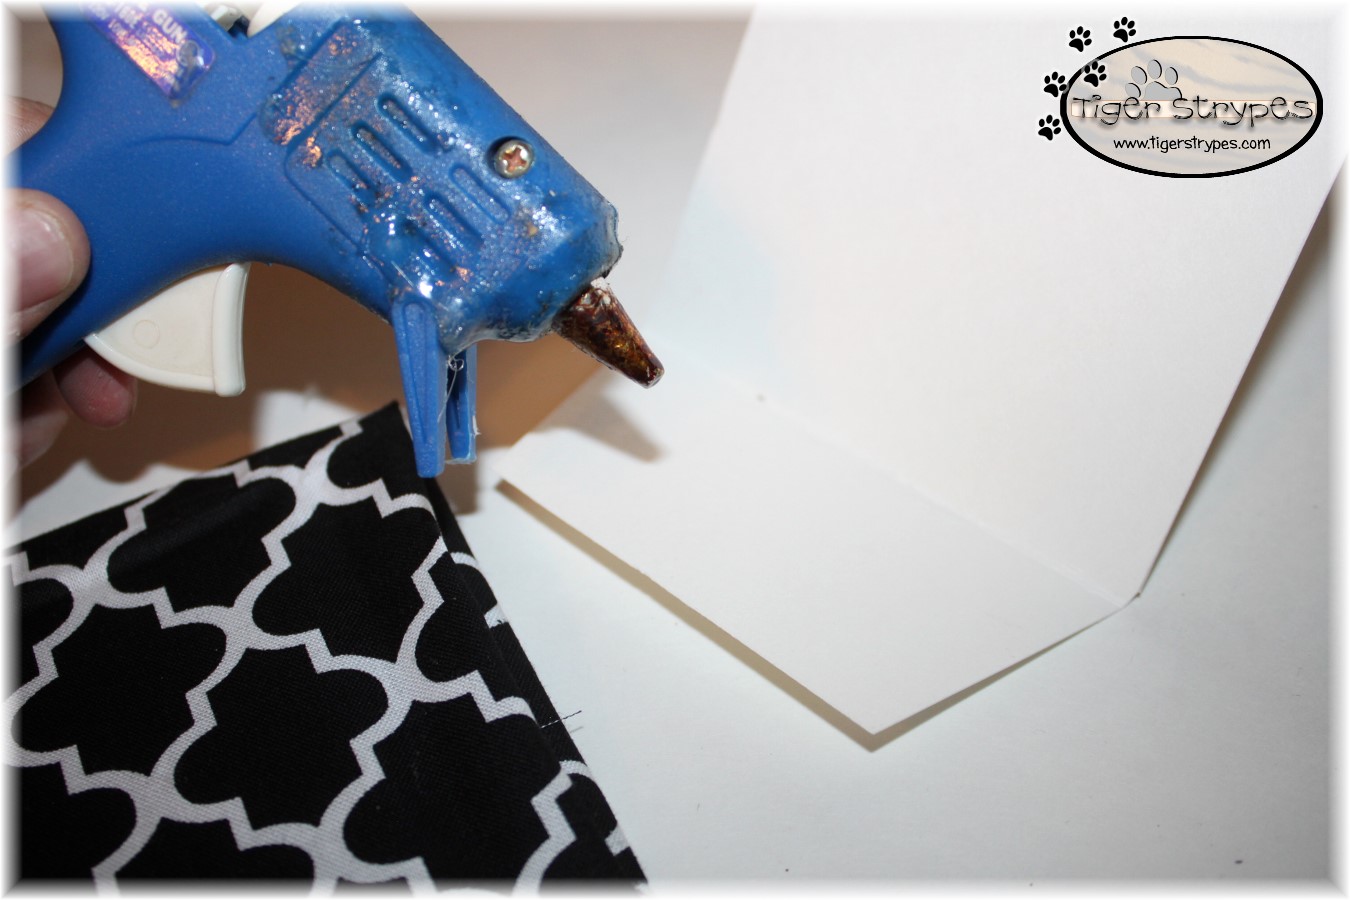
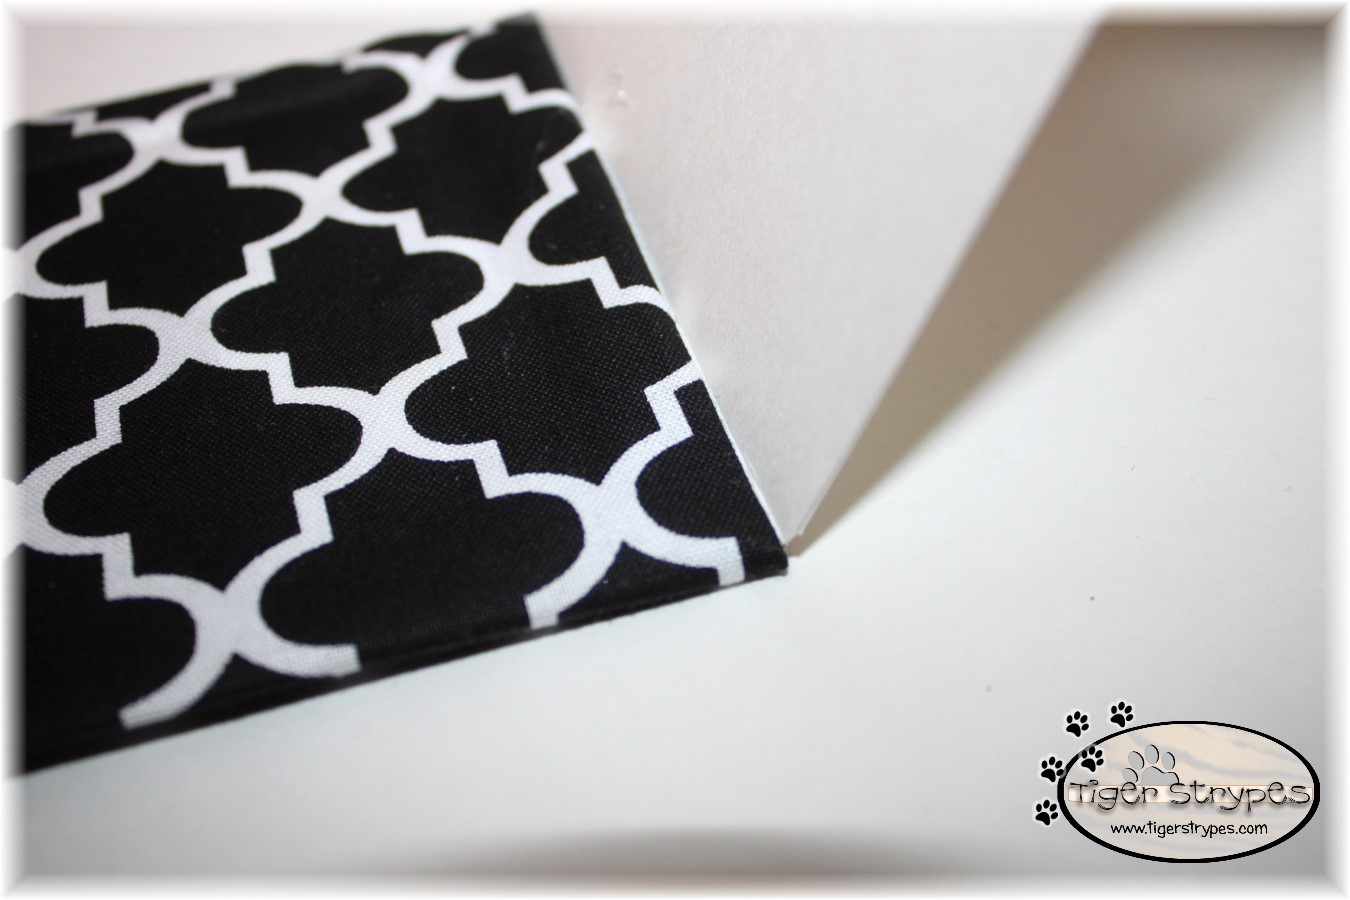
I then glued in the 2″ edge of the folded piece into the open side of the fabric covered cardboard. Make sure you seal the edge completely, but try not to have any glue overflowing. Do this on both of the sides of the folded paper.
Next, I added some ribbon to the rear cover in the center to use for tying up the book to close it up. Just use a few small dots, or whatever works for you.
Now, just tie the ribbon over the top into a bow, so you can trim the pieces to the length that you want.
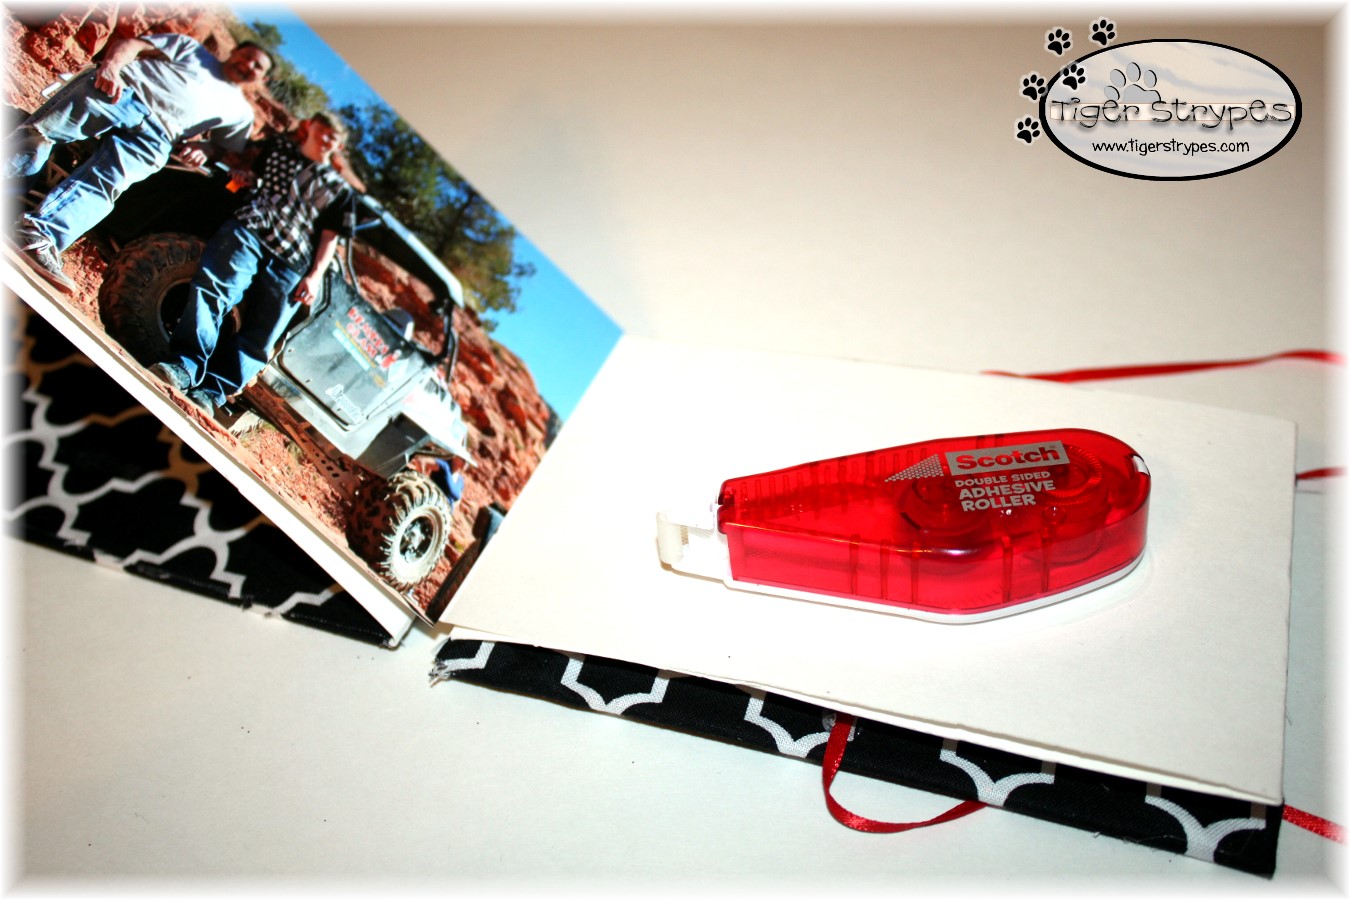
After that, you can start adding the photos. I just used a double-sided adhesive roller that I love for crafting, to make it super easy, and not messy at all.
Now you can trim up any edges of the photo book, as needed…tie up the ribbon around your book and enjoy!!
I hope you like it! Please take a minute to leave me a comment, and let me know what you would do different, or what you would add, etc. Be sure to tweet, pin, share, etc. – thank you!!
“You sleep a little; you take a nap. You fold your hands and rest.” –Proverbs 24:33
PLEASE SHARE THIS POST USING THE OPTIONS BELOW…THANKS!!
*****************************************************************************************************








[…] Jamie shows us how to Create A Photo Book Craft […]
That is a wonderful excellent idea!
Thank you Sherron! 🙂
what neat craft. #homemattersparty
Thanks Melissa!
What a cute idea! Photo gifts are popular in my family–everyone always wants me to gift them a scrapbook. This is less work and still does the trick 🙂 #HomeMattersParty
Thank you Crystal – I know that everyone loves a photo for a gift!
What a fun project. It would be cool as a little gift of special memories — girl’s weekend, special birthday, etc. Thanks for sharing and co-hosting at #HomeMattersParty 🙂
~Lorelai
Life With Lorelai
I figured it would be perfect for Grandparents, etc. 🙂
I’m always looking for new ways to give pictures to family & this would be great! So creative! #HomeMattersParty
Thanks Michelle – I hope they love it! 🙂
Love how this turned out! Such an awesome idea, Jamie. #HomeMattersParty
Thank you – it was really fun to make.
I love love love this! I have made similar ones like this that were about 4 inches square. Yours is wonderful. #HomeMattersParty
Thank you Pam, I figured it would be easier to make one the photo size. 🙂
I love the mini photo albums. They would be fun gifts to make for family, too. I haven’t ever seen one made with the fabric cover, that’s really a nice touch! Thank you for sharing this tutorial at #HomeMattersParty
Thank you Nicole – it was fun to make. 🙂
[…] Jamie shows us how to Create A Photo Book Craft […]
[…] Jamie shows us how to Create A Photo Book Craft […]
This is such an adorable crafty idea. I love the print you choose to use.
Thank you for sharing this with us on the #HomeMattersParty.
Thanks Crystal – I thought that print would be fun to use! 🙂
Looks great! I have been wanting to make one! Thanks for the awesome photos, showing the details of putting it together! ♡Tracy
You’re welcome – I hope it helps you to make your own. I wasn’t going to pay the other company what they were asking, that’s for sure! 🙂