This site contains affiliate links. Please see below for more information.
Make a Pine Cone Wreath for Halloween
#TigerStrypesBlog #Halloween #Craft
I can’t believe that it’s already October. Time is flying by, and I haven’t really gotten in the mood to decorate for Fall yet. Halloween is just a few weeks away, and obviously the local stores didn’t get that memo, since they are already stocked for Christmas!! Goodness, it keeps getting earlier, and earlier every year.
I saw a craft like this on Craftaholics Anonymous and thought it would be fun to make. Living in the mountains, we always have a bunch of pine cones laying around, and this is a great way to use some of them up. Of course, when I recently decided to make this, there weren’t many out in the yard. 😛 I found enough to make it work, though, and love it!
I sure hope that you like the tutorial, and pray that you have a blessed day!
Please be sure to comment, and share this craft on your social media channels – thanks so much!!
Learn How to Make a Pine Cone Wreath for #Halloween. Fun #DIY for #family & #kids to use up the #pinecones. #craft #TigerStrypesBlog - Find out more at Share on X
Materials/Tools Used:
- Wreath Frame
- Pine Cones
- Glue Gun
- Golf Balls/Ping Pong Balls
- Permanent Marker
- Felt
- Cricut or Scissors
- & Time!
Instructions for the Halloween Pine Cone Wreath:
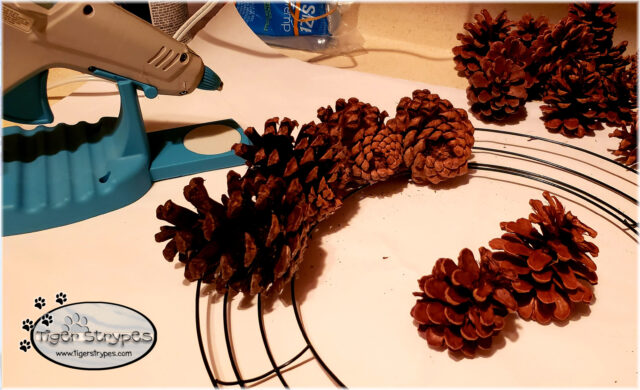
Start by finding some pine cones in the yard, or buying some at the store. If you get them out of the yard, be sure to either spray them for bugs, run them in a super low oven for awhile or let them sit out in the sun to clean them out. Using a glue gun, attach the pine cones all the way around the wreath frame. Be sure to cover up all of the underlying metal, so it doesn’t show through.
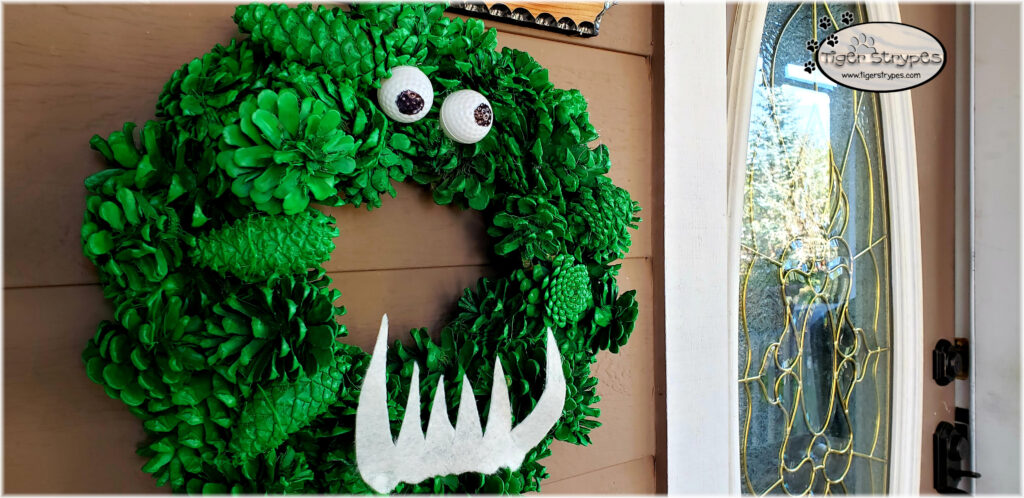
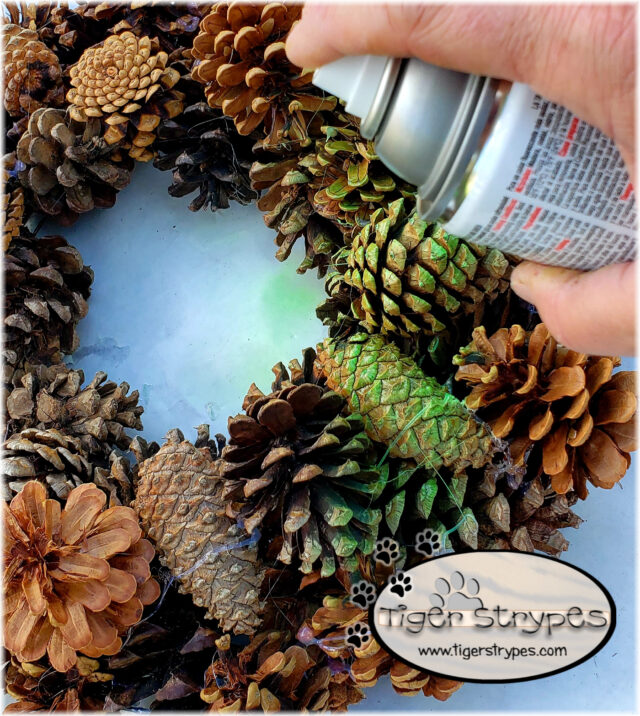
Once you have the wreath looking like you want it, take it outside and go over it with a spray paint of the color that you wish. I thought a neon green would look great, but you could do any color that you like.
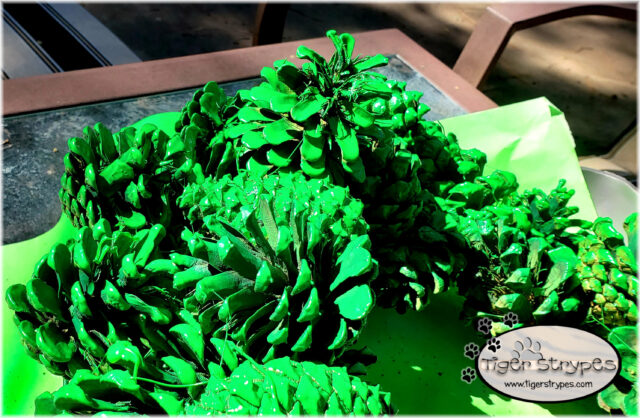
Let the wreath sit for a few hours to dry completely.
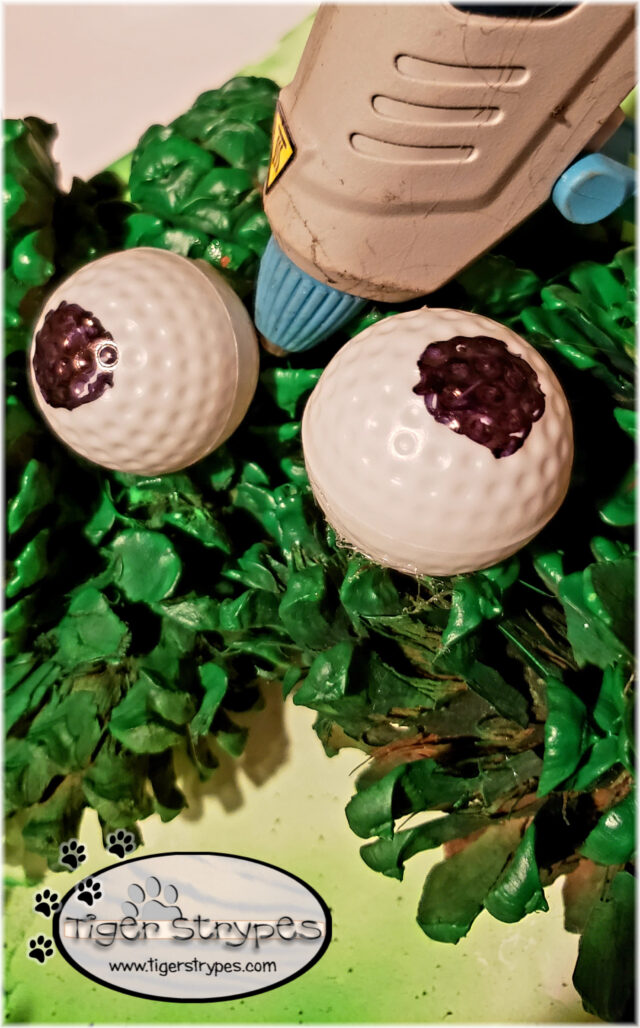
Once it’s dry, you can use a glue gun to attach the eyes (that I made out of dollar store golf balls and a permanent marker).
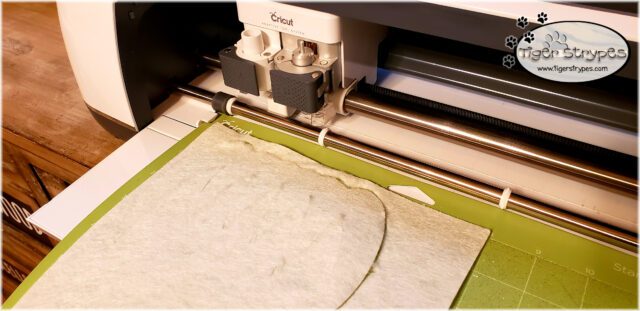
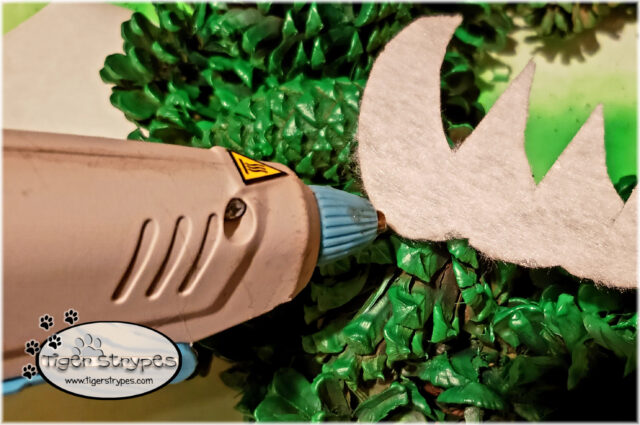
I then made a set of teeth, using some felt and my Cricut Maker. You could make these look however you want, and also add a bowtie, hat or some accessory for added bling!
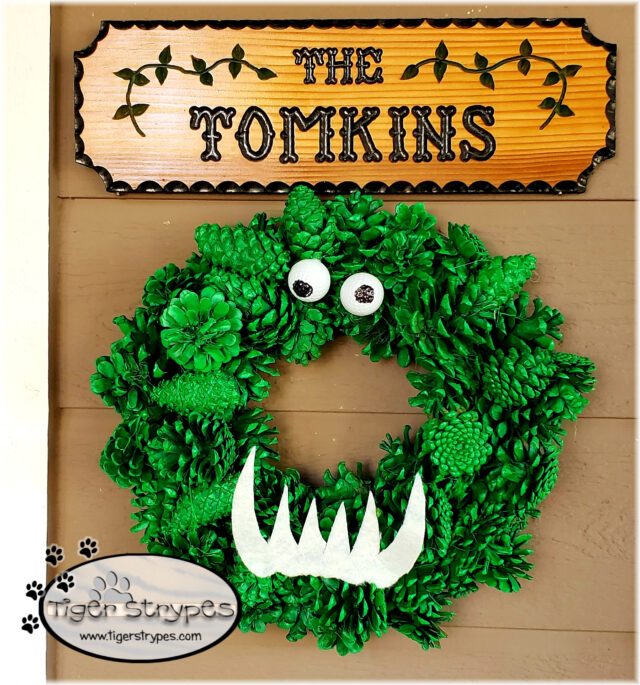
Now, you can just hang it wherever you wish, and let it bring smiles to those that visit.
What do you think? I hope you like it! Please take a minute to leave me a comment on what you would like to create, and maybe if you have any tips on how to do it different, or better!
Be sure to tweet, pin, share, etc. – thanks!!
“Am I the sea, or the monster of the deep, that you put me under guard?”–Job 7:12
PLEASE SHARE THIS POST USING THE OPTIONS BELOW…THANKS!
Affiliate links for Amazon are used on my site. This means that when you click on a link, and make a purchase, I earn a commission for that purchase. There is no extra charge for you, it’s just their sites way of saying thank you for helping them get a customer. I use affiliate links to help fund my crafting budget, as well as help provide for our home.





How clever and fun this wreath is for the door.
I figured it would be easy to make and could use up some pine cones! 🙂
I love this craft! It’s easy and beautiful. I will make this. Thank you!
Thanks! Share a pic, if you make one!
I think this is great. this will not only bring smiles to the kids but will also make holidays bright and fun
It’s fun for any age. I just love using up stuff, that usually gets tossed, or burned.
This is so creative. I think the kids would love to try this decoration for Halloween
I loved making it. I’m thinking of recycling it into Scrooge for Christmas, too!
Pine Cone Wreath is such a great idea. I never thought of this
I just love using things that usually get thrown away. Here in the mountains, we have a LOT of them!
This is so cute! I need to make one of these with my kids. They’d love it.
I miss craft days with my son, now that he’s older. I hope you all enjoy the time!
This made me giggle it’s so cute! And we have a lot of pinecones in our yard so what an inexpensive craft!
It was easy and fun to make! I love using stuff up that would just get tossed.
You are so creative! This wreath is stunning, and yet you managed to use such a simple material for it.
I’m always one that loves to upcycle. It felt better to use the pine cones for a craft, instead of trash. 🙂
I LOVE LOVE LOVE this especially the color green! I would have never thought of painting it.
Thank you! I wanted to make sure that the green stood out. This shade sure did! 🙂
That is such an adorable idea!! I love it!!
Thanks Barb – it was easy, and fun!
I love Halloween DIY projects and this one looks so fun to do with my son. Thanks for the pinecone wreath tutorial!
You’re welcome! I figure the easier, the better!
What a cool use of pinecones. I like the green color of the wreath.
Thanks Tara! I figured that it’s a great way to upcycle!
This turned out really well! I bet that kids are going to love it when they go Trick or Treating!
We usually have about 3 kids, so hopefully they like it! ha/ha
I love that you have all those cool pinecones, within easy reach. Just walk outside! You did a great job on this fun spooky season craft!
There is usually so many more on the ground! Well, when more fall, I’ll make another one! 🙂
This is so cute! I love the golf ball eyes!!
Thanks, Heidi! I wanted ping pong balls, but the dollar store didn’t have any! ha/ha