
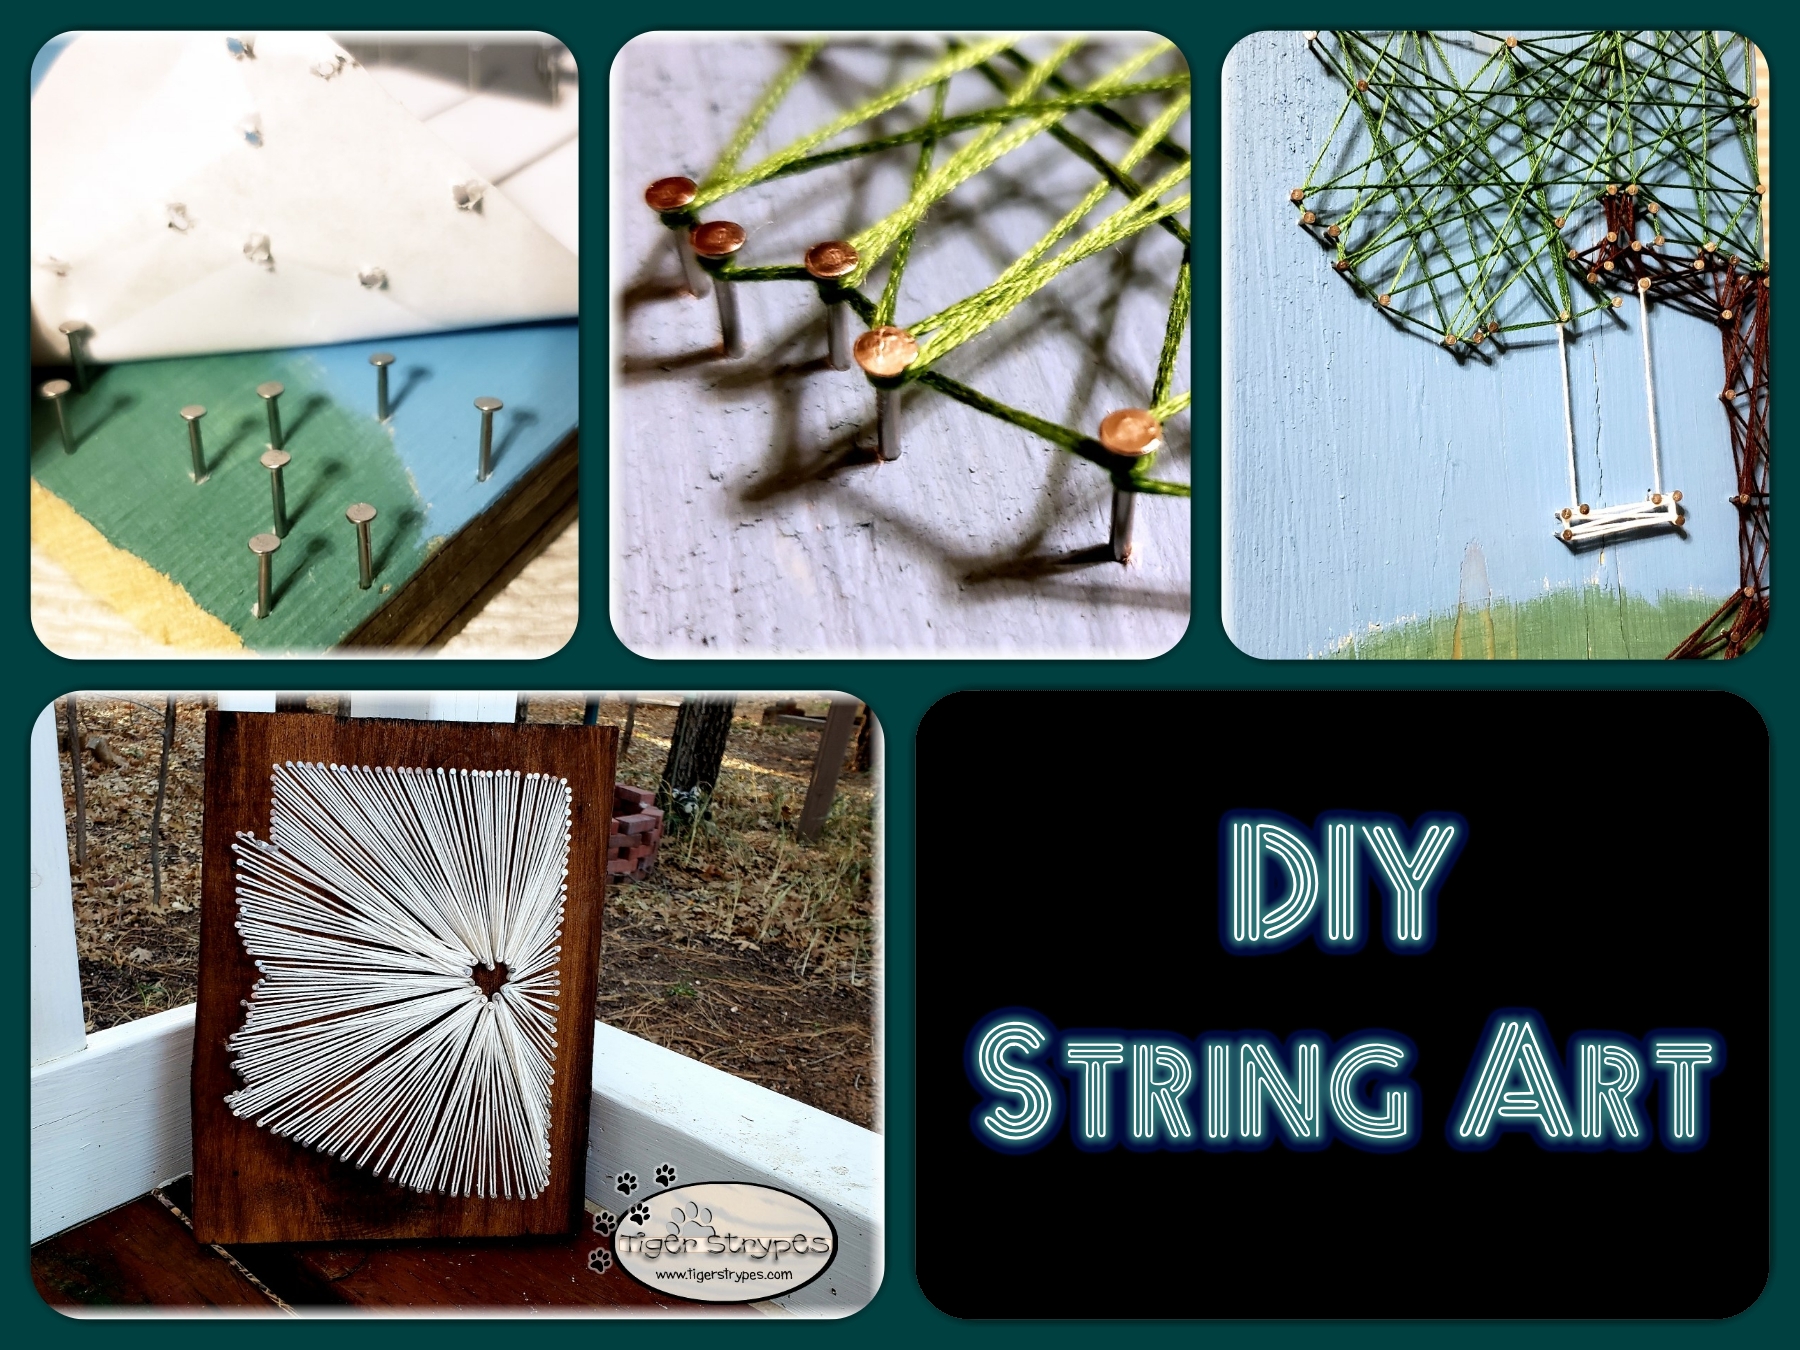
I Learned How to Make String Art
#TigerStrypesBlog #StringArt
I’ve seen a lot of photos of string art lately, and it made me want to learn how to do it myself. I checked out different forums online, and couldn’t really find a very down-to-earth tutorial, so I put a few pieces of the instruction that I found useful together, and came up with this post. My first project, as you’ll see was definitely a first. I obviously didn’t use enough nails in the first project, and didn’t have them close enough together, but hey, I was learning. I figure that it looked a bit abstract, and was a fun first time project. My next one was a bit more intricate, and turned out amazing…in my opinion. Just took a bit more work with the pliers, and bruises on my fingers to get it done. 🙂
I sure hope that you like the tutorial, the projects and pray that you have a blessed day! Please be sure to comment and share this craft on your social media channels – thanks so much!!
I've seen so many other pictures of it online, I needed to learn how to do it myself. Check out how I made some string art! #StringArt #DIY - Find out more at Share on X
Materials/Tools Used:
- Scrap Wood
- Wood Stain or Paint
- Wire Nails (Size 5/8 x 18)
- Hammer
- Needle-nose Pliers
- Picture/Photo/Graphic
- Printer
- Paper
- Cross-Stitch Floss
- Craft Glue Pen
- & Time!
Instructions for the String Art:
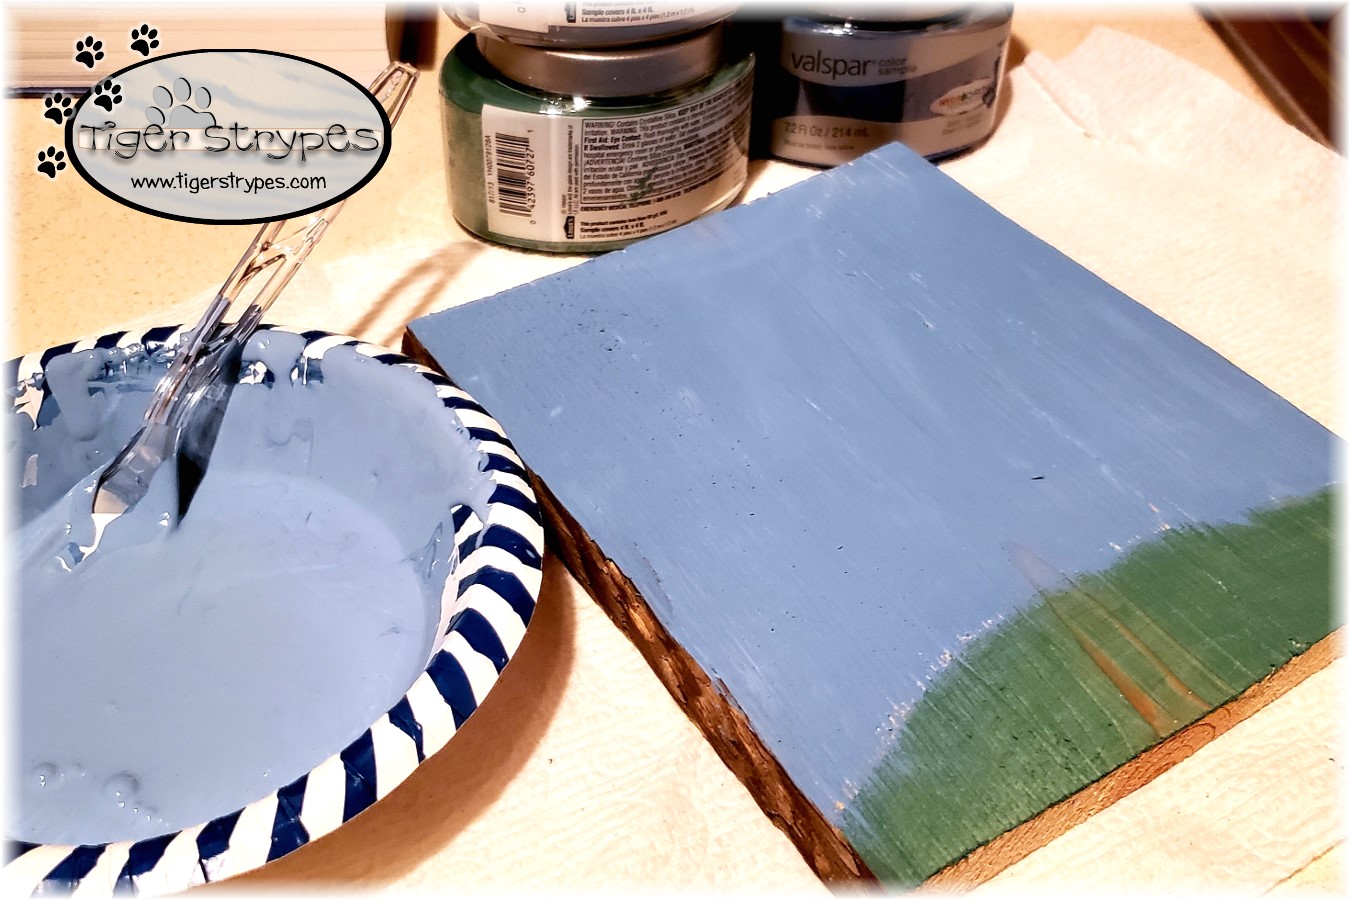
I started by cutting a piece of wood to around the size that I wanted for my design. Using craft paint, I added some background color to add depth to the piece.
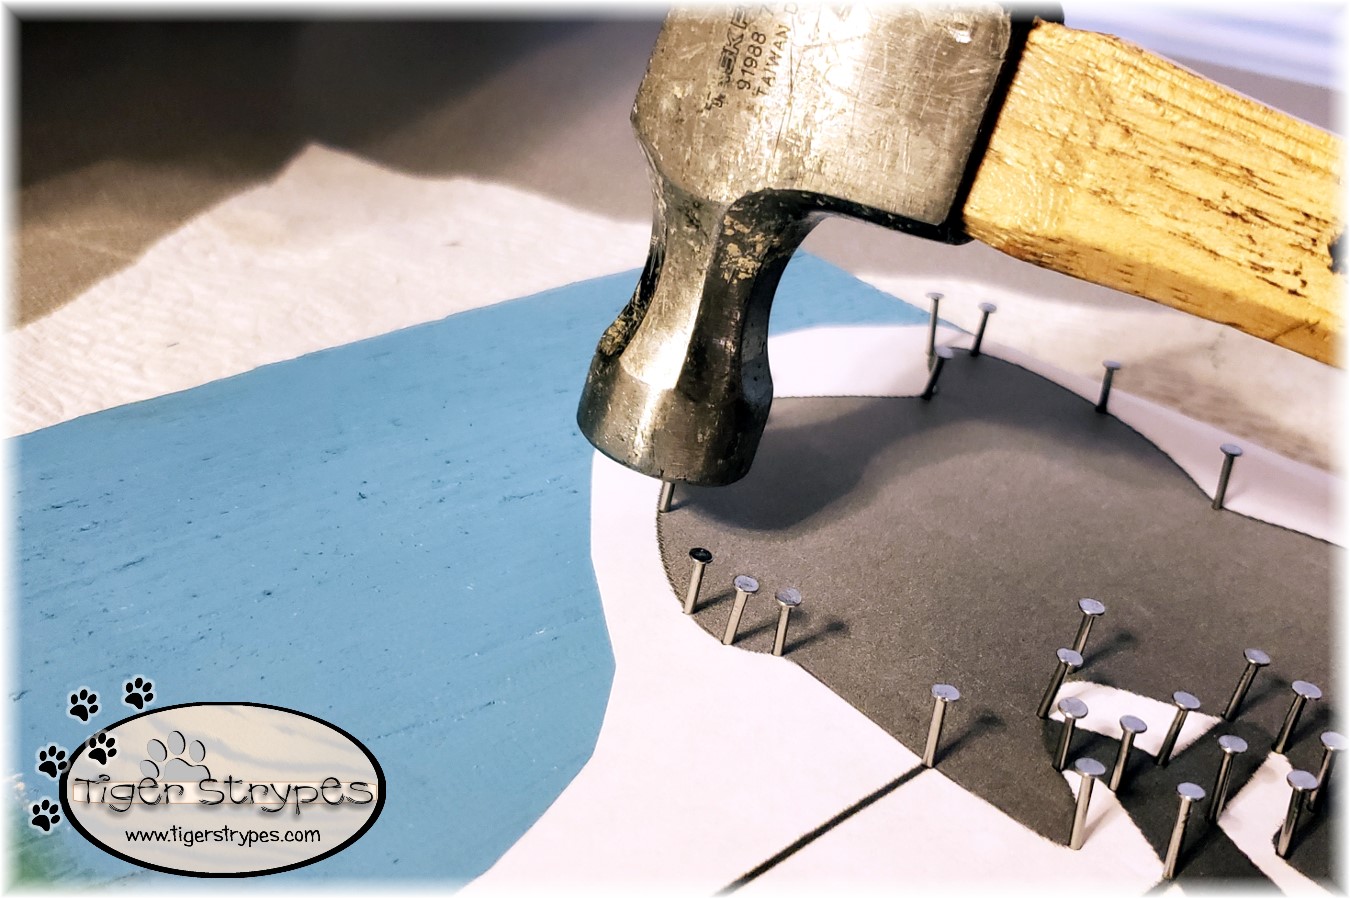
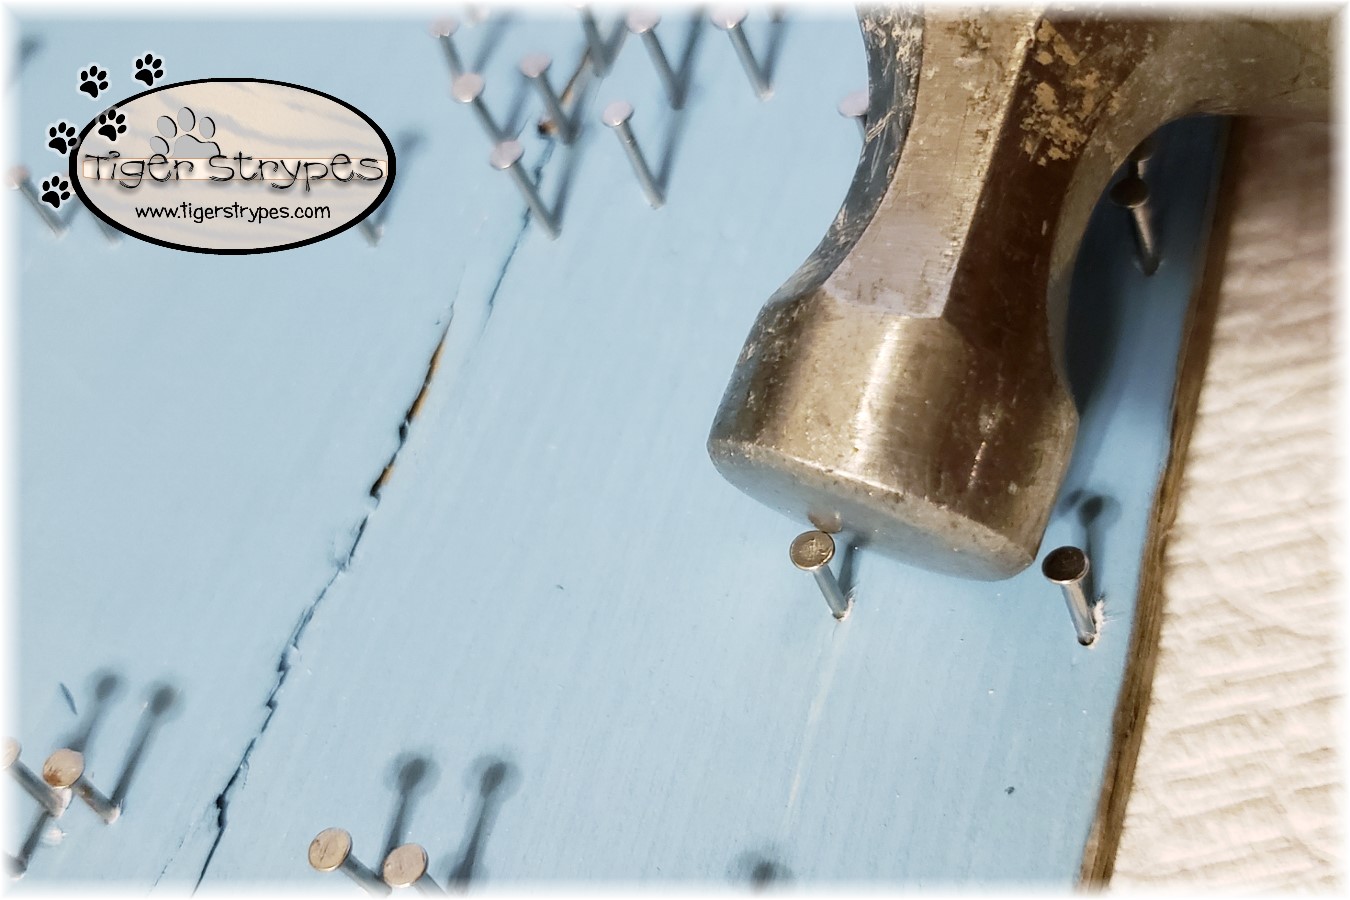
Once the paint was dry, I printed out the graphic that I was going to use as the outline. Using the craft nails, I started hammering them in around the edges. Depending on how detailed you want it, is how close together you pound them. Like I said, I learned in this one, I didn’t use enough.
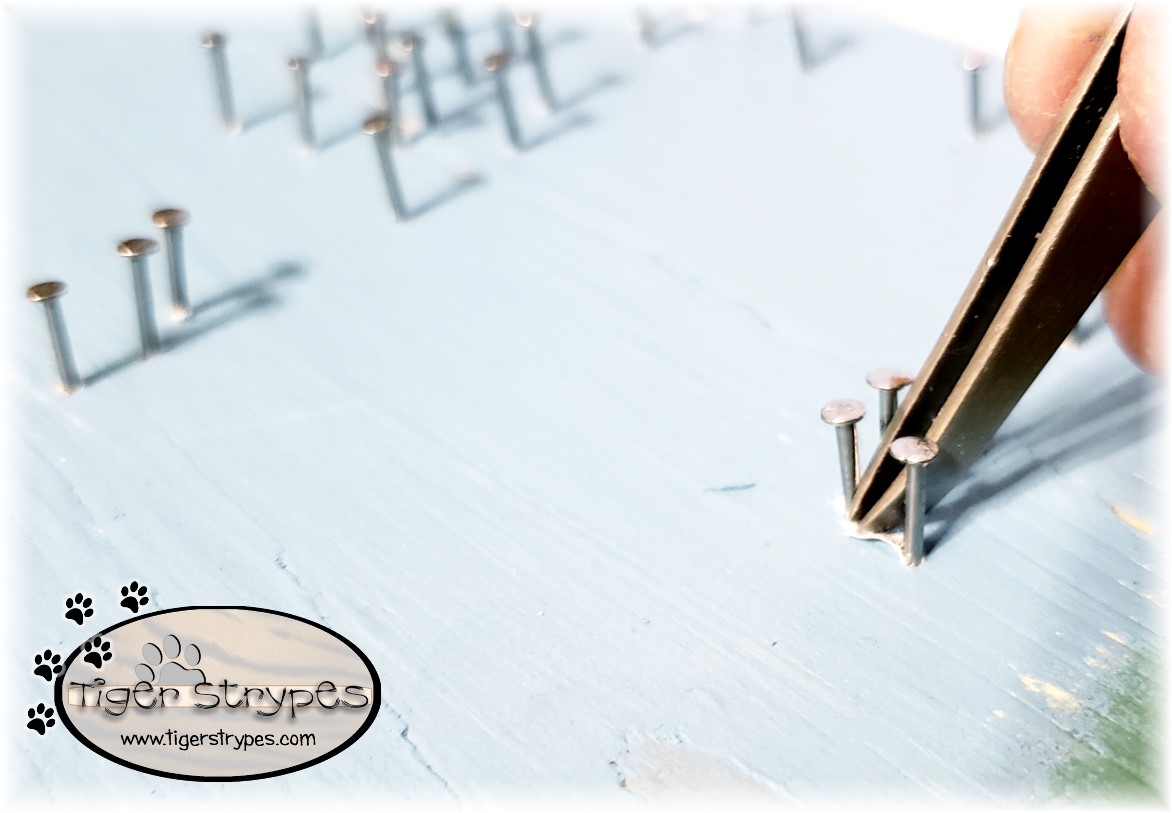
When the outline is finished, with the amount of nails that you want, just make sure that they are all secure and start removing the paper. There is a chance that some could pop out, so just be ready to hammer them in again once you’re finished taking the picture off. Use some needle-nose pliers to remove any excess scraps left on the nails. Also, use the hammer to straighten the nails out, if needed.

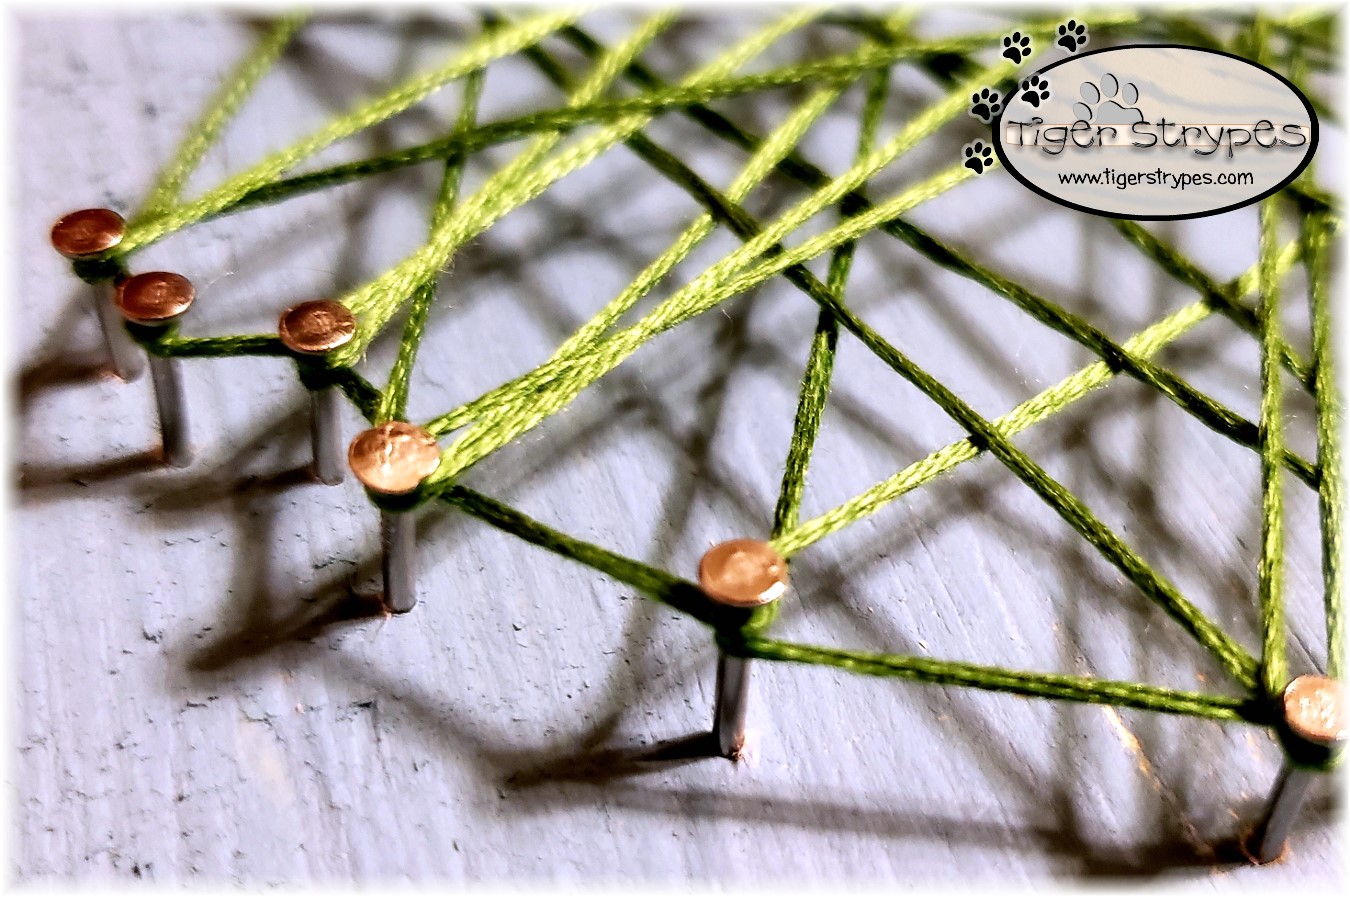
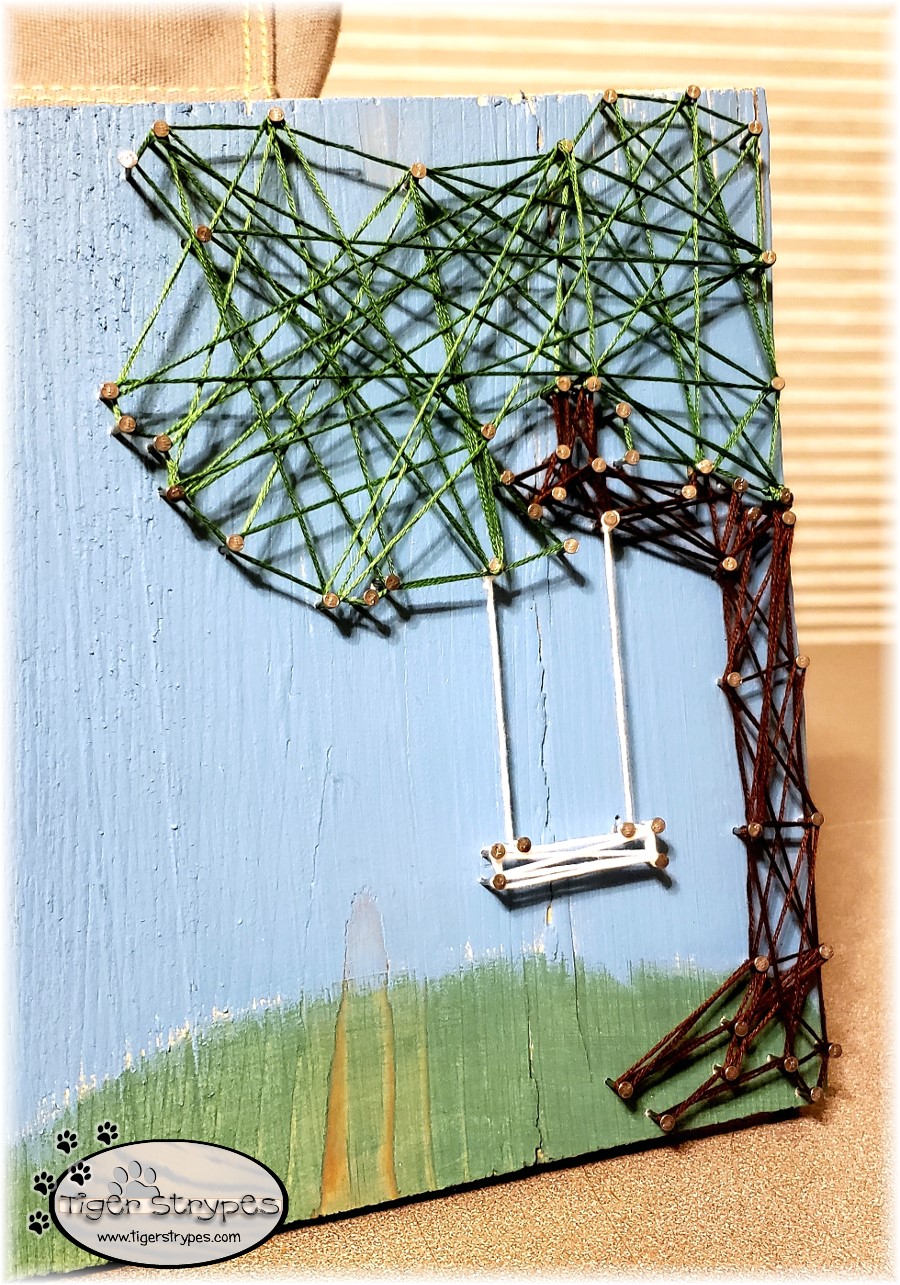
After all of that is finished, you’re ready to start wrapping. Knot the floss around one nail and using a craft glue pen, dot some glue on it to secure the piece, so it doesn’t unwrap. Be sure to use floss or string that is long enough to do it all, otherwise, you’ll have to knot in multiple places, and it might get weird looking. Now you can just wrap around the edges for a frame, and back and forth to fill in the picture. There is no set patter for this type of piece. Some do have specific ways to wrap, but it’s completely up to you.
If you’re using different colors, just be sure to securely knot the end of one, and the start of the other. What you do is totally your call. Go as simple, or as detailed as you have the time (and patience) to do! 🙂 Here’s how this one ended up. Like I said, first try – so give me a free pass on this one, please.
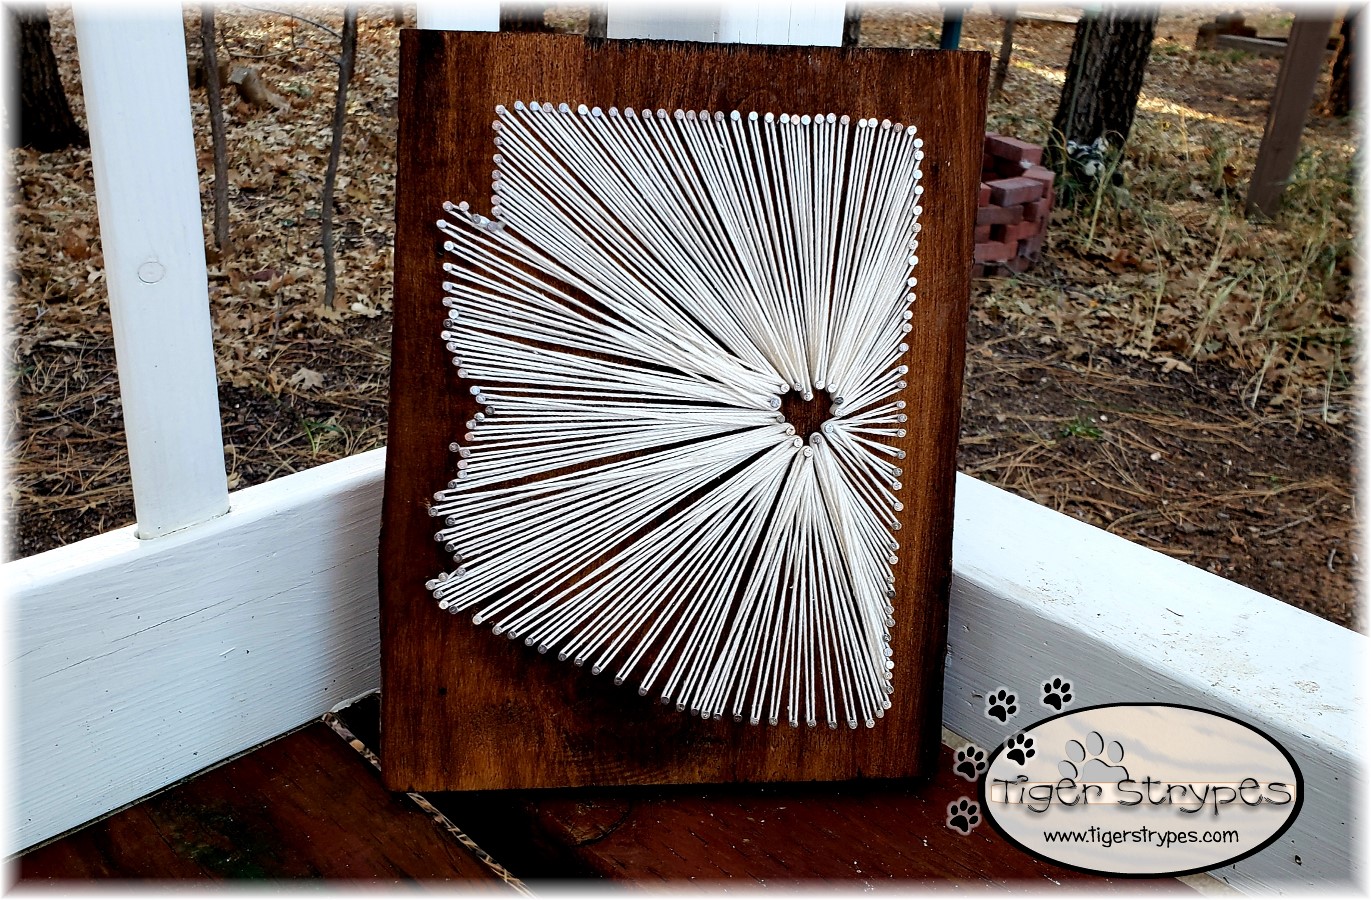
Now that I knew what I was doing, I decided to make one of the state of Arizona, where I live. Using a heart to show where our town is located as the highlight or anchor, I wrapped a single color floss around the nails that were much closer together on a piece of stained wood. This was done in a pattern, so a bit different than the one above. For all of you OCD-Like-Me folks, this is definitely a plus!! This one turned out a LOT BETTER, so I obviously learned something from my first attempt.


So, what do you think? I hope you like it! Please take a minute to leave me a comment on what you would like to create, and if you have any tips on how to do it different, or better! Be sure to tweet, pin, share, etc. – thanks!!
“The Sovereign Lord is my strength; he makes my feet like the feet of a deer, he enables me to tread on the heights. For the director of music, on my stringed instruments.” –Habakkuk 3:19

HERE ARE SOME OF MY PREVIOUS PROJECTS:
 |
 |
 |
 |
 |
 |


I love your string art! We did these in art classes but I forgot how we got them set up so your tutorial refreshed my memory. This would be a great project to do with my grand son.
I bet he would love it!! I remember making these in school YEARS ago. It was so fun to try again! 🙂
So fun, I love it! I’ve always wanted make one of our state. Thanks for the awesome tutorial. Adding this to my January craft plans!
You’re welcome Barb – it’s really so much fun! There is some work to it, but in the end…it’s so worth it!
This is so cool! I love the state of Arizona artwork!
Thanks Daisy – that one turned out a LOT better! 🙂
Those r super adorable
Thanks Jess – they were fun to make. Can’t wait to start on some more. 🙂
This is so cool! I should try one with the outline of Texas!
You could do the outline of anything!! I can’t wait to try more. I think I’ll wait until my fingers heal from the hammer, though!! ha/ha