 How to Make a Valentine Love Light
#ValentinesDay #Craft
So I haven’t been able to post about crafting for awhile. Let me get you filled in. My hosting account was messed up through an error that the host did, and wasn’t willing to help me fix…saying it was a WordPress issue. Well, after hours of research and prayers said for strength and courage, I finally figured out how to fix it myself! Take that “Don’tGoMommy” (just a play on their name)!!
With my site back up and running, I wanted to get going with some new crafts. I saw something like this over at Design Sponge, and thought that it would be fun to try. I always love to make crafts out of other things that would normally just get thrown away. With this, if you have a blown out bulb (that hasn’t left it’s mark), you can turn it into something fun for Valentine’s day – or any other day, with however you finish it up!
I hope you like it!! Have a blessed day, and please be sure to comment on, and share this craft on your social media channels – thanks!
Materials/Tools Used:
- Light Bulb
- Pliers
- Small Screwdriver
- Craft Wire
- Piece of Wood
- Cricut Explore
- Paper
- Paint Pen
- Ribbon, Decor, Etc.
- & Time!
Instructions:
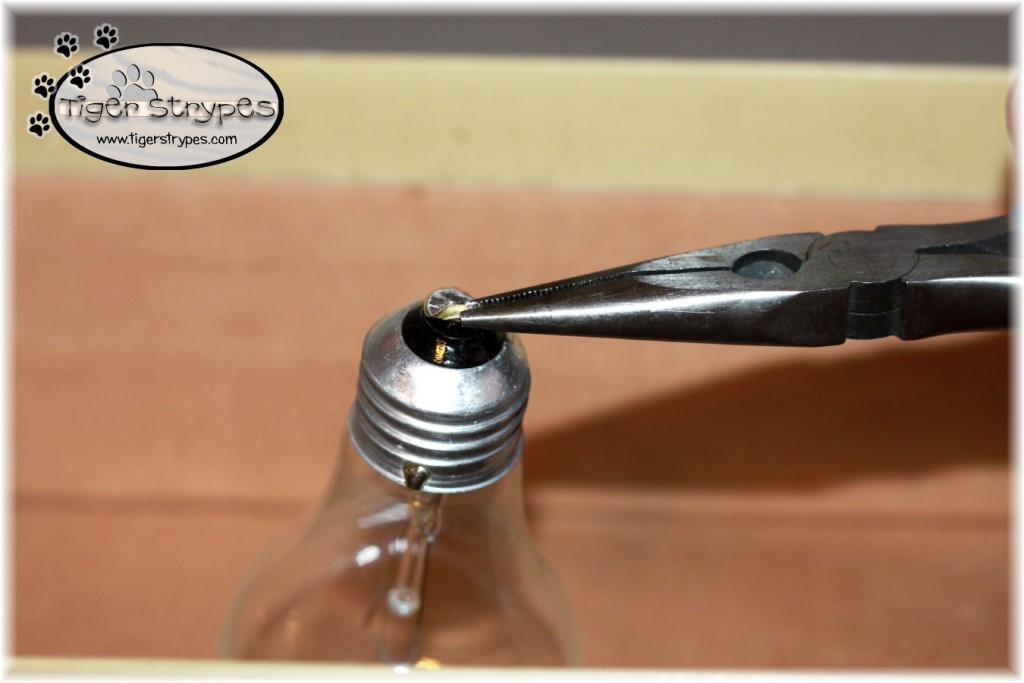
I started by using some pliers to remove the little seal at the bottom of the bulb. I did this in an old shoe box to catch all of the pieces and not have them scatter around the craft room. Also, as a just in case, if I messed up and broke the bulb.
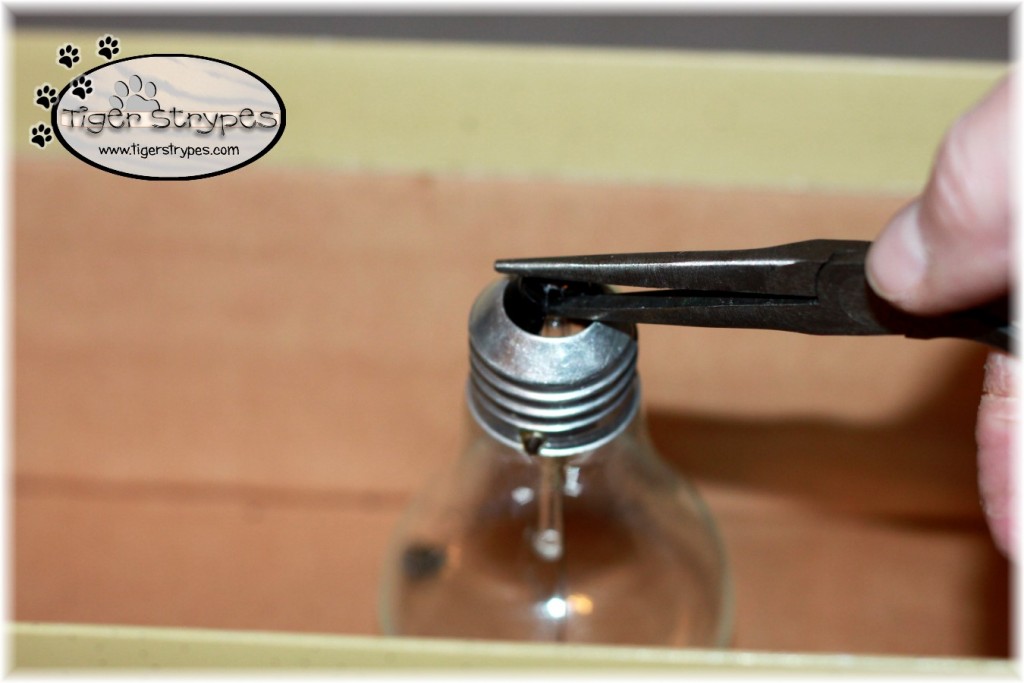
Next, still using the pliers, I broke up the plastic portion that was below it. Making sure to shake all of the pieces out into the box.
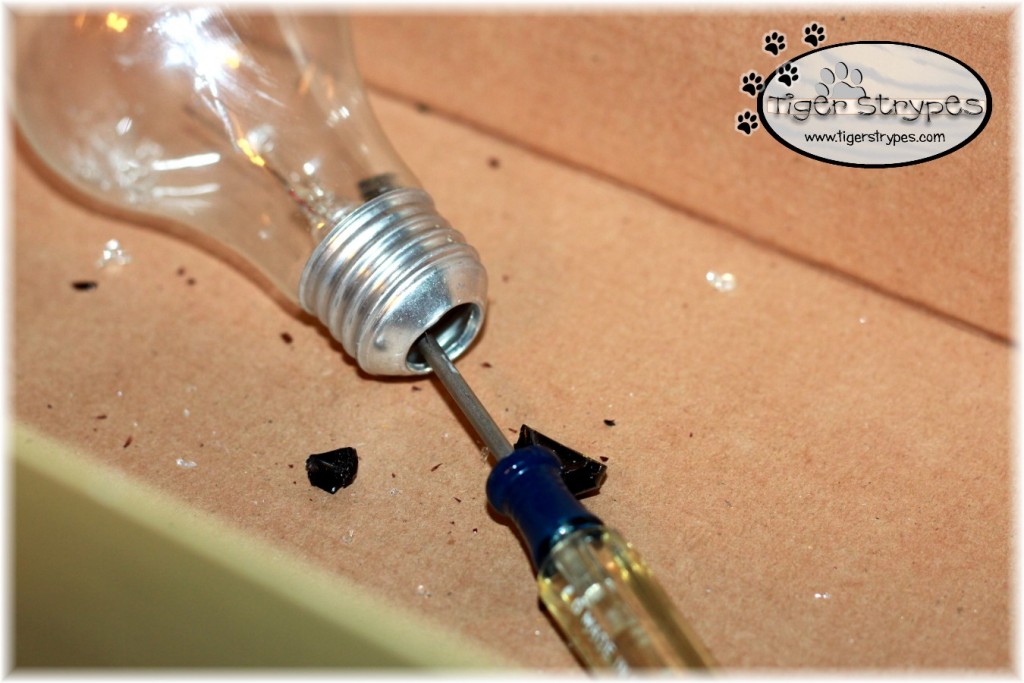
Once that part is done, using a small screwdriver, I broke the fill tube. This takes a bit of gentle force, so be careful!
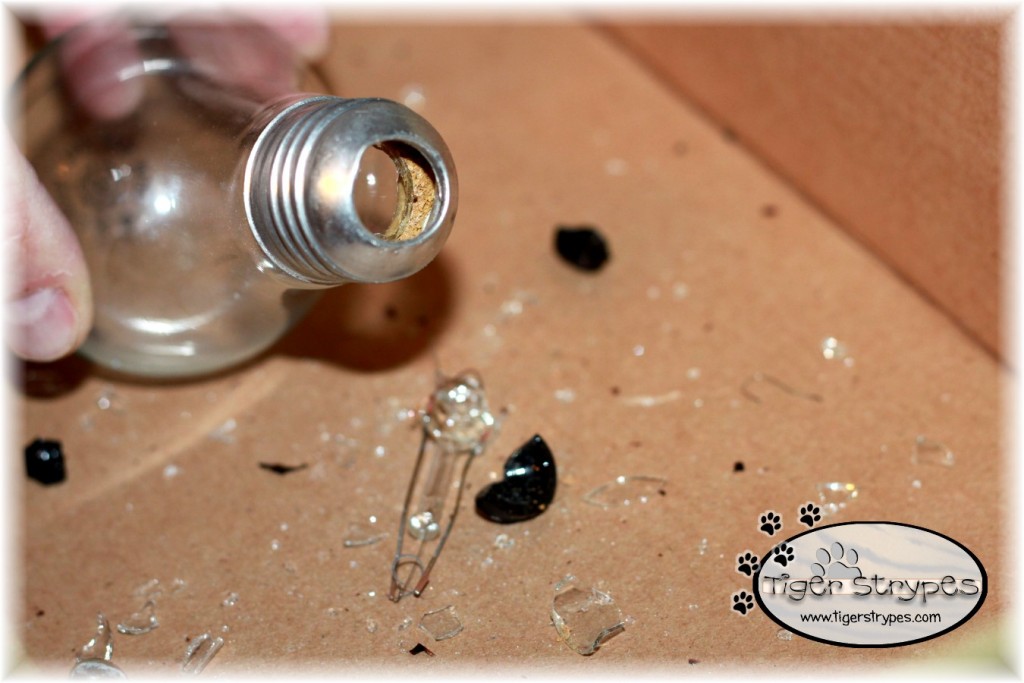
After that, I shook out all of the loose pieces, and pulled the broken part of the bulb out. I made sure to use my small screwdriver to clean up the edges and make sure that all of the broken glass was removed.
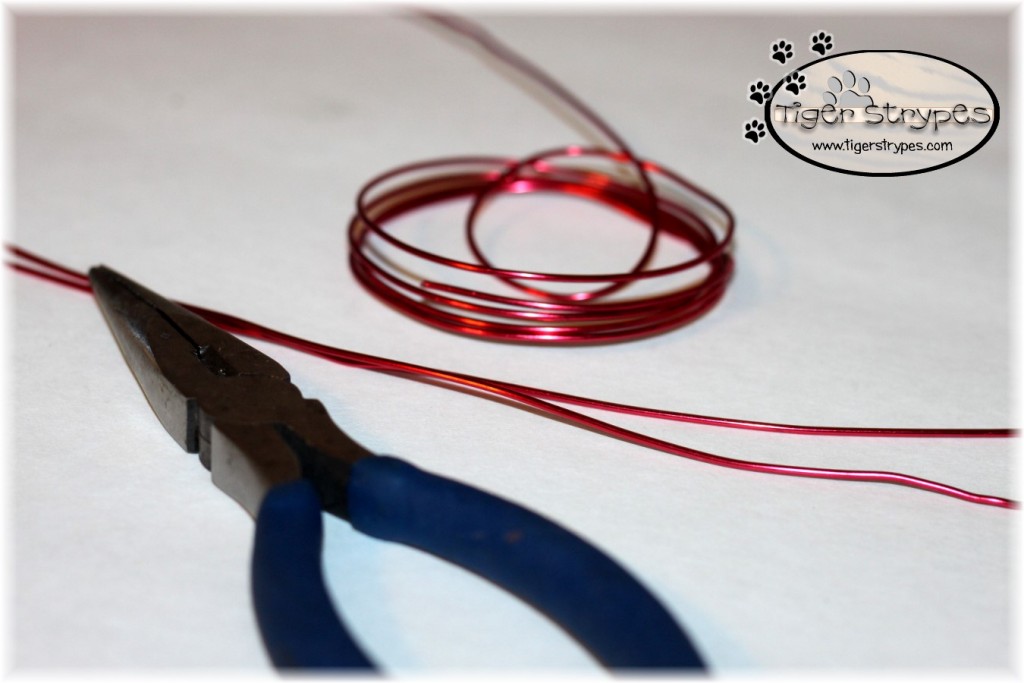
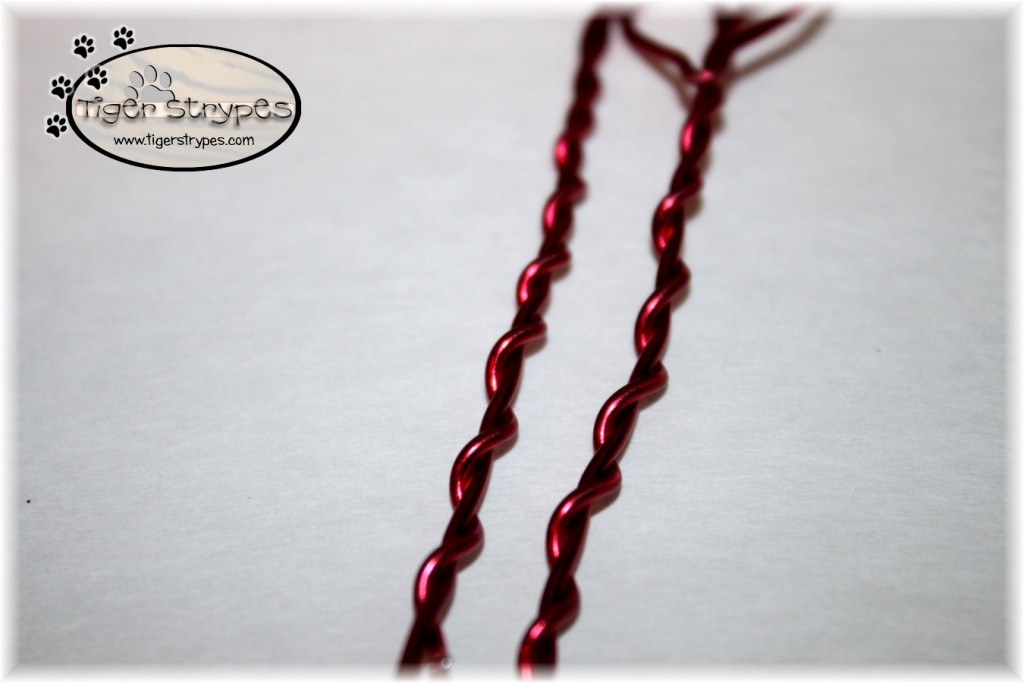
Now, I cut a couple of pieces of craft wire to create the “hearts”. The length will just depend on how tall you want them after the wire is folded in half. Don’t worry about it being perfect, you can always trim the ends to make them shorter.
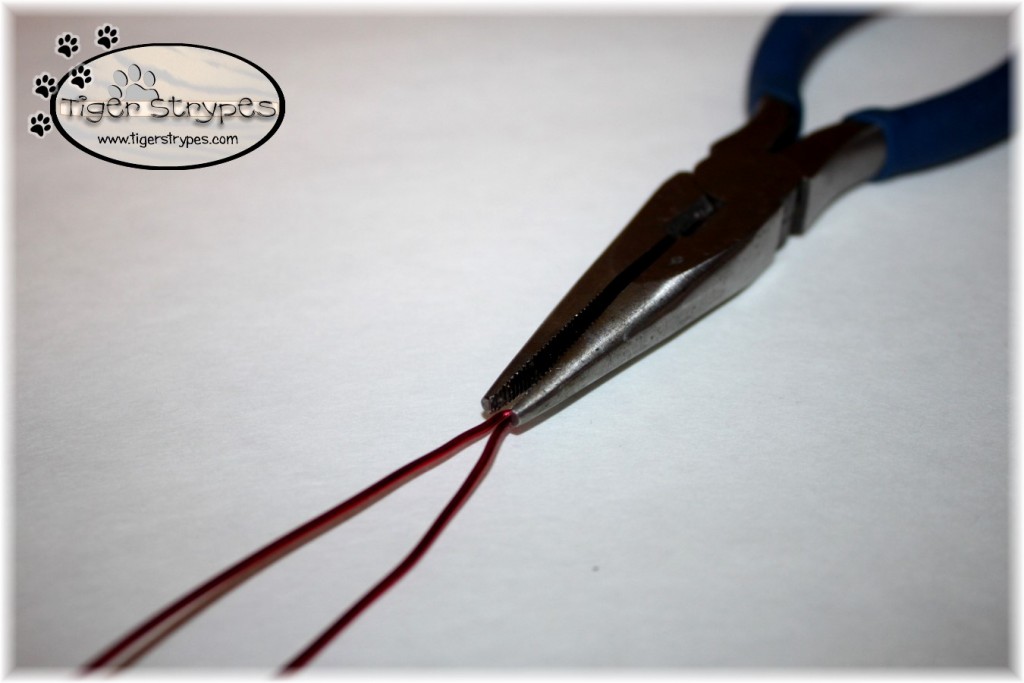
Using the pliers, I folded the wire in half and made a tight crease at the end (this will be the base of the heart).
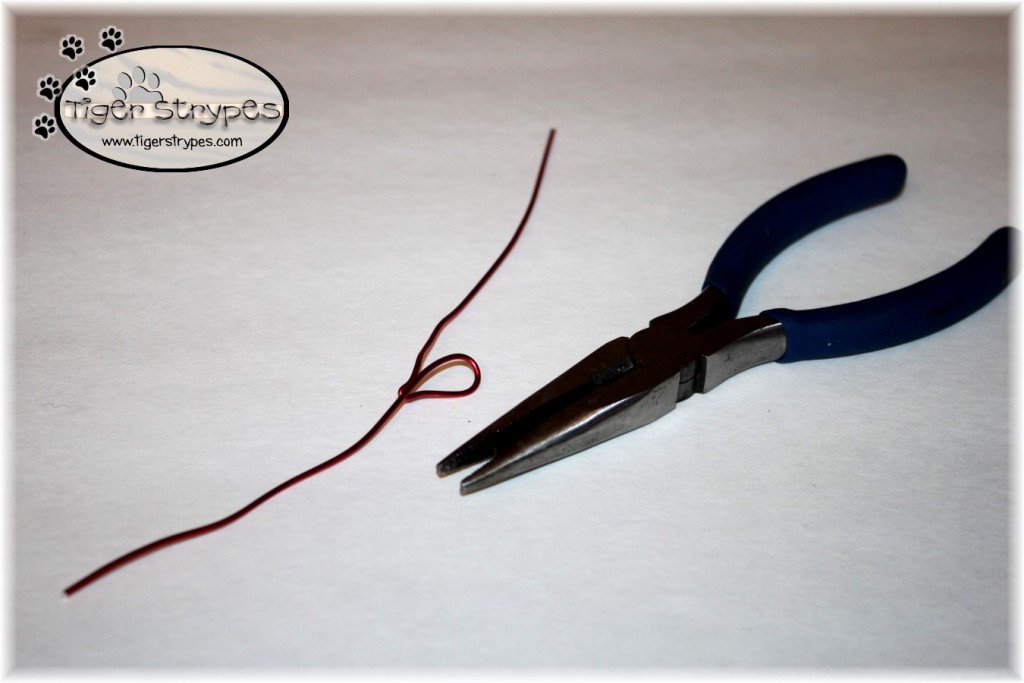
Next, I folded one side around to create half of the heart.
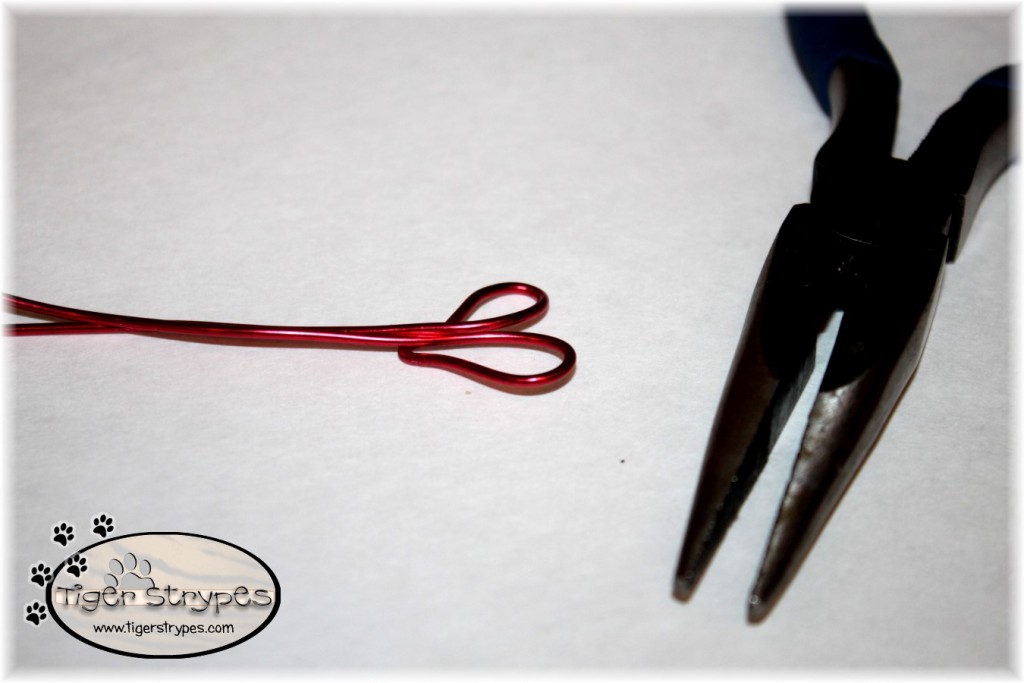
Then, I flipped the other side over to finish the top part. You can easily squeeze the top to make it smaller, or whatever.
Now to secure the top, I just twisted the bottom together.
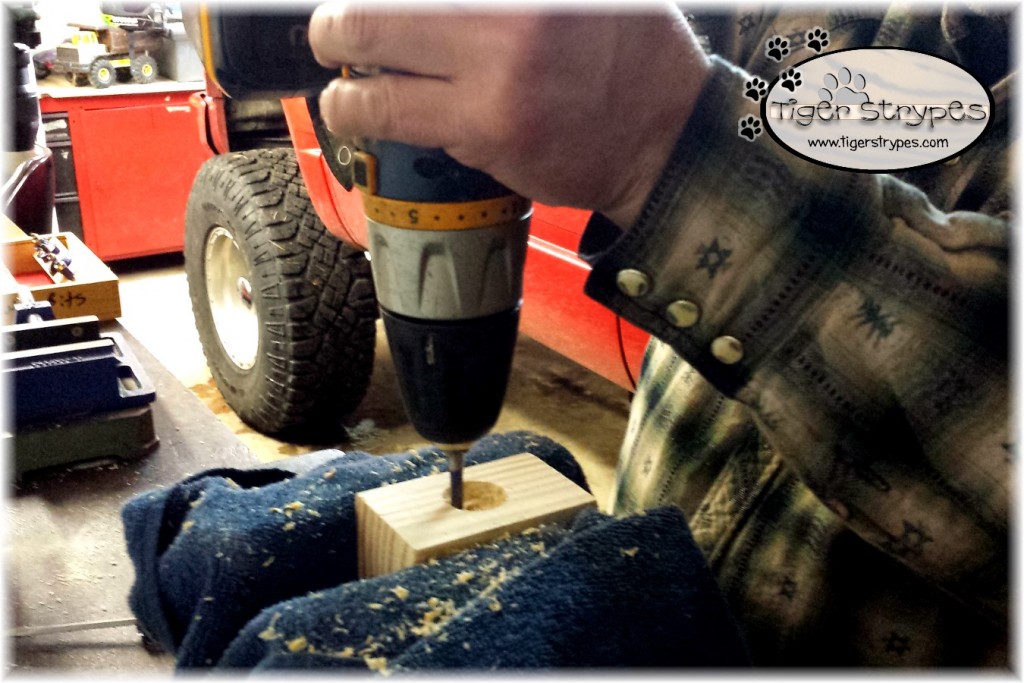
I set those aside and started on the base. My husband helped out with drilling a hole about the width of the lightbulb bottom, and just about 1/8″ deep to secure all of the pieces. He used a sander to clean it all up.
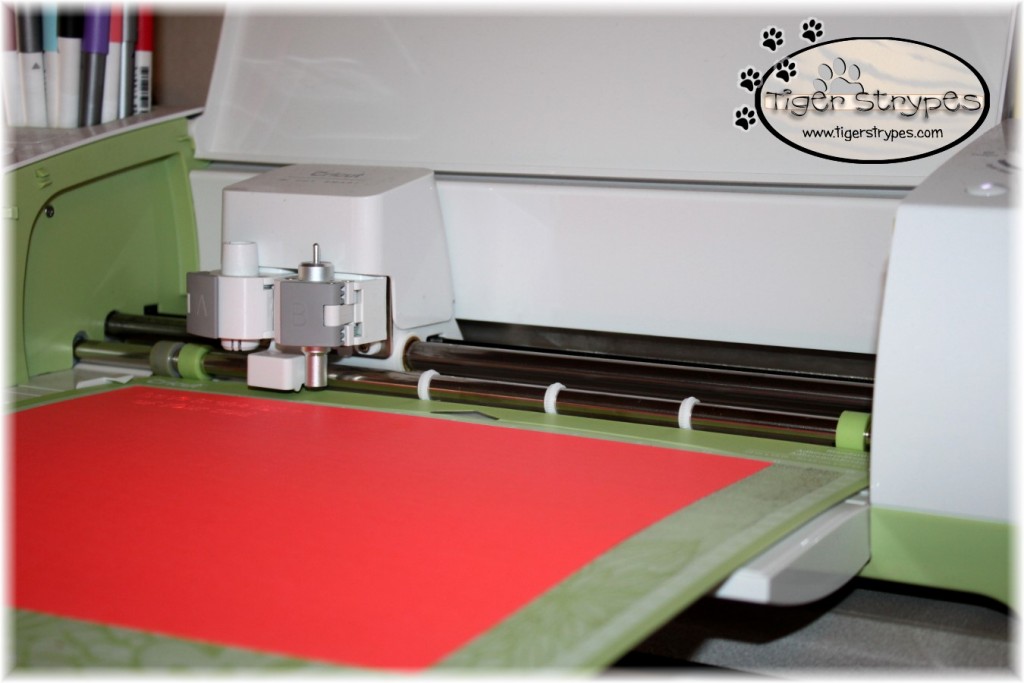
When that was done, I created some text with my Cricut Explore to use as a stencil for the piece of wood.
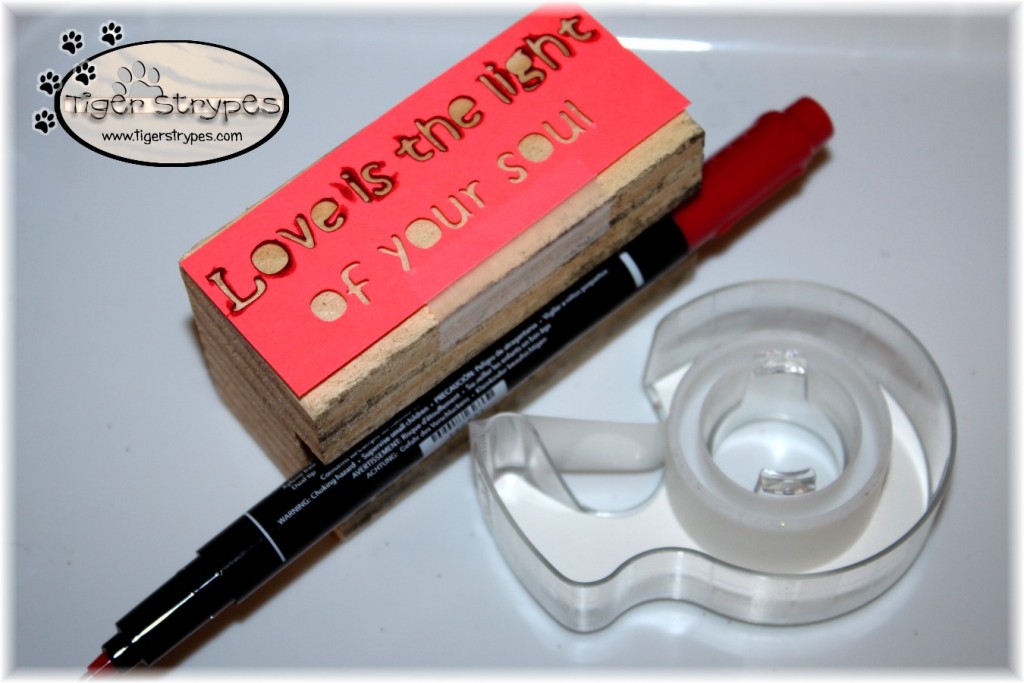
After the template was finished, I just cut it out and taped it to the piece. Using a very thin paint pen, I drew the letters onto the wood.
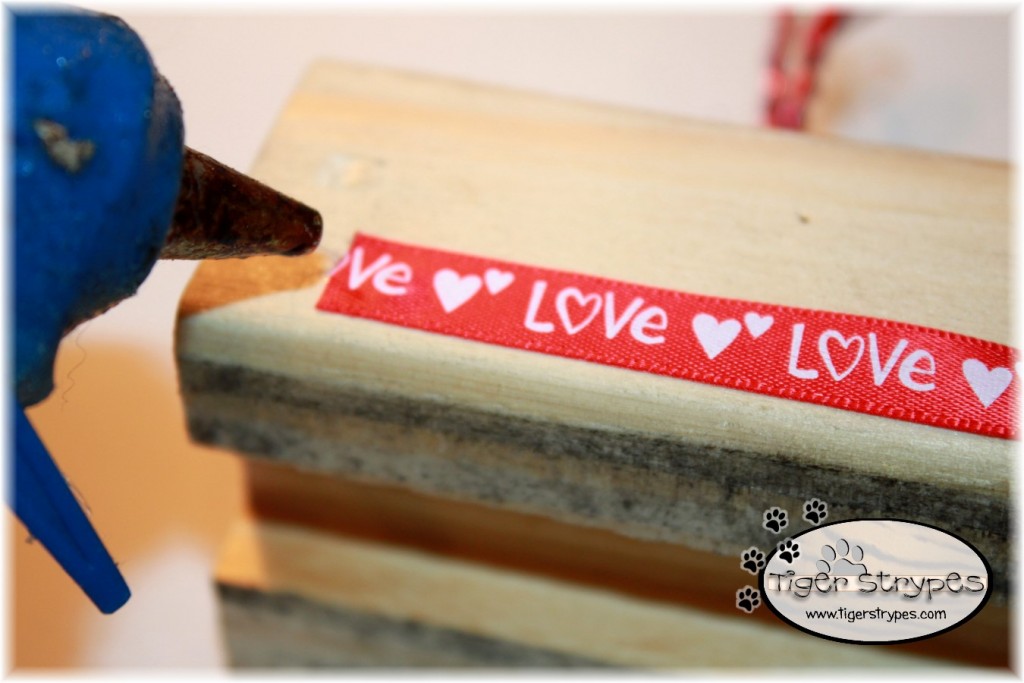
I then used some craft ribbon to finish the bottom, just adding bits of glue around to secure it.
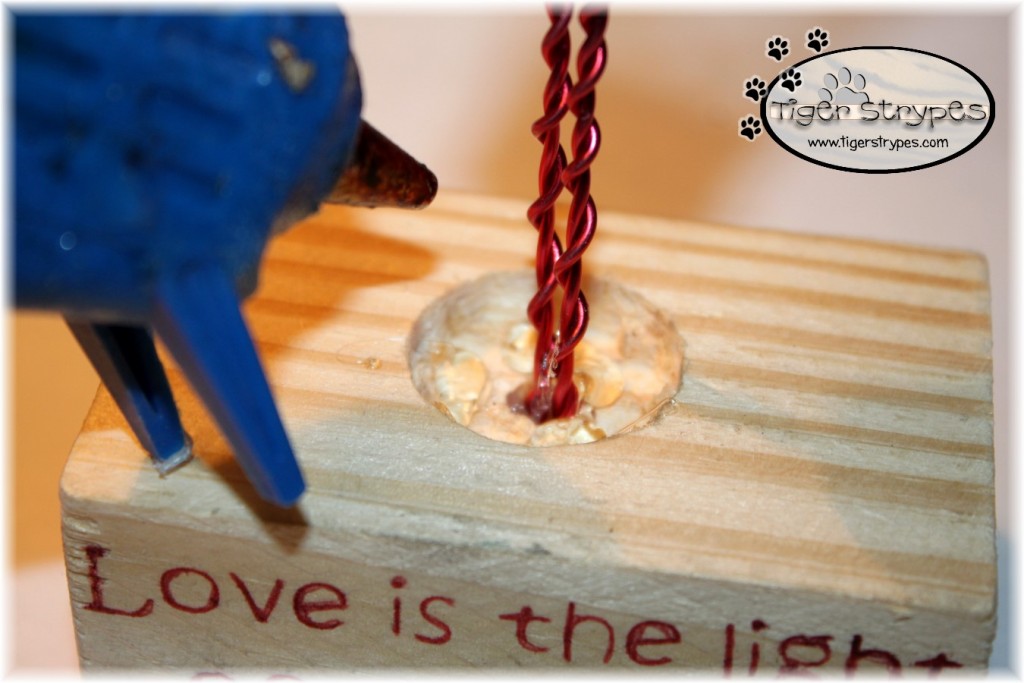
When that was done, I glued the “hearts” into the hole at the bottom to secure them.
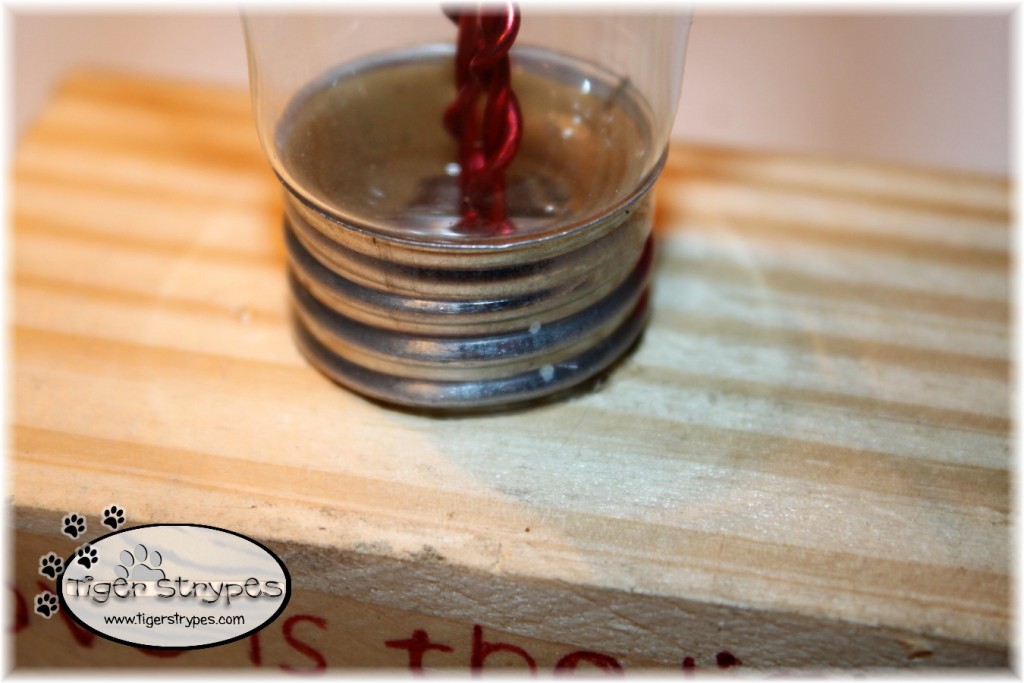
Using more hot glue, I then put the bulb over the top of the hearts and held it until it was dry.
Now you can just display it wherever you wish, and let love be the “light”!
I hope you like it! Please take a minute to leave me a comment, and let me know what you would do different, or what you would add, etc. Be sure to tweet, pin, share, etc. – thank you!!
“You, Lord, keep my lamp burning; God turns my darkness into light.” –Psalm 18:28
PLEASE SHARE THIS POST USING THE OPTIONS BELOW…THANKS!!
*****************************************************************************************************
 Check out these other great #TBCCrafters projects:
- How to Make a Honey and Irish Buttermilk Bath by Confessions of an Overworked Mom
- Valentine’s Candle by B is for
- Word Strip Charms by Immutable Ramblings
- Miniature Cameras and Camcorder by Girly Creations









[…] Valentine Love Light by Tiger Strypes […]
[…] Jamie brings us a cute Valentine Love Light […]
[…] Jamie brings us a cute Valentine Love Light […]
[…] Jamie brings us a cute Valentine Love Light […]
[…] To see more: https://www.tigerstrypes.com/valentine-love-light/ […]
very cool looks like a project for hubby to do for me
come see us at http://shopannies.blogspot.com
Thanks Angie – it was really fun to do! 🙂
What a cute and clever project. Thanks for co-hosting at the #HomeMattersParty
~Lorelai
Life With Lorelai
Thank you Lorelai – and thanks for letting me be a part of your great team! 🙂
Wow, I don’t know if I’d ever be able to pull that off, but it’s really cool – I wish I had that skill! Thanks for sharing! Your fellow #HomeMattersParty co-host Bee : )
I’m sure you could do it, it wasn’t too hard. 🙂
You are quite the brave woman taking apart a light bulb. I like crafting but I’d be scared to mess it up! Thanks for sharing this craft and visiting you from #HomeMattersParty
I was worried to do it, but it turned out to be pretty easy. Just make sure that you’re doing it in a safe place and have protection! 🙂
Beautiful project! You’re so creative! I think I would be so afraid of the glass breaking while I was trying to make this, I’d have to get help with that part 🙂 I pinned this on my Valentine board. Have a great Valentine’s Day!
Thank you Bernadyn – I was worried, too, that’s why I did it in a box, just in case. It really wasn’t that hard, though. 🙂
This is incredible! What a creative project! Thank you for sharing the great tutorial! Have a great day!
Thank you Michelle – I’m glad you liked it!
I love the way the wire hearts look in the lightbulb! Such a unique craft idea. Thanks for sharing!
I thought it was fun for the holiday! Thanks for stopping by!
It is so lovely! Daxx, I have just thrown away 2 broken light bulbs! I would know what to make next time when I have a broken bulb. Happy Valentine’s Day and glad that you have your blog mess fixed!
Well now you know what to do next time! 🙂 Thanks for stopping by, and yes, I’m glad that it’s all fixed…finally!
What a cute idea! I’ll have to make something like this sometime!
Thank you for sharing with us at #MommyMeetupMondays!
Thank you Brandyn – they were fun to make! 🙂
Very cute idea. I love it when I can reuse an item, and make a new craft. Very neat.
Thanks Jackie – they were fun to make!
This is a unique Valentine’s Day craft idea that I haven’t seen anywhere else. I like it a lot. I am not a crafty person at all, but your instructions make it look fairly simple. Thank you for sharing.
It was pretty easy to do, Crystal. I just love making something out of a thing that usually just ends up in the trash. :/
That is so cool. I would be afraid of the glass cutting me.
I was worried about that, too, Tara – but if you use the pliers and make sure it’s all in a box, or on newspaper, it turned out pretty well. Safety gloves might be a good addition, too! 🙂
Jamie, this is the best thing I’ve ever seen, I totally want one like yesterday! Beautifully creative as always! Tweeting, pinning and all that jazz! xo
Thank you Rose – it was really fun to make!! 🙂
I love this idea! I really like that you included a scripture for it!
Thank you Ellen!!