![]() Create a Winter Hat with Yarn #Craft
Create a Winter Hat with Yarn #Craft
With the new year of 2016 upon us, it’s time to get back to crafting!! I took a few weeks off for Christmas and new year, just to spend time with family, and get some new ideas. Now that the month of January is here, and it’s finally snowing like crazy here in the White Mountains of Arizona, I thought that this would be a fun craft to make. Knowing that there are so many visiting our area to ski at Sunrise and those who love to just play in the snow, I thought this would be fun. You could use it for so many different things. I actually took mine to our local Crafter’s Merchantile for her to sell. Hopefully there will be some that enjoy them!
I hope you like it!! Have a blessed day, and please be sure to comment on, and share this craft on your social media channels – thanks!
Materials/Tools Used:
- Yarn
- Cardboard Tubes
- Thin Cardboard Scrap
- Scissors
- & Time!
Instructions:
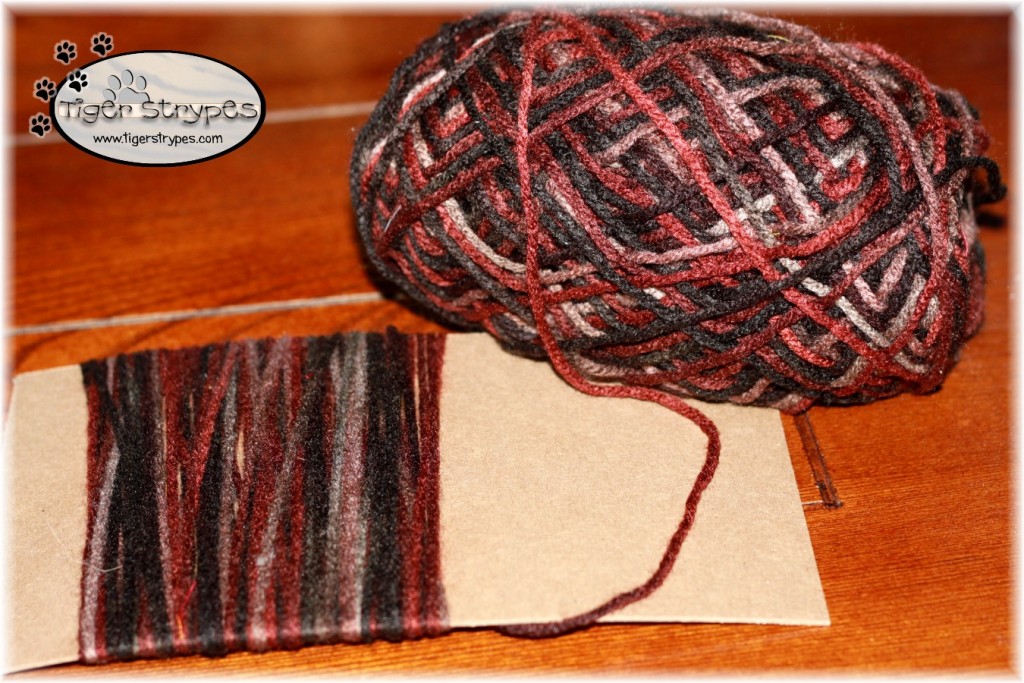
I started by using a piece of cardboard (I always save the ones from frames, etc. for craft projects) that was about 4″ wide – length doesn’t matter. I wrapped my yarn around the cardboard a bunch of times. You might have to do this more than once if you’re going to make lot of these.
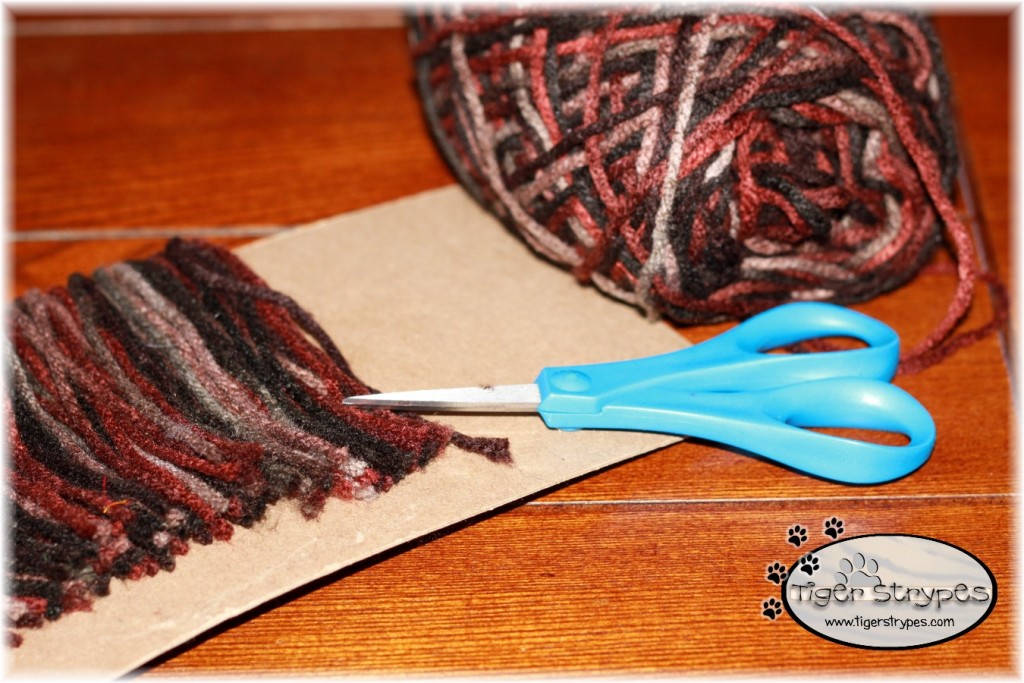
Next, on the side where the yarn ended, I cut along the edge. This allows for you to have multiple pieces of about 8″ long strands of yarn.
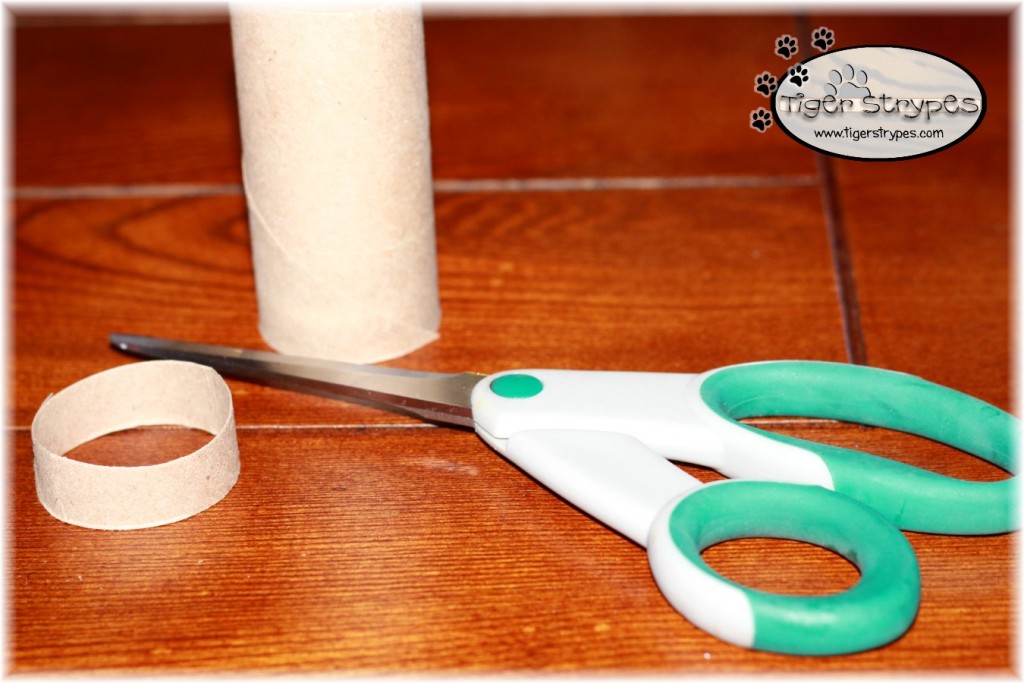
Once you have them trimmed, you can start the next step. Cut about a 1/2″ to 3/4″ piece off of the bottom of a toilet paper tube. You will use one of these for each hat that you want to create, so cut as many as you will need.
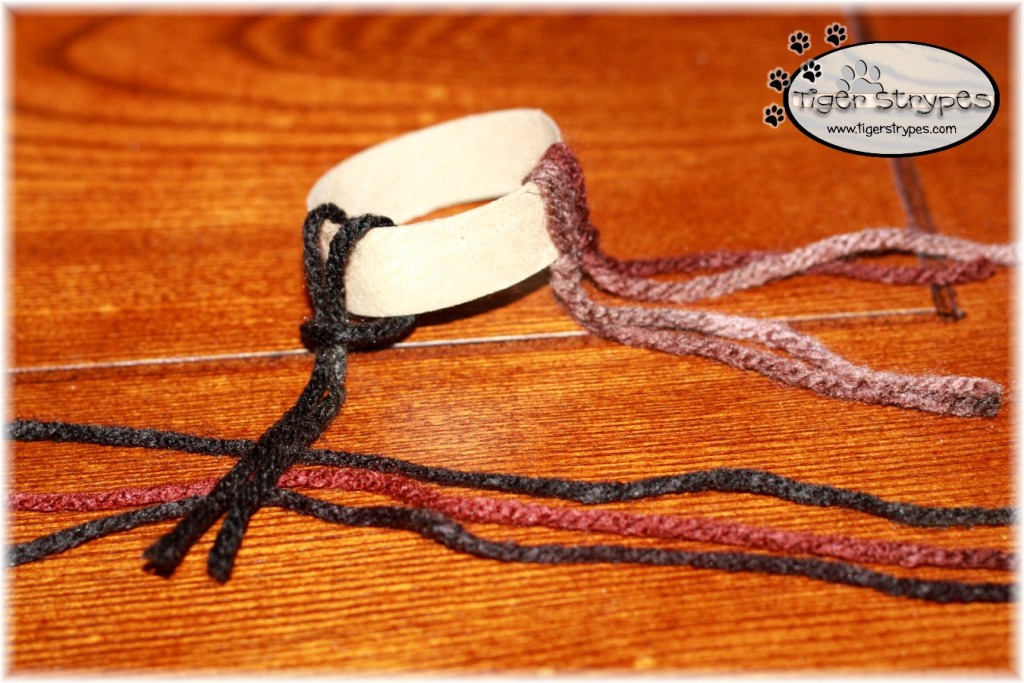
Now, you can begin wrapping the yarn. You just need to loop it around the cardboard circle in the way that you would a latch-hook rug. Do this around the whole diameter of the circle, making sure to push each piece tightly up against the others, so that you don’t see any of the cardboard when you are finished.
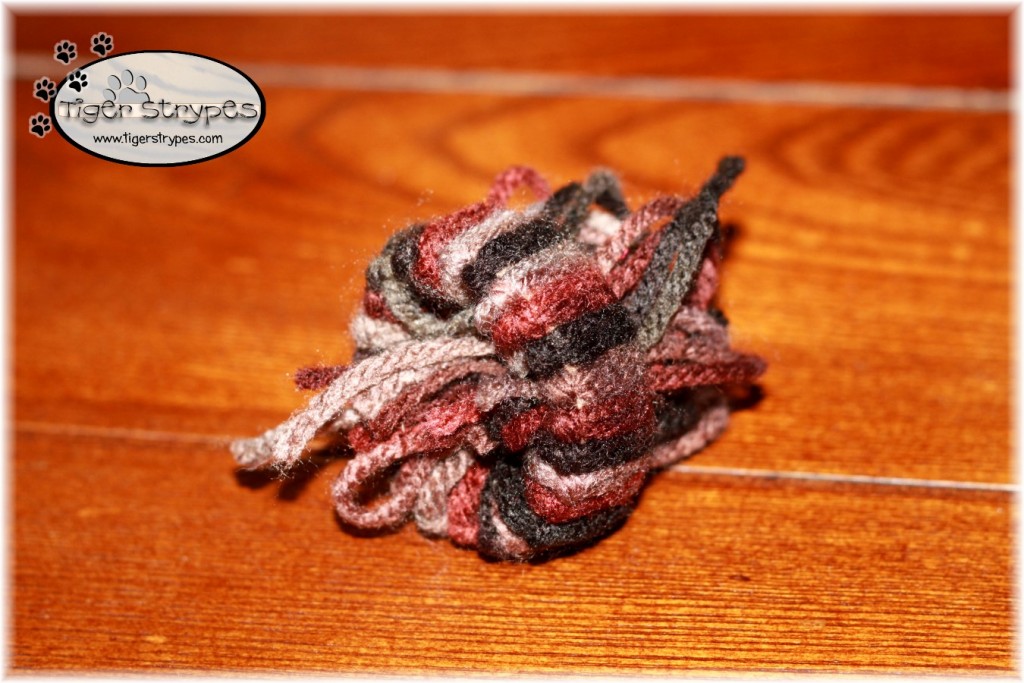
When you have the circle fully covered with the yarn, you then push all of the pieces through the center to the top. This will create the brim portion of the hat. Be sure to make them snug, but don’t pull all of the “knot”ends around to be seen, as this helps to hide all of them. I also found that if you use your scissors (be careful) or a crochet hook, you can make sure that all of the pieces are fully extended, and not knotted up.
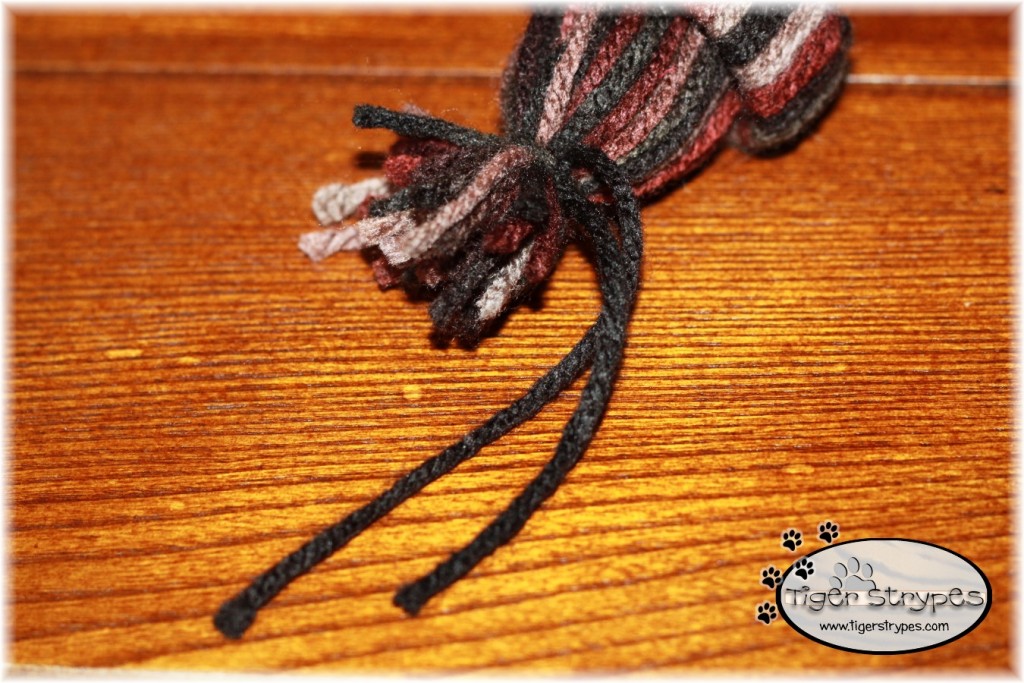
Now using another piece of the yarn, secure the top of the other pieces together tightly. Be sure to leave just a bit at the top. You’ll see why in the next step.
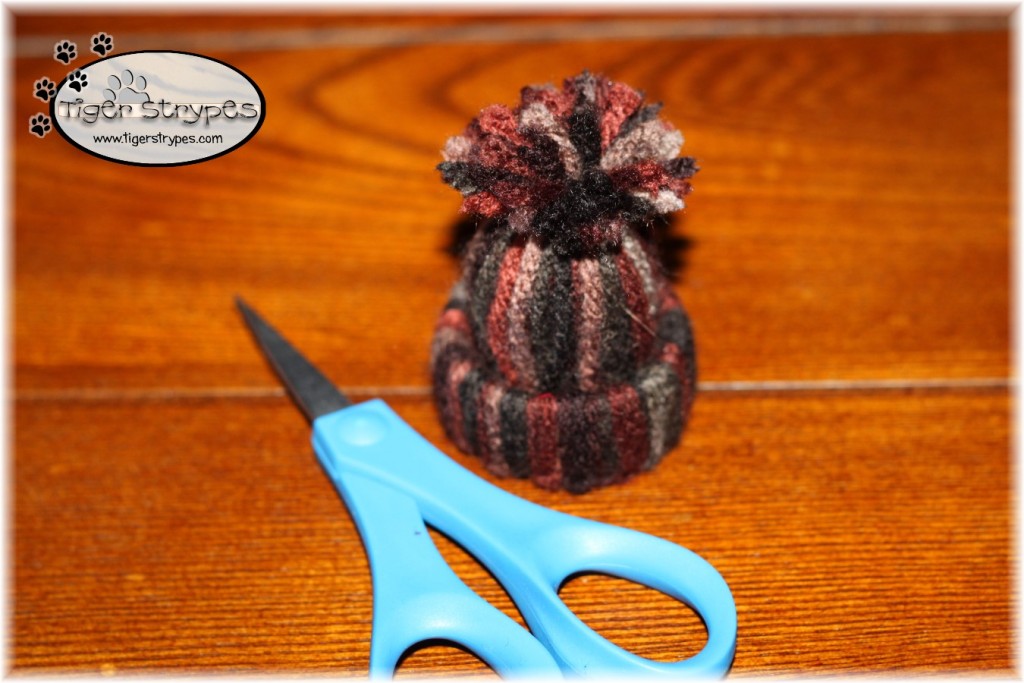
Once you have them tied together, you can then start trimming the ends to create the pom-pom at the top.
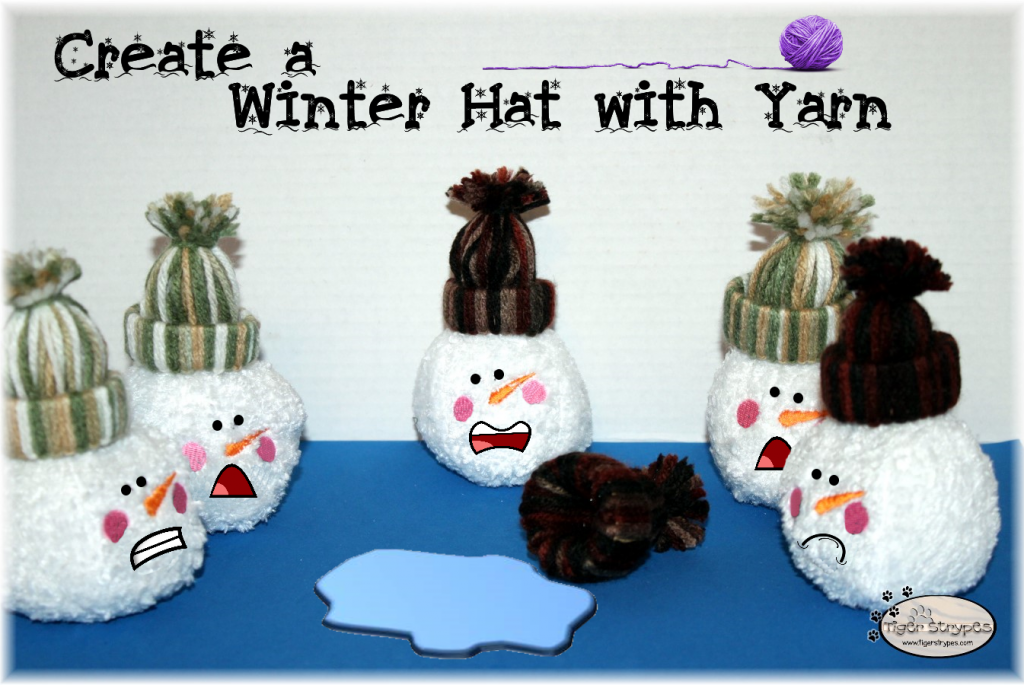
Now you can just decorate whatever you wish with their own cute little ski hat. If you have a larger tube, you could even make one for your dog! ha/ha
I hope you like it! Please take a minute to leave me a comment, and let me know what you would do different, or what you would add, etc. Be sure to tweet, pin, share, etc. – thank you!!
“All the skilled women spun with their hands, and brought what they had spun, in blue and purple and scarlet material and in fine linen.” –Exodus 35:25
PLEASE SHARE THIS POST USING THE OPTIONS BELOW…THANKS!!
*****************************************************************************************************
 Check out these other great #TBCCrafters projects:
- Easy Natural Sinus Relief Salts by Confessions of an Overworked Mom
- DIY Party Photo Cutouts by B is for
- Create Your Own Wax Valentine’s Day Seals by Adventures in All Things Food




[…] …Create a Winter Hat with Yarn from Jamie […]
These are soooo cute! I’d better not let my son see or we will be making hats for every stuffed animal in the house. #HomeMattersParty
[…] Create a Winter Hat with Yarn from Jamie […]
[…] Create a Winter Hat with Yarn from Jamie […]
[…] Create a Winter Hat with Yarn from Jamie […]
[…] Create a Winter Hat with Yarn from Jamie […]
[…] Create a Winter Hat with Yarn from Jamie […]
[…] Create a Winter Hat with Yarn from Jamie […]
What a cute little hat and cute poem, too, hehe! I’d love to try this. Loving the pom pom at the top, too. 🙂