
This site contains affiliate links. Please see below for more information.
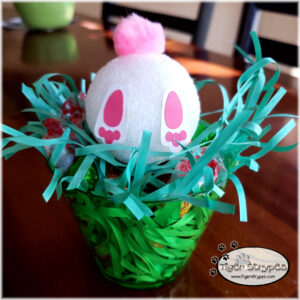
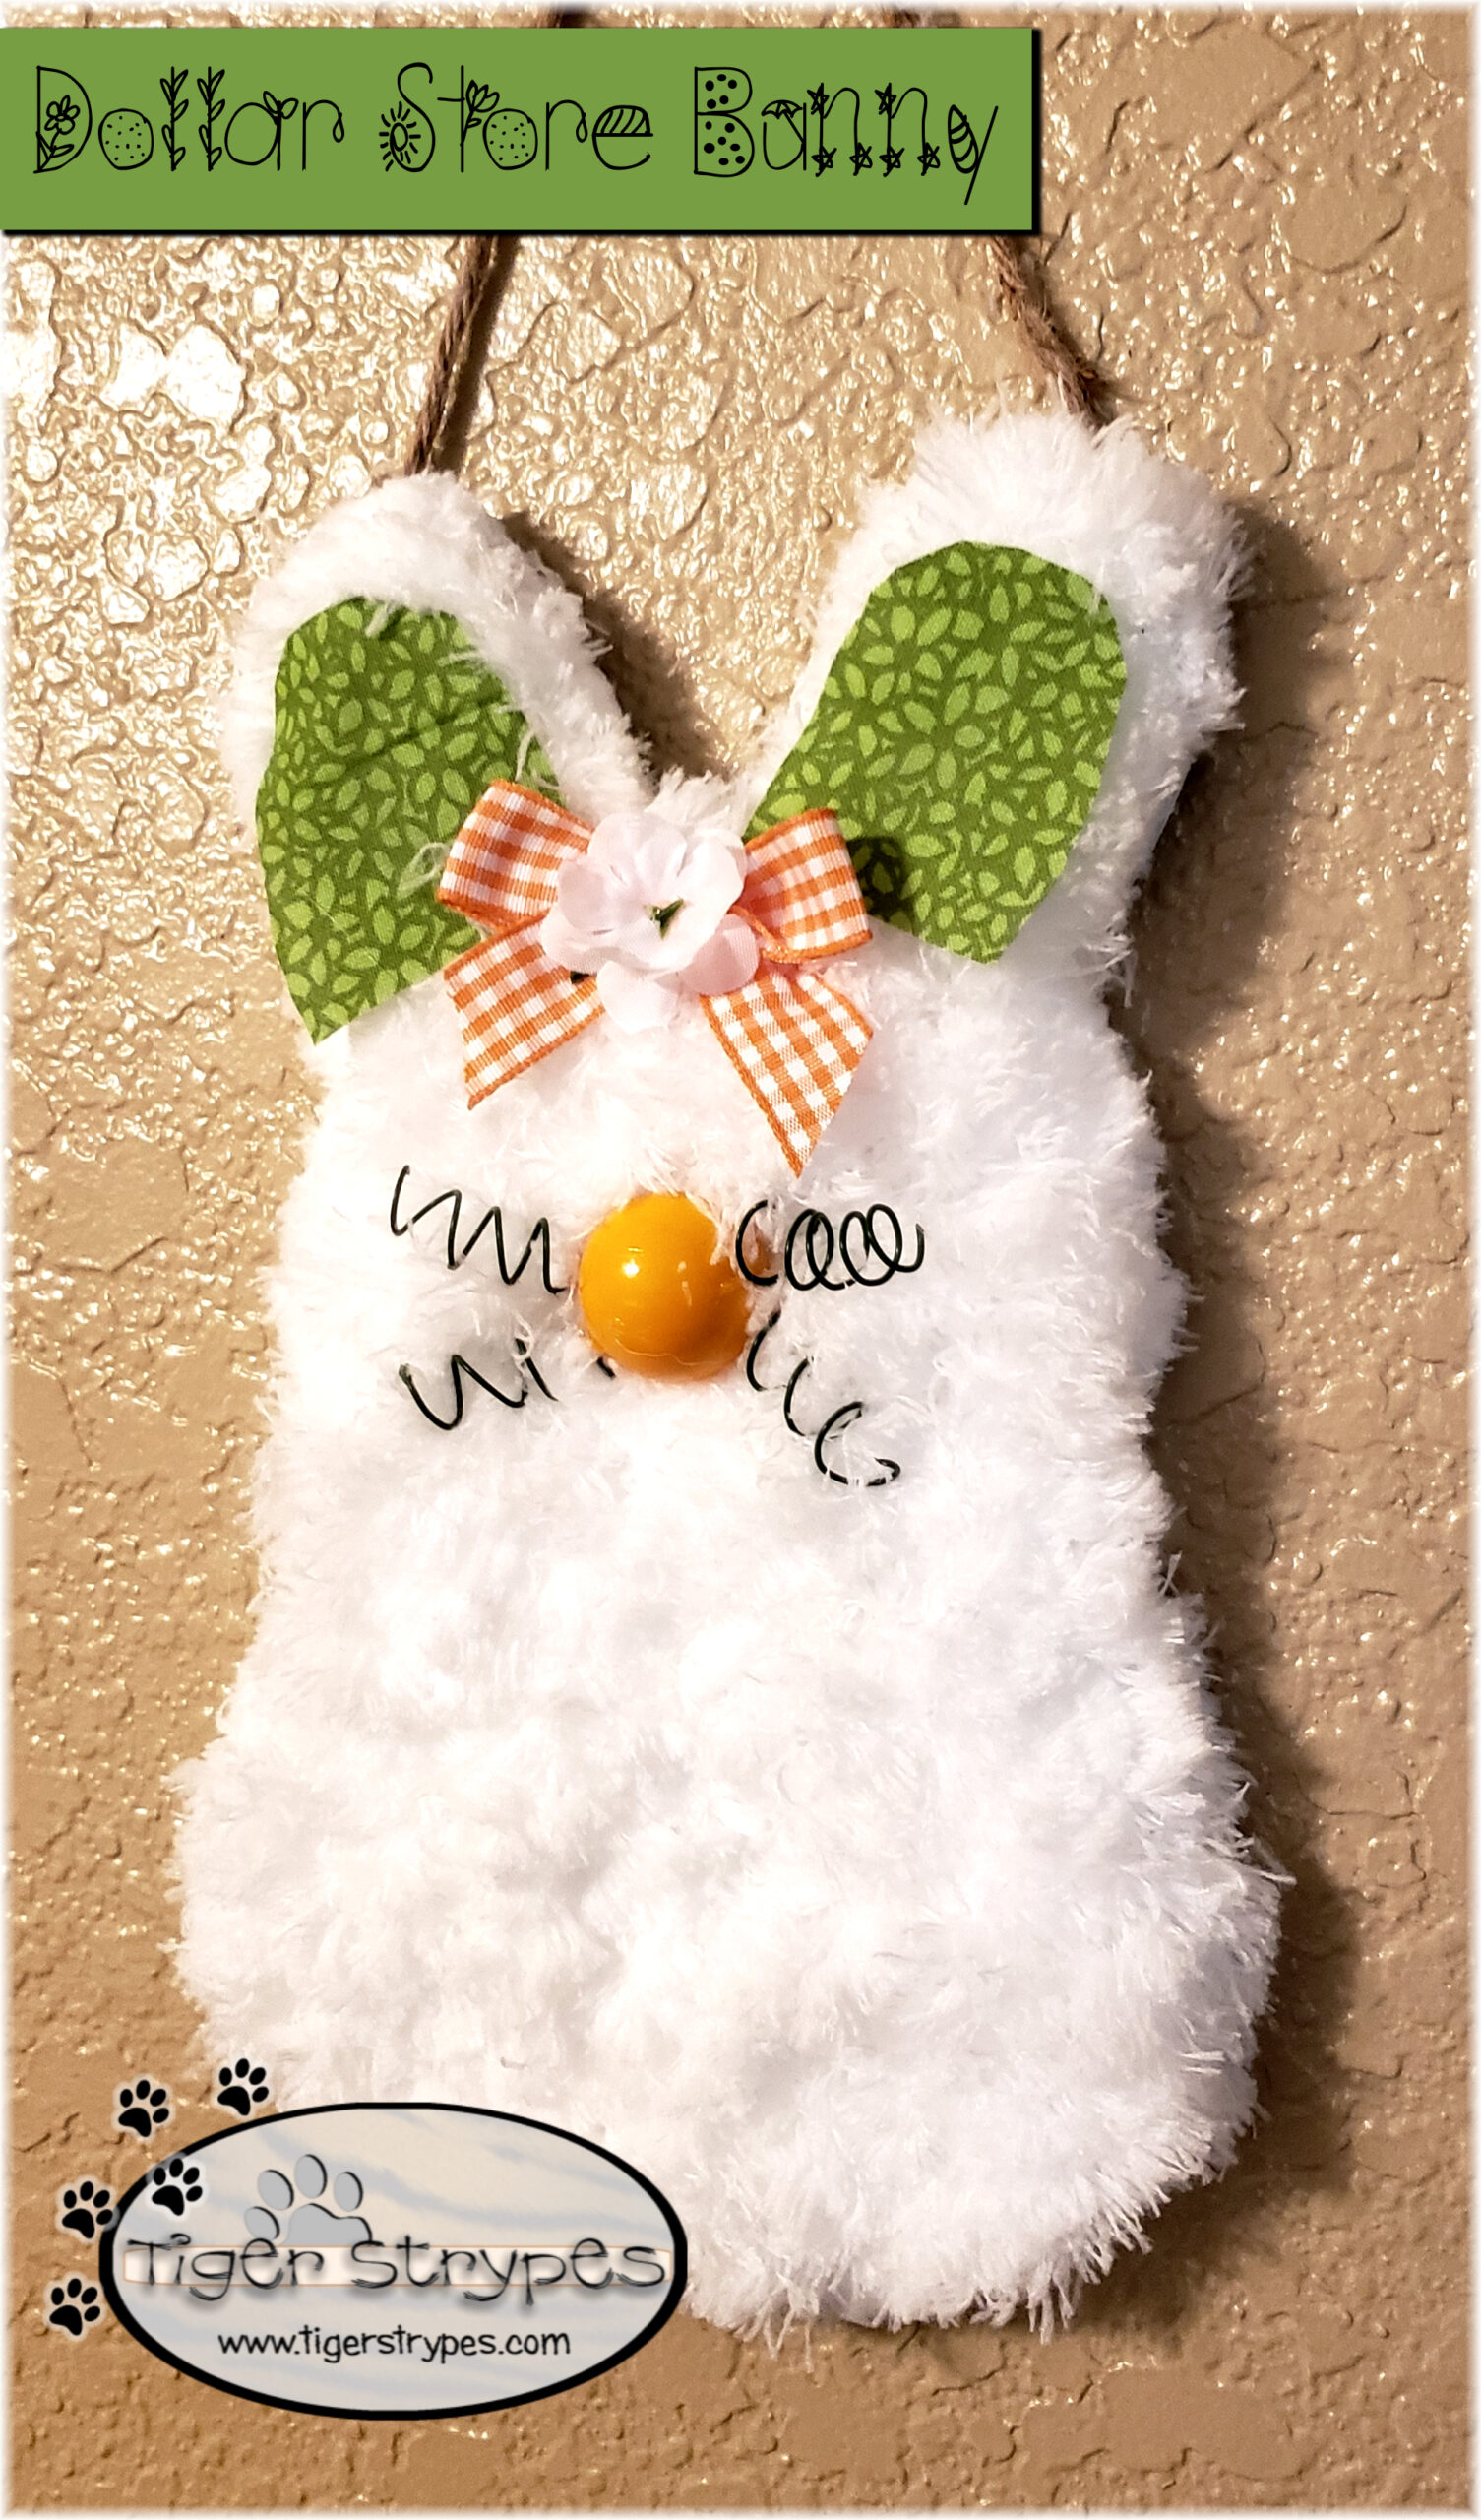
Raggedy Bunny Craft Project
#TigerStrypesBlog #Gift #Easter
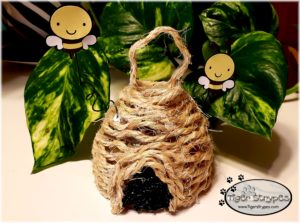
If you saw my post from last week, you saw the cute little Burrowing Bunny that you could give as a treat for Easter. I figured since the Spring season is coming, it would be fun to make something else bunny related, to decorate around the house. I saw this on Crafts by Amanda blog, and thought it would be fun to make. These could also be added to an Easter basket, given to friends or family, or just set on the kitchen counter to bring smiles.
Just the other day, when we still had snow on the ground, I saw some bunny tracks in our front yard. Ever since then, I’ve been wondering where she went, and if she is getting ready for Spring, and to welcome some baby bunnies into the world. Don’t you just love those fluffy creatures? I figured it would be fun to make a project that let me have one in the house, and not worry about cleaning up after it!
I sure hope that you like the tutorial, and pray that you have a blessed day!
Please be sure to comment, and share this craft on your social media channels – thanks so much!!
Learn how to make a Raggedy Bunny #craft for the #Easter #Holiday. Fun #DIY for #family & #kids. #TigerStrypesBlog - Find out more at Share on X
Materials/Tools Used:
- Washcloth / Rag
- Rubber Band
- Glue Gun
- Puff Balls
- Googly Eyes
- Ribbon
- & Time!
Instructions for the Raggedy Bunny Craft:
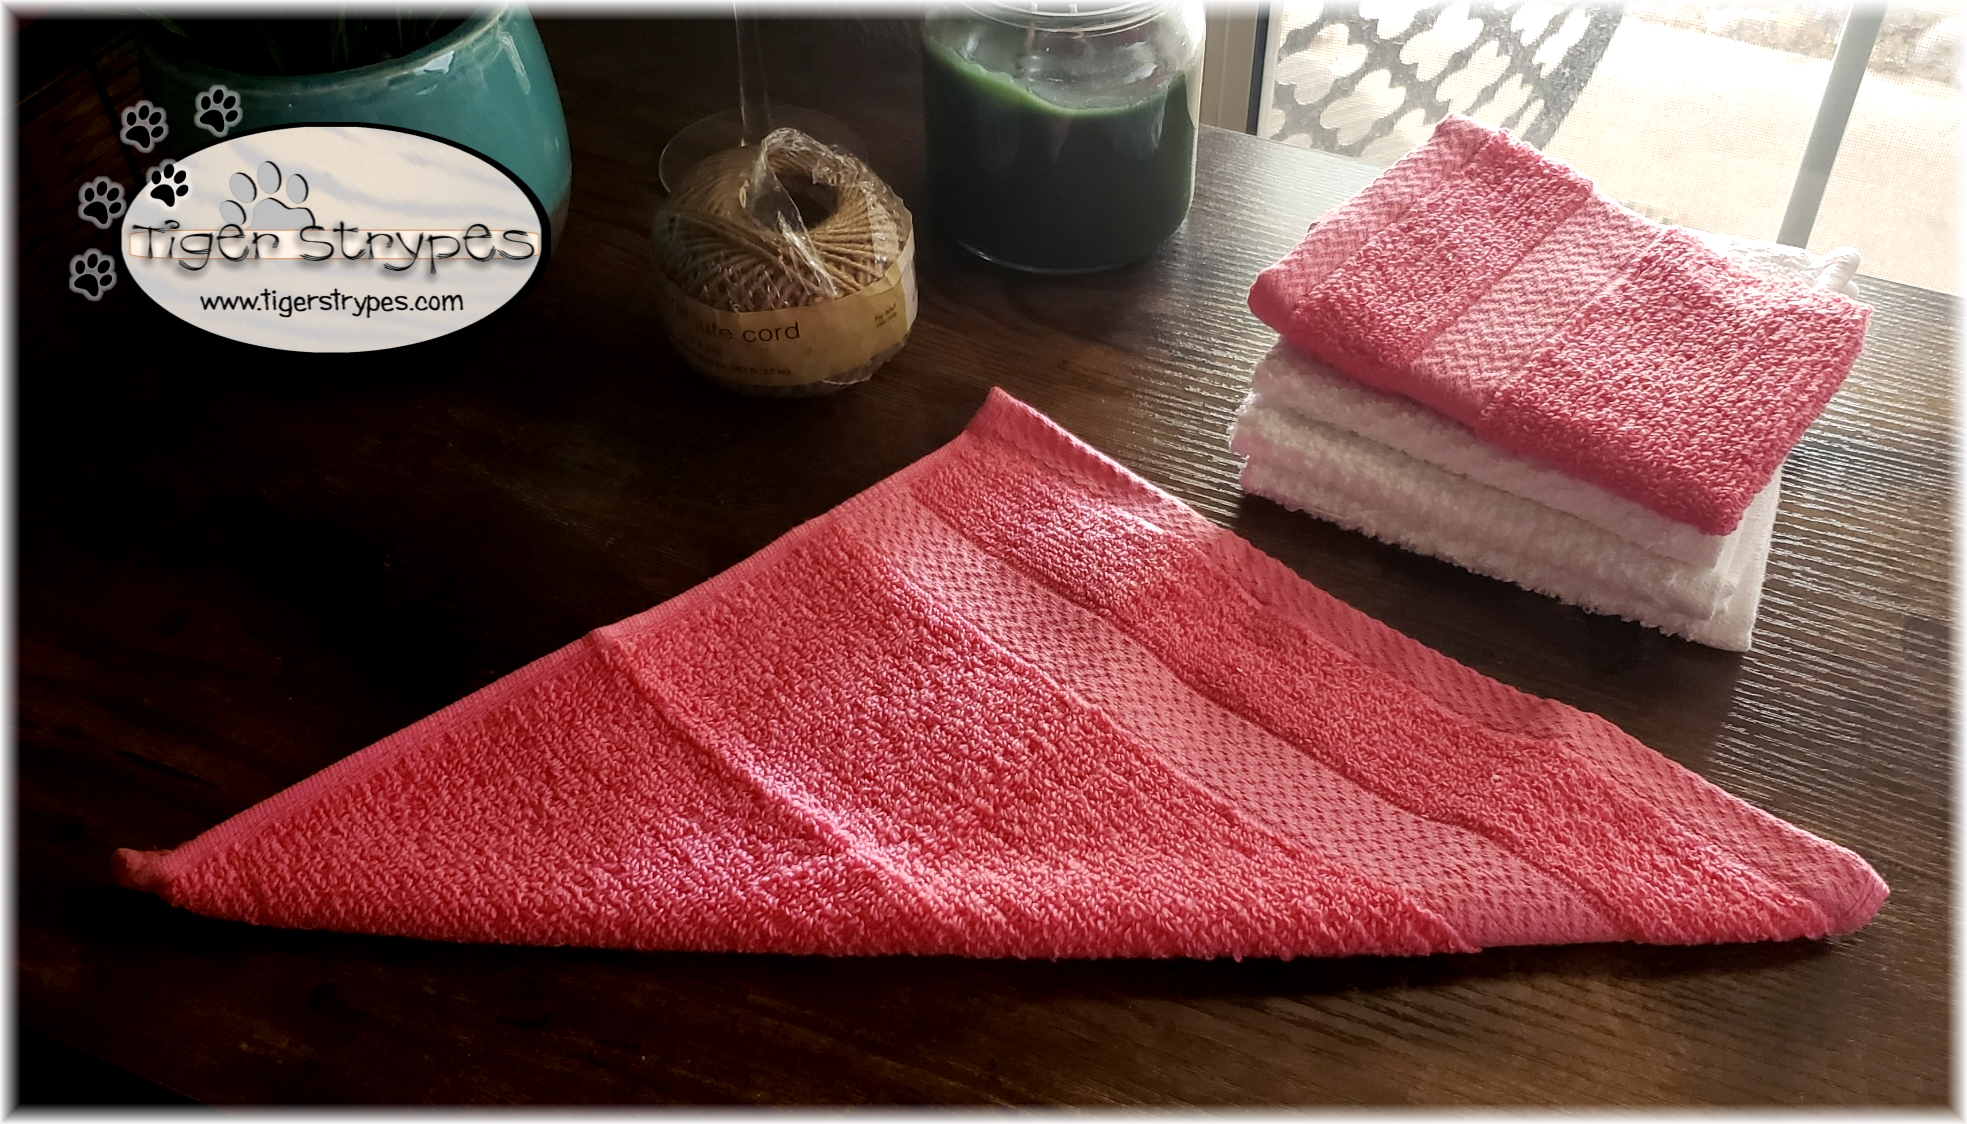
Start by folding the rag or washcloth in half corner to corner.
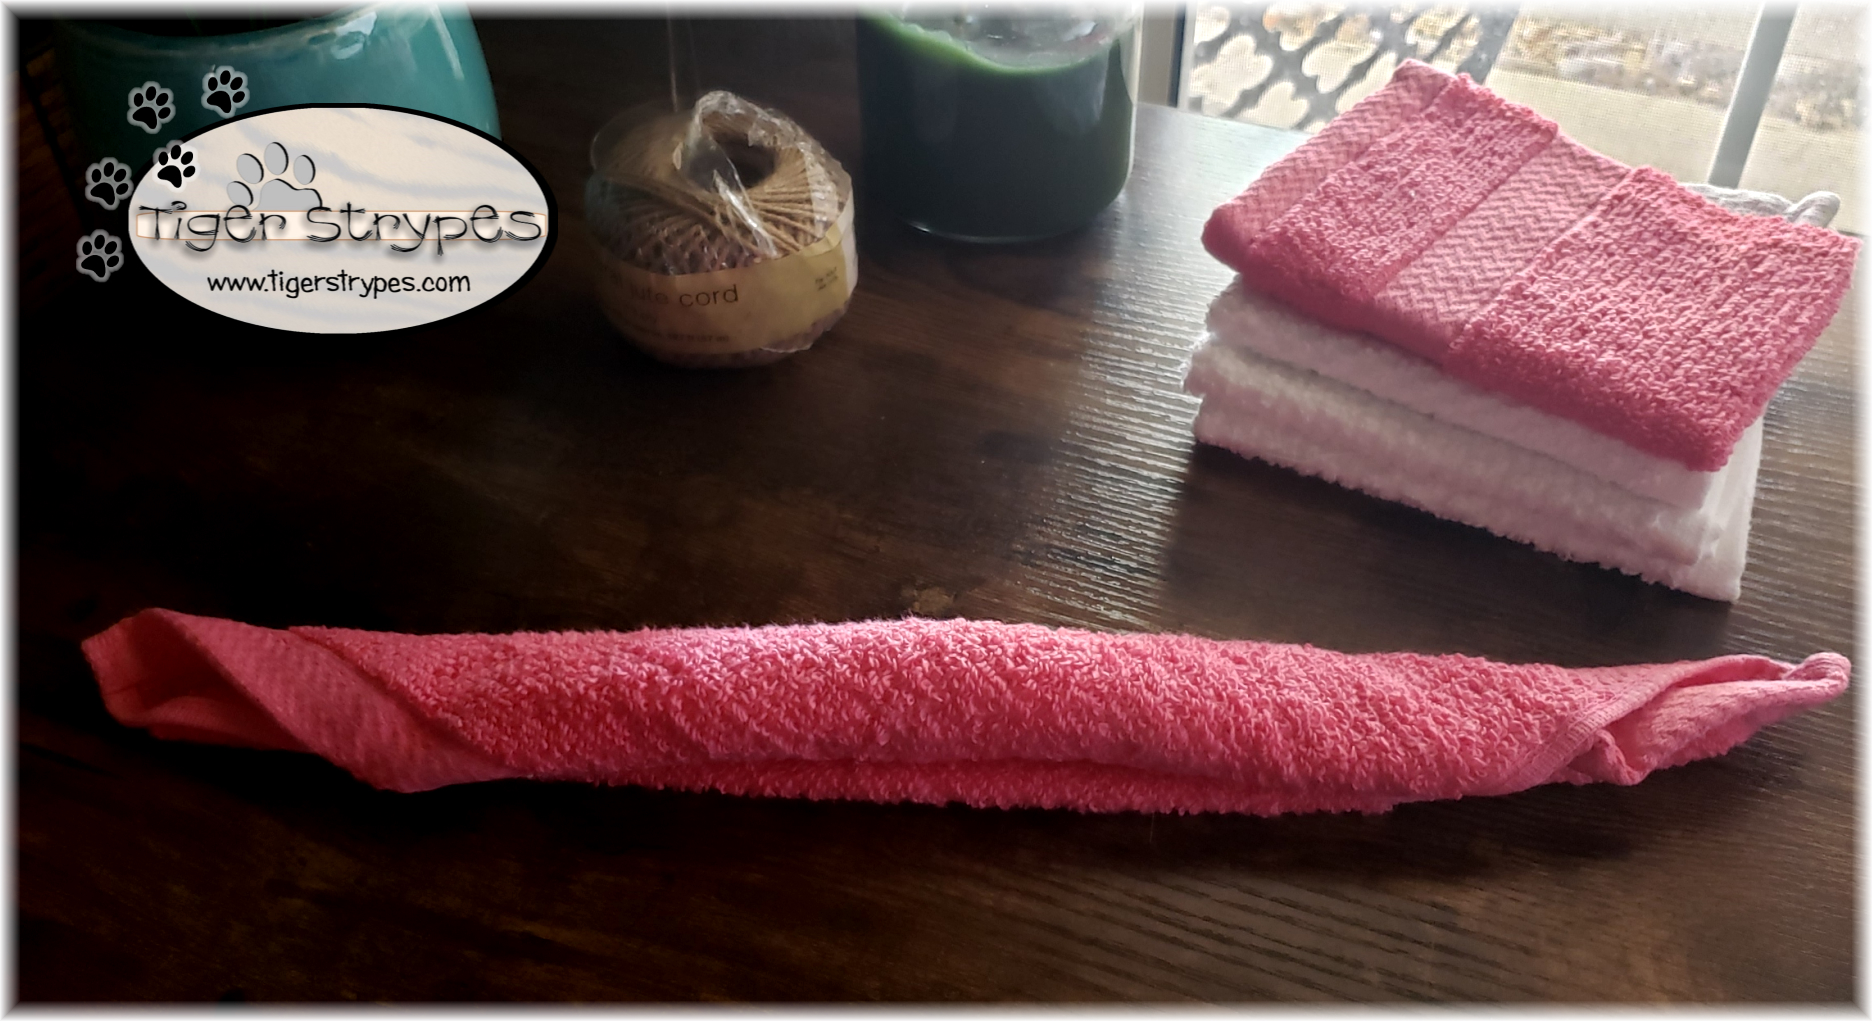
Next, roll it up tightly into a long piece.
Fold that in half, tightly.
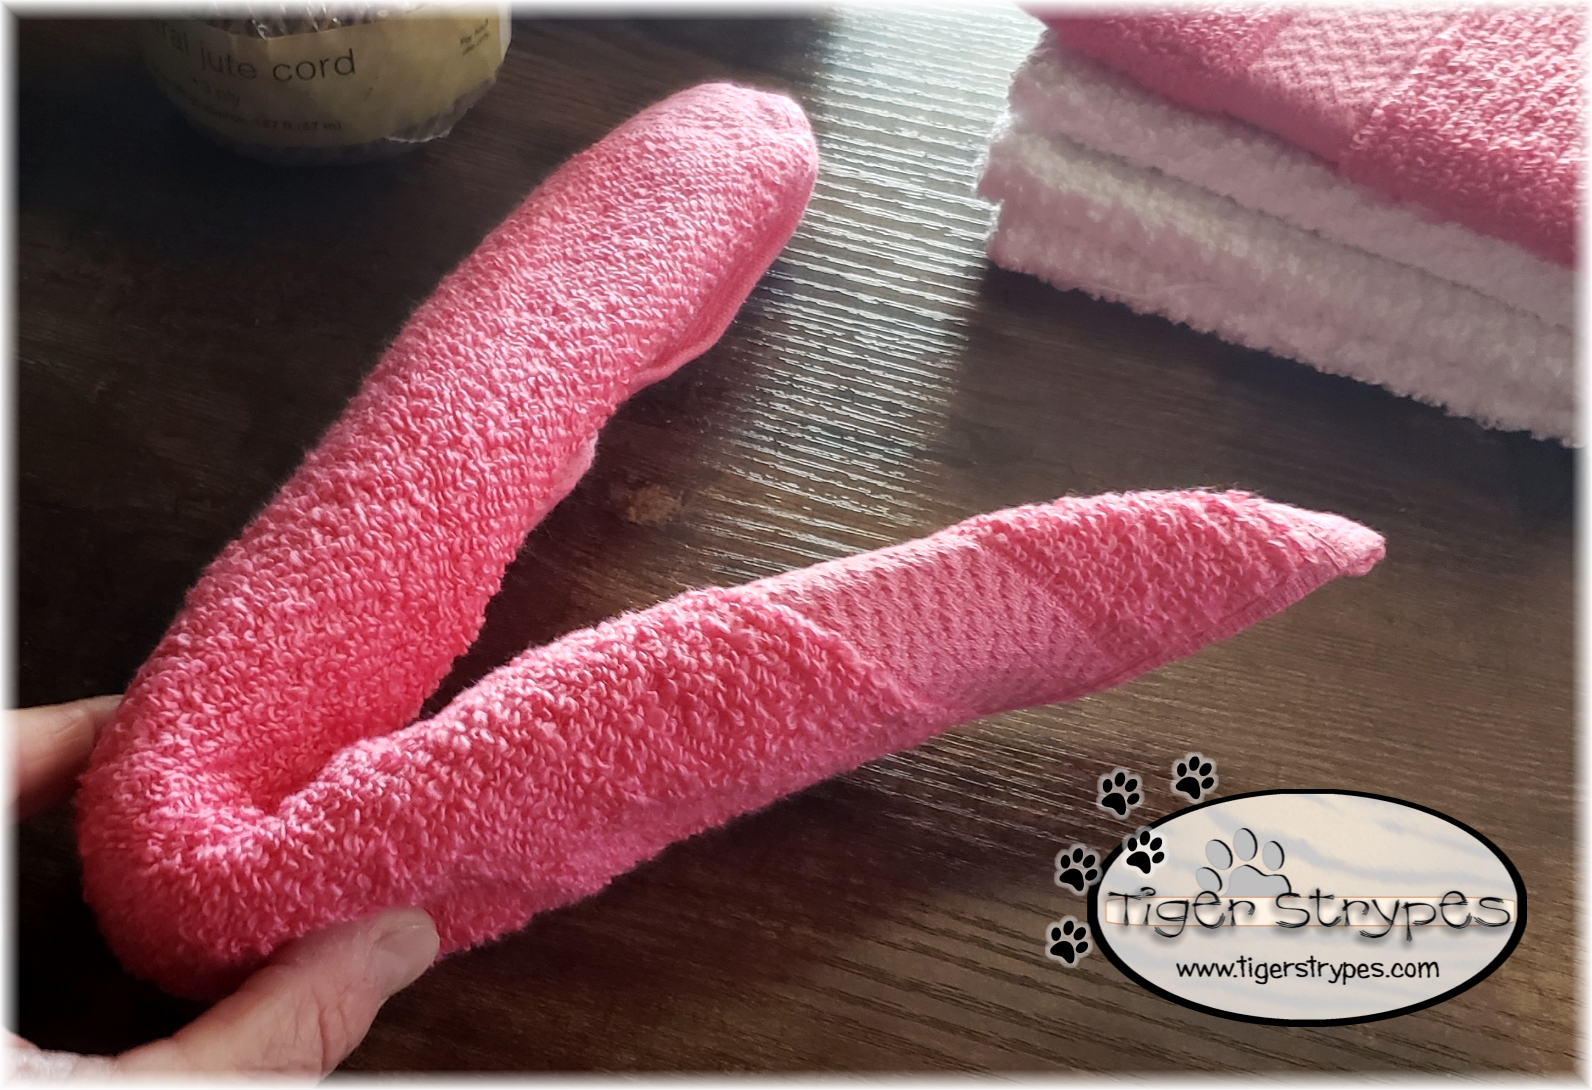
After that, fold it in half again and secure with a rubber band a little less than halfway.

Pull out each of the ears to be almost even, and then push the whole thing down a bit to help it sit flat.

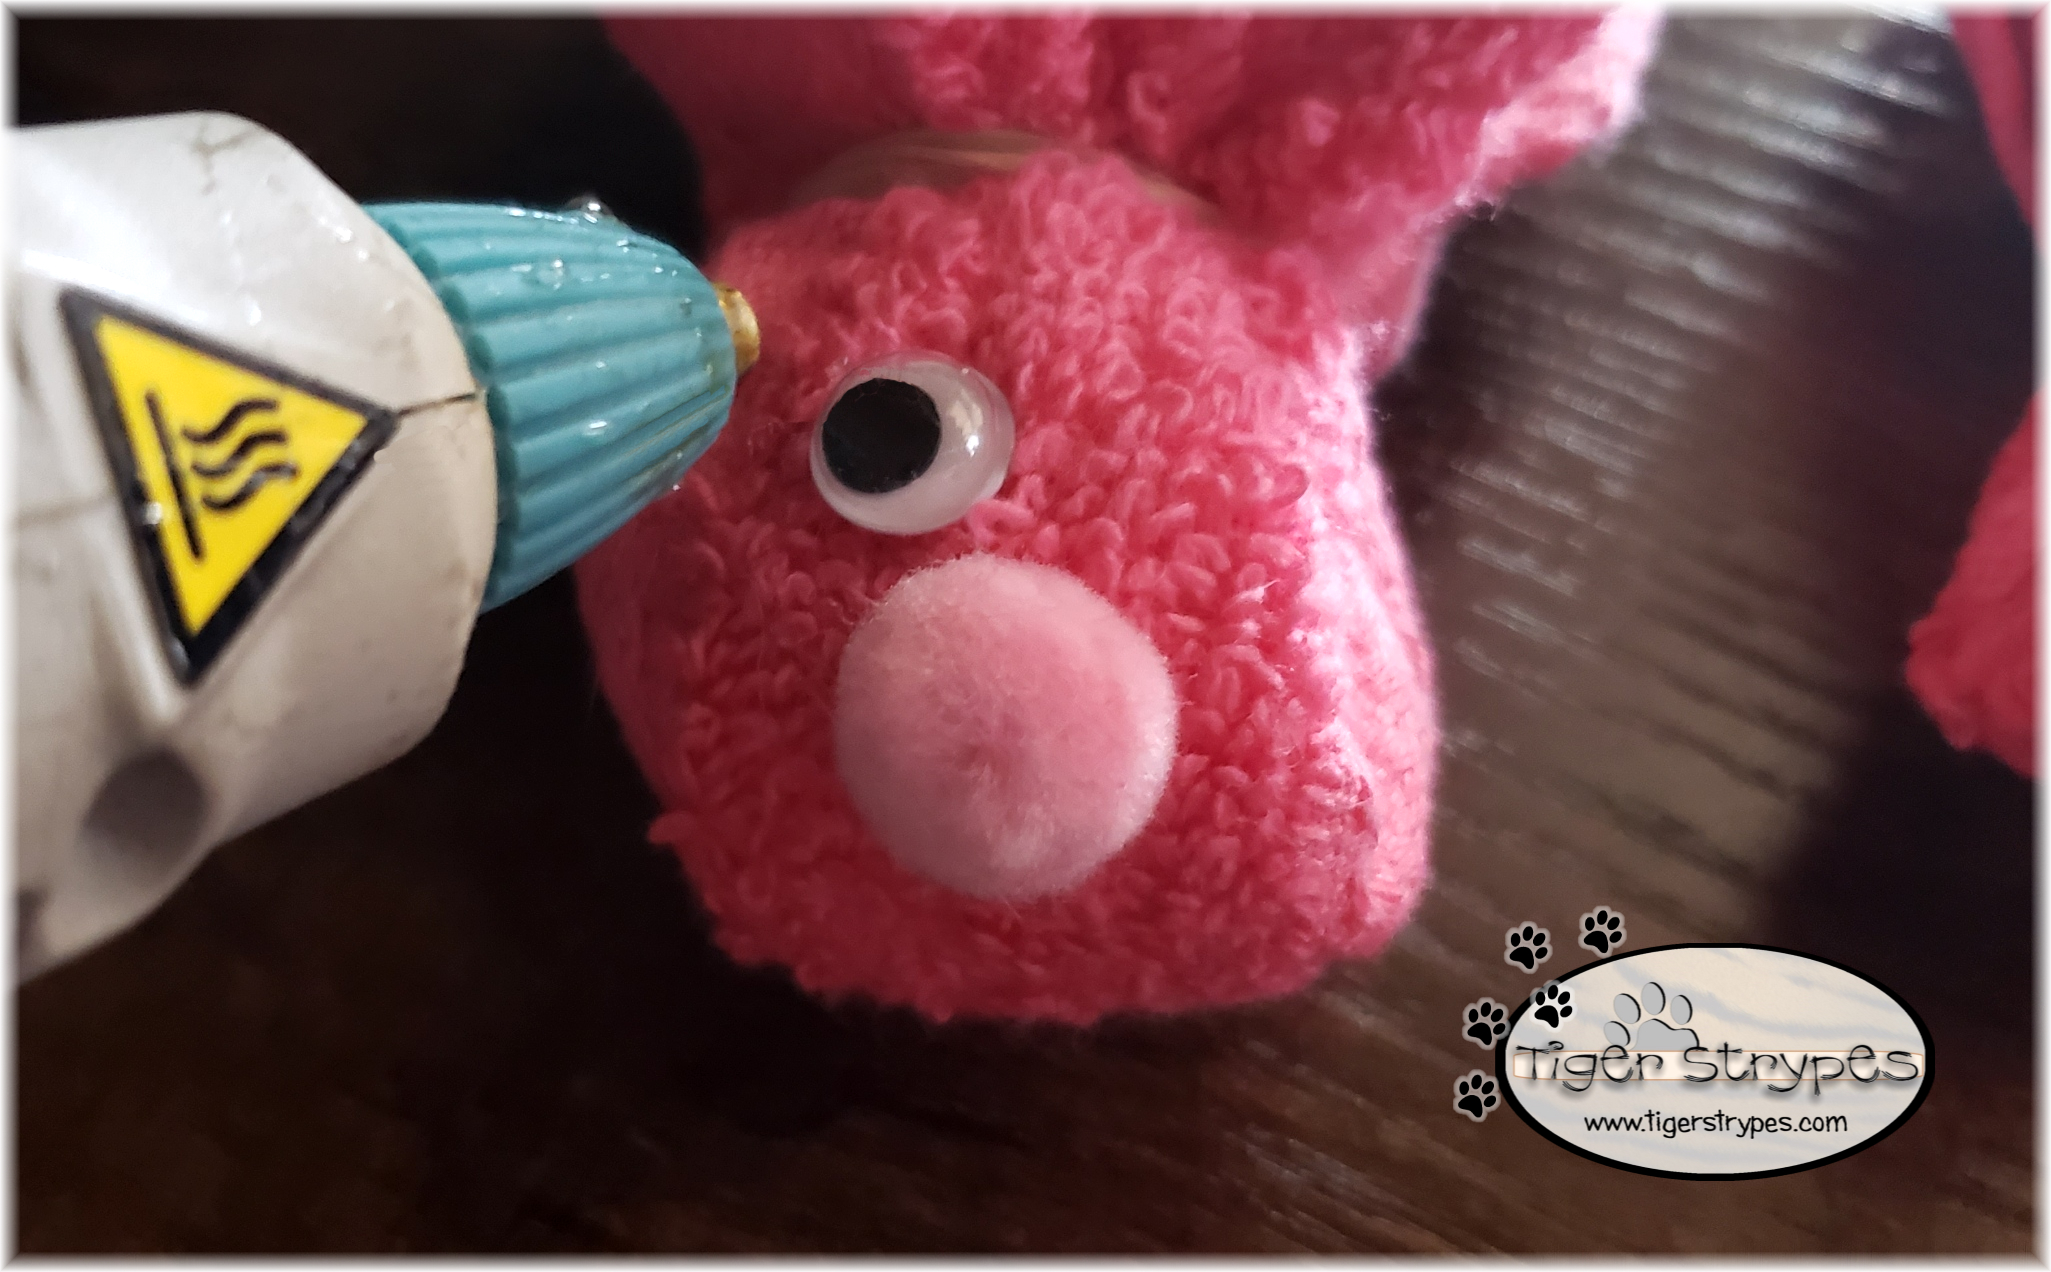
Now, using a glue gun or glue dots, attach a nose, eyes and a tail to the piece.

Your bunny is ready to help decorate the home! I finished one, by putting a piece of ribbon around the neck, in a bow style to make a girl bunny. Now, her and her friend are enjoying being a part of our Spring decor.

What do you think? I hope you like it! Please take a minute to leave me a comment on what you would like to create, and maybe if you have any tips on how to do it different, or better!
Be sure to tweet, pin, share, etc. – thanks!!
“Blessed are those who wash their robes, so that they may have the right to the tree of life and may enter the city by the gates.”–Revelation 22:14

HERE ARE SOME OF MY PREVIOUS PROJECTS:
 |
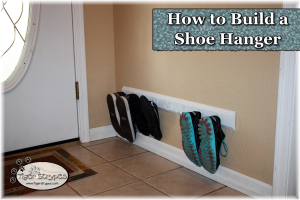 |
 |
 |
 |
 |
PLEASE SHARE THIS POST USING THE OPTIONS BELOW…THANKS!
Affiliate links for Amazon are used on my site. This means that when you click on a link, and make a purchase, I earn a commission for that purchase. There is no extra charge for you, it’s just their sites way of saying thank you for helping them get a customer. I use affiliate links to help fund my crafting budget, as well as help provide for our home.


These are adorable bunnies! Love the idea of using wash clothes too. Very creative Jamie.
Thank you, Linda. I saw something like it online and thought it would be fun to re-create! 🙂
This is such a cute craft. Thanks for sharing it.
Thank you, Grace! 🙂
These are the cutest! I bet that they had a hop to your step! My little ones would love to make these together.
They were so easy to make, and make me smile when I see them. I might make more to give to the neighbors. 🙂