Create a Paper Plate Gift Box
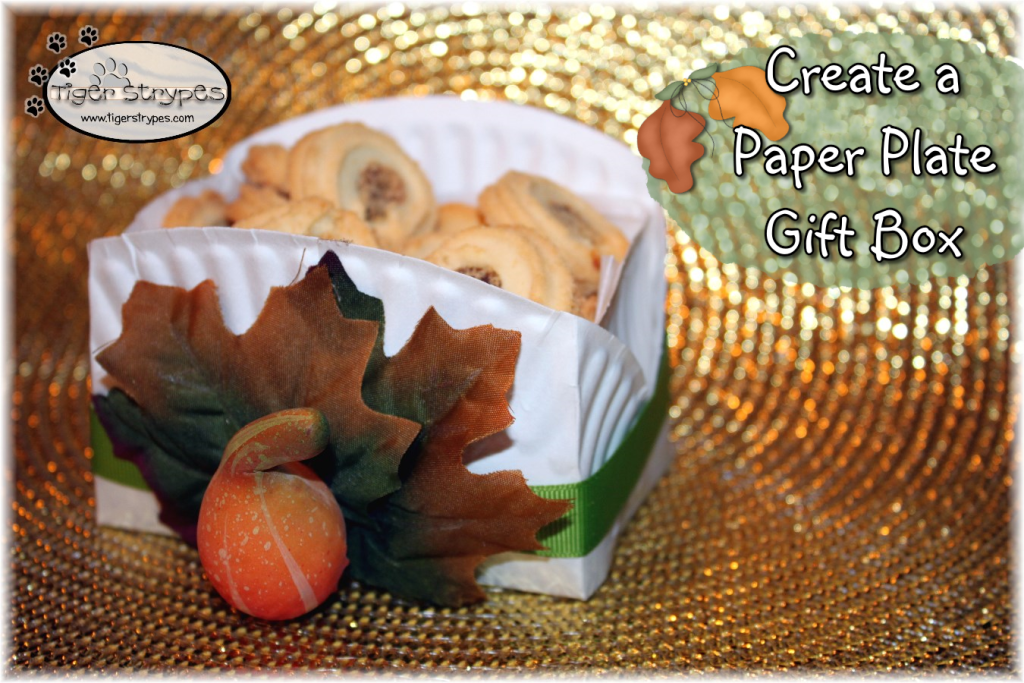
I’ve seen things like this online and thought that it would be fun to try. I have some really amazing friends here in the mountains, and thought that these would be fun to make for them. They were pretty easy to make, and could be decorated in any way that you see fit! You could also make mini ones for a bridal, or baby shower.
You could add anything you want to these, and even use colored plates for a specific theme. They were pretty easy to make, and fun to decorate. What do you think of them – do you think that it’s something that you would enjoy making? Let me know in the comments below.
I hope you like it!! Have a blessed day, and please be sure to comment on, and share this craft on your social media channels – thanks!!
Create a Paper Plate Gift Box
Materials/Tools Used:
- Paper Plate
- Pencil
- Scissors
- Tape
- Ribbon
- Misc. Decor
- & Time!
Instructions:
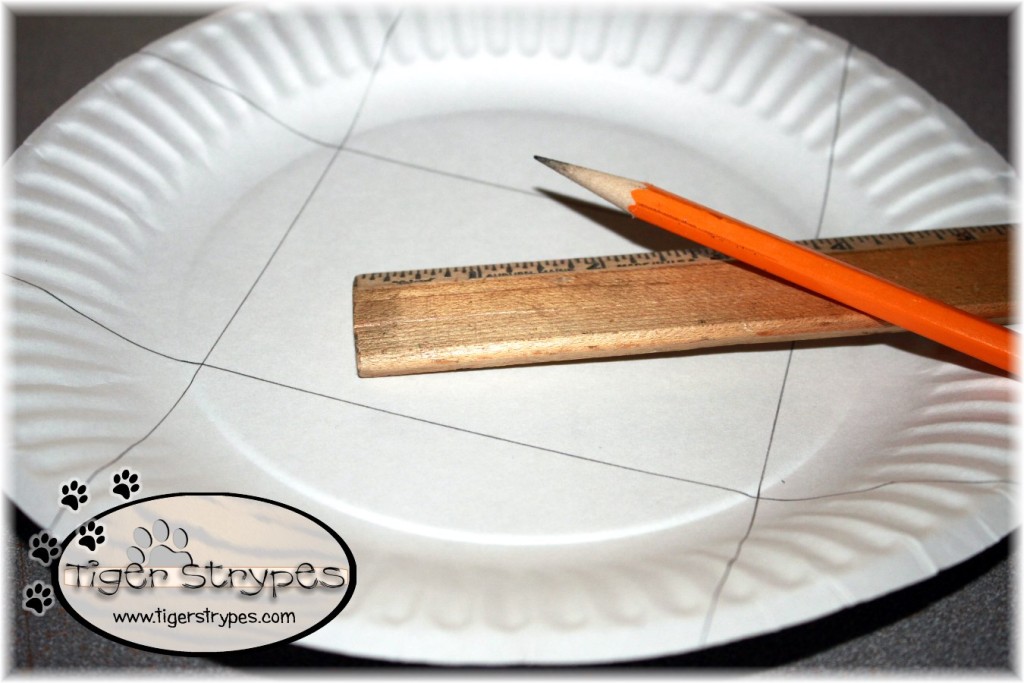
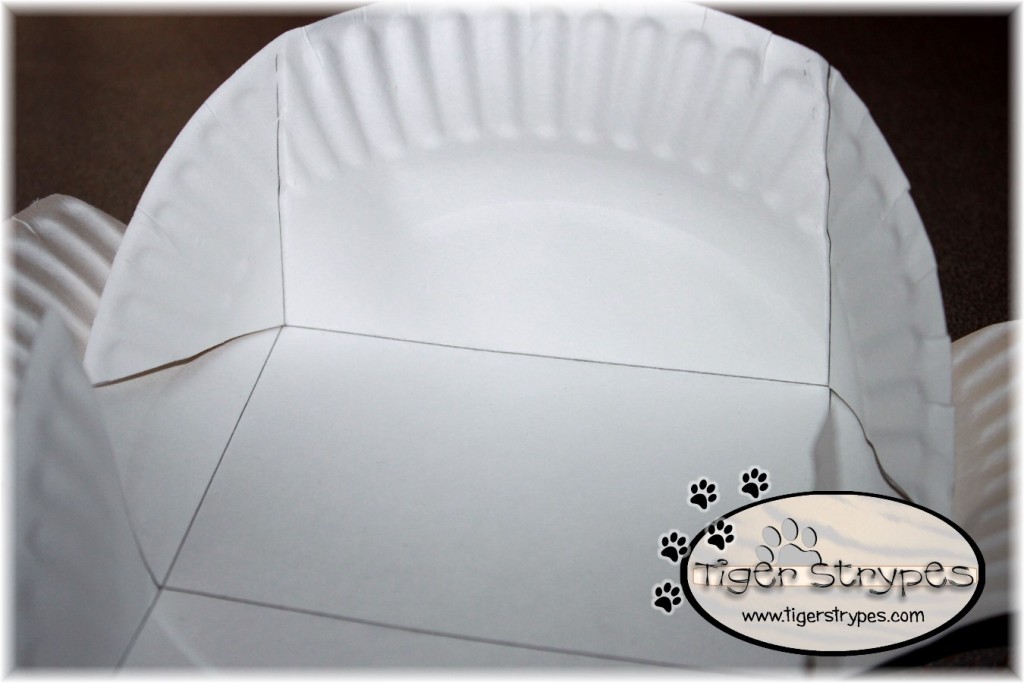
I started by drawing some lines on the paper plate. The will be on the inside, and almost hidden, so you really don’t have to worry about them being on there…but it’s nice to try and make them light. Two (2) of the lines are about 1/2″ from the edge of the middle, and the other two (2) are about 1.5″. You’ll see why in the next few steps.
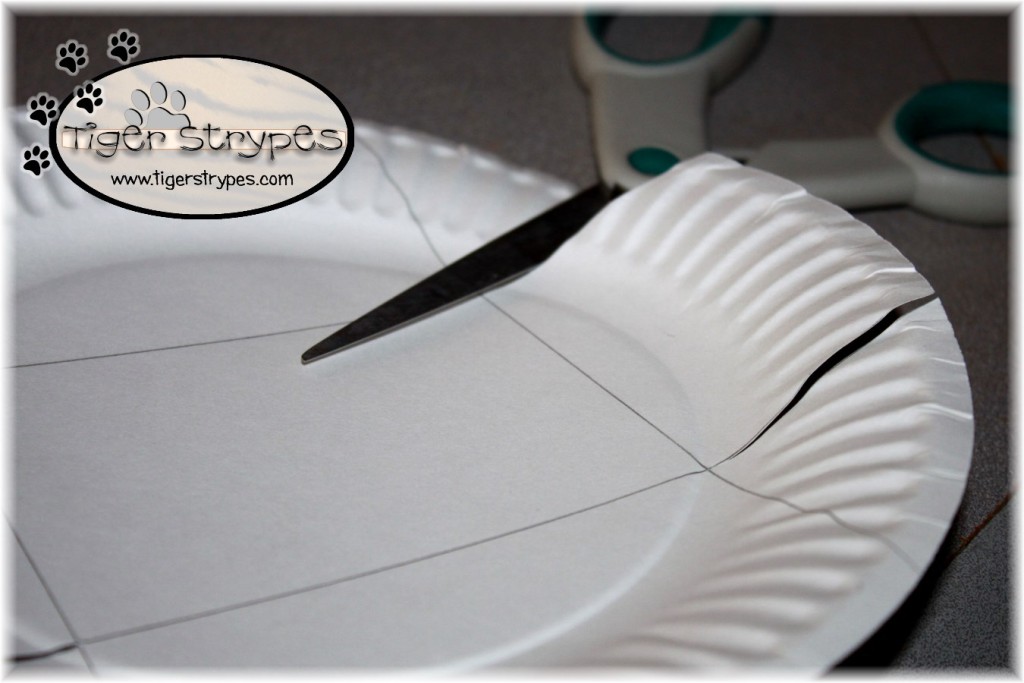
Next, I cut on the most narrow sides to just the center line. I did this for only the two (2) sides, not cutting the lines of the larger area.
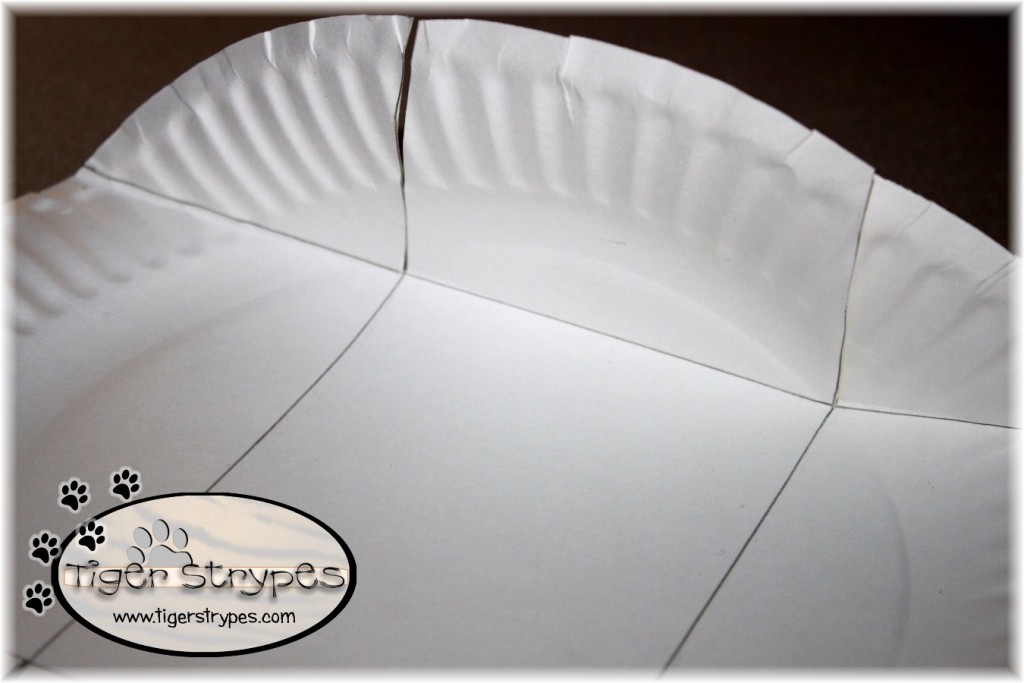
After that, I bent and creased the sides where I had cut, using the lines as my guide.
Next, I bent the parts that I didn’t cut, and folded in the flaps.
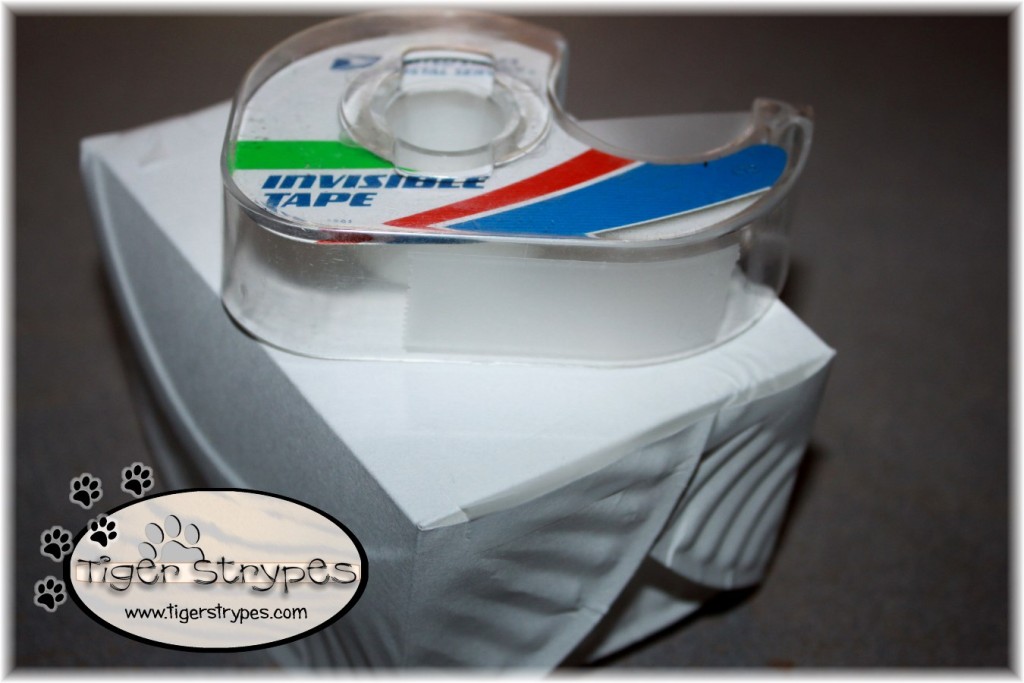
After I had folded it all together, I then taped the flap pieces to the bottom of the box. Be sure to have the small area that you had cut inserted inside. Do this on both sides. You might also want to add some tape to the inner corners to help with the inside stay together better.
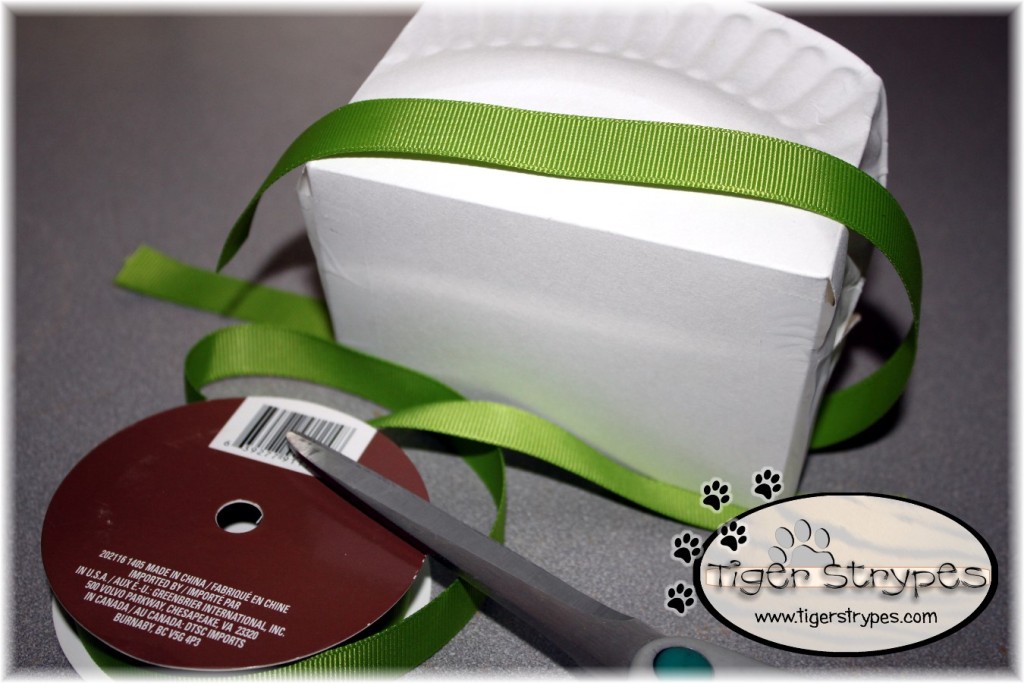
I then used some craft ribbon to run around the box, for some added decoration. Just glue or add tape where it comes together to secure it.
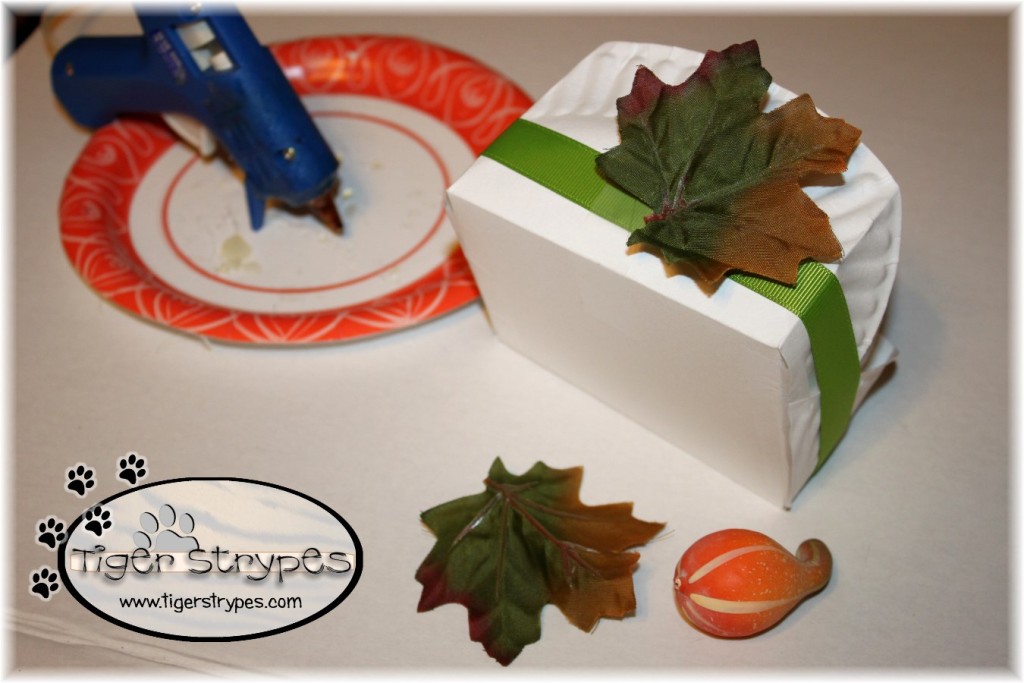
After I had the ribbon finished, I glued some greenery to hide the part where the ribbon came together.
I then filled it up with some cookies, and can’t wait to surprise some friends! I hope you like it! Please take a minute to leave me a comment, and let me know what you would do different, or what you would add, etc. Be sure to tweet, pin, share, etc. – thank you!!
“I have much to write to you, but I do not want to use paper and ink. Instead, I hope to visit you and talk with you face to face, so that our joy may be complete.” -2 John 1:12
PLEASE SHARE THIS POST USING THE OPTIONS BELOW…THANKS!!
*****************************************************************************************************
For more fun craft projects, visit a few of my favorite bloggers:
- Easy Homemade Simmering Potpourri Recipe by Confessions of an Overworked Mom
- Resin Bracelets with Dried Flowers by Adventures in All Things Food
- Make Up Set for Dolly by Girly Creation
- Countin Chickens with #TBCCrafters by Say It, “Rah-Shay”
- DIY Fall Recycled Bottle Decor by B is 4
- Stenciled Halloween blocks by Craft Yourself


[…] Paper Plate Gift Box by Tiger Strypes […]
[…] Paper Plate Gift Box by Tiger Strypes […]
I just love these little boxes! Very creative! Thanks so much for co-hosting #HomeMattersParty
Thanks Michelle – they are fun to make! 🙂
I love these little paper plate gift boxes. It is so easy to make, but yet can be decorated in a wide vast of ways.
Thank you for sharing this with us on the #HomeMattersParty. We hope to see you again next week when we open our doors at 12 AM EST on Friday.
They can be used for so many different things – that’s why I love them! 🙂
What a pretty box! Genius idea to use a paper plate. This will come in so handy during the holiday season, we gift a lot of treats! #HomeMattersParty
Thanks Nicole!
What a great idea, Jamie. #HomeMattersParty
Thank you Sahana!
Love this simple idea !! Comes handy during holiday times. It’s great to be co-hosting with you at #HomeMattersParty.
Thanks – it was easy to make and could be used for anything! 🙂
You made this look so simple. I am going to have to try this out. Thanks for being such a great cohost on #HomeMattersParty.
Thanks Melissa – it was fun to make and could be changed up for any season! 🙂
What a great Idea! I love repurposing and this is a good tip! Visiting from the #HomeMattersParty #53.
Your Co-Host Enzie
Thank you – it was fun and easy to make!!
What a great idea!
Thanks Amelia – something that could be used for anything! 🙂
How cute! What a fun way to deliver a package of goodies. Thanks for co-hosting at the #HomeMattersParty – we love having you on the team! 🙂
~Lorelai
Life With Lorelai
Thank you Lorelai – it was really fun to make. Thank YOU for having me be a part of the team. Your weekly linkup is the best! 🙂
Wow. Perfect tutorial for the upcoming holidays. I think I will try this out for my Christmas cookie making. Having fun co-hosting with you at the #HomeMattersParty
Great idea Allie – hope it works great for you! 🙂
What a cool idea and great way to give a gift! Thanks for sharing. Glad to be co-hosting the #HomeMattersParty with you!
Thanks Sarena – it was fun to make and great to give to friends! 🙂
This turned out to be so cute. What a nice present to give to someone! It’s great to be co-hosting #HomeMattersParty with you this month!
My neighbor loved hers – thanks for stopping by!!
You make it look so easy. Great idea for packing up treats to give away.
Looking forward to a great month of #HomeMattersParty fun with you!
Thanks Alayna – they were fun to make!! Great to co-host with you!! 🙂
This is a nice idea. I keep a whole bunch of paper plates at home and it is handy for gift-giving. Thanks.
Thanks Maggie – they were fun to make and can be used for anything!
Do you know how many times I have had goodies to give away but couldn’t find anything to give them to the person in. Love this!
Plus, it’s inexpensive and easy to make!! Glad you like it!
[…] Jamie teaches us how to make a Paper Plate Gift box […]
[…] Jamie teaches us how to make a Paper Plate Gift box […]
I’ve always seen this and wondered too! But it looks like it was pretty easy. Looking forward to co-hosting with you at the #HomeMattersParty
This party has been so much fun – thanks for stopping by Chelsea. This box was really easy to make, and could be changed up for anything!
I’ve seen paper gift boxes like these before, too and have always wanted to make them. Thanks for showing us the steps you used, I love how you can decorate it for any occasion. Looks great, perfect for baked goods!
I’ve seen some that are just basic for kids crayons, etc. Figured I would change it up a bit and add some seasonal decor! 🙂
[…] Jamie teaches us how to make a Paper Plate Gift box […]
What a fantastic idea. This would be great to hold Christmas cookies this holiday season too!
For sure – then Santa could just take it with him!! ha/ha j/k
This would be great for the holiday’s to give baked goodies in. Looks like an easy craft, I’ll have to give it a try. Thanks for sharing!
It was pretty easy to make, and could be changed up for whatever you’re doing – I just love the idea of something simple, that works!
[…] Paper Plate Gift Box by Tiger Strypes […]
[…] Paper Plate Gift Box by Tiger Strypes […]
[…] Paper Plate Gift Box by Tiger Strypes […]
[…] Jamie teaches us how to make a Paper Plate Gift box […]
[…] Jamie teaches us how to make a Paper Plate Gift box […]
What a great idea! Makes taking cookies so much easier! It’s been great co-hosting with you at the #HomeMattersParty
Thanks Vickie – the #HomeMattersParty has always been one of my faves. Such a blessing to be able to help with it! 🙂
This would be great for candy. This makes a cute gift.
It would, Tara – they were really easy to make and could be dolled up in any way!