

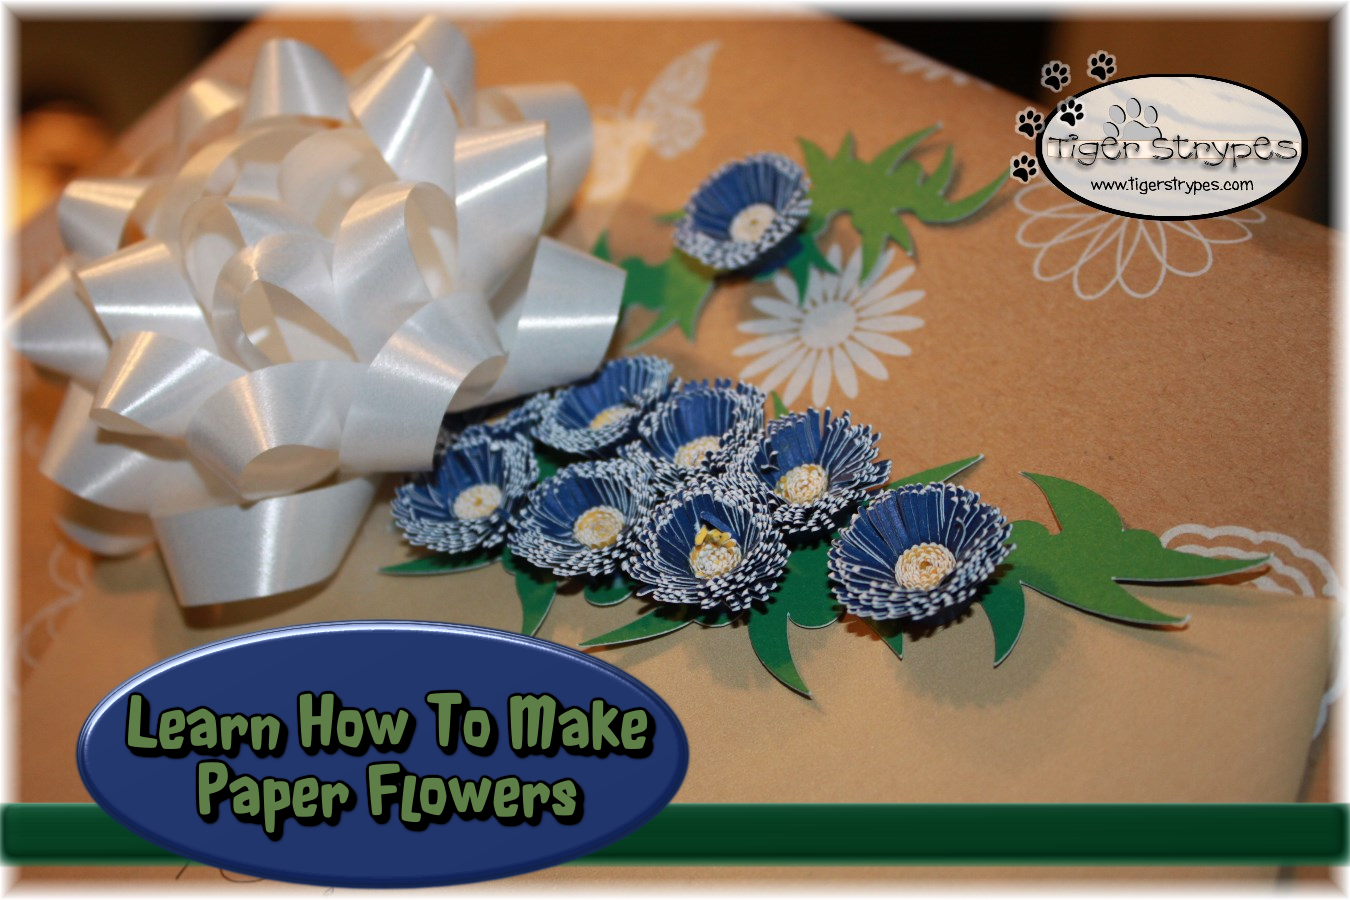
Learn How To Make Paper Flowers
(#TBCCrafters)
I recently got a new cartridge for my Cricut that makes flowers, and thought it would be fun to try and show you how it’s done. If you don’t have a Cricut and are good with scissors, I’m sure you could just make these that way, and they would turn out pretty close to the same. I just love saving time and making more! 🙂
I used these to decorate a gift for a friend’s bridal shower, and they turned out really good, in my opinion! I think, that next time, I would make them a bit larger, so that there is more detail in the petals. Otherwise, they are fun to make, look beautiful and people couldn’t believe they were all paper!
I hope you like it!! Have a blessed day, and please be sure to comment on, and share this #TBCCrafters craft on your social media channels – thanks!!

Learn How To Make Paper Flowers
Materials/Tools Used:
- Craft Paper
- Cricut
- Quilling Tool
- Glue/Tape
- & Time!
Instructions:
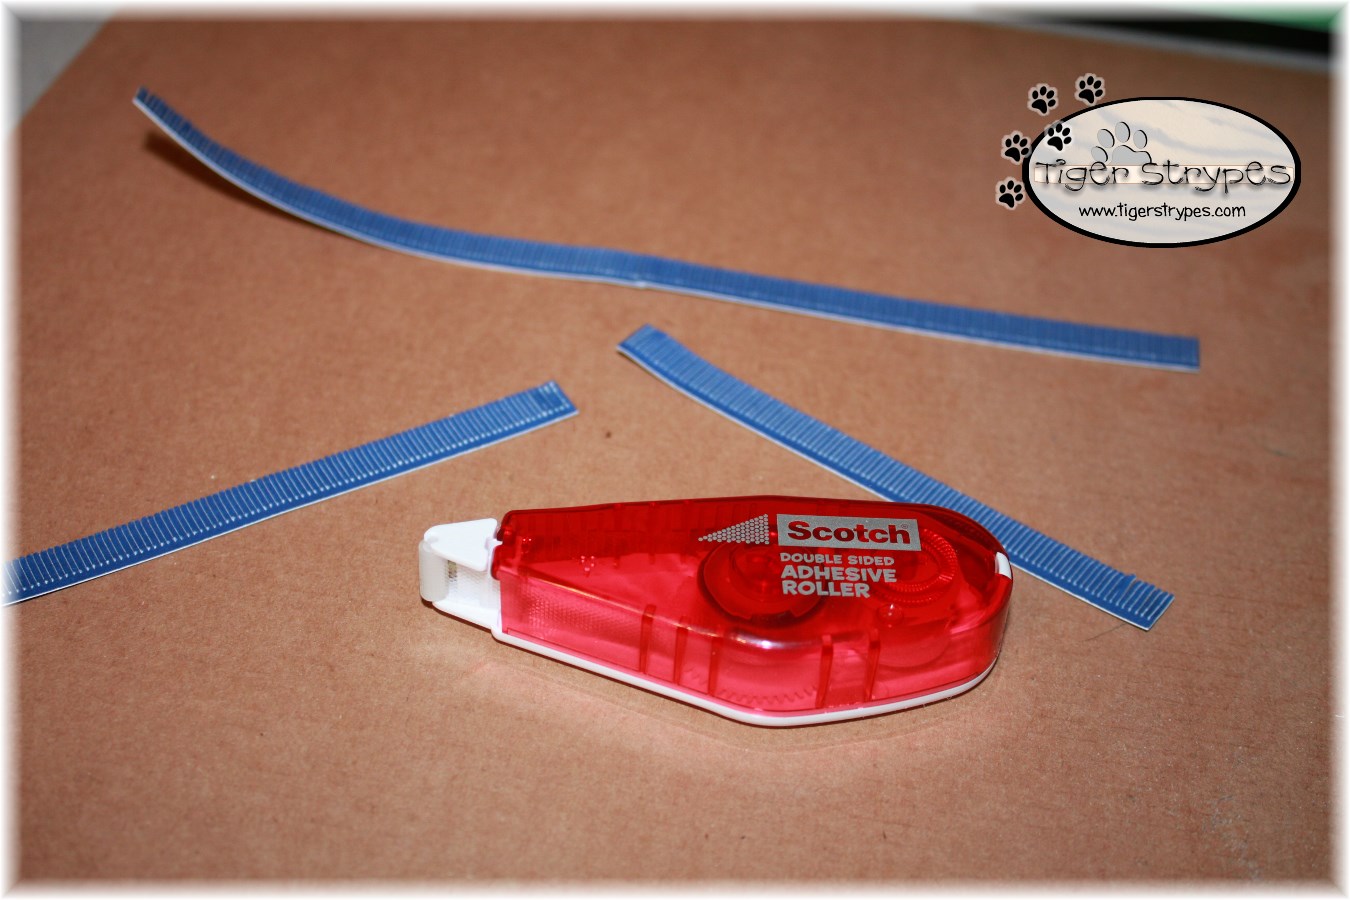
I started by using my Cricut Explore, to cut out a pattern from the 3D Floral cartridge (there are so many great ones on there). I used some blue craft paper (thin cardstock) for the flower’s petals, some yellow for the center, and then some green for the leaves that the pieces will sit on.

Once all of the pieces were cut out, I started to assemble them. Using some glue tape, I attached two (2) pieces of the blue paper together to form one long piece. Do this with every set of the blue pieces – you will need one (1) long one for each flower that you decide to make.
Now, using the yellow craft paper, I used my Cricut, to cut out the inner pieces and glued them together, as well. These will be a little bit shorter in height, so that they don’t match up with the “petals”.
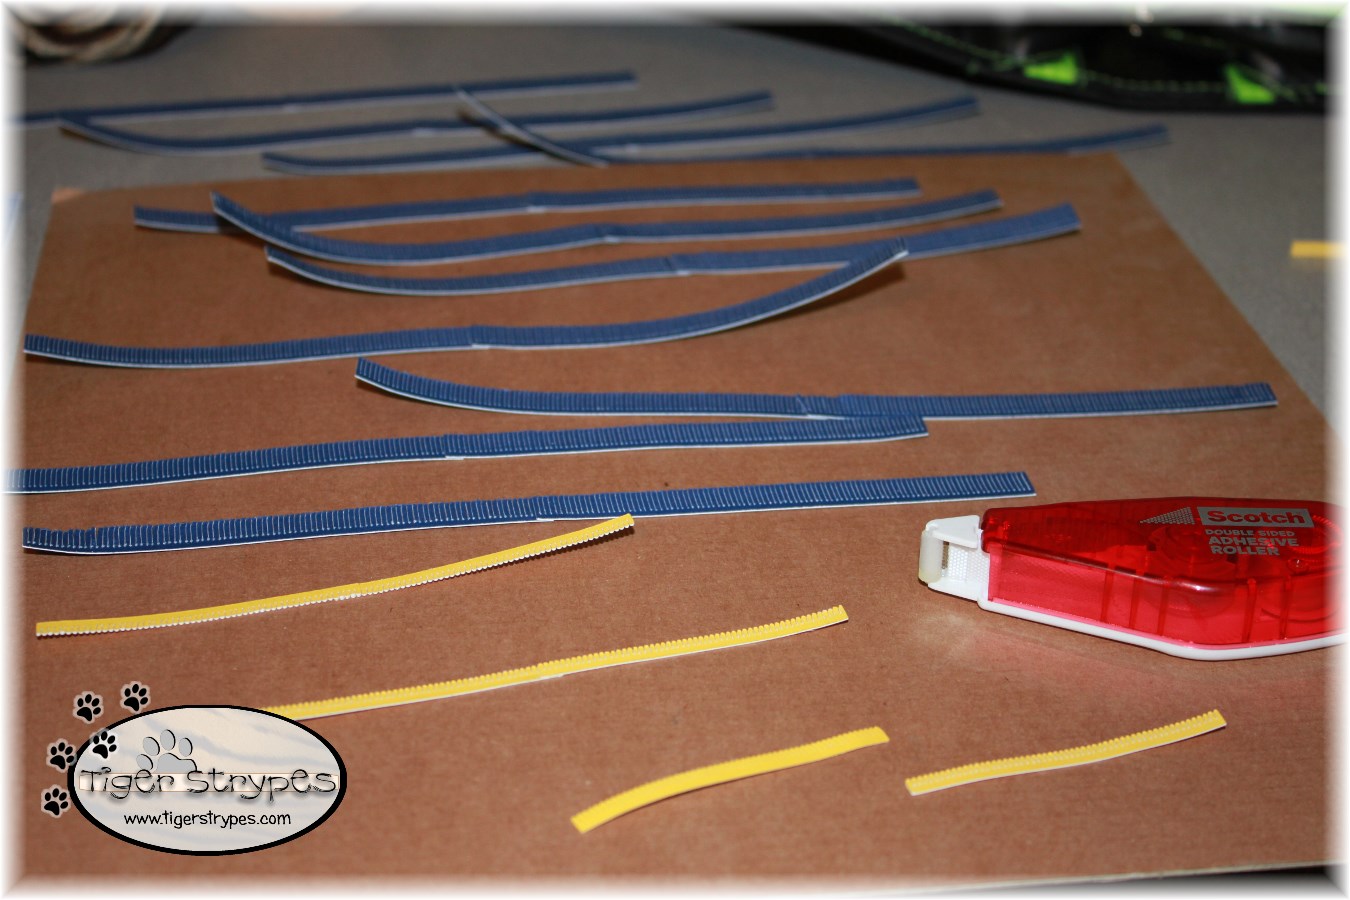
Now, using my glue tape, I put two of the sets together so that I could just do one swipe, and have both pieces set with the glue tape. Then you just have to gently pull them apart and you have both done. Time-Saver!! I had found that doing each one by itself was leaving too much on the piece below. I’m not one to waste craft products, so I figured out the 2-in-1 way of doing it!

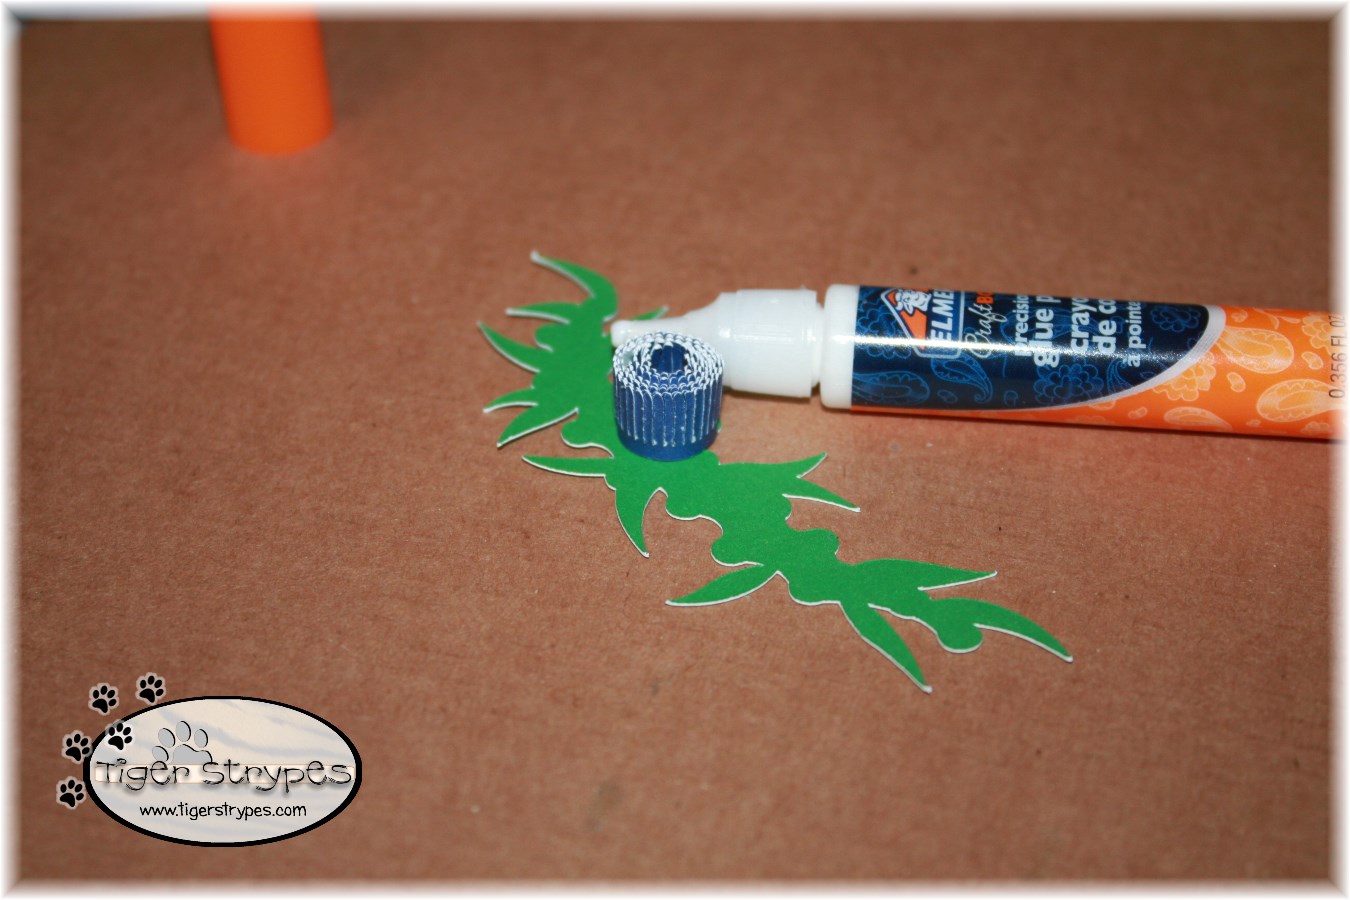
Then, using the Quilling Tool, I started to wrap the inner pieces of the yellow paper (that I had also glued as above), to form the center of the flower. You need to keep it pretty tight, but be careful not to rip it.

Once you have the yellow finished, you can then attach the blue piece from one end. I tried to make sure that it was not beginning where it lined up to the end of the yellow, since it really needed to be secured. I found that if you start at the end, it starts to fall apart a bit. Just make sure that it says secure and doesn’t unravel.

Next, I attached the finished piece to the green paper that I had cut out to be the leaves. I had to make sure that the center portion had lined up when I was adding the glue, so that it would be level. Also, be sure to leave a bit of space between where you will attach the next ones, as you’ll see why in the next step.
Now, you using a stick or one of your fingers, you can start to push down on the “petals” to make the flower bloom!
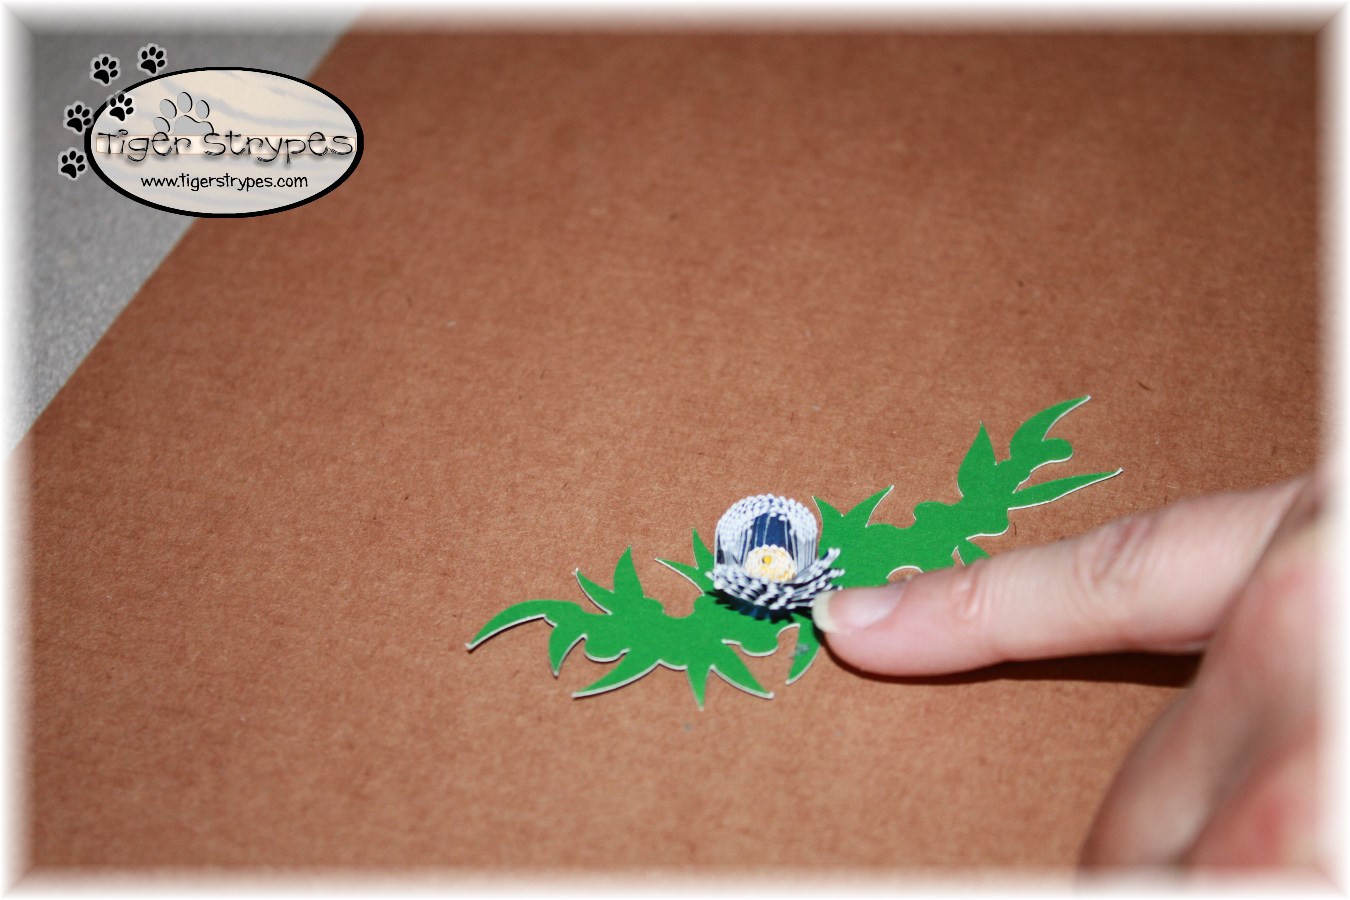
Just continue to add your finished flowers to the leaves, and fill up the bottom as you wish. Then, you can just glue or tape it onto your gift, or whatever project you decide to use them on.
I hope you like it! Please take a minute to leave me a comment, and let me know what you would do different, or what you would add, etc. Be sure to tweet, pin, share, etc. – thank you!!

All pictures and text are my own and have not been copied in any way. I, Jamie Tomkins, own and operate Tiger Strypes Blog located at www.TigerStrypes.com. From time to time you’ll hear about my real life experiences or creations with products and/or services from companies and individuals. Let it be known that I have no affiliation with these said companies, and have not received compensation for reviewing or using their service/product. The information that I give regarding the product/service is based off my own personal experience, I do not guarantee that your experience will be the same.
 |
 |
 |
PLEASE SHARE THIS POST USING THE OPTIONS BELOW…THANKS!!
*****************************************************************************************************


[…] Learn How To Make Paper Flowers fromJamie […]
[…] Learn How To Make Paper Flowers fromJamie […]
[…] Learn How To Make Paper Flowers fromJamie […]
this is really cool! I’m not so great at DIY , but getting married in January and looking to try DIY ideas so this could be perfect! thanks for sharing at #homemattersparty – talk sooN! 🙂 xx Bee
Cricut machines fascinate me. these flowers are so cool. Thanks for sharing and co-hosting at the #HomeMattersParty – we appreciate you! 🙂
~Lorelai
Life With Lorelai
They came out super cute! Thanks for sharing – #Homemattersparty
These looks beautiful! Thanks so much for sharing them on the party. #HomeMattersParty
These are adorable. I’m not overly crafty, but I still feel I could do this. Thank you for sharing this neat idea with us.
Thank you Crystal!
I really love how your flowers turned out! I don’t have a circuit 🙁
Thanks Crystal – you could even just cut them by hand and make it work. 🙂
Beautiful! I love making paper flowers with my Cricut! #HomeMattersParty
It’s fun to be able to decorate so many things – one of the best investments ever! 🙂
These flowers look pretty, Jamie.Looks like they are very intricate. I love the color combination too.
Thank you Sahana, they were really fun to make! 🙂
[…] Learn How To Make Paper Flowers fromJamie […]
Beautiful! I love the colors you used. #HomeMattersParty
Thank you Merit – I really love them, and can’t wait to make more! 🙂
[…] Learn How To Make Paper Flowers fromJamie […]
[…] Learn How To Make Paper Flowers fromJamie […]
[…] Learn How To Make Paper Flowers from Jamie […]
These are too cute!!! This is a pretty cool machine! I think even I could do this, using the Circuit. Guess I need to research the Circuit. I’ll check around on your blog too, see if you have anymore post on the Circuit machine. Thanks for sharing!
They are definitely worth the money for crafting, Jamie!! Christmas gift idea!! 🙂
These are very cute!
I don’t have a cricut but I was still inspired by your tutorial.
I think I got an idea or two. 🙂
This is one that you can definitely just make by cutting the paper by hand. Hope you can make something beautiful!
You’re so talented, I love how those flowers came out! These would be pretty to make for lots of gift ideas and other projects. Pinning this 🙂
Thanks Bernadyn – my talent comes from watching my Mom for so long and God giving me the crafting heart! 🙂
That’s just amazing and I wish I could do that. That Cricut is a miracle tool!
Actually, Rachel, it’s the hands that create the stuff. It just helps with the busy work – you could do it!!
I would love to receive a gift with these flowers on them. That machine is so cool.
It’s a great investment for crafters, for sure!
So cute Jamie!
Thank you!!
Very pretty Jamie! I like how your flowers are blue with a touch of white on the petals. Anyone receiving this gift from you will treasure those flowers I’m sure.
Thank you Linda – I can’t wait to make more! 🙂
Jamie, these are absolutely beautiful, I LOVE how you used them on a gift as part of the gift wrapping, so fancy! Pinning!
Thanks Rose – I just thought it would add something special to my friend’s bridal shower gift! 🙂
That is so cool! I am asking for a cricut for Christmas!!
They are SO worth it, Heidi!! I’ll pray that you get one! 🙂
How fun! I love how many creative ways there are to make flowers out of paper. I have some punches and have made some with my Silhouette, but these are even different than those. Since you used a quilling tool, I have to ask, have you ever tried quilling? Any books you would suggest or places to go?
I love being able to create things. Punches would probably work great, too! 🙂 As for quilling, I got a book with the kit that I got on Amazon – here’s a link for it: https://amzn.com/B000Y8Z9RC.
These are so cute…..what a great idea!
Thanks Momma!! 🙂
I love this! I am a huge fan of paper crafting, but I have never attempted 3D flower crafting. I love to scrapbook and make bookmarks. I will a have to give this hobby a go one of these days 😀
It’s so worth it, Sarah, if you have the time! 🙂
All I seem to have these days is free time!
Lucky!! 🙂