This site contains affiliate links. Please see below for more information.
Skeleton Candy Bowl for Halloween
#TigerStrypesBlog #Halloween #Skeleton #Candy
I saw something like this online recently, and thought it looked like a fun project to make. Most of the items were bought at the local dollar store, so it’s pretty cheap & cheerful to make!! If you’re like me, you already might have half of the stuff in your craft supplies, so it’ll be even less expensive. I can’t believe that it’s already October!
The weather here in the mountains of Arizona is finally cooling down. I know that for the flatlanders, 80 would be a blessing, but for us full-timers, that’s hot! Fall is my favorite season, for sure. Cooler weather, changing leaves and just a different smell when you go outside. I just can’t explain it, but you just know that Fall is here, when you go outside and it smells a certain way. I just love it!! We have our firewood ready for the cooler months, and can’t wait to enjoy the new season.
With that being said, then you know Halloween is just around the corner. We live in a small town, so we don’t get many trick-or-treaters, so I just love to make special gifts for my neighbors, and friends to enjoy the holidays. This one will be a fun way to have candy on the table and bring a smile to your face. I sure hope that you like the tutorial, and pray that you have a blessed day!
Please be sure to comment, and share this craft on your social media channels – thanks so much!!
Learn How to Make a #Skeleton #Candy Bowl for #Halloween! #Fun #Craft #DIY via #TigerStrypesBlog - Find out more at Share on X
Materials/Tools Used:
- Black Bowl
- Plastic Skeleton
- Diagonal Pliers
- Glue Gun/Glue
- Candy
- & Time!
Instructions for the Skeleton Candy Bowl:
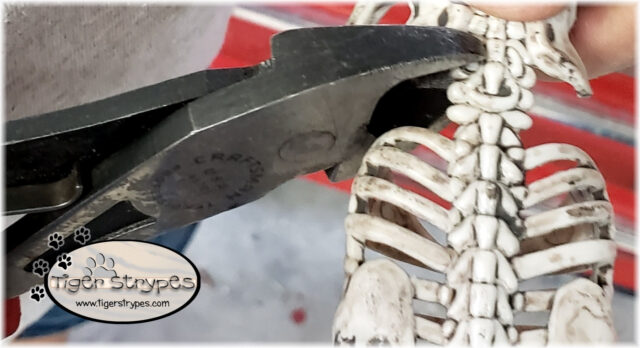
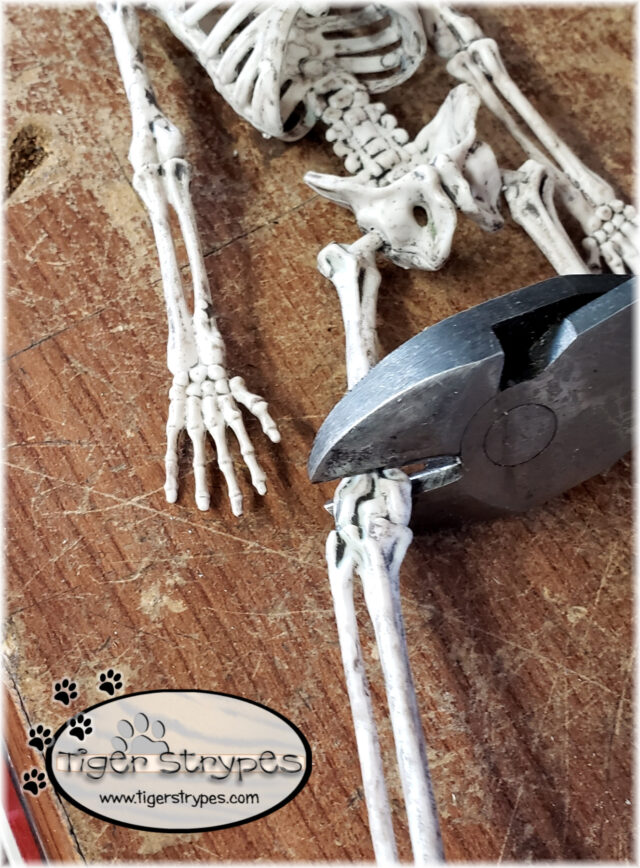
I started by heading to the local dollar store (well, dollar and a quarter store now) and buying a few of the products from the list above. Some of the tools, I already had at home, so that was a savings. I started by having my husband cut the skeleton with the diagonal pliers at the base of the spine…sorry skeleton. 🙁 I then trimmed the ends of the legs off, to be able to glue those to the bowl.
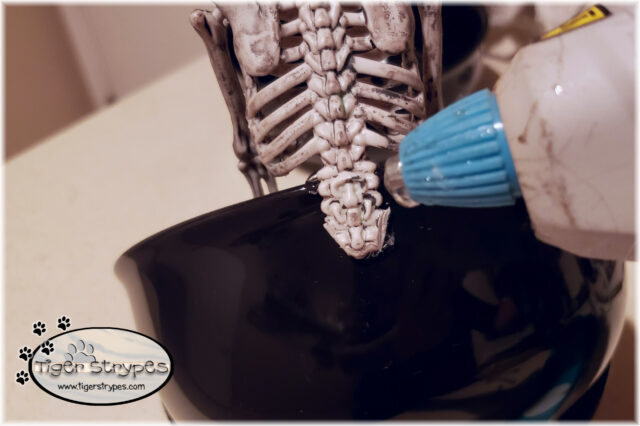
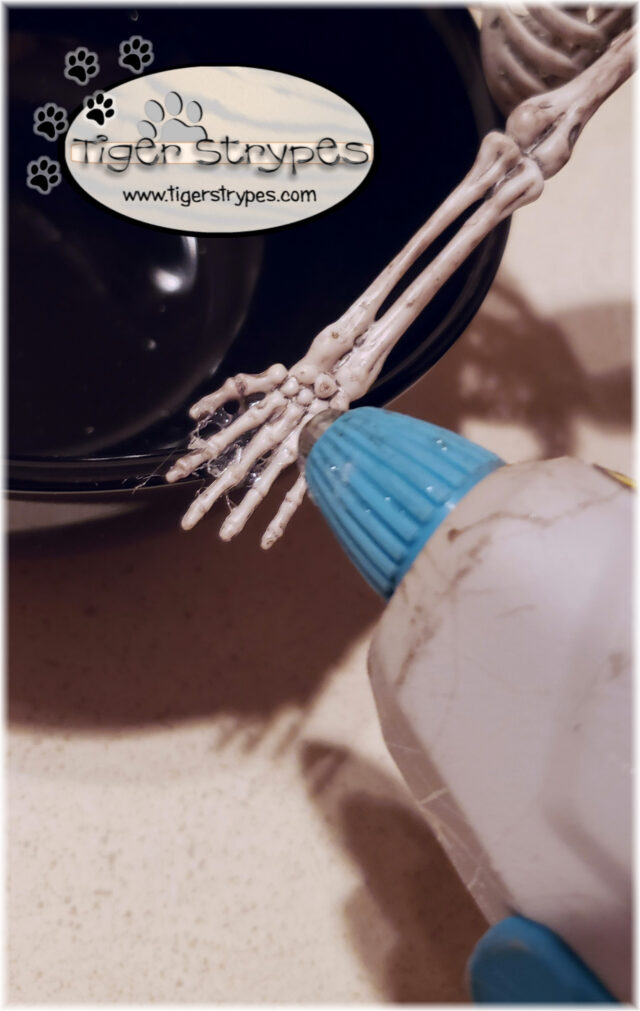
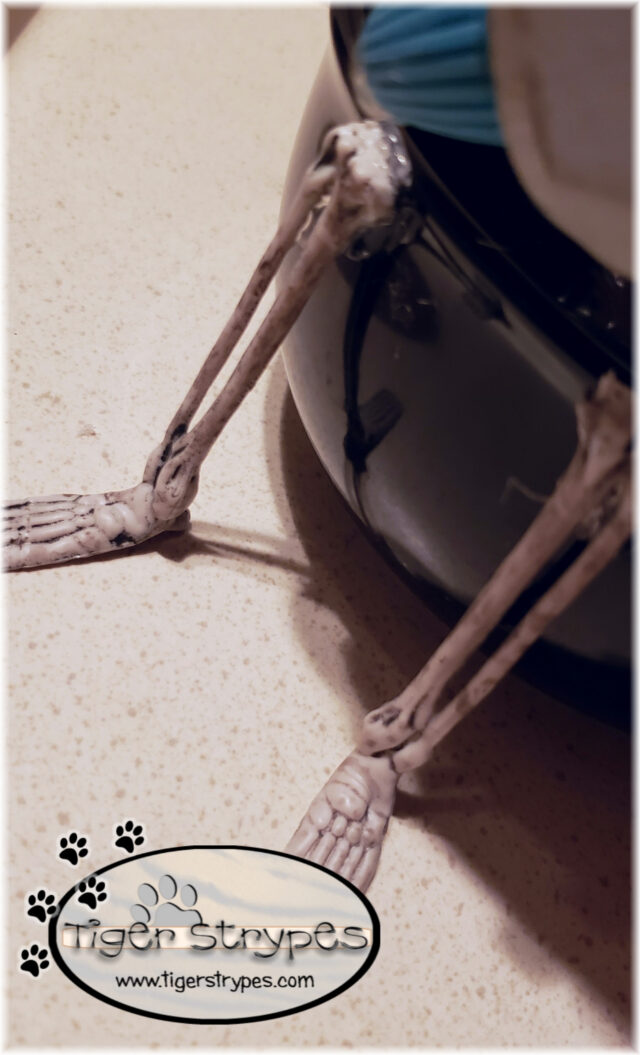
When that was all complete, I headed inside and got my glue gun plugged in, and heated up. Using a few dots, I attached the top portion to one side of the bowl, holding it for a bit until it dried. Then I attached the hands to the rim of the bowl, to secure them. After that, I attached the legs to the front of the bowl, at the knee area, being sure to attach them securely into place.
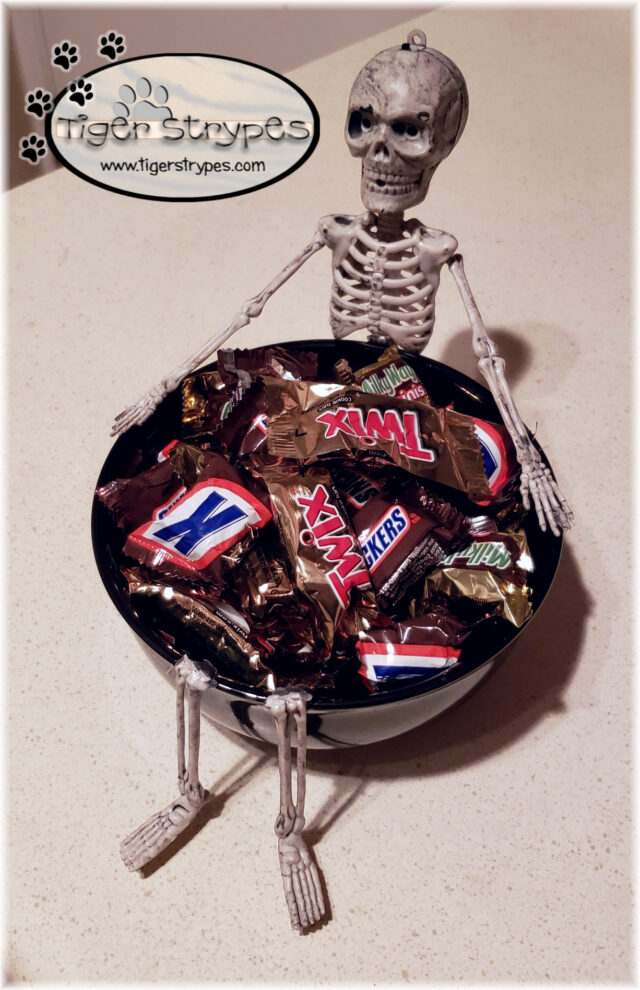
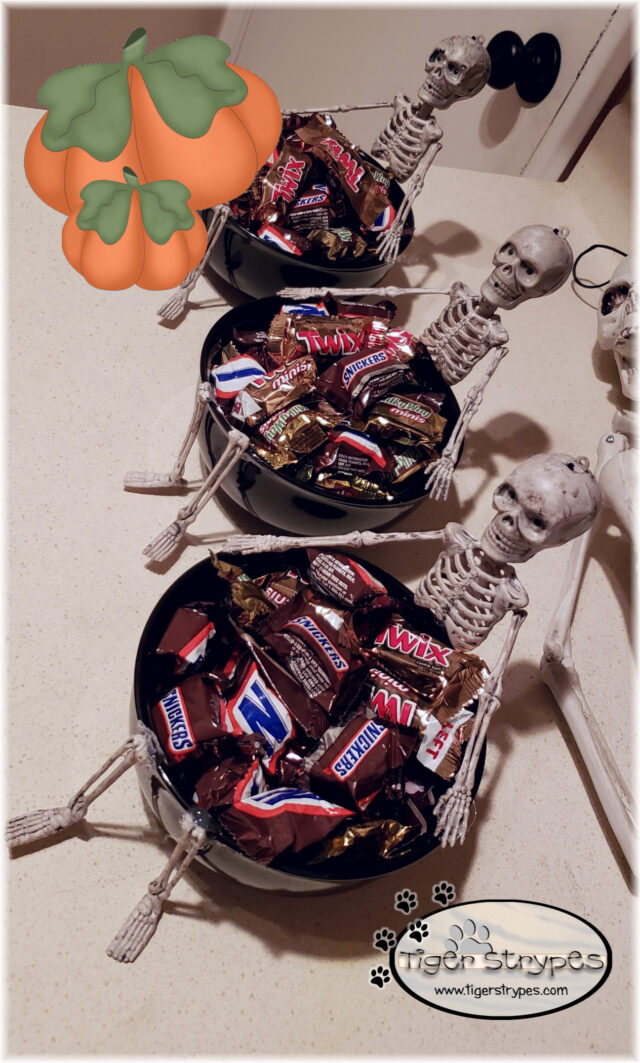
Once everything was dry and super secure, I poured some Halloween candy into the bowl. Now our little skeleton is enjoying his chocolate hot tub, getting ready for Halloween. I figured that this would be the perfect gift for some neighbors, since we don’t have many trick-or-treaters in our neighborhood. It’s always fun to bring a smile to those you care about. I hope you and your family have a fun and safe Halloween.
What do you think? I hope you like it! Please take a minute to leave me a comment on what you would like to create, and maybe if you have any tips on how to do it different, or better!
Be sure to tweet, pin, share, etc. – thanks!!
“Neither do people light a lamp and put it under a bowl. Instead they put it on its stand, and it gives light to everyone in the house.”–Matthew 5:15
Affiliate links for Amazon are used on my site. This means that when you click on a link, and make a purchase, I earn a commission for that purchase. There is no extra charge for you, it’s just their sites way of saying thank you for helping them get a customer. I use affiliate links to help fund my crafting budget, as well as help provide for our home.




So clever! I have a skelton like this. Think I’m going to have to try this for next year!
This is super cute and clever! How fun!
Thanks Heidi.
Oh my goodness, this is so creative and adorable. Totally doing this.
I always love projects that are easy & fun! 🙂
These are cute and would make fun treat gifts for the grand kids.
I have one on our living room table, and I don’t think any of the candy has been taken. What a difference, when you’re an empty nester!! ha/ha
What a great Halloween craft idea! I love it! Looks spooky and easy to make.
It was definitely easy, and I love that!! A glue gun can help with everything!! 🙂
My 6 year old will want to try this craft! He’s all about “spooky” this year! Not too spooky… but, spooky! 🙂
It was fun to make. Just be careful, because the pieces need to really be glued. Had to do it again, since the small dot of glue wasn’t enough. 😛