
Use Silicone Molds to Showcase Memories!
(#CreateDesignDiscover)
I found these great silicone molds online, and thought that they would be really fun to use to create some decor for the home. I would love to use them to make Christmas ornaments or special tags for gifts, but figured that this would be fun to do for household decor at this time of the year.
They were very easy to make, and can be finished in whatever paint, material, color, etc. that you want. The hardest part was trimming the excess off of the edges, but if you’re good with your hands for small things, you’re set! There are so many different shapes and even letters to make. Oh, the options!! What would you use them for to decorate? Let me know in the comments below.
I hope you like it!! Have a blessed day, and please be sure to comment on, and share this craft on your social media channels – thanks!!

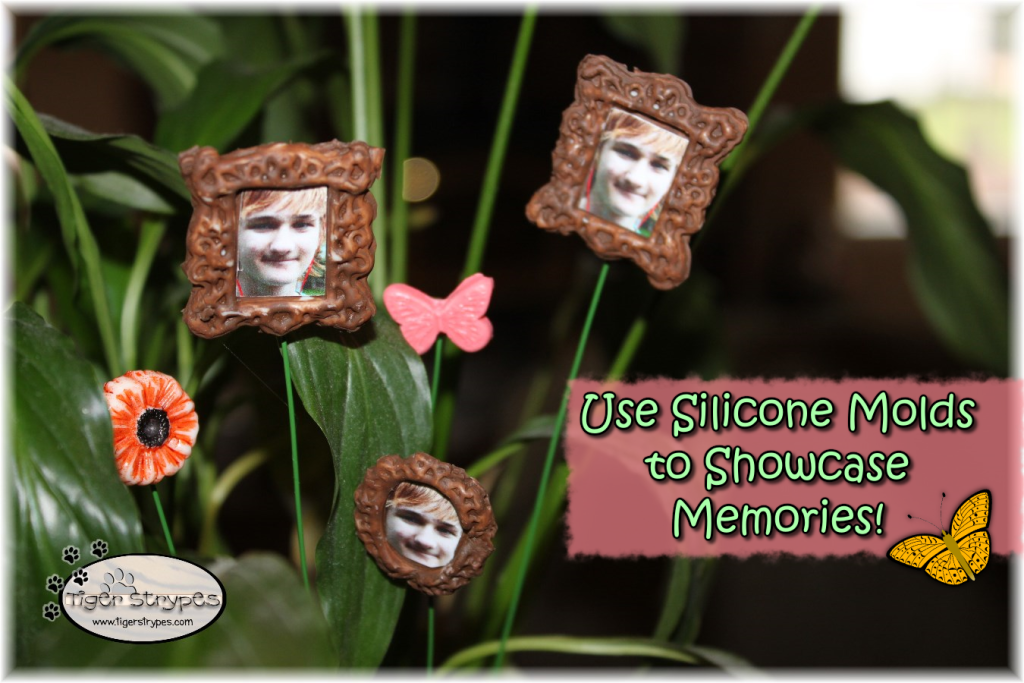
Use Silicone Molds to Showcase Memories!
Materials/Tools Used:
- Mod Podge (R) Molds & Sticks
- Glue Gun (for this craft only)
- Paint
- Wire
- Photos
- & Time!
Instructions:
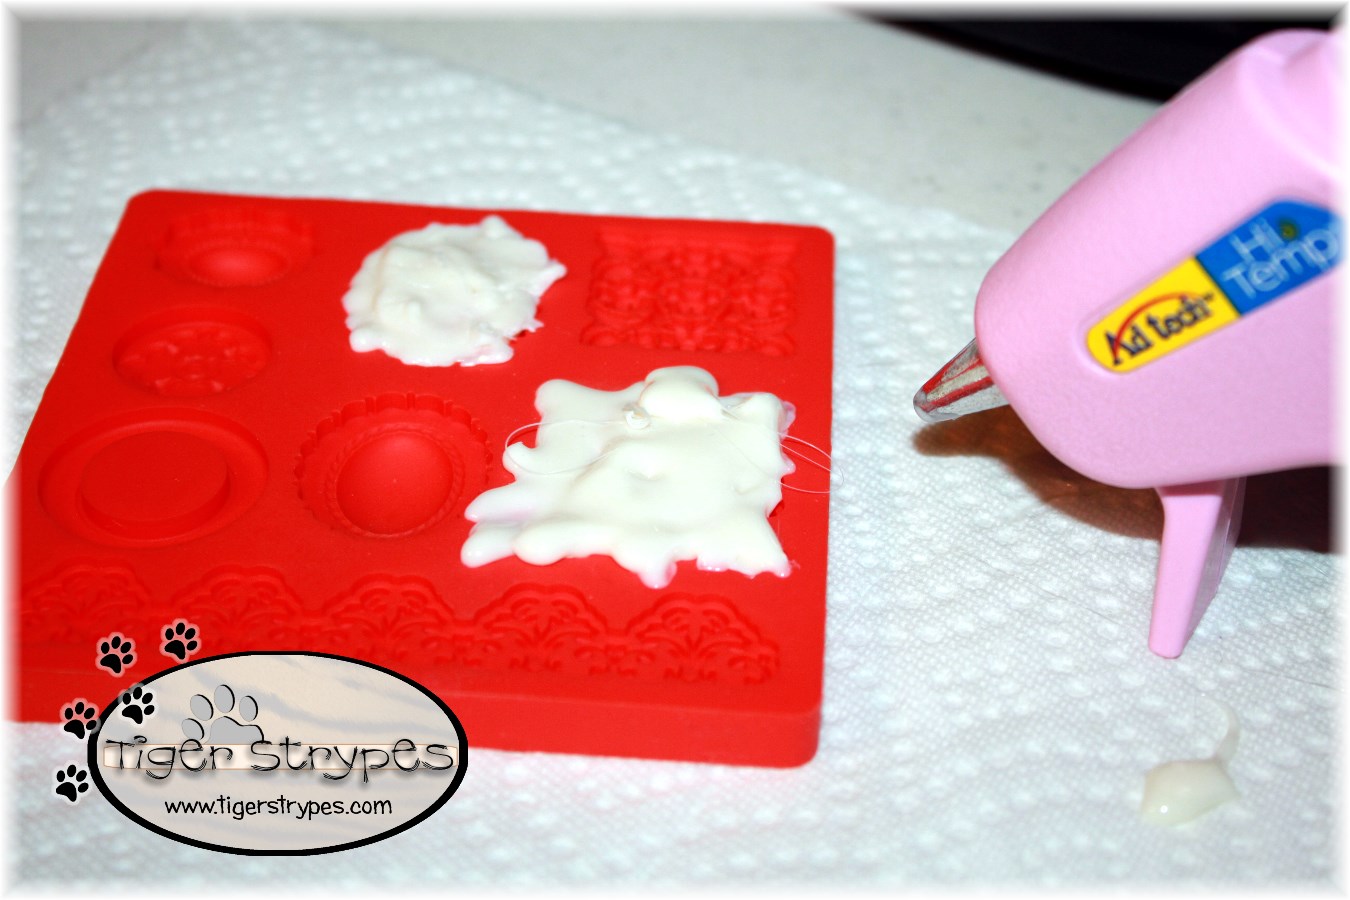
I started by using a glue gun that will only be used for this type of craft. Once you utilize it for the product involved, it’s hard to use it again, as just a glue gun. I found mine for only about $1 at the discount store, so it’s not expensive to have an extra for these types of projects. I inserted a Mod Podge(R) stick into the gun, and let it warm up completely. Once it was ready, I filled the areas of the mold that I was going to use, making sure to evenly distribute the medium.

Once it was completely dry, I used a chopstick to remove it from the mold.
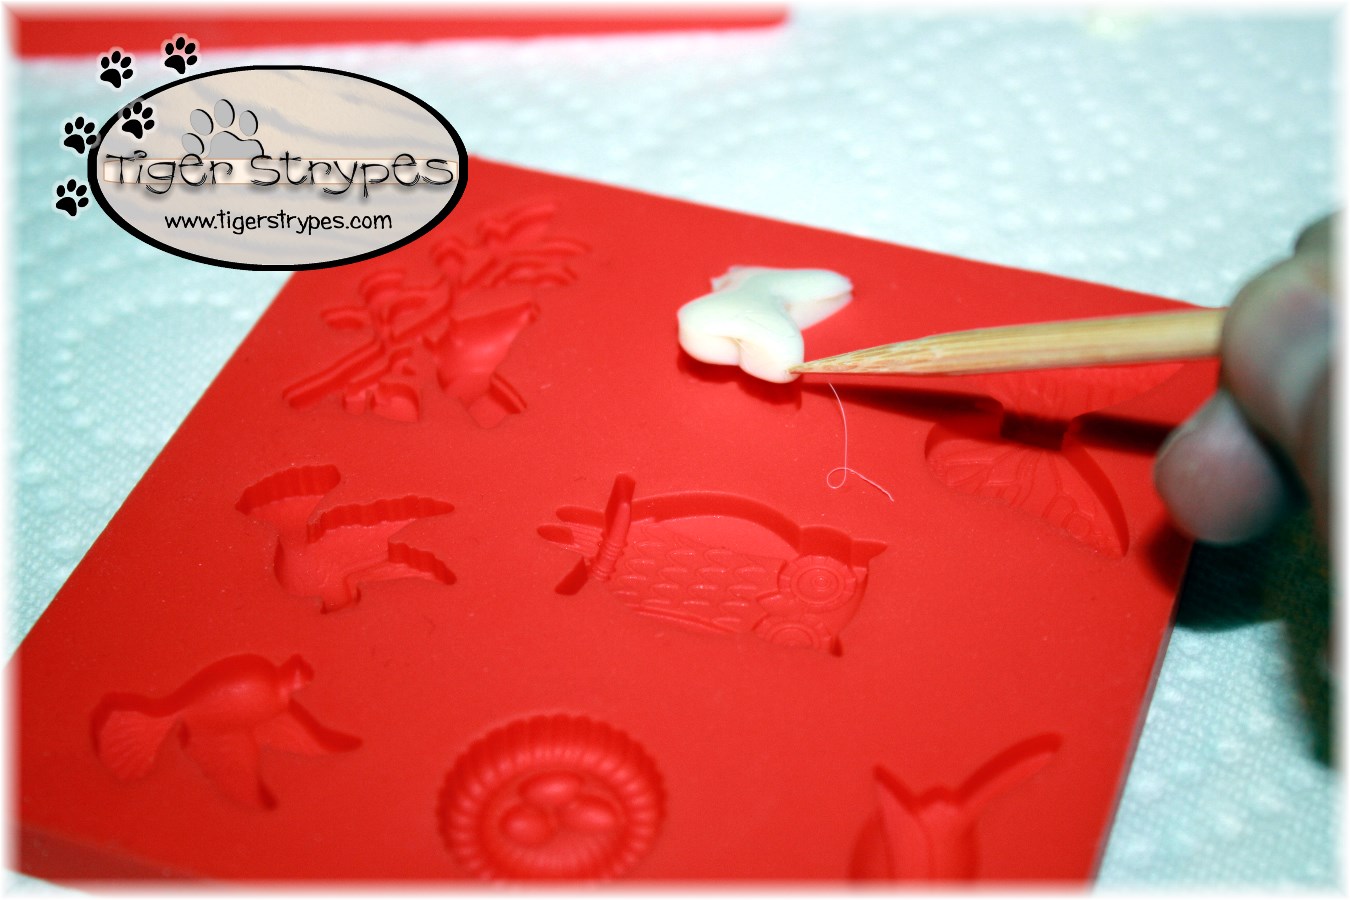
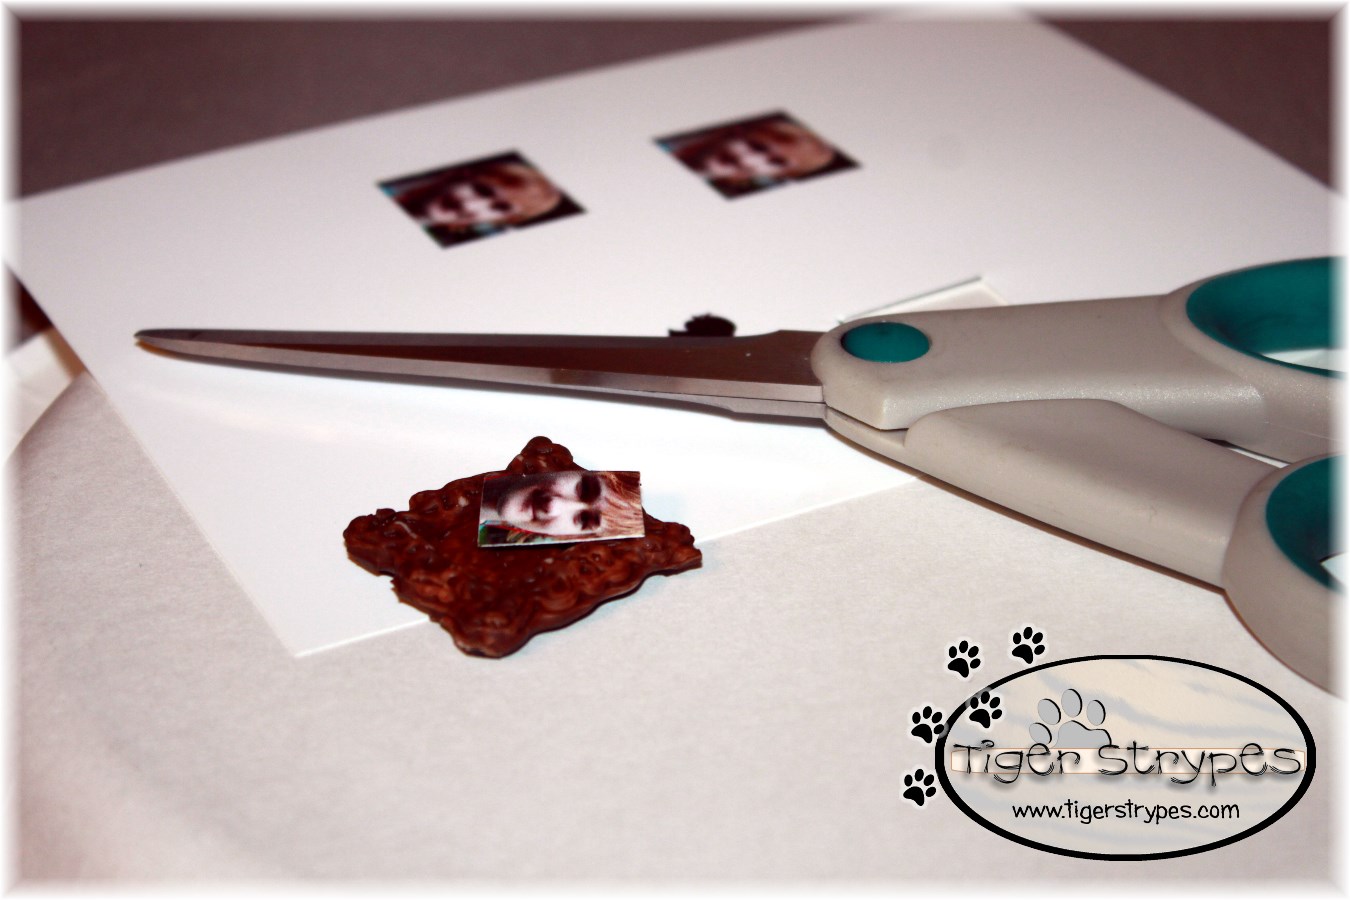
Once I had all of the pieces out of the mold, I then used my craft scissors to trim the excess silicone from the edges, and any strings that were left….you know how the good old glue guns leave the streamers!! 🙂

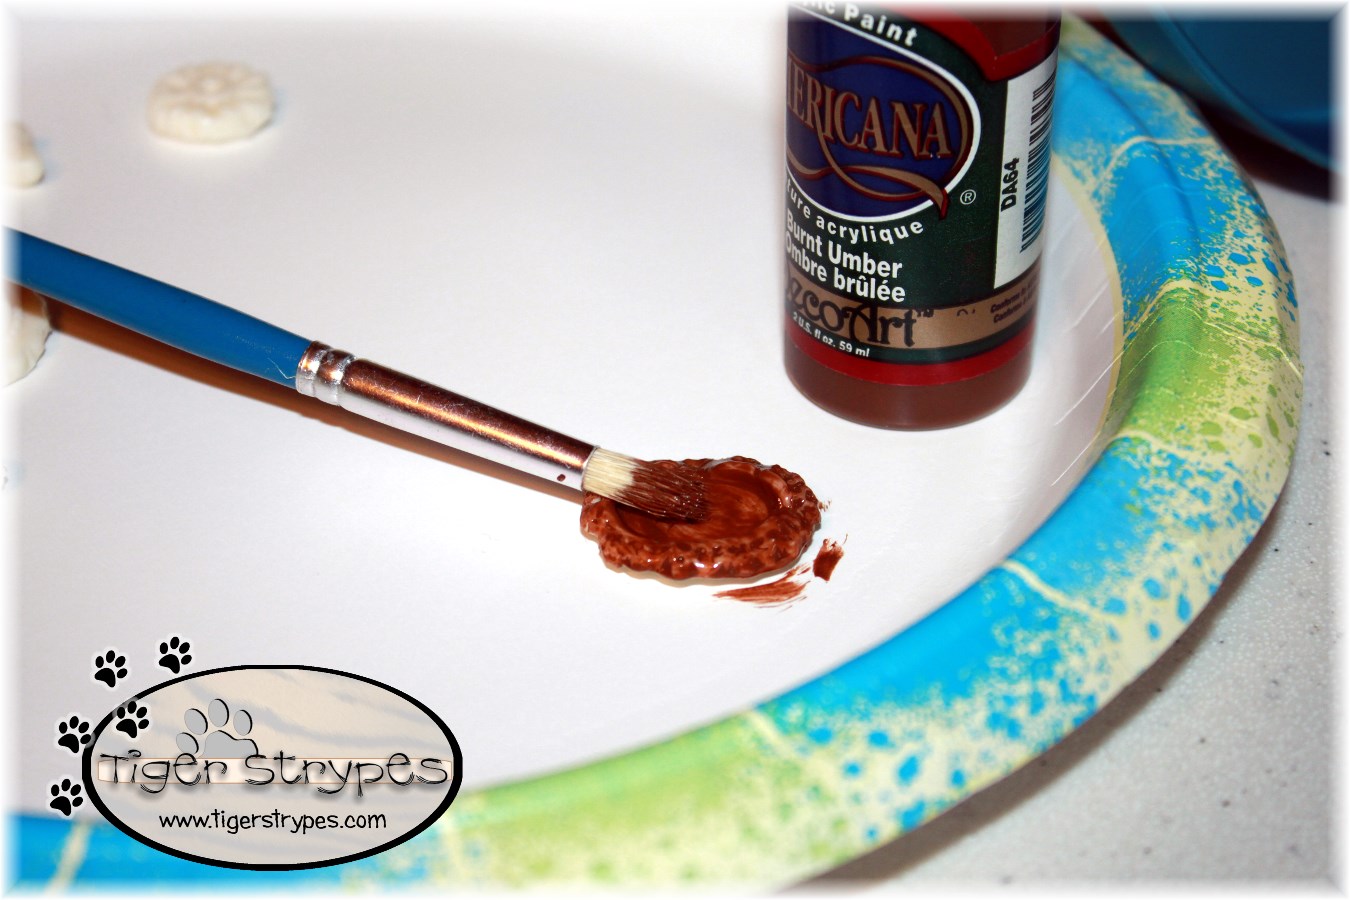
Now, I used some craft paint to paint each piece. The silicone didn’t seem to cover completely, but I figured it looked more like natural wood, so I left it. Multiple coats would help with this, or using a different kind of paint.
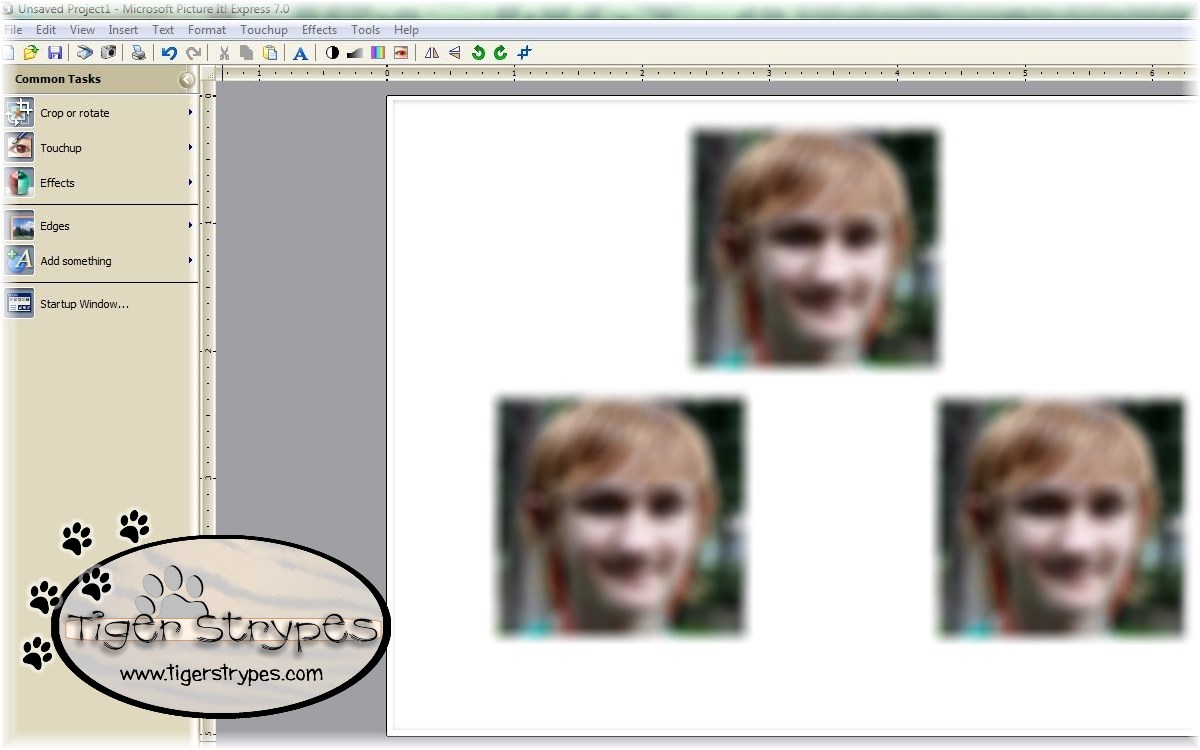
Next, I used a photo program that I have on my computer, to create the photos that would go into the frame. The frame pieces are pretty small, so the photos were even smaller, and needed to be trimmed a lot, but that just depends on the size you print them.
Once they were all printed out, I made sure to let them dry, and then trimmed them to fit each frame. I used some glue tape to secure them into each piece, just in case.
After that, I used a black marker to color the back of the frame. If you’re going to be attaching them to a flat surface, you can skip this step. I was using mine to decorate a plant, so I didn’t want the bright back to stand out. If you’re really into it, you can let the paint on the front dry and then paint the back, but I’m not one who wants to take too long to paint. 🙄
Once the back was colored and dry, I just used my glue gun to attach some craft wire for inserting in the plant.

Then I just inserted them into some plants around the house to bring a little personal touch to the normal shelf sitters. You could use them anywhere, so whatever you decide to do is up to you! I hope you like it! Please take a minute to leave me a comment, and let me know what you would do different, or what you would add, etc. Be sure to tweet, pin, share, etc. – thank you!!
“But now, O Lord, You are our Father; We are the clay, and You our potter; And all we are the work of Your hand.” -Isaiah 64:8
HERE ARE SOME OF MY PREVIOUS PROJECTS:
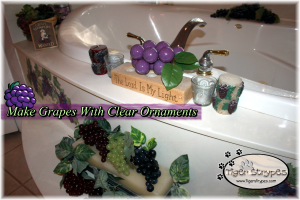 |
 |
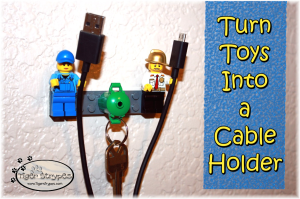 |
All pictures and text are my own and have not been copied in any way. I, Jamie Tomkins, own and operate Tiger Strypes Blog located at www.TigerStrypes.com. From time to time you’ll hear about my real life experiences or creations with products and/or services from companies and individuals. Let it be known that I have no affiliation with these said companies, and have not received compensation for reviewing or using their service/product. The information that I give regarding the product/service is based off my own personal experience, I do not guarantee that your experience will be the same.
( #CreativeCraftChallenge )
PLEASE SHARE THIS POST USING THE OPTIONS BELOW…THANKS!!
*****************************************************************************************************


Hi, thanks for sharing, these are great! I was thinking they could possible be turned into magnets as well. If you don’t want the expense of a glue gun (I have not seen a glue gun in Australia for 1$ before) you could use plaster of paris in the molds insted of the modge podge, you can buy it in a large pkg, I think. A little messy, but very evonomical of you want to make a lot. -Kay
Plaster of Paris is a great idea! They were really fun to make – tweet me a photo if you make one!
Oh how fun! This would be great for parties too, you could put photos of ultrasounds in bouquets for baby showers or photos of the birthday star in a cookie bouquet.. the options are endless!
For sure – the molds come in all types of sizes, so I’m sure you could find bigger ones for that!!
That is so cute and looks fun! I am not crafty at all but you make this look easy.
Thanks Kat – I know you can do it! 🙂
This is such a fun and creative way to preserve memories. I love doing arts and crafts activities like this one.
Thanks Maria – they were fun to make! 🙂
These are such a fun way to keep photos displayed and would make sweet gifts! I love that you put it in the plants, too.
Thanks Bernadyn – they were fun to make!
Super cute! It would also make a fun project to make with kids!
It was fun to make, and so easy to do! 🙂
This is so fun! I need to get some supplies but this would be great for Christmas ornaments on the tree!
For sure, Melanie – I can’t wait to make more!
Very creative and they turned out very nice! This would be fun to make some Christmas ornaments. I may have to give this a try. Thanks for sharing!
Thanks Jamie – they were fun to make and definitely something that I’m going to use for Christmas!!
Very cute and creative! I think my daughter would enjoy doing an activity like that, we recently made changes her room and this would be a neat addition.
Thank you Carlee – they would be great for the kids to personalize!
What a cool project! It would be so much fun being creative with my photos.
Thanks Liz – they were fun to make! 🙂
Wow I never would have expected that craft from silicone molds. Very creative idea!
I didn’t even know that they had these awhile back. After I found them, it was on!! 🙂
What a fun idea. I’ve never seen silicone molds before. It looks like something I need to try.
Thank you Crystal – I had never used them either. Very easy and fun!
That is such an awesome idea! I think you could make some killer Christmas ornament using this technique, too.
For sure – saving them for future use! 🙂
This is such a great idea! Thanks for the blog post showing how to do this.
You’re welcome – thanks for stopping by!
Awe, those are so cute! I recently used Silicon molds to melt crayons in the son in them and make fun lego shapes. I liked how easy the silicon molds were to work with.
What a great idea – perfect way to reuse those little end pieces!! 🙂
I never knew that they made modge pod sticks. I could make these with my cupcake molds.
I just found out about them, and love them! 🙂
This is such a cute idea, I never thought to do something like this. I love crafty and several of my friends do too. I’m so sharing this! Thanks 😀
Thanks Sarah – let me know if you get to make some! 🙂