“Ribbon Star Craft” #TBCCrafters Hop
I know that the 4th of July was last week, but I saw a thing like this in the Martha Stewart magazine and thought it would be great to share. You could use this for any time of the year and add whatever you wanted to it, so it could really be for all seasons.
It’s really easy to make and doesn’t take very long, at all. I think I’ll try and find different styles of ribbon and make these for the Autumn season and to add to Christmas gifts, etc.
I hope you like it!! Have a blessed day, and please be sure to comment on and share this #TBCCrafters craft!!
“Ribbon Star Craft“
Materials/Tools Used:
- Ribbon (About 1″ wide)
- Scissors
- Glue Dots/Tabs
- Craft Paper
- Cricut or Punch
- & Time!
Instructions:
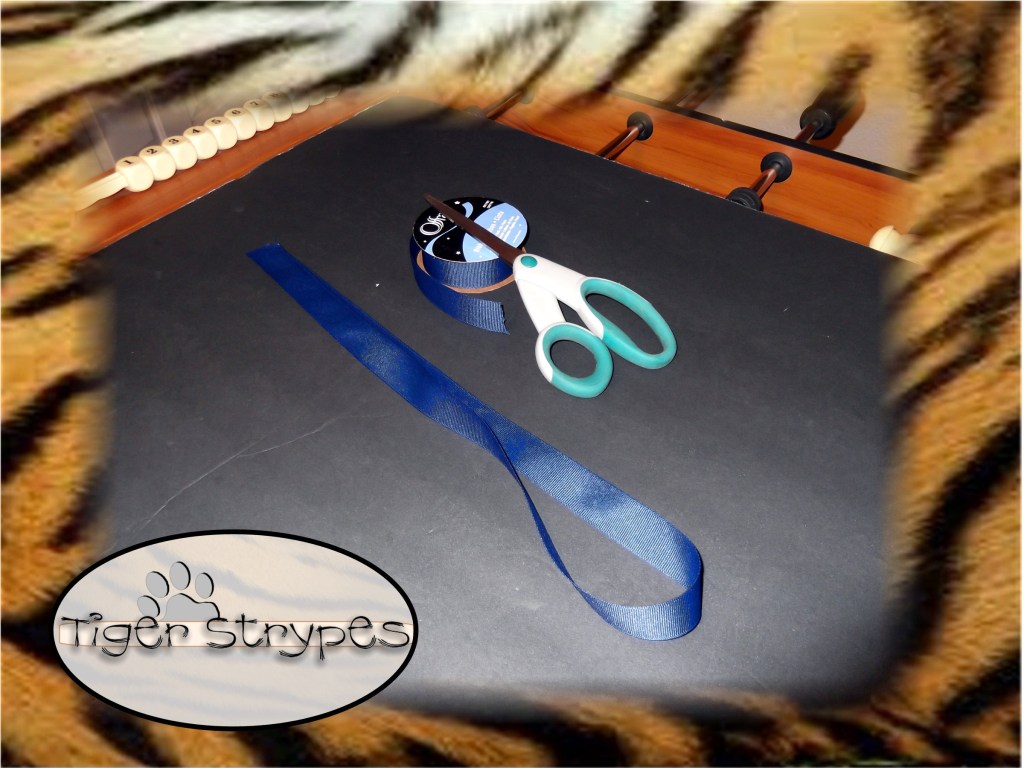
Start by cutting your ribbon. The size you cut will depend on the final size. I cut it at about 36″. Once you get the hang of how to do it, you can cut however much, or little, you wish to use.
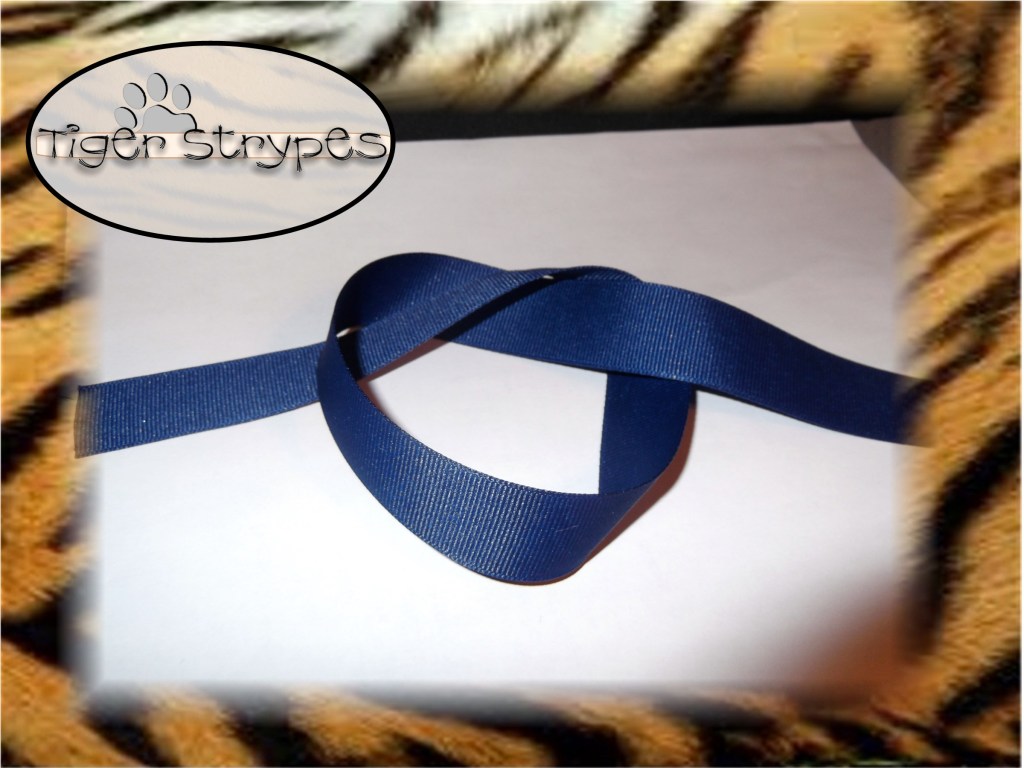
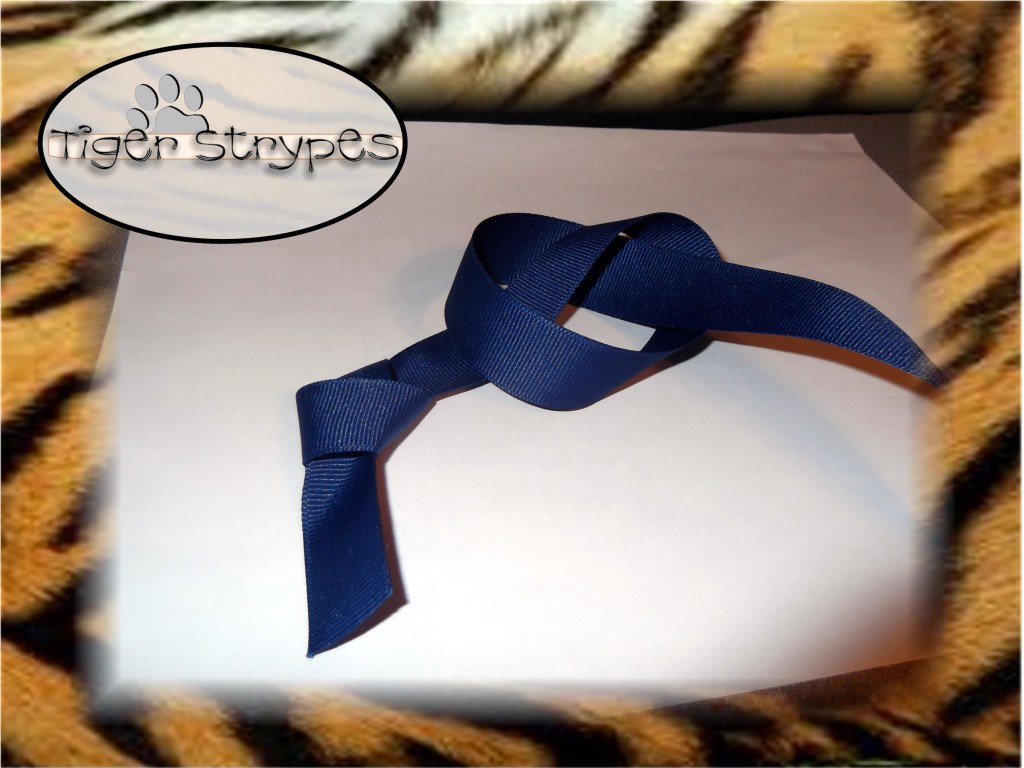
When you have the piece cut, start by tying a “knot” near one end.
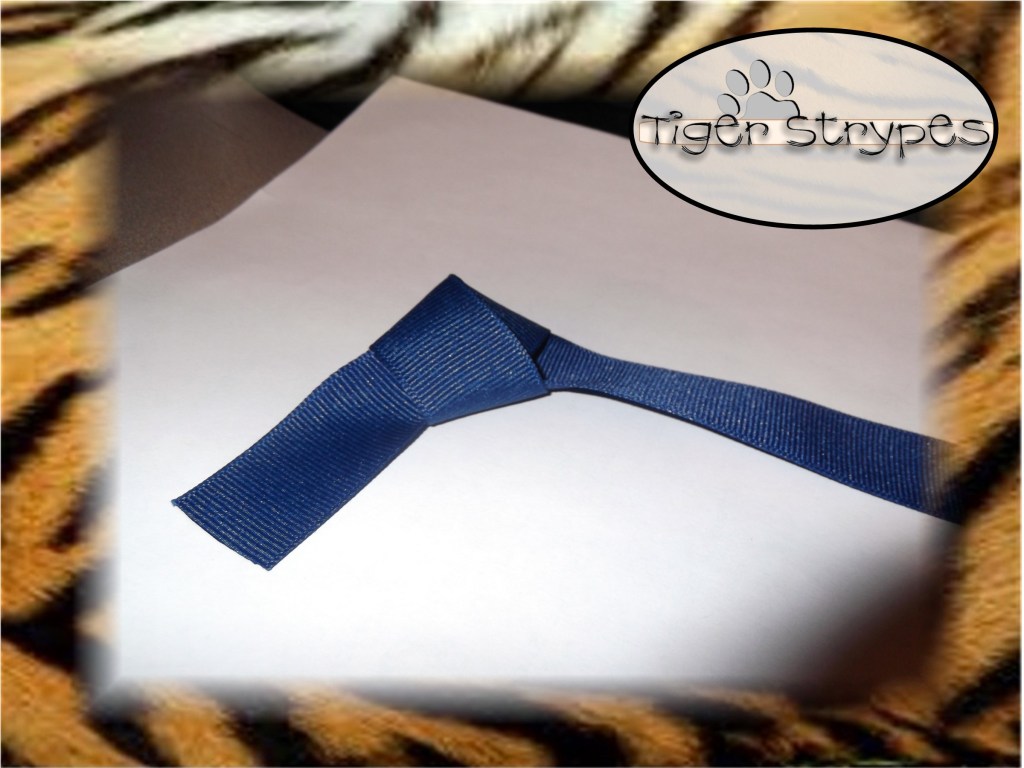
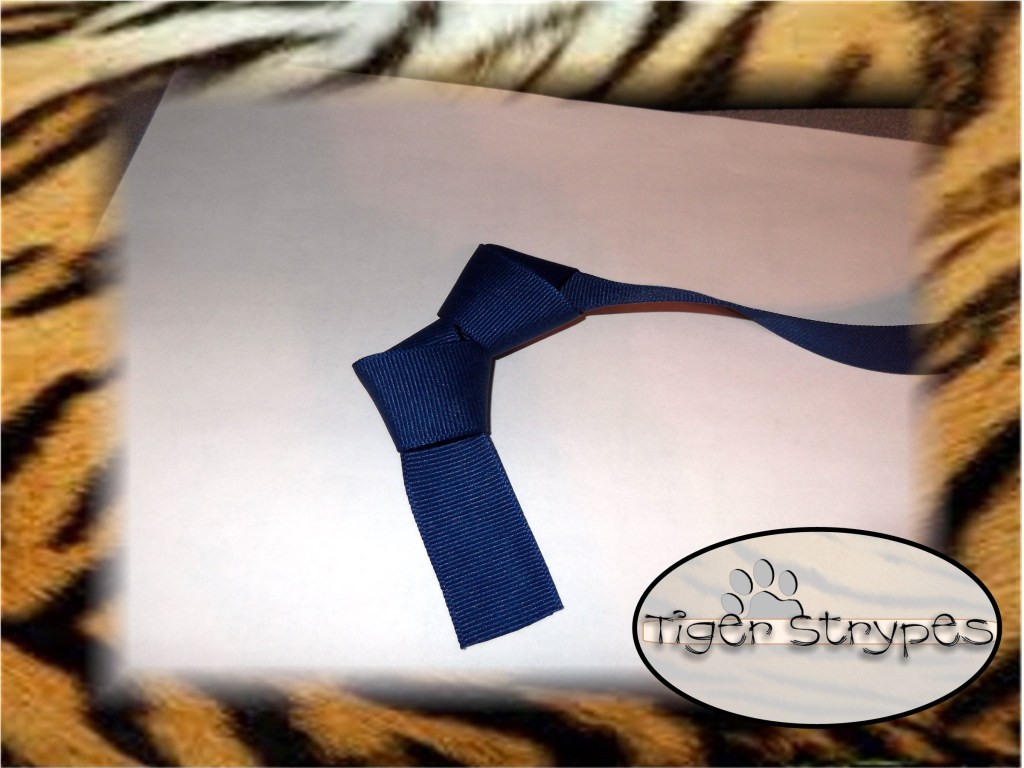
Once you have that done, just carefully pull it snug toward the end of the piece of ribbon, so that you come out with this. Don’t knot it too tight, just enough to tighten it up.
Once you have the first one done, tie another “knot next to it.
Once again, tighten it up a bit and make sure it is right next to the other one.
Continue doing this, until you are at the end of the ribbon. You’ll still have a little left over, we’ll take care of that in the next step.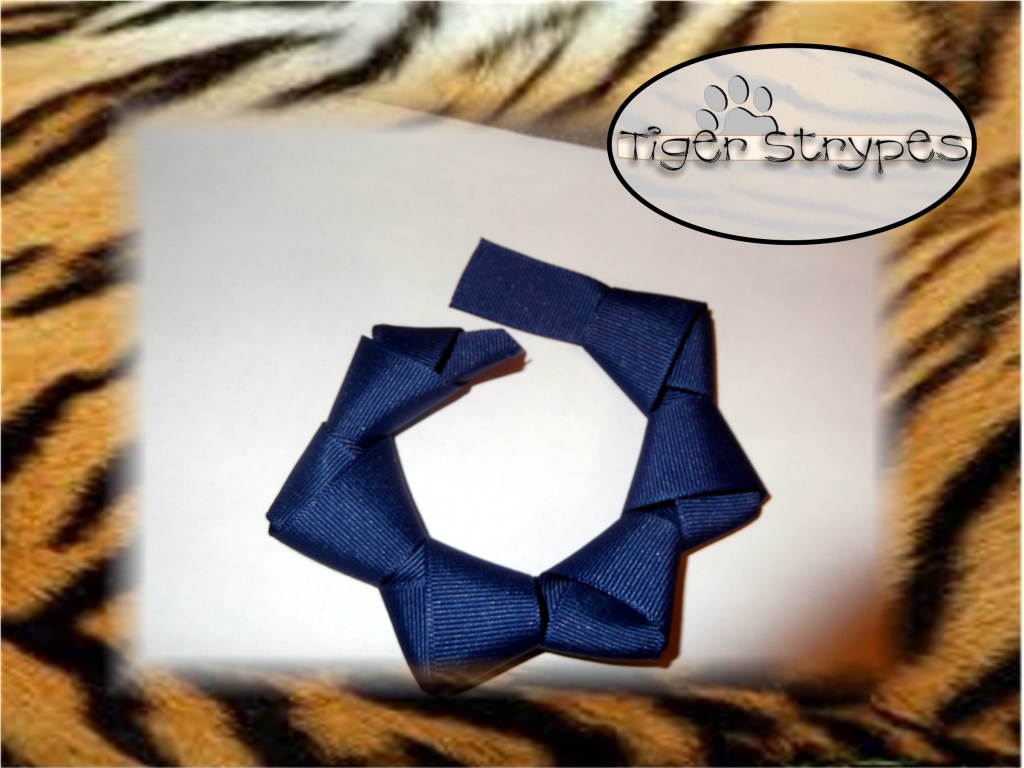
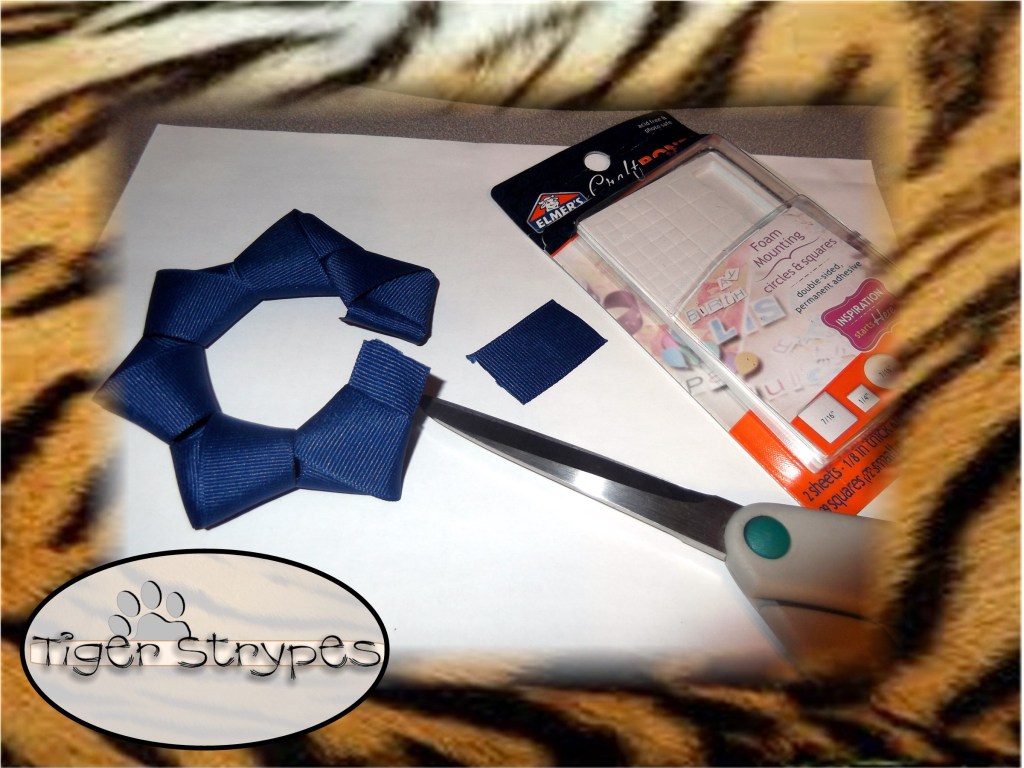
Now, using your scissors, trim the excess off of the sides.
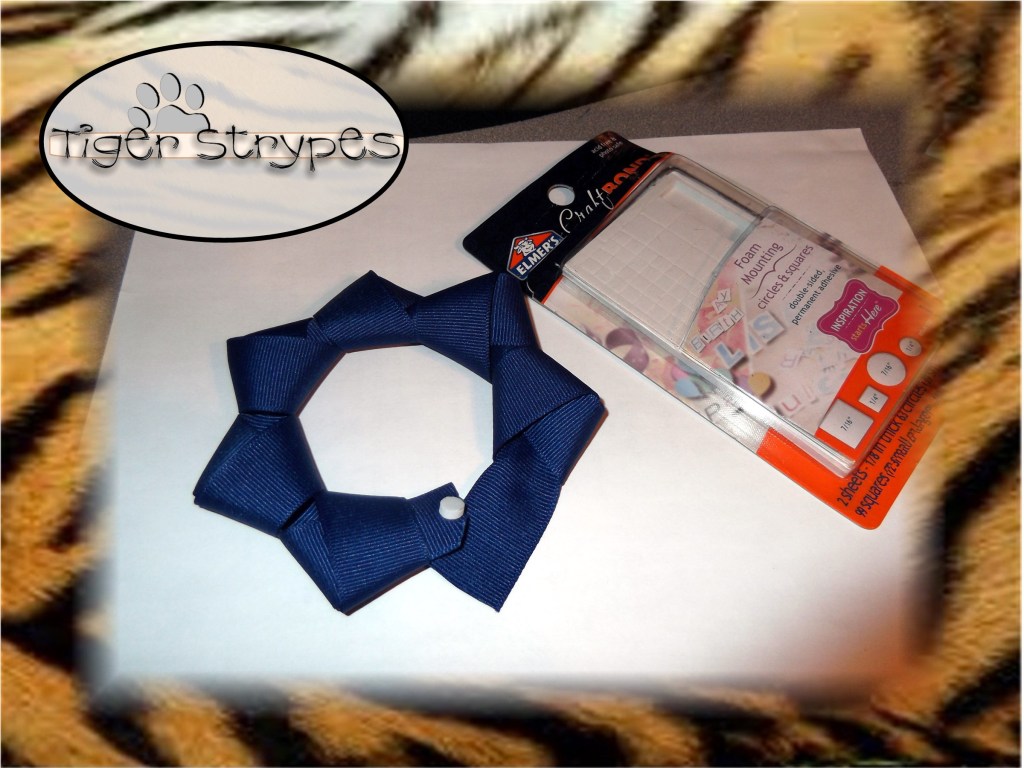
Using your glue dots, or Craft Bond, secure the ends of the ribbon behind the piece.
Once you have both sides secure, flip it over and add (2) more glue dots or Craft Bond to the front ends.
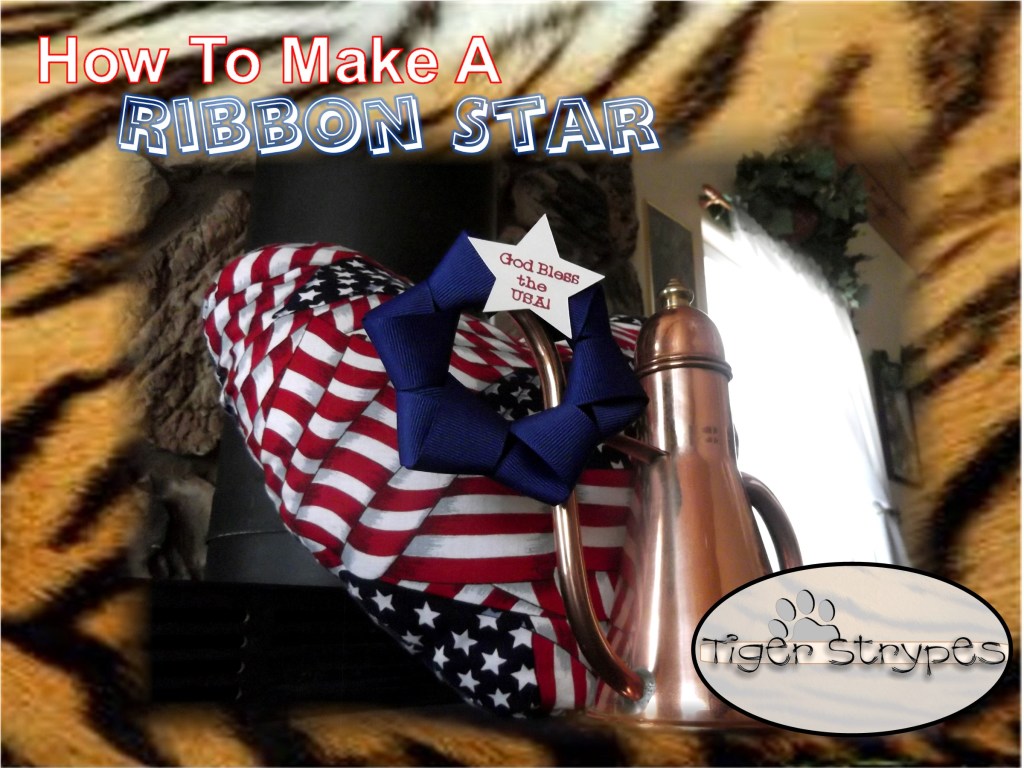
Now, using your Cricut or craft punch, cut out a shape you would like to use. I decided on another star and added “God Bless the USA!” to it.
Now you can attach this piece to the adhesive you have waiting on your star. Like I said, this could be done many different ways. Colors, shapes of paper, etc. – the choices are unlimited!
Please take a minute to leave me a comment and let me know what you would do different, or what you would add, etc. Be sure to tweet, pin, share, etc. – thanks!!
All pictures and text are my own and have not been copied in any way. I, Jamie Tomkins, own and operate Tiger Strypes Blog located at www.TigerStrypes.com. From time to time you’ll hear about my real life experiences or creations with products and/or services from companies and individuals. Let it be known that I have no affiliation with these said companies, and have not received compensation for reviewing or using their service/product. The information that I give regarding the product/service is based off my own personal experience, I do not guarantee that your experience will be the same.
PLEASE SHARE THIS POST USING THE OPTIONS BELOW…THANKS!!
*****************************************************************************************************




I love the patriotic theme and your easy to follow along with instructions. Thanks for sharing.
Very cool! You made it look so easy to do too! I am def trying this!
How cute is that?! Great job!
Oh NOW that is NEAT! I like it a lot! I wonder if you used a wired ribbon if that would change the result, they always have such beautiful wired ribbon during the holidays and I could totally see these adorning the entire tree! Lovely!
Not sure about the wired ribbon, Rose – it was a bit of having to turn it all different ways. I’m sure you could make it work, just would make it a bit harder to do. 🙂
That’s so cute! I’m going to try to make one for our wreath.
Cute craft idea! I would love to stitch down the end and attach it to a shirt. Done in light brown it would make for a darling lion’s mane with embroidered eyes and mouth in the middle. So many possibilities. Thanks for sharing!
I love your creative mind Andrea. That would be so cute!
Great idea Andrea!!