
This site contains affiliate links. Please see below for more information.
How to Make a Reverse Vinyl Shirt
#TigerStrypesBlog #Craft
Browsing around online, I saw something like this on Pinterest recently, and I thought that it would be fun to create one of my own. The reverse vinyl project was pretty easy to do, but you have to be super careful with ventilation and make sure you do it outside. To help, you should use a large piece of cardboard or something that is covered with newspaper to keep plants, etc. from getting ruined. Make sure to also wear gloves, and don’t let little ones do this on their own. It was great to be able to make a design with the Cricut!! Just by applying it to a shirt that I usually don’t wear, I made something that was just boring, into one of your favorite pieces of clothing!
I sure hope that you like the tutorial, and pray that you have a blessed day!
Please be sure to comment, and share this craft on your social media channels – thanks so much!!

Learn How to Make a Reverse Vinyl Shirt! Fun #DIY #Craft to Decorate Your Clothes with Bleach! #TigerStrypesBlog - Find out more at Share on X
Materials/Tools Used:
- Piece of Clothing
- Spray Bottle
- Bleach, Peroxide & Water
- Cricut or Template
- & Time!
Instructions for the Reverse Vinyl Shirt:
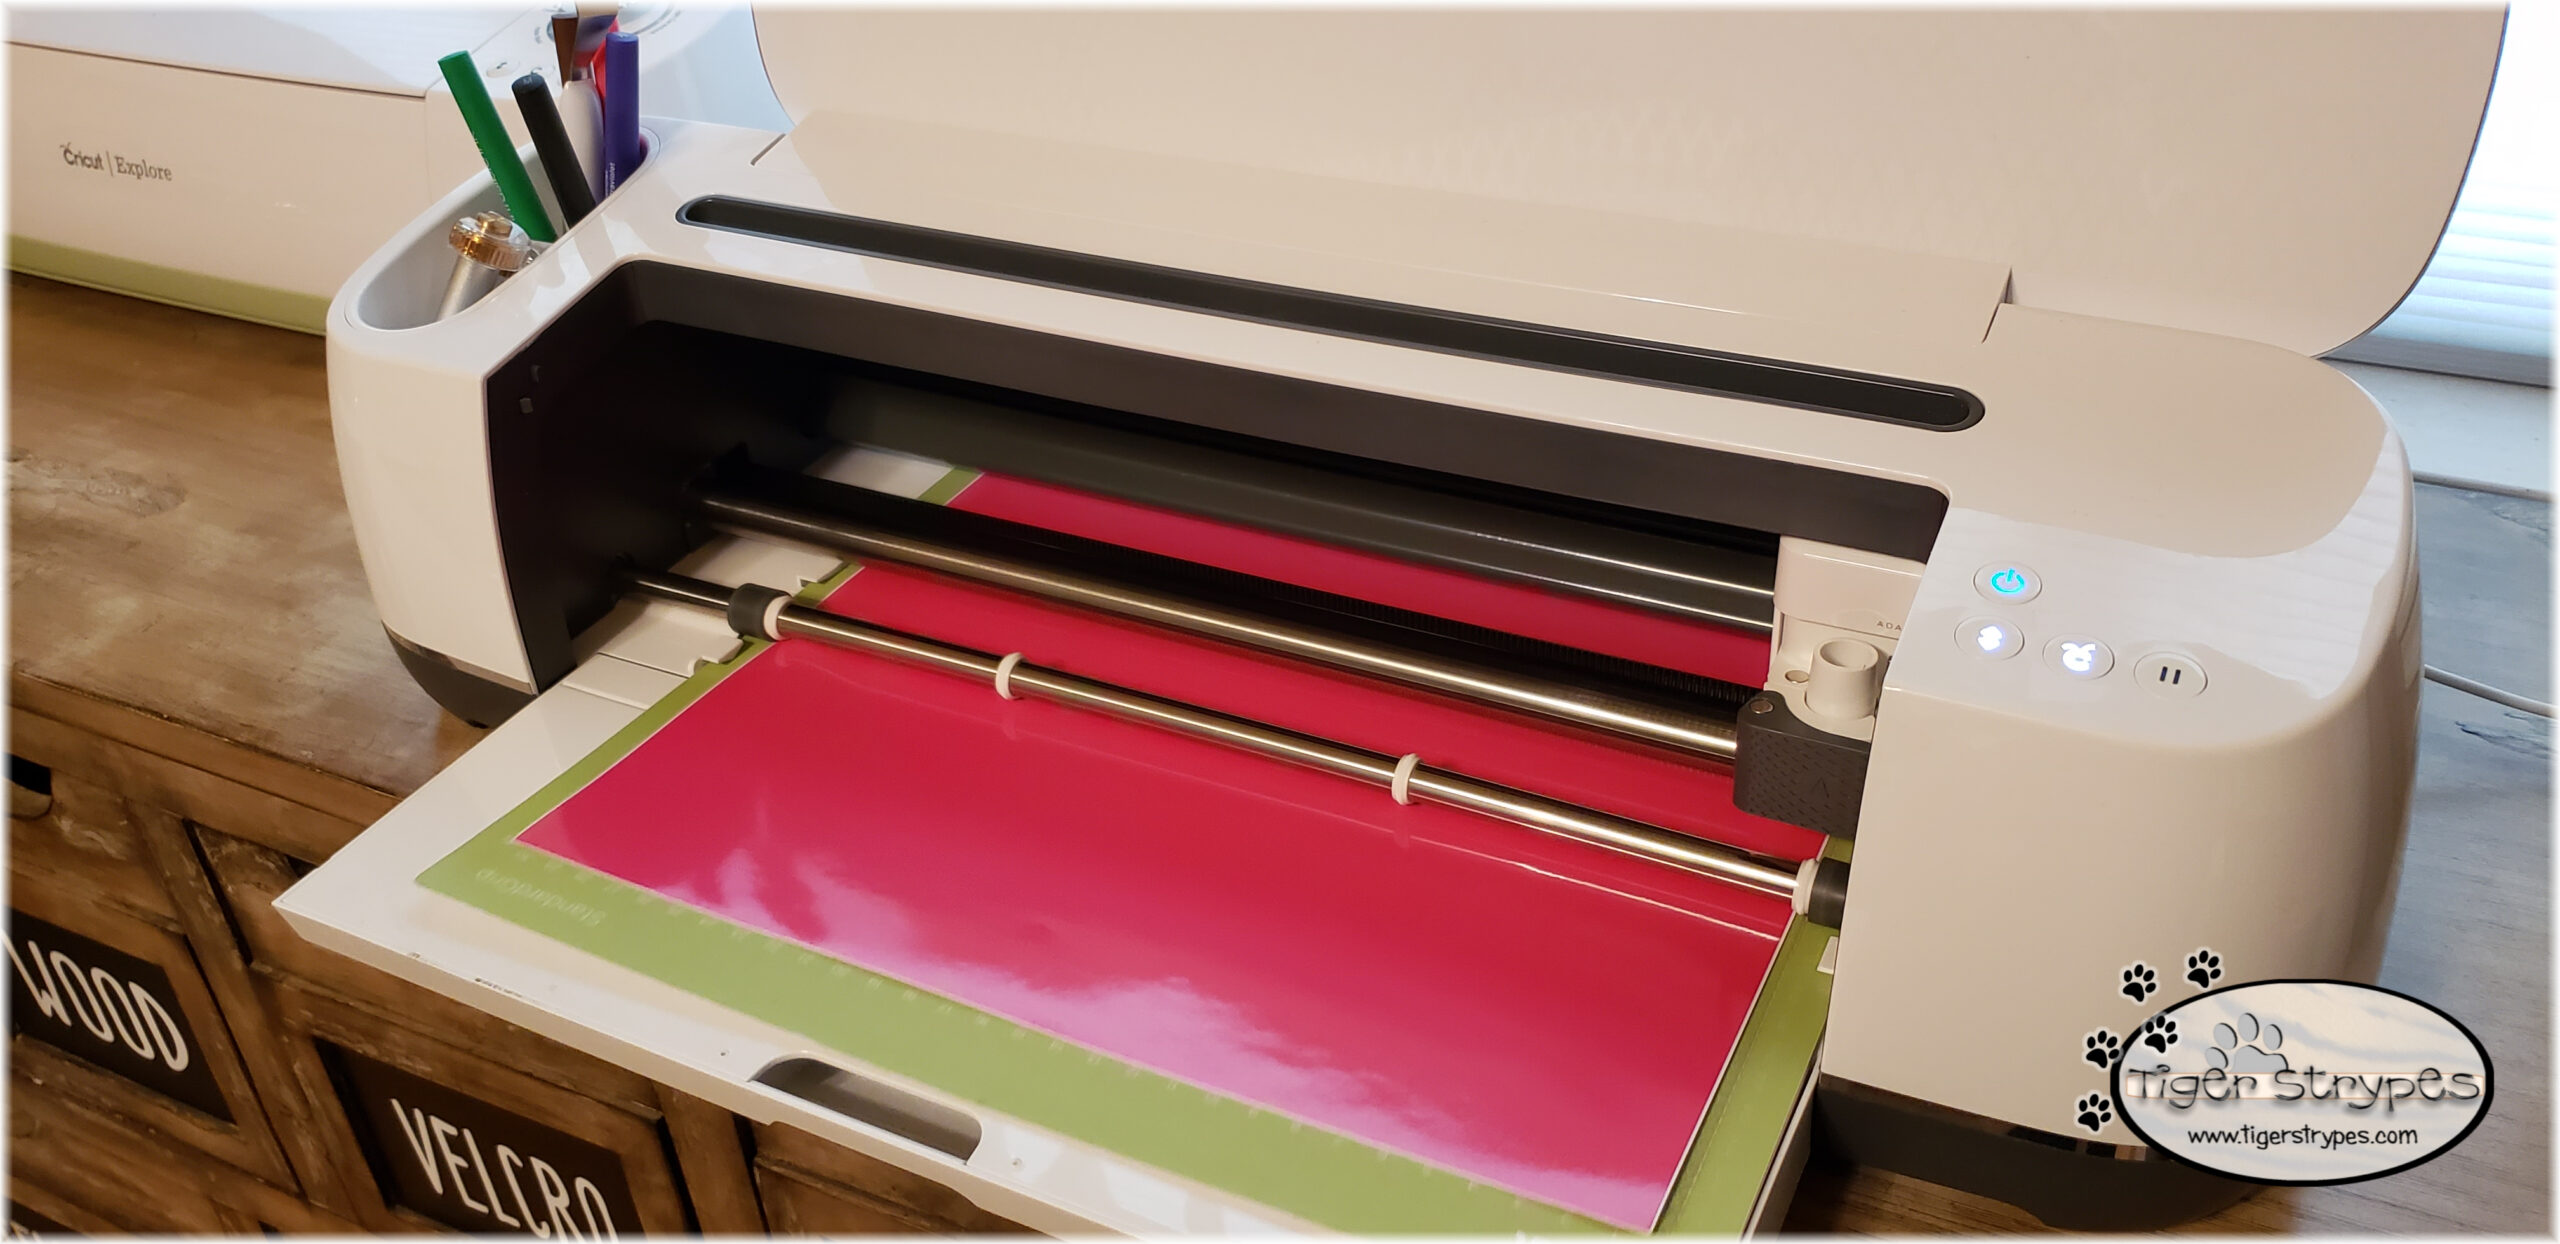
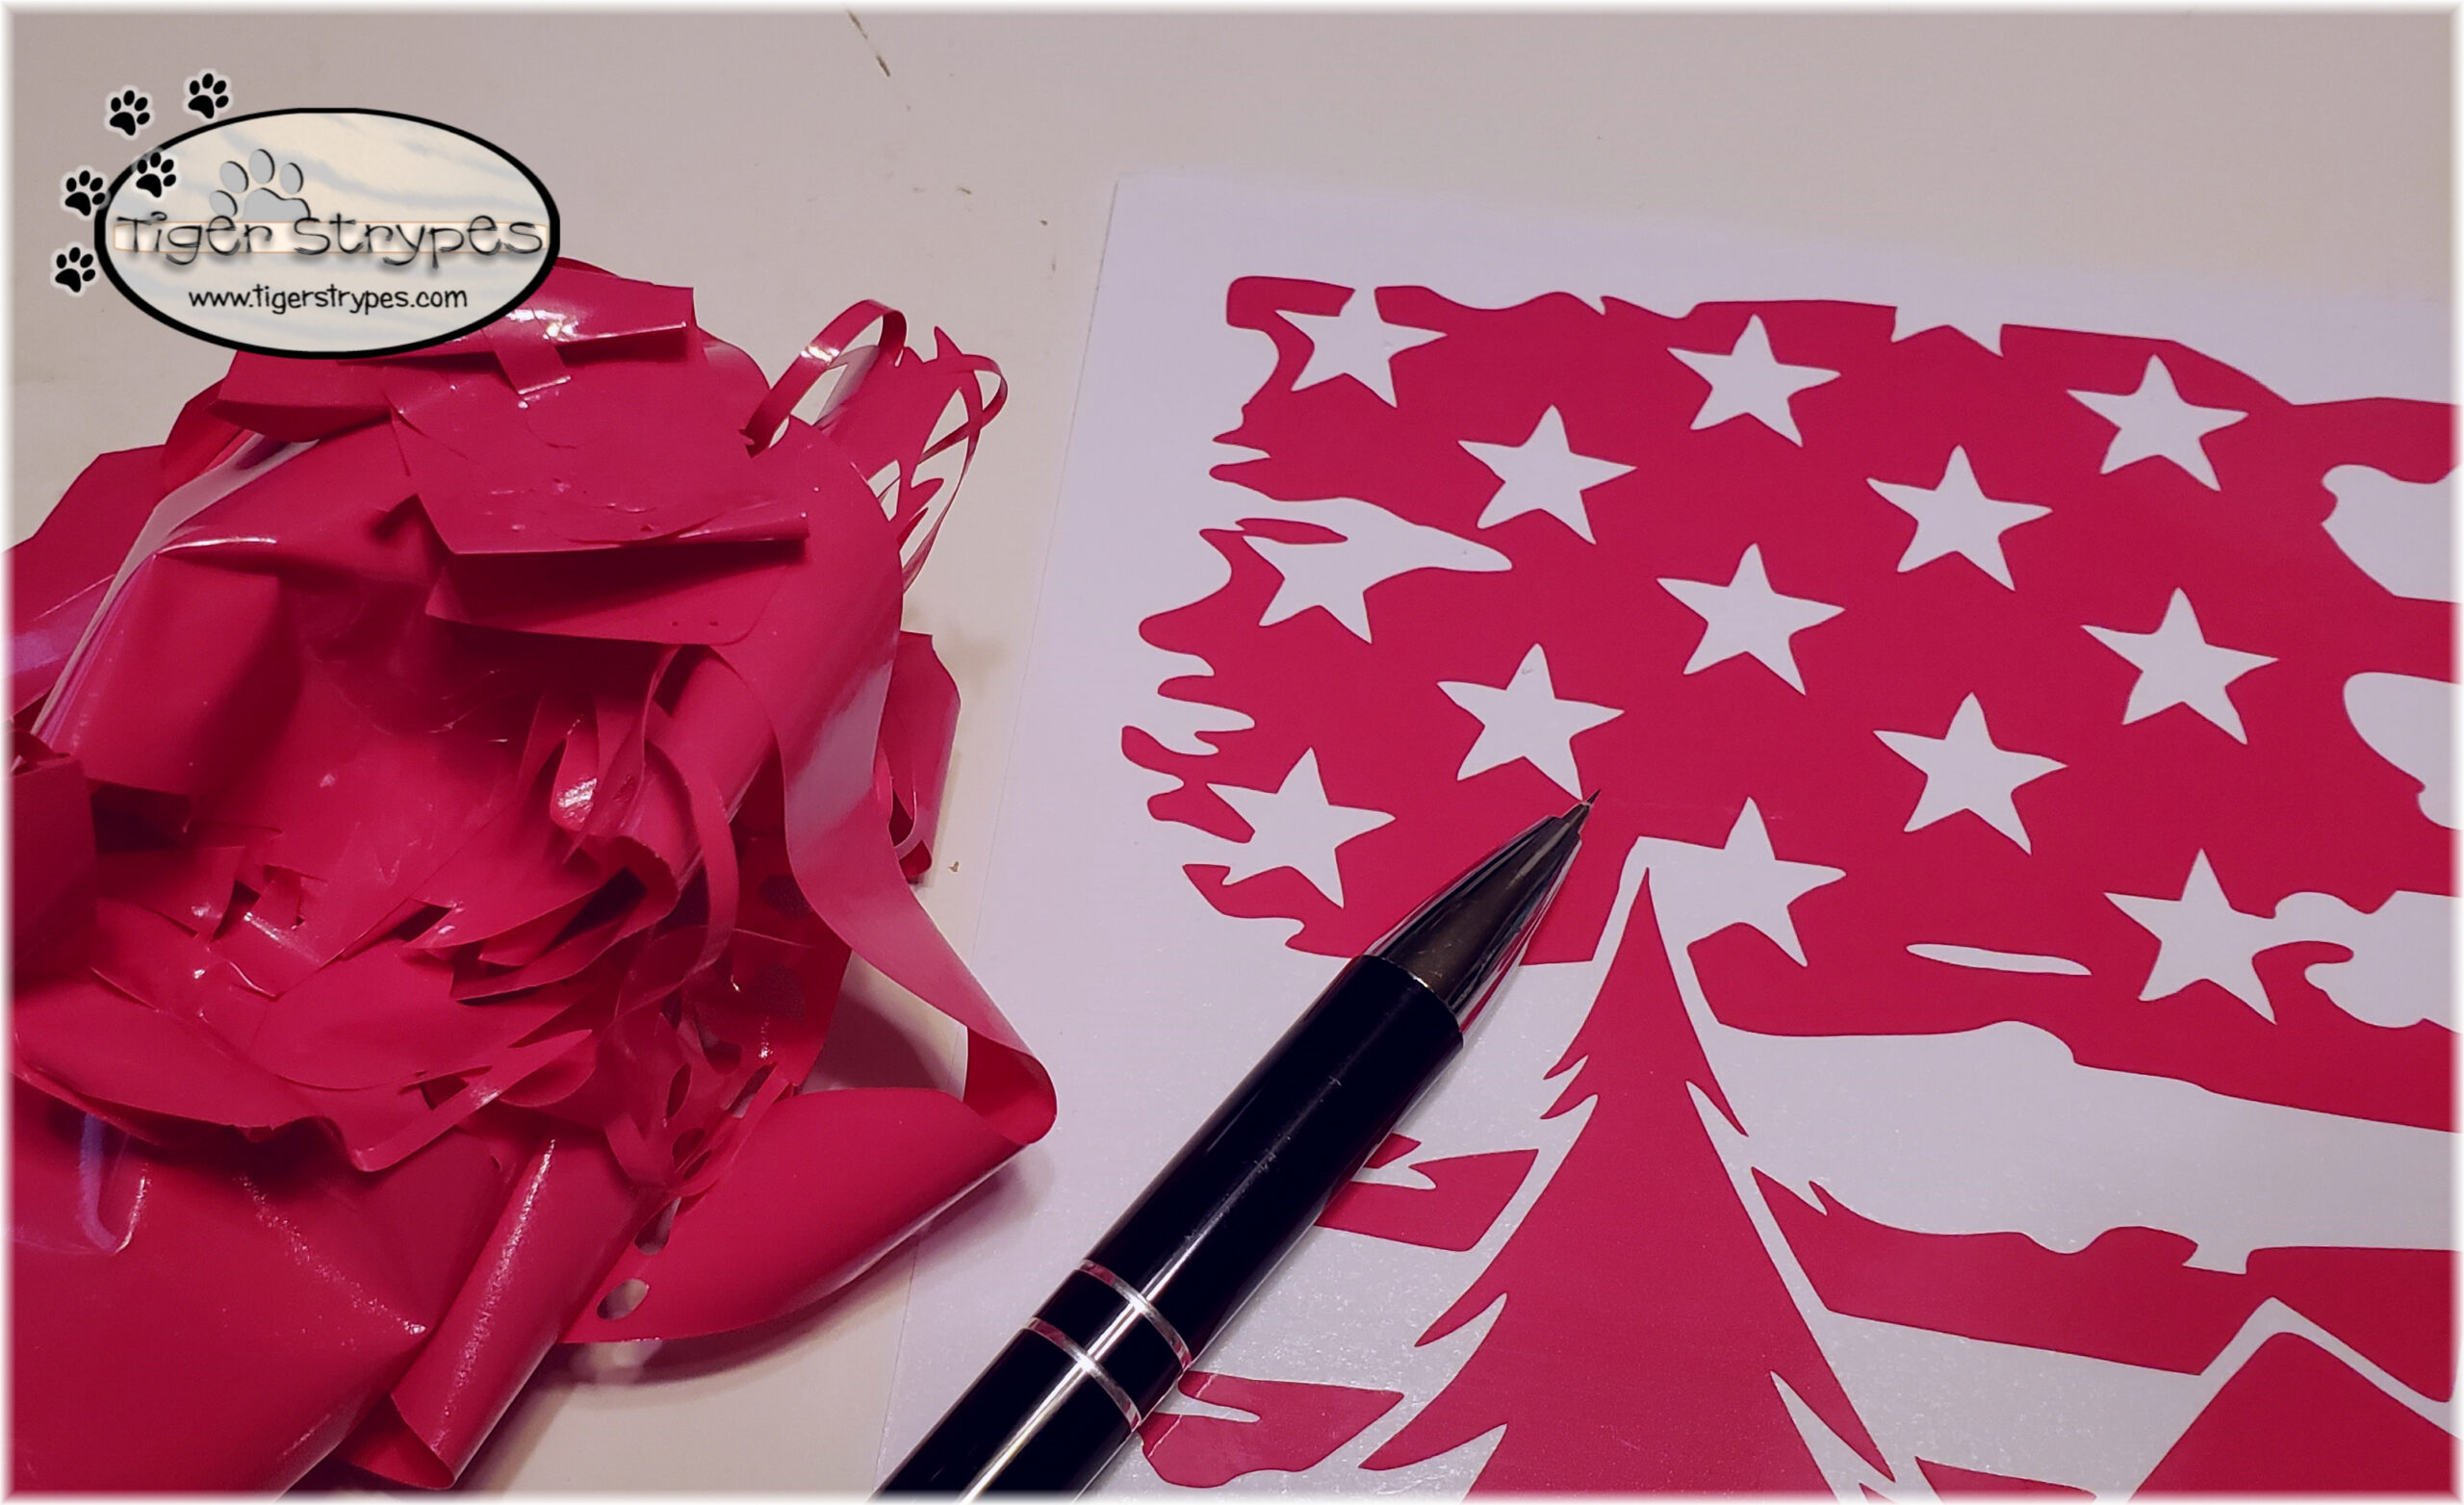
Start by creating an image on your Cricut, or by just cutting out something that can be attached to the piece of clothing. I just used regular vinyl, since you don’t want to heat transfer it and not be able to remove it when you’re done. When it was finished with cutting, I used my weeding tool to clean it up and get it ready to transfer.
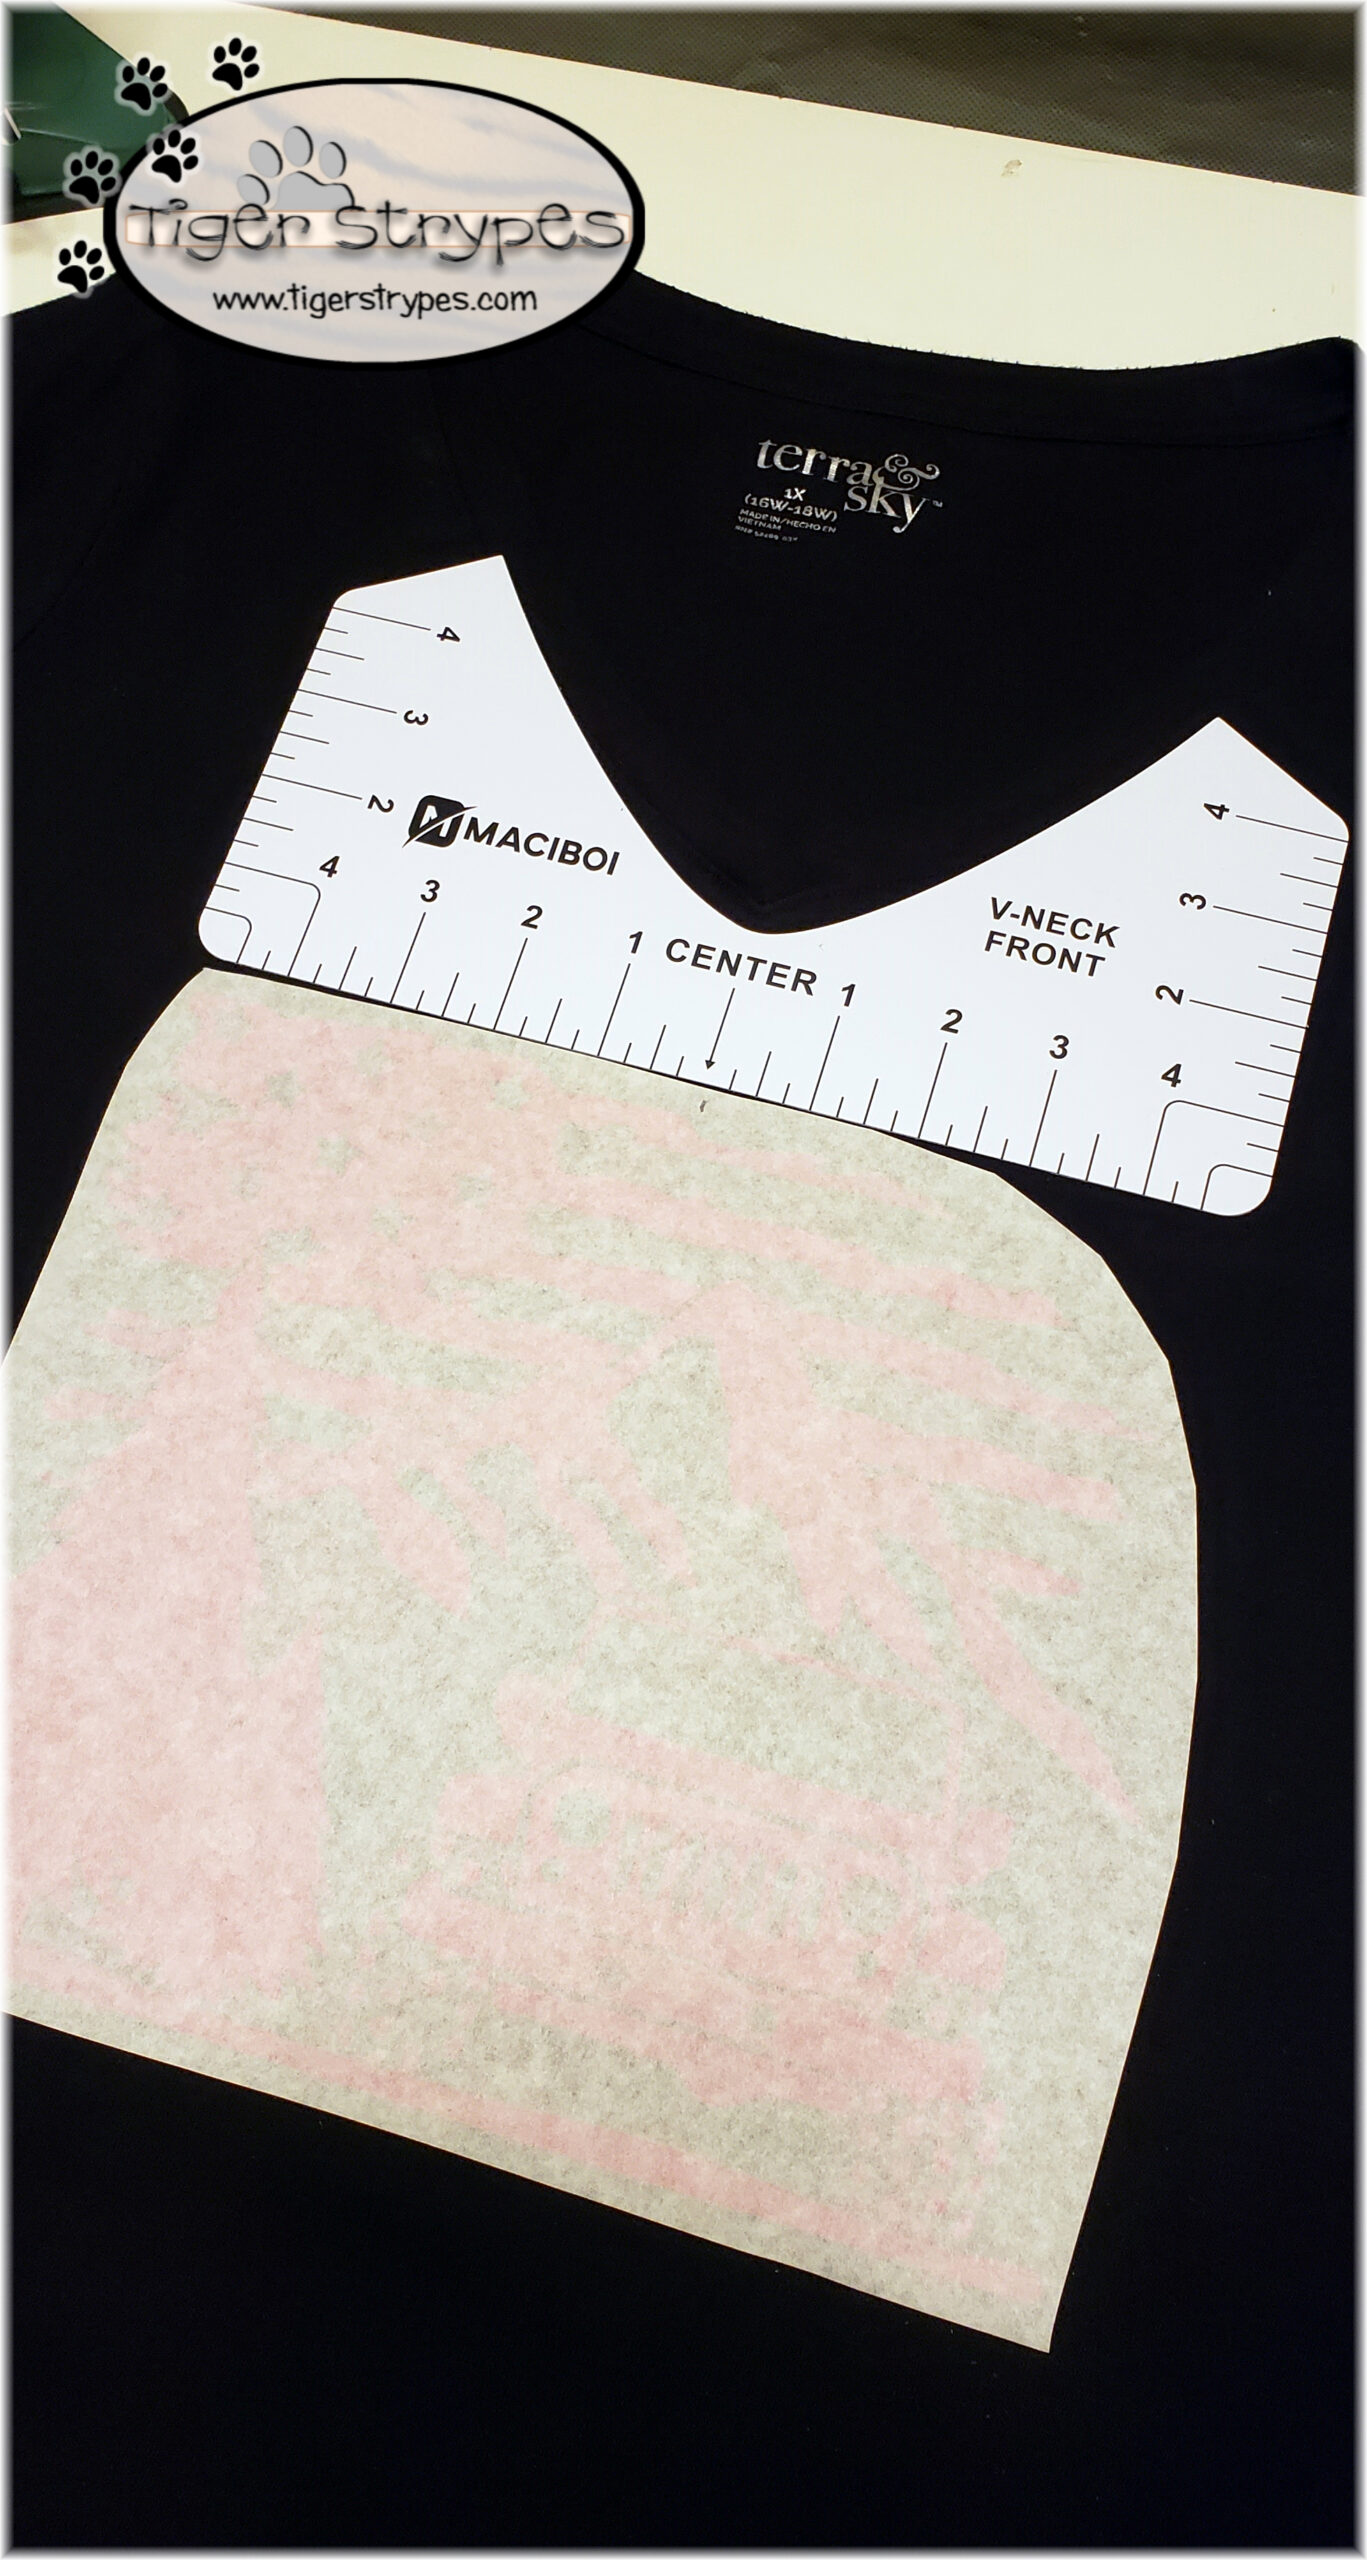
Next, using transfer tape and a clothing alignment guide I positioned the vinyl piece on the front of the shirt. I also added a large piece of cardboard in the center, so none of the bleaching would affect the back of the shirt.
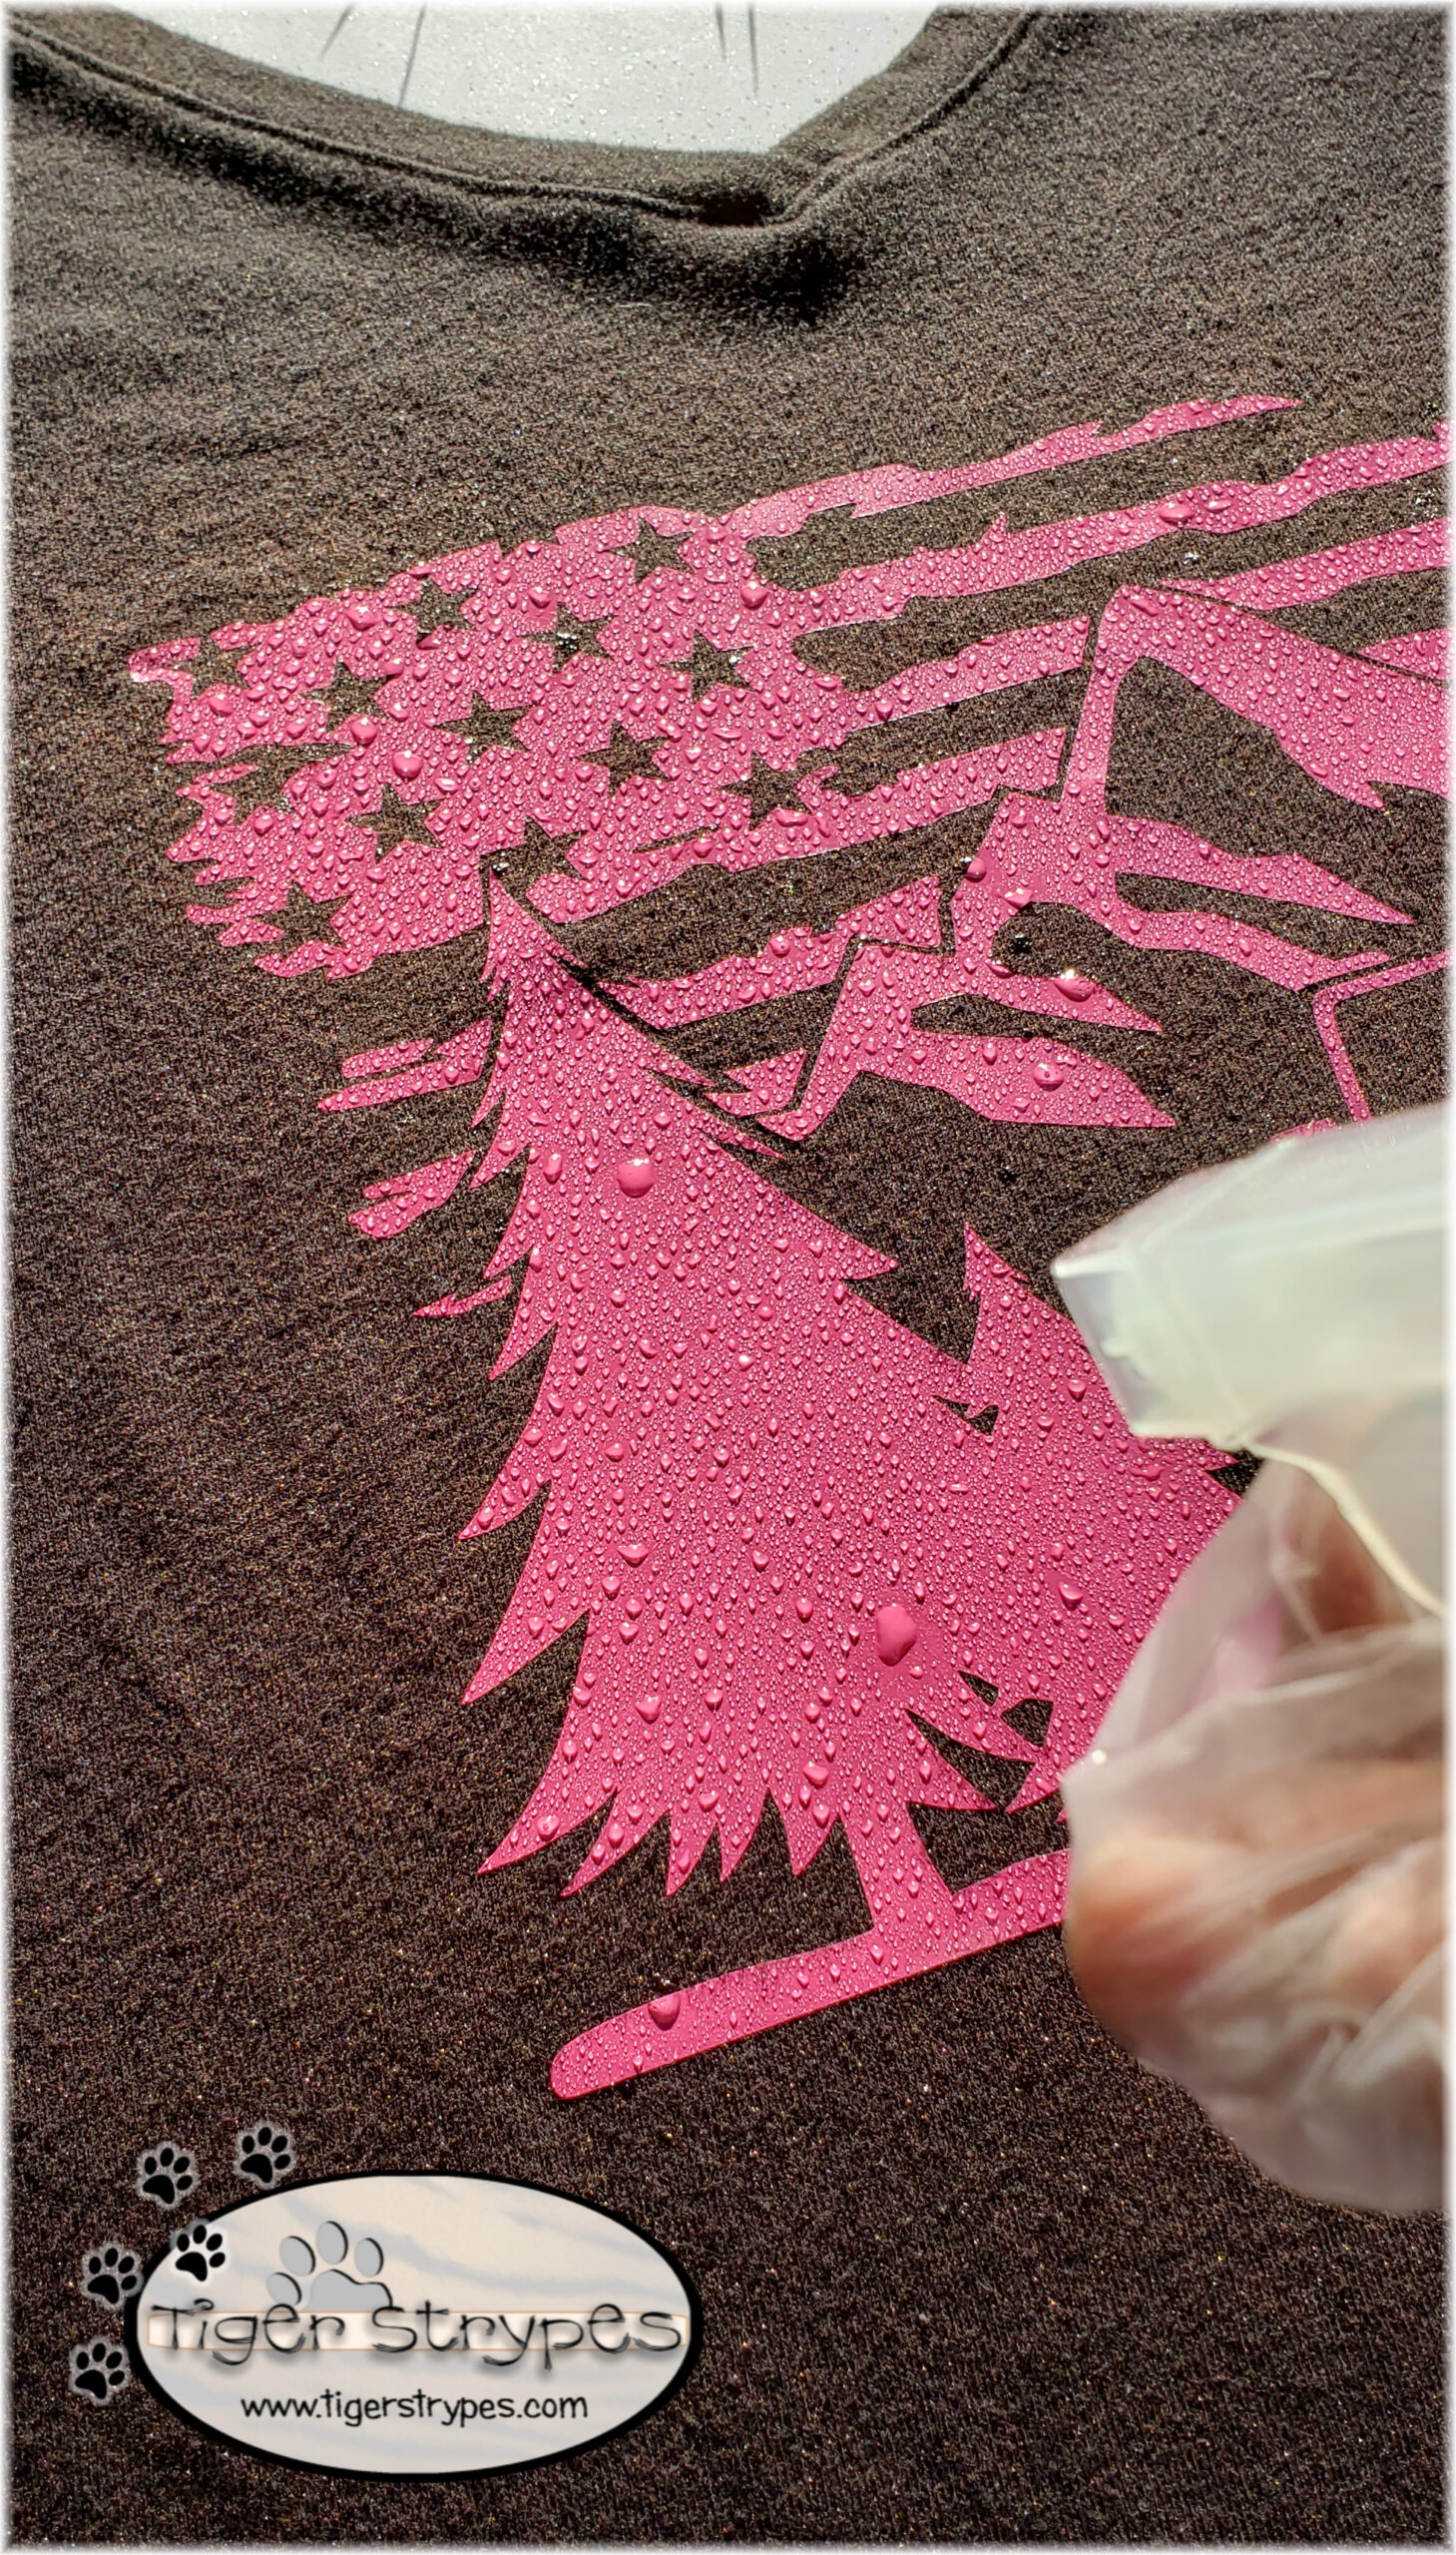
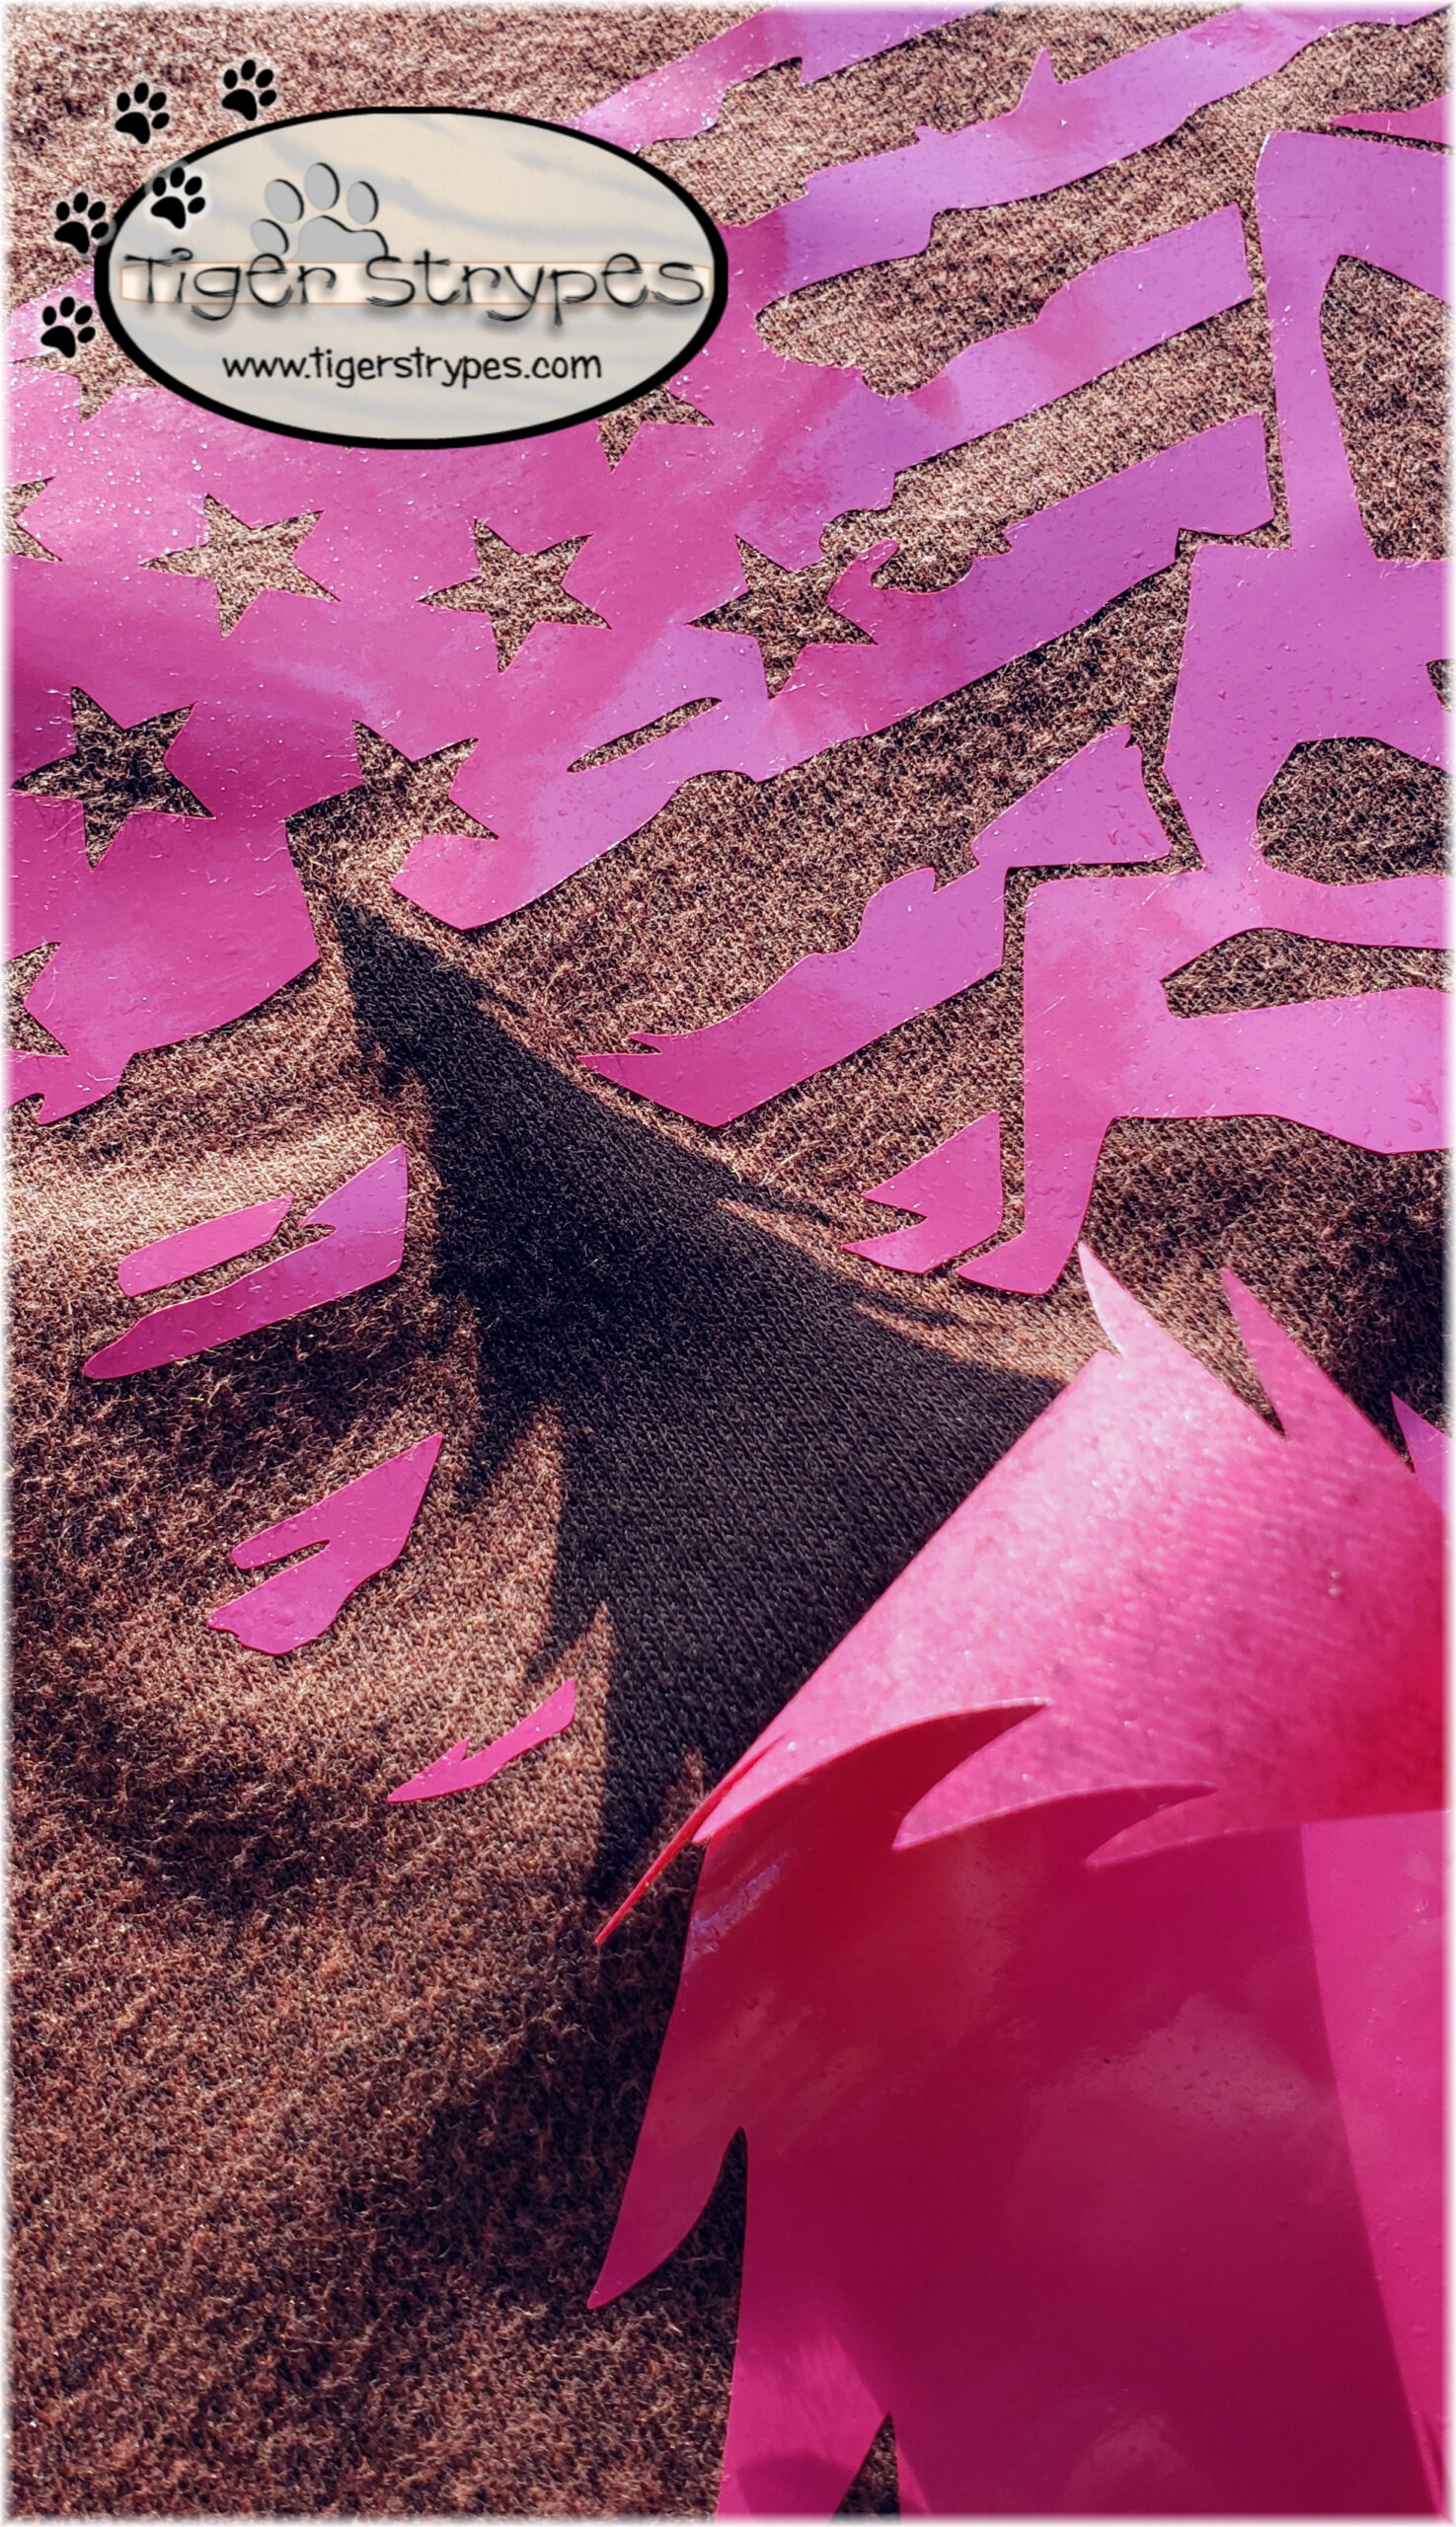
Carefully, I removed the transfer tape and got it ready to start the bleaching process. Using 1/4 cup of bleach in a spray bottle (no need to dilute), I starting spraying around the vinyl piece in the area I wanted the color to change. You might want to use a paper towel to dry off the vinyl just a bit, but it’s not necessary.
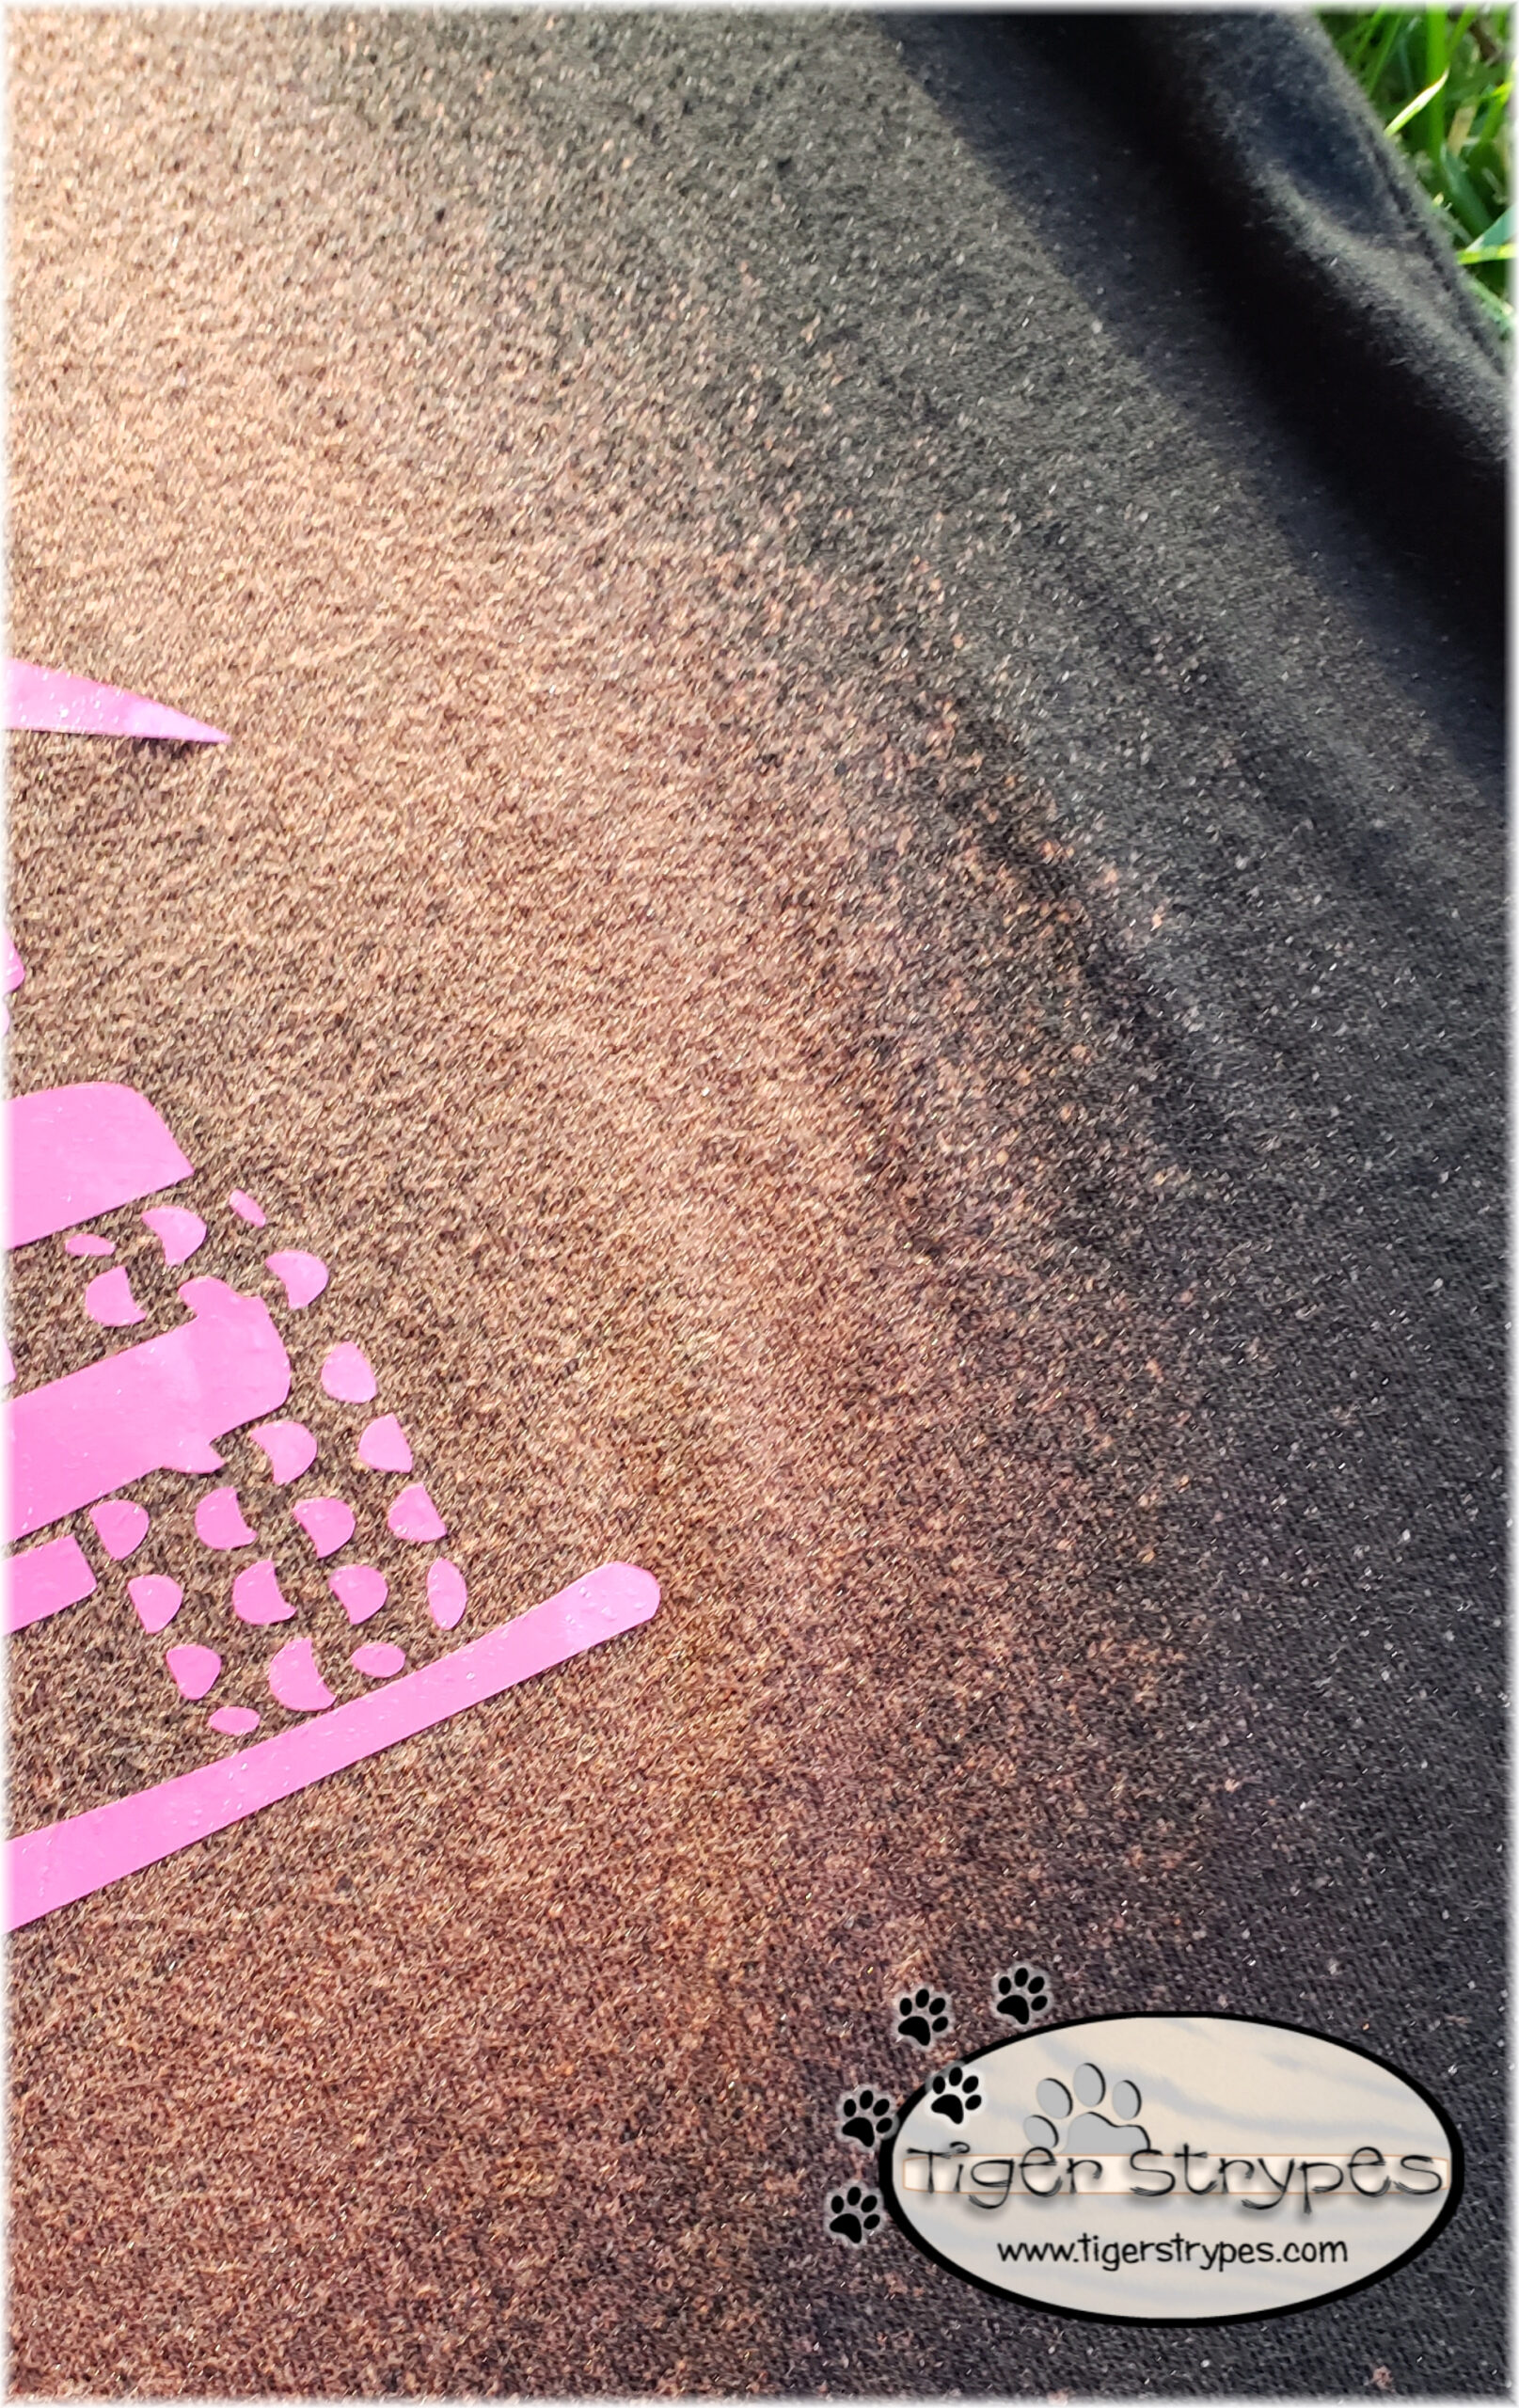
After you have left it to sit awhile, and it’s at the color that you wish…you can start removing the pieces of vinyl with tweezers or any other tool that you use.
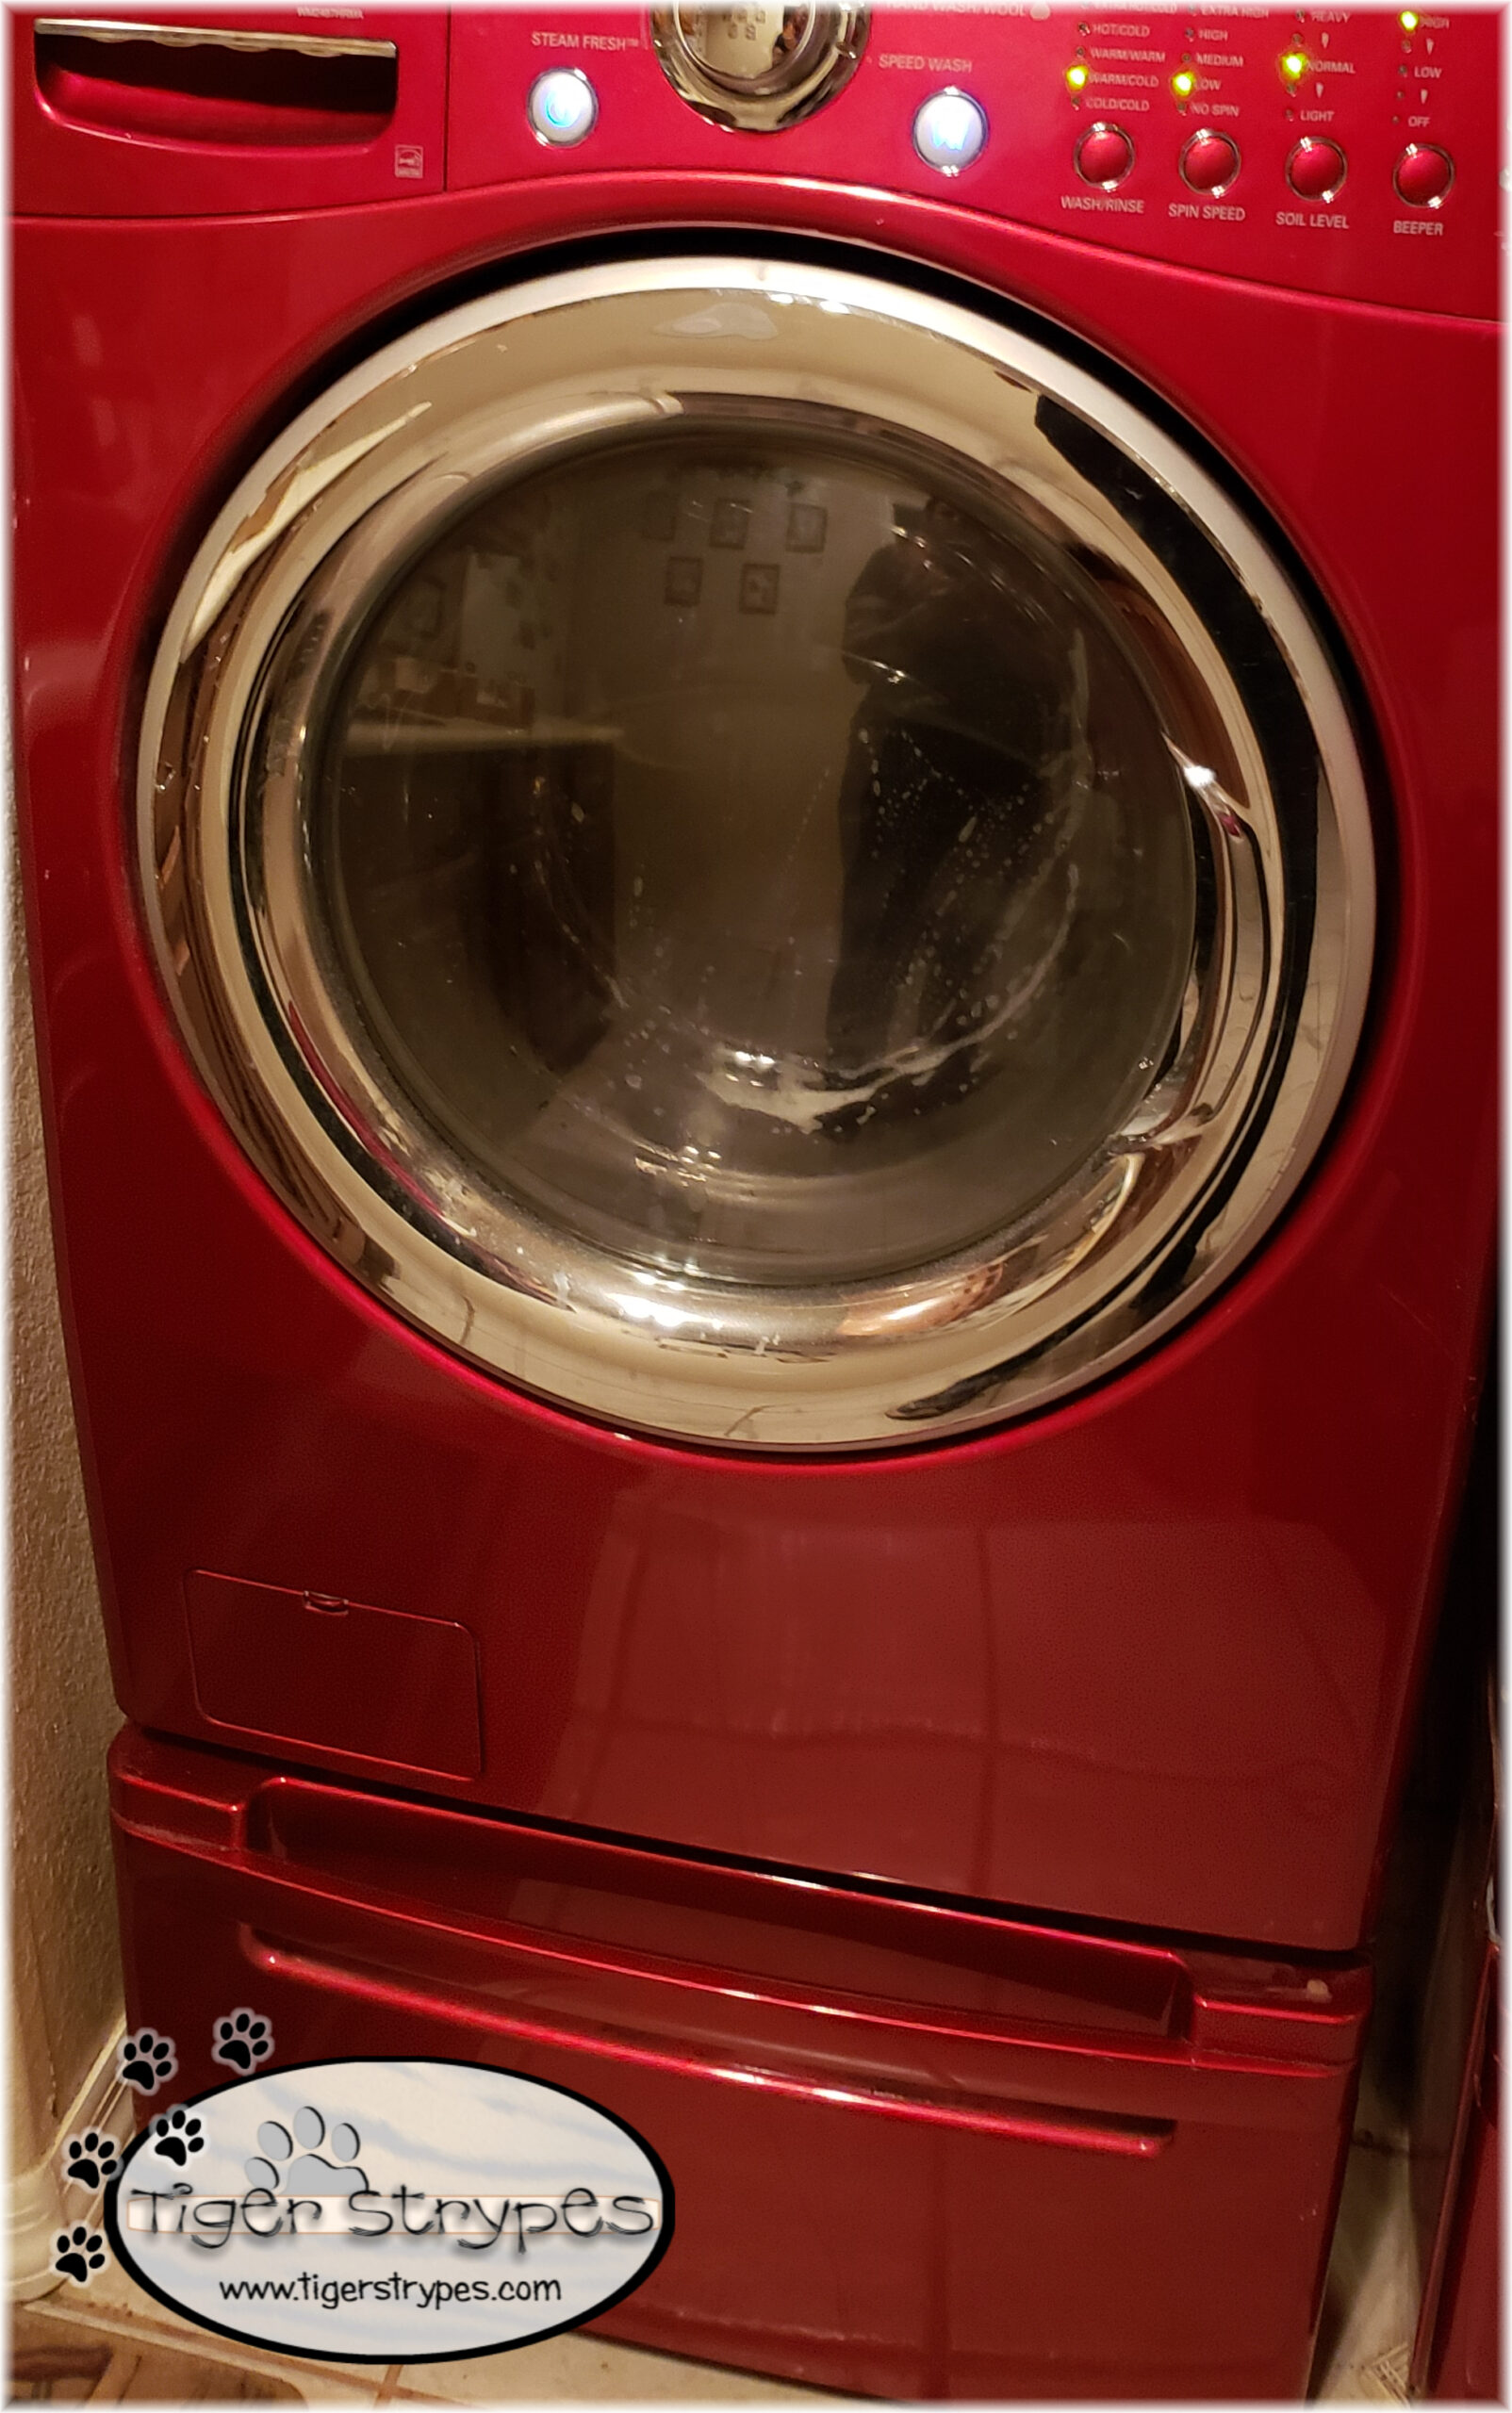
Using a bucket with some hydrogen peroxide and water, dip the shirt in to stop the bleaching process. Make sure to get all bleached areas covered. Wring out the fabric, and then launder as usual to make it ready to wear.

I wish I would have sprayed a bit below and around the area sparingly to make more of a bleaching effect. How you do it, is up to you! Now you can enjoy that piece of clothing, that you used to hide in the back of the wardrobe!
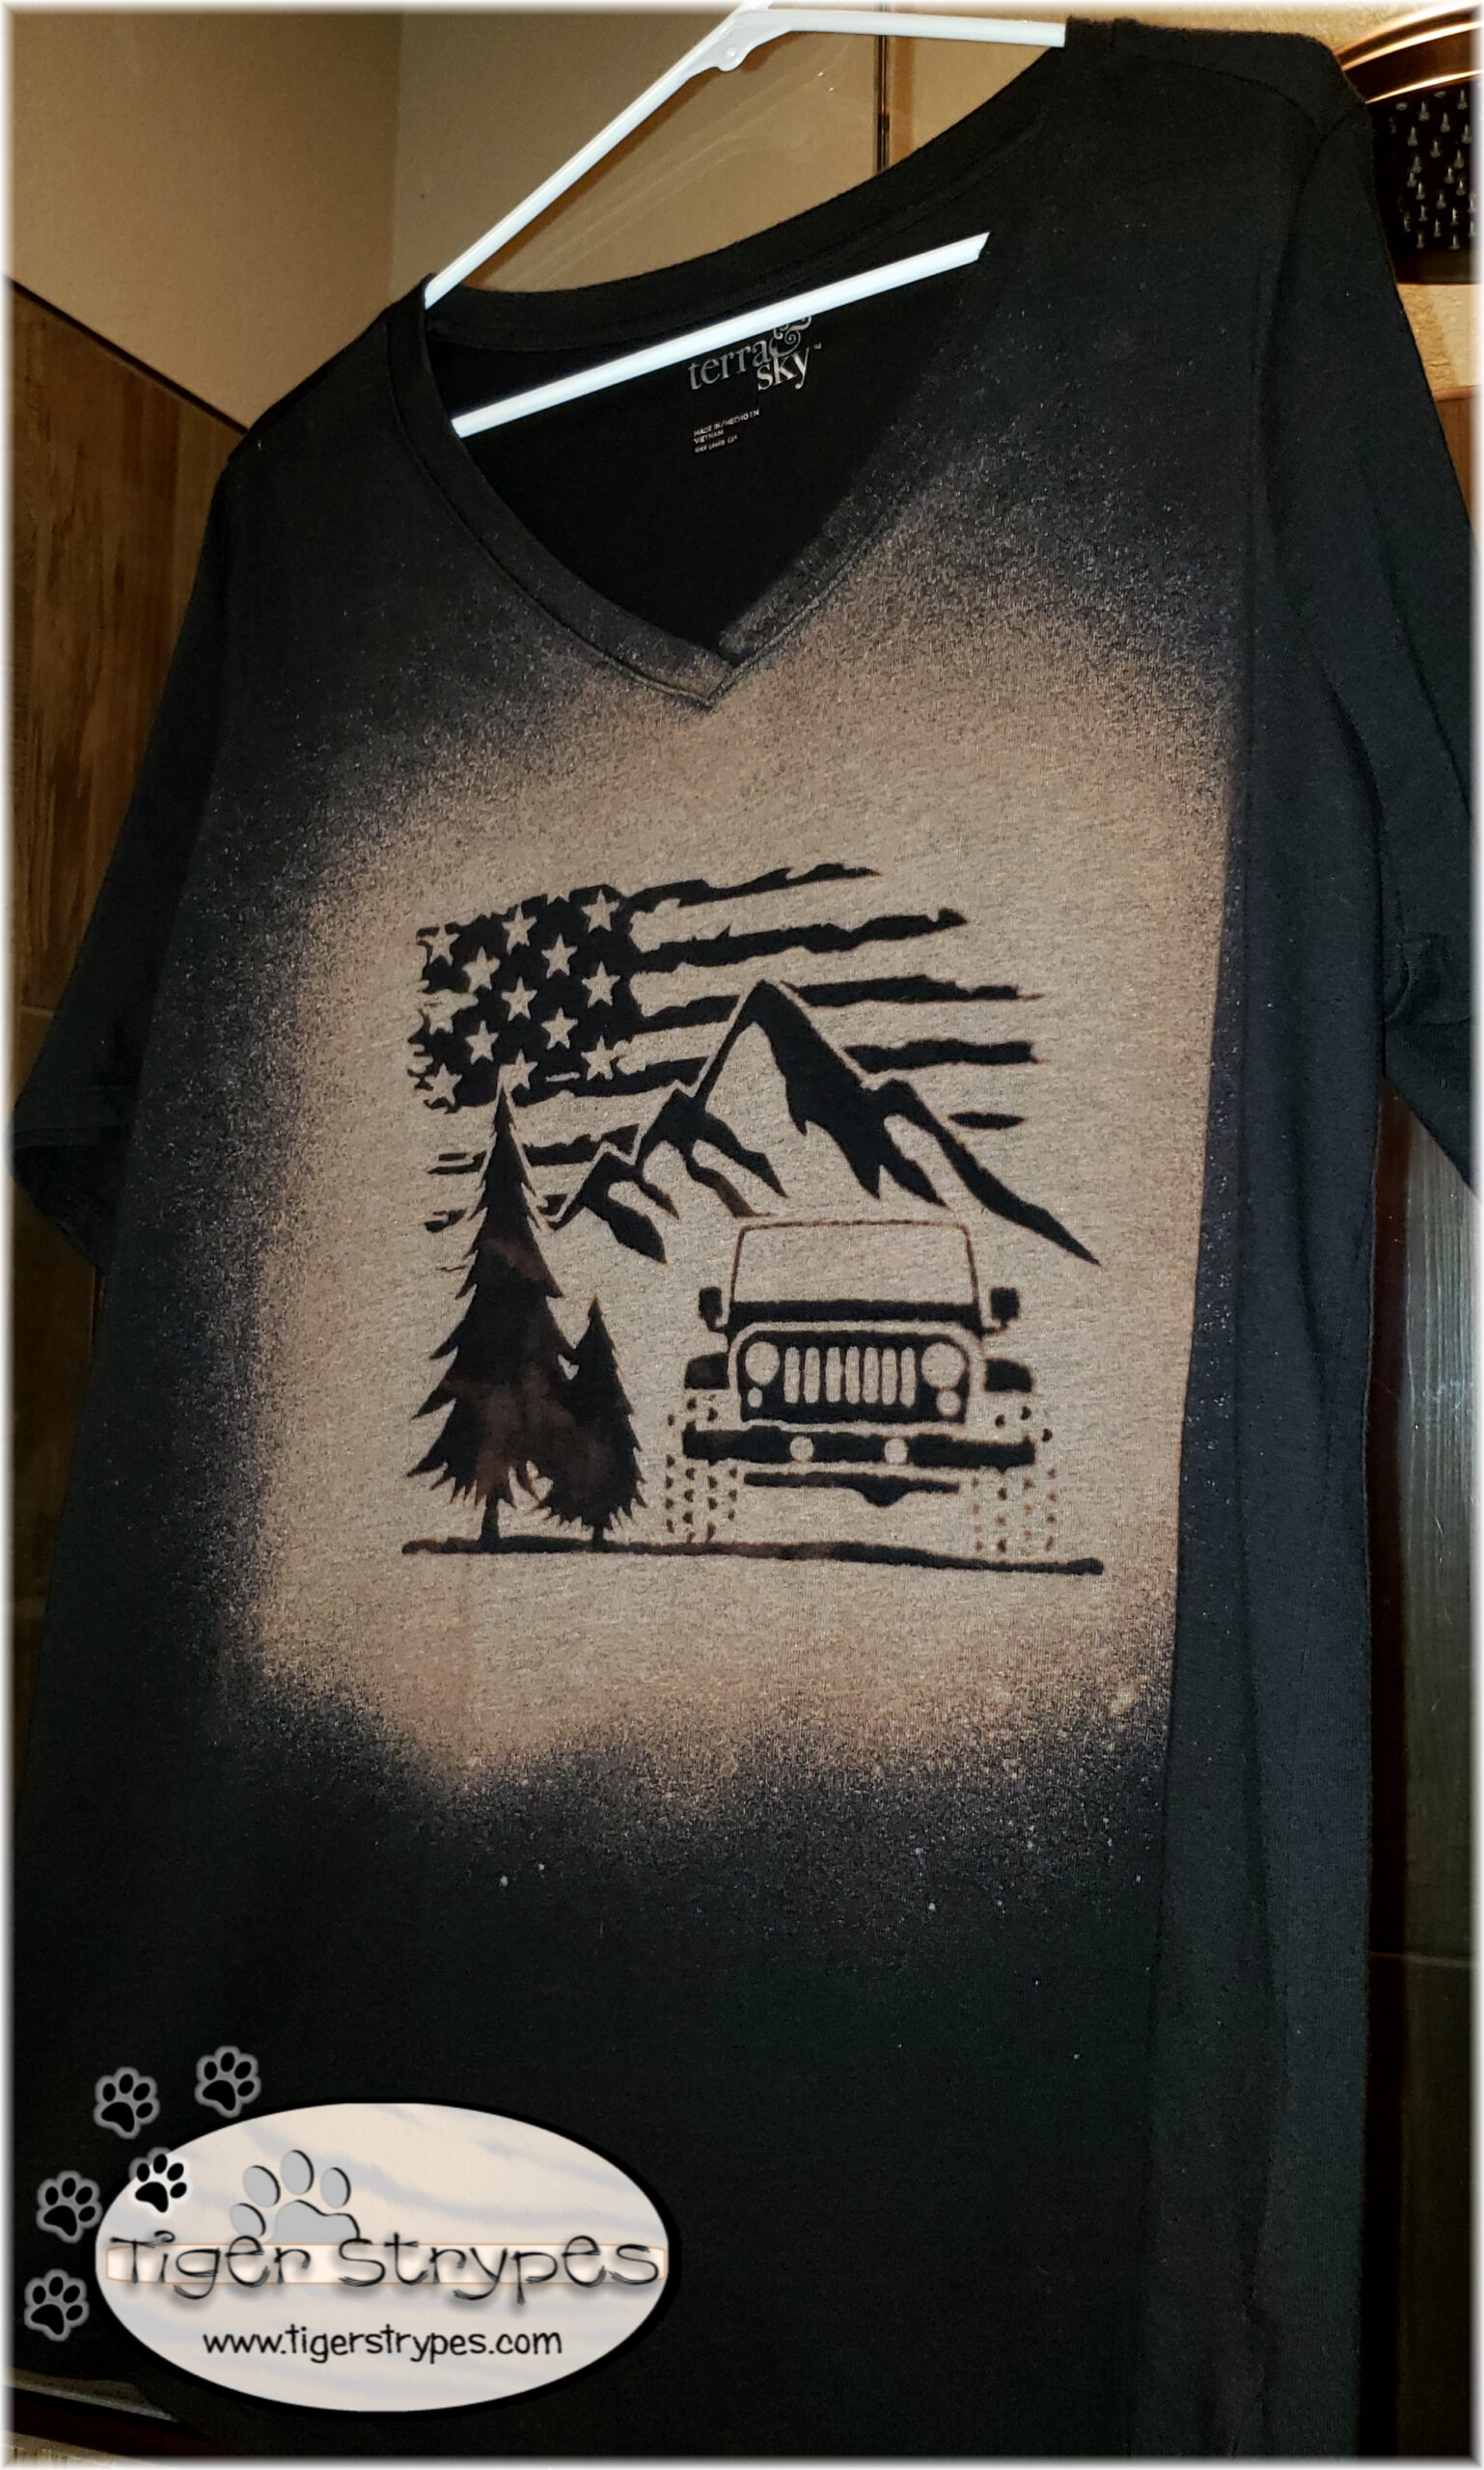
What do you think? I hope you like it! Please take a minute to leave me a comment on what you would like to create, and maybe if you have any tips on how to do it different, or better!
Be sure to tweet, pin, share, etc. – thanks!!
“He is of one mind; who can reverse it? What he desires, he does.”–Job 23:13
![]()
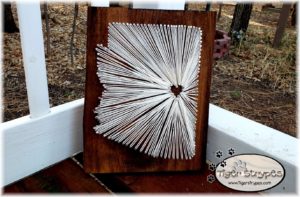
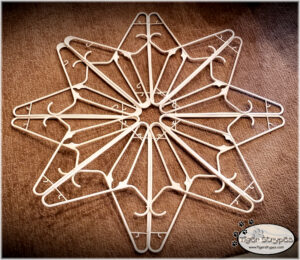
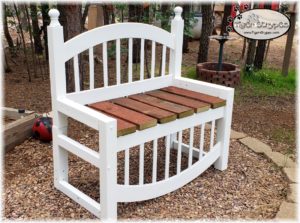
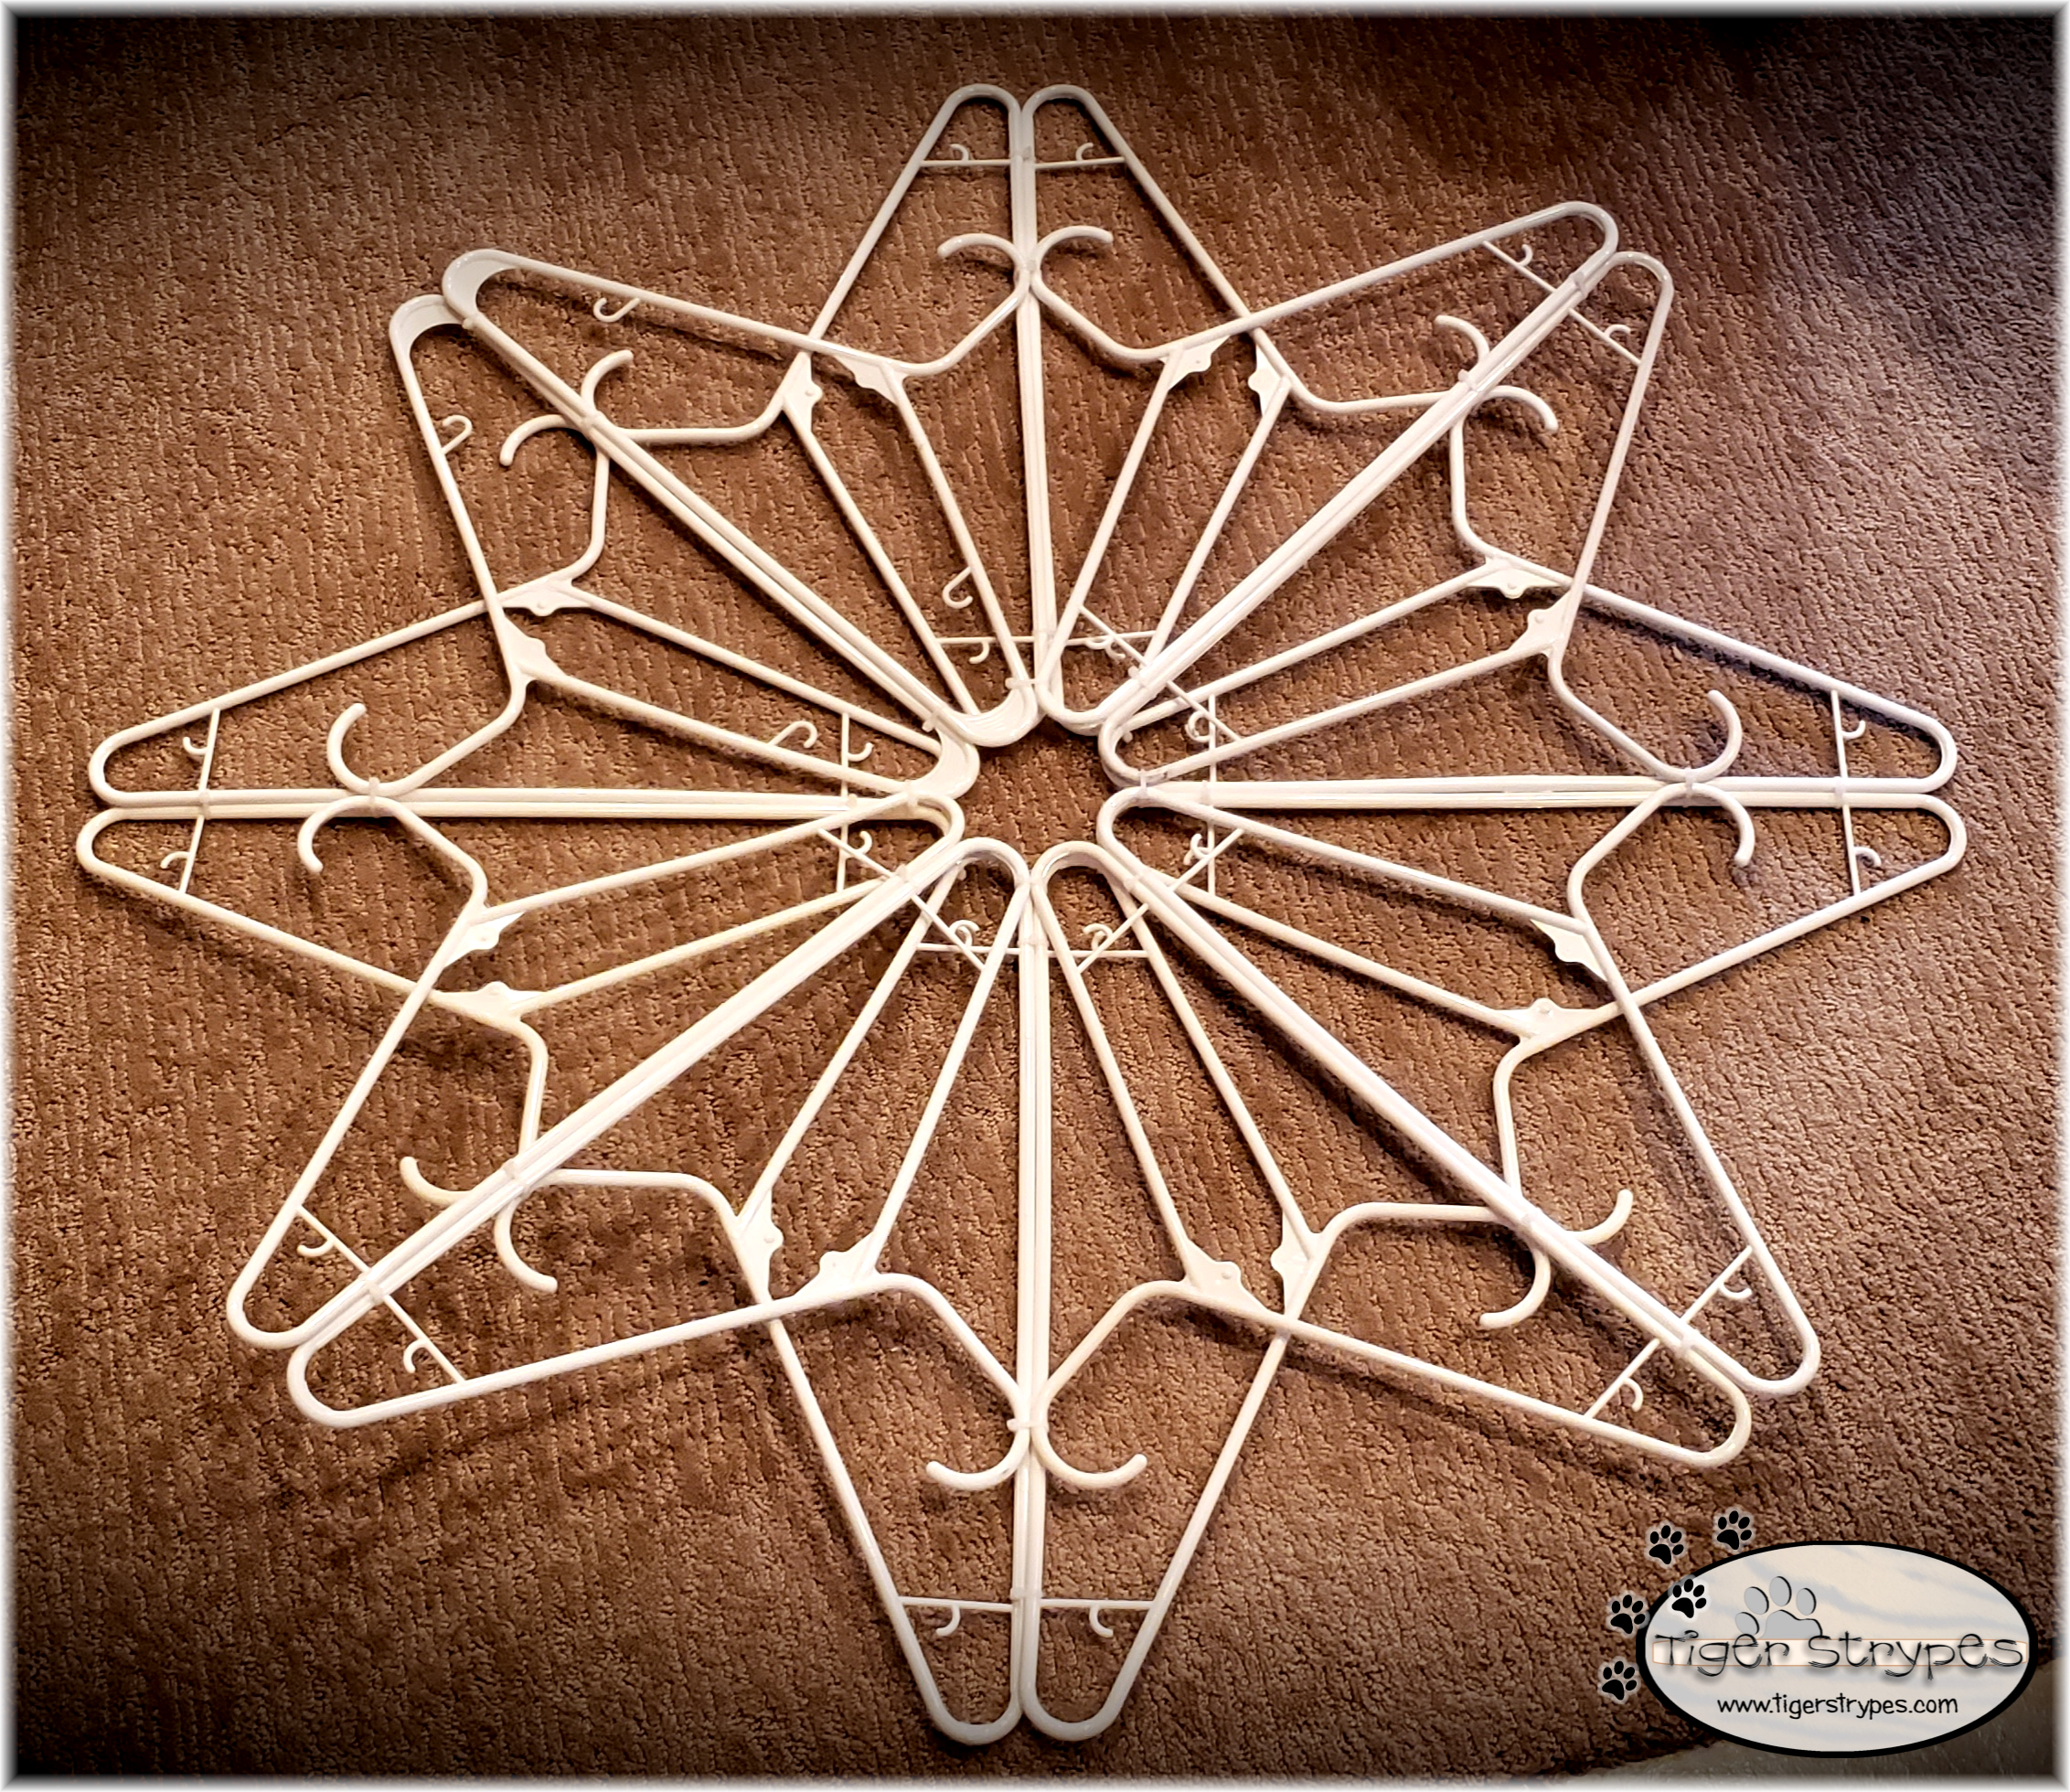
HERE ARE SOME OF MY PREVIOUS PROJECTS:
 |
 |
 |
 |
 |
 |
PLEASE SHARE THIS POST USING THE OPTIONS BELOW…THANKS!
Affiliate links for Amazon are used on my site. This means that when you click on a link, and make a purchase, I earn a commission for that purchase. There is no extra charge for you, it’s just their sites way of saying thank you for helping them get a customer. I use affiliate links to help fund my crafting budget, as well as help provide for our home.
[zrdn-recipe id=””]
This is so cool, I need one of these. Thanks for the great tutorial!
What a great tutorial. I may give it a try.
Thanks Grace, it was fun to make. Just be sure to cover your hands, just in case!
That is so beautiful! Such a perfect gift to give for Christmas. Thank you!
Thank you – it was fun to make!
This turned out really cool! I love the design and colors and everything!!
Thanks, Daisy! I should have let it sit longer, so it wasn’t as orange, but now I know! 🙂
Well, that’s really cool. I’ve seen shirts like this, but I had no idea you could make them at home.
It’s pretty easy to do. You just have to be careful and do most of it outside. 🙂
I love how the final product turned out. This is very creative.
Thanks, Beth!
I love this idea!!! I’ll have to wait for my older two to come visit so we can all make some cool shirts together!! This will be so fun!
It was fun to make. Be sure to share with me, if you make one!
This is a really cool and unique shirt Jamie! Great job!
Oh I love how this turned out! It’s very eye catching!
That is a cool look to the shirt. I know that my husband would love a shirt like this.
That’s such an awesome way to revamp a t-shirt! Your shirt looks lovely, what a great design!
Thanks, Barb. It was a shirt that I never wore, so I decided to update it to one that I love!