This site contains affiliate links. Please see below for more information.
Make Some Retro VHS Lights
#TigerStrypesBlog #Decor
If you’re of my generation, you know all too well what a VHS is. If not, I’m sorry! ha/ha I have so many of these tapes lying around, and have already bought my favorites in DVD style, so they’re not even needed. I wanted to make them into something, so that they could be useful around the home, at different times of the year. I decided to deconstruct them, and make them into lights!
Let me know what you think about the retro lights in the comments. I sure hope that you like the tutorial, and pray that you have a blessed day!
Please be sure to comment and share this craft on your social media channels – thanks so much!!
Learn how to make some #retro VHS lights for #homedecor Fun & easy to make! #DIY #Craft #Upcycle #TigerStrypesBlog - Find out more at Share on X
Materials/Tools Used:
- Old VHS Tapes
- Screwdriver
- LED String Lights
- Glue Gun/Dots
- Cricut or Printer
- & Time!
Instructions for the Retro VHS Lights:
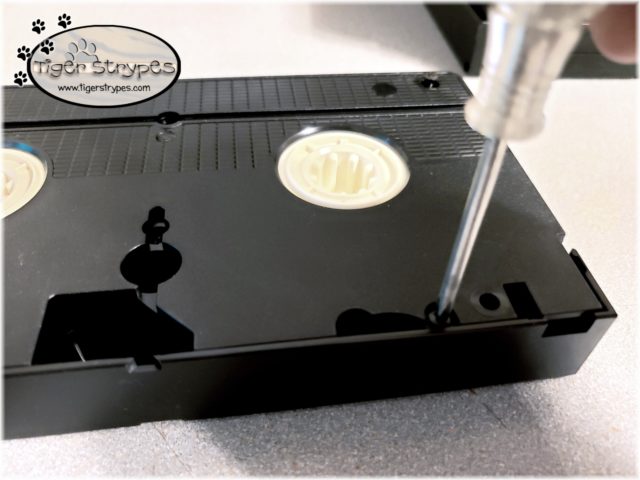
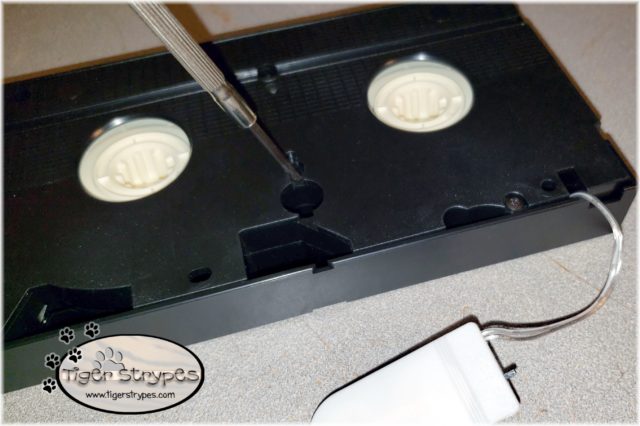
To begin, I used a small screwdriver to remove the small screws that hold the back of the VHS case together. There are a few different ones, so just look around. Save them to reattach to the case later.
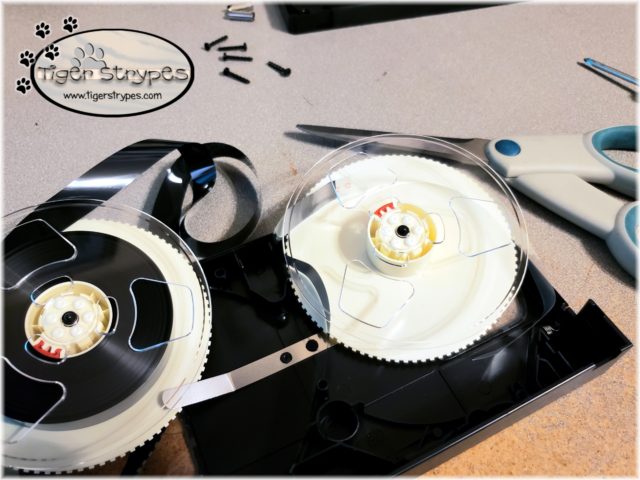
I then removed all of the VHS tape from the reels. They should just fall out of the case, making it easier to cut the middle and remove from both sides. Just a warning…there is A LOT OF IT!! I just kept unspooling it and saved it in a trash bag to use as gift bag filler or something else later.
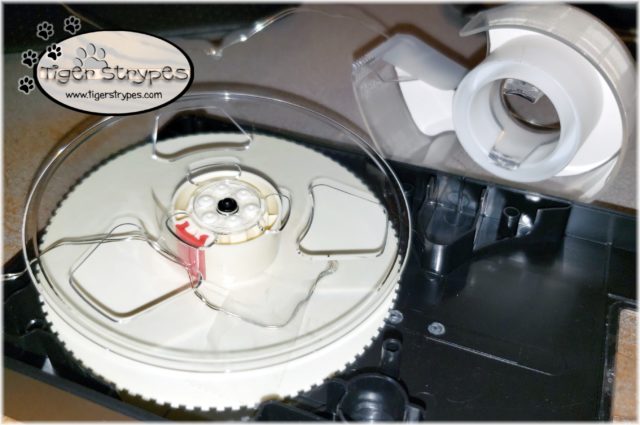
After that was finished, I secured the beginning of the LED lights to one side. Wrapping them around and taping in certain places to keep them from unwinding. String them over halfway to the other reel, and do the same there. You might want to have them turned on for a short time and check them from the front to see if they are in the correct spots. If not, just move them around and secure them where you need.
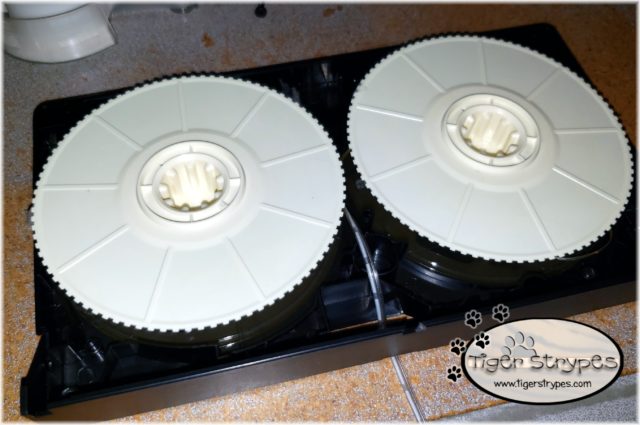
When you’re done winding the lights, turn the reels back over and set them into their spots in the case. Run the main line up the center to make sure the power switch will be on the outside of the case. After it’s in the right spot, attach the back panel with the screws that you have saved. Don’t over-tighten them, because the plastic will snap.
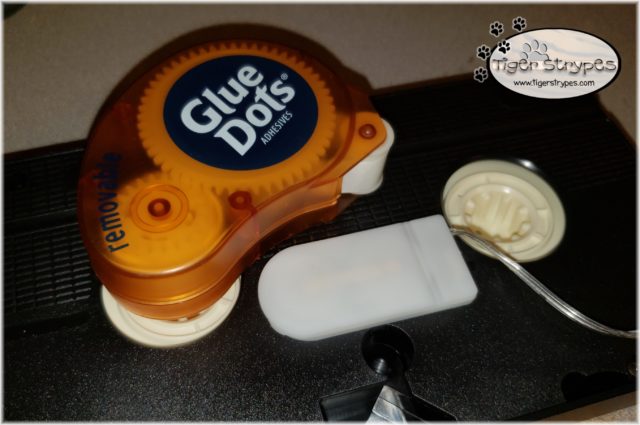
When you have the back portion on, use some glue dots or hot glue to secure the switch to the back of the case.
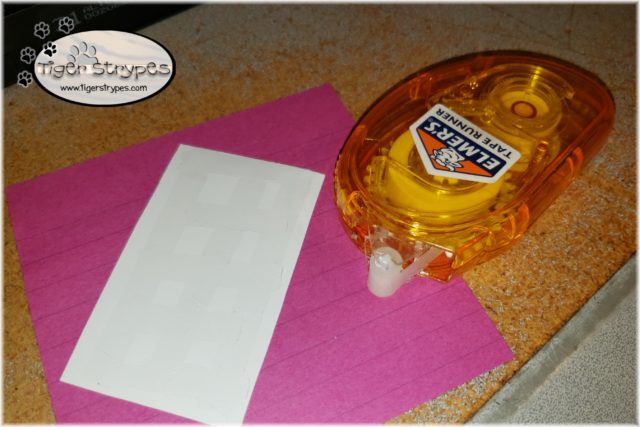
Next, I printed out some pictures in the size of the front spot with the advertising to cover it with whatever I wanted. Using some glue dots, I attached the artwork to the area, trimming it where needed to fit completely.
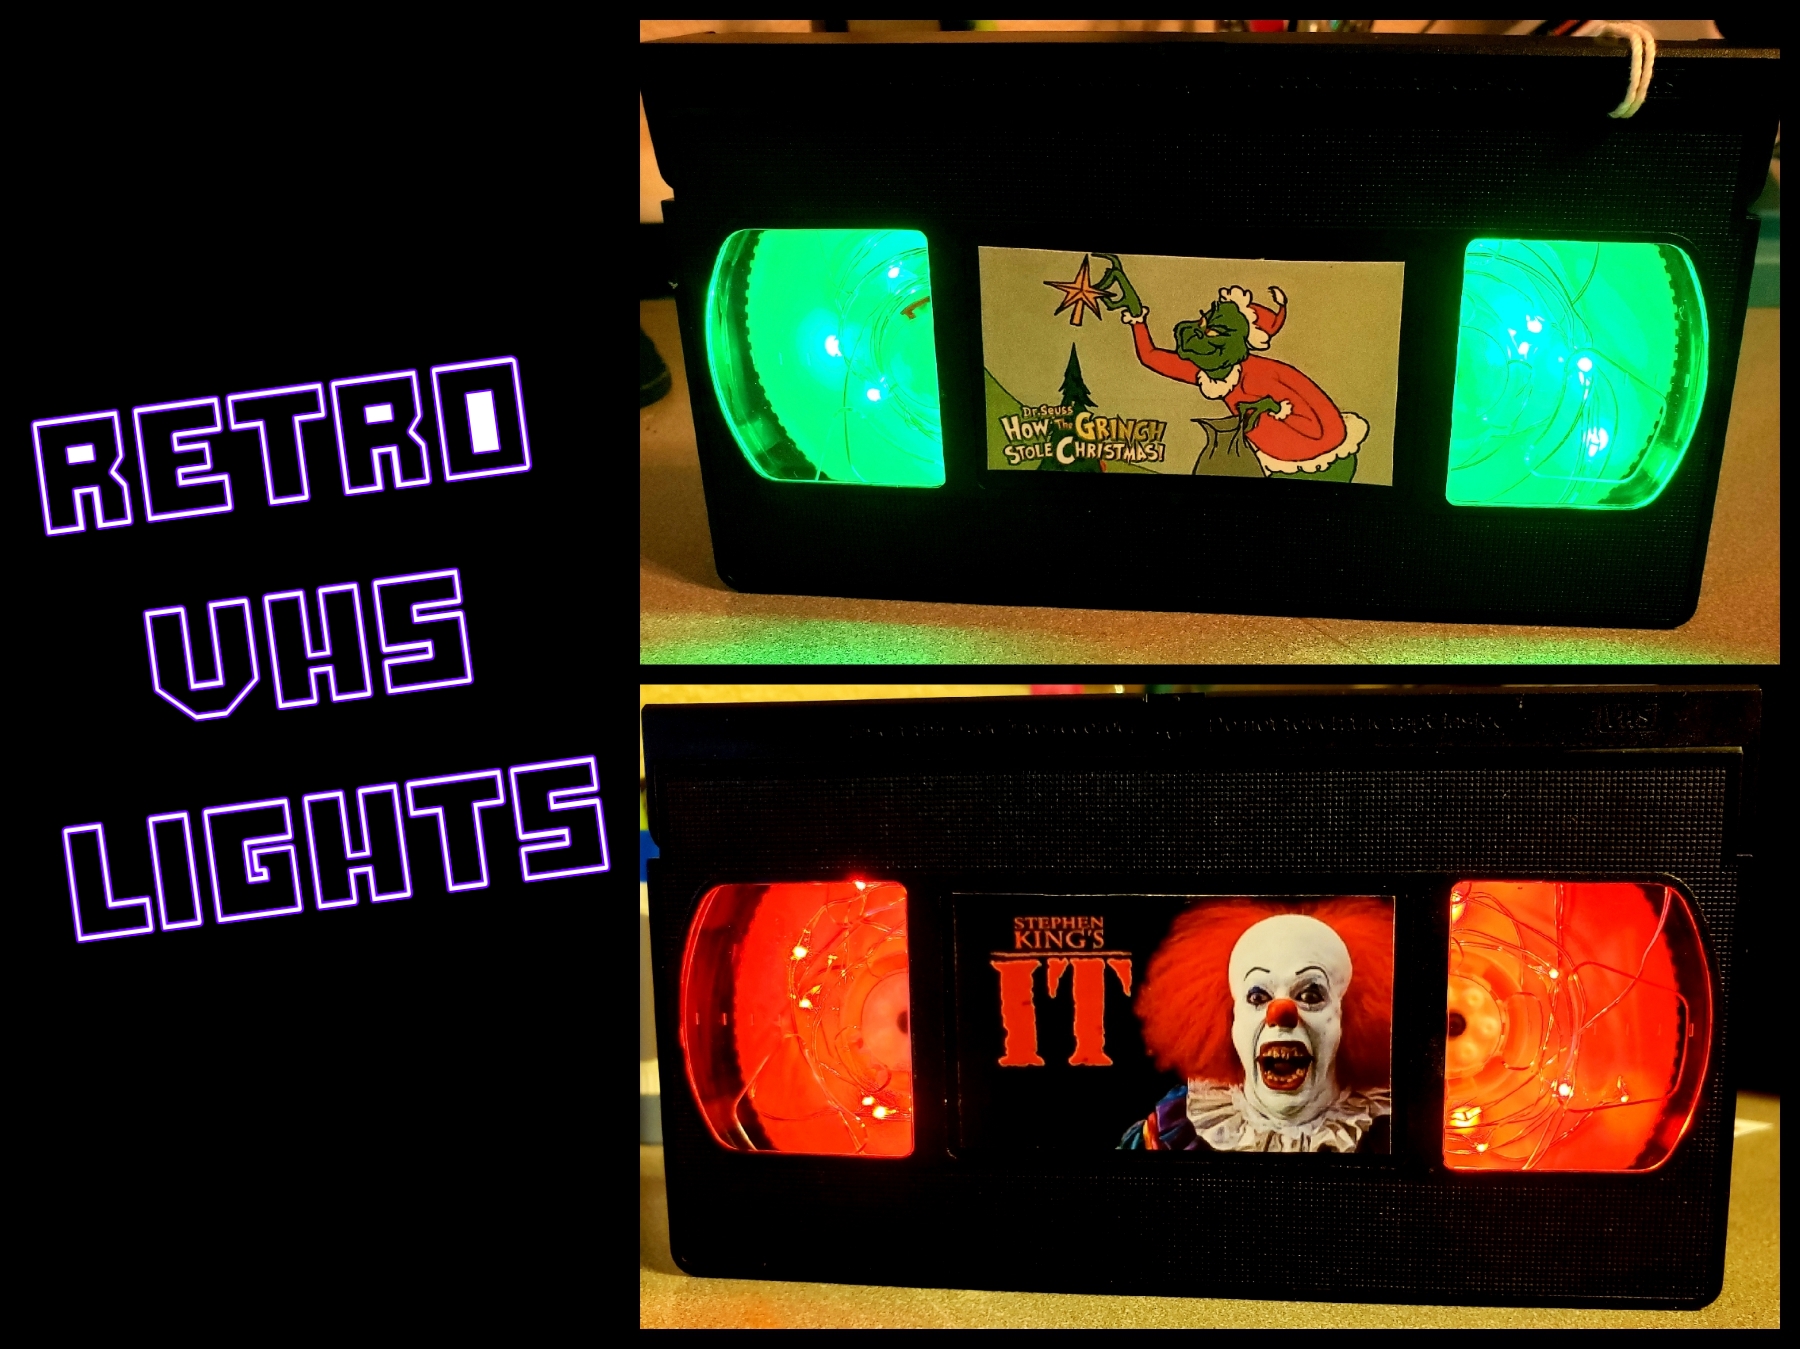
Now you can display the retro VHS tapes wherever you’d like to enjoy them. They are perfect for a media room, using for holiday decor or a kid’s nightlight in their room, with their favorite movie, etc.
So, what do you think? I hope you like it!
Please take a minute to leave me a comment on what you would like to create, and maybe if you have any tips on how to do it different, or better!
Be sure to tweet, pin, share, etc. – thanks!!
“For your ways are in full view of the Lord, and he examines all your paths.” –Proverbs 5:21
PLEASE SHARE THIS POST USING THE OPTIONS BELOW…THANKS!
Affiliate links for Amazon are used on my site. This means that when you click on a link, and make a purchase, I earn a commission for that purchase. There is no extra charge for you, it’s just their sites way of saying thank you for helping them get a customer. I use affiliate links to help fund my crafting budget, as well as help provide for our home.





These are so cool! I never ever thought of this. A good way to use some of the VHS tapes we don’t use anymore
Thanks! I always love to make new things, out of old stuff! 🙂
After we get all our family movies transferred from VHS to DVD, I’d love to tackle a fun project like this!
That’s a long process, but so worth it! 🙂 Have fun!
I absolutely LOVE it! This is so creative and so new to me. I am making this one for my son’s room. He can probably help me, too. Brilliant!
Thanks, they are really fun to make! 🙂
wow! This is so cool! Such an interesting way to have new lights in our house!
I figured it would be a fun night light or for the TV room. 🙂
This is such a fun and interesting idea. I think I have few VHS tapes at my parents home still. I might give this a go.
They are super easy to make!
Those retro lights are so cool! What a great way to upcycle VHS tapes and keep them out of the landfill.
I always love to make something out of something not being used. Makes it fun to think of new ideas!
how awesome is this upgrade to a classic VHS. I miss watching movies on video cassette players. Just not having the rewind them.
That’s for sure!! That good old sound of rewind…wow…who can forget that?
This is such a fun DIY idea! It reminds me of the days I would head to Blockbuster to rent VHS’s. It was so fun to see all the options. Then, it went to DVDs, and sadly extinct for the most part from there.
I still have my Blockbuster card! ha/ha
These are so cool looking. Now I wish that I had some VHS tapes but I decluttered last year and gave them away
Thanks, Tara. You can find them at yard sales for like $0.01!! 🙂
What a fun way to re-purpose these tapes. Great job!
Thanks Linda – it was a fun project.
What a clever idea. I just love it.
Thank you, Grace. I figured it would be fun to make them into something useful.
This is brilliant! What an awesome upcycling idea that is perfect for movie room decor!
Thanks Daisy! They work great as a nightlight, too – if you do a kid’s movie. 🙂
You just had to use the IT movie ! lol that’s pretty darn cool! I have a ton of VHS videos but not VCR… lol This would be cool 🙂
I know, I know!! I made them during the movie coming out, so sorry about that. It freaks me out, too! ha/ha