 How to Make Some Egg Tea Cups
#Easter #DIY #Craft #TigerStrypesBlog
So with Easter being over, how many of you still have the baskets and the eggs sitting around doing nothing? I had this one, just sitting on my shelf, saying “use me!”
We always think, “hey, I’ll just store them for next year.” Then next year rolls around, we forget they are in the attic and go out and buy more! Who’s with me? Well now, you can make something out of them and use them all year long!
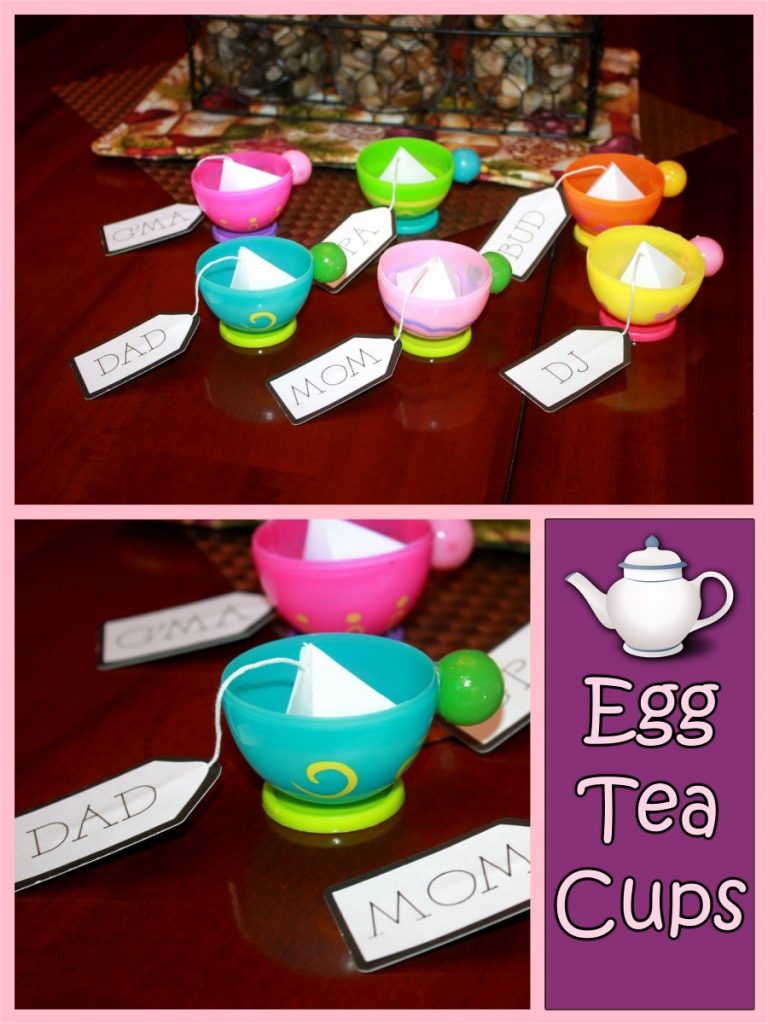
I saw something like this on Pinterest and thought it would be fun to make. Now, in their pin, they were using them as pretend play items, which having a son who is 16 really didn’t match my household. I tried to think of how I could change them up to be used by anyone at any age. How about table decor? You always see the fancy parties and how they have the names at each setting. I figured I could make them into something for that. Perfect for a brunch with friends, or a church ladies event. Whatever you make them for, it’s great to use something that might just get thrown away, and is inexpensive to create.
I sure hope that you like it!! I hope you have a blessed day, and please be sure to comment and share this craft on your social media channels – thanks so much!!
Learn how to make some Egg Tea Cups with leftover #Easter eggs #Craft - Find out more at Share on X
Materials/Tools Used:
- Plastic Easter Eggs
- Large Buttons
- Colored Beads
- Glue Gun
- Emery Board
- String
- Scissors
- Craft Paper
- Cricut
- & Time!
Instructions for the Egg Tea Cups:
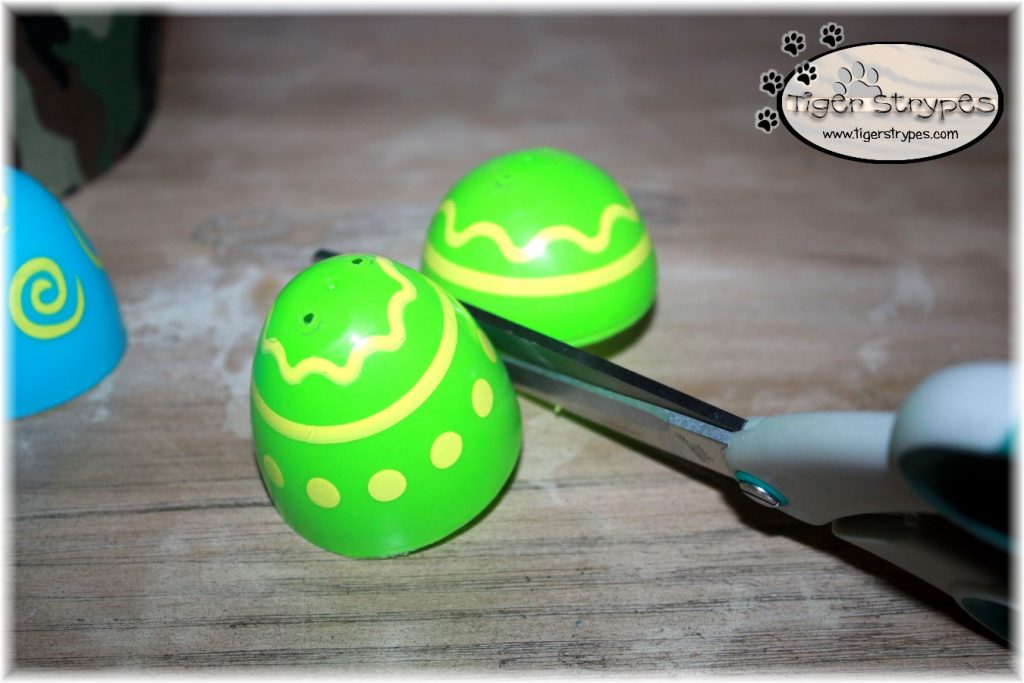
I started my tea cups, by cutting each of the plastic eggs in half. Some of them don’t have the tag that keeps them together, so if you’re one of those lucky few, you can skip a few steps.
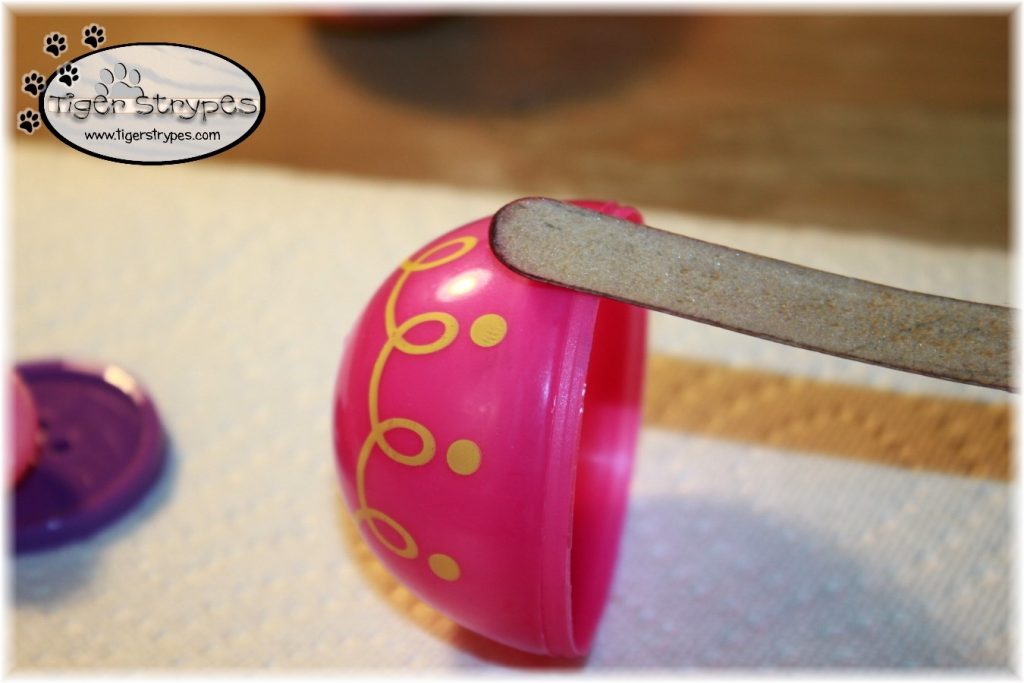
Once I had them all cut, there was still a sharp little piece where they had connected. Using an emery board, I sanded those off to make it safer.
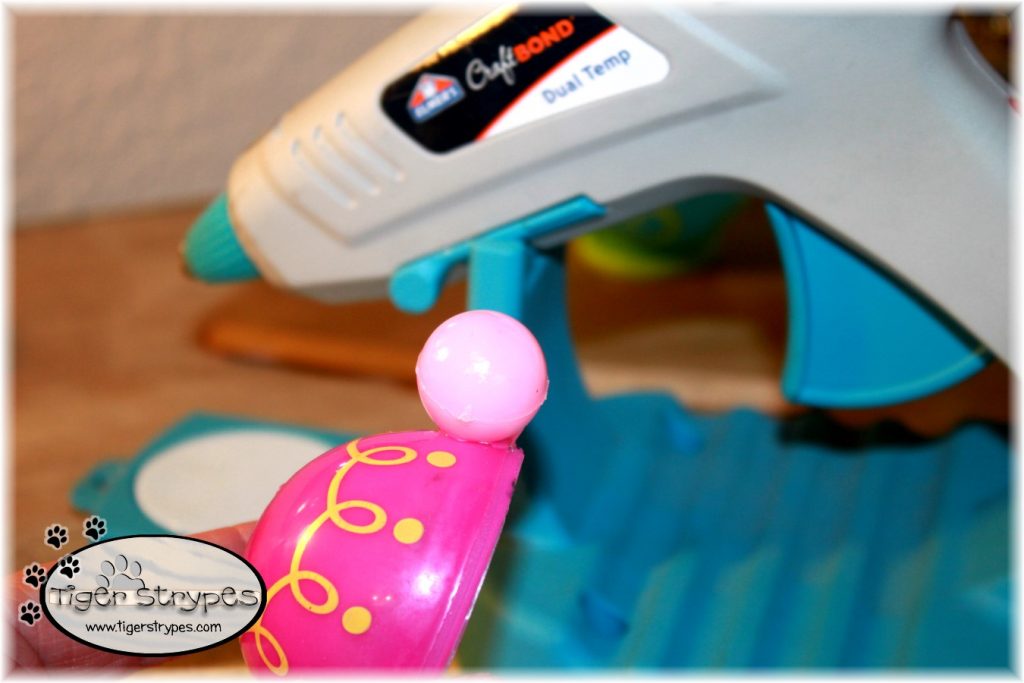
Using my Elmers Glue Gun, I then attached a colored bead to the side of each short piece from the egg (saving the longer ones for another project).
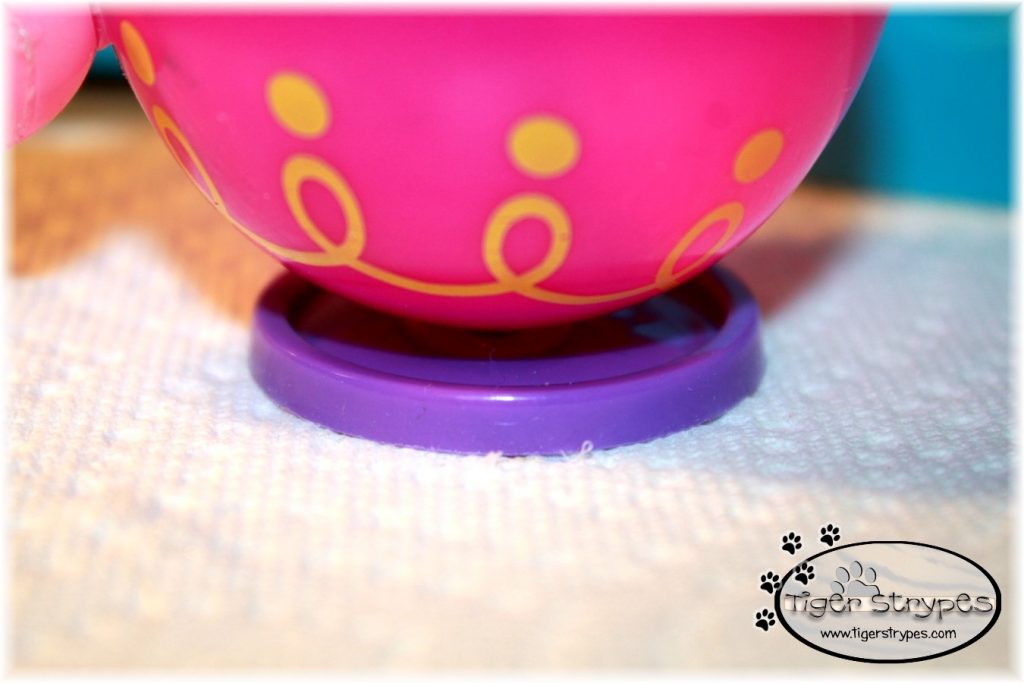
When those were dry, I used the same Elmer’s Glue Gun to attach a large button to the bottom as a stand.
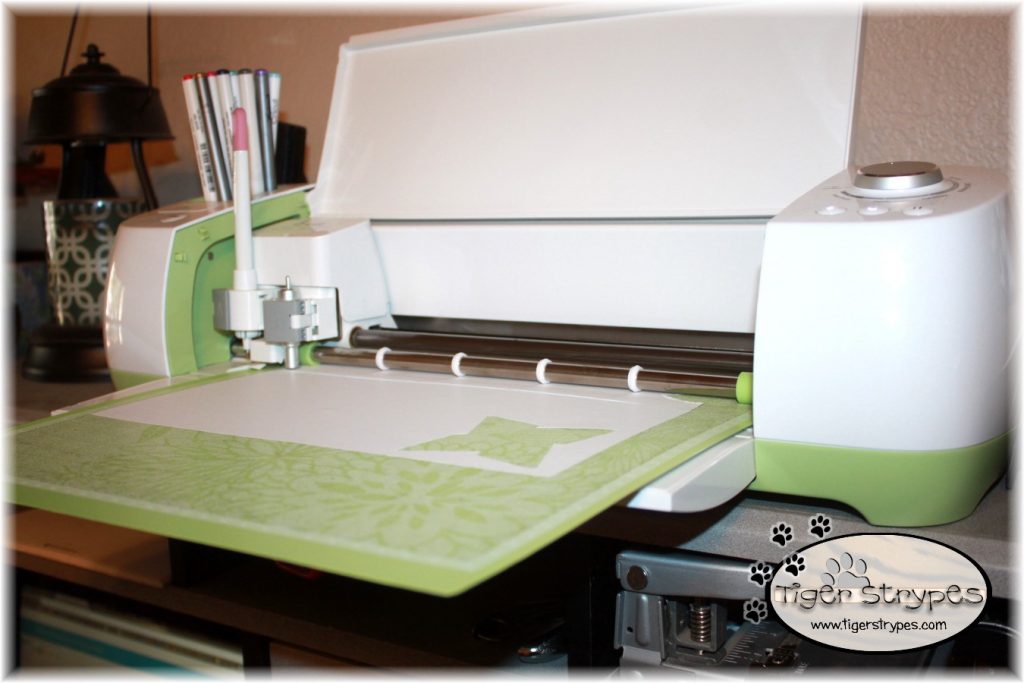
Next, using my Cricut Explore, I made up some pyramid style pieces from the “Fancy Boxes” cartridge.
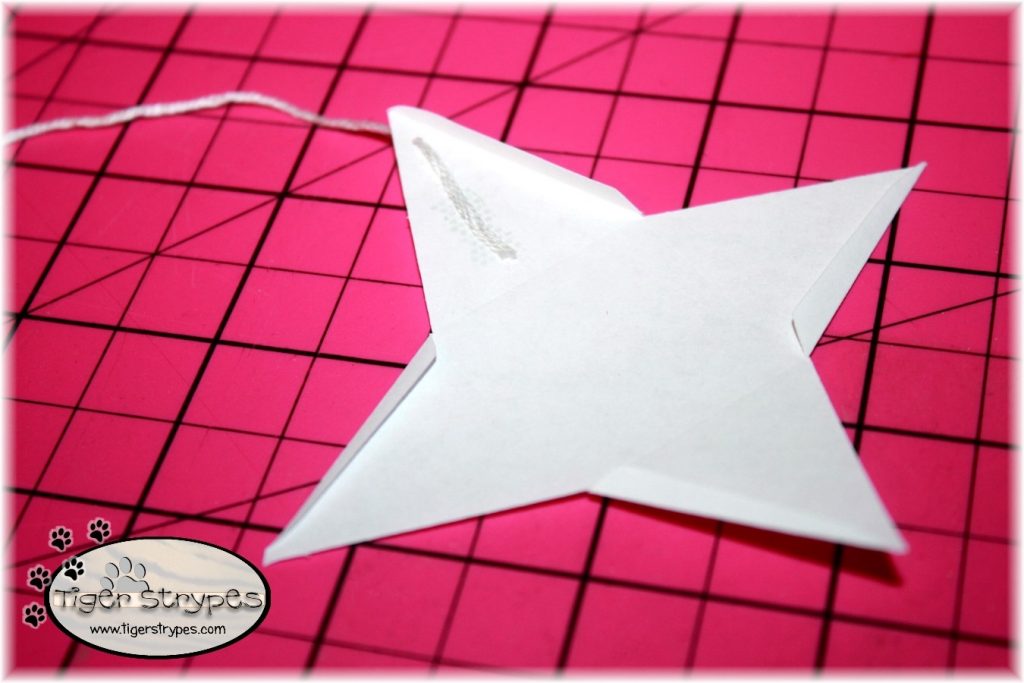
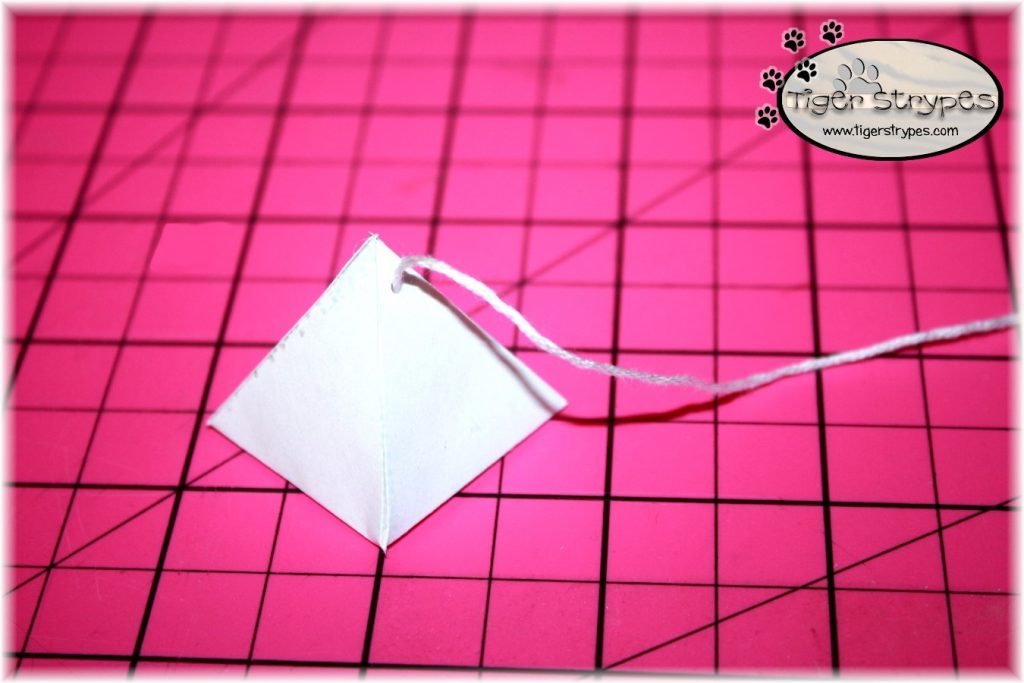
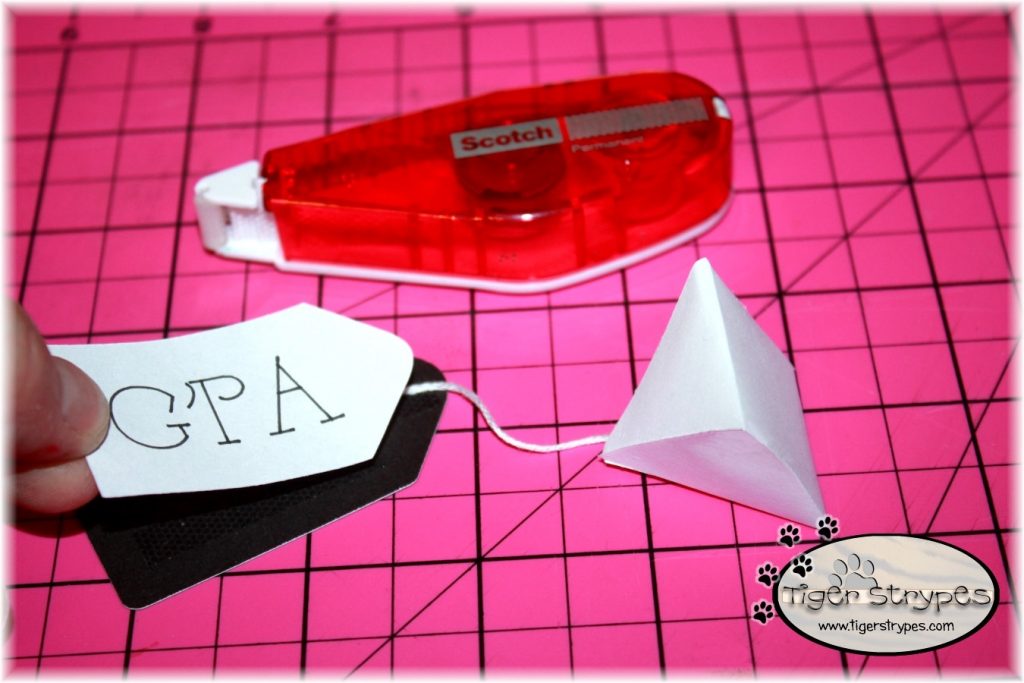
When they were all done, I folded them in where they had been scored. I also put a piece of the string through the hole that had been cut at the top, and glued that in place.
When the glue is on all of the spots that are needed, you can then fold it up together and secure it. I made sure that the string stayed free at the top.
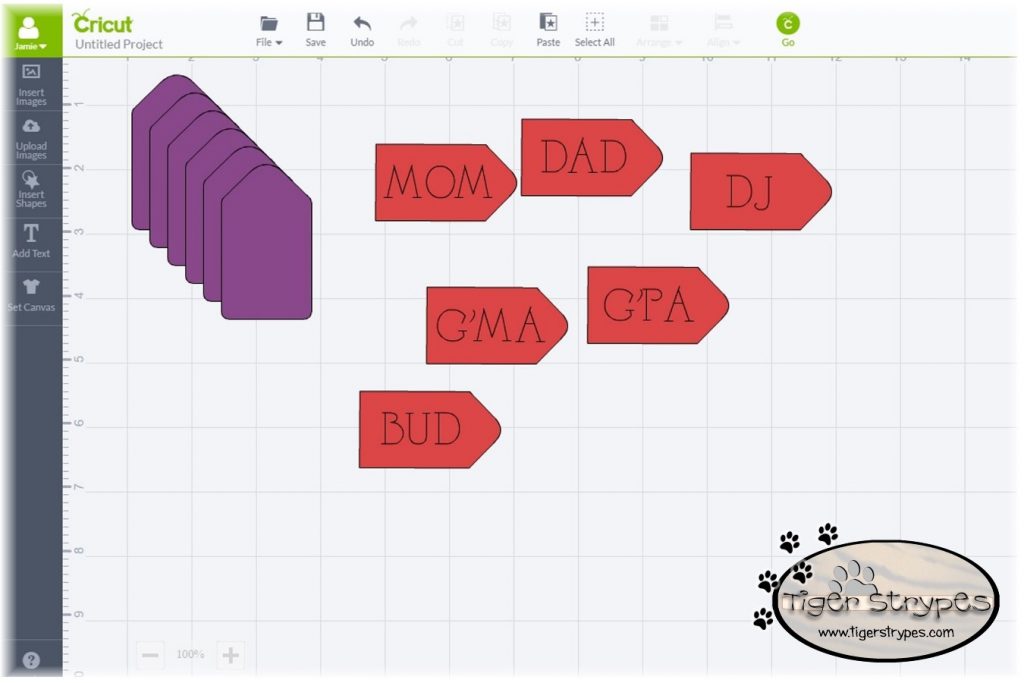
Then I made up some tags for the place settings to attach to the string. I created them in two layers, so that I could glue the string in between to better hide the end and make it a bit more sturdy.
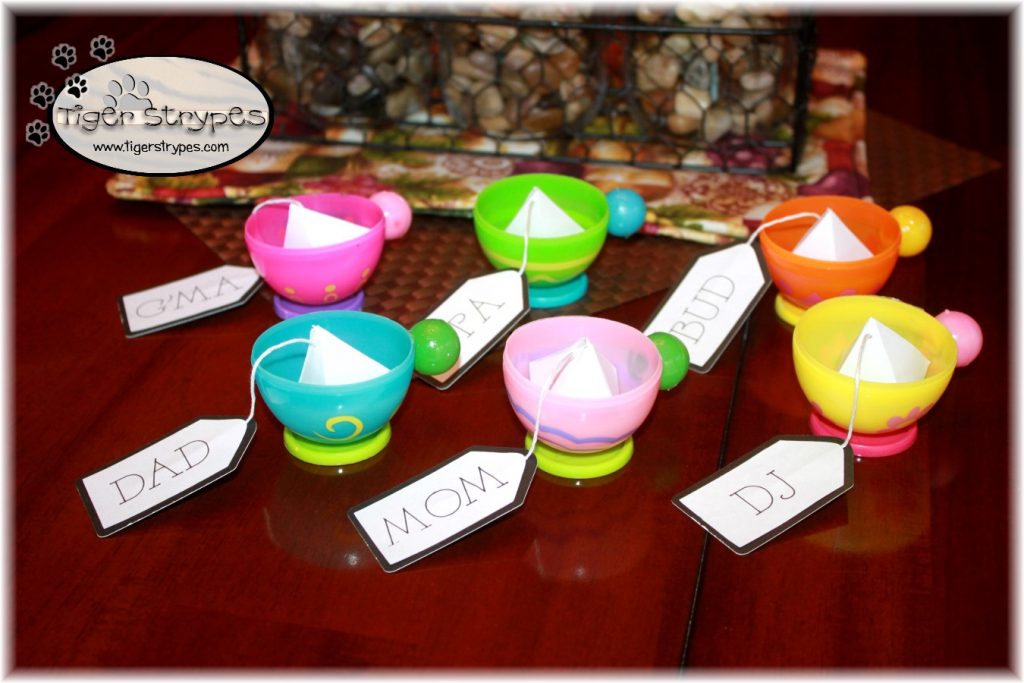
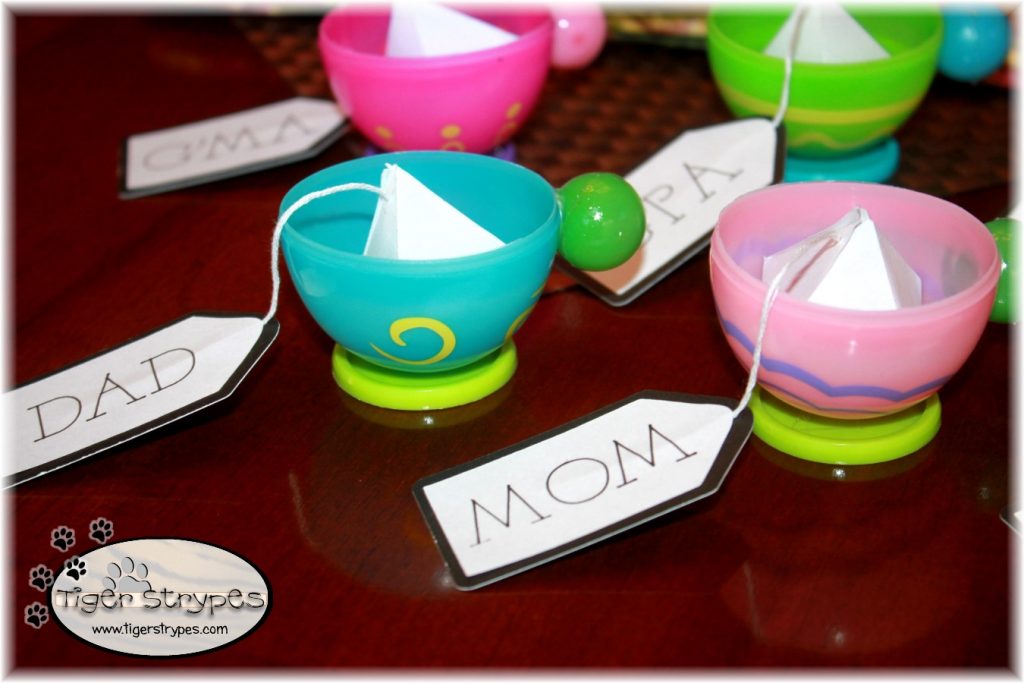
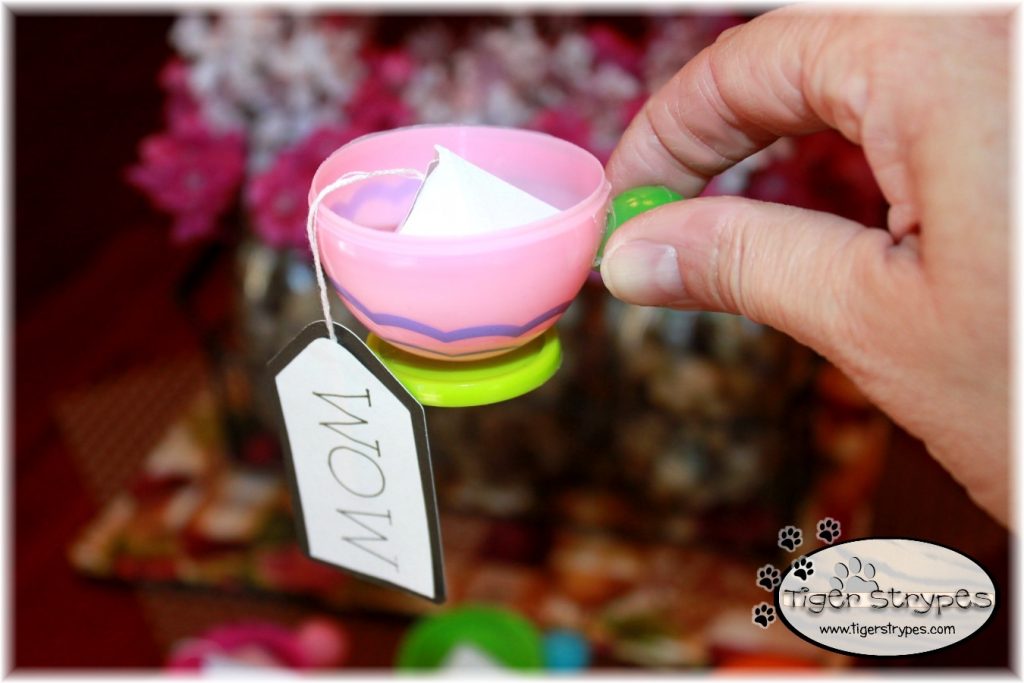
Now that they were all together, they were ready to decorate the table and save the spots for the ones I love.
I hope you like it! Please take a minute to leave me a comment. Let me know what you would do different, or what you would add, etc. Be sure to tweet, pin, share, etc. – thanks!!
“So whether you eat or drink or whatever you do, do it all for the glory of God.” –1 Corinthians 10:31
PLEASE SHARE THIS POST USING THE OPTIONS BELOW…THANKS!!
All pictures and text are my own and have not been copied in any way. I, Jamie Tomkins, own and operate Tiger Strypes Blog located at www.TigerStrypes.com. From time to time you’ll hear about my real life experiences or creations with products and/or services from companies and individuals. Let it be known that I have no affiliation with these said companies, and have not received compensation for reviewing or using their service/product. The information that I give regarding the product/service is based off my own personal experience, I do not guarantee that your experience will be the same.




Although admittedly I know I would never be able to put these together –I truly wish I could. They are adorable and make great name holders. I really love that you are re-using those Easter Eggs!
You could do it Michele!! 🙂
Such a cute and colorful project. I’m looking forward to some down time once school is out so I can fully explore my Cricut Explore Air.
Thanks, Linda. You will be amazed at what they can do. There’s still so much I want to try and haven’t even scraped the surface! 🙂
They are so cute! Anyone would feel special with one of these by their setting. I am not at all crafty yet I enjoy seeing every one’s ideas. I always have stuff like that hanging around until I find someone who will use them.
Thanks Gladys. I just figured it would be a fun way to use up stuff that just sits around, or gets thrown away.