 “Cut It Out Wall Stickers“ was created with its customers in mind, offering you an affordable yet innovative way of styling your interior. We are a team of professional London based graphic designers who set up cut it out in late 2011. We began as a trio, tired of our mundane 9-5 jobs we decided we needed change! Following the recent trend for wall vinyl we followed in swift pursuit but of course with a little cut it out flare. Our doodled designs on post it notes grew to become panoramic wall art.
We have now migrated from our cramped bedroom offices to a studio, hooray! With an additional three members of staff we hope to continue growing from strength to strength. Nevertheless we retain our founding principles, hand finished craftsmanship and a bespoke customer service, something rarely found on the high street. Providing a great customer shopping experience from start to finish is our utmost objective.
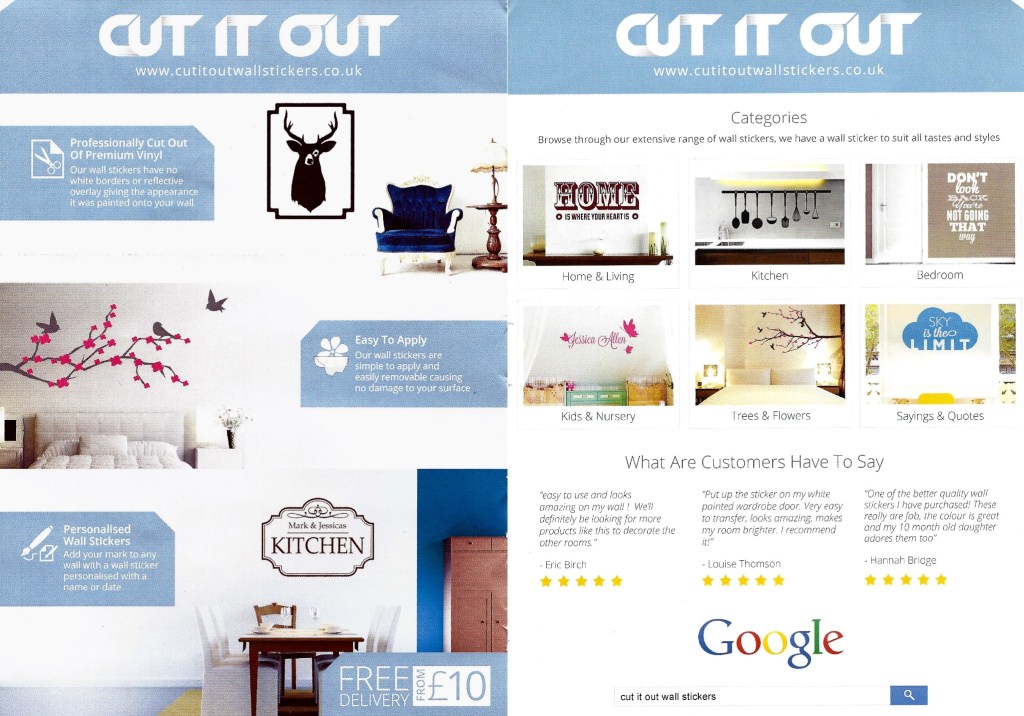
Our wall stickers are not mass produced and every wall sticker/decal is made to order by us. The beauty of these particular wall stickers is that once they are applied they look like they have been ‘hand painted’ blending seamlessly onto your walls. With a color palette to die for, you will be taking a bit of time for just one choice, or just buy more than one of them!
![]()
Cut Out Of Premium Vinyl
Our wall stickers have no white borders or reflective overlay giving the appearance it was painted onto your wall
![]()
Personalized Wall Stickers
Add your mark to any wall with a wall sticker personalised with a name or date

Easy to Apply
Our wall stickers are simple to apply and easily removable causing no damage to your surface
![]()
20 Different colors
Choose from our range of colors, as well as shiny sliver and shiny gold
Simple Directions to Apply:
Set-Up: Place your wall sticker on a dry, flat surface.
Make A Hinge: Run a long strip of masking tape along the middle of your wall sticker and stick it onto the wall.
Take Off The Backing Paper: Fold the sticker in half (at the hinge) starting from the top right and peel away the backing paper from the top of the sticker. Cut the backing paper at the hinge with scissors and slowly smooth out the sticker onto the wall with your hand or credit card, starting from the hinge and moving up. Do the same again for the other side.
Apply Pressure: Using your hand or credit card, rub over the wall sticker to make sure it is 100% attached, flat and bubble free. Slowly peel off the see-through transfer paper at a 45 degree angle from corner to corner.
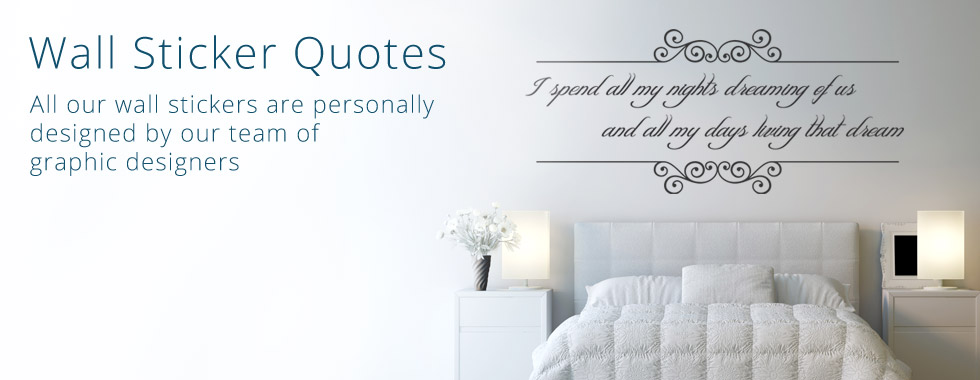

I was a bit worried at first that it was from outside the U.S. – thinking that delivery would take awhile, but it was here in a very short time. I got it even quicker than something I ordered from the U.S., so that was amazing!! I received the piece that I had picked out in a tube – it was packaged really well and easy to pull out. The colors were beautiful, very vivid and bright. Material was a great quality and I couldn’t wait to start putting it up. I headed out to the garage to get the ladder and start working.
Once I brought that into the house, I had an issue – looking around to find the best place to put it! I figured it would look good in many different spots and it took awhile to figure exactly where it would go. The great thing once I was done was that it took longer to figure out where to put it, then the time taken to put it up. I did it all by myself and had no issues. Even this larger one was made in a way that I was able to do it on my own. It might have been a bit easier to have someone else help, then I wouldn’t have had to worry about falling off the ladder while trying to put it up…but that’s probably just me!! 🙂
I started with an area above our front closet that has always been empty and pretty boring. I figured it would be the best place to put this and allow people to see it’s beauty, as soon as they walked in the door.
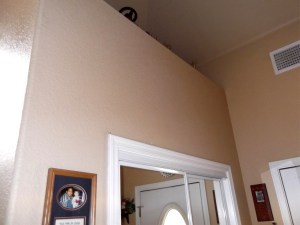
All I had to do was put up the ladder, get the piece ready by removing the back of it and then position it where I wanted. I made a few mistakes at first, but since I didn’t push it on very hard at first, it was very easy to move and caused no problems at all. Here’s what it looked like when I was done:
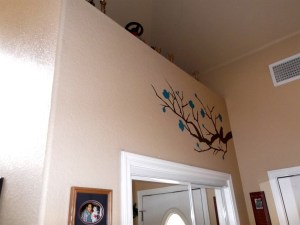
Isn’t it beautiful? I love seeing this on the wall now and thinking that even down the road, I could change out the colored portions with some extras from their site. Really beautiful detail and quality of this piece. Definitely a site that I will keep on my favorites for sure. Now I need to find some more walls to decorate….
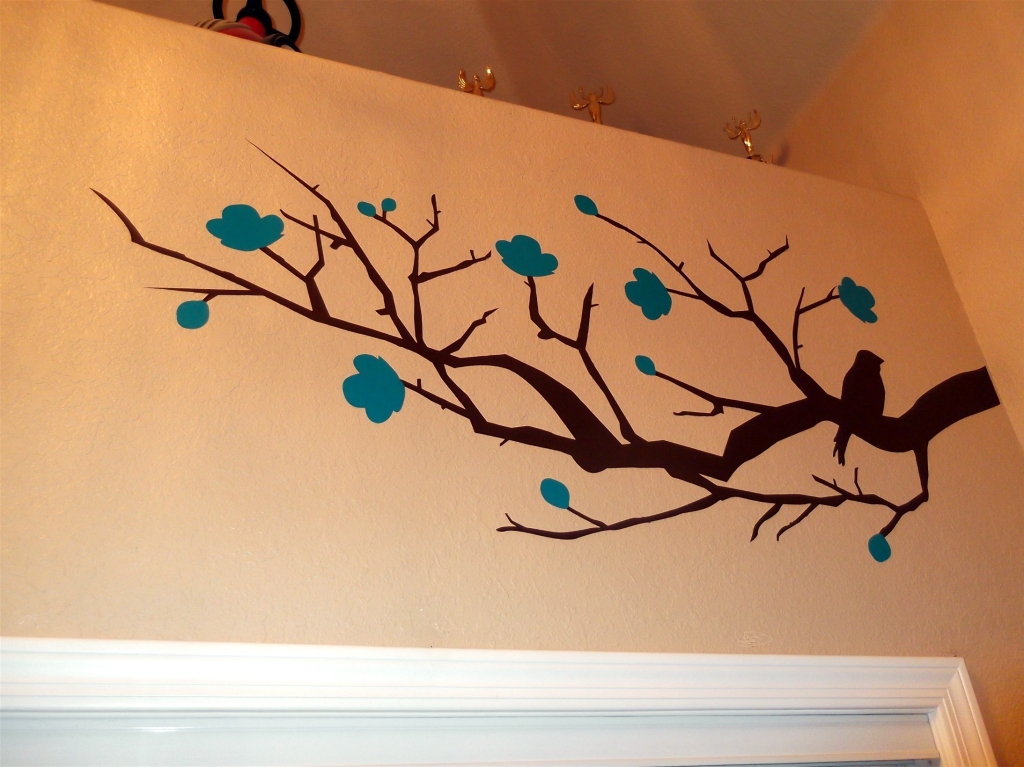
Check out their great work here
__________________________________
More of their links:
https://www.facebook.com/cutitoutwallstickers
https://twitter.com/cutitoutsticker
https://plus.google.com/+CutitoutwallstickersCoUk
http://pinterest.com/CUTITOUTsticker/pins/
DISCLAIMER: I, Jamie Tomkins, own and operate Tiger Strypes Blog located at https://www.tigerstrypes.com. From time to time you’ll hear about my real life experiences with products and/or services from companies and individuals. Let it be known that I have no affiliation with these said companies, and have not received compensation for reviewing their service/product. The service/product was given to me by the company or any agents of the company. The review that I give regarding the product/service is based off my own personal experience, I do not guarantee that your experience will be the same.

Loved it so I pinned it for when I redecorate!
I LOVE the bird branch decal – that is so pretty, and I’ve always liked chocolate brown and blue together as colors. I am a sucker for almost anything personalized too.
These are so pretty and make a room look so nice. My walls are all textured so I wonder if they would stick on them
We have textured walls, too Tara and they fit great. The site even says you could take them down and move them – not sure about that, but they are easy to put up!
I love that sticker, its fabulous! Looks great on the wall too!
Thanks Rose – it was really easy to put up, too!