I hope that you’ve been enjoying the “Tips & Tricks” blog posts here at #TigerStrypesBlog. I figured that those of us who had advice (on any topics), or knew things that could help others, it would be beneficial to start sharing those ideas. I hope to contribute many different kinds of “Tips & Tricks“, such as things to do with the internet, social media, home, crafts and many others!! Be sure to stay connected to “TigerStrypes” to see the new ones that get posted. For other posts about “Tips & Tricks”, click HERE.
Today’s Post Will Be About:
“Easy Way To Create Artwork”
Today’s “Tips & Tricks” post is about an Easy Way To Create Artwork. If you’re like me, you like spending your money on things that are important. Other things that you see in stores, kind of make you shake your head at what the owner is asking for them. Now, don’t get me wrong, a piece that is directly from the artist, and a true painting, etc. – those are worth what they cost. I’m talking about photos that look like the older cousin to the fake couples that are in the ones that you see on the shelf, that are going for a fortune.
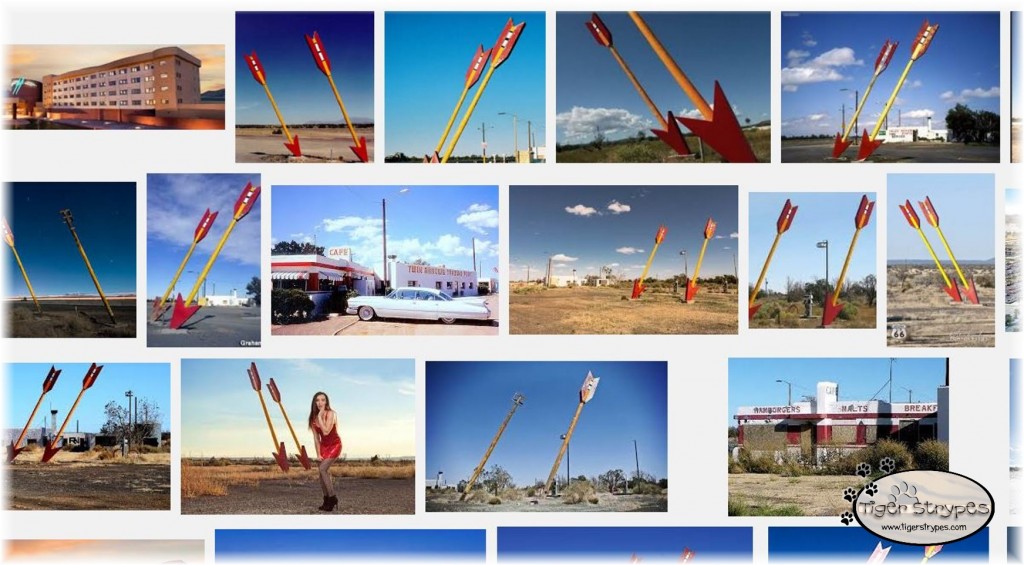
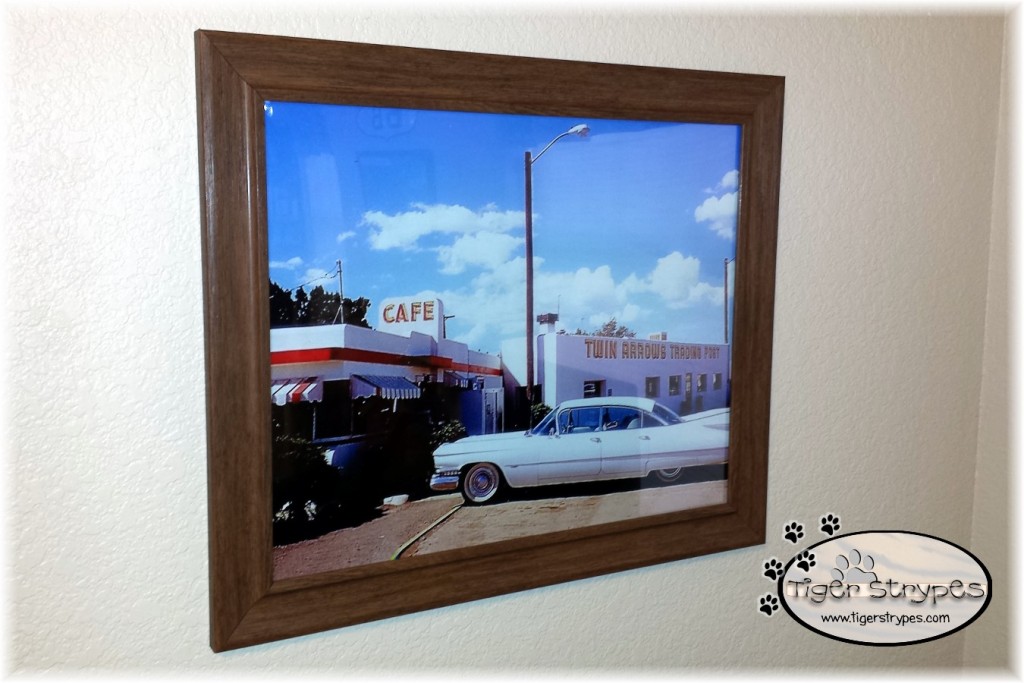
Well, I had a blank area on my wall in my “Route 66” office that I wanted to fill in. If you know me, you know that I love anything that is to do with “Route 66”. I grew up below Foothill Avenue in California and now live in Arizona, south of Highway 40, which has the old TeePee Hotel and downtown Holbrook, which is another area on the Route 66 trail. My whole office has different photos, mementos and keepsakes from the area. Since we live just down the highway from the Holbrook area, you have to drive right by “Twin Arrows” to get home (or go shopping, the other way). I’ve always wondered about the landmark and what it looked like before. Doing a Google search for free photos, I found one of what the area was before the vandals took over. I’ve actually heard that with the new casino in Two Guns, there is a chance that they might restore this area, and bring it back to life – that would be great! Here’s more on how it works, and how you can do it:
1. So, it’s easy to create your own artwork for your home. Start by searching on Google for an image that matches your decor. Just be sure that you are using public domain images, and not something that is copyrighted, etc. That could get you in a bit of trouble.
2. Save the photo in a jpg or png form to your desktop. Another thing to be sure of is that the photo is large enough, so that when it’s blown up for a picture, it’s not too grainy, etc. If you get one that is pretty big, you can always resize it and make the dpi better, if you have the program to do so.
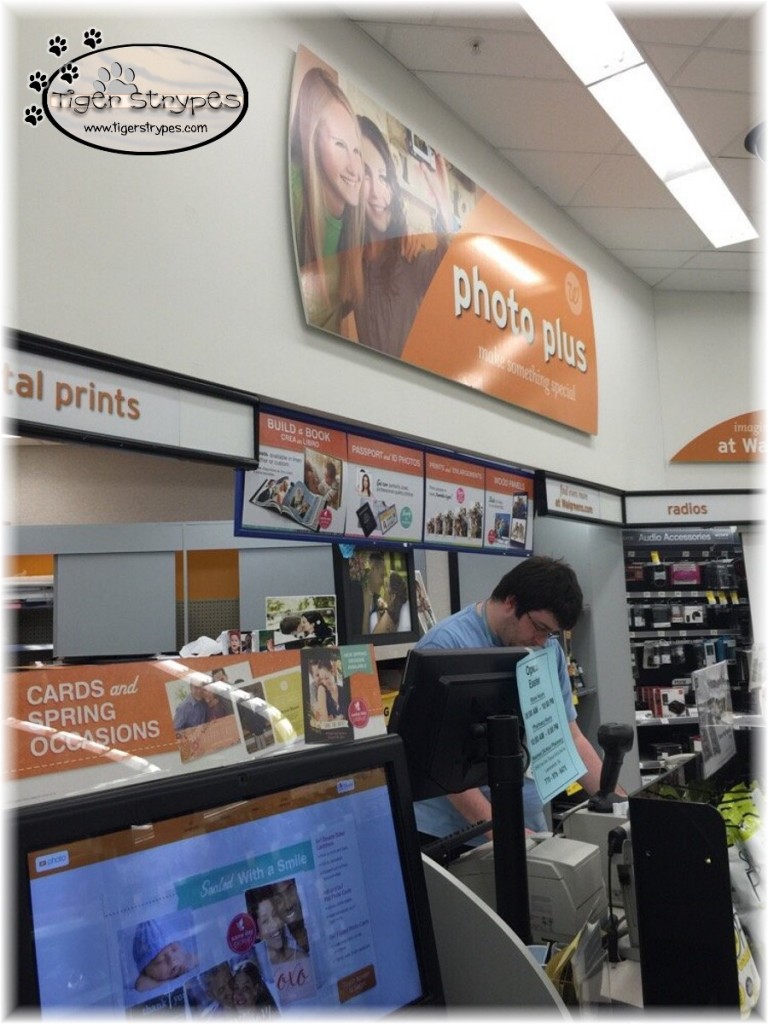
3. Next, place your order for the size that you want at the local store that you can get prints at. I use our local Walgreens, since the cost is so low (and, you can usually find coupon codes online to save even more)! Just upload the photo to their site and wait for the notification that it’s ready. Sometimes it can be done in just a few hours, other times – depending on the store, it will take a bit longer. When it’s done, just head over and pick it up!
4. Next, I headed to Walmart to pick up an inexpensive frame They have some that are really nice looking, and not very expensive at all.
5. After you have it trimmed, and framed, just hang it up wherever you wish. My total cost for this was about $20 – which compared to some stores up in my area is a heck of a savings!
I hope that this “Tips & Tricks” post has helped you today. If so, let me know in the comments. If not, or if you already knew about this, then just let me know a “Tip” or a “Trick” that you would be interested in for the future!
Have a great day!


Can I just tell you that I love the Route 66 theme? I absolutely adore bits of American nostalgia! This is a great solution to finding decor that you love on a budget!
Thank you for sharing with us at #MommyMeetupMondays!
Good tip and great way to save for office art! I print at Costco, I used them for poster size prints of my wedding day, great price and quality!