
Learn How To Make “St. Patrick’s Day” Treats
This craft was posted a few years ago, but is one that I still love to do each year. They are fun to make and great to give as gifts to friends, etc. I had seen this craft on Qbee’s Quest‘s blog, and thought it looked like a fun one to try. She has some other options for different holidays over there, too. This one was pretty easy (since I cheated with my Silhouette Cameo), and looked great when done. Thought it would be perfect to give to friends on St. Patrick’s Day and carry around with me, so that I don’t get pinched!! 🙂
I hope you like it!! Have a blessed day, and please be sure to comment on and share this #TBCCrafters craft!!
“St. Patrick’s Treats” Craft
Materials/Tools Needed:
- 65# Craft Paper (2 Colors)
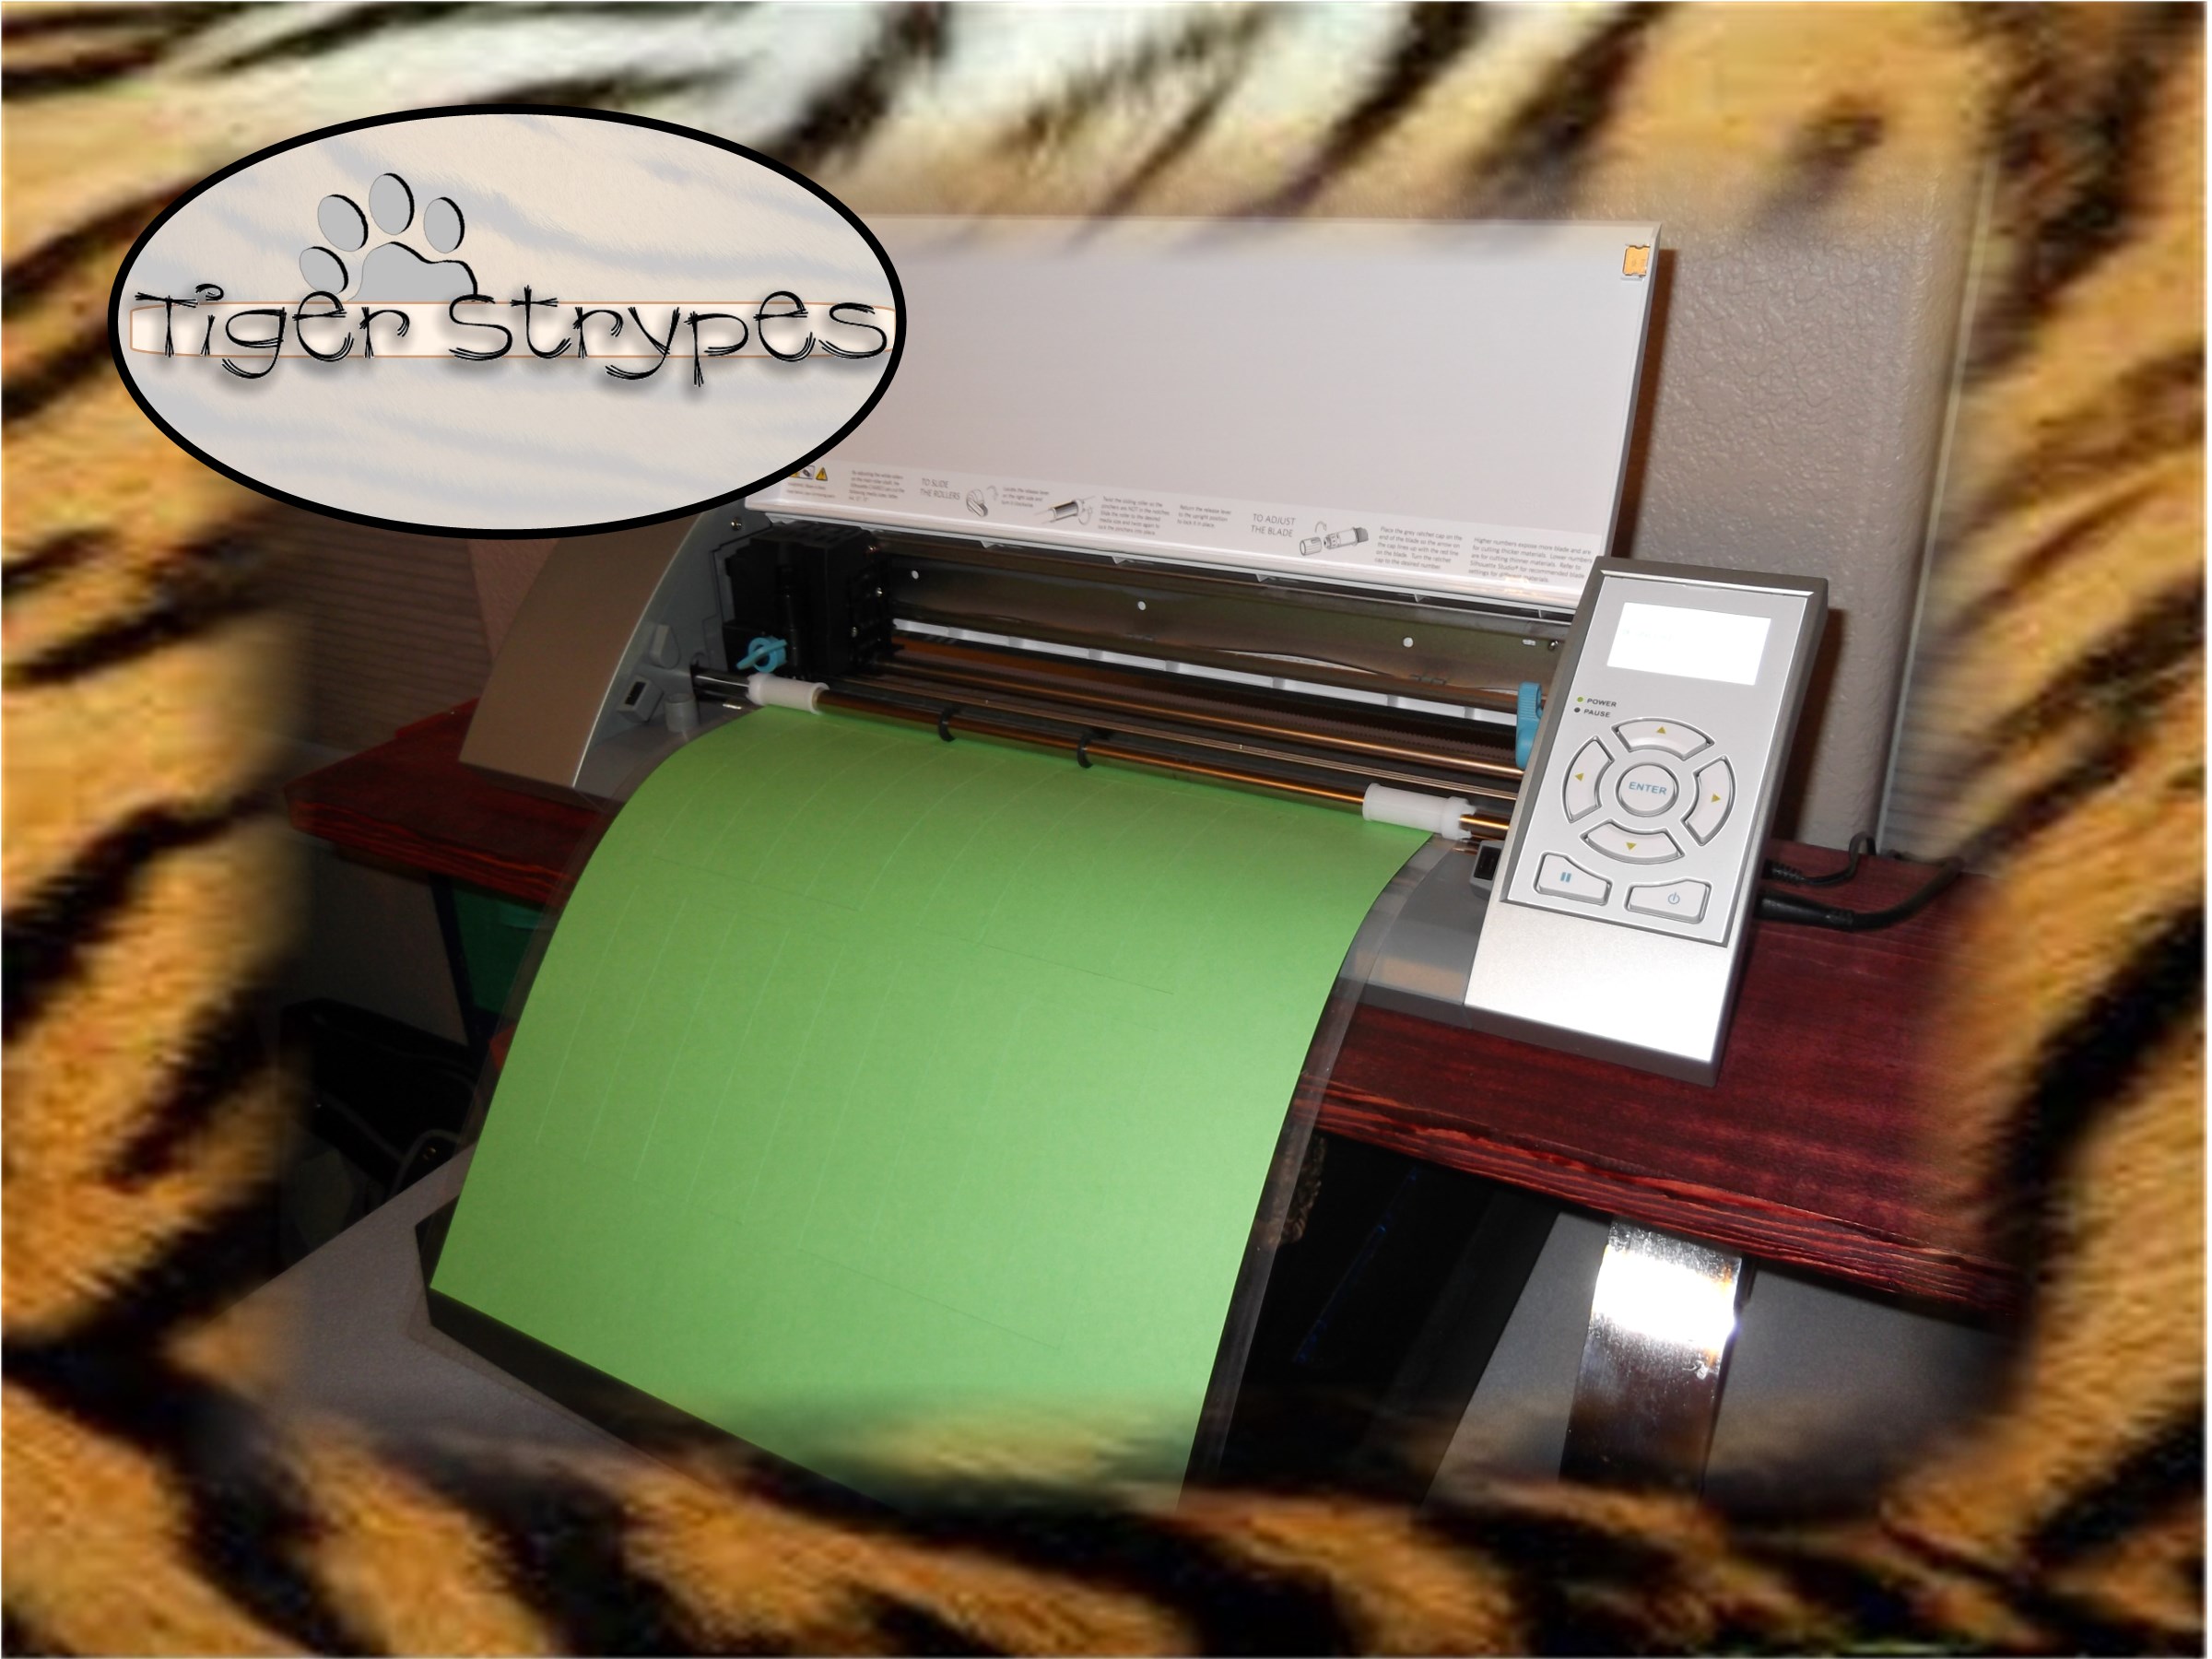
- Silhouette Cameo
- Scissors
- String/Yarn
- Candy Kisses
- & Time!
Instructions:
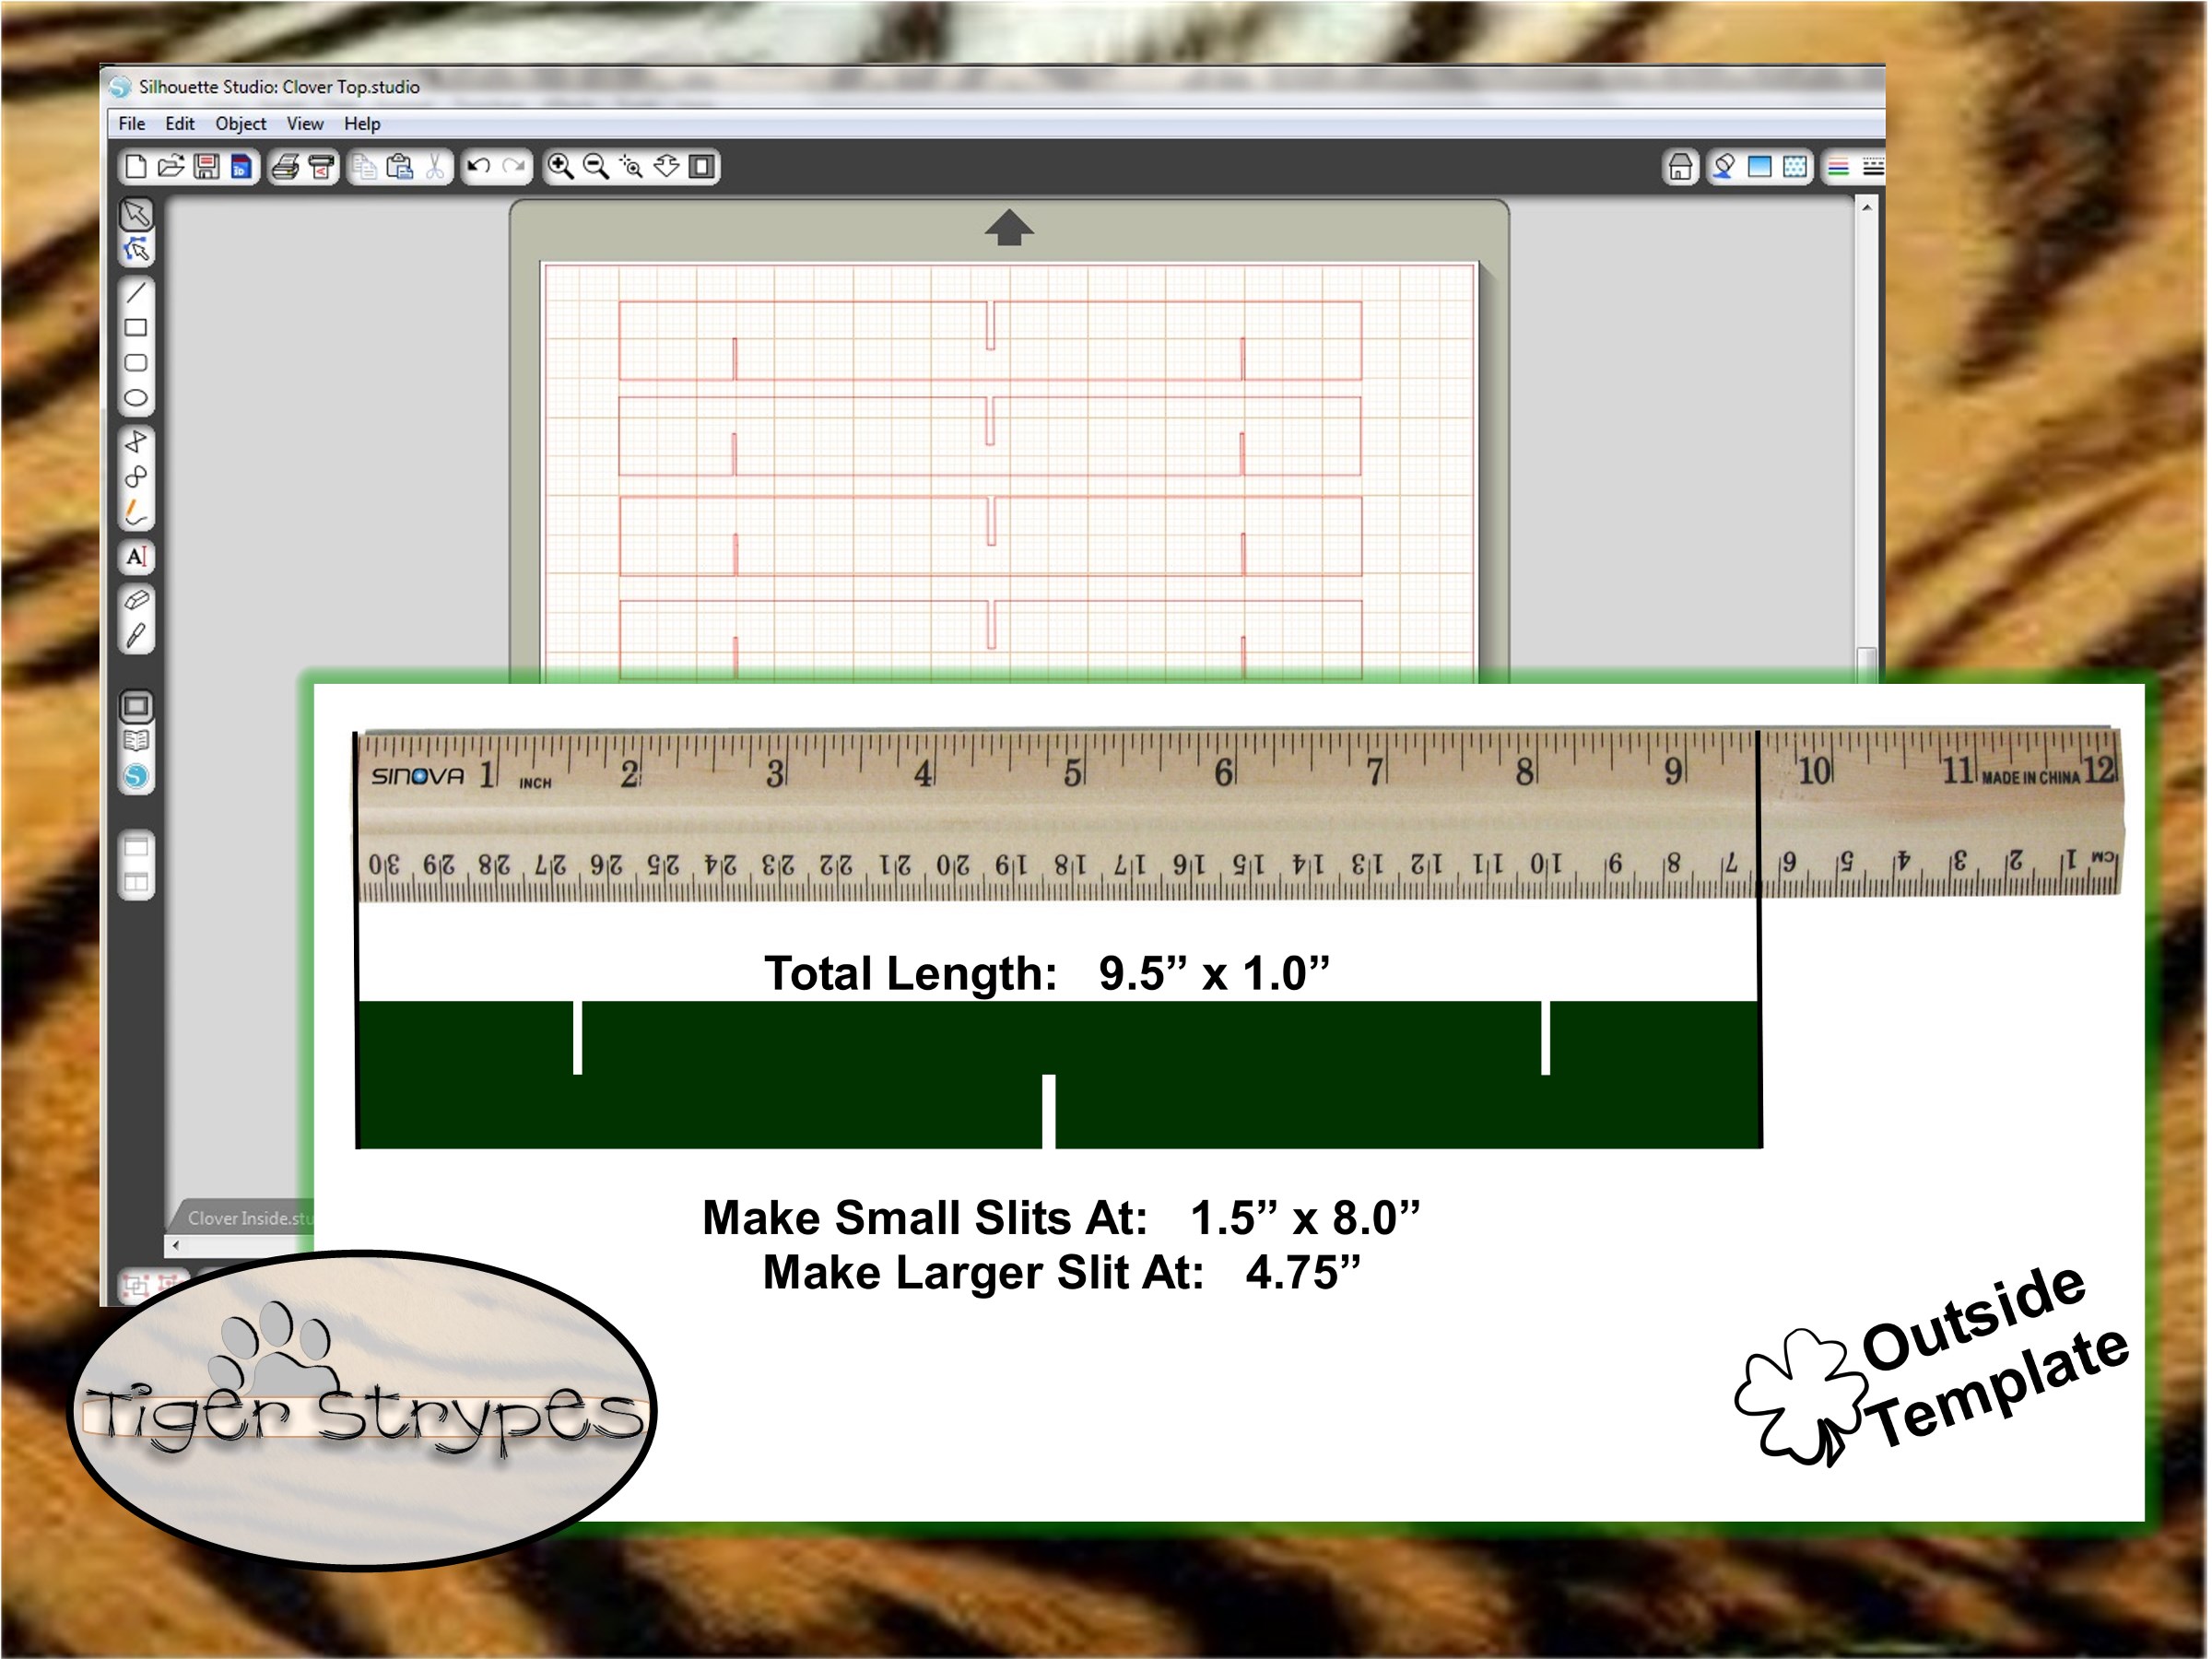
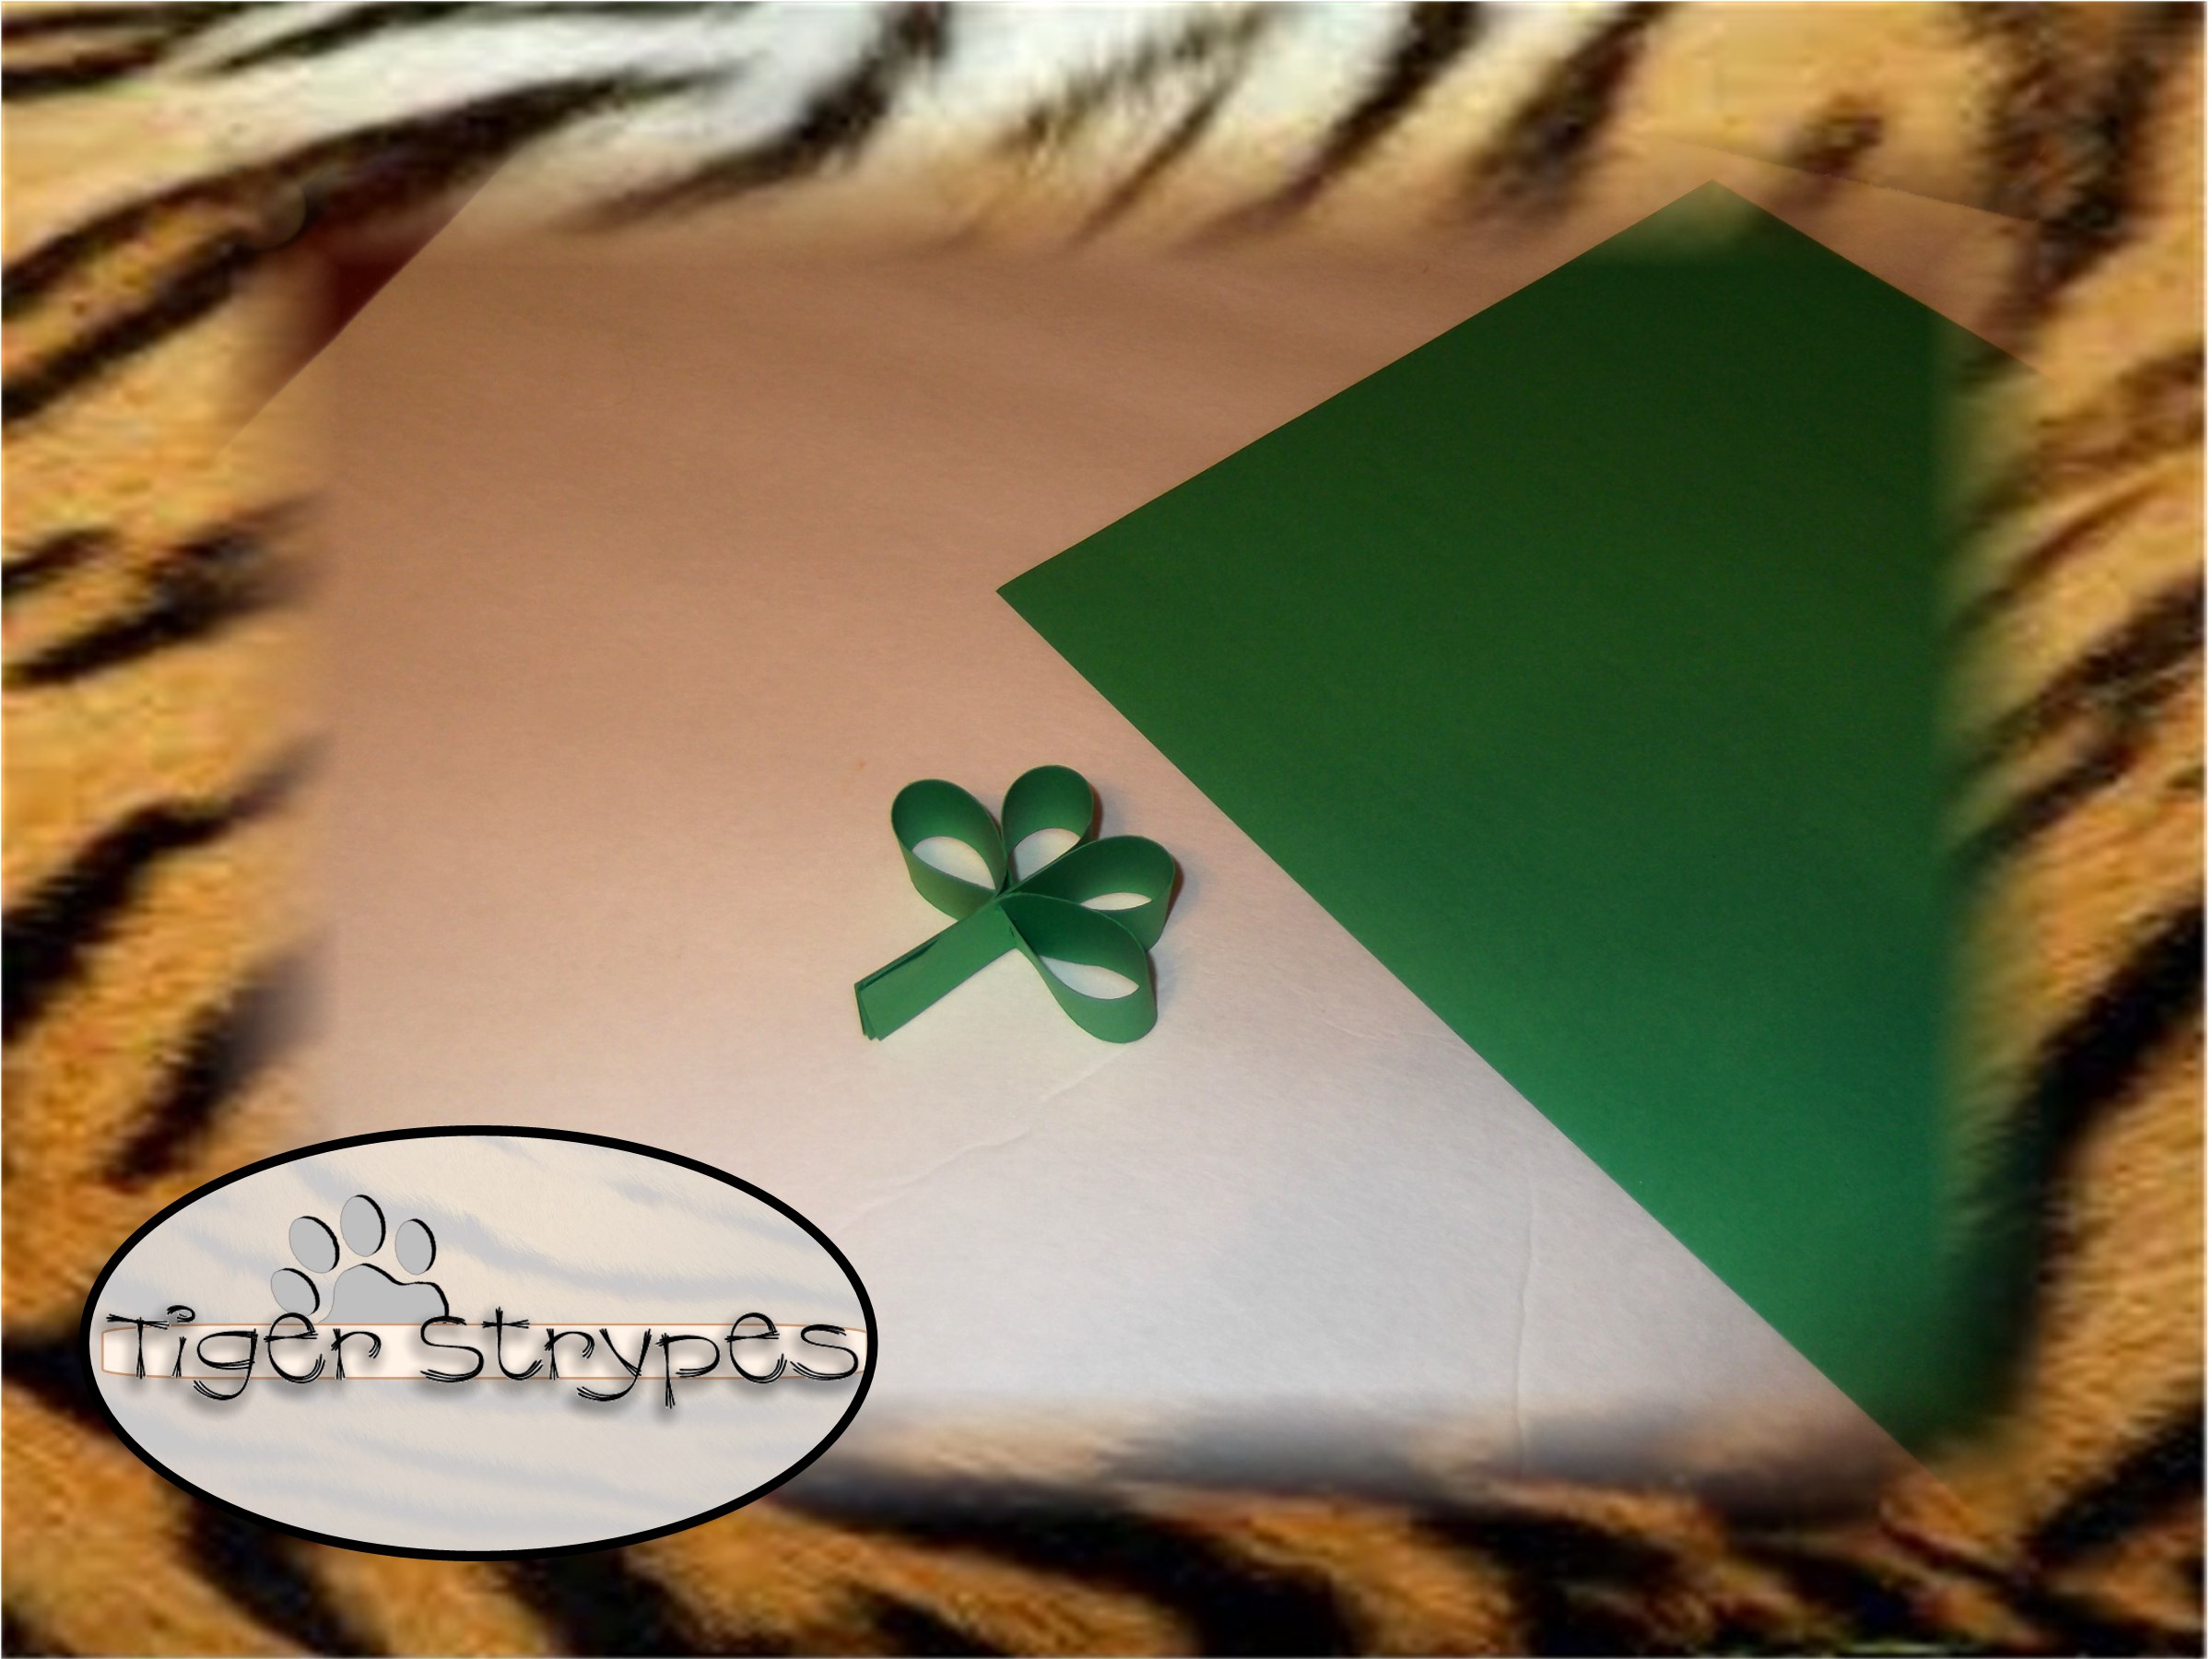
The post I read had a 3-leaf and a 4-leaf option, I decided to make the 4-leaf clover style, so that is what this post is dedicated to. There is a 3-leaf option on the Qbee’s Quest site, if you want to go check that out. I began by getting my main pieces ready. This can be done via ruler, pencil and scissors or blade, but I cheated and set it up on my Cameo to have it cut it all out for me. I was able to make so many more in not a lot of extra time. The measurements for the main portions are 9.5″ long by 1.0″ wide. Thin slits will be needed at 1.5″ and 8″ on one side of this piece. Then you’ll need a larger slit at 4.75″. Here’s a pic of that:
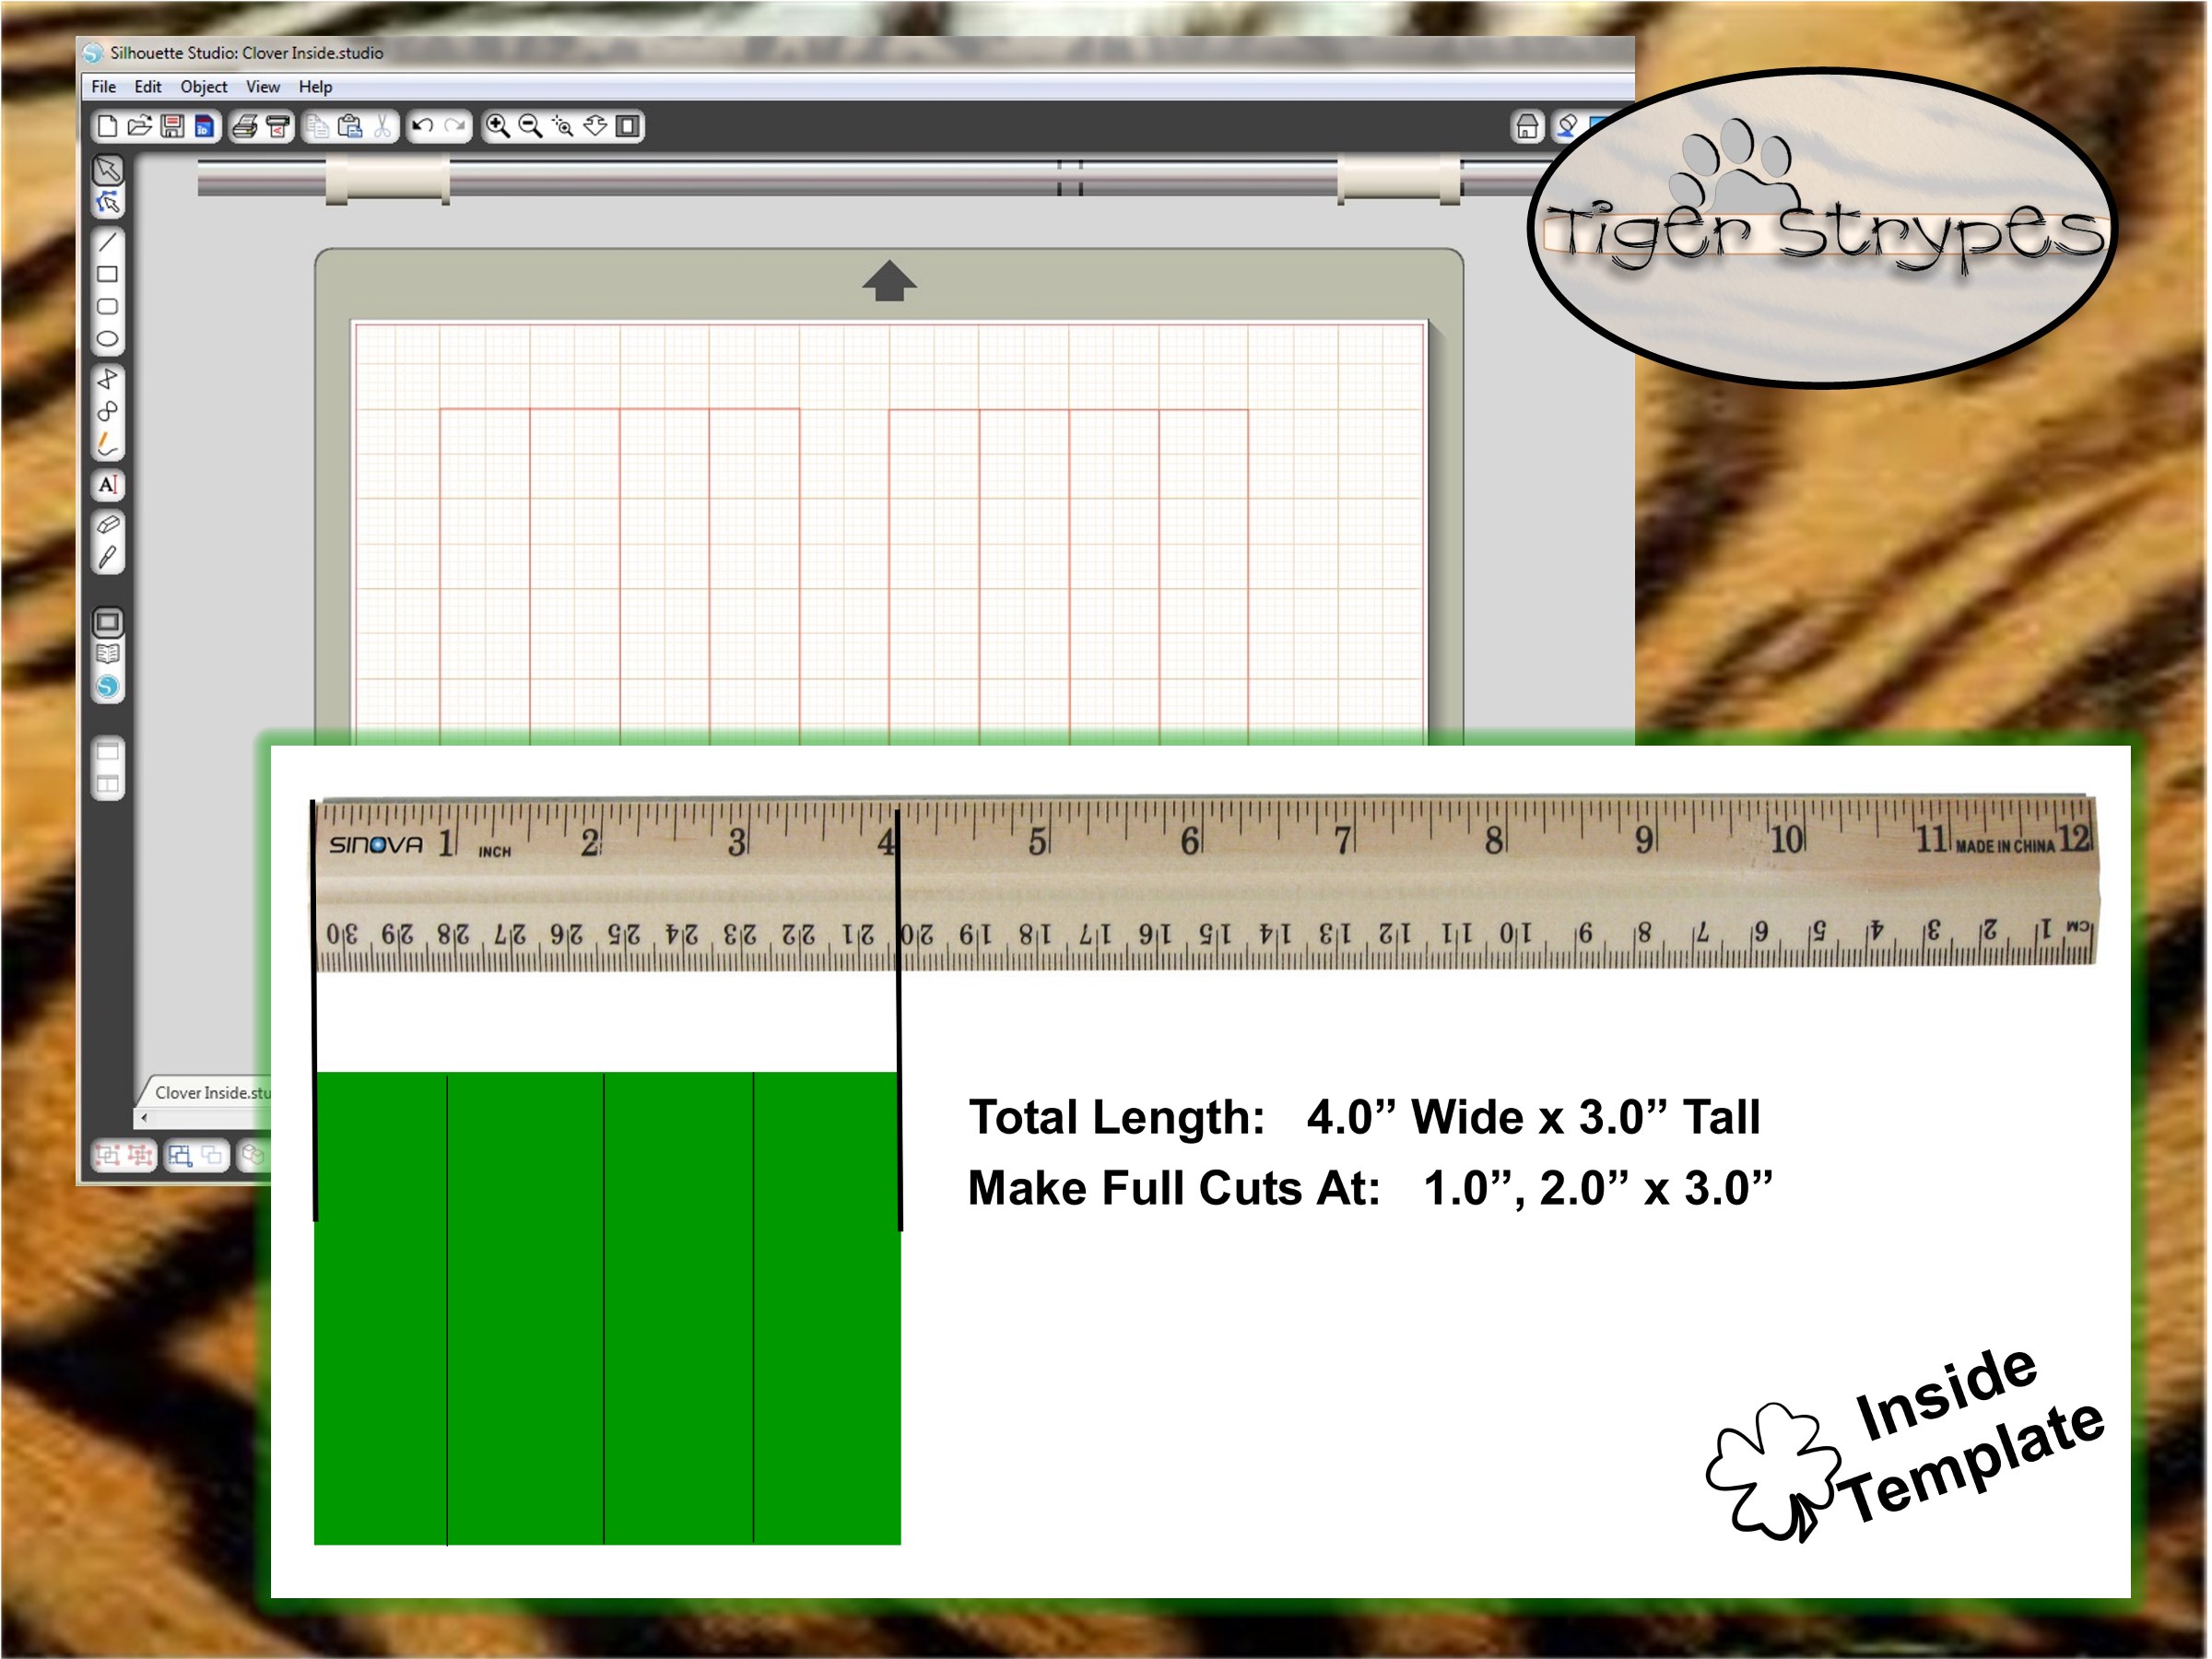
Next, you’ll need to cut out the insert pieces. The measurements for those are, the main piece is 4.0″ wide by 3.0″ tall. This one will be cut at the 1.0″, 2.0″ and 3.0″ marks to form four (4) pieces. Here’s a pic of that:
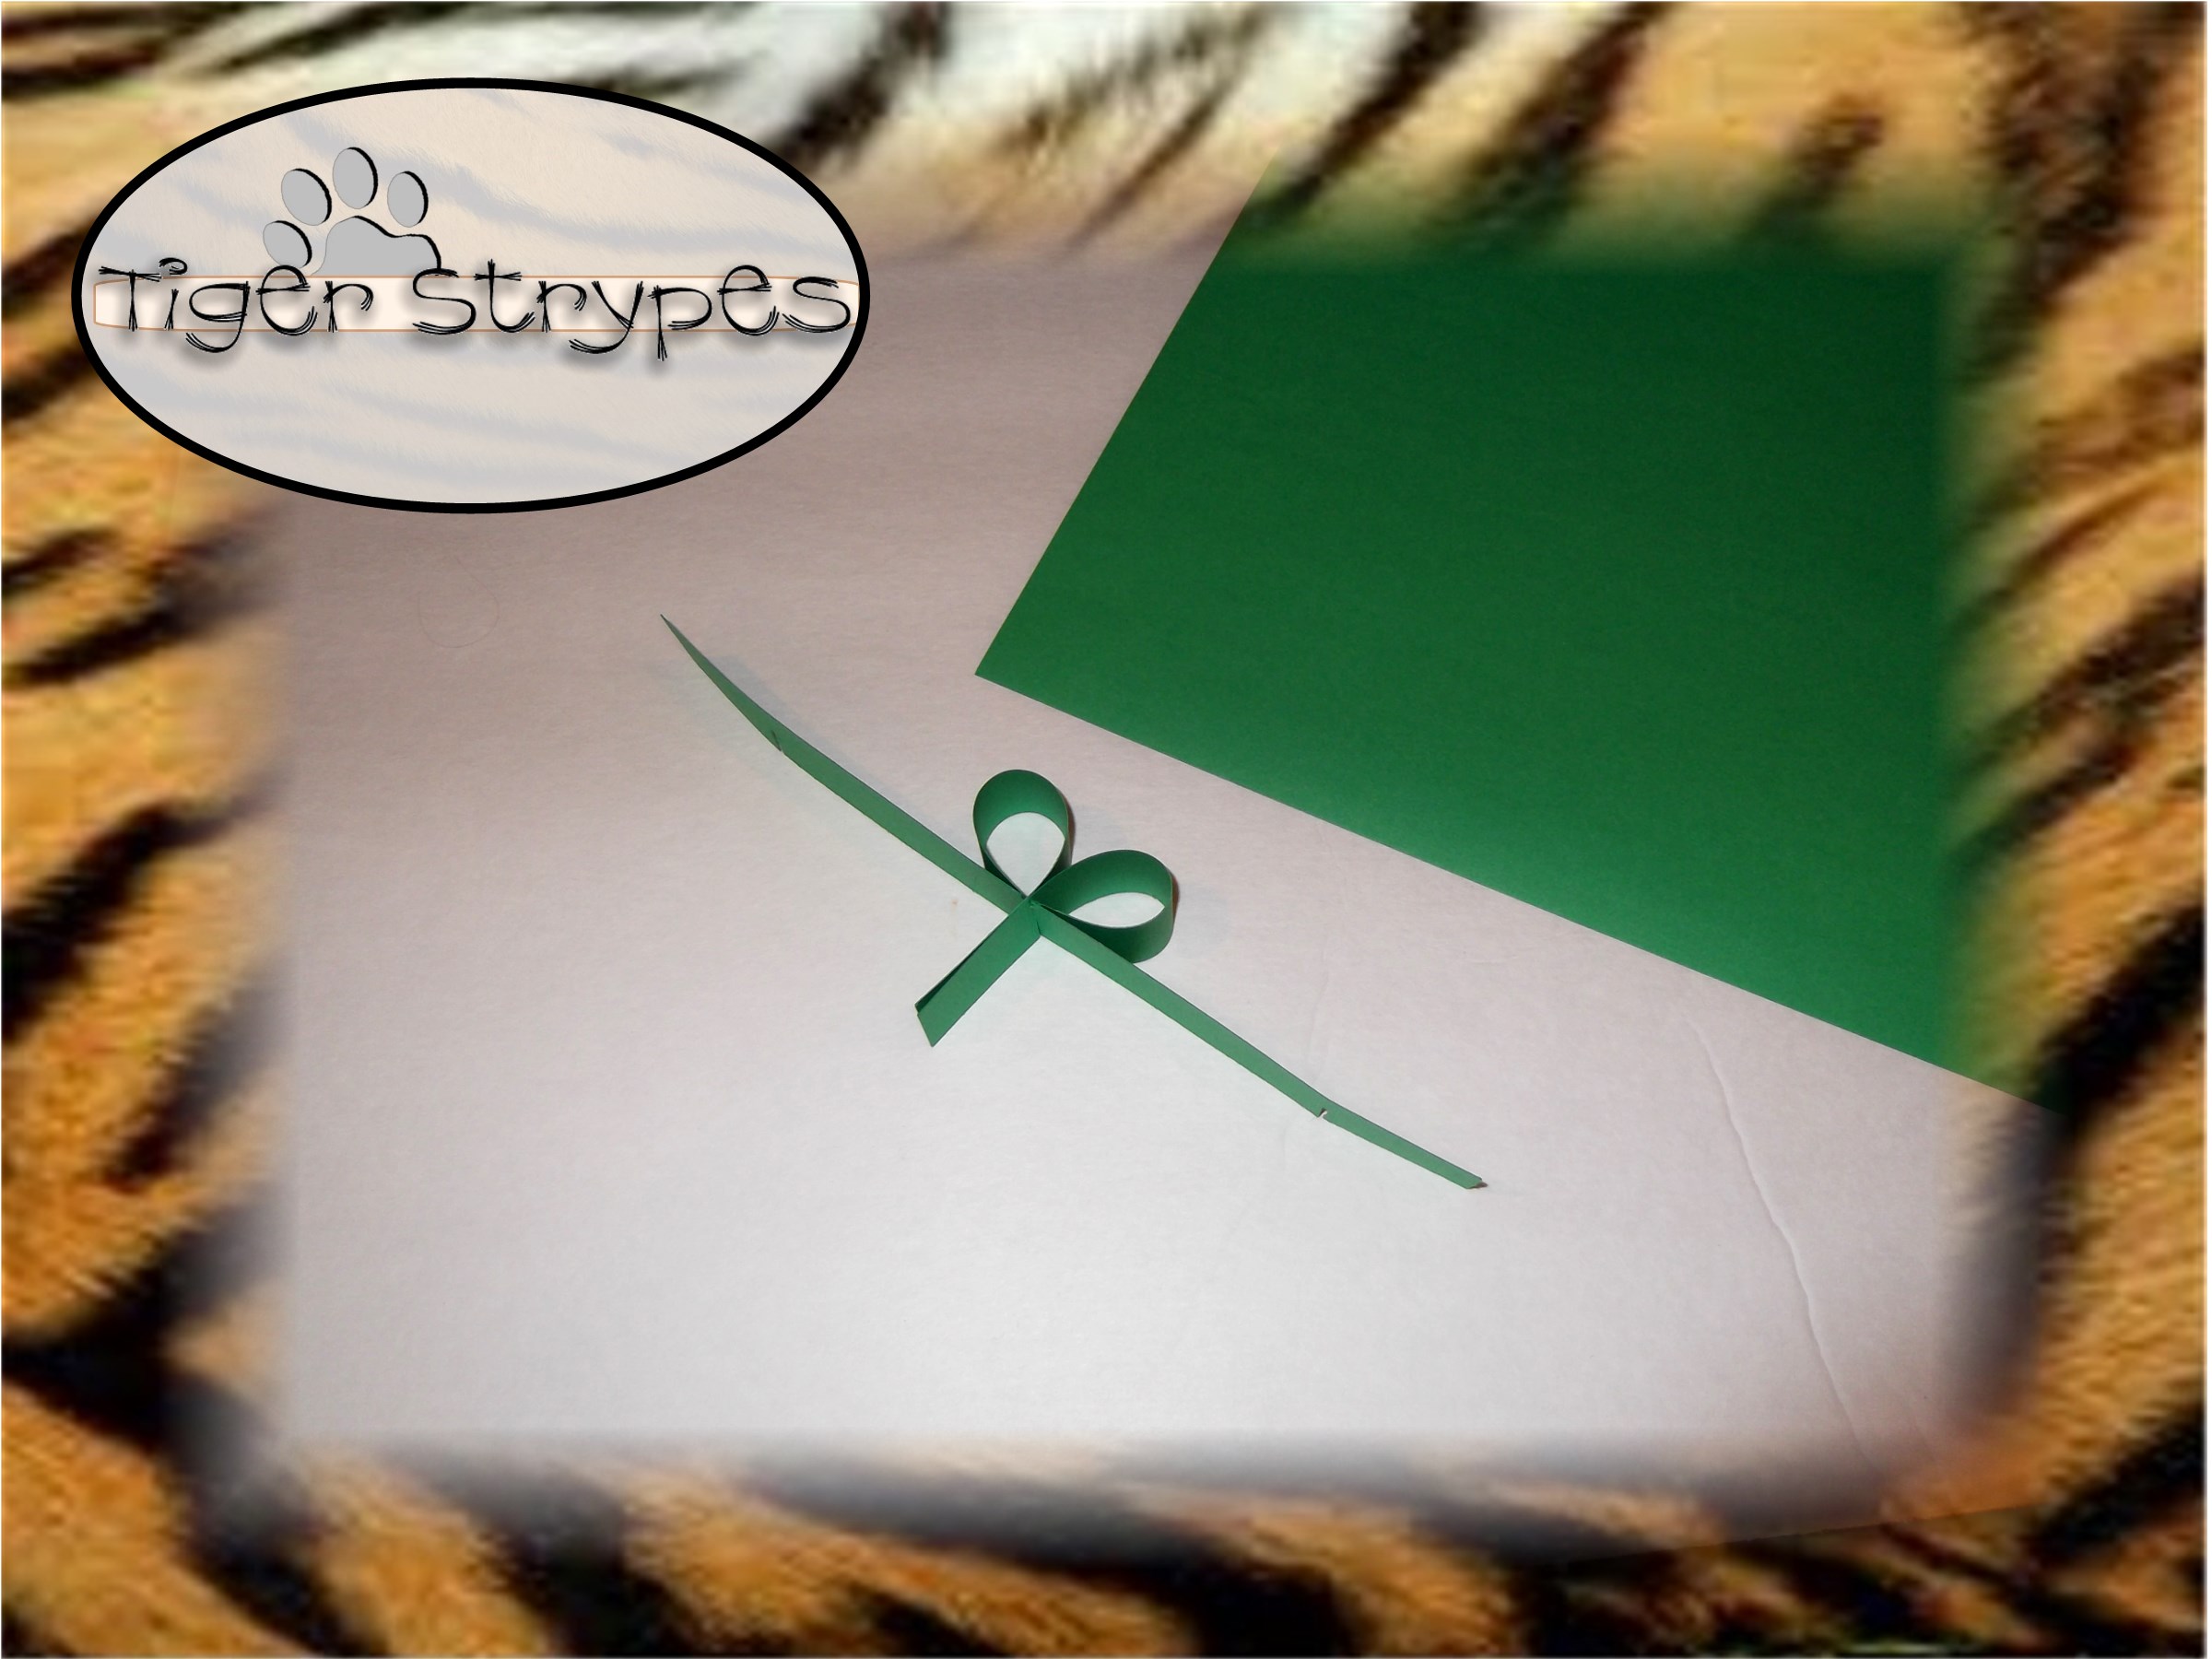
Once you have everything cut out and ready to go, you can begin your creation. Stack two (2) pieces of the large paper on top of each other, making sure that the cuts are even. Fold the top one over in a loop and insert it through the other notch.

Do this on the other side, as well, and then the same with the next two pieces. Be careful not to rip any of your paper at the slits, you have to be gentle trying to get them to go together.
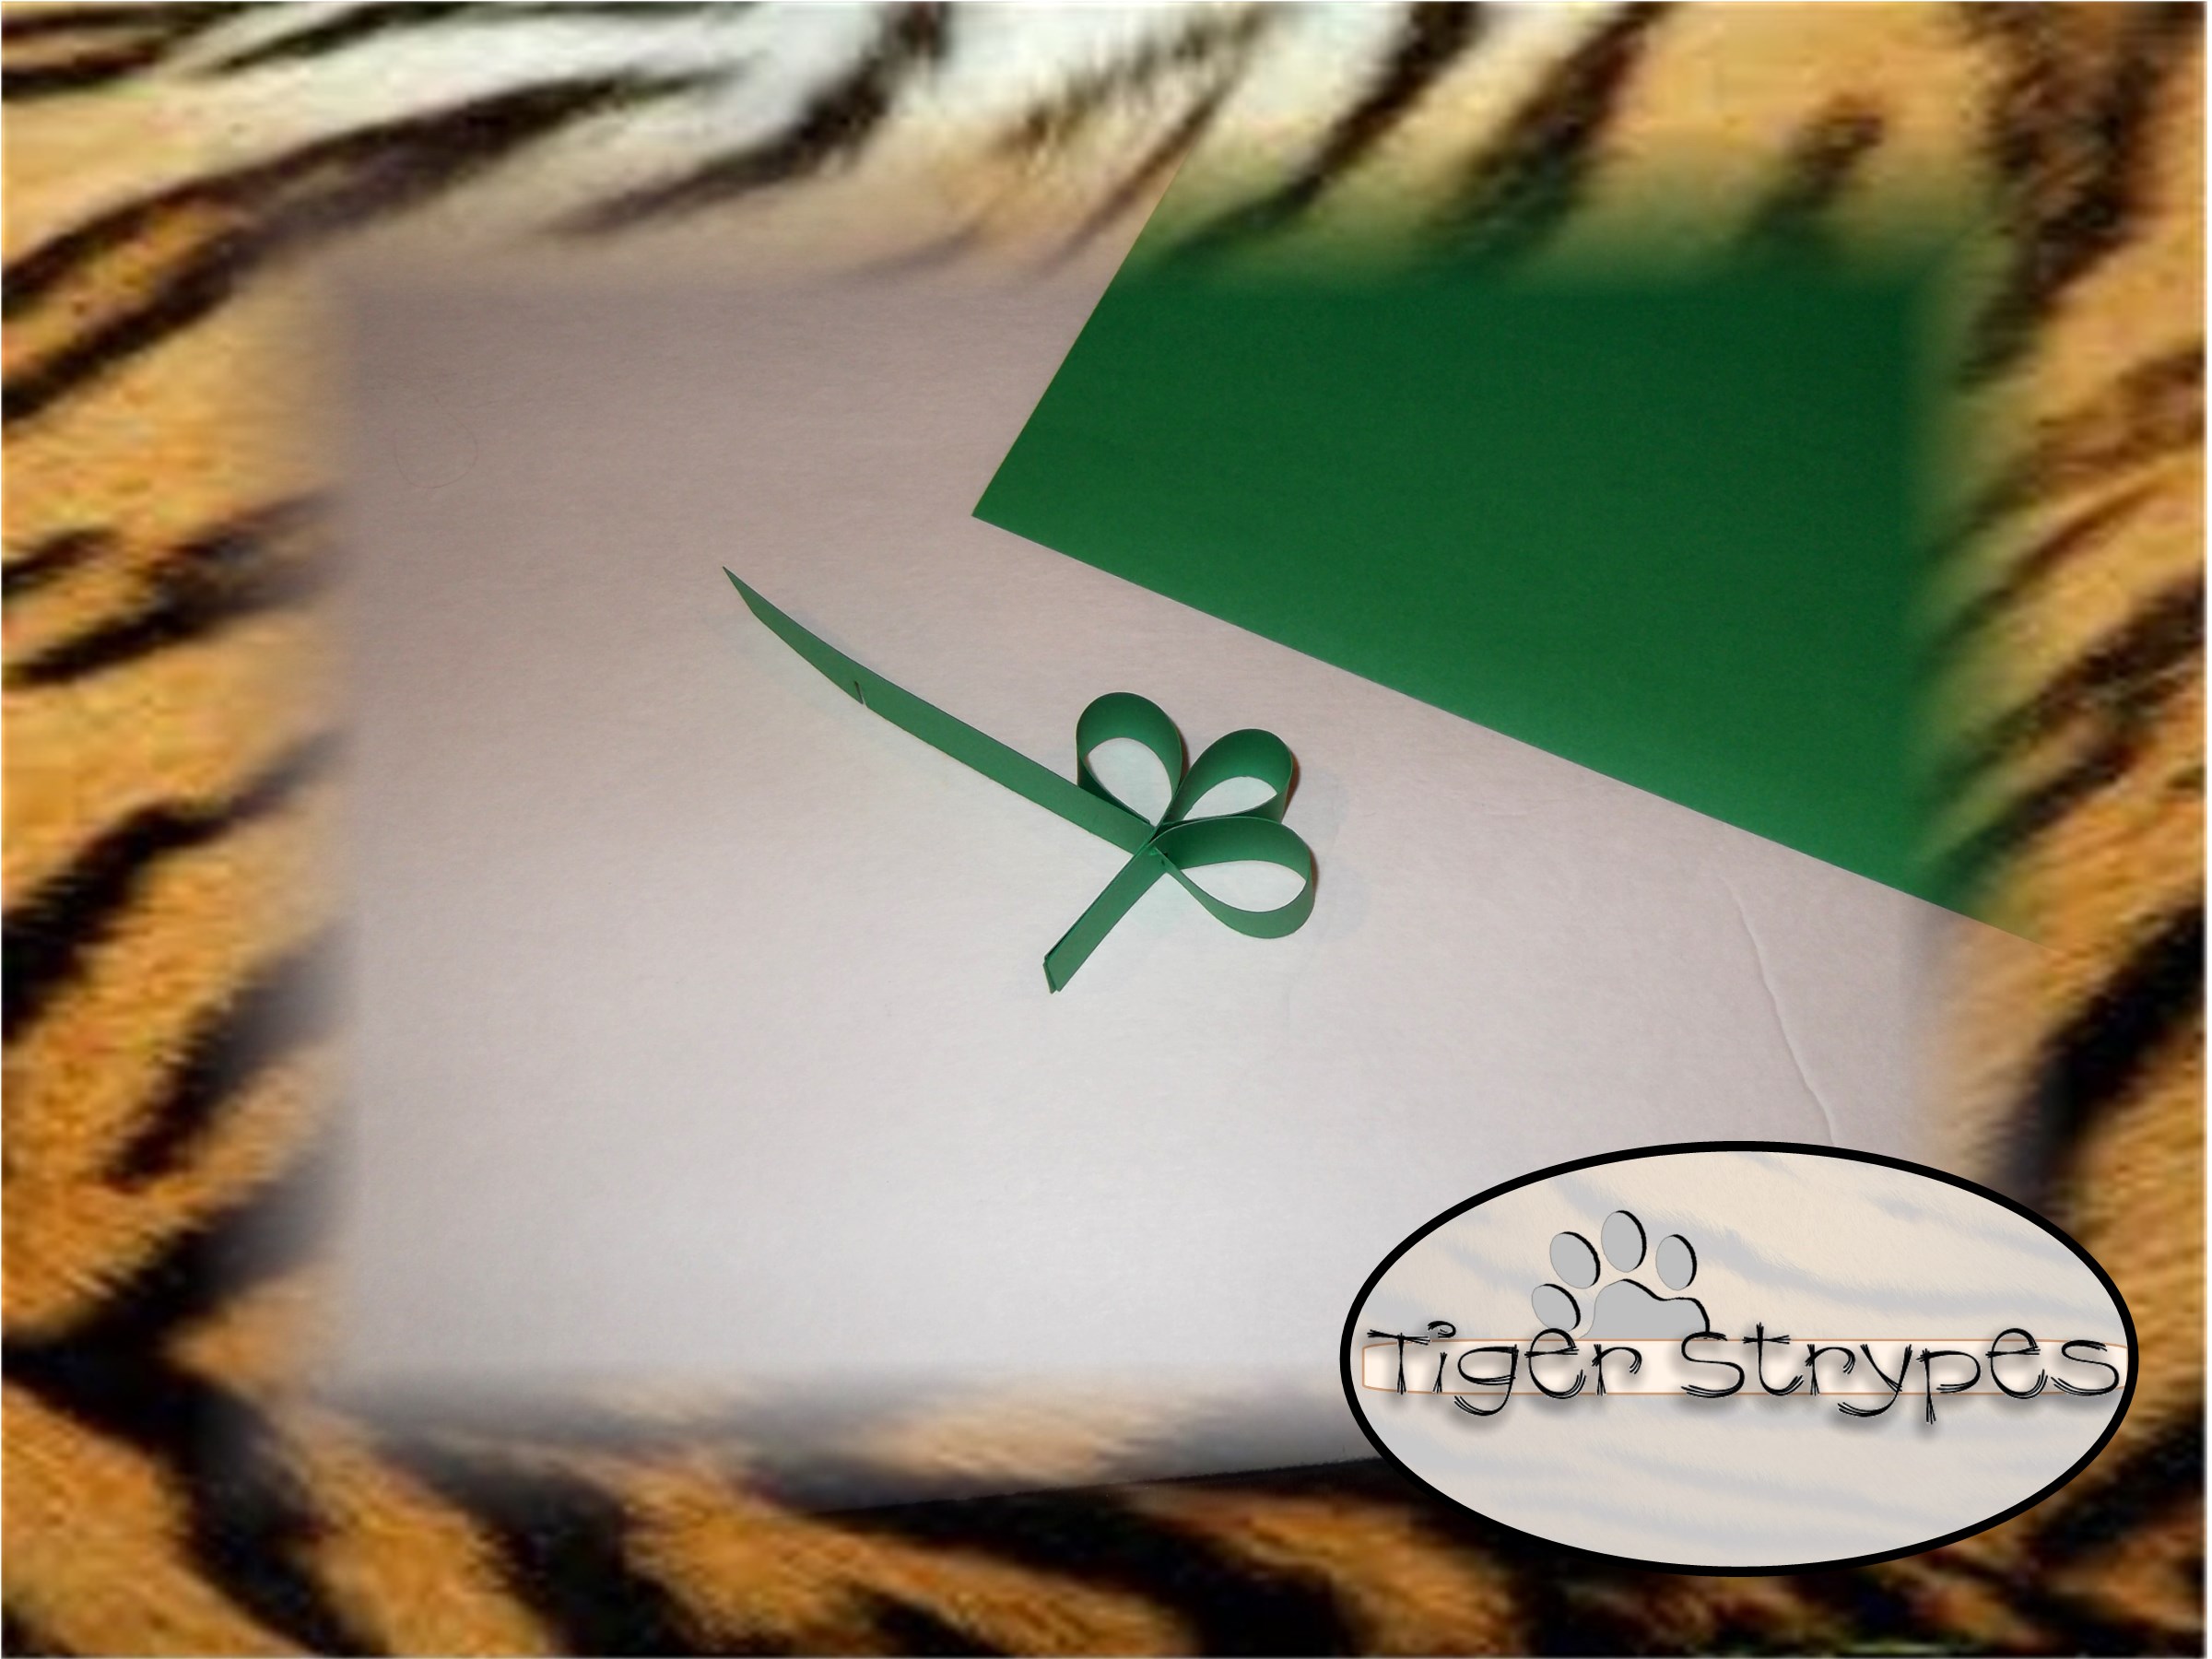
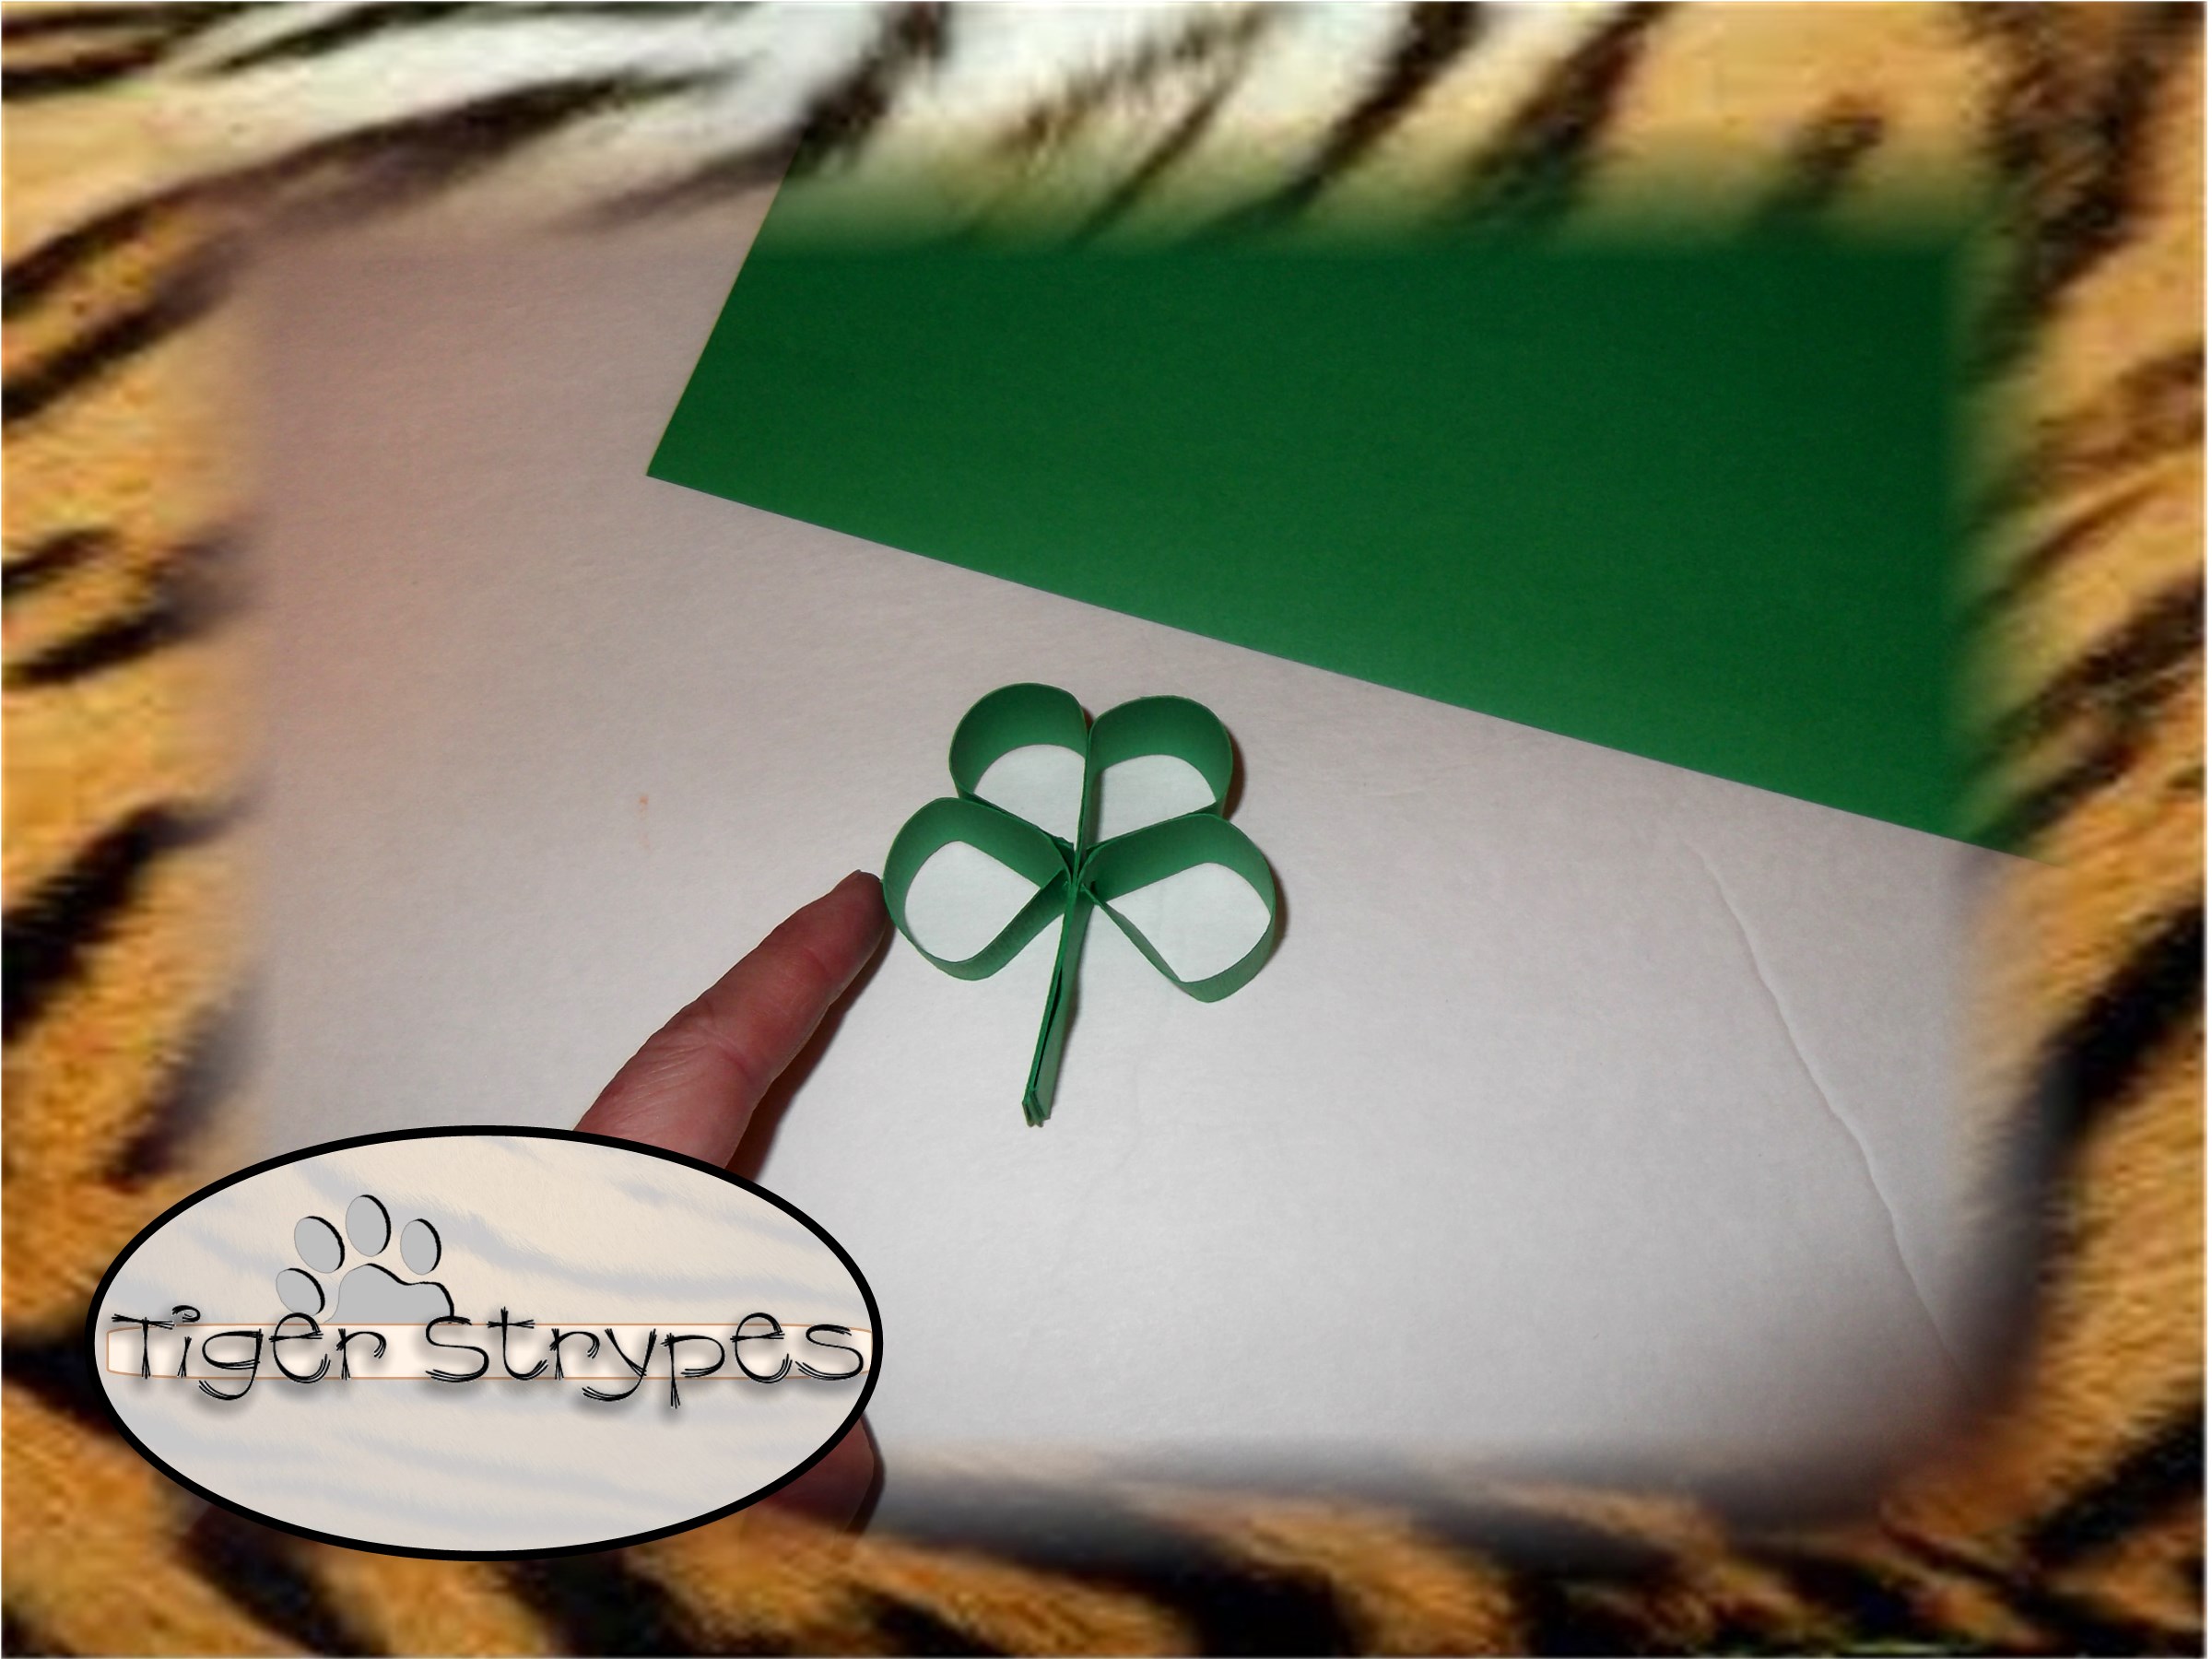
When you’ve finished folding all of the pieces in, use your finger to “smash” the ends and make them just a slight bit flatter than they are.
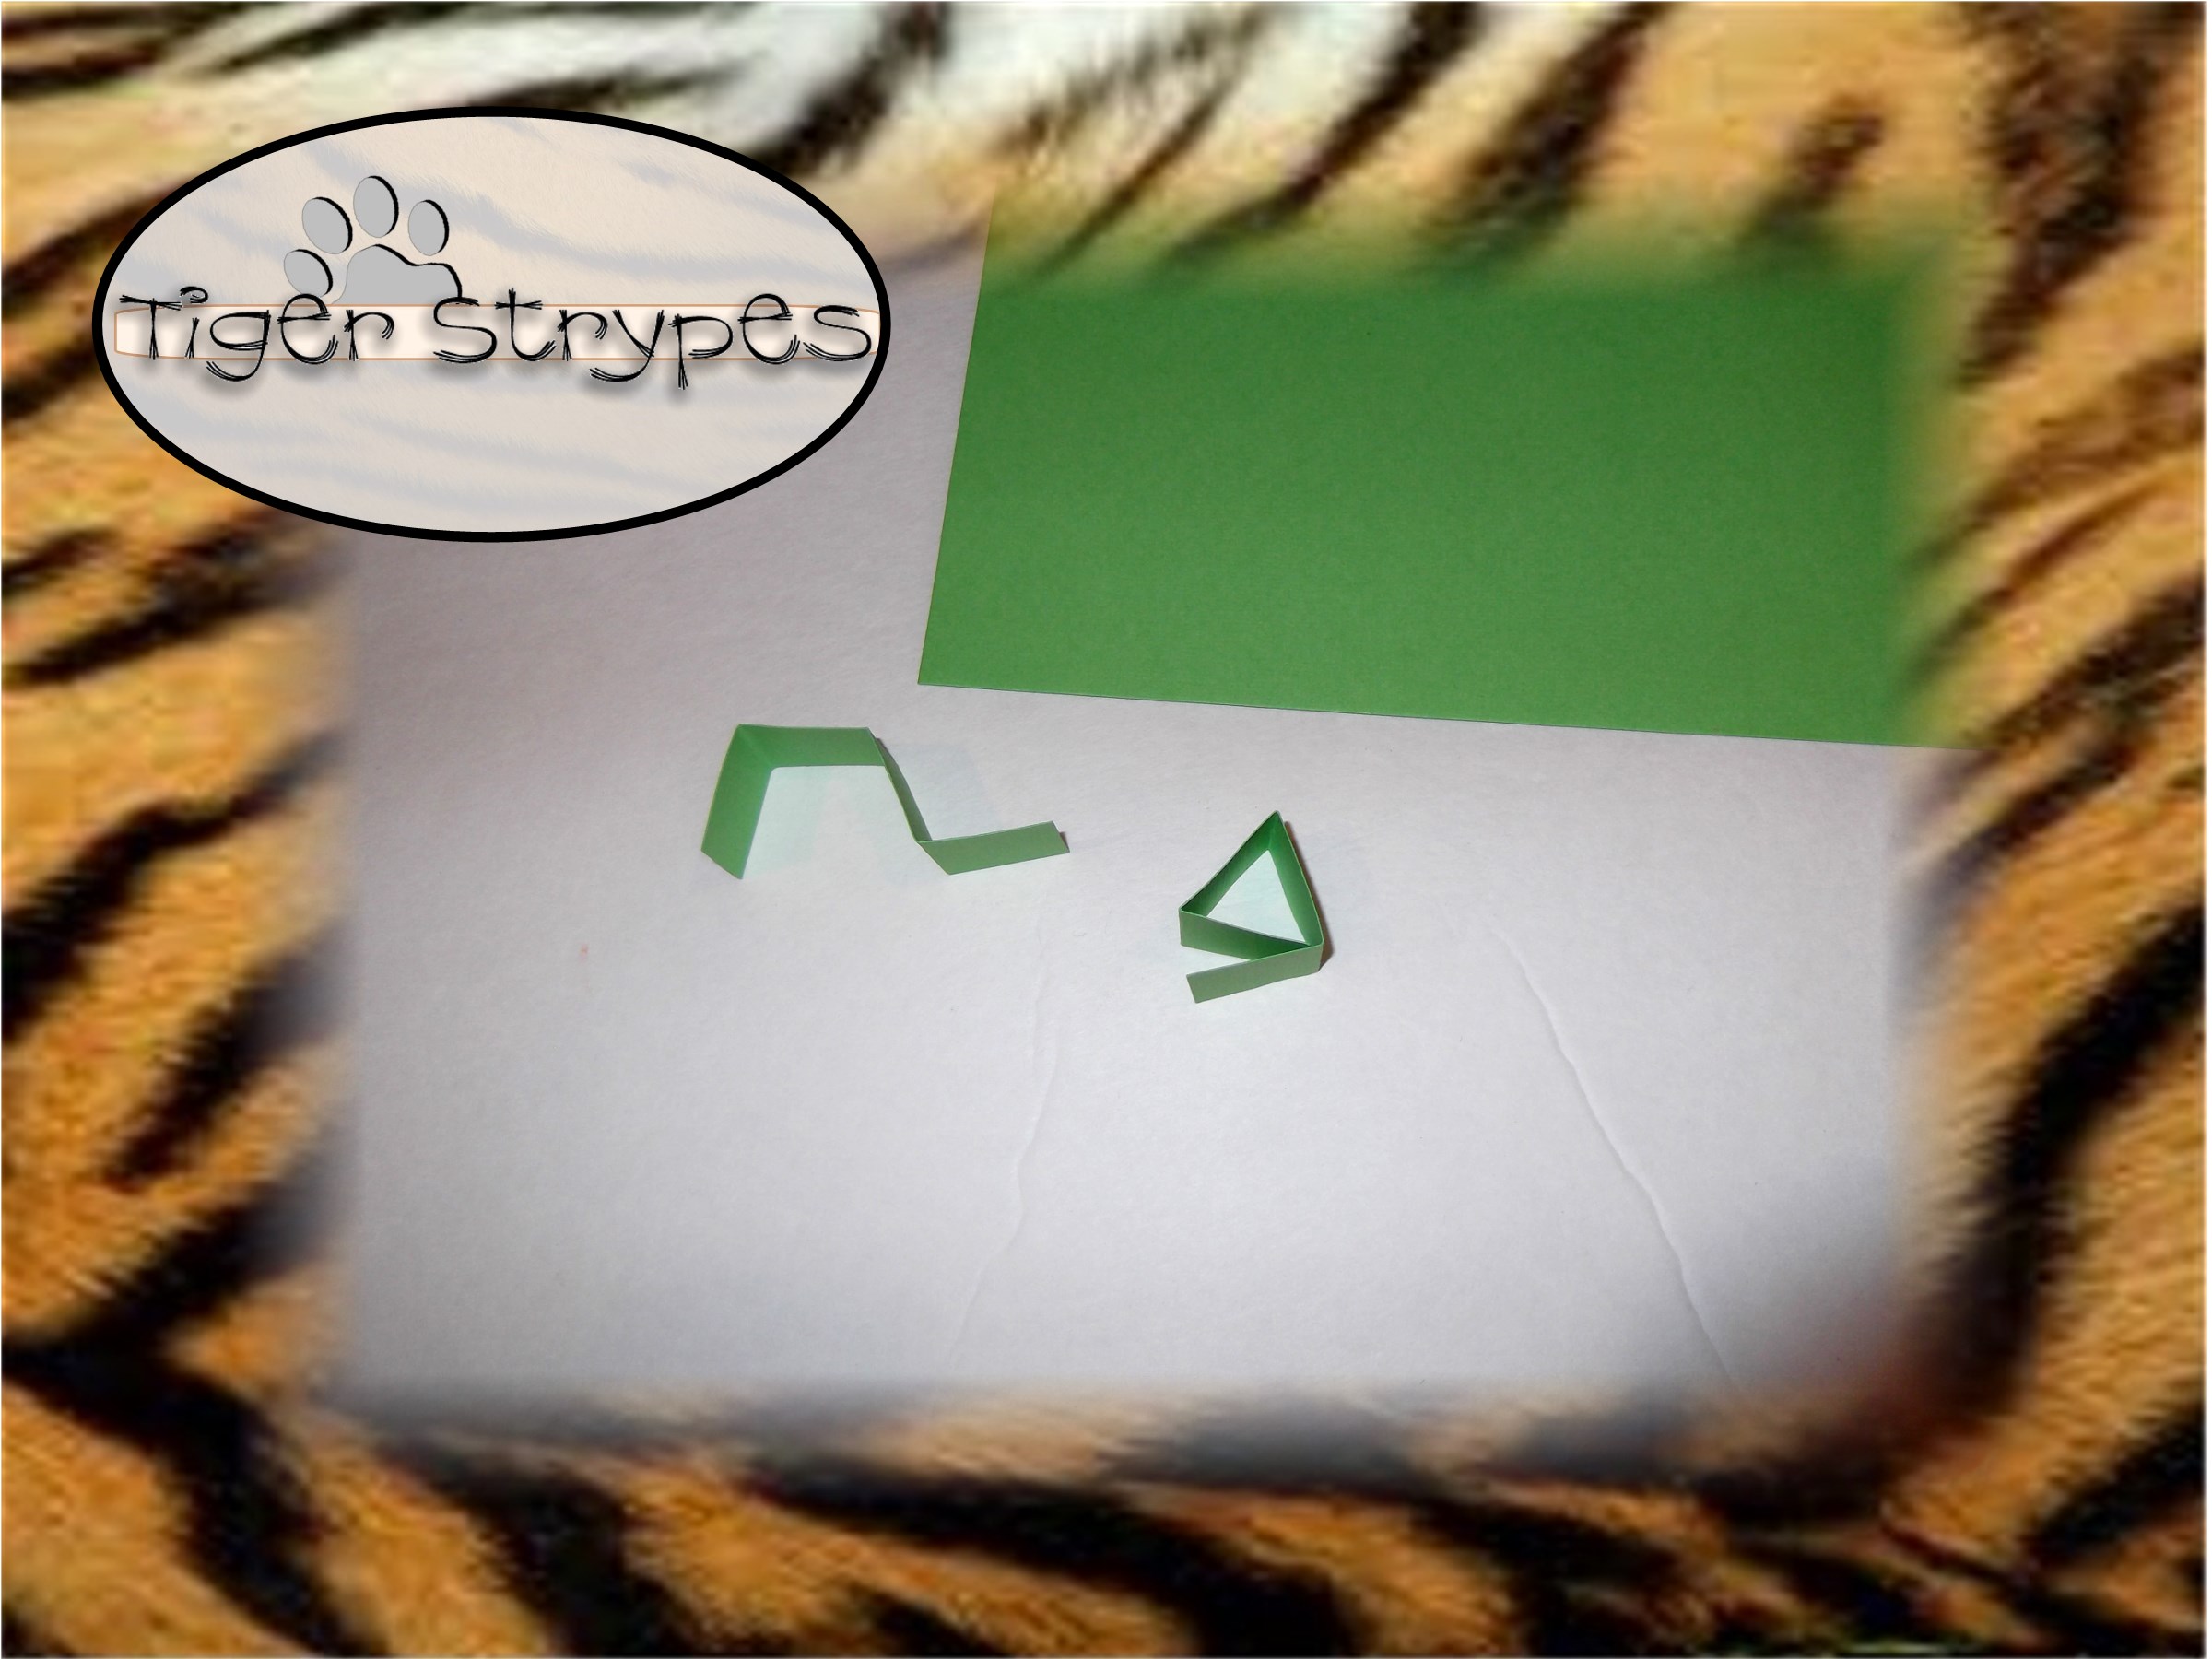
After that, you can begin folding your inserts. Take the small pieces that you cut out, and fold them into quarters. Once you have them folded, turn one of the folds the other way and make a triangle.
Next, start inserting those “triangles”, with the flat part to the outside, into each of the “leaves” of the clover. This takes a bit of maneuvering, and you have to fold it a bit to get them to go inside. In the end, they come out great!
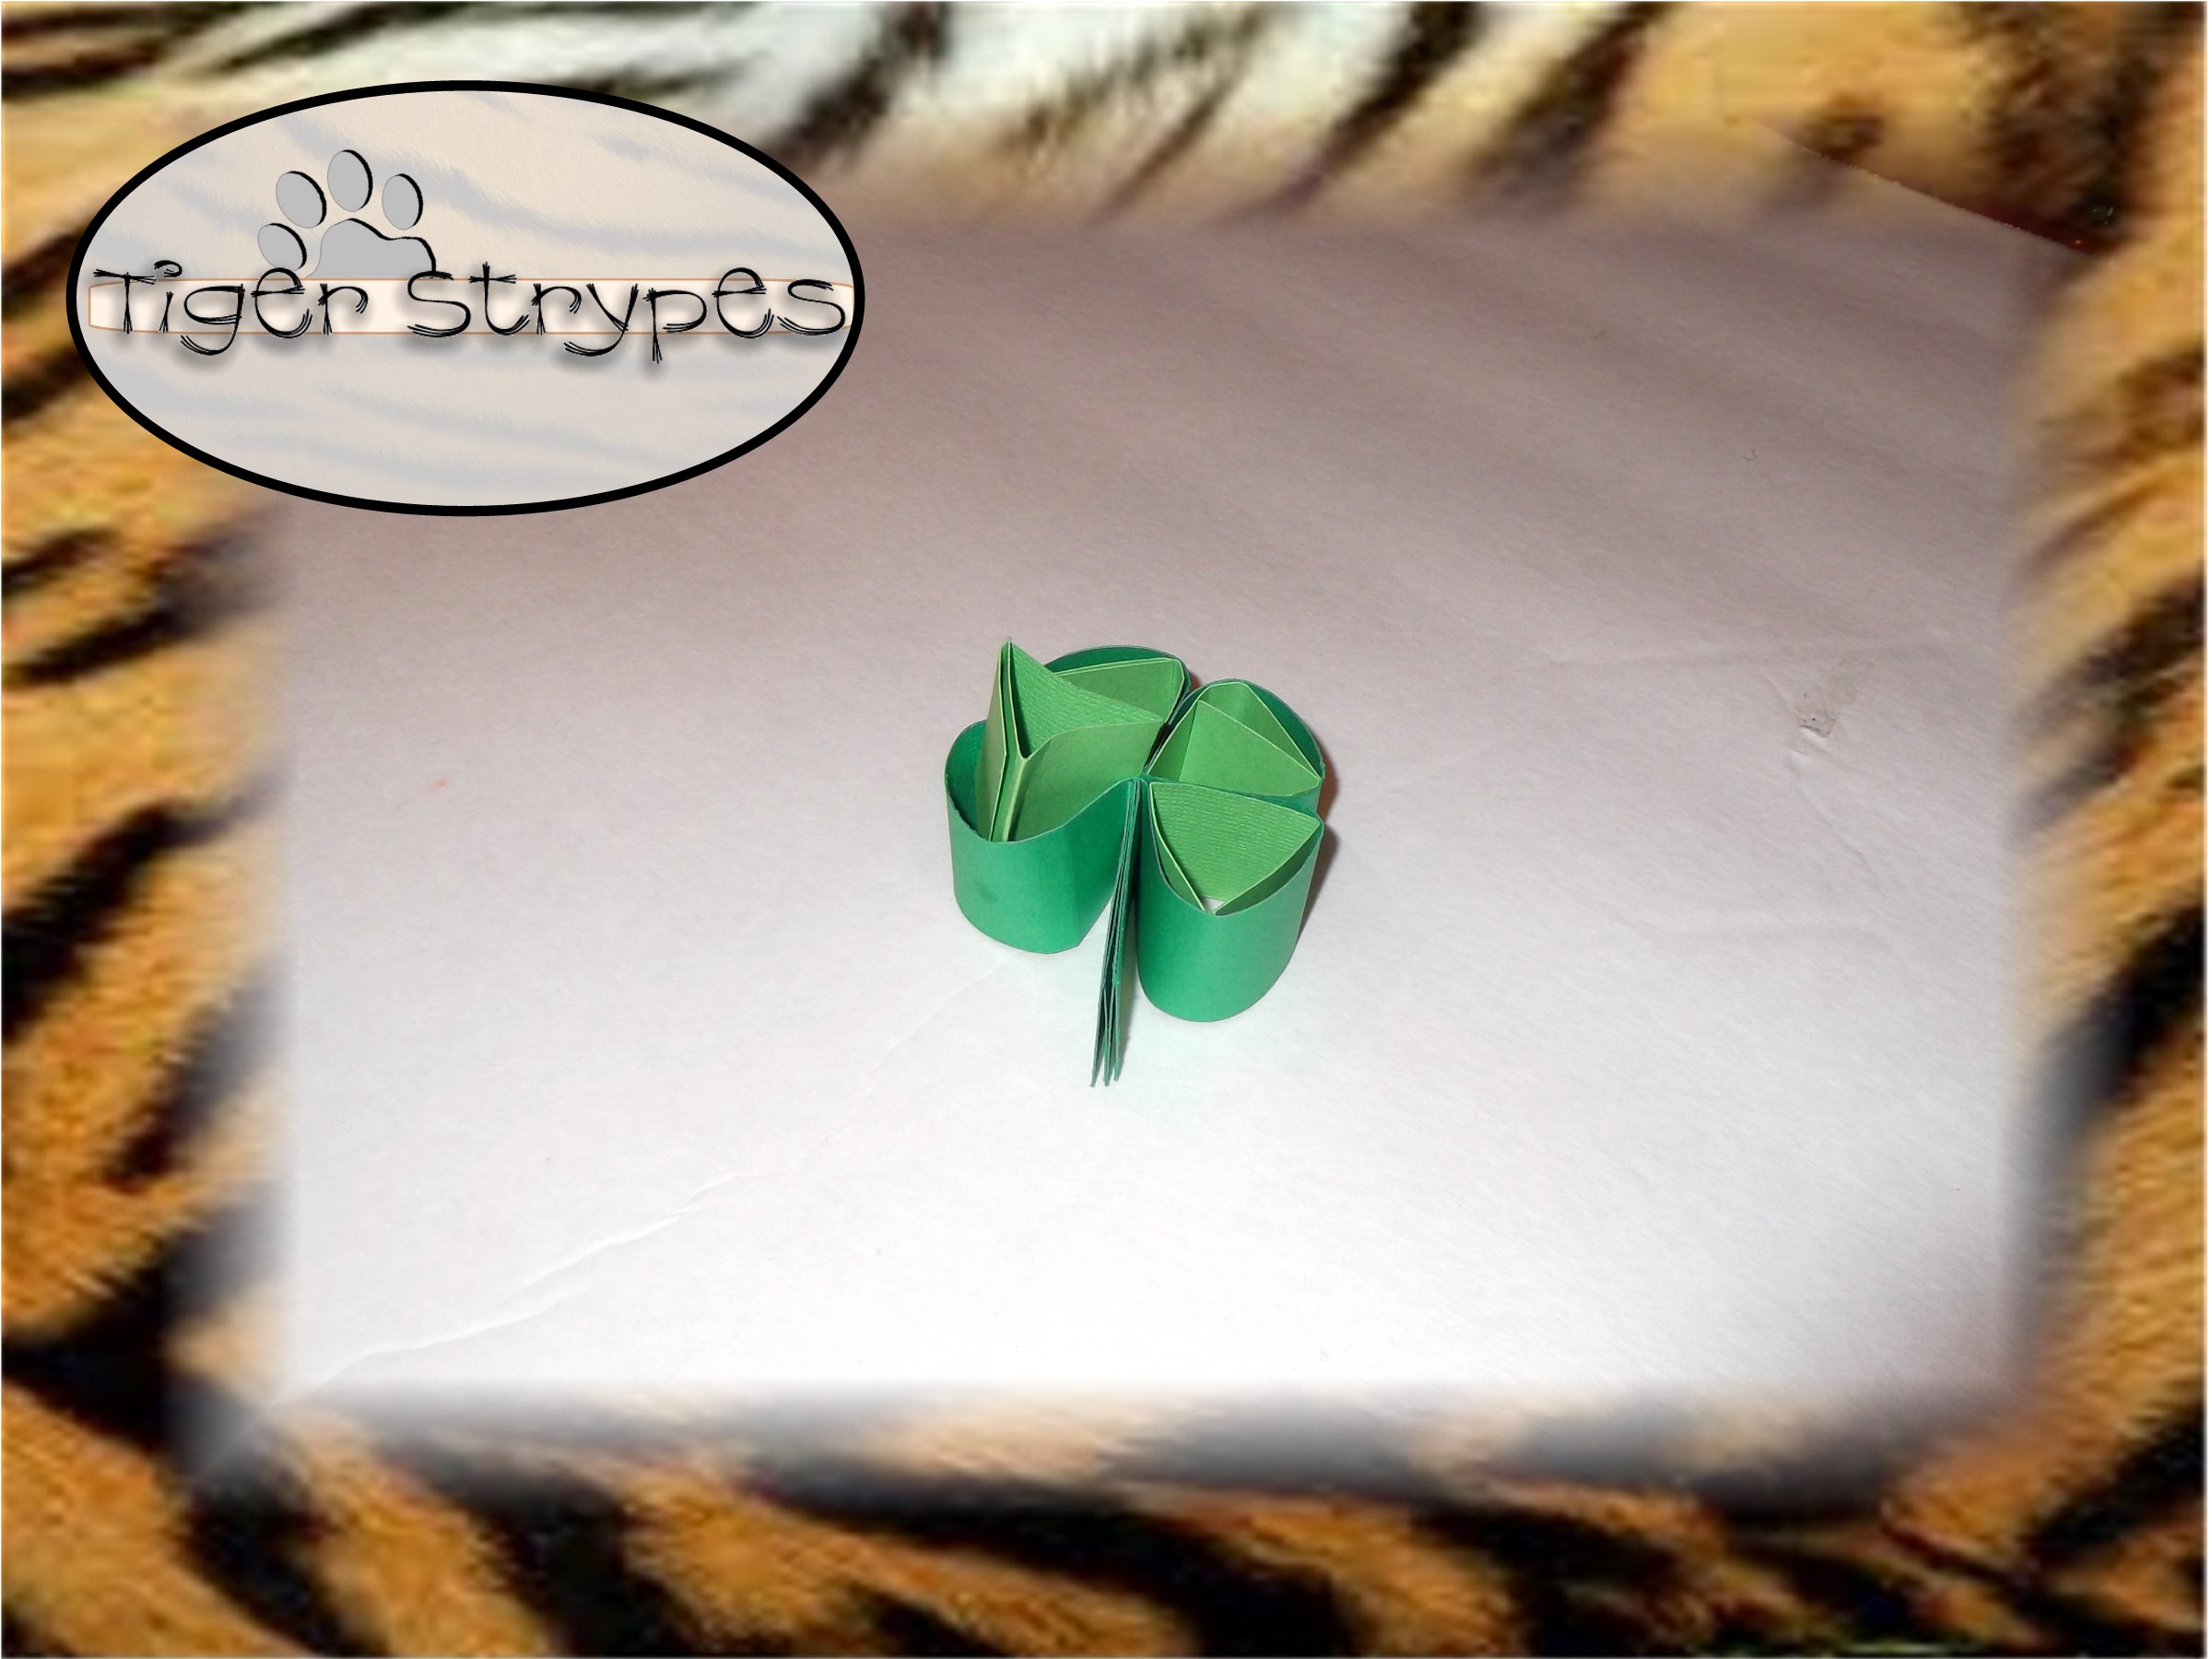
Once you have all of the middles inserted, use your fingers to hold the inside of the leaf into a triangle and then smash the edges to be more flat. You could just skip this and then go on to the next step, but to me, it seemed easier to do this and help it along a bit.

Now you can insert your candies into the openings. I trimmed off the little tags that hang out of them to make it a bit more clean looking. Try and make sure that they are centered and won’t fall out easily. The spacing that you get seems to be just right in holding them in pretty well.

Next, using your thread or ribbon, whatever you decide to use, string it around the center and tie a bow. This is completely optional, I just wanted to make it a bit more crafty! 😉 Be sure to cut the ends of the thread to have a clean finish.

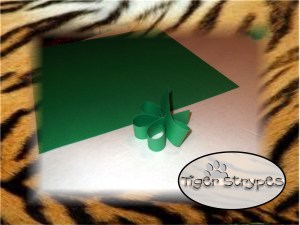
Now you’re done!! That was pretty easy, right? Now you can give these little St. Patrick’s Day gifts out to your family and friends and enjoy the holiday with something sweet!

I sure hope you like it! Please take a minute to leave me a comment and let me know what you would do different, or what you would add, etc. Be sure to tweet, pin, share, etc. – thanks!!
![]()
All pictures and text are my own and have not been copied in any way. I, Jamie Tomkins, own and operate Tiger Strypes Blog located at www.TigerStrypes.com. From time to time you’ll hear about my real life experiences or creations with products and/or services from companies and individuals. Let it be known that I have no affiliation with these said companies, and have not received compensation for reviewing or using their service/product. The information that I give regarding the product/service is based off my own personal experience, I do not guarantee that your experience will be the same.


[…] Learn How To Make “St. Patrick’s Day” Treats over on Tiger Strypes Blog! […]
[…] Learn How To Make “St. Patrick’s Day” Treats over on Tiger Strypes Blog! […]
This is cute and seems easy enough. Thanks for sharing on This is How We Roll link up.
Thanks Alicia. Even if you don’t have a Cricut, you can cut them by hand pretty easily! 🙂
How cute! I love that you added a sweet treat inside! We all need to find a 4 leaf clover on St Patty’s Day!
Thanks Ivonne – I figured it’s a fun and simple treat for friends! 🙂
Hi! Thanks so much for sharing such and amazing craft with us over at #ClickChicks Photo Challenge….we are grateful for a glimpse at your vision of GOLD 🙂
You’re welcome – thank you for stopping by.
Very cute! I love that they have the candy inside. Great for a class gift or even co-workers! I love Hershey’s Kisses and who wouldn’t love Kisses and some lucky 4 leaf clovers? Tweeted and Pinned!
Thanks Dawn, it was fun to make!
These are the cutest little 4 leaf clovers I have EVER seen. Look at you getting all kinds of creative with Hershey’s Kisses and I KNOW you’re totally rubbing it in my face on purpose that you have the fabulous Silhouette Machine so stop it please 😉
Oh Rose – you crack me up!! You’re always welcome to come over and use it!! I’m actually saving up for the new Cricut Explore – you can cut and print at the same time. LOVE IT!!