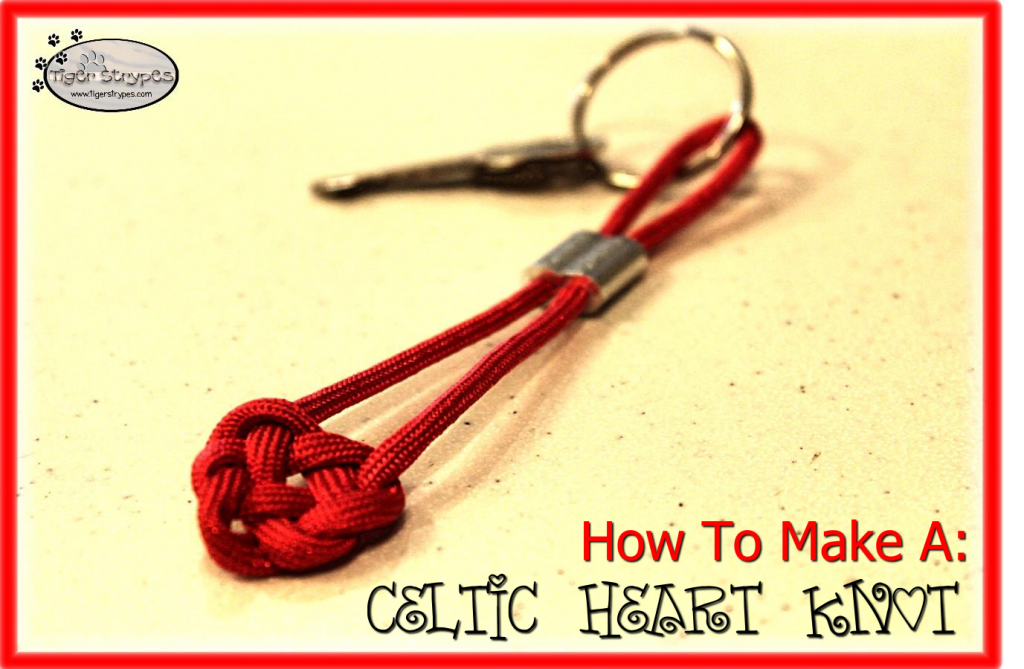
 How To Make a Celtic Heart Knot Keychain
I always remember making the little keychains (GimpAction or Boondoggling) out of the plastic lacing when I was younger. You had to alternate the colors and it seemed a bit like knitting for kids. Does anyone else remember those? Well, I saw something that reminded me of that, but it was more of a knotting technique with paracord. I thought it would be fun to try, and perfect for Valentine’s Day!
They are pretty easy to make (you might need to try it a few times to get comfortable). You could even continue on the piece of paracord and make more to create a bunch of them in a row, or just one like I did for a keychain. You could turn them into just about anything you want. Now the part that we have to use the lighter to seal the ends (otherwise, it will unravel) is to be done by ADULTS ONLY and is not intended for kids. If you’re making these as a family, just be sure to take this part over, and not let them do it!!
I hope you like it!! Have a blessed day, and please be sure to comment on, and share this craft on your social media channels – thanks!
Materials/Tools Used:
- Paracord
- Lighter
- Ferrule
- Pliers/Vise
- & Time!
Instructions:
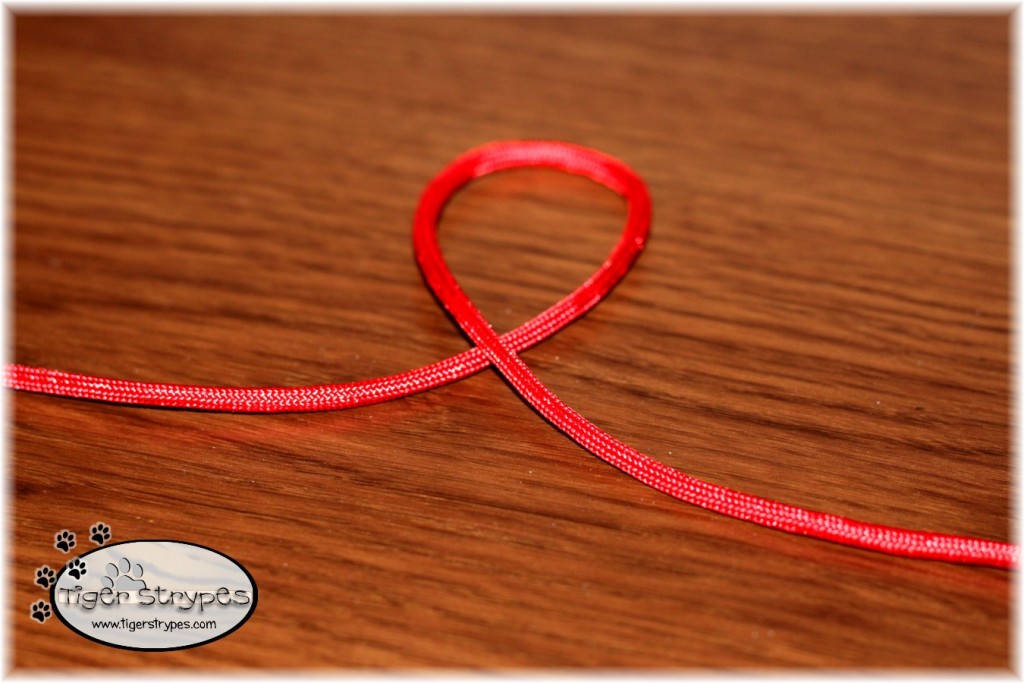
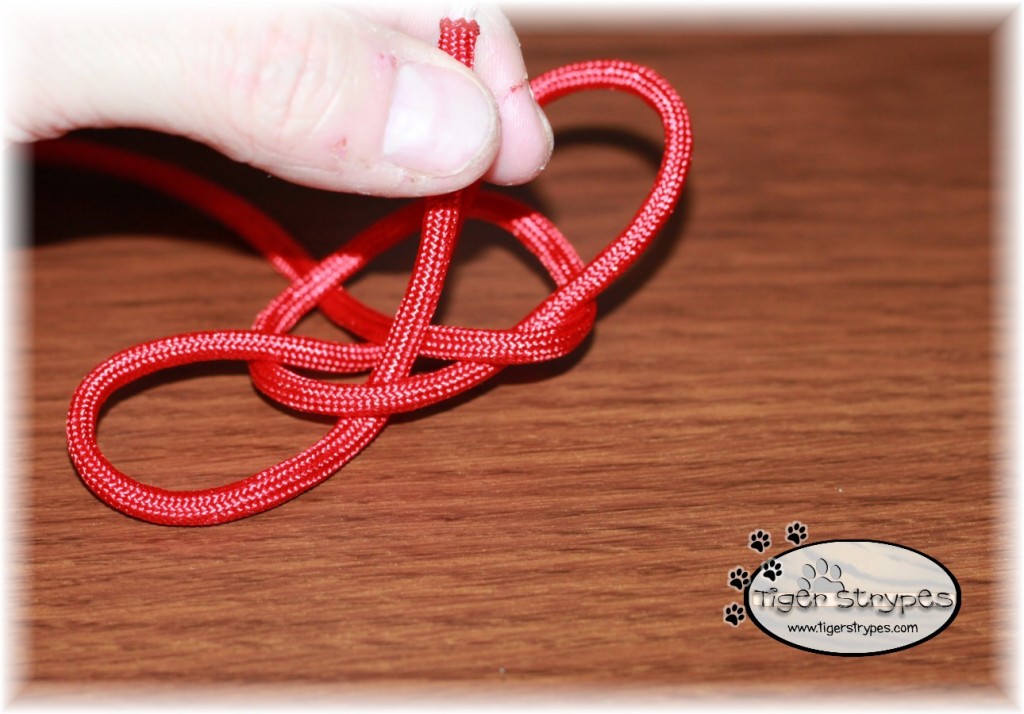
I started by cutting a piece of the lanyard about 12-14″ long. The length will just depend on what you plan to make. It can always be trimmed…but never lengthened! 🙂 Make a loop in the middle, like shown below:
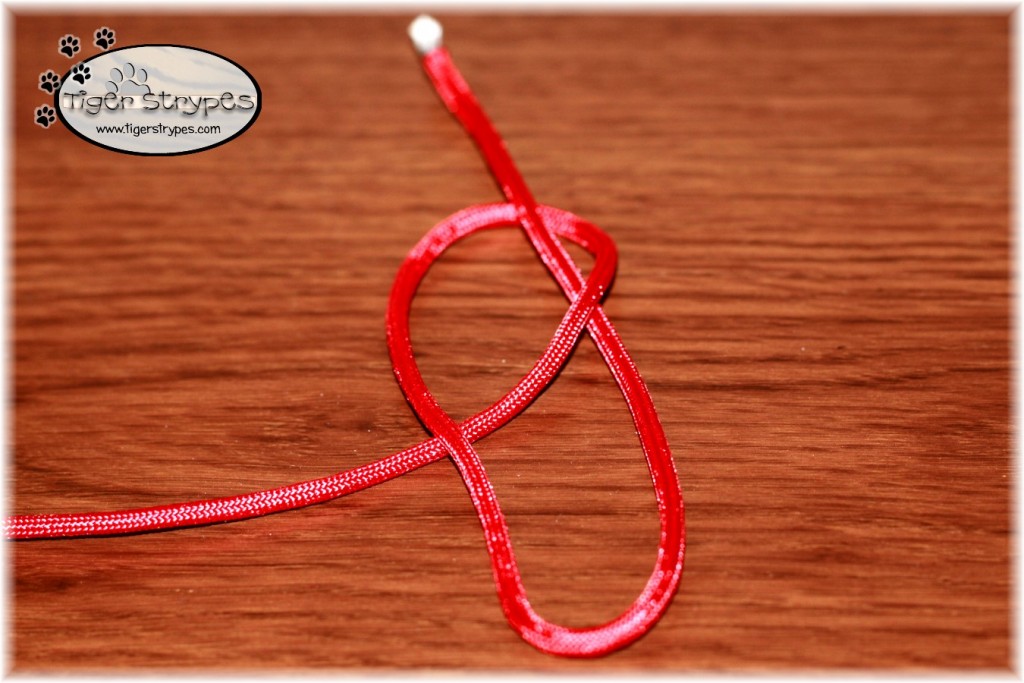
Next, pass the right end through the loop from the bottom. Have it go over the cord at the top.
It should now look like this:
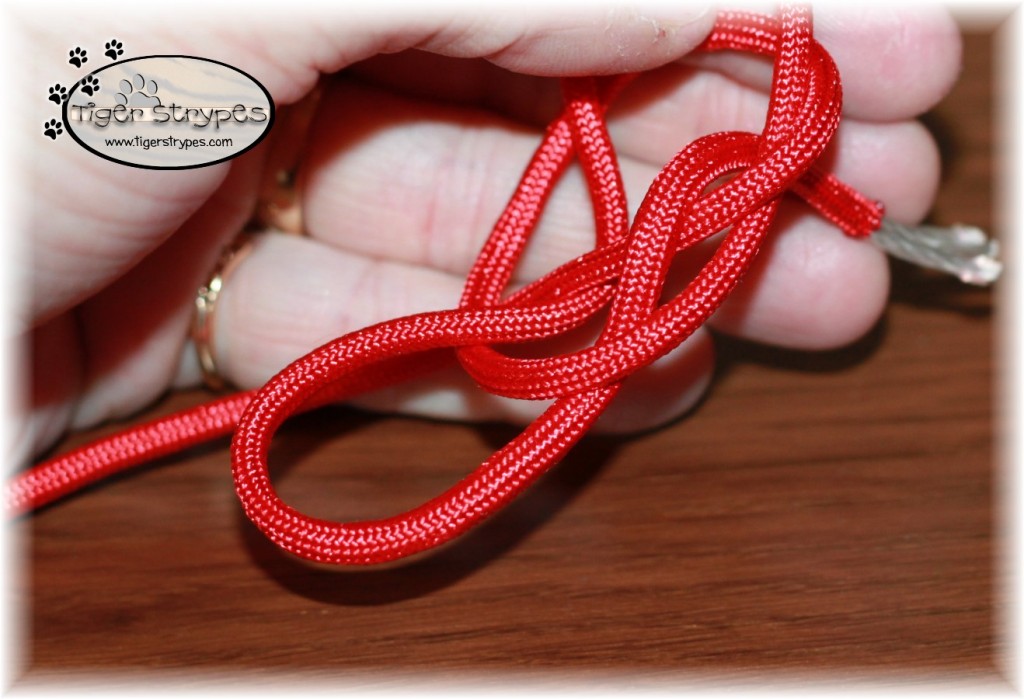
After that, pull the right end from the top through the bottom – making sure to go under the left piece of the paracord:
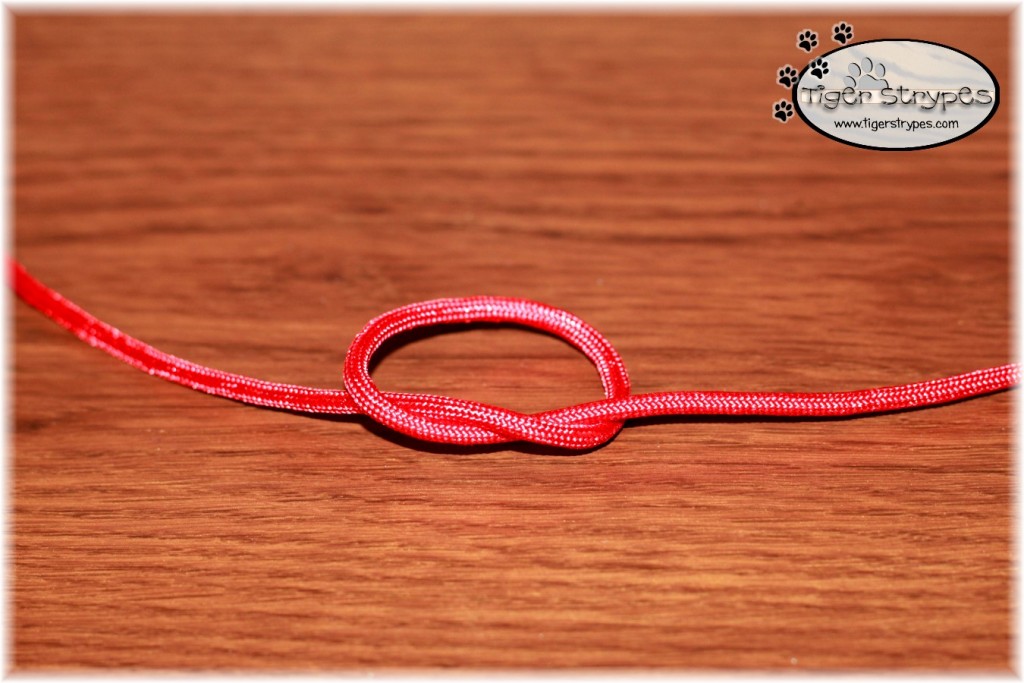
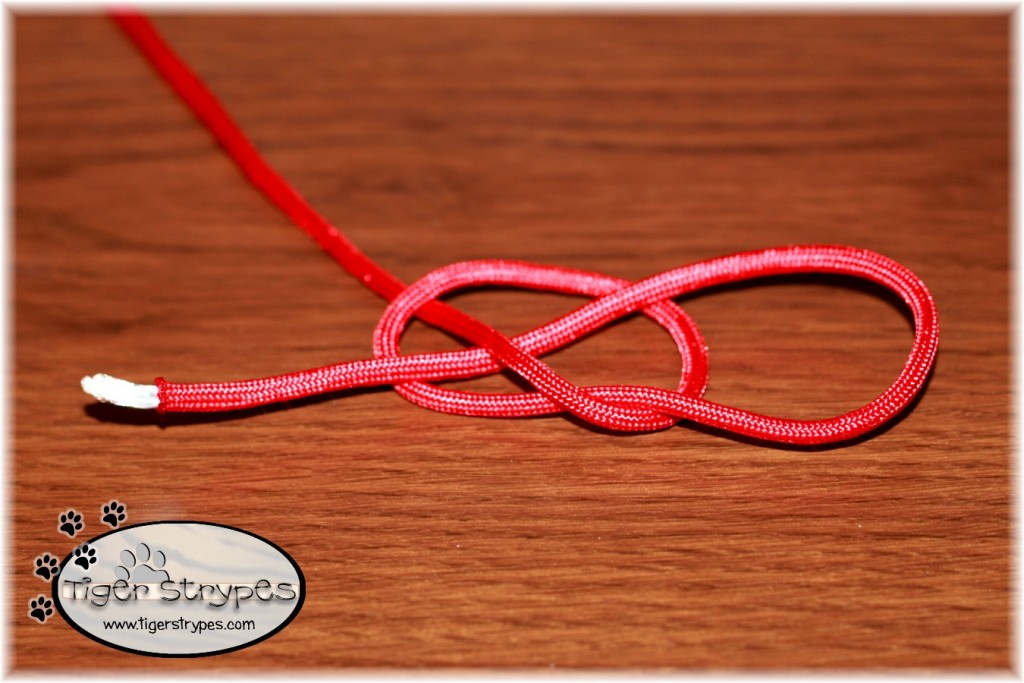
Next, pull the end up through the loop, as shown below:
…over the next piece:
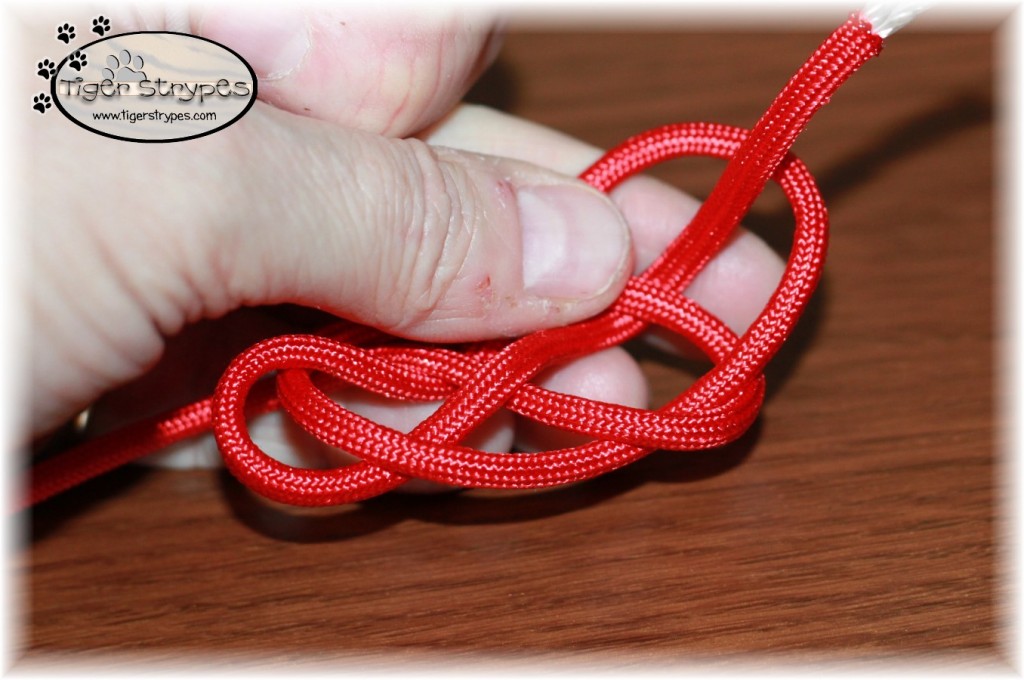
…and then up again – making sure to be under the one piece before going over the top of the edge:
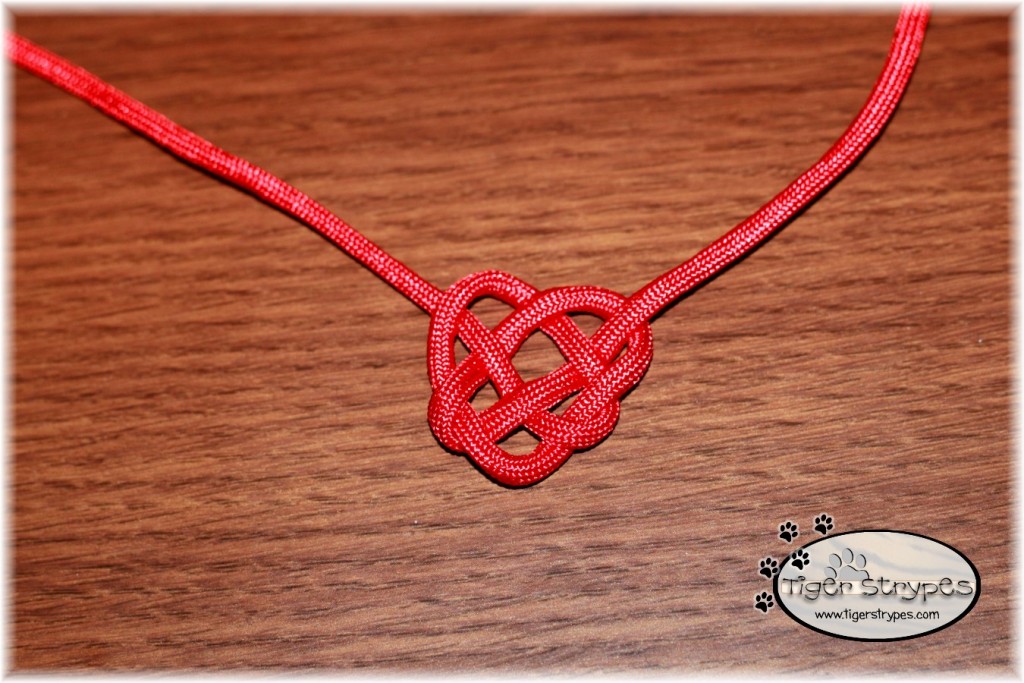
Now you can pull the ends out, being careful to not pull too tightly. Arrange the piece to be the almost finished heart.
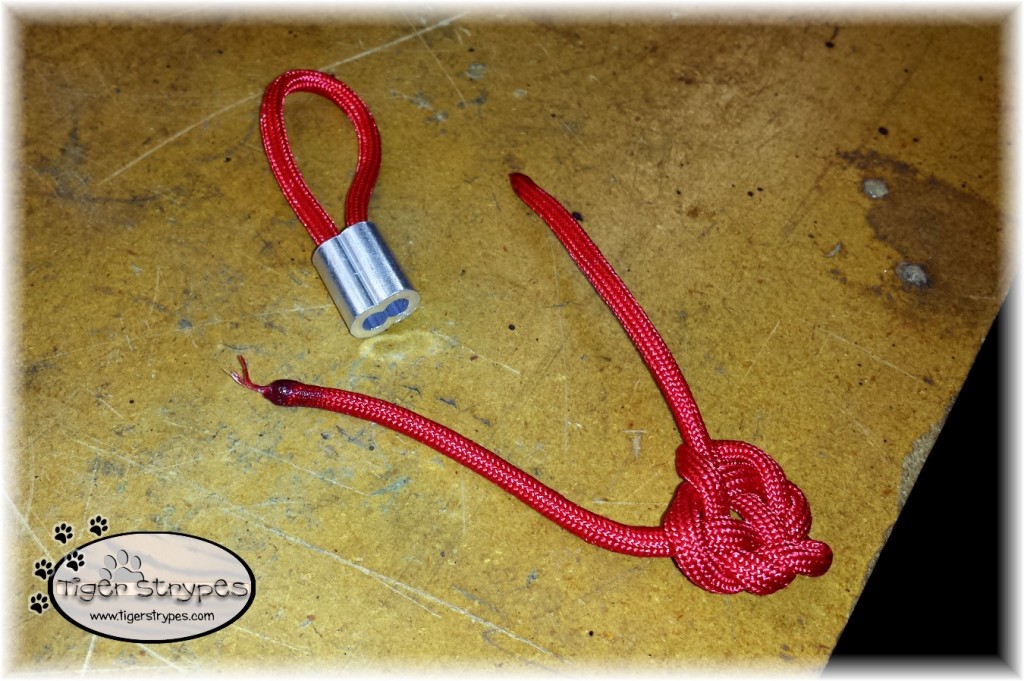
I cut another small piece of the paracord to create the top of my keychain. I then used the lighter to seal the ends (again, this is for ADULTS ONLY!!) I inserted the top part into the ferrule about halfway, and then the bottom “heart” portion into the other side.
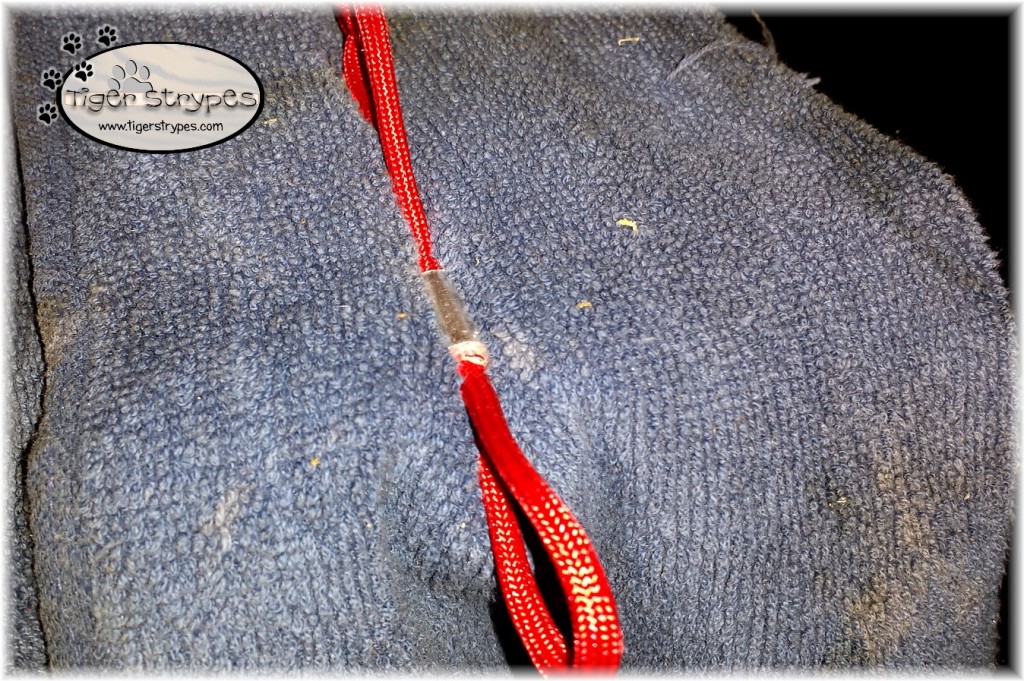
My husband used his vise (and a rag to save it from being marked up) to seal the ferrule together. This cinched the ends of the paracord inside. If you do this, just tug on the ends to make sure that they are secure. If not, put them back in and tighten it up more.
After that, you’ll have a fun keychain to keep, or give to someone you love this Valentine’s Day.
I hope you like it! Please take a minute to leave me a comment, and let me know what you would do different, or what you would add, etc. Be sure to tweet, pin, share, etc. – thank you!!
“Trust in the Lord with all your heart and lean not on your own understanding;” –Proverbs 3:5
PLEASE SHARE THIS POST USING THE OPTIONS BELOW…THANKS!!
*****************************************************************************************************





[…] This is another design that works superbly as a zipper pull, too. It’s not the most durable, and it’s not ideal for keeping a substantial amount of cord on you just in case, but it is totally okay to make some stuff that’s just for fun every now and then. This is also a really easy one! […]
The one you made is nice but nothing like the one pictured in the original article. Do you have instructions for that one? Thanks…
Not sure what you’re talking about, as far as original article. This is the only post I made on this and my photos.
Hi Jamie, Kind of my bad… sorry. I was directed to your page from here… https://ideas4diy.com/diy-paracord-keychain-instructions
Yeah, sorry – I have no idea why they have my link for that post. It’s not my design. 🙁
[…] Paracord Keychain Instructions […]
I don’t know if I would be able to actually make this–I am really all thumbs when it comes to crafty things. I sure would love to be able to. It really is a cool idea for a keychain or as a gift!
You probably could, Michele – it’s pretty easy. Thank you for your comment. 🙂
I love this, is it coming in the mail to me or what?
You could totally make your own, my friend – it’s easy! 🙂
This is so cute, and I might even be able to do it. Thanks so much for sharing!
I know you could do it, Heidi – it was fun to make! 🙂
This is gorgeous! And it doesn’t seem difficult with your clear instructions and pictures.
Greetings form Belgium,
Sigrid
Thank you Sigrid – it was fun to make! 🙂
My boys are learning knots in cub scouts. This would be a great craft for them.
How fun – I hope they enjoy it!