
TBC CRAFTER’S HOP (#TBCCRAFTERS) – 08/01/2013


Crazy how time flies and you never feel any older (what? a girl can dream, right?) Planning and things like that have made the amount of time I have not very much, plus a car in the shop that I’m praying will be done before we leave!! Thought this was a cute one that you could always add more to and help it to represent each of you in your own way. Hope you enjoy!!
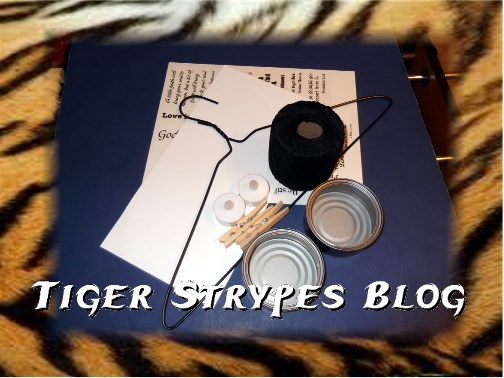
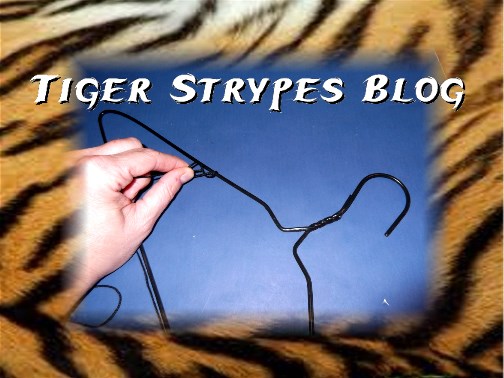
“Candle Hanger” Craft
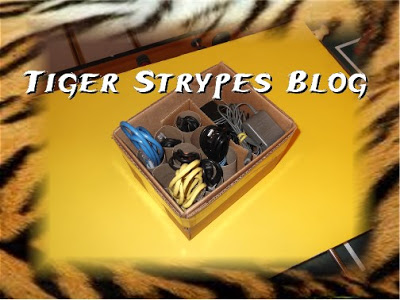
- Wire Hanger
- String (or Ribbon)
- Clean, Empty Cans (I used Tuna size)
- Clothespins
- Craft Paper, Stickers, Etc.
- Candles
- & Time
Instructions:
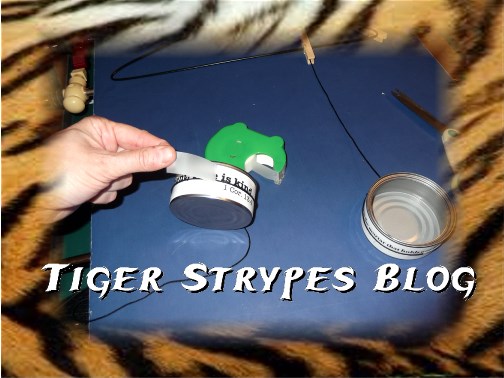
Start by measuring out the amount of sticker or craft paper you are going to use. If you happen to have a lot of time, you could decoupage things on here or any other type of decor.
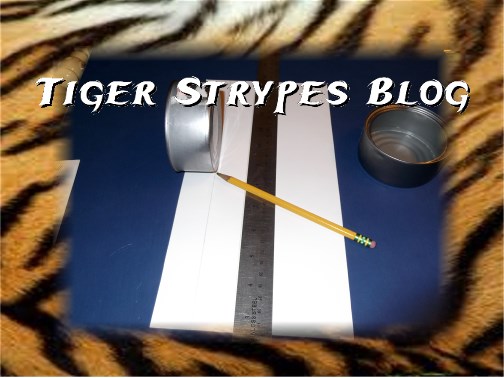
Once you have the pieces cut out (however many you have to depending on amount of cans you will use), start to attach them evenly on the cans.
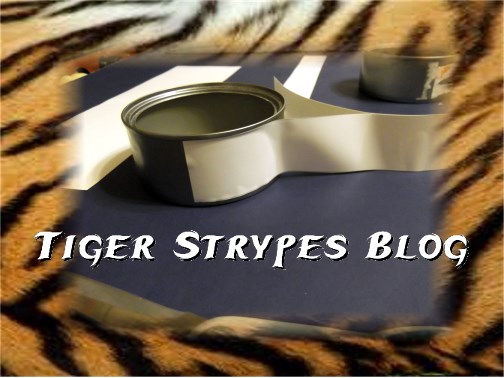
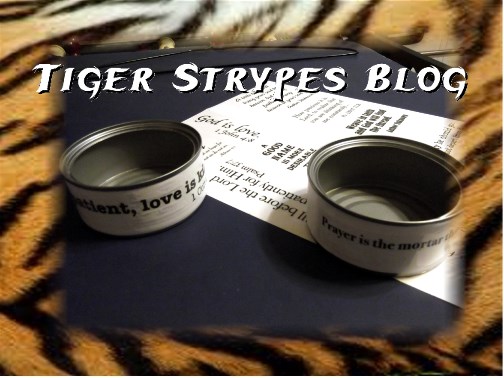
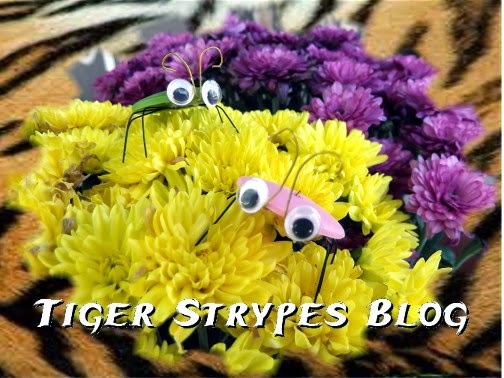
Now whatever you are doing to add more “oomph” to it, do this now. I just had some clear stickers I decided to put over the bottom layer. You could always add flower embellishments, wire crafts or whatever you want to use to give it a pop!
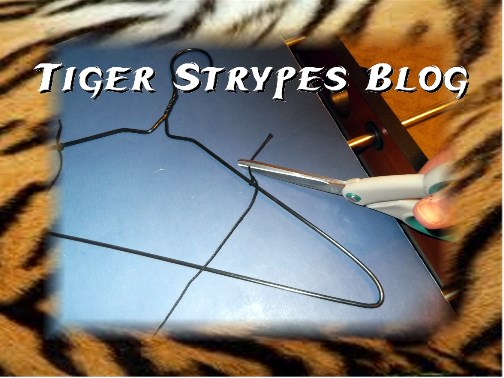
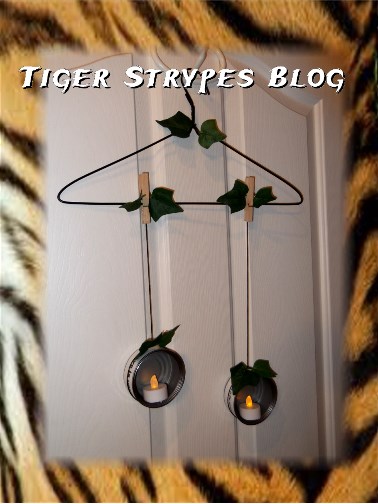
Next, begin attaching the string or ribbon to the hanger (you’ll see in later pics that I decided to move it down to the bottom part for better hold).
Once in place, trim to have the least amount of extra on the top.
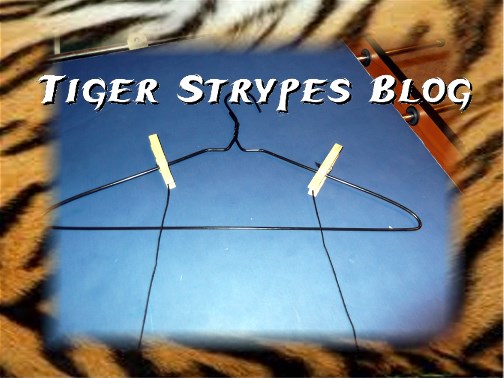
You can now add your clothespins (which if you have time, you could decorate to match or add other things to, your call) to the wire hanger to in a way “pretend” that they are holding the string.
Next, start tying the end of the string around the can about halfway down the side to be able to balance it when hung.
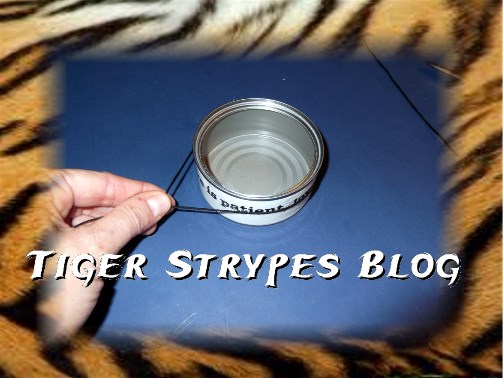
I decided to add a bit of extra tape to hold this in place, since the crazy thing kept falling off!! Isn’t it funny how when you’re pressed for time, our crafts like to test us? 🙂
Now you can add it your candles (I used battery operated) and hang in your specified area for decorating with a bit of glow! I hope you like it!
“In the same way, let your light shine before others, so that they may see your good works and give glory to your Father who is in heaven.” –Matthew 5:16
All pictures and text are my own and have not been copied in any way. I, Jamie Tomkins, own and operate Tiger Strypes Blog located at www.TigerStrypes.com. From time to time you’ll hear about my real life experiences or creations with products and/or services from companies and individuals. Let it be known that I have no affiliation with these said companies, and have not received compensation for reviewing or using their service/product. The information that I give regarding the product/service is based off my own personal experience, I do not guarantee that your experience will be the same.

*****************************************************************


What a great way to repurpose things found around the house!
This is very nice. Think that it would be great for Halloween decoration outside the door and Thanksgiving/Christmas interior decoration too!
Very cute, and it would be great for the holidays with green and red trimmings!
Never thought of that – good idea Dawn!!
That's very cute! I love the way it turned out!
You may very well have been pressed for time, but this craft is adorable!