
TBC CRAFTER’S HOP (#TBCCRAFTERS) – 05/23/2013
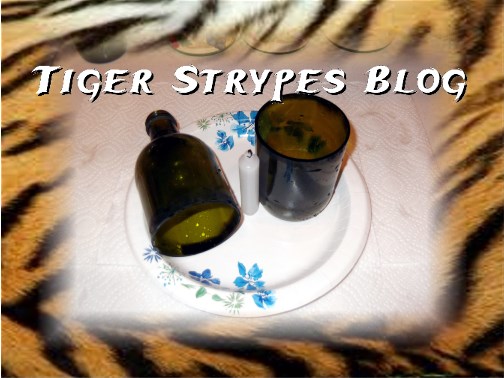
“Bottle Planter Decor” Craft
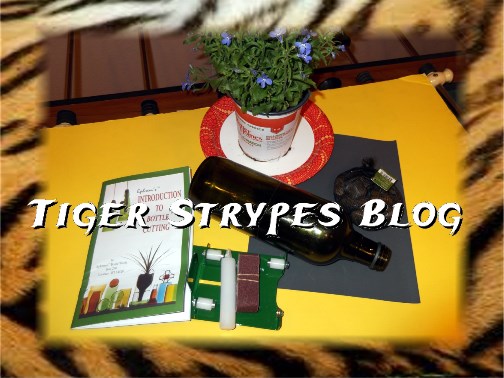
- Ephrem’s Original Bottle Cutter Kit (purchase info at bottom)
- Olive Oil/Wine Bottle, cleaned & dry
- Sandpaper
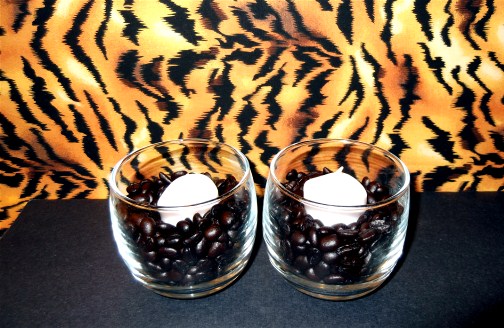
- Rocks
- Plant/Flower
- & Time!!
Instructions:
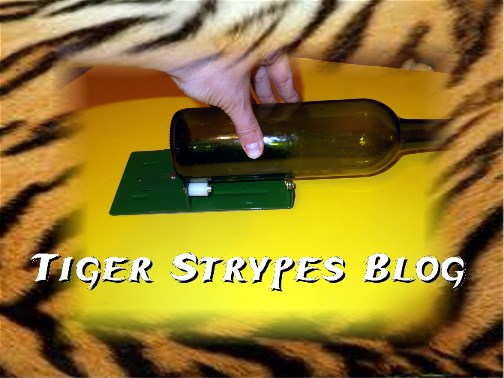
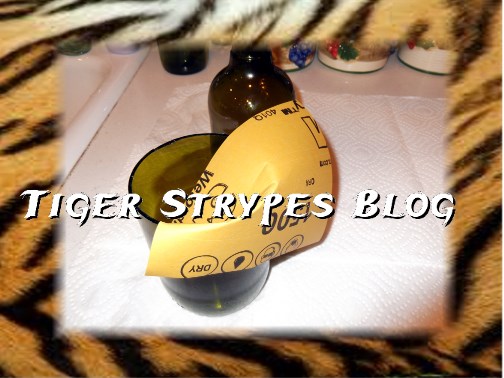
Begin by scoring the bottle on your “Ephrem’s Bottle Cutter”, making sure to apply even pressure and get the score to go all the way around the bottle. There is no need to go over it twice, as long as you have an even score. Be sure to wear eye protection while doing this whole project!!
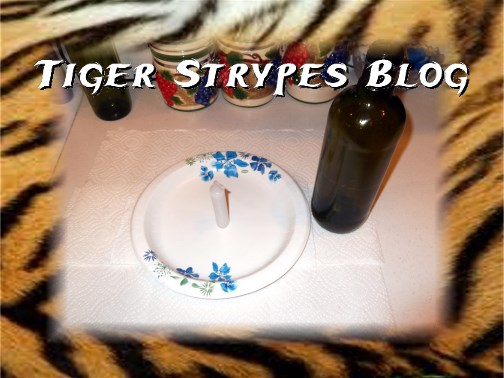
Then, when you’re finished with the scoring, secure the candle (included in the kit) to a paper plate or something else if you are doing it outside, etc.
Light the candle and turn the bottle at the score mark slowly over the heat. Do this a few times until you know the mark has been fully covered. No need to have the flame touch the bottle, just be underneath the score mark.
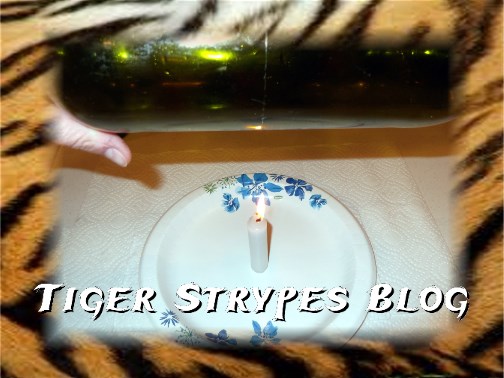
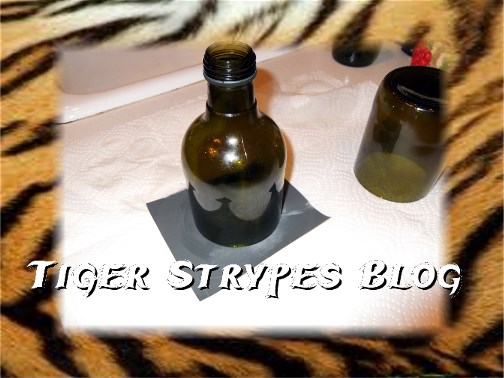
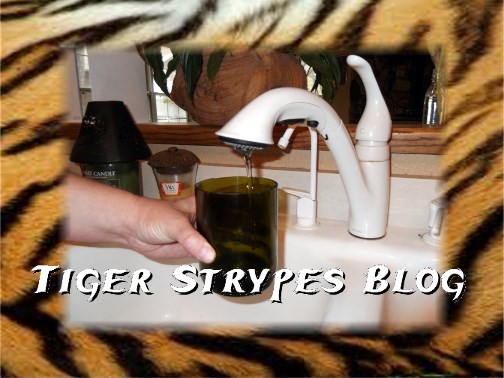
Once you have the whole mark heated, run the bottle under cold water and you should hear it crack. Be sure to be holding on both sides as to not drop one. If the bottle does not crack, and you are sure you have scored it all the way around, heat it with the candle again and then run under the water a second time. The bottle should then be in two (2) pieces.
After the bottle has split, use the sandpaper to take care of the rough edges. Be careful not to hold onto it over the bottle with your hand, just in case the glass breaks through the paper (I don’t want you to cut yourself). One you have both sides sanded down, wipe with a wet towel to remove grit, etc.
When you are finished sanding, flip over the top part of the bottle and insert some rocks to keep the dirt you’ll put in from falling out.


To get a cutter for yourself, go to:
All pictures and text are my own and have not been copied in any way. I, Jamie Tomkins, own and operate Tiger Strypes Blog located at www.TigerStrypes.com. From time to time you’ll hear about my real life experiences or creations with products and/or services from companies and individuals. Let it be known that I have no affiliation with these said companies, and have not received compensation for reviewing or using their service/product. The information that I give regarding the product/service is based off my own personal experience, I do not guarantee that your experience will be the same.


I have always wanted to try this! You made it look so easy!
Very cool! I'd be terrified it would crack!
You just have to make sure you make even pressure with the score and then do everything else in order. I was scared at first, but it turned out really easy!! Might be making another craft with it for next week…hint…hint…ha/ha