
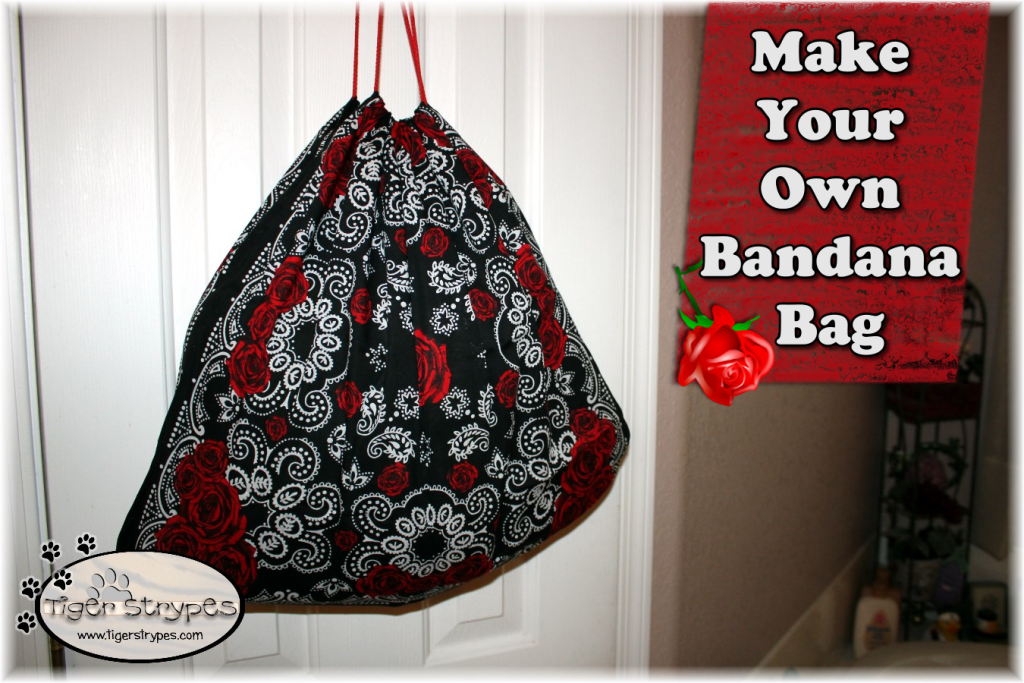
Make Your Own Bandana Bag
I saw this project on the Martha Stewart website, and thought that it would be so fun to make. Who doesn’t need another bag to carry things sometimes, right? This one could be used for shopping, a picnic, or even for trick-or-treating next month. It was very easy to make, and from start to finish, didn’t very long at all. You could make it any color, with any drawstring style, etc. I’m even thinking of making one for my son, and using an iron-on piece to add even more dimension to it.
I just used my regular sewing machine, but even if you didn’t have one, you could even do the stitching by hand. There weren’t any special stitches, so have fun with it!! I’m even thinking of using this one as a wrapper for a gift for Christmas!! What do you think of it – do you think that it’s something that you could use and enjoy? Let me know in the comments below.
I hope you like it!! Have a blessed day, and please be sure to comment on, and share this craft on your social media channels – thanks!!
Make Your Own Bandana Bag
Materials/Tools Used:
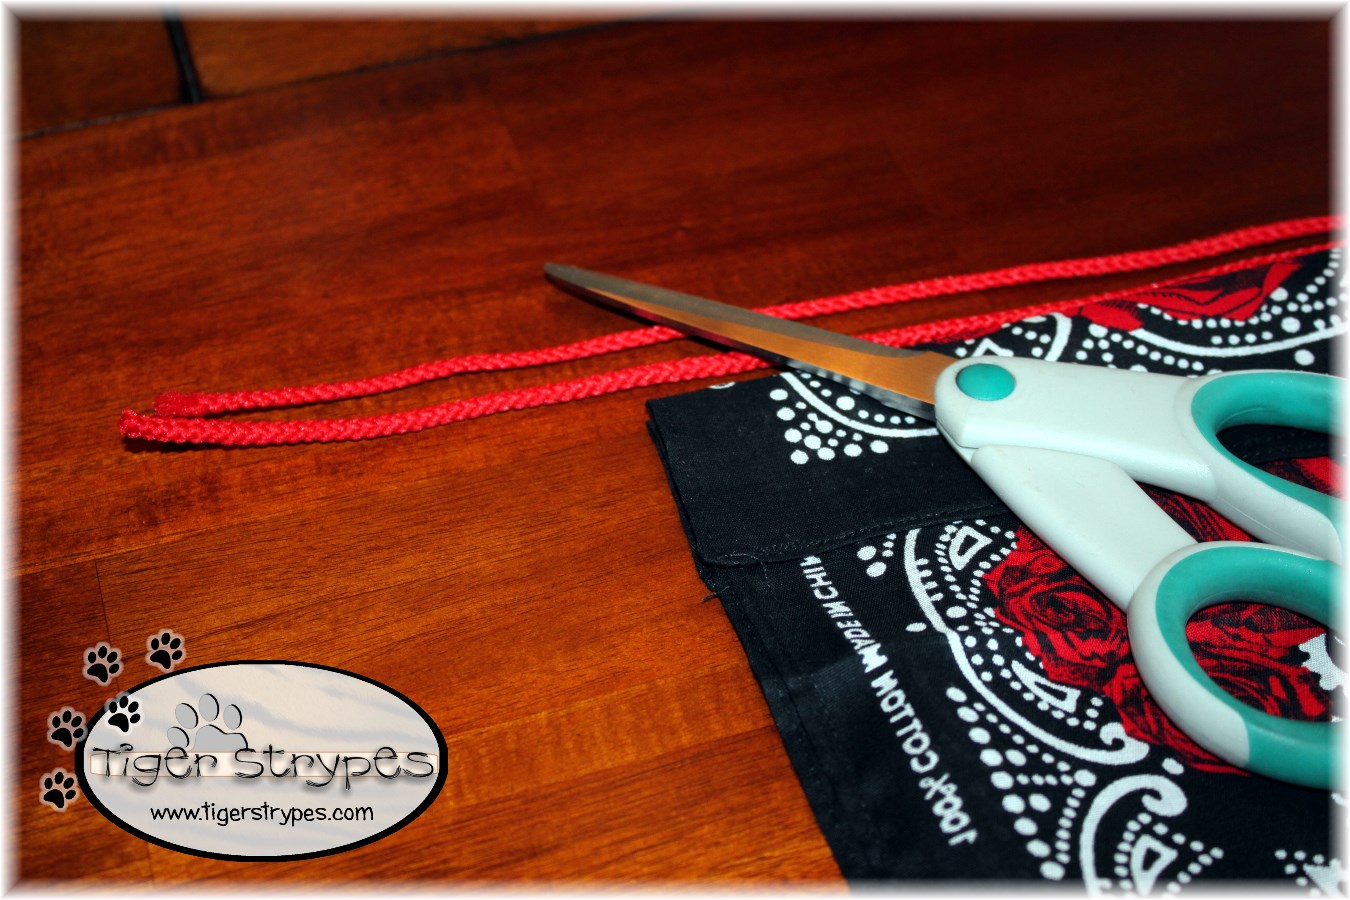
- Two (2) Bandanas
- Sewing Machine
- Scissors
- Macrame Craft Cord
- Lighter/Matches
- & Time!
Instructions:
I started by pinning a 1.5″ fold at the top of the bandana on the “wrong” side of the fabric. This will be where the cord goes through, to close up the bag. It is sewn inside out, so be sure that this fold is on the inside. I did this for both of the bandanas.
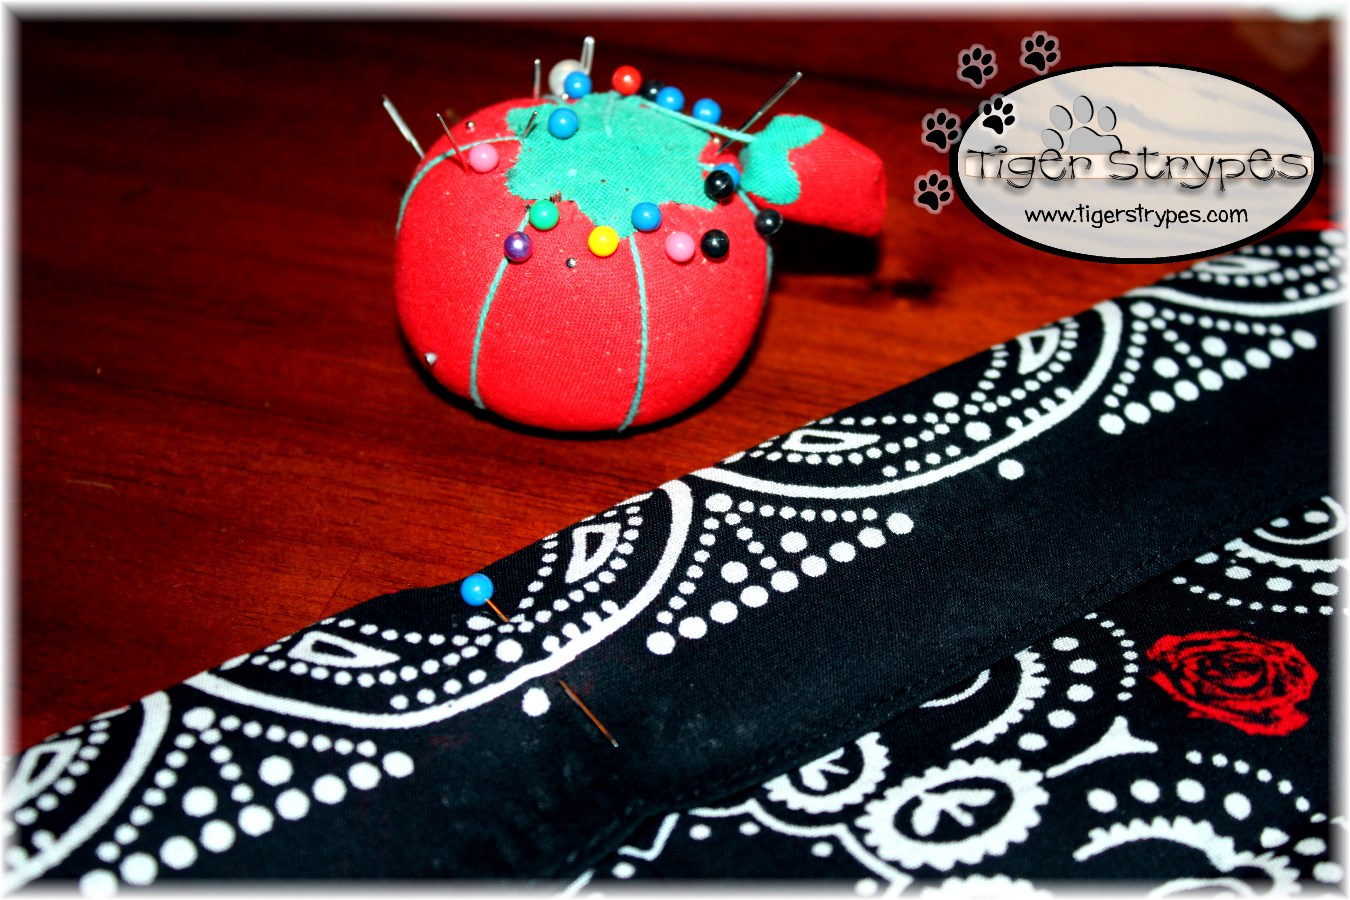
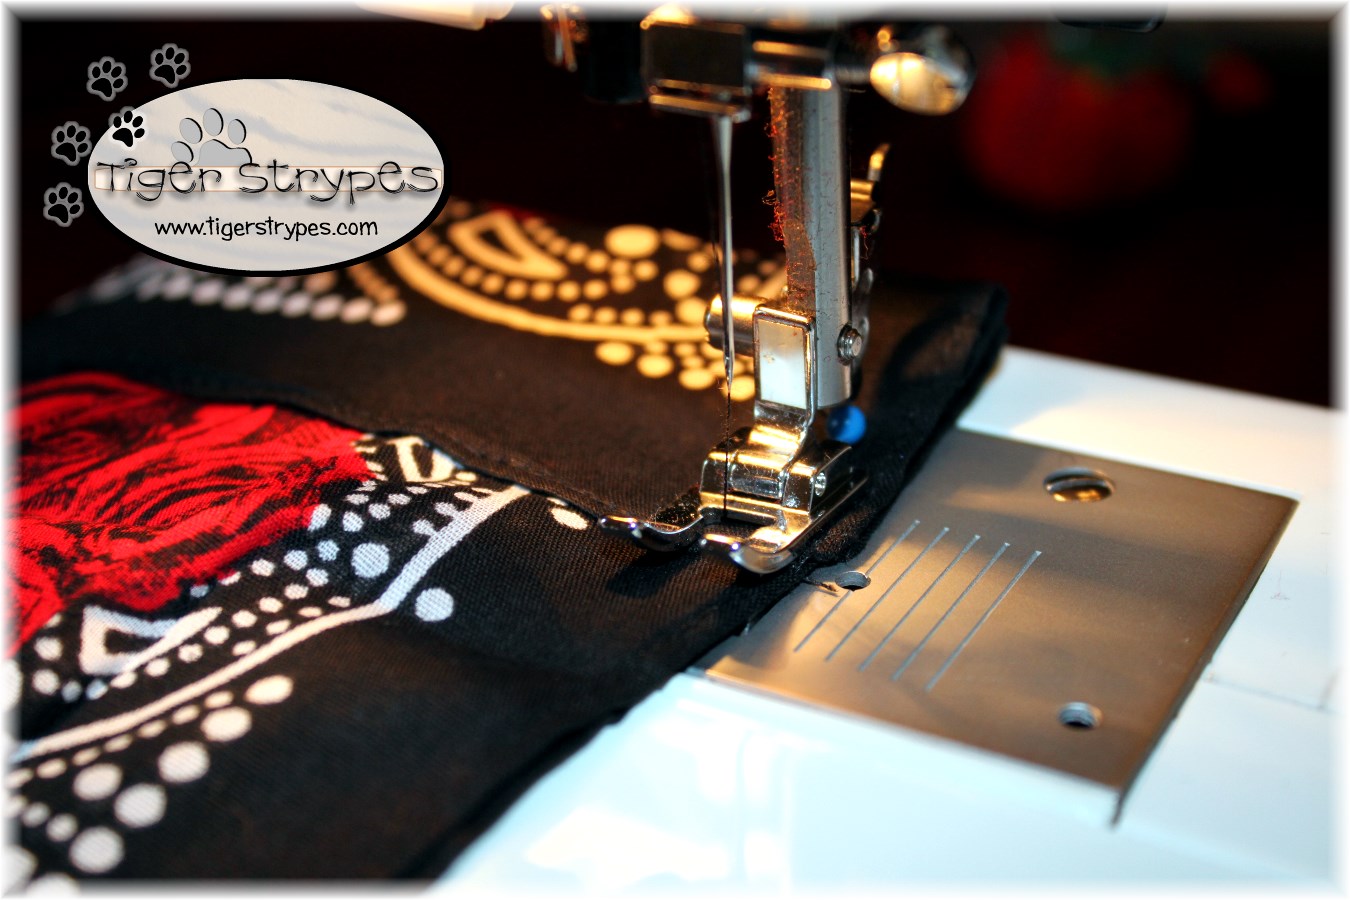
Next, I used a regular stitch on my sewing machine to sew all the way across the part that was folded, on both of the pieces of fabric.

After that, I pinned the two (2) bandanas together (right sides together), so the part that isn’t as bright is on the outside. Again, this is because you will be folding it out, once it’s finished being sewn together.
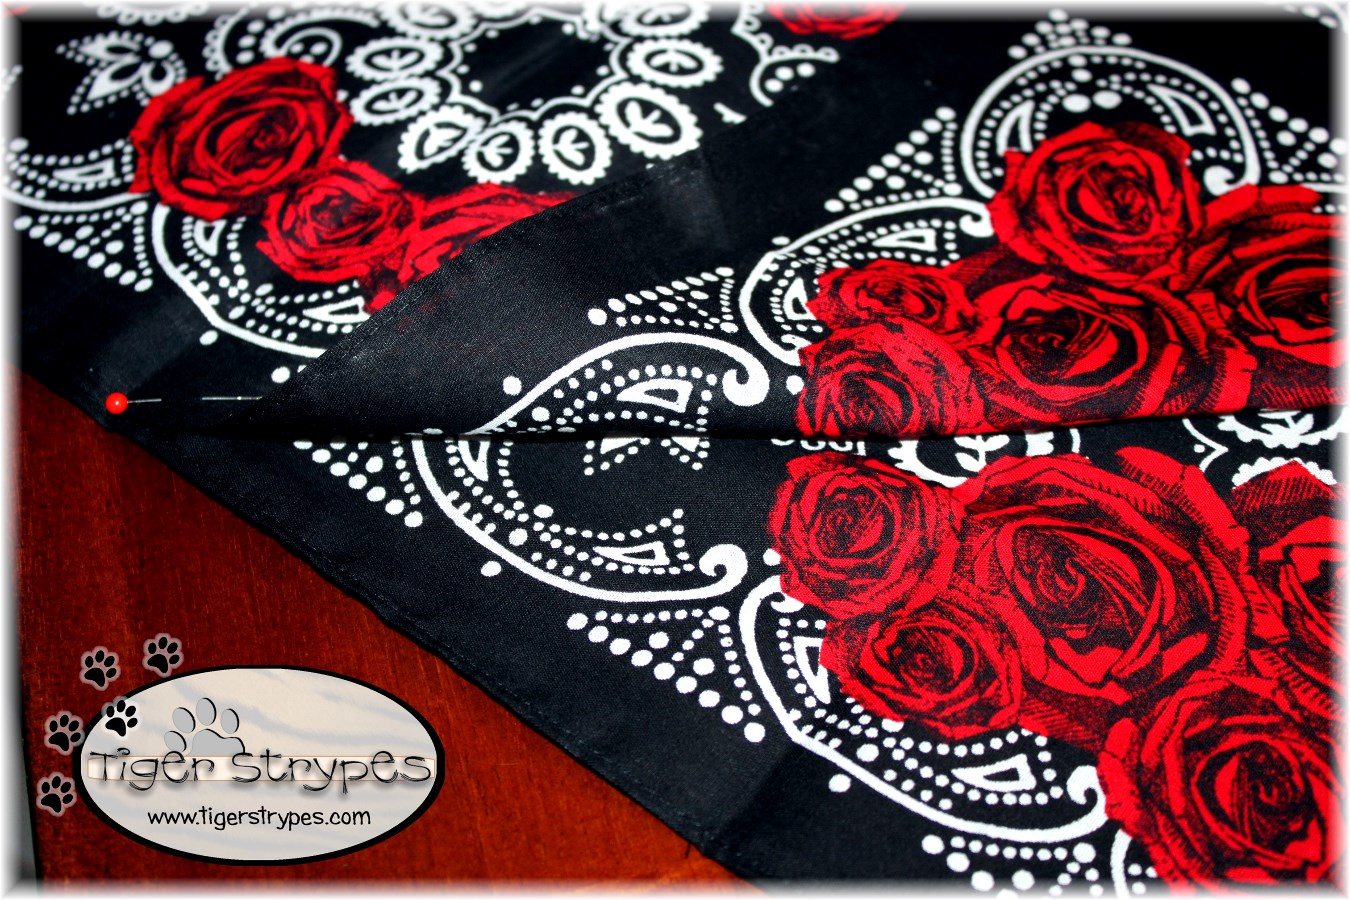
Now I just sewed along the three parts of the fabric, that did not include the top portion that was already sewn. If you sew that part, you’ll have a problem opening the bag! 🙂 Also, be sure to not stitch closed the area that was folded over and already sewn. This is where the cord will go.
Next, I measured the cord that I was using across and back over the top, with just a little overhang. Once the bag is scrunched up and closed, this cord will be a lot longer, so don’t make it very long. Also, a note, be sure to only have one piece, don’t cut it into two.
I then used a safety pin at the end of one side of the cord to feed it through both of the folds. After it goes through the first one, turn it around and thread it through the other side.
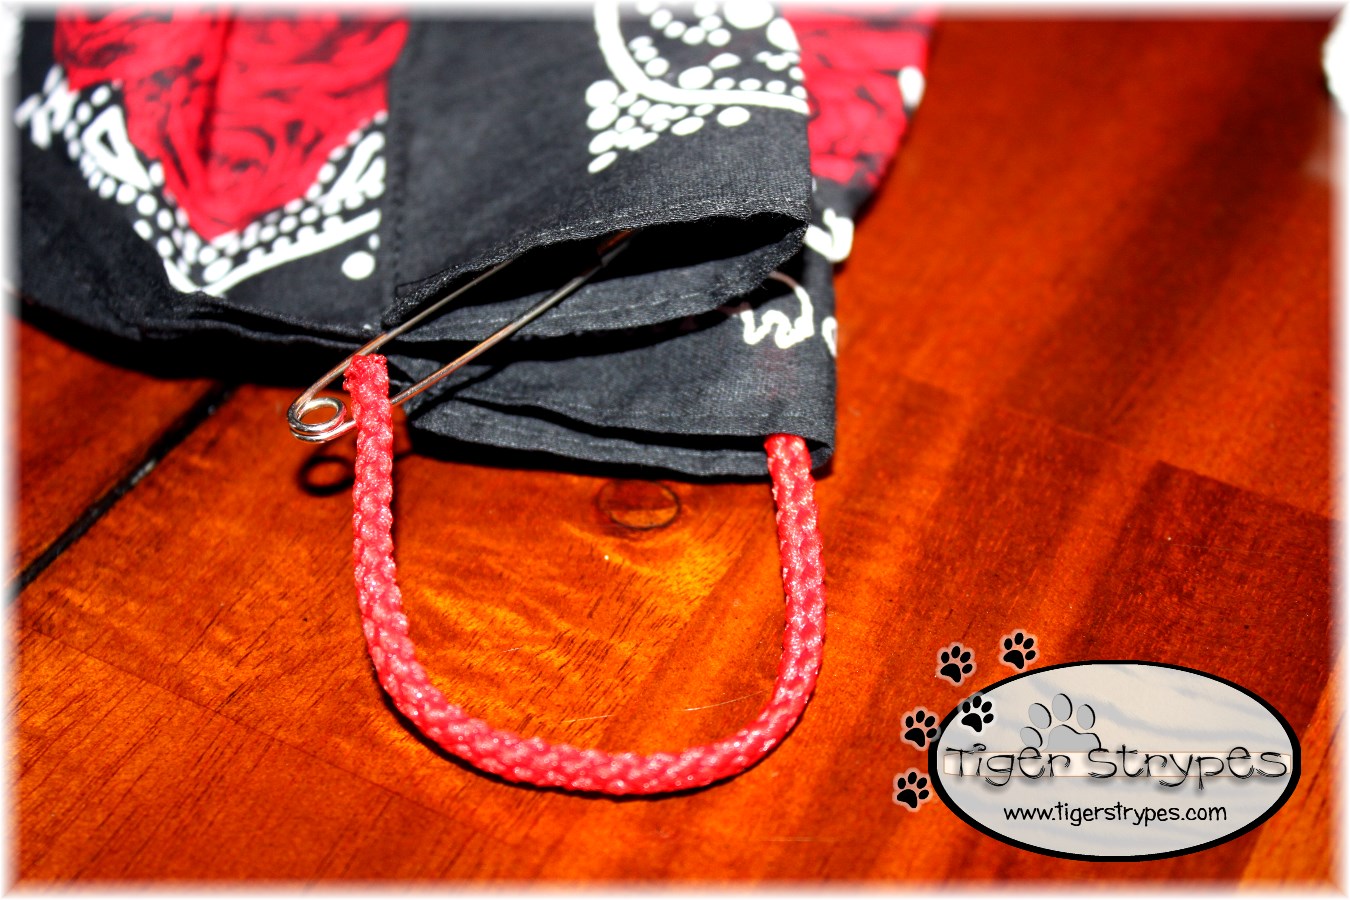
After that, I used a lighter to finish the edges of the cord, so that it didn’t fray when I was done.

When that is done, just knot the two (2) ends together to finish the cord.

I then pushed the knot inside of one of the folds, to hide that knotted end portion. After that, I “un”folded the bag out to the correct side.

Now you can use it for just about anything!! Simple to make, and perfect for many different occasions!! I hope you like it! Please take a minute to leave me a comment, and let me know what you would do different, or what you would add, etc. Be sure to tweet, pin, share, etc. – thank you!!
“Though one may be overpowered, two can defend themselves. A cord of three strands is not quickly broken.” -Ecclesiastes 4:12
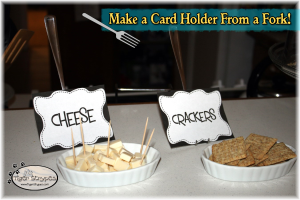
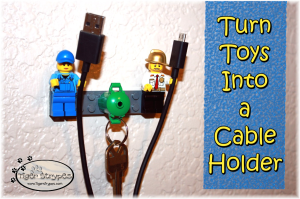
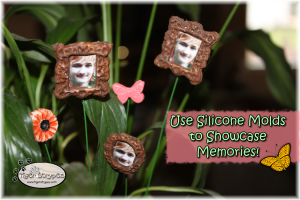
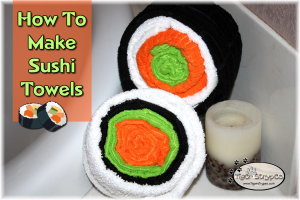
HERE ARE SOME OF MY PREVIOUS PROJECTS:
 |
 |
 |
 |
 |
 |
PLEASE SHARE THIS POST USING THE OPTIONS BELOW…THANKS!!
*****************************************************************************************************
[…] Make Your Own Bandana Bag with Jamie […]
[…] To see more: https://www.tigerstrypes.com/bandana-bag […]
This is adorable. I love the fact that the bandanas are already finished on the edges and you just stitch two of them together. Such a great idea. Yours turned out really nice! Thanks for the tutorial.
That made it really easy, Michelle – thanks for stopping by!
What a cute bag. My teenage girls would love this. Love having you as a cohost on #HomeMattersParty
Thank you, Melissa – I hope that you and the girls can make one, and that they enjoy it!! 🙂
Super cute and it looks pretty easy, even without a sewing machine. Thanks for sharing. I’m having fun co-hosting with you at the #HomeMattersParty
You could definitely do it by hand, if you had the patience!! The #HomeMattersParty has been so much fun!! 🙂
Great idea to use bandana. Its fun to be co-hosting with you #HomeMattersParty.
Thanks Sahana!! It was great to be a part of the #HomeMattersParty with you, as well!
This is a great idea and the instructions make it look so easy. It’s been great co-hosting the #HomeMattersParty with you!
Thank you Sarena – it was fun to make! 🙂
Very cute! Thank you for the step by step instructions. It’s really great to be co-hosting #HomeMattersParty with you this month!
You’re welcome – I loved making it…so easy!! Thanks for stopping by!
What a great sewing project for newbies to sewing. It looks easy enough to do and looks great! Happy to be co-hosting the #HomeMattersParty with you.
Thanks Enzie – the #HomeMattersParty has been great this week!!
This looks really nice with the print you chose. We can never have enough bags around here! I like to pack different bags for each of the kids’ activities with their snacks and supplies and like the idea of making them each a different one.
Thanks for sharing and co-hosting the #HomeMattersParty with us!
Thank you Jane – always fun to see what is shared at the #HomeMattersParty
What a cute and easy project! I didn’t know about melting the end with a lighter to keep it from fraying. I feel really foolish now (you don’t want to know how I tried to seal it the last time I tried…) #HomeMattersParty
Glad I could teach you something new Audrey. We’ve all tried the million different ways that never work, so I’m with you 🙂
Fun! This would be a great project for a semi-beginner sewer (like my daughter).
Happy to be co-hosting the #HomeMattersParty with you again this week!
It was definitely an easier one to create! 🙂 Thanks for being a part of the #HomeMattersParty family! 🙂
[…] Make Your Own Bandana Bag with Jamie […]
[…] Make Your Own Bandana Bag with Jamie […]
[…] Make Your Own Bandana Bag with Jamie […]
[…] Make Your Own Bandana Bag with Jamie […]
I’m also a Martha Stewart fan, but I really love the outcome you had with this dark, patterned fabric. I think it really works!
Thanks Carissa – it was fun and easy to make! 🙂
What a great repurposing project! Pinned and Tweeted. Thank you for partying with us at Snickerdoodle Sunday!
Always great to repurpose, right Beverly? Thank you for sharing!
That would be a fun craft to do with my girls. It is simple enough they could do it with some assistance, thanks.
That’s what I love, it’s easy! Thanks for stopping by Ellen! 🙂
Oh how fun! I’ve collected a few cool looking bandanas I never ended up using so this would be great.
I figured that making something different with them would be great! 🙂
This is a neat craft and I love bags. It’s actually something I think my mom would love so I’ll pass it on to her. I love the colors you chose to use.
Lee
Thanks Lee – it was fun…and easy…to make! I hope your Mom likes it! 🙂
What a crafty idea. It turned out great too!
Thanks Jennifer!
This is too cute and looks super easy to make. My daughter loves to fill her purses and backpacks with books and toys when she is playing. This would be something fun she can design and I make for her to have for playtime and even traveling. Thanks for sharing!!!
I’m sure your daughter would love this. Easy to make and could be personalized however she wanted! 😉
That looks so cute and so easy to make. I am a novice sewer, but I definitely could manage this.
You’d be surprised how fast you can finish one! 🙂 Gives you so much time to add to it, or just make another!
This is super cute. I want to make one of these for my sister.
They are really easy to make! 🙂
I bow down to you, oh awesome DIYer. I am super jealous because I want one, but could never make that myself without it looking even half way as nice as yours.
Come on Robin – you could do it!! It is so easy, even if you just need a bit of help from someone to sew it! 🙂
My boys love the draw string bags. What a great idea!
You could definitely make any style for anybody – easy to do! 🙂
This is so cute! I really need to learn how to use my sewing machine!!
Thanks Heidi – I’m not the best with the machine, but love doing the basics! 🙂
These look like a cute DIY gift!! I will have to try to make some one of these days. Too cute!
They were so easy and quick to make – I loved it! 🙂