Now I know this isn’t what you usually would see on a craft site, but I figured it was a way of turning fruit into decor. I’ve seen things like this online and on the Rachael Ray show, but never tried it myself. Watermelons were on sale at Safeway the other day, so I figured it would be the perfect time to see if I could do it. I’ve seen people make baby carriages from watermelons, or the little turtles on their backs with those pieces you pin in to make it look like that. What kinds have you seen? or made yourself? Let me know below.
I hope you like it!! Have a blessed day, and please be sure to comment on and share this #TBCCrafters craft!!
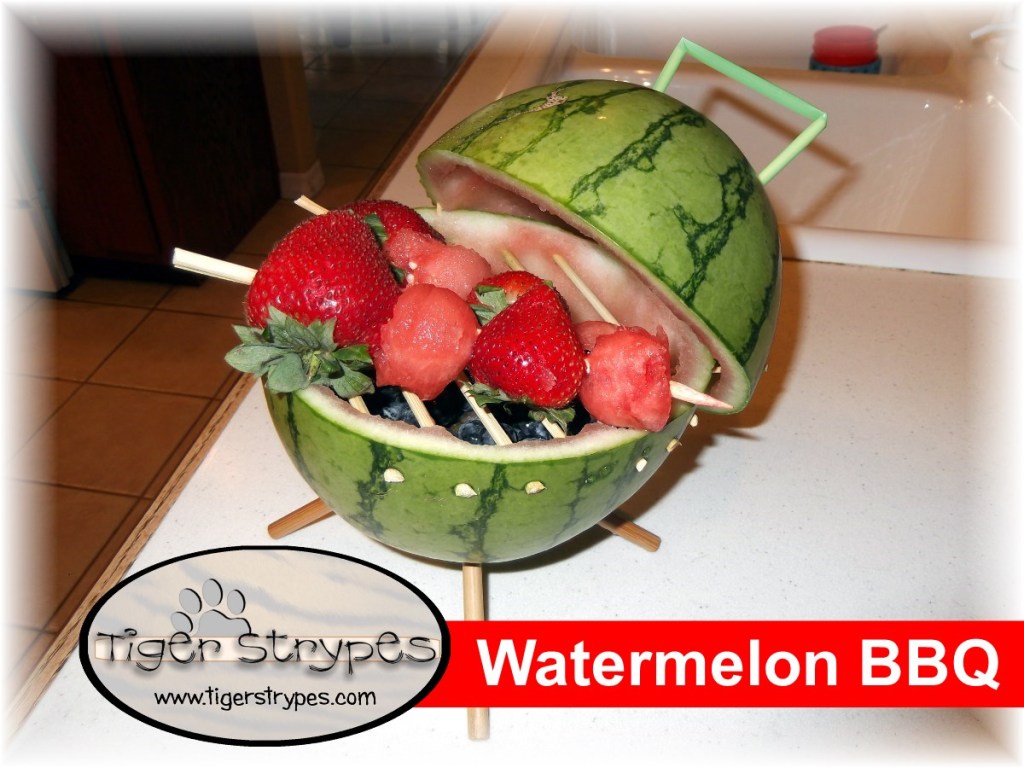
“Watermelon BBQ“
Materials/Tools Used:
- Watermelon (Smaller is better)
- Blueberries & Strawberries
- Knife
- Wire Cutters
- Skewers/Chopsticks (disposable)
- Fruit
- Straw
- Toothpicks
- & Time!
Instructions:
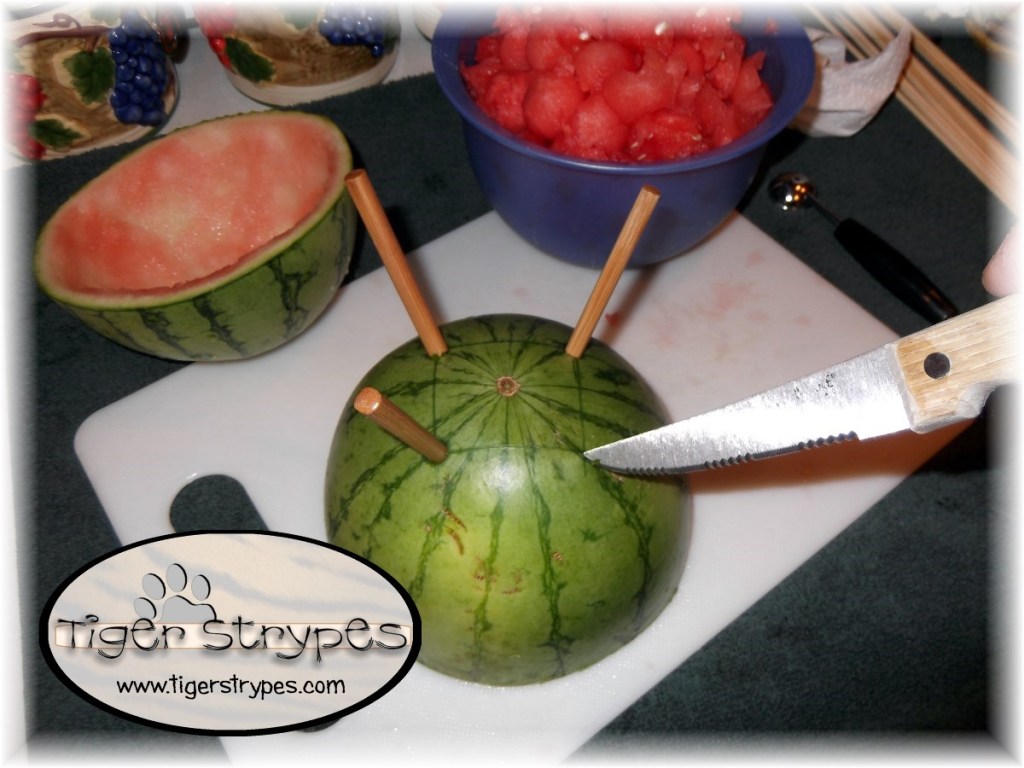
I started by cutting the watermelon in half.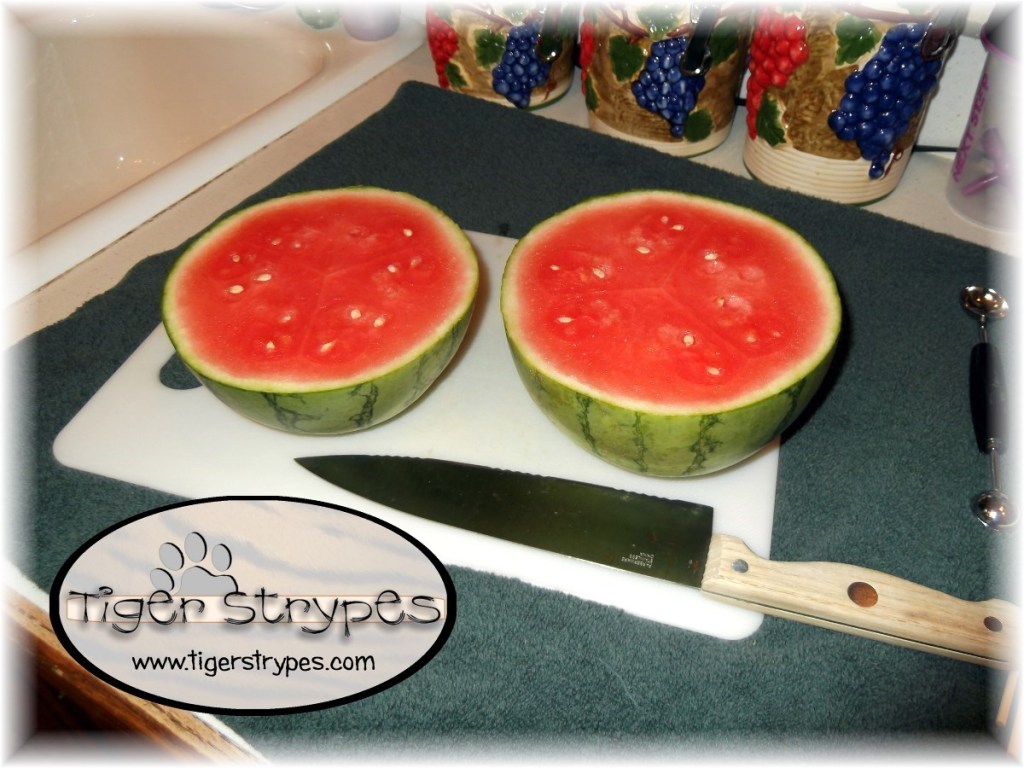
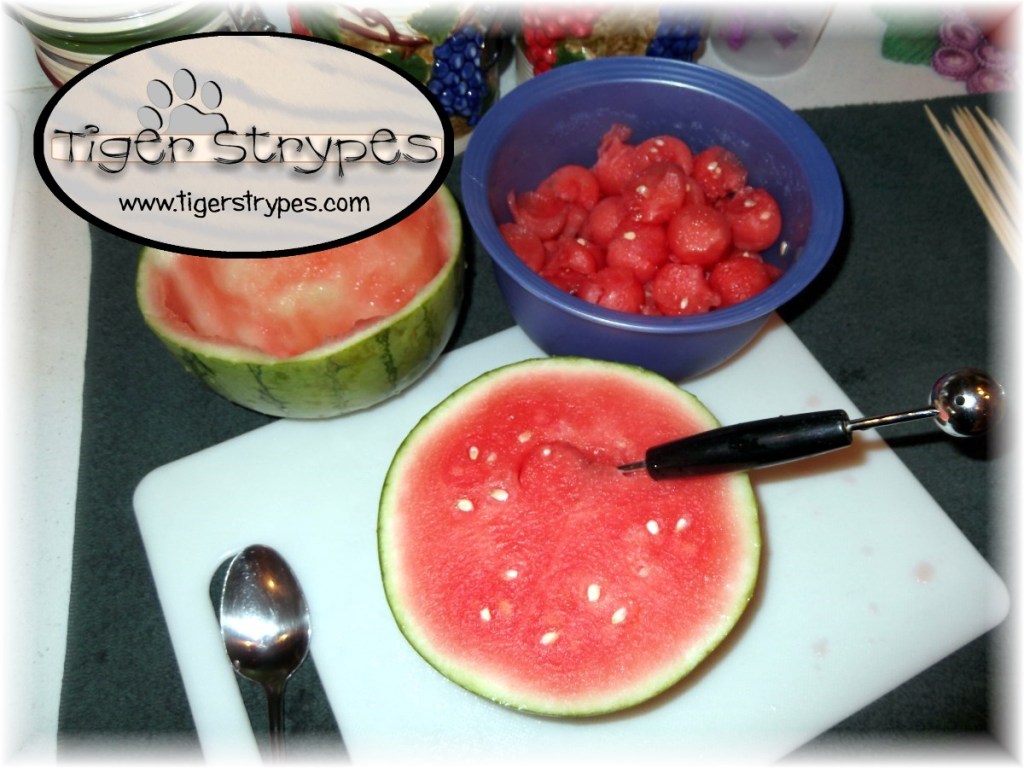
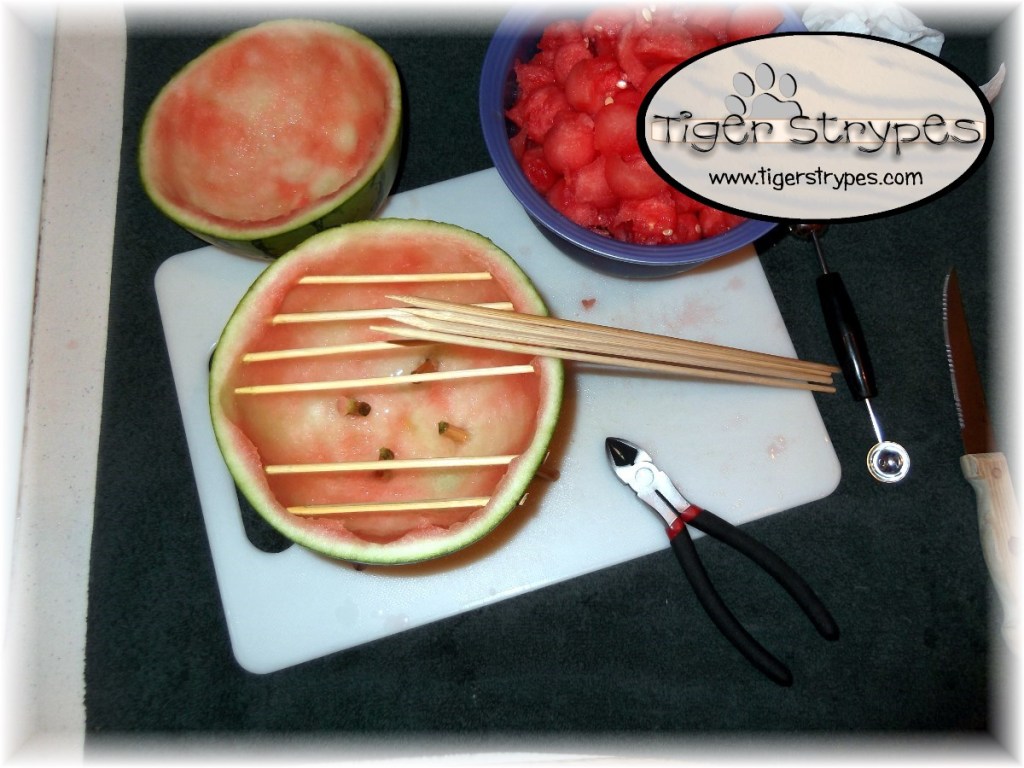
Using a melon baller, scoop out all of the middle of both sides.
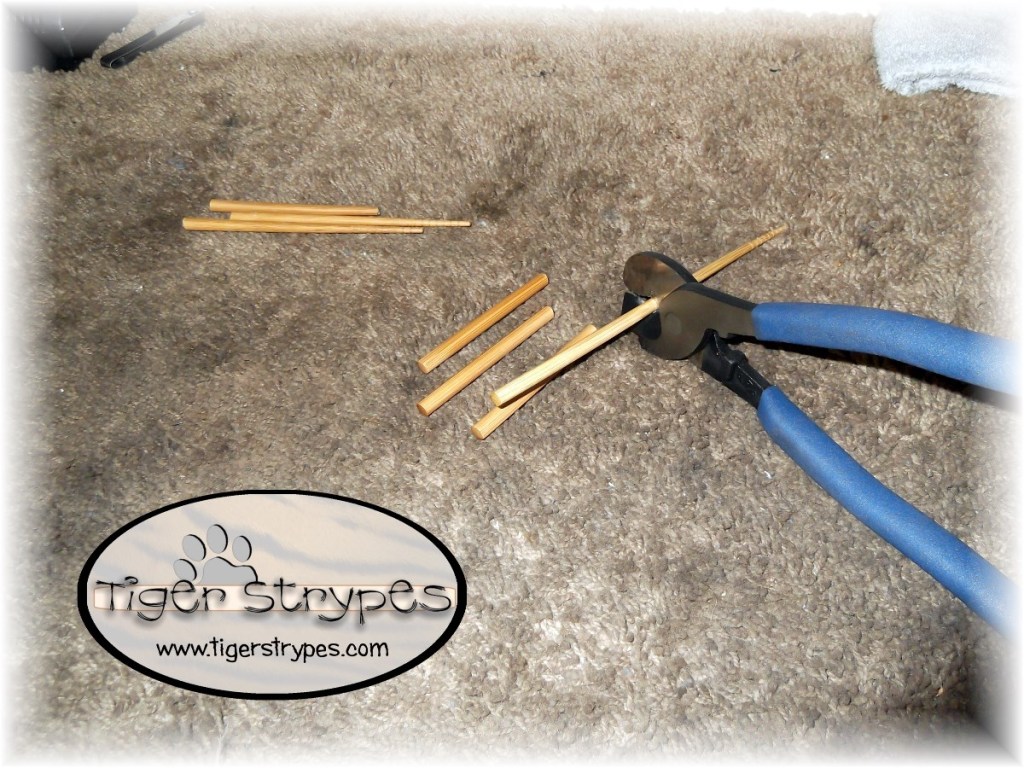
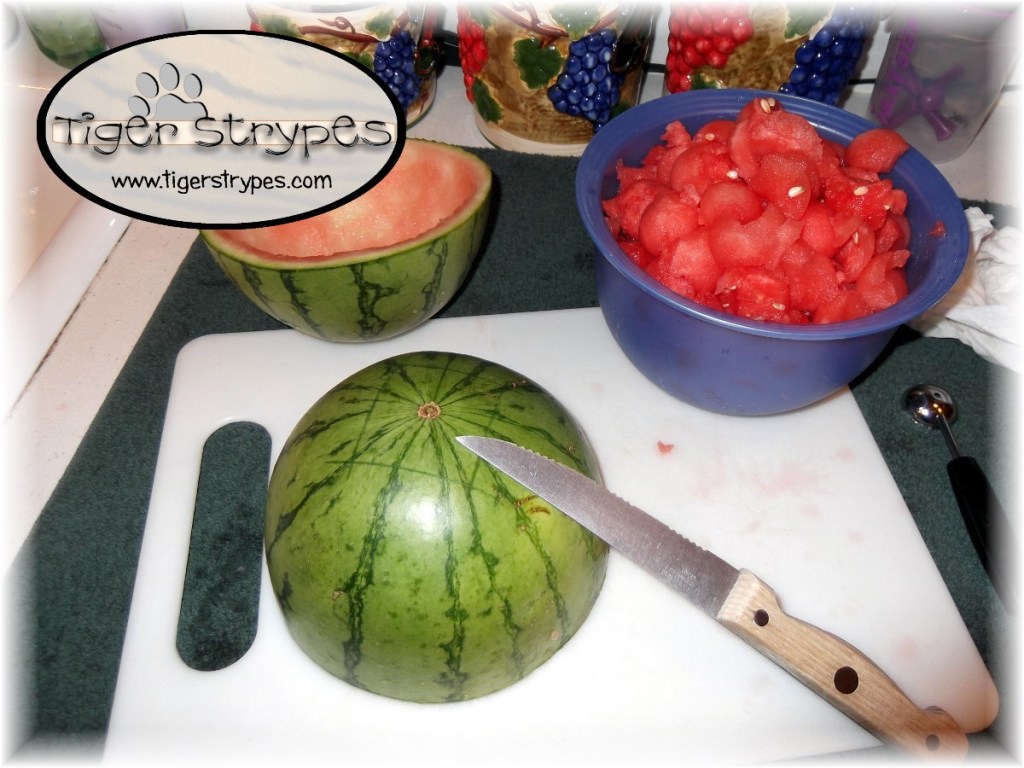
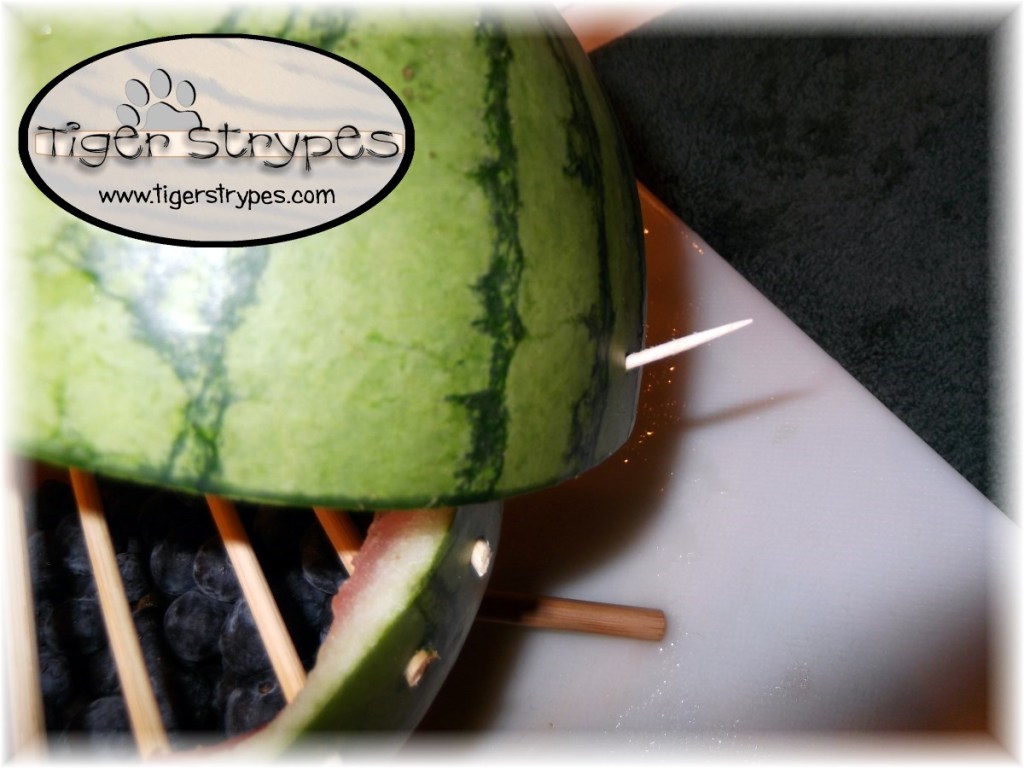
Once you have both of them completely cleaned out ( you might want to use a large spoon to clean out the excess left over), you can start to assemble the “grill”. I took some old chopsticks out to the garage and using a cutter tool, snipped them to about 3.5″ each to use as “feet”. NOTE: After getting this completely together, the feet didn’t hold all that well and started to sink in. I think next time I might drill through them and add a screw to hold them and insert them from inside the melon – just wanted to let you know, if you decide to try and make one.
Mark your melon in the spots that you will want to put the chopstick feet into. Doesn’t have to be precise, just spaced a bit even.
Now, you can insert the sticks in the bottom of the melon in each corner.
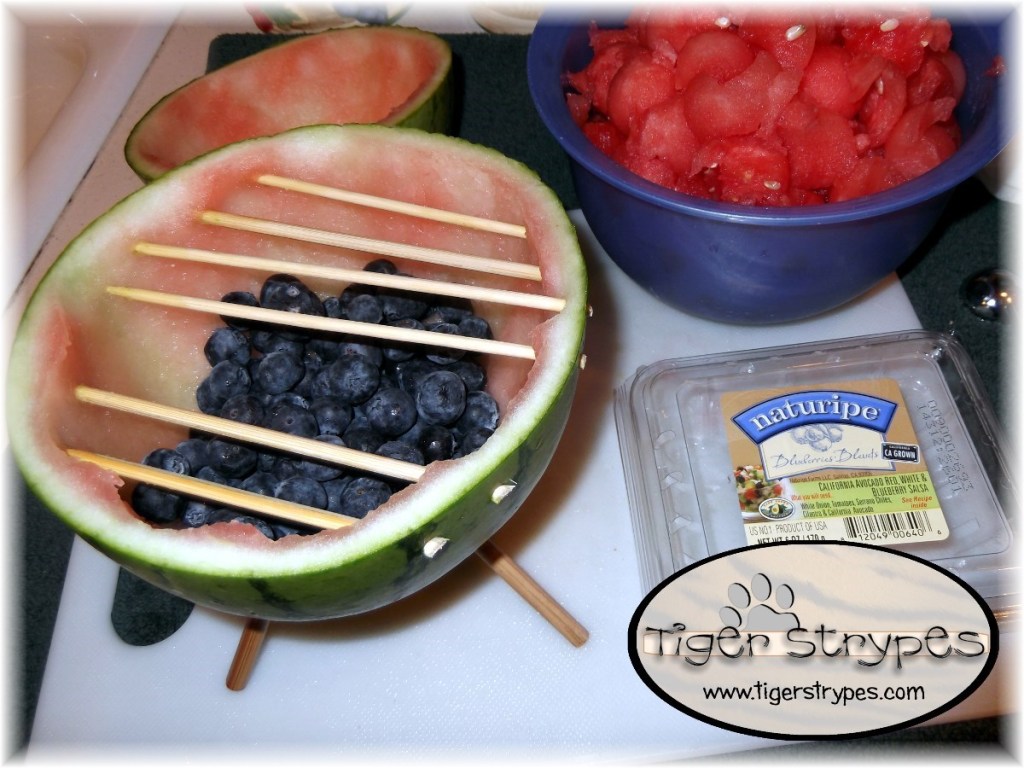
After that, flip it over and you can begin the grill prep. Insert your chopsticks evenly across the top of the melon.
Leave a little space and drop in your blueberries (or other dark berry) to look like your coals.
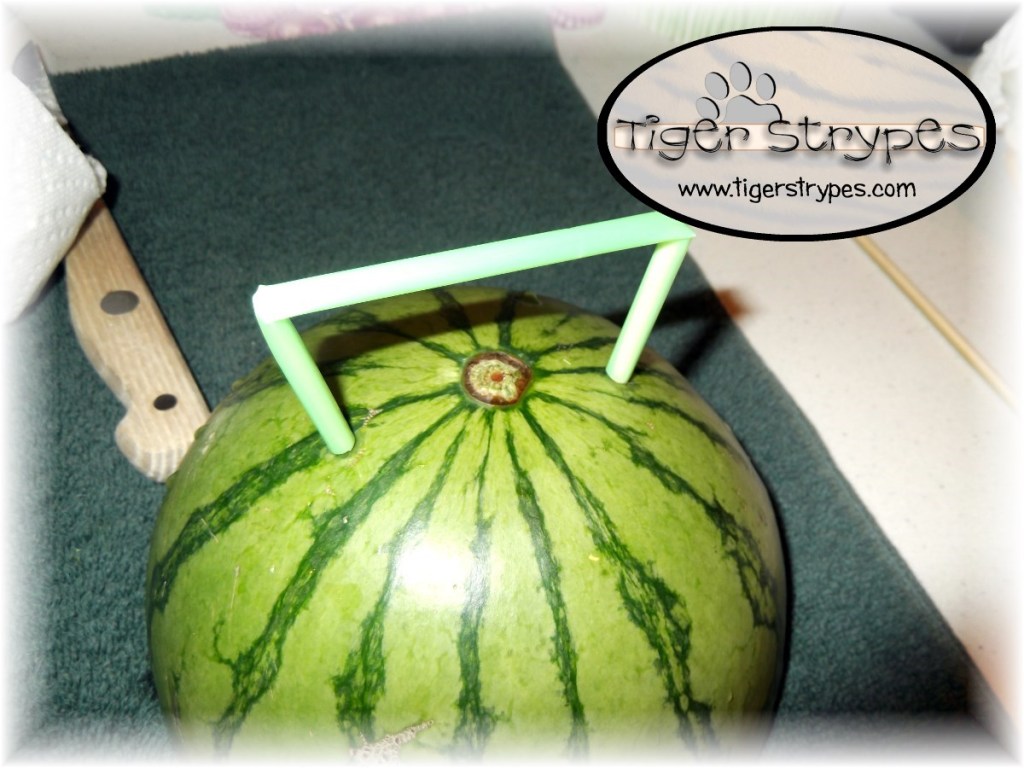
After that, using trimmed toothpicks and a straw that is cut short, you can make your handle – this step can be changed up however you wish, or eliminated completely, I was just going for a more real look. ha/ha
Next, use some toothpicks to insert in the back of the bottom portion to hold your top to the melon – making it look like you have the lid off.
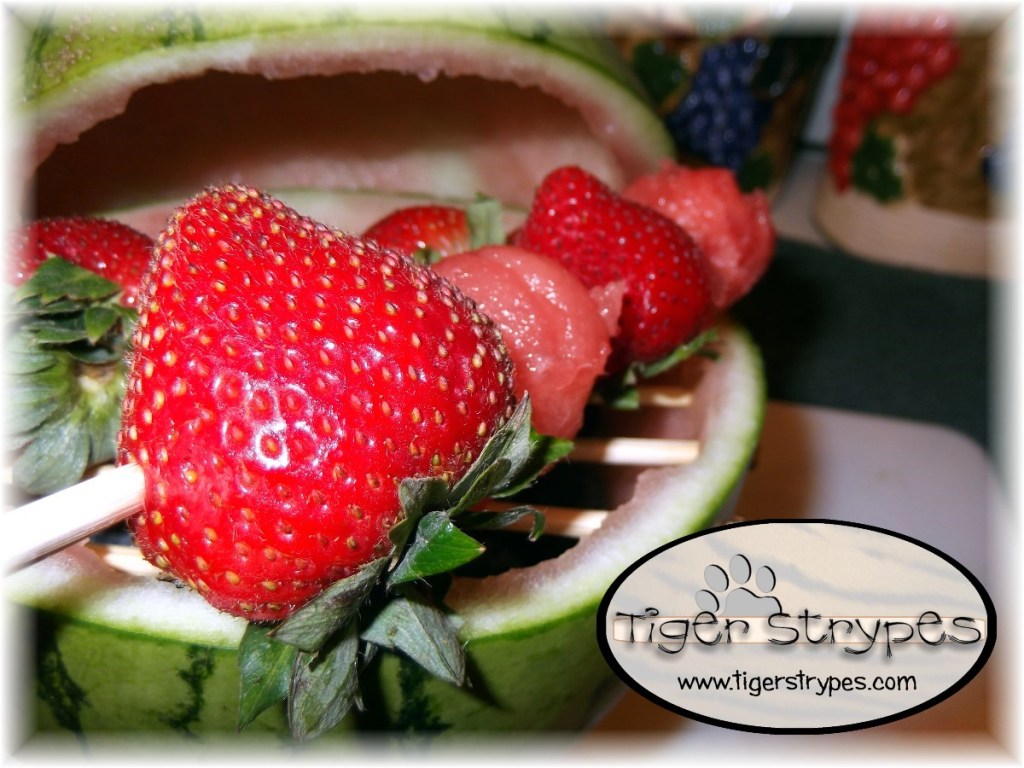
Next, add your strawberries and the watermelon pieces you scooped out earlier to make some “fruit-kababs” to add to the grill. You can make a few of these and just refill your BBQ when they are gone.
This is perfect for a potluck or summer party. Great way to make your fruit do a double-duty!! Hope you like it!!
Please take a minute to leave me a comment and let me know what you would do different, or what you would add, etc. Be sure to tweet, pin, share, etc. – thanks!!
“The fruit of the righteous is a tree of life…” –Proverbs 11:30
All pictures and text are my own and have not been copied in any way. I, Jamie Tomkins, own and operate Tiger Strypes Blog located at www.TigerStrypes.com. From time to time you’ll hear about my real life experiences or creations with products and/or services from companies and individuals. Let it be known that I have no affiliation with these said companies, and have not received compensation for reviewing or using their service/product. The information that I give regarding the product/service is based off my own personal experience, I do not guarantee that your experience will be the same.
PLEASE SHARE THIS POST USING THE OPTIONS BELOW…THANKS!!
*****************************************************************************************************

[…] Watermelon BBQ by Jamie @ Tiger Strypes. When I first say this post I about drowned from the drool. We LOVE fruit here and this is such a fun way to showcase some natural deliciousness! […]
That was very nice, and easy to do for a party!!
This is so clever! Thanks for linking up at the Creative Craft Challenge Link Up.
Thank you Bonnie, and thanks for the chance to link up!
we are fruit lovers here so this will go over big time! nom nom! such a fun idea and a great way to have fun with your food and eat it too lol. Thanks for linking to the creative challenge!
Thanks for the chance to link up – hope your family loves it! 🙂
Hey Jamie, just a note of congrats!! This post will be featured this Friday at the creative challenge link up! Thanks for participating with us 🙂
Awesome – thank you K & M!! 🙂
What an adorable little food project, loved it so much!
That is such a cool idea, fun to make it for kids’ party.
That is soo cute!! I love it and you made it look so easy to do!