This site contains affiliate links. Please see below for more information.
#DIY #Craft
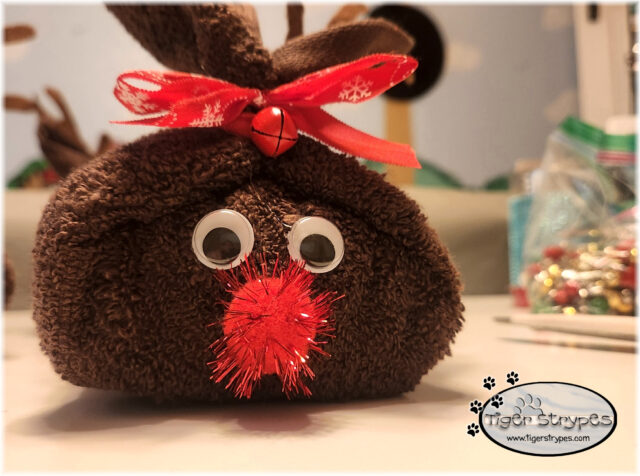
Looking around at Pinterest and other sites for some craft inspiration, I found this! It was from the Smart School House page, and I thought it was adorable. Heading to the local store, I bought a few brown washrags/cloths (finding brown was kind of hard), and got to work. It was so easy to do, and could be personalized in any way that you wanted. Making some for gifts, I had to keep one to use to decorate in the house. They are just too cute!! This would be a perfect family craft, and even one that the kids could help with. Just be sure to help them with the glue gun portion. I have a blister on one finger from that part, so maybe I need to get some supervision myself! 😀
Hoping this craft idea will be something that you love to make, this Christmas. It’s always fun to share projects that can be used as gifts for friends or family. If you make one, be sure and share a photo on my FB page, with what you come up with. I’d love to see it! I sure hope that you like the tutorial, and pray that you have a blessed day!
Please be sure to comment, and share this craft on your social media channels – thanks so much!!
Make some Washrag #Christmas Reindeer for your #friends and #family. #Craft #DIY #Gifts via #TigerStrypesBlog - Find out more at Share on X
Materials/Tools Used:
- Brown Washrag/Cloth
- Box of Soap
- Rubber Band
- Ribbon
- Bell(s)
- Felt
- Scissors
- Googly Eyes
- Red Pom-Pom(s)
- & Time!
Instructions for the Washrag Christmas Reindeer:
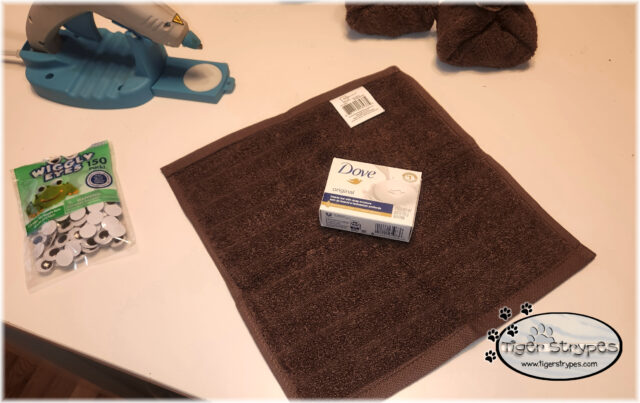
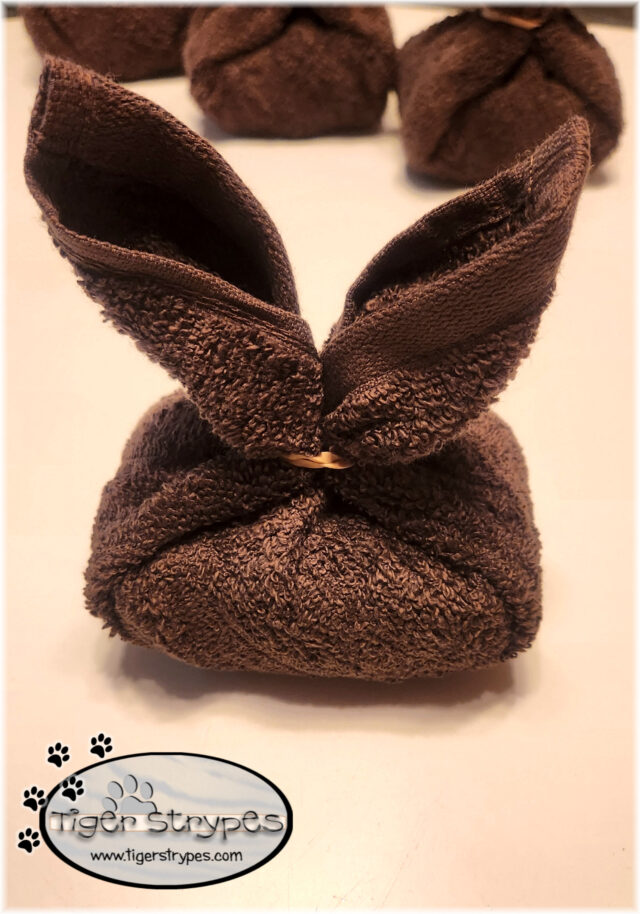
Start by laying the box of soap in the center of the washrag, at an angle.
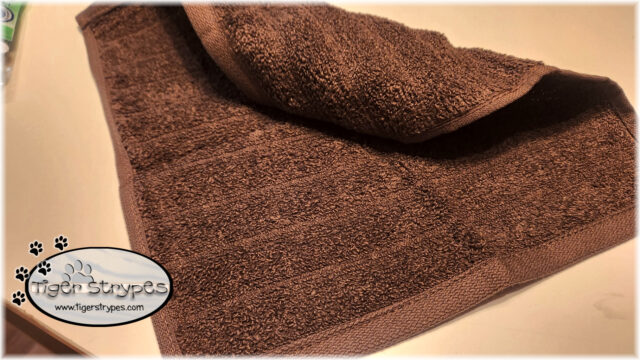
Fold the back of the cloth over and under the box of soap. Be sure, to make it as tight as you can.
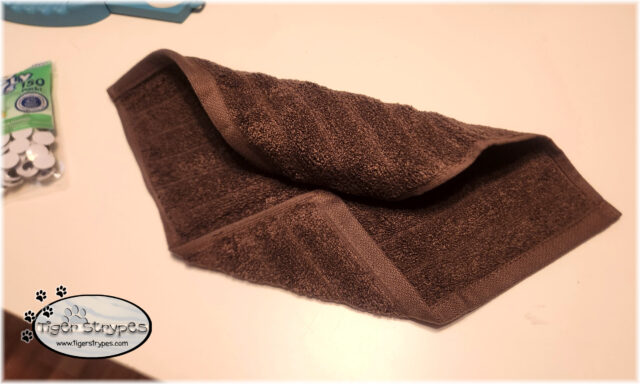
Next, fold the front piece corner up to the bar, and then over the top. Again, being tight with the fold.
Pull the overlapping pieces together a bit tighter, and fold the two (2) edges up together and secure with a rubber band. You might have to adjust the sides to be even, and folded to look more like ears. Totally up to you, on how perfect you want it.
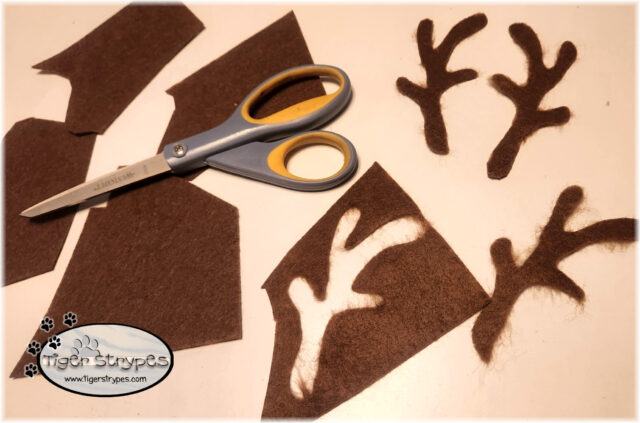
Using my Cricut, I found some clipart of antlers, and cut enough out for the reindeer I was going to make. Like my last project, the felt just didn’t cut all the way through, so I had to trim off the edges, etc. I guess it looks like a reindeer’s new antler growth, when they are a bit fuzzy, so it’ll work.
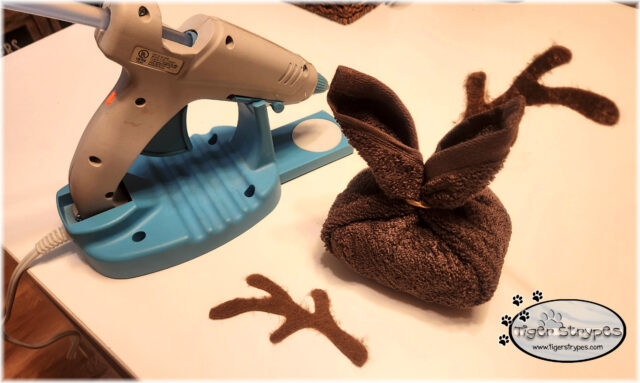
When those were all cut out and trimmed, I used my glue gun to attach a set to the back of the “ears” on each piece.
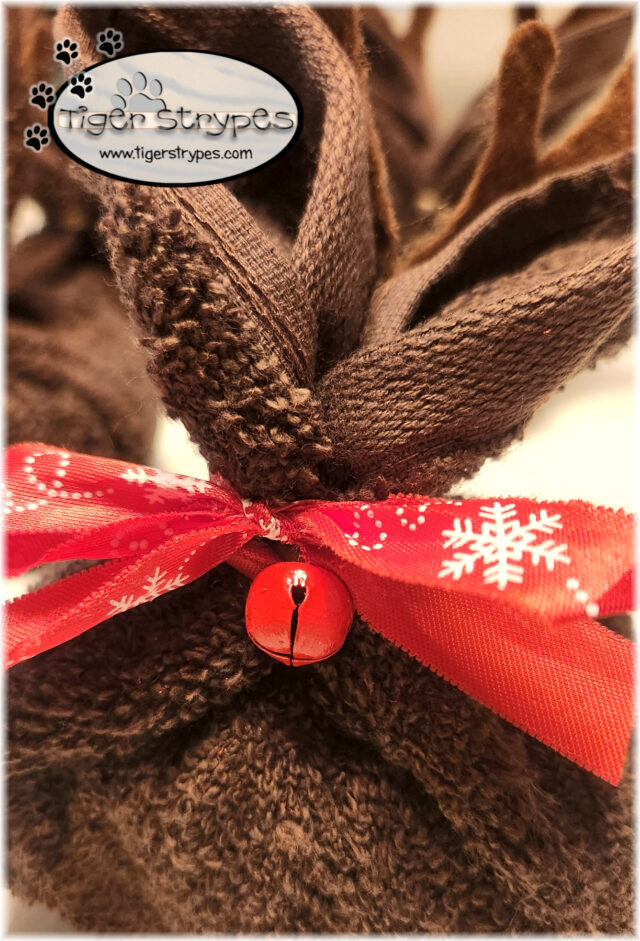
Now, using about a 2′ length of Christmas-style ribbon, I added a small bell to the center. When the bell was centered, I tied the ribbon around the ears, pretty much to hide the rubber band. This could be done in any style you want. I stink at tying bows, so if you’re a pro at it, make it even more detailed!
Now it’s time for the face. Using some googly eyes, and red pom-poms that I had in my craft room, I glued those on to the front of the piece.
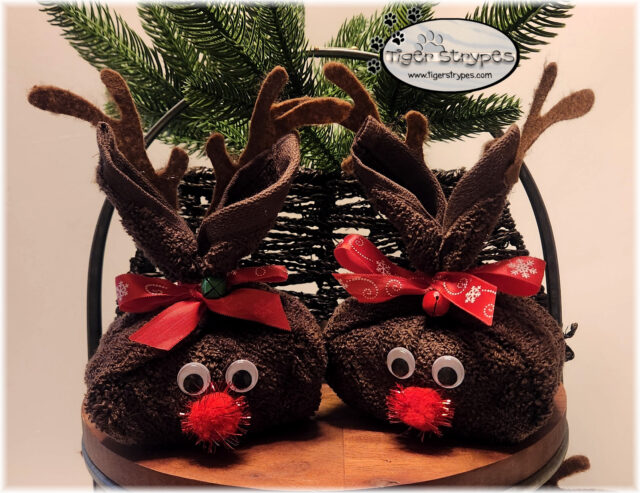
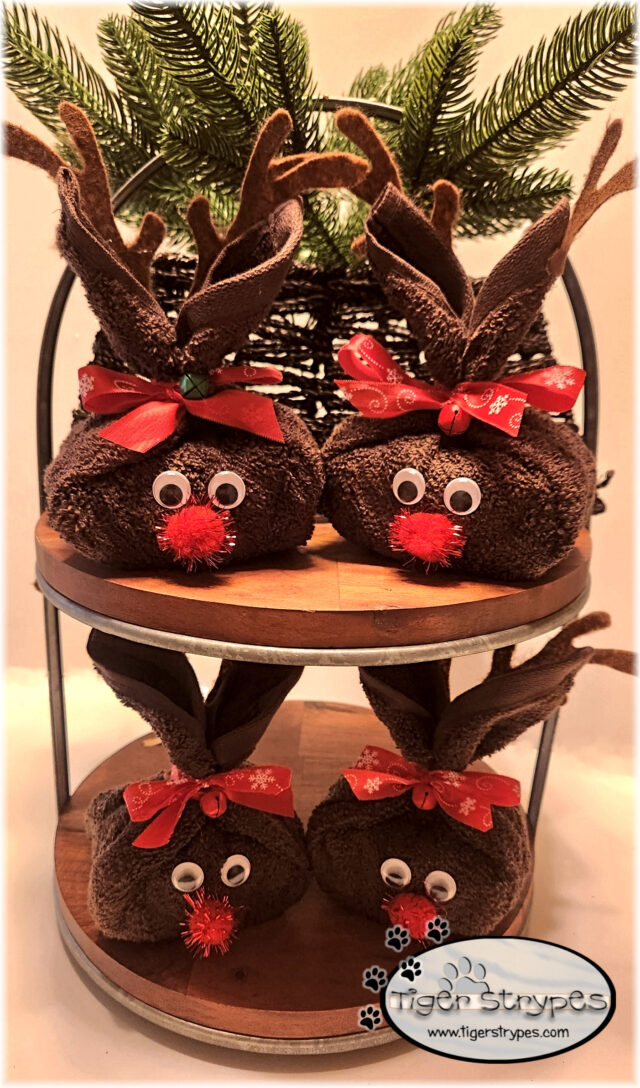
Again, like I said, you could go crazy with how you decorate these, and make them all your own. I love mine, and it’s sitting in our house and making the room smell amazing. Be sure to use a soap that you like the scent of, because it comes through the washrag into the air usually. Here’s my finished reindeer family. What do you think?
I hope you and your family have great Winter season and blessed Christmas. Stay safe and stay warm! What do you think? I hope you like it! Please take a minute to leave me a comment on what you would like to create, and maybe if you have any tips on how to do it different, or better!
Be sure to tweet, pin, share, etc. – thanks!!
“As the deer pants for streams of water, so my soul pants for you, my God.”–Psalm 42:1
Affiliate links for Amazon are used on my site. This means that when you click on a link, and make a purchase, I earn a commission for that purchase. There is no extra charge for you, it’s just their sites way of saying thank you for helping them get a customer. I use affiliate links to help fund my crafting budget, as well as help provide for our home.




How adorable! It would be so fun to make this for guests or just for decoration. What a cute idea!
Thanks – I love having it for decoration, and hope that those getting one for Christmas love it!
Oh my! This is so cute! Thanks for the tutorial on how to do it! This is so perfect
You’re welcome – they are super fun to make!
Wow! This is so cute and I like that it’s easy to make.
Thanks – they were super fun to make!
This is so freaking cute! Oh my gosh! I wanna go out and buy towels just to make it lol
Thanks Melanie!! I bet ones with towels would be cute, too. Dang it, now I need to make more, so there’s a Mom & Dad to go with the baby! 🙂
This is so adorable! I always look forward to your crafts!
Thanks Heidi – I always look forward to making more!
Thses are so cute and I have the perfect color of towels to do this! Love this ad crafting is good for the soul and the. you get to enjoy the beauty of what you made when. you are done!
I agree – I always love quiet time with crafts! 🙂
That’s such a cute little craft, I love towel/rag designs!
Thank you! I just love the ones that are easy and inexpensive. 🙂
This is all so cute and creative! I love this idea.
Thank you – they were fun to make!
I love this idea! This would be so cute to leave in my guest room when my in laws arrive!
They are so easy to make. Plus, you could use whatever you wanted to put in the rag, doesn’t HAVE to be soap. 🙂
What great gift ideas, and even fun DIY ideas to keep the kids busy!
Thanks, Mitch. I enjoyed making them!
These would make great gifts. I love how they look.
Thanks Tara – they were fun to make!
Oh my gosh, these are the cutest. They would make awesome gifts!
Thanks, Amber!
This is so cute! What a great idea.
They were really fun to make, and could be changed up, however you wanted.
These are so cute and they don’t look too hard to make! Perfect decorations!
They were definitely easy to make. I love those kind of projects!
This is super cute! My kindergartener will have to try making this with me!
They would probably love it!! Just be careful with the glue. (not like I’m saying that with a band-aid on my finger or anything) :p
This is absolutely adorable! What a cute idea for a guest bathroom and to give to the kids after they leave.
Thanks Tammy! I was going to give them all away, but did have to keep one for the guest bath! 🙂