
“Bag Flowers” #TBCCrafters Hop
So it’s almost the end of February and still no snow here in the White Mountains of Arizona – I give up!!! Since winter decided to spoil the east coast and leave all of us dry, I’ve just decided to move on and figure it’s already Spring time. Plants are already starting to sprout outside and the animals that leave in the winter are returning, so I guess Mother Nature told us here in AZ to get over it! ha/ha
I saw this craft on Martha Stewart’s site and thought it would be easy to make and fun for getting ready for Easter time and Spring parties, etc. I couldn’t find colored paper bags anywhere up here in the mountains, so had to go with these patterned ones, which were very thin. They were only $0.25 each at Walmart, so at least I got a deal! I think the regular paper bags that are colored would have been a bit more sturdy, but these worked just fine.
I hope you like it!! Have a blessed day, and please be sure to comment on and share this #TBCCrafters craft!!
“Bag Flowers” Craft
Materials/Tools Needed:
- (6) Paper Bags
- Hole Punch
- Glue Dots/Tape
- Scissors
- Yarn/String
- & Time!

Instructions:
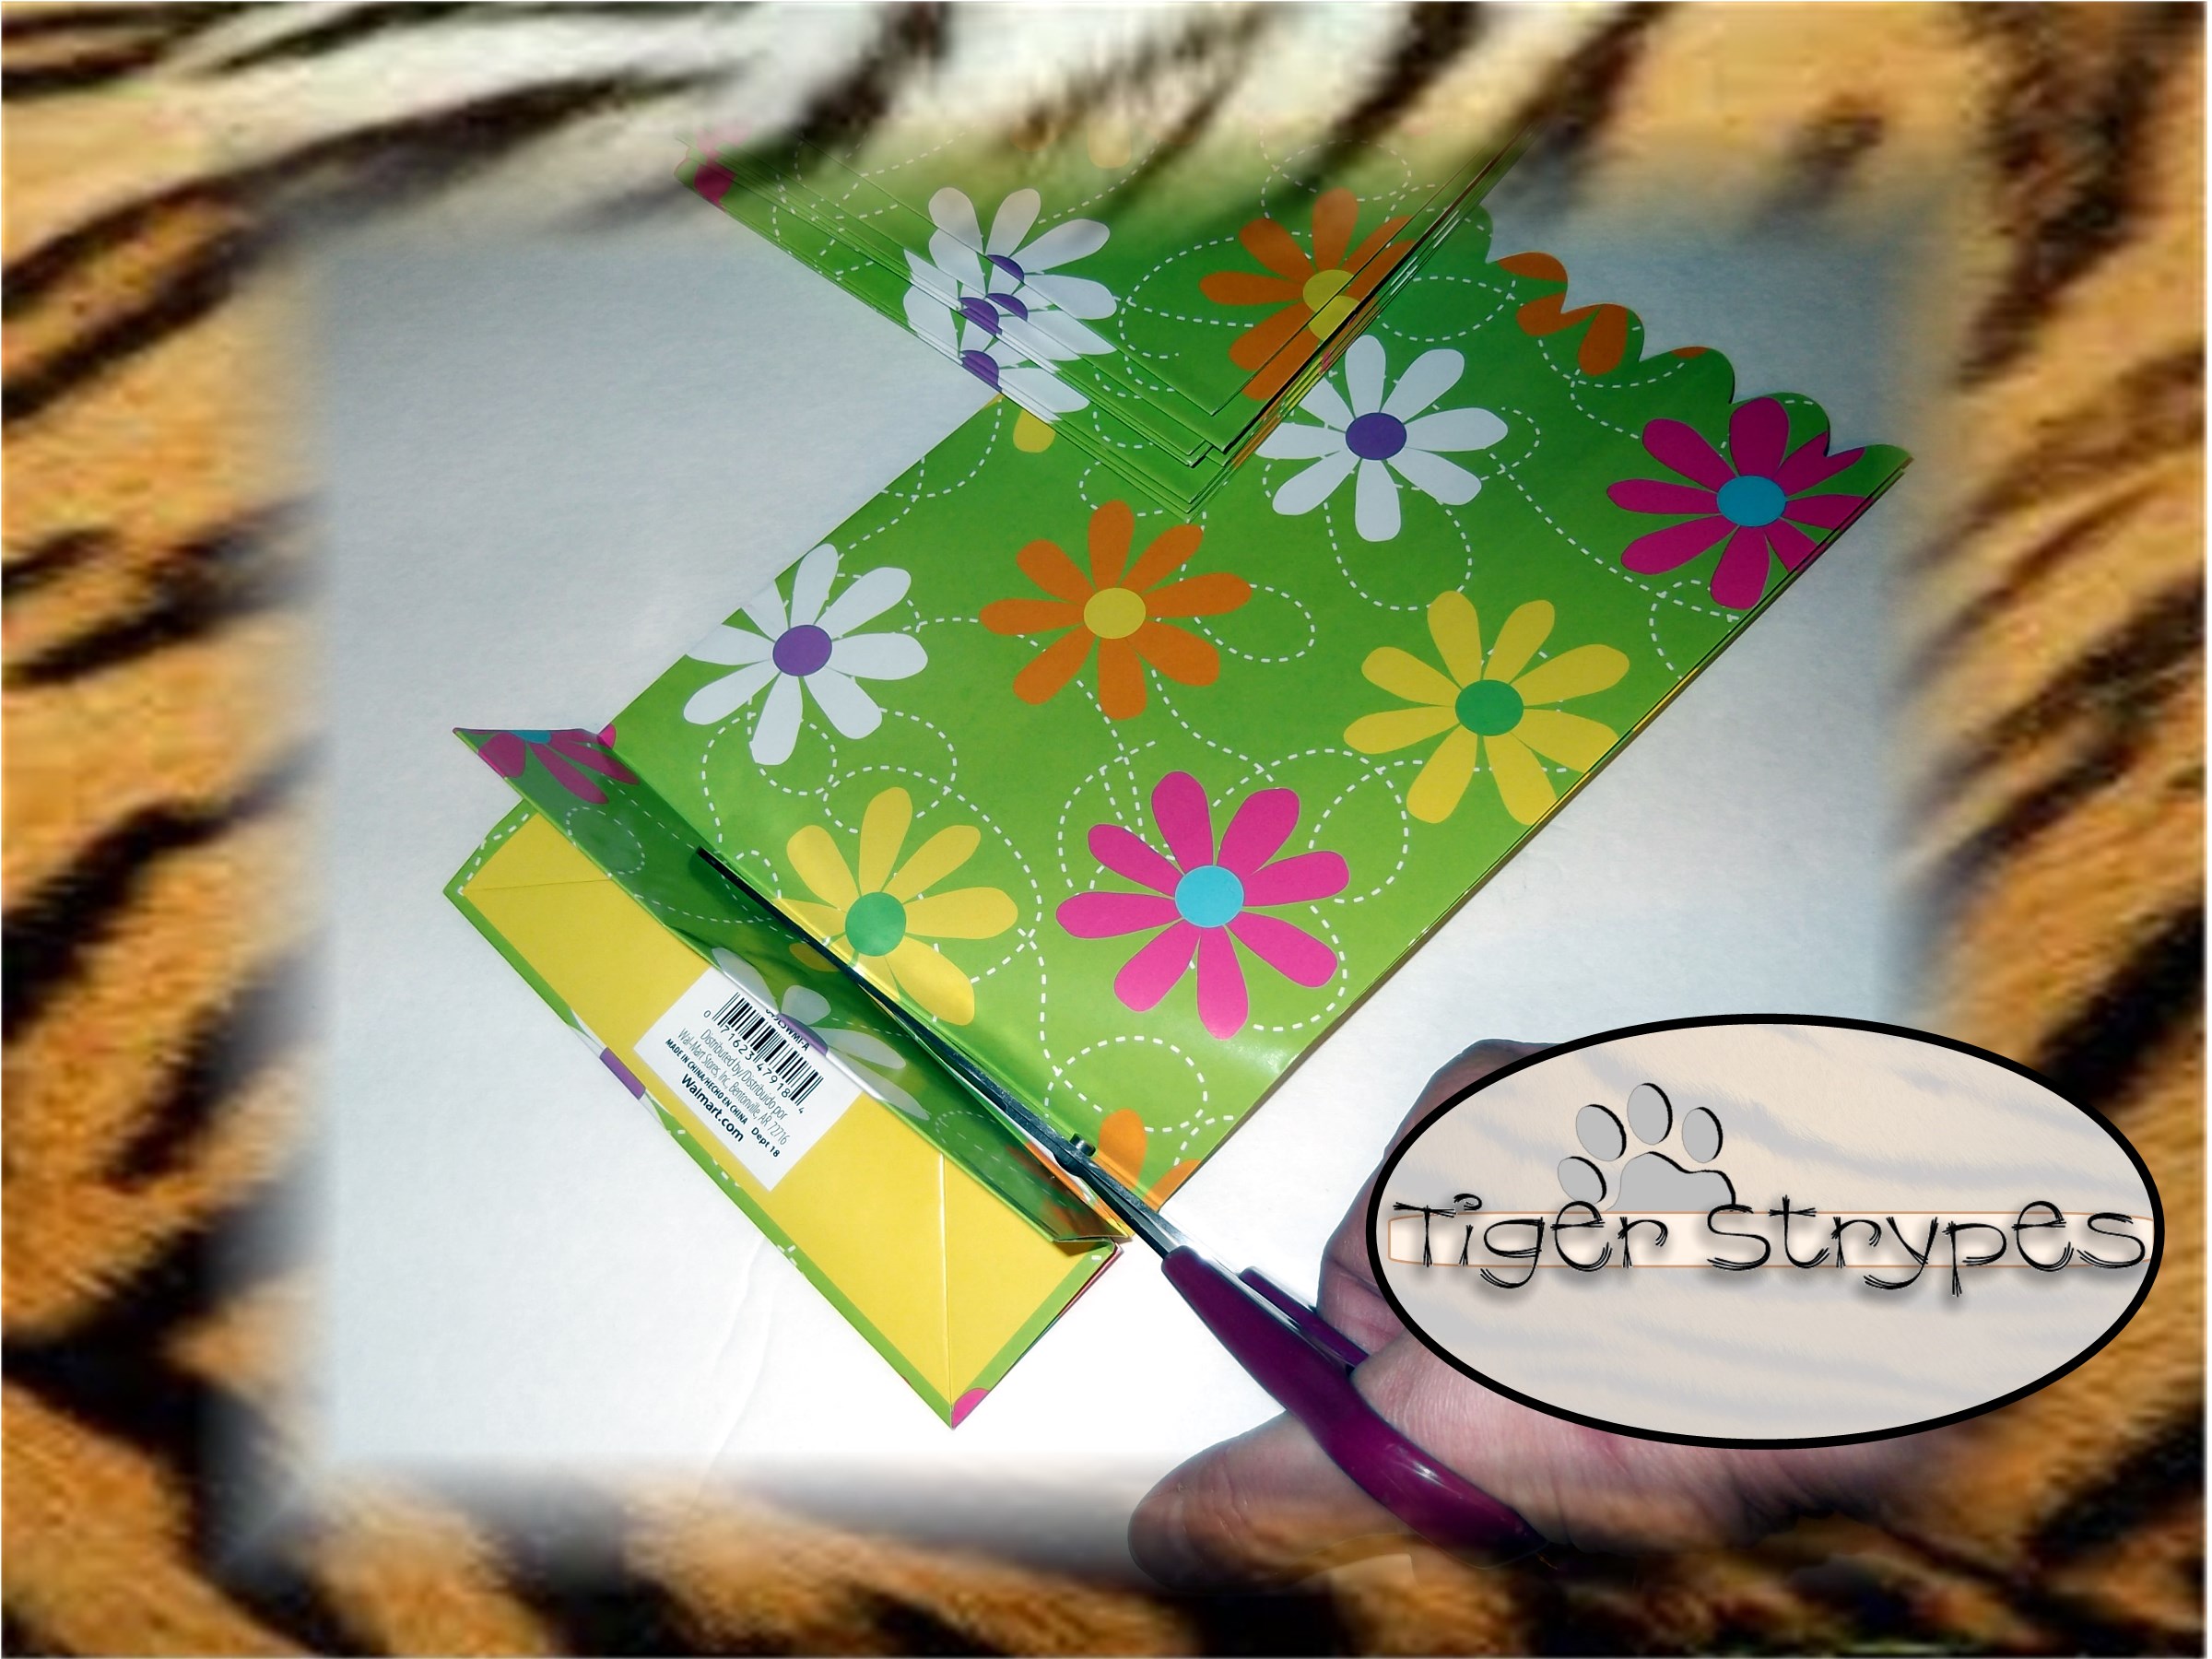
Start by folding the bottom of the bag in on itself and cut it at the seam – removing the bottom completely. Do this for all of the bags.
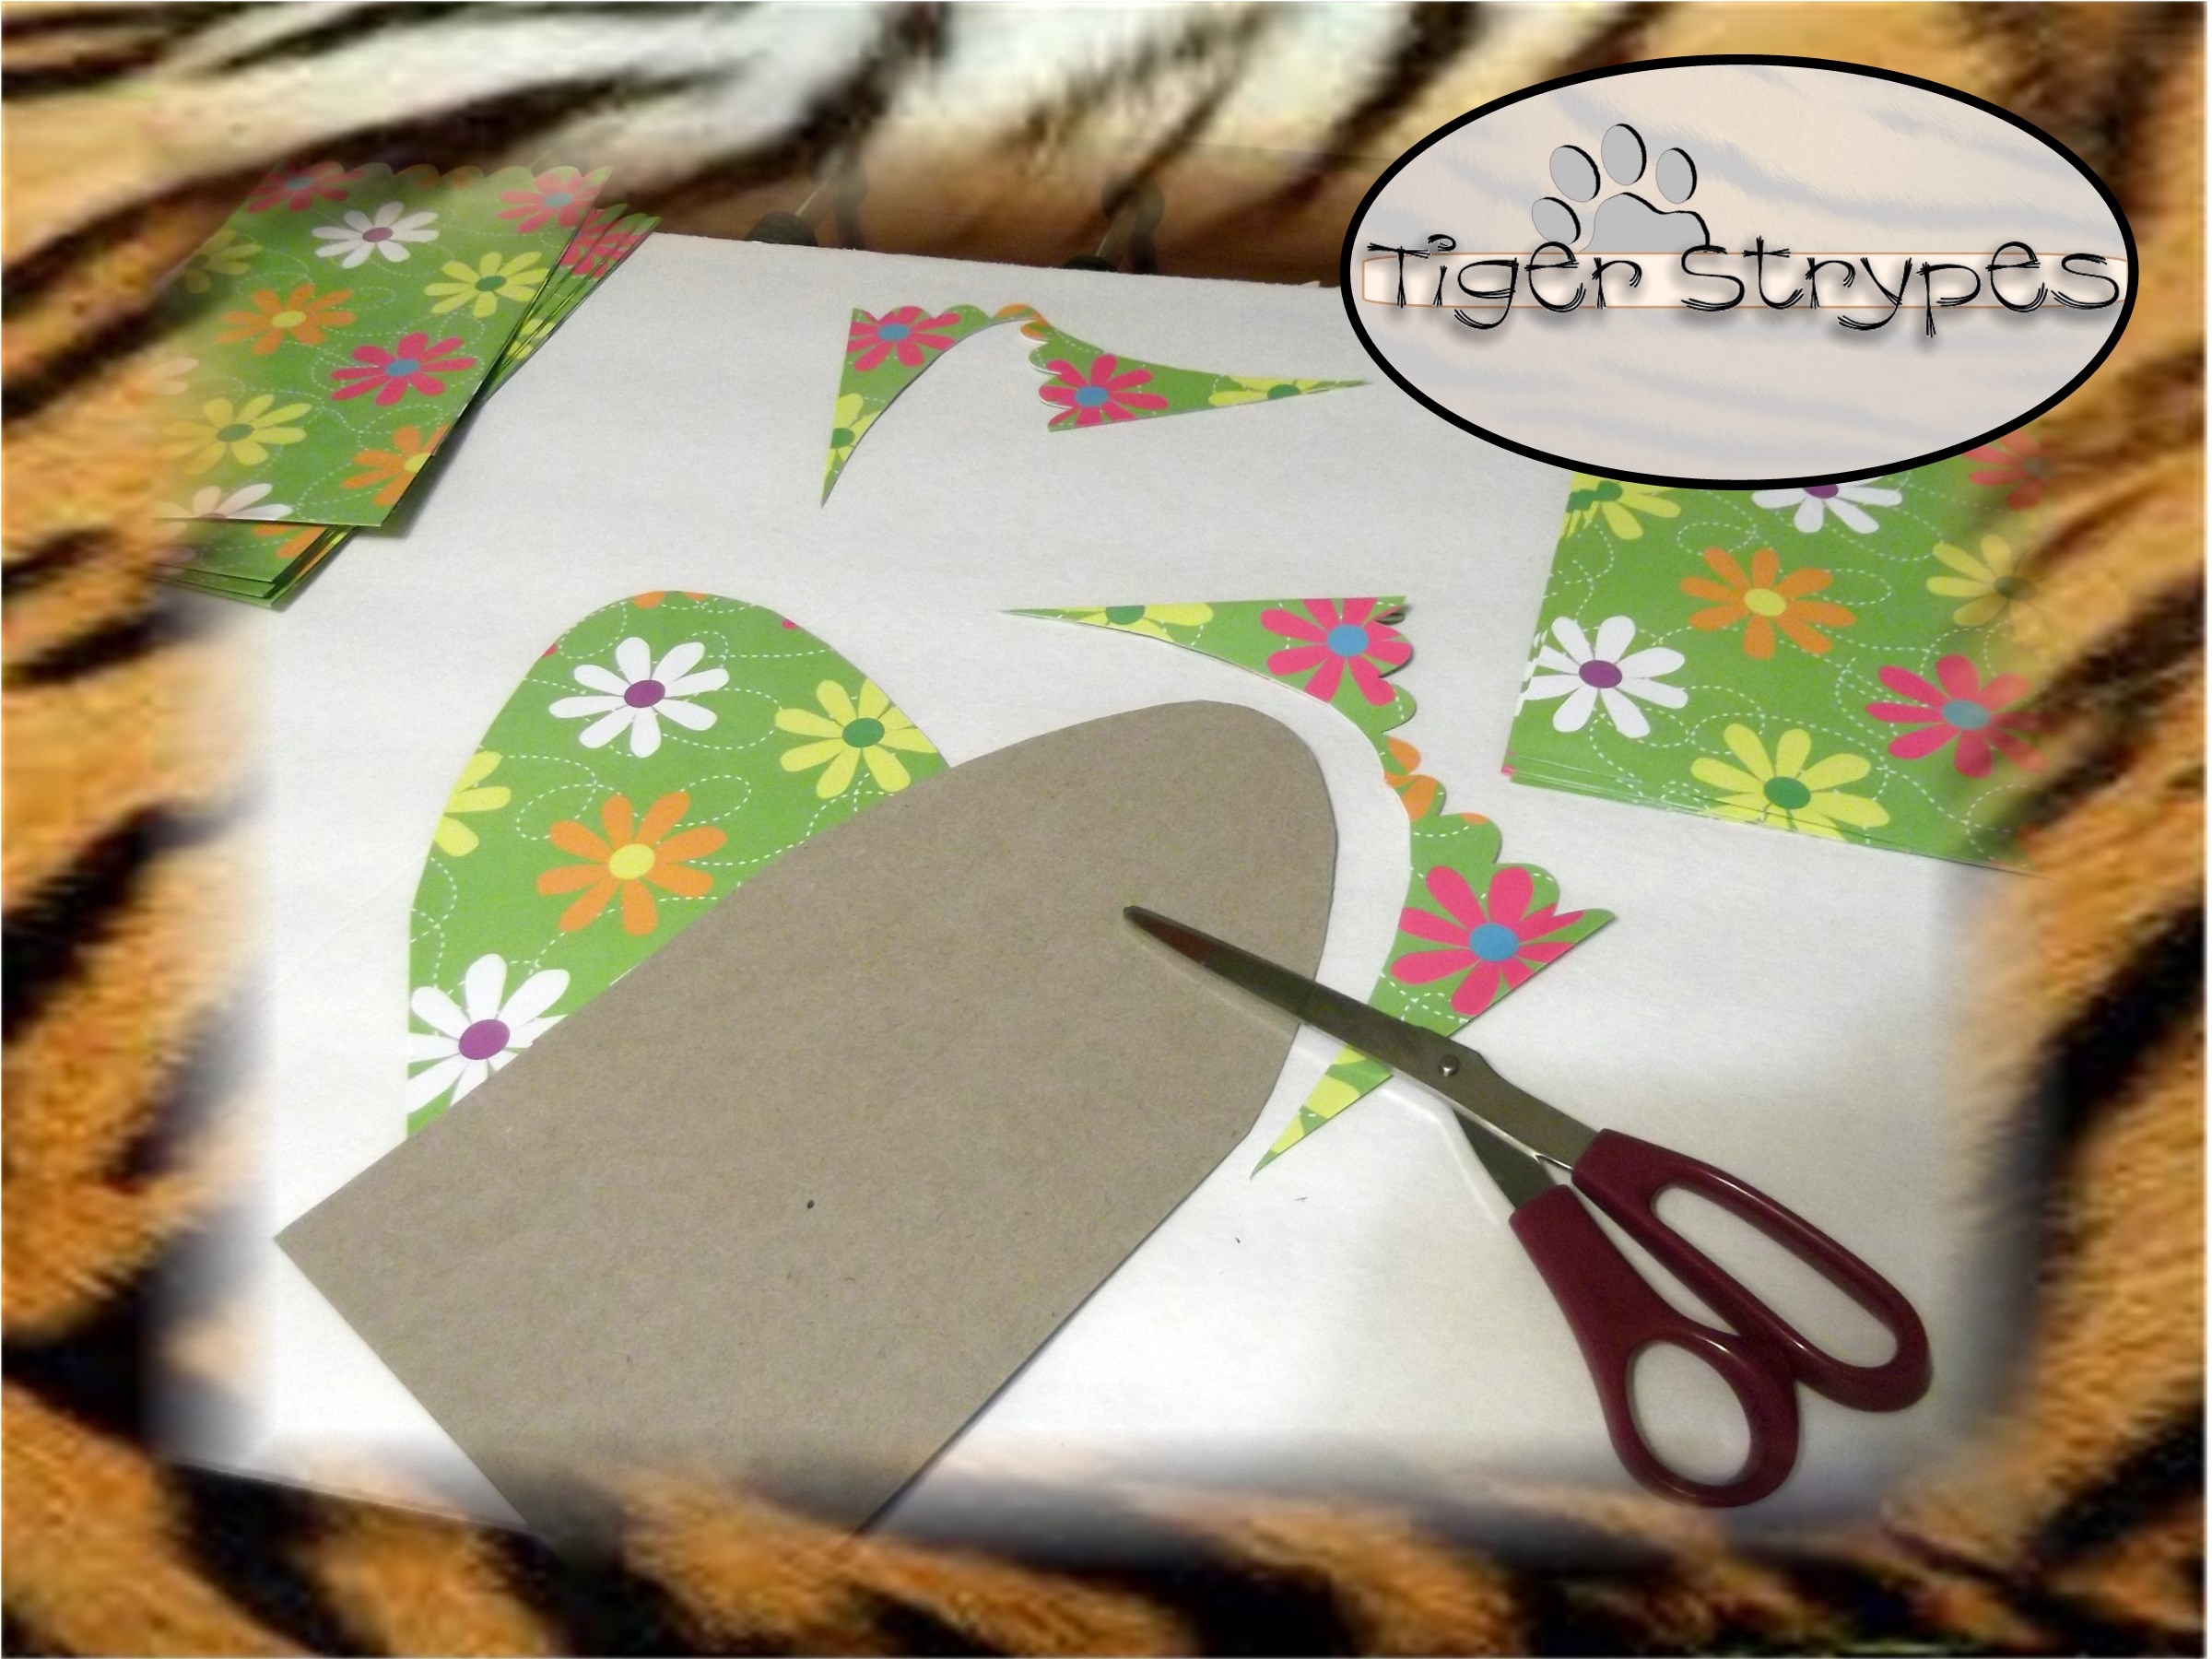
Next, create a template that resembles a flower petal. If you’re good at cutting things all the same, then just skip this part. I can’t even cut a straight line, so I need all the help I can get to get them uniform.

Cut out your template on a piece of cardboard or thick paper to use for cutting the bags. Position this so that the top of the petal is equal with the top of the bag (where you want to cut it). Then cut off the edges to match on each bag you’re using.
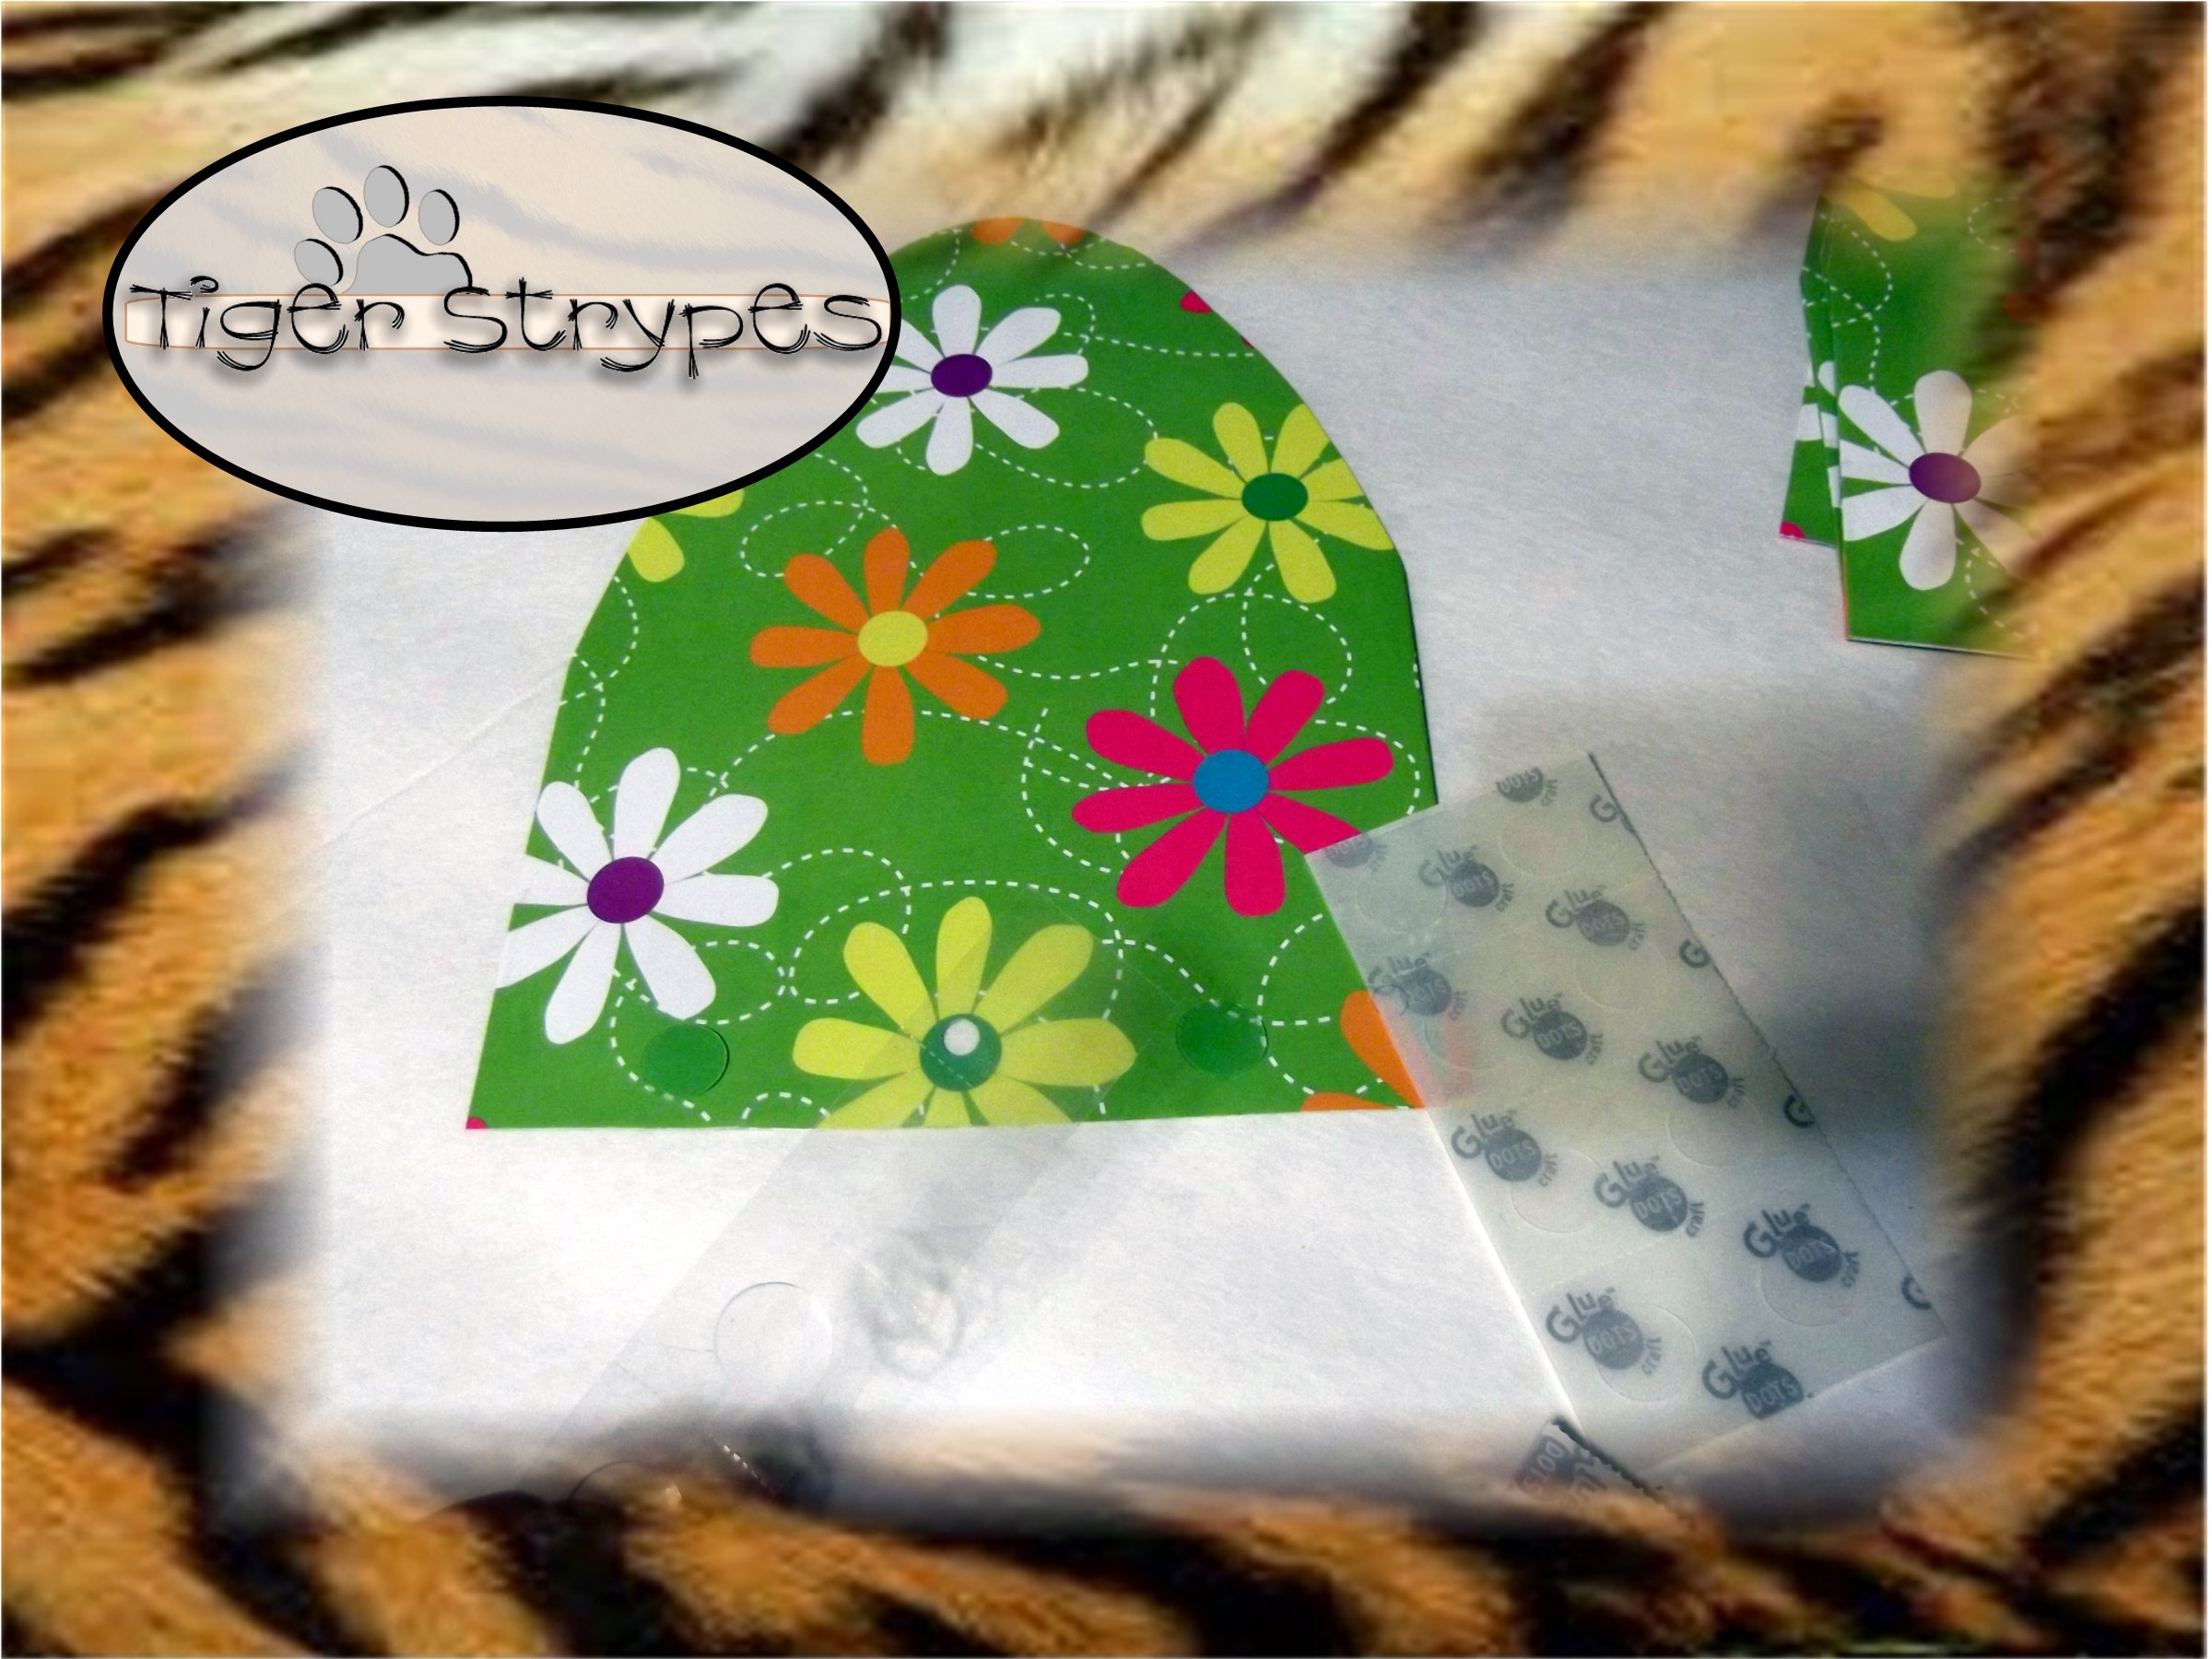
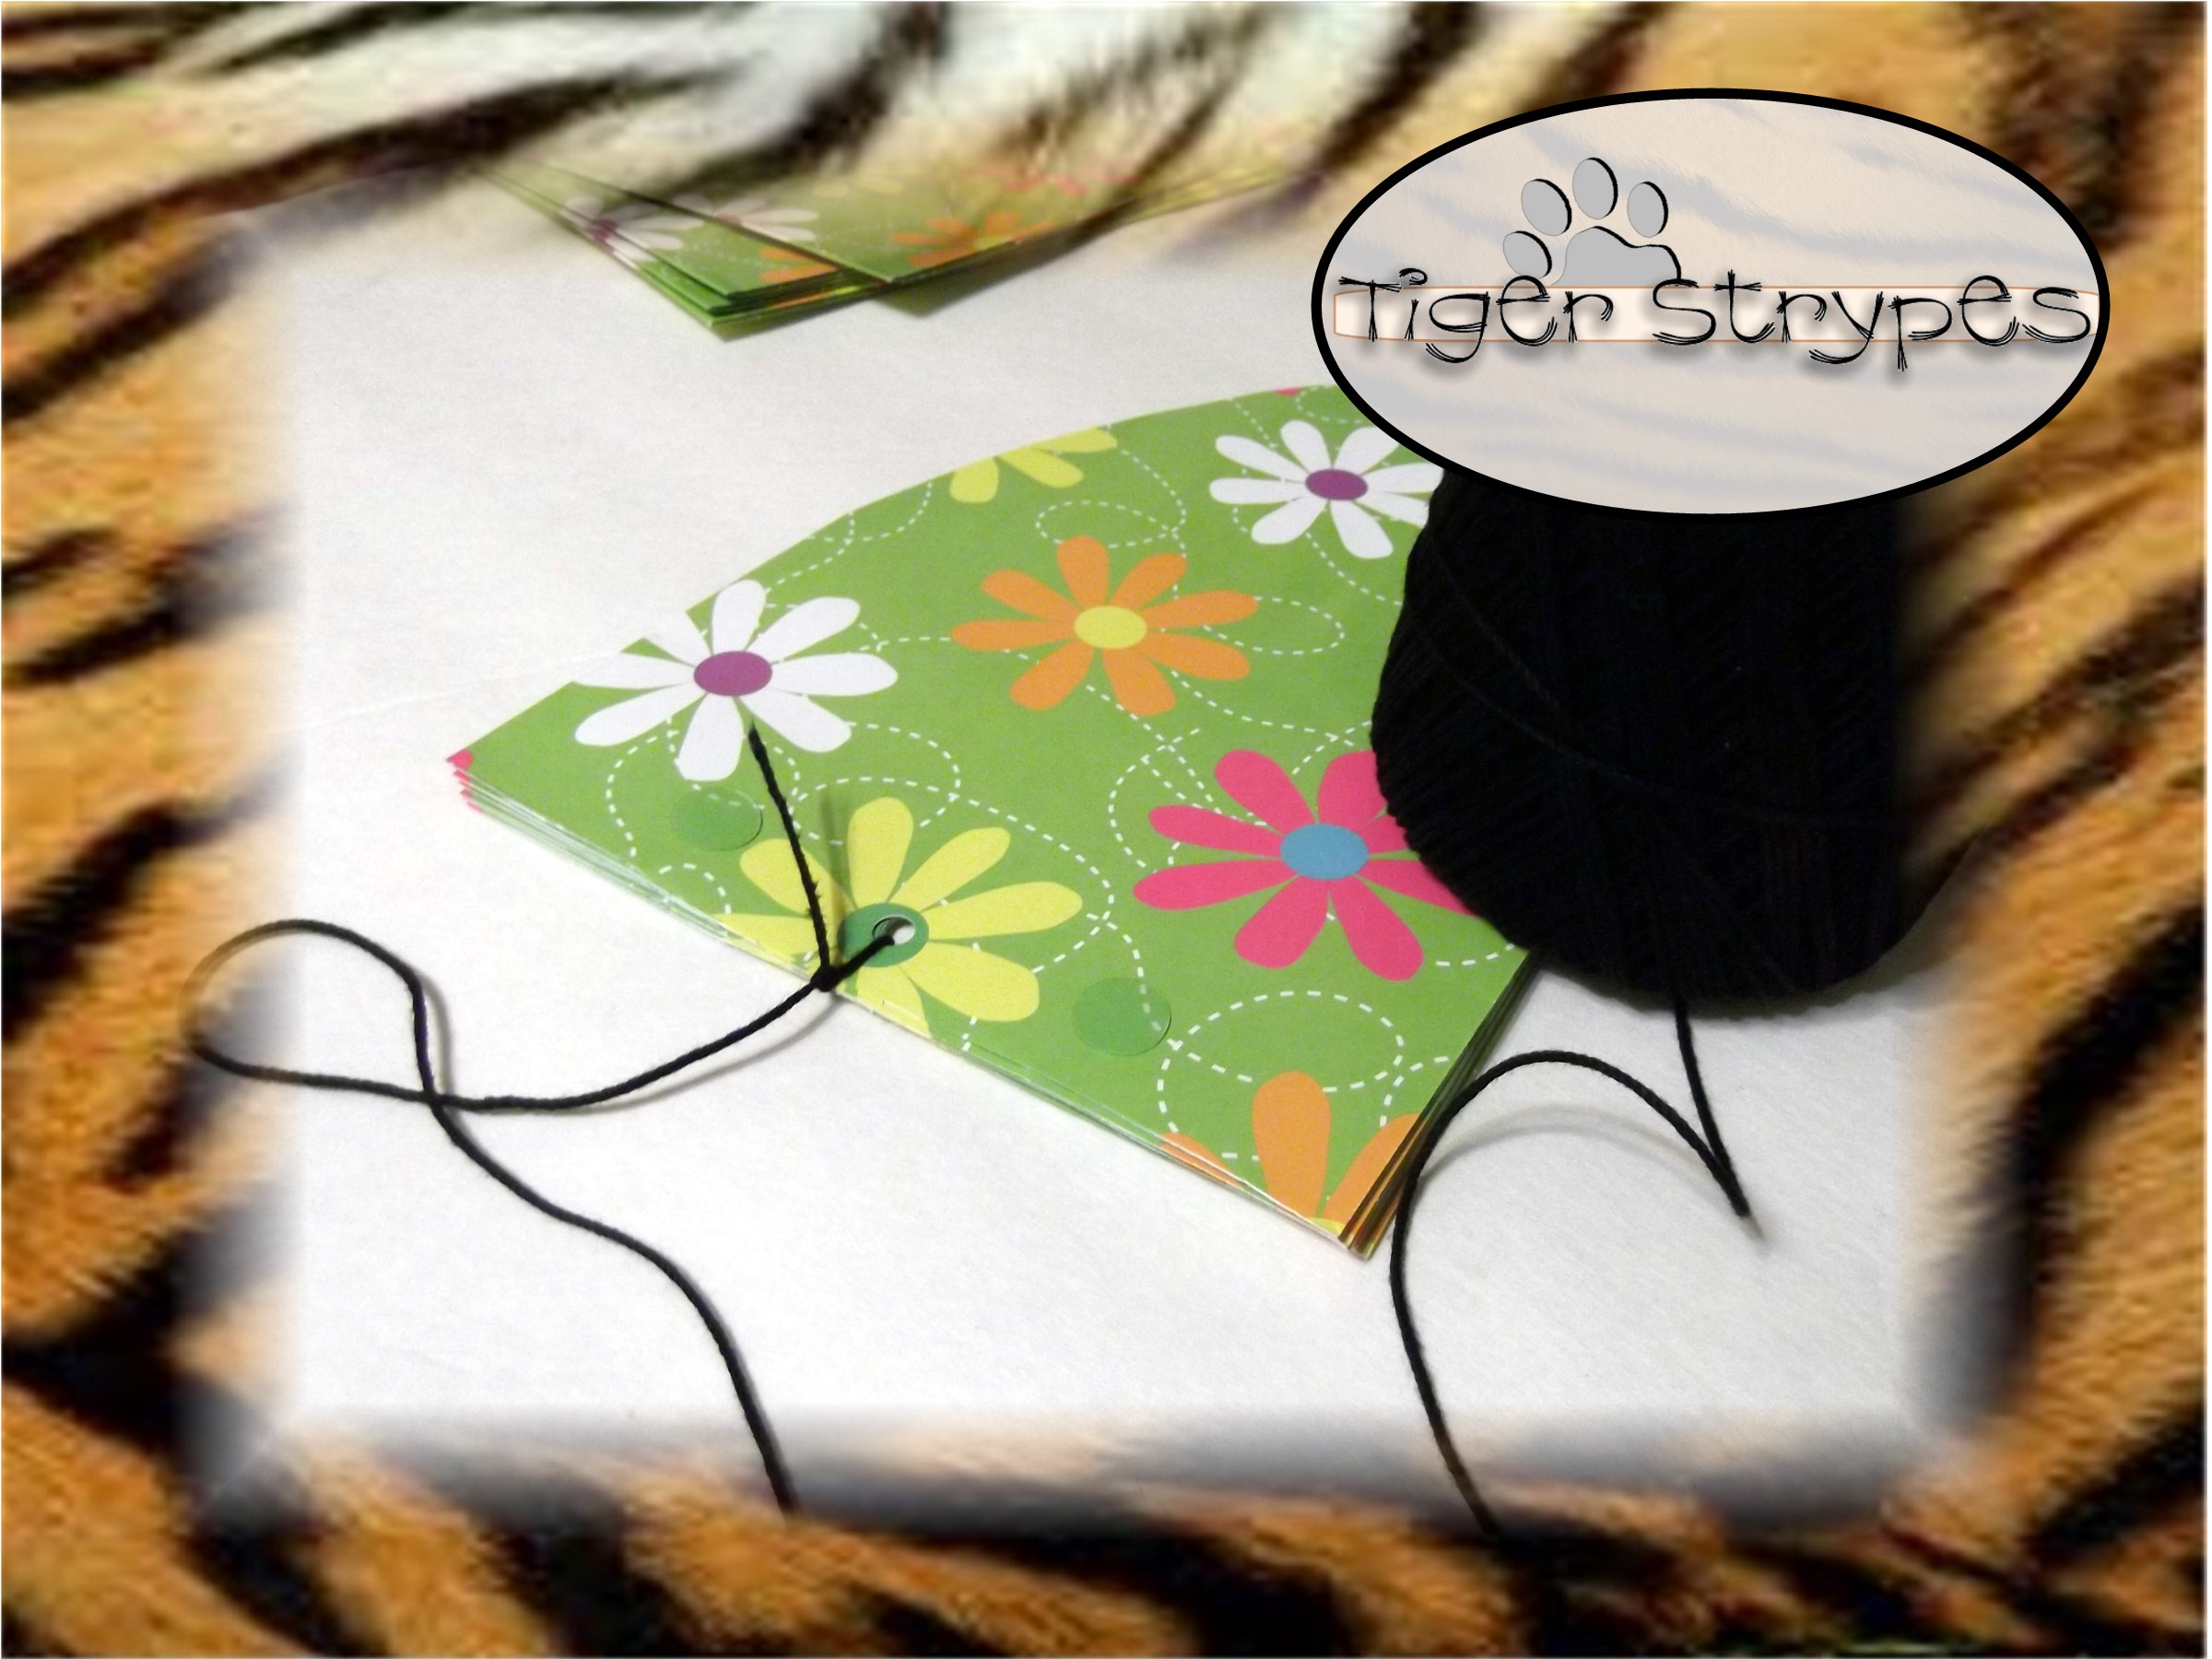
Now add (2) glue dots to the bottom of each bag, only on one side of each, and then layer them all up evenly to be hooked together.
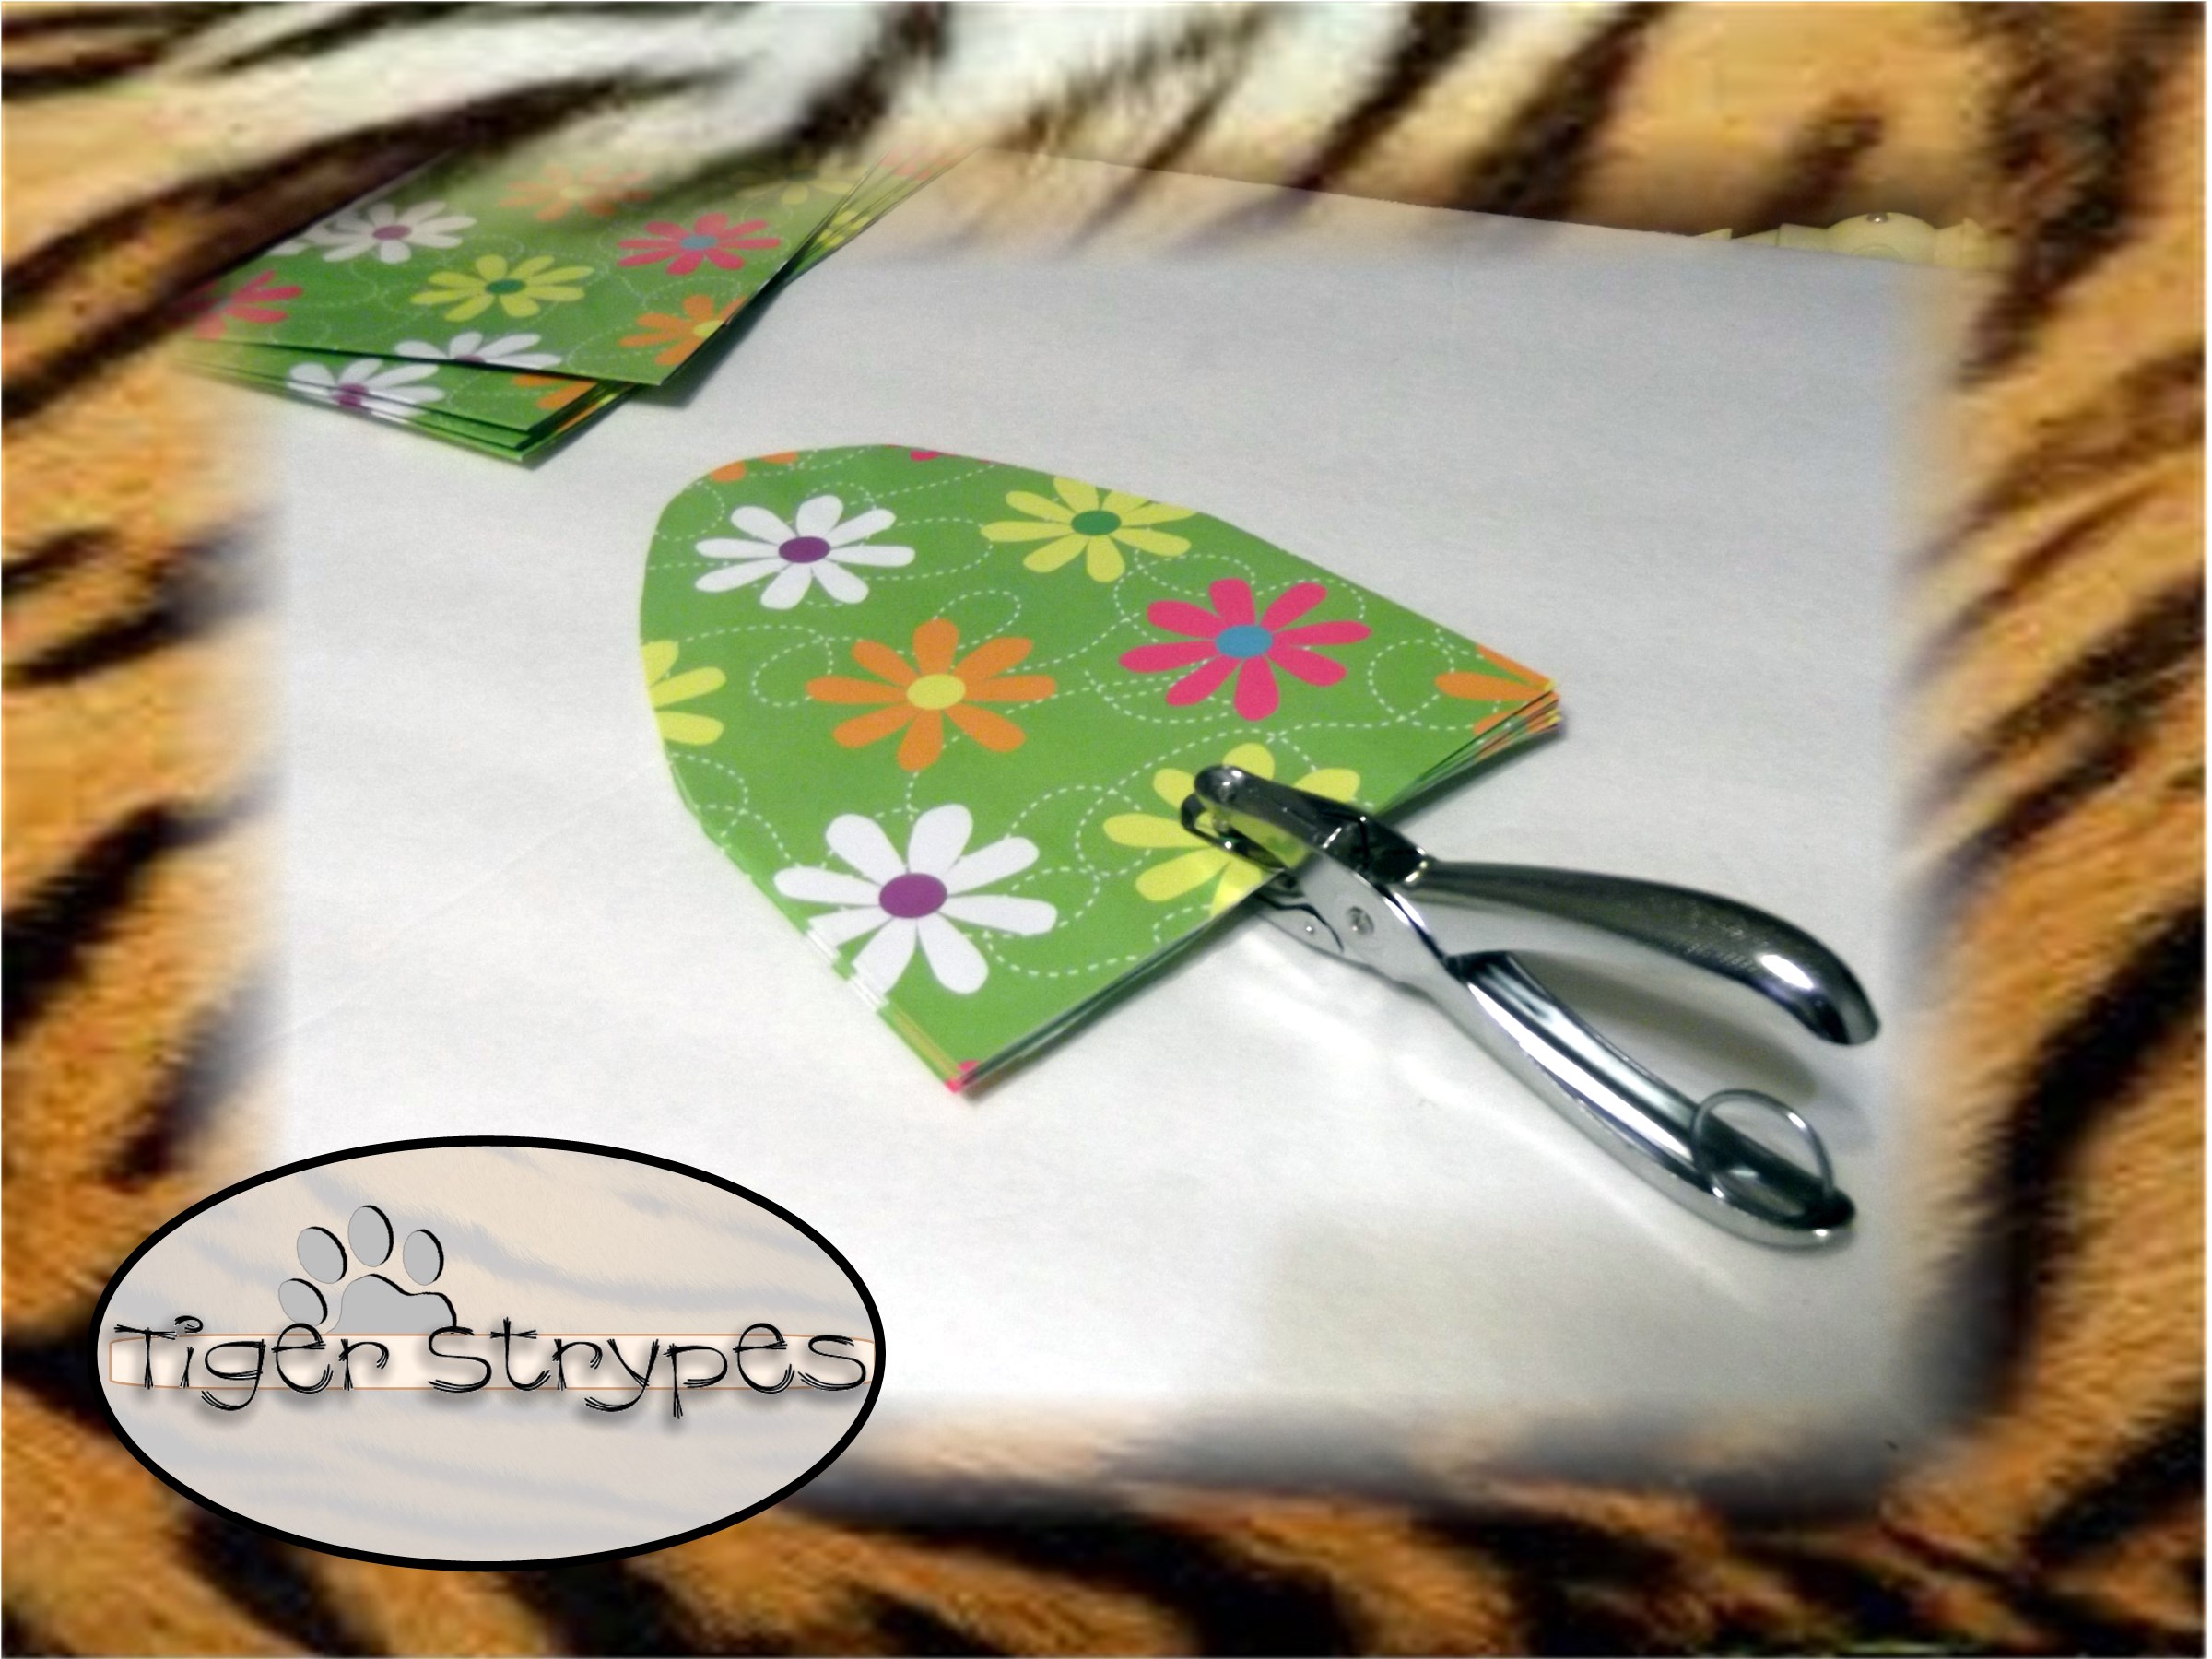
Once you have them all stacked up, use your hole punch to punch a hole in the middle.
Now use your thread or yarn to hold them all together. Don’t tie your know too tight around these and leave a little bit of room where you will need for them to fold out inside of there. I made the mistake of having it too tight at first and it ripped a few sides of the bags. Thankful for tape!!
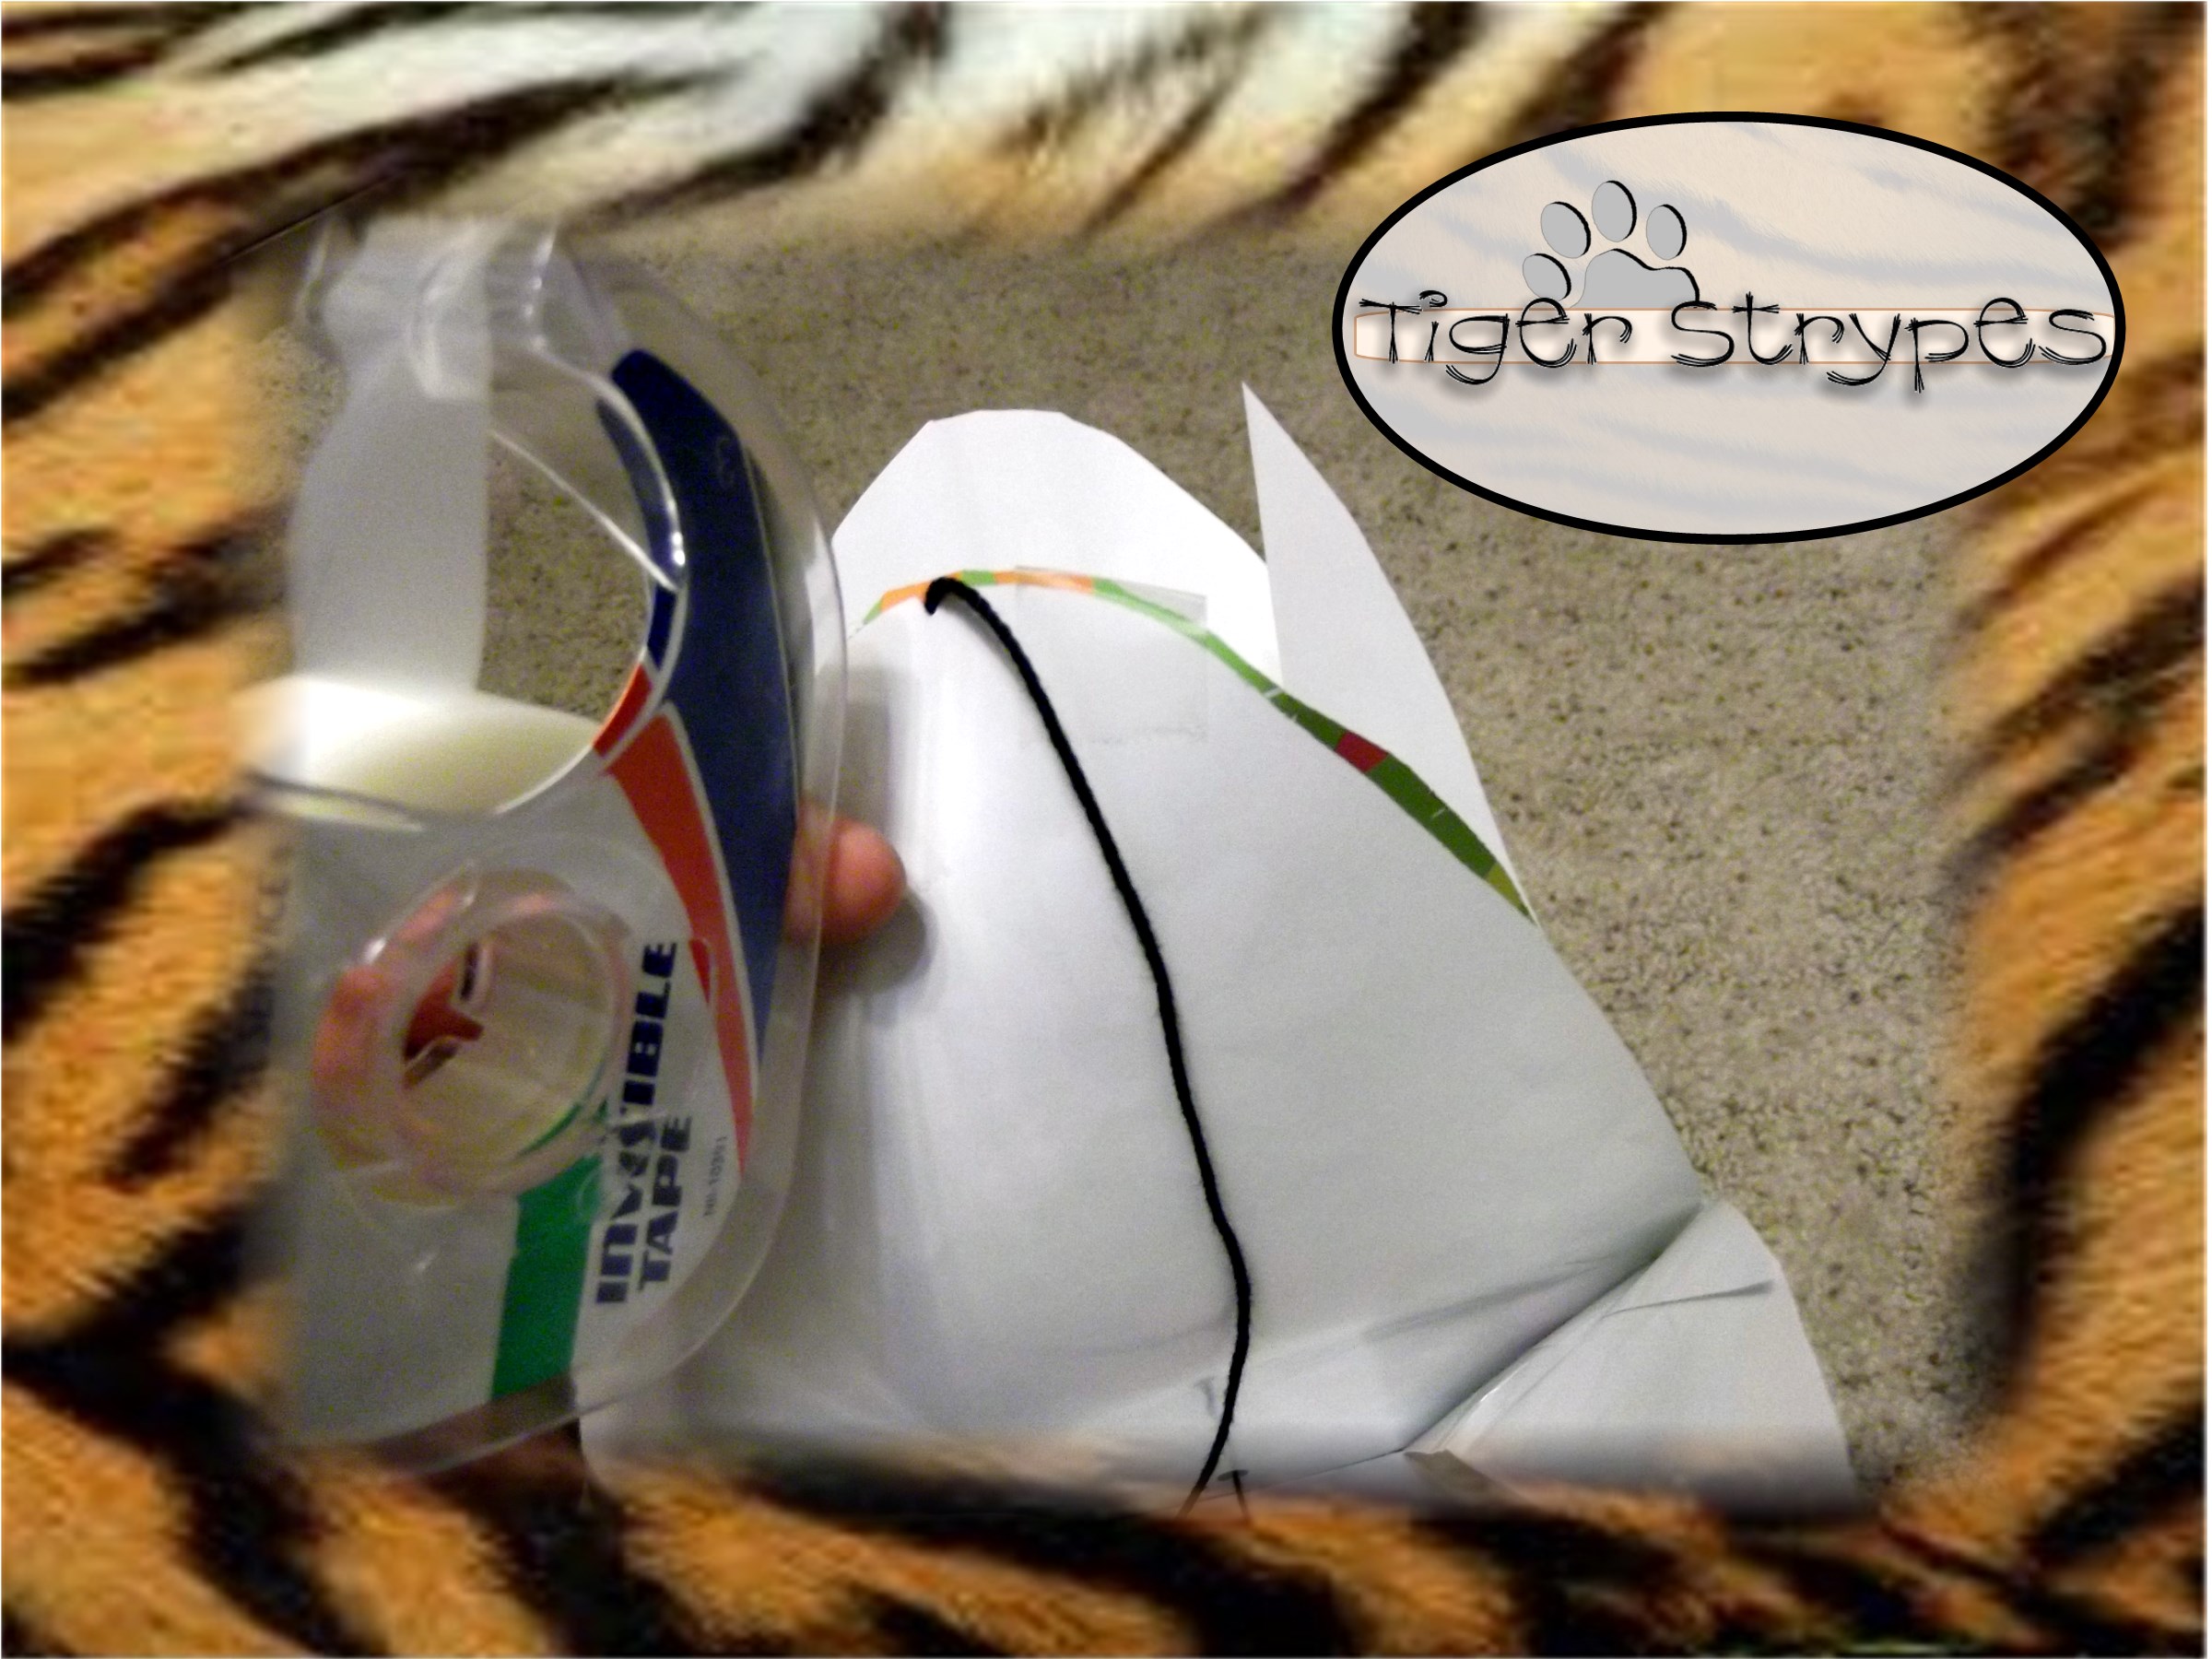
When you have them connected, fold the end bags together and secure with tape or another glue dot.
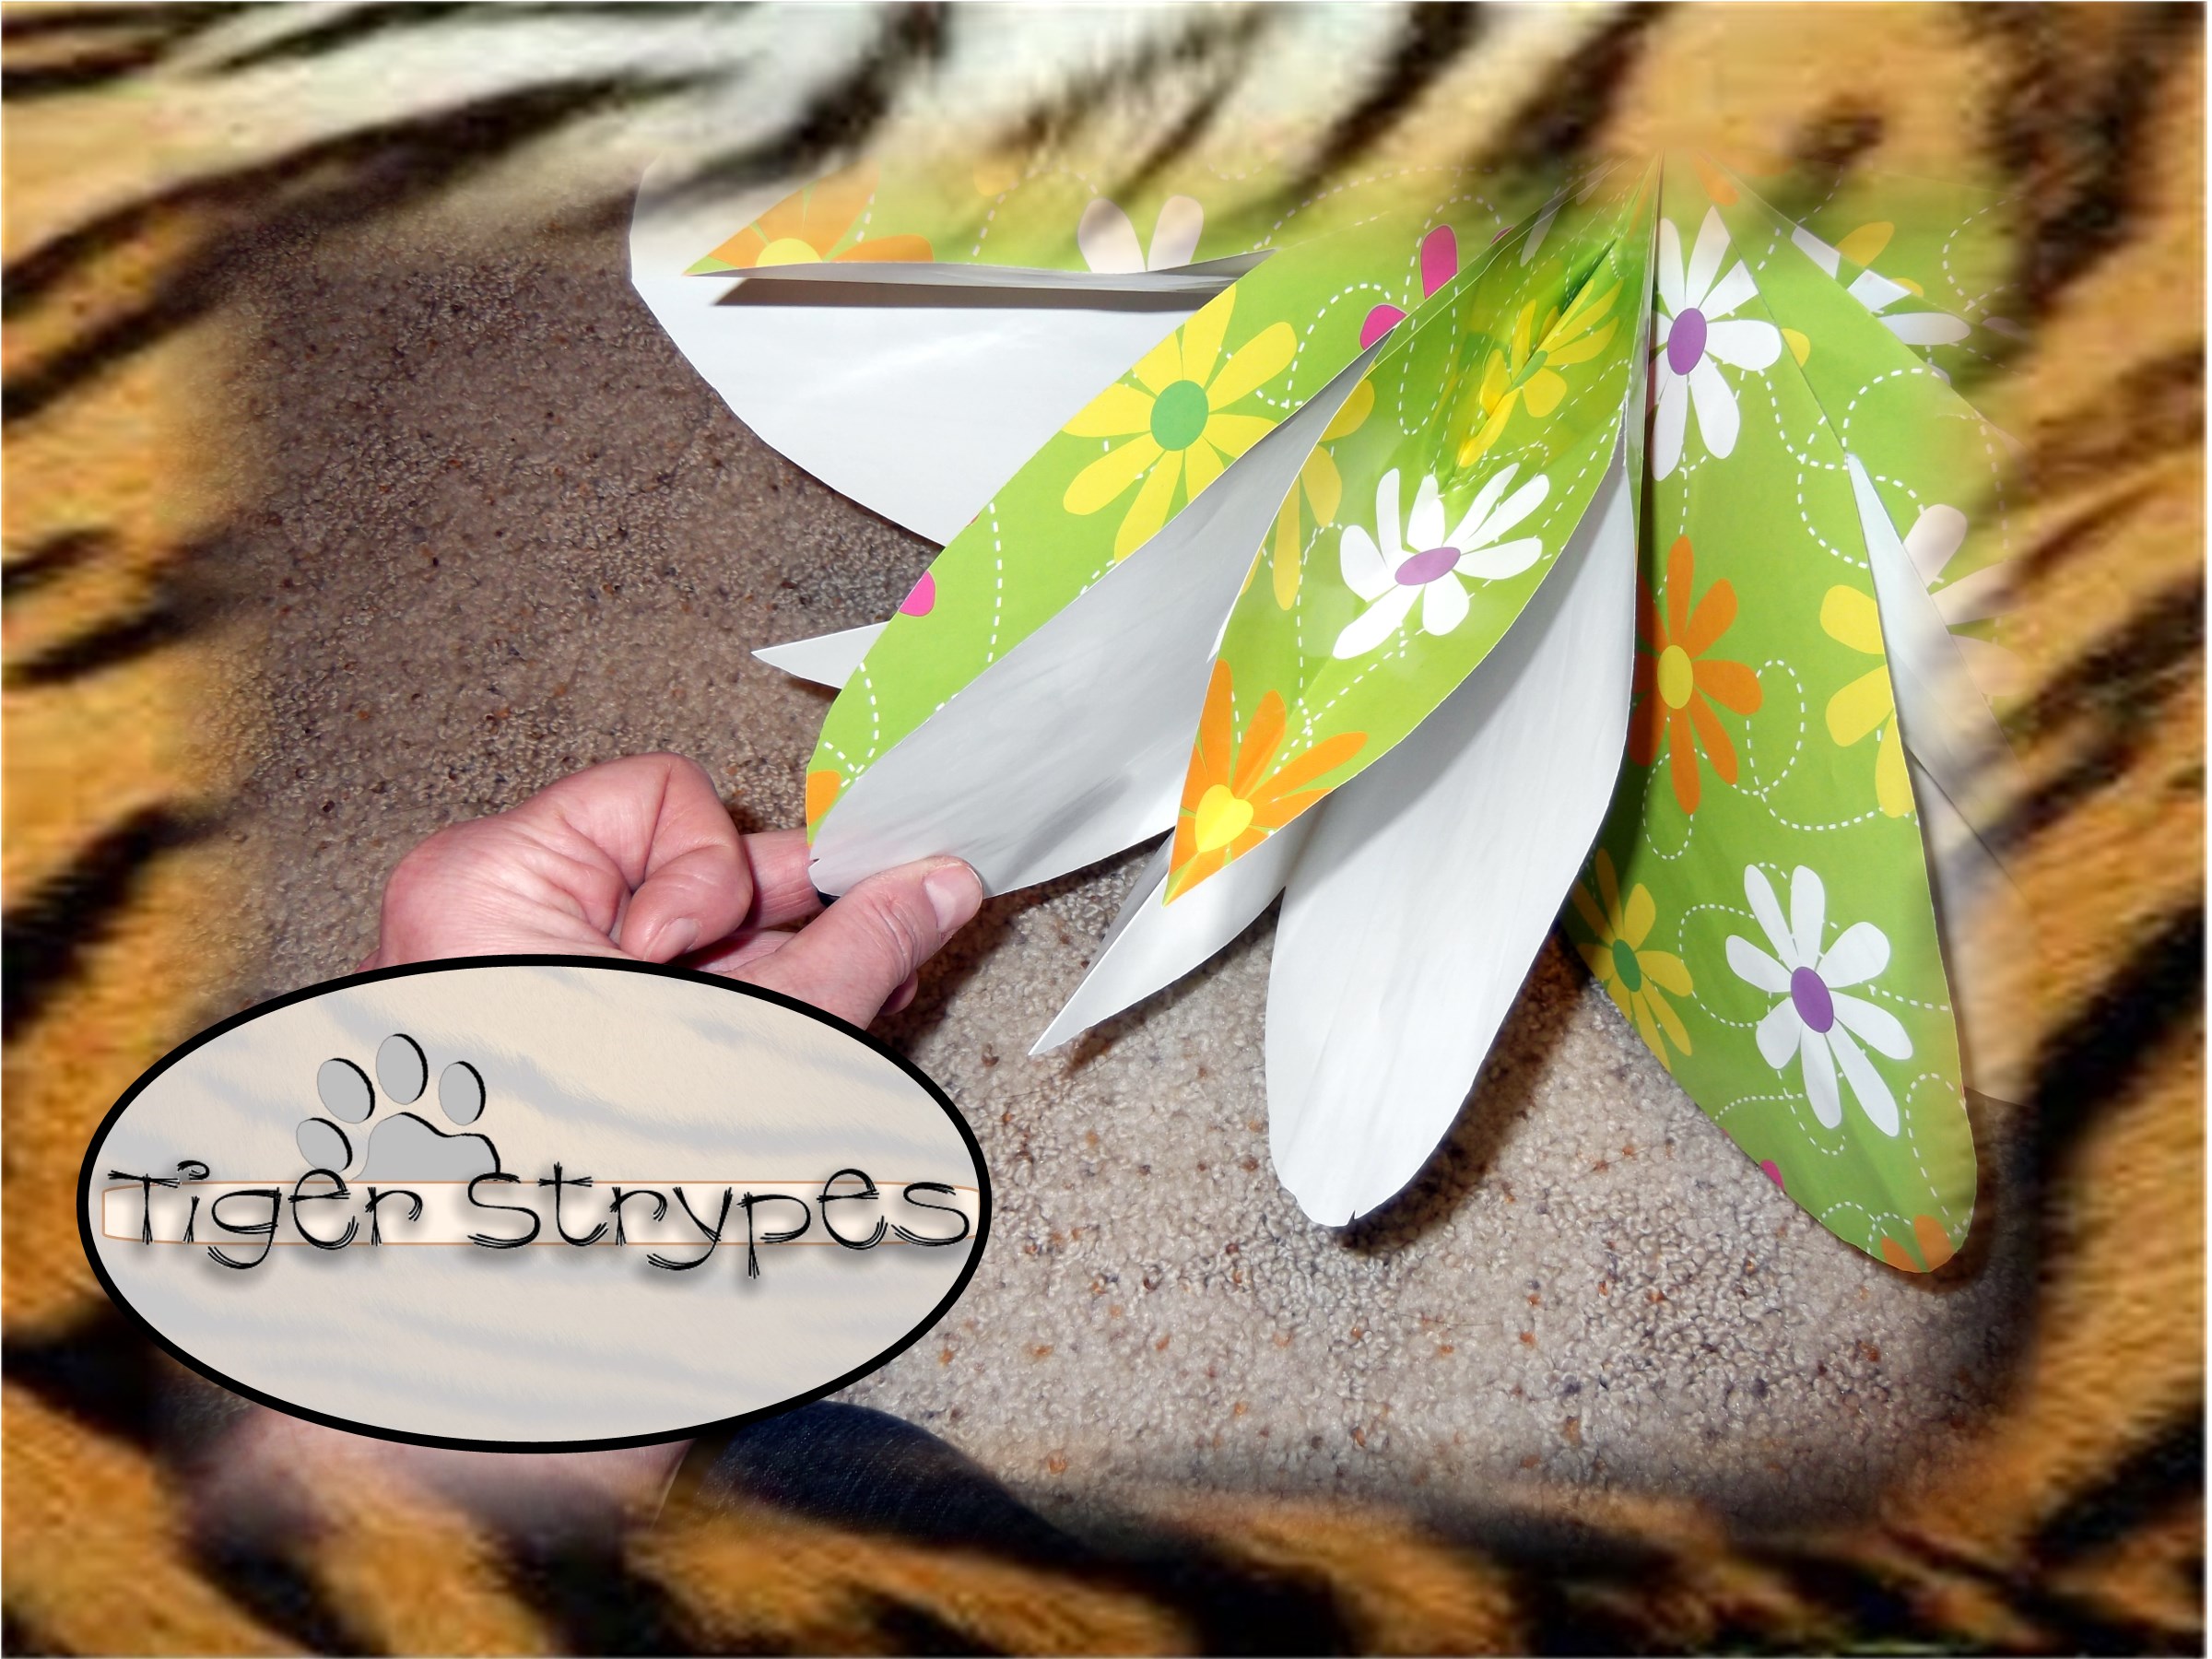
To finish it, pull up the thread between a set of the petals and secure it by taping on each side. Then you can use glue dots, or tape to secure the “petals” together at the ends to better lock them into place, per se.
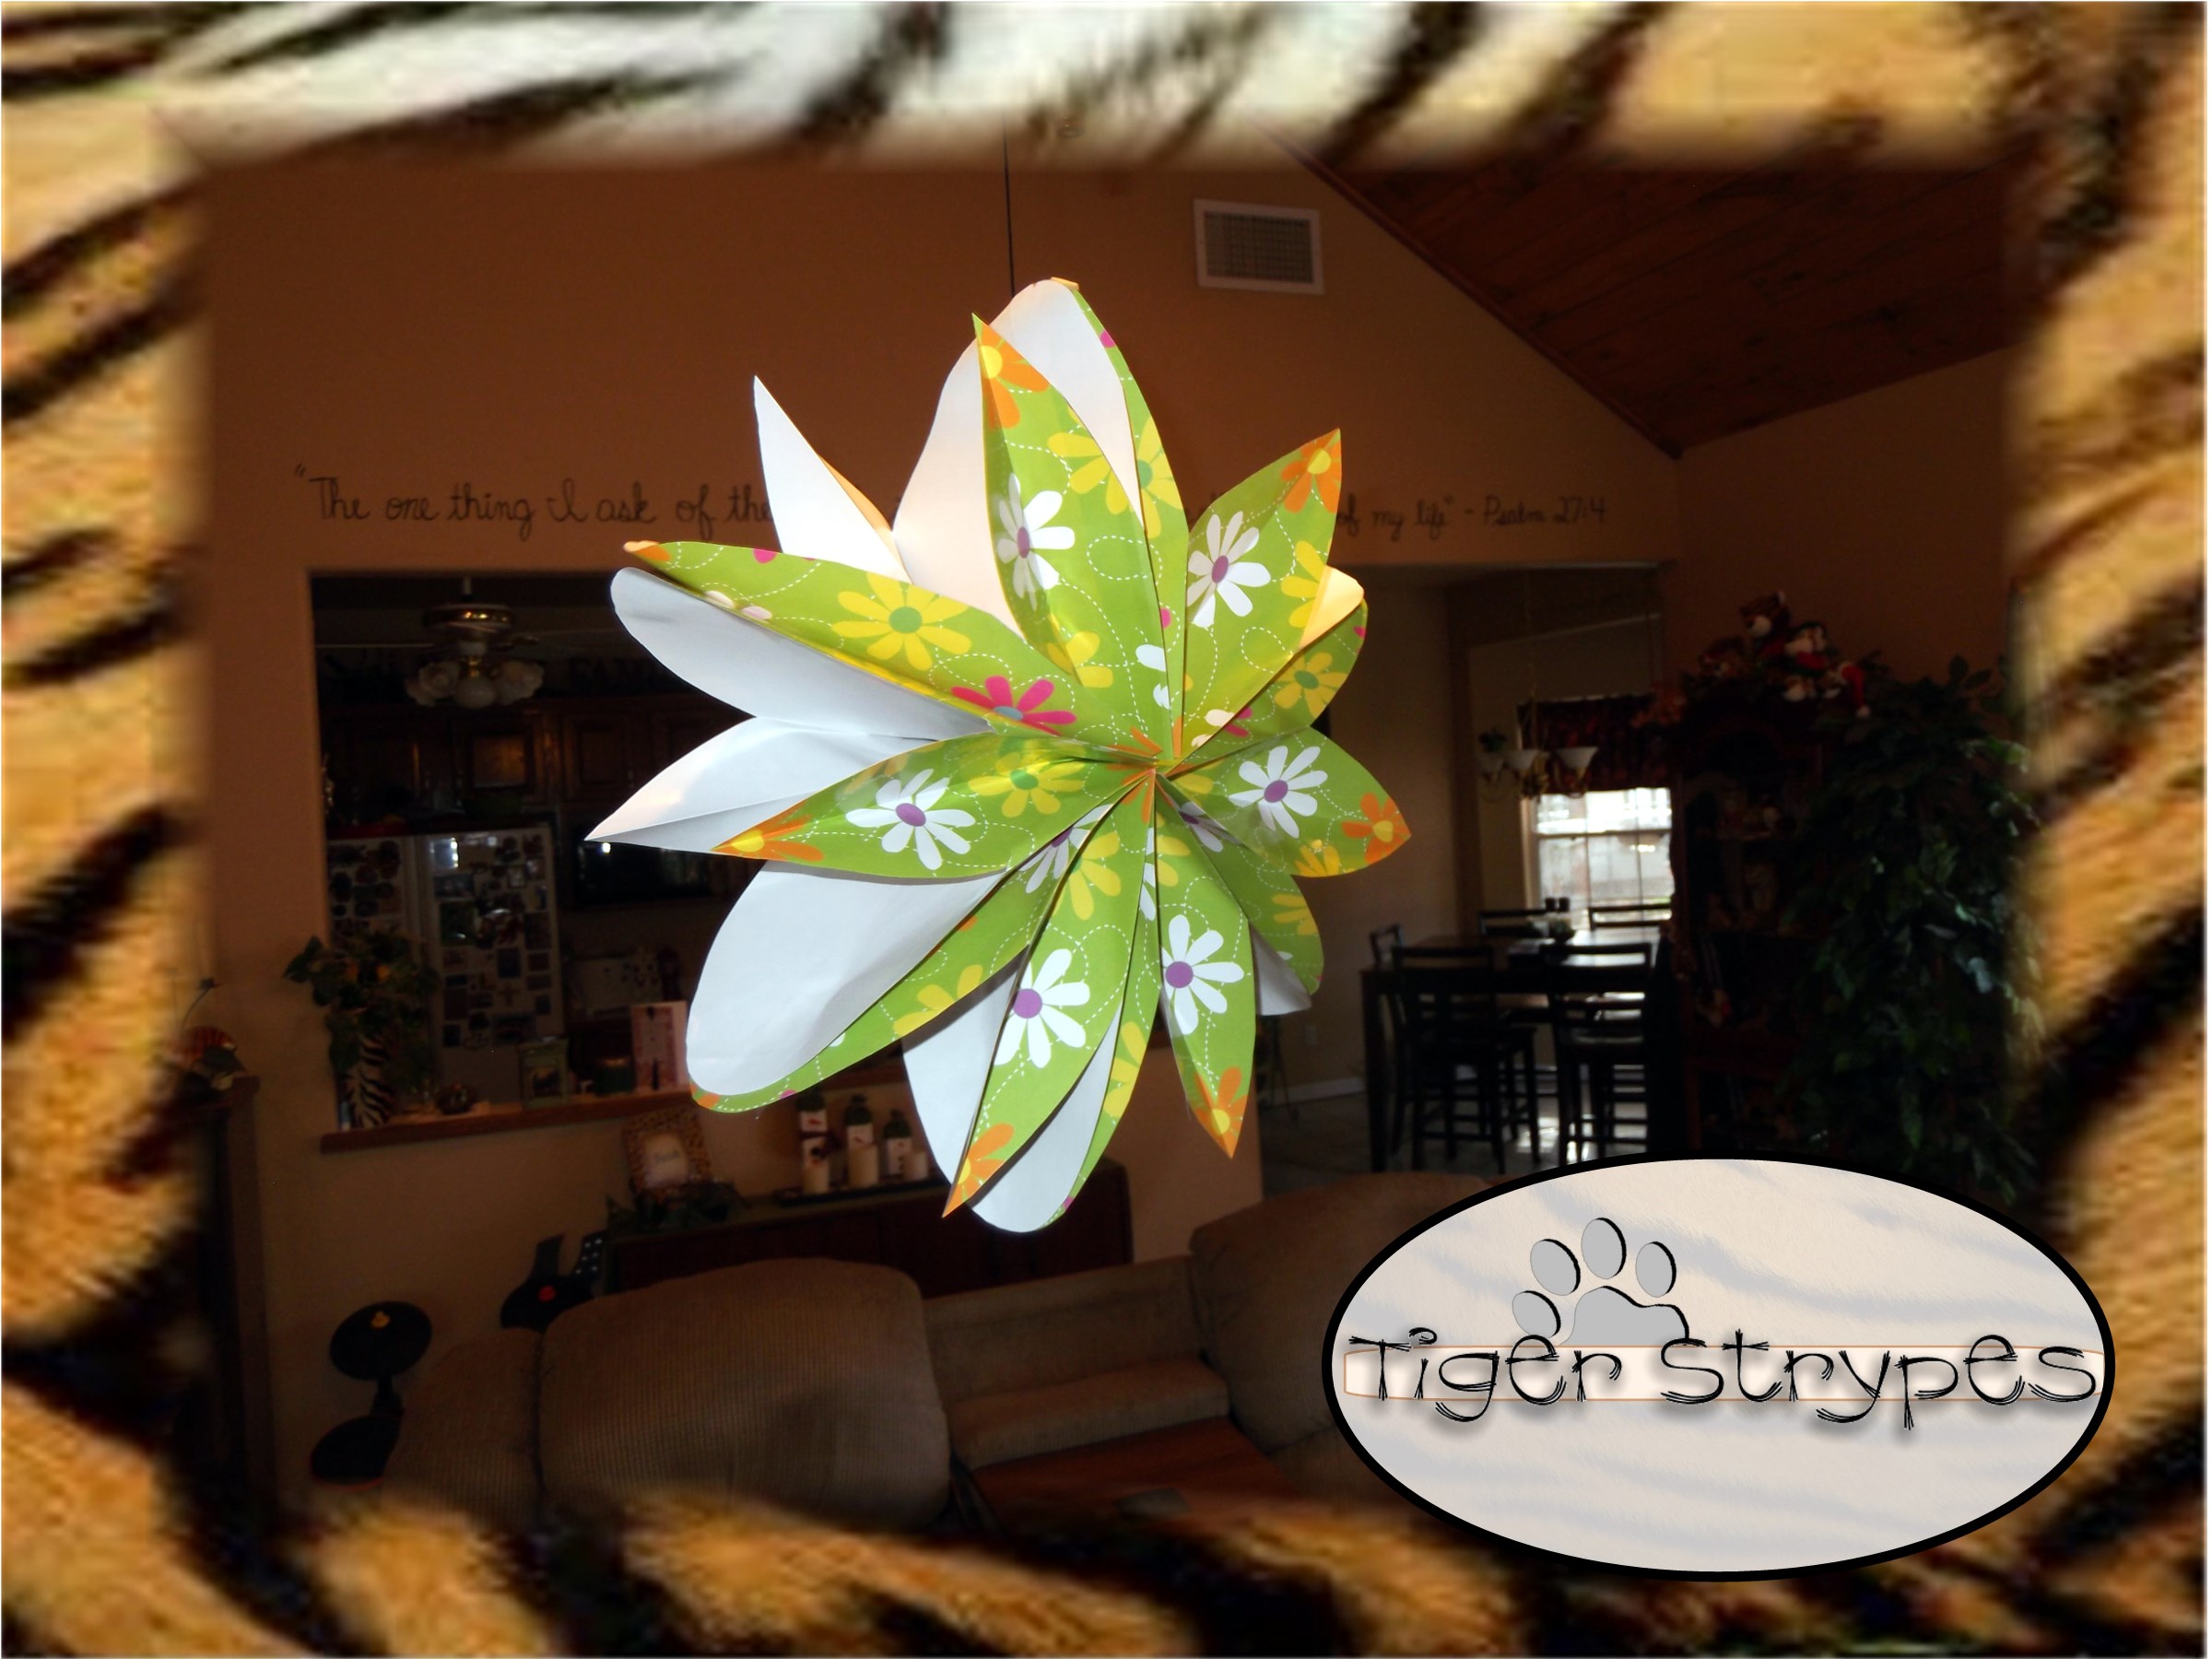
Now, you can hang it anywhere you wish to decorate and bring Spring indoors. If ever I was having a party, I would make a bunch of them and just hang them all over the house. Easy to do, didn’t take long and could be personalized however you wanted them to look.
Hope you like it! Leave me a comment and let me know what you would do different, or what you would add, etc. Be sure to tweet, pin, share, etc. – thanks!!
All pictures and text are my own and have not been copied in any way. I, Jamie Tomkins, own and operate Tiger Strypes Blog located at www.TigerStrypes.com. From time to time you’ll hear about my real life experiences or creations with products and/or services from companies and individuals. Let it be known that I have no affiliation with these said companies, and have not received compensation for reviewing or using their service/product. The information that I give regarding the product/service is based off my own personal experience, I do not guarantee that your experience will be the same.
PLEASE SHARE THIS POST USING THE OPTIONS BELOW…THANKS!!
*****************************************************************************************************


Love! My theme for my library’s summer program is science and we are going to add a gardening/botany component. Totally adding this!
Sounds great Rachee!! Send me some pix when you’re done, kay? 🙂
Very cool! I am definitely trying this for my next party! How easy and pretty! Thanks for sharing! Pinned and Tweeted!
Thanks Dawn – if you do make them, send me some pix so I can pin them!!
This is awesome, very cute and nice looking!
Thanks Maggie!
I’ve not seen this before- but i’m loving it. now I want to figure out how to teach my little brownies to do it and work it into a badge. LOVE.
That sounds like fun – if you do end up doing it, please send me some pix, I would love to see their creations!!
That’s pretty neat, the pattern reminds me of Love and Peace 🙂
Cute idea! I bet these would be great for party decor
That’s so cute. What a great way to reuse something!
It was pretty easy – wish I could have found full color bags though. 🙁