
“Spring Decor Craft” #TBCCrafters Hop
I figured that I’d better start crafting for Spring, since Winter has decided to just ditch us here in the mountains of Arizona and give all of it’s cold weather and snow to the East Coast.
So forget you, Winter, I’m moving on to Spring!!

I saw a craft like this on Carolyn’s blog and thought it would be fun to make. With Easter coming up next month, I figured it would be fun to start decorating for Spring and the Resurrection Celebration. It was pretty easy to make and could be changed to about any size you wanted to do.
I hope you like it!! Have a blessed day, and please be sure to comment on and share this #TBCCrafters craft!!
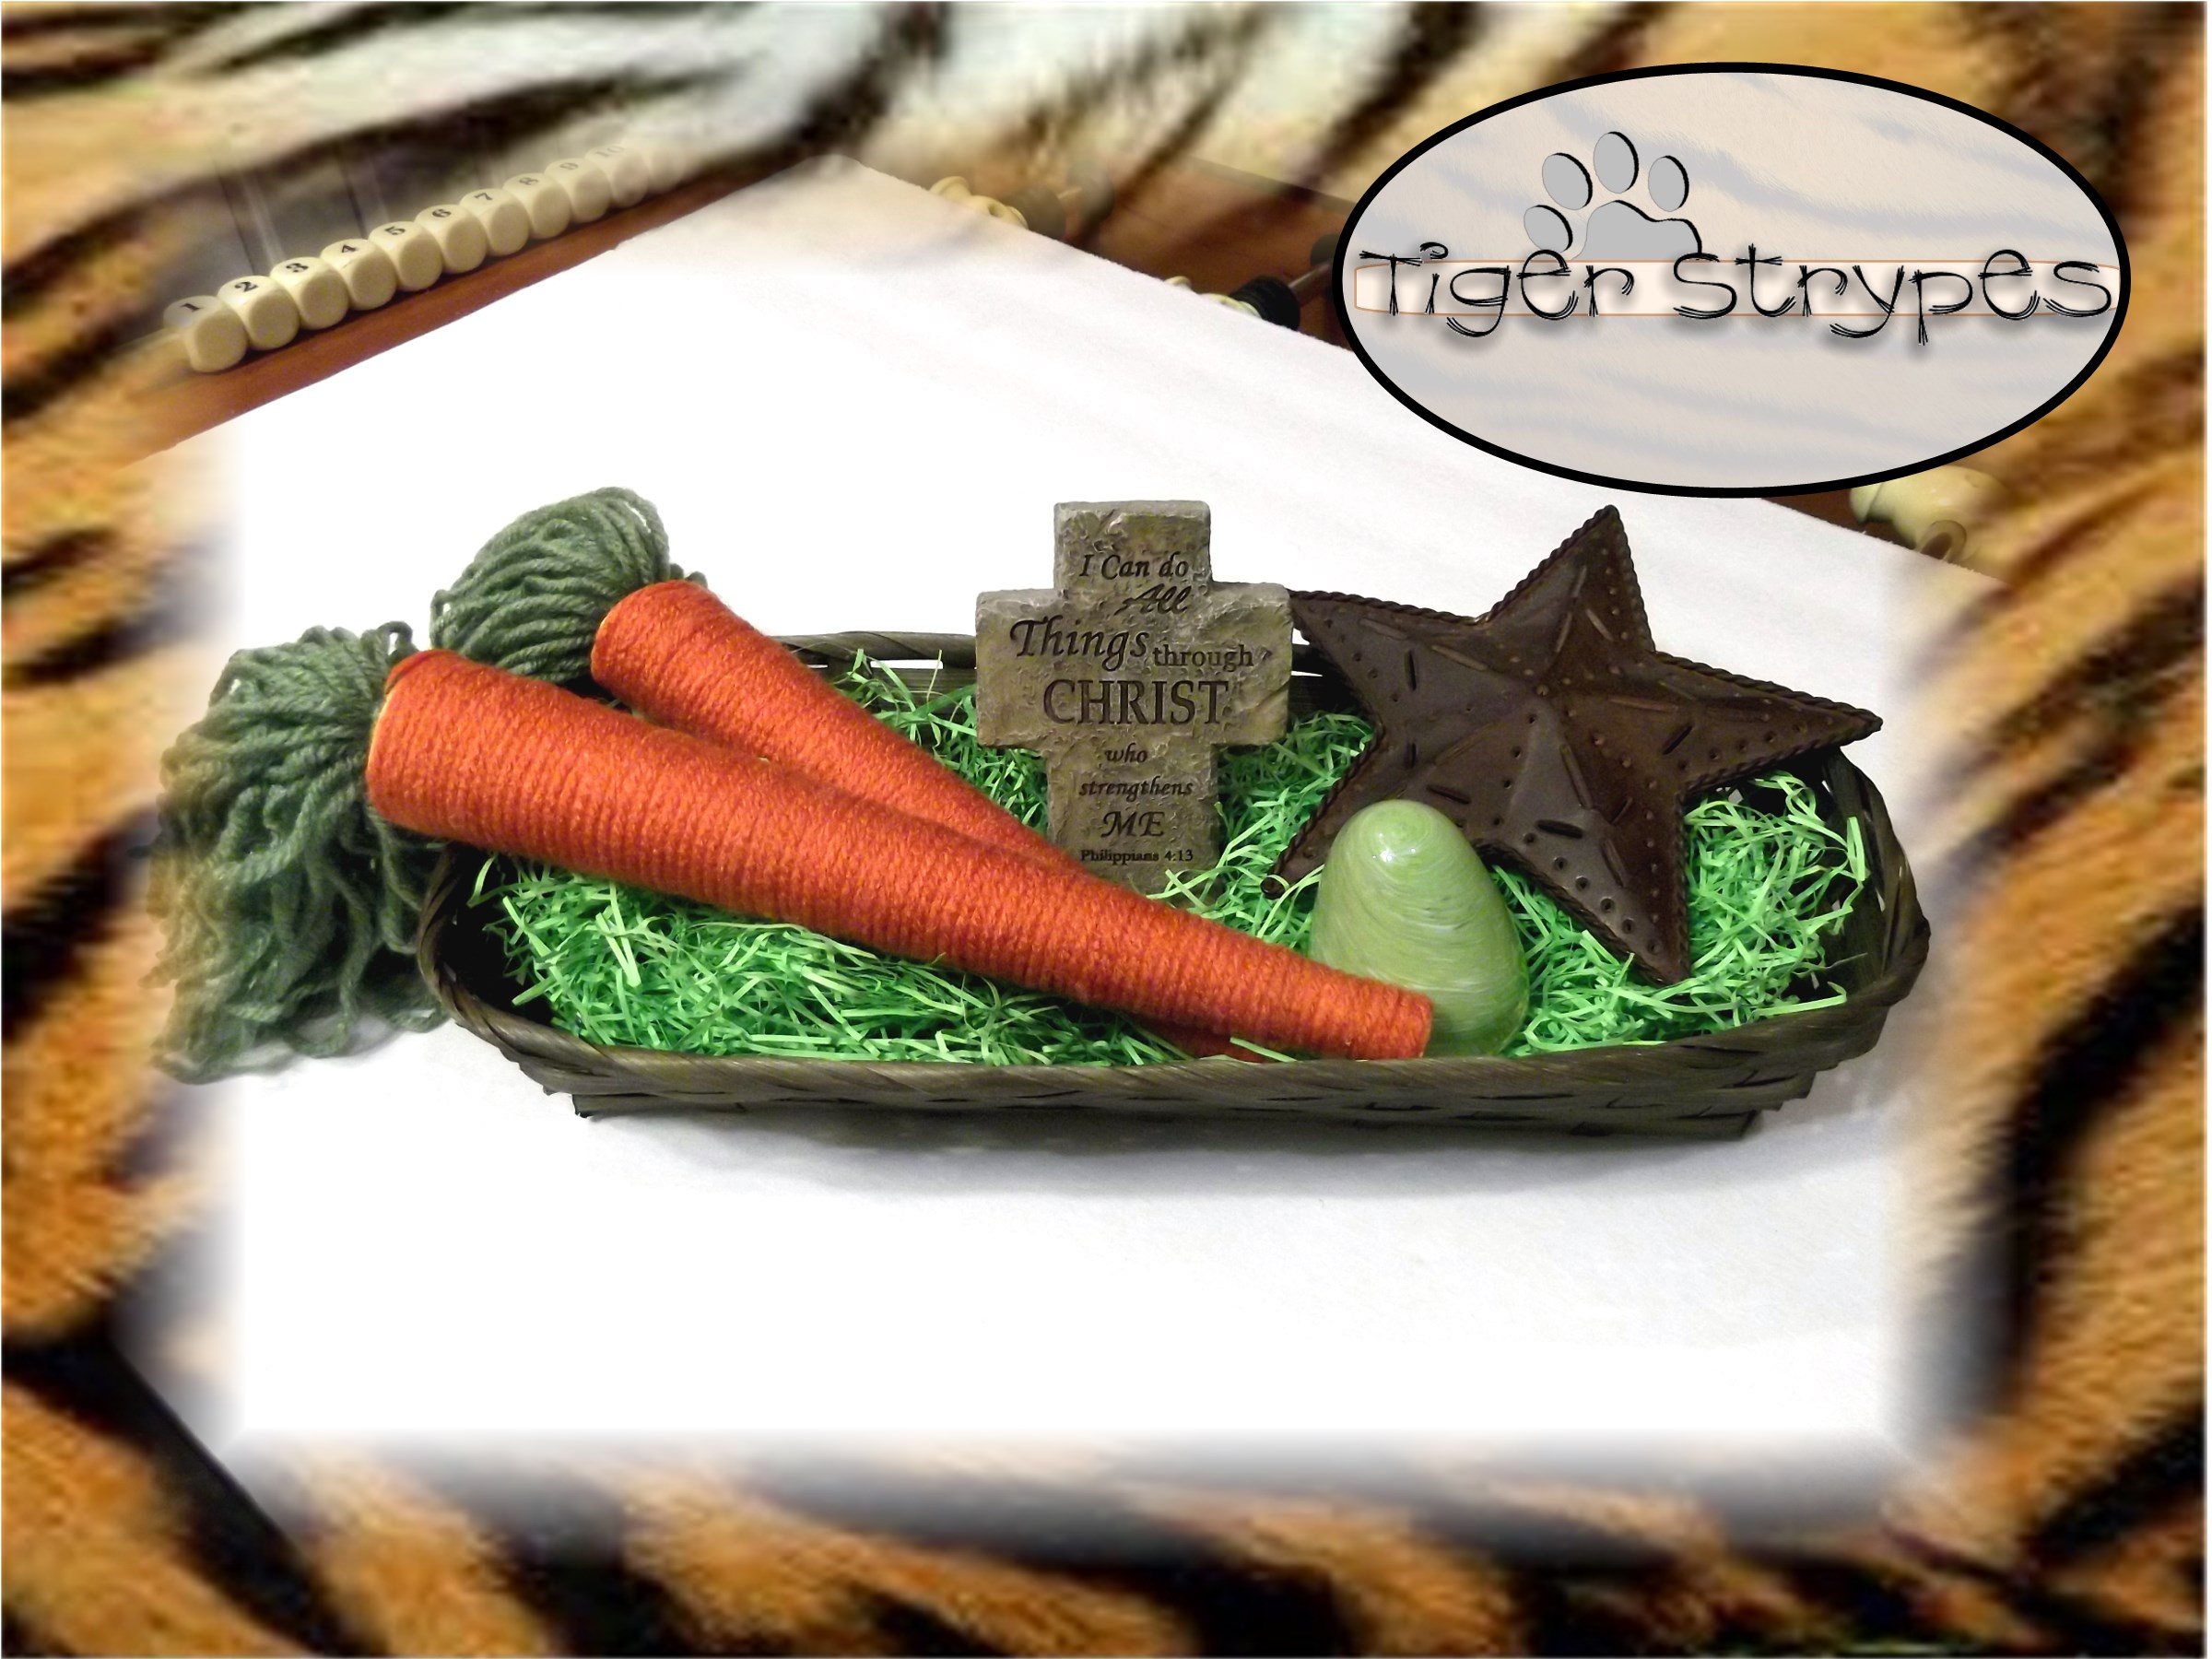
“Spring Decor” Craft
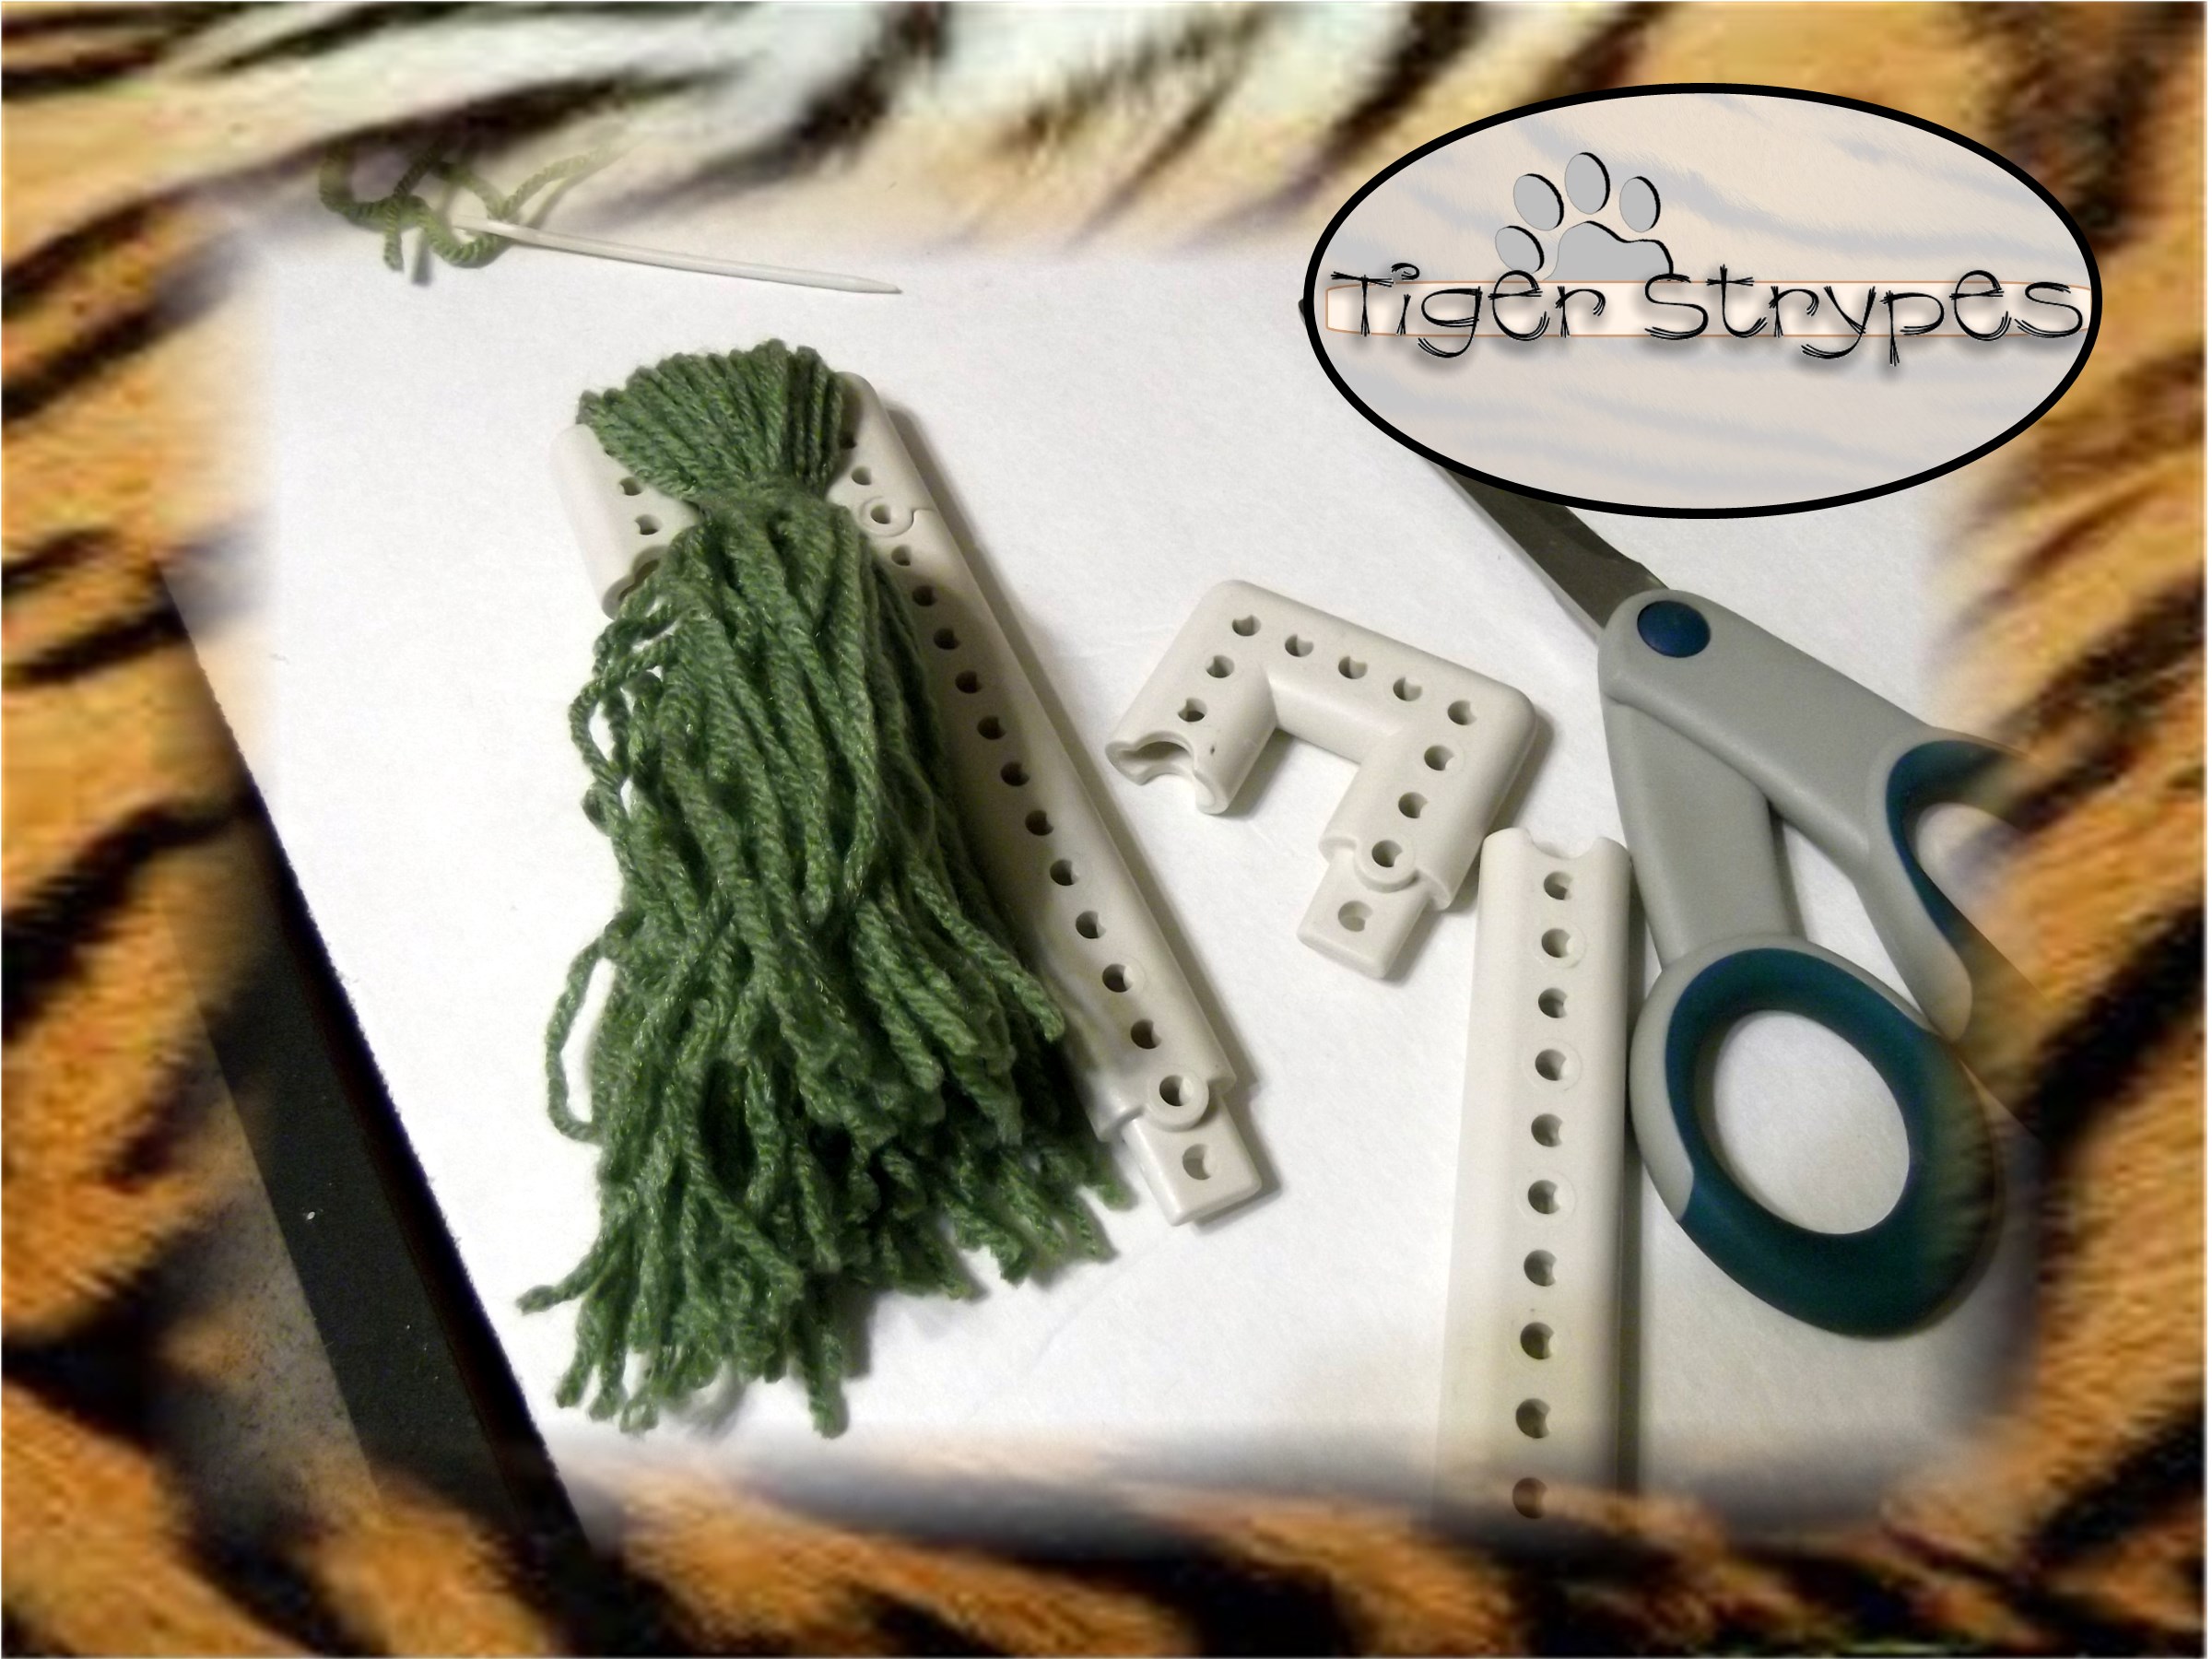
Materials/Tools Needed:
- Yarn (Orange & Green)
- Scissors
- Glue
- Orange Paper
- & Time!
Instructions:
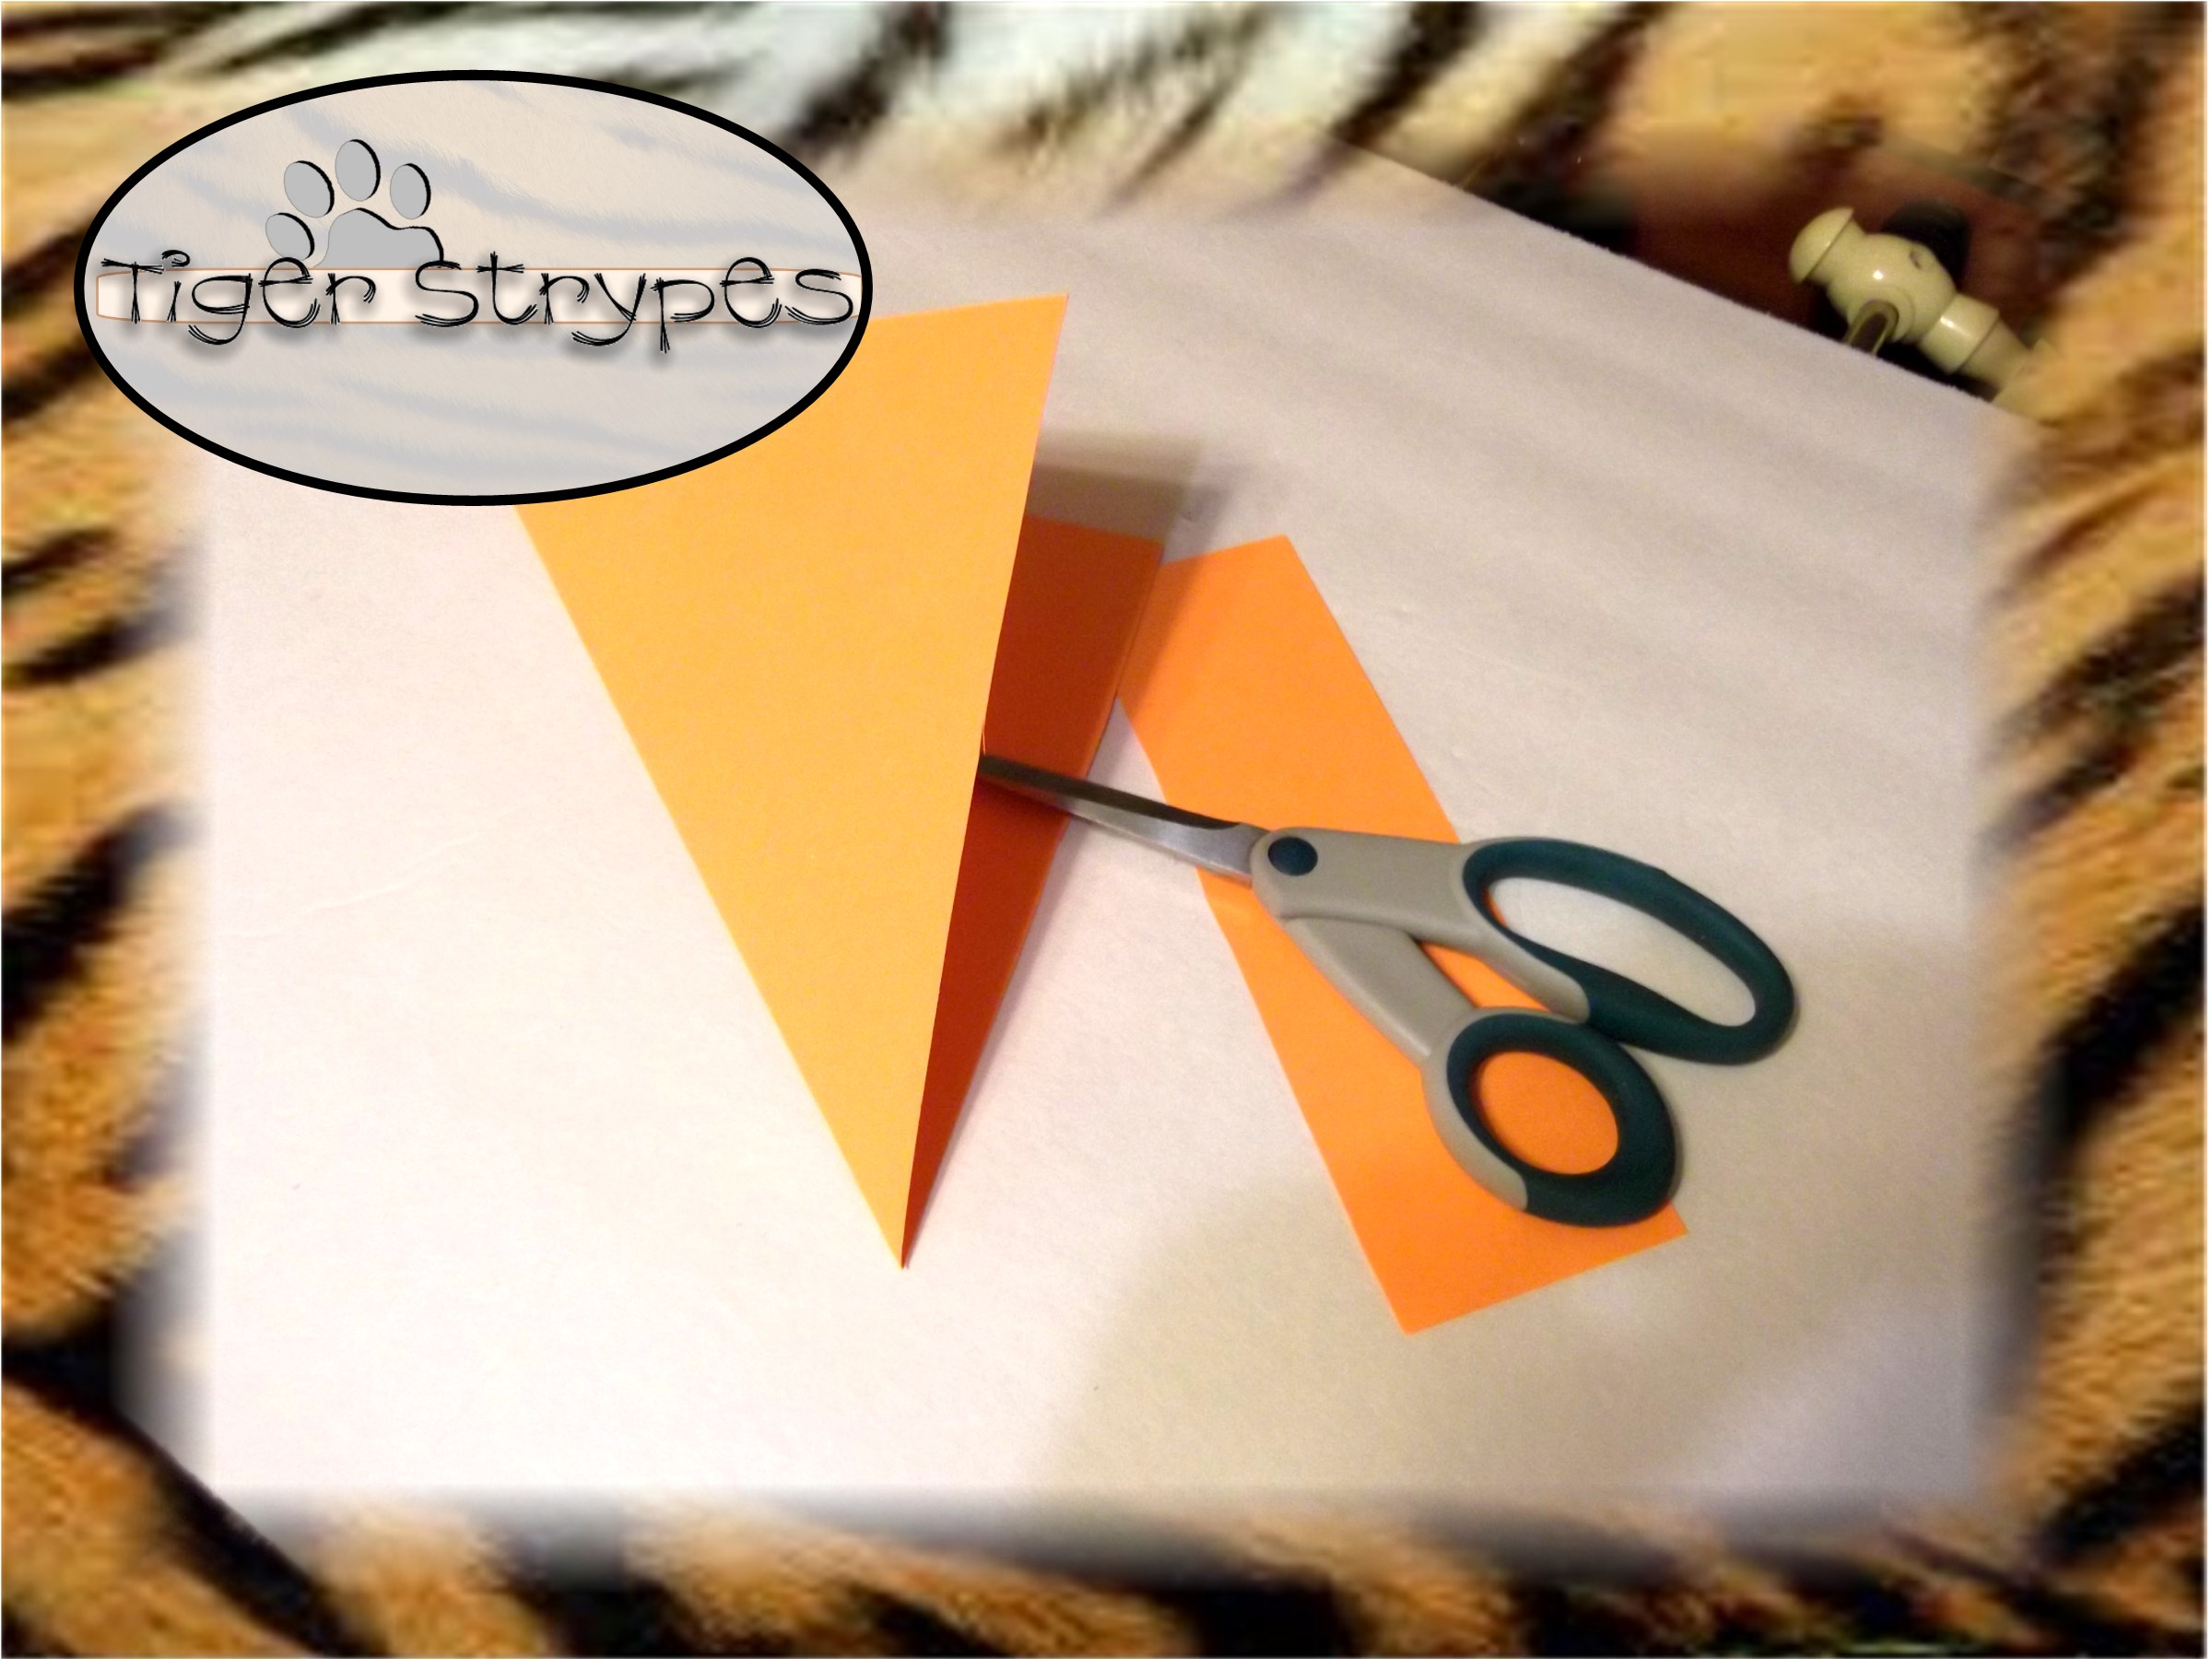
Start by folding the corner of the paper to the edge to form a square shape and cut the top portion off. This will make it easier to roll and form the carrot shape.
Next, roll the paper up into a carrot form and once you have it in the shape you want, use some tape to secure the edge. Doesn’t matter what it looks like, since the yarn will be glued over the top of this and hide the tape.

Once you have it secured, use a foam brush or whatever you use to start putting glue on the “carrot”.
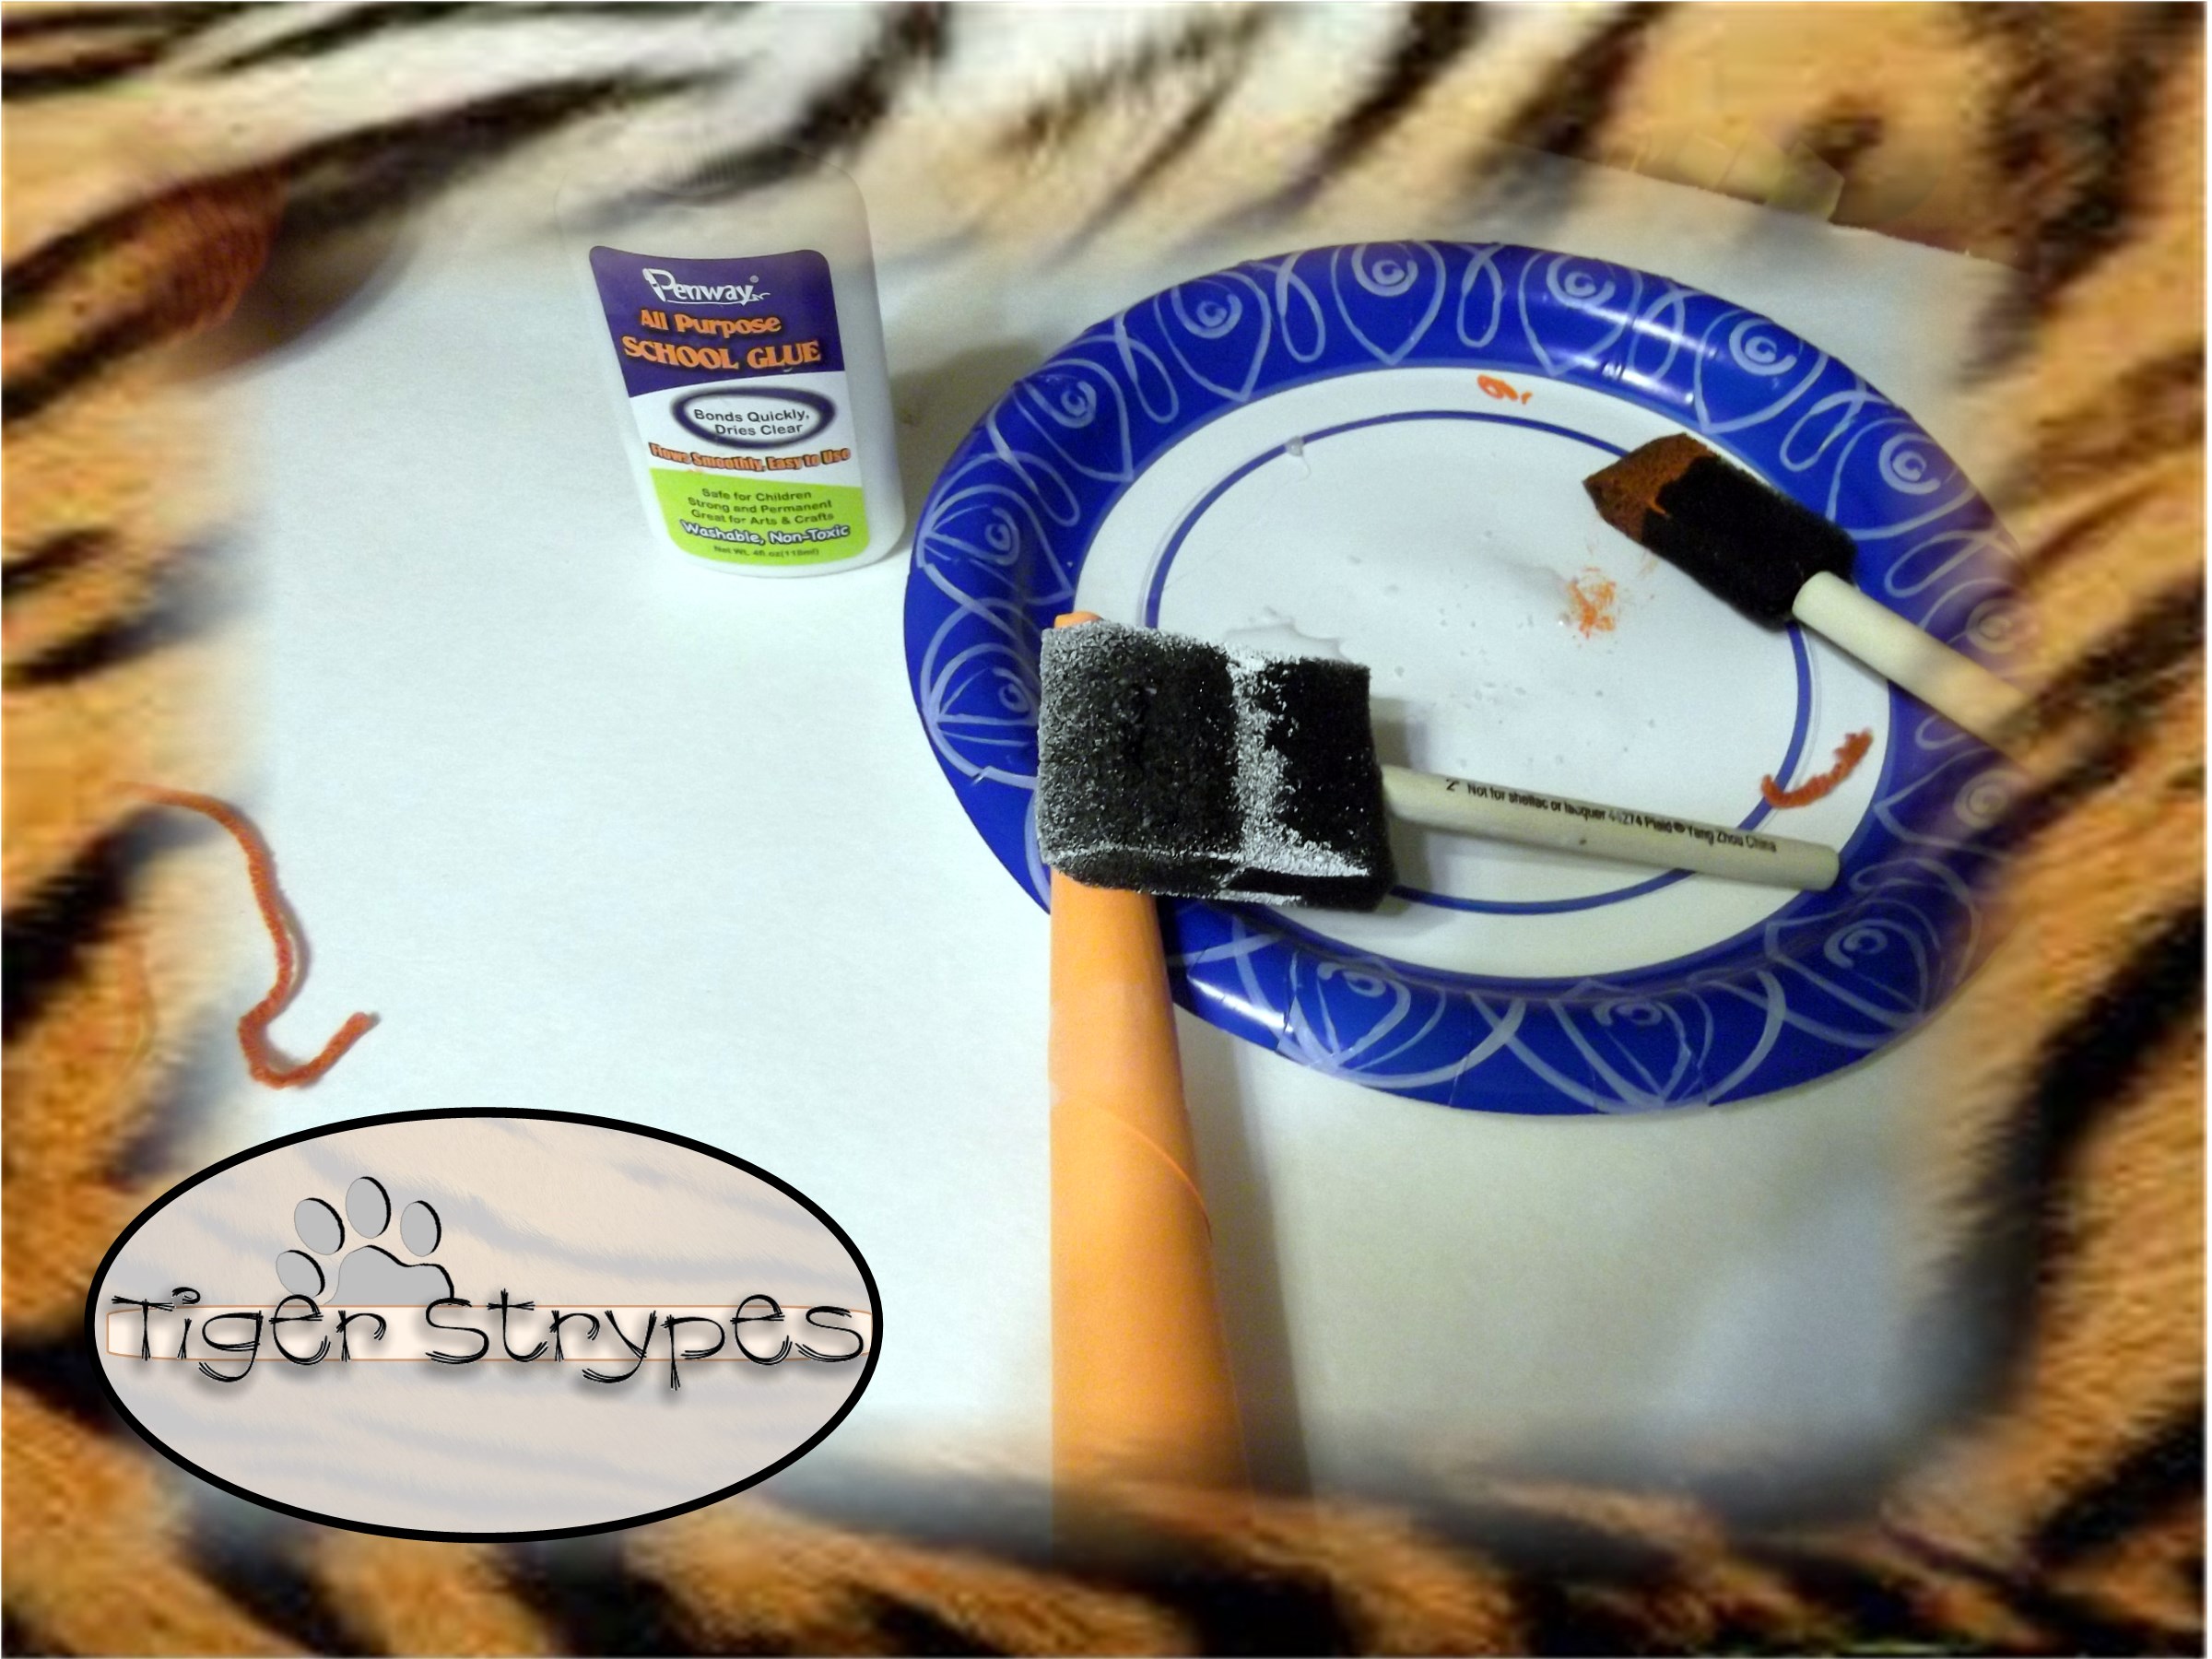
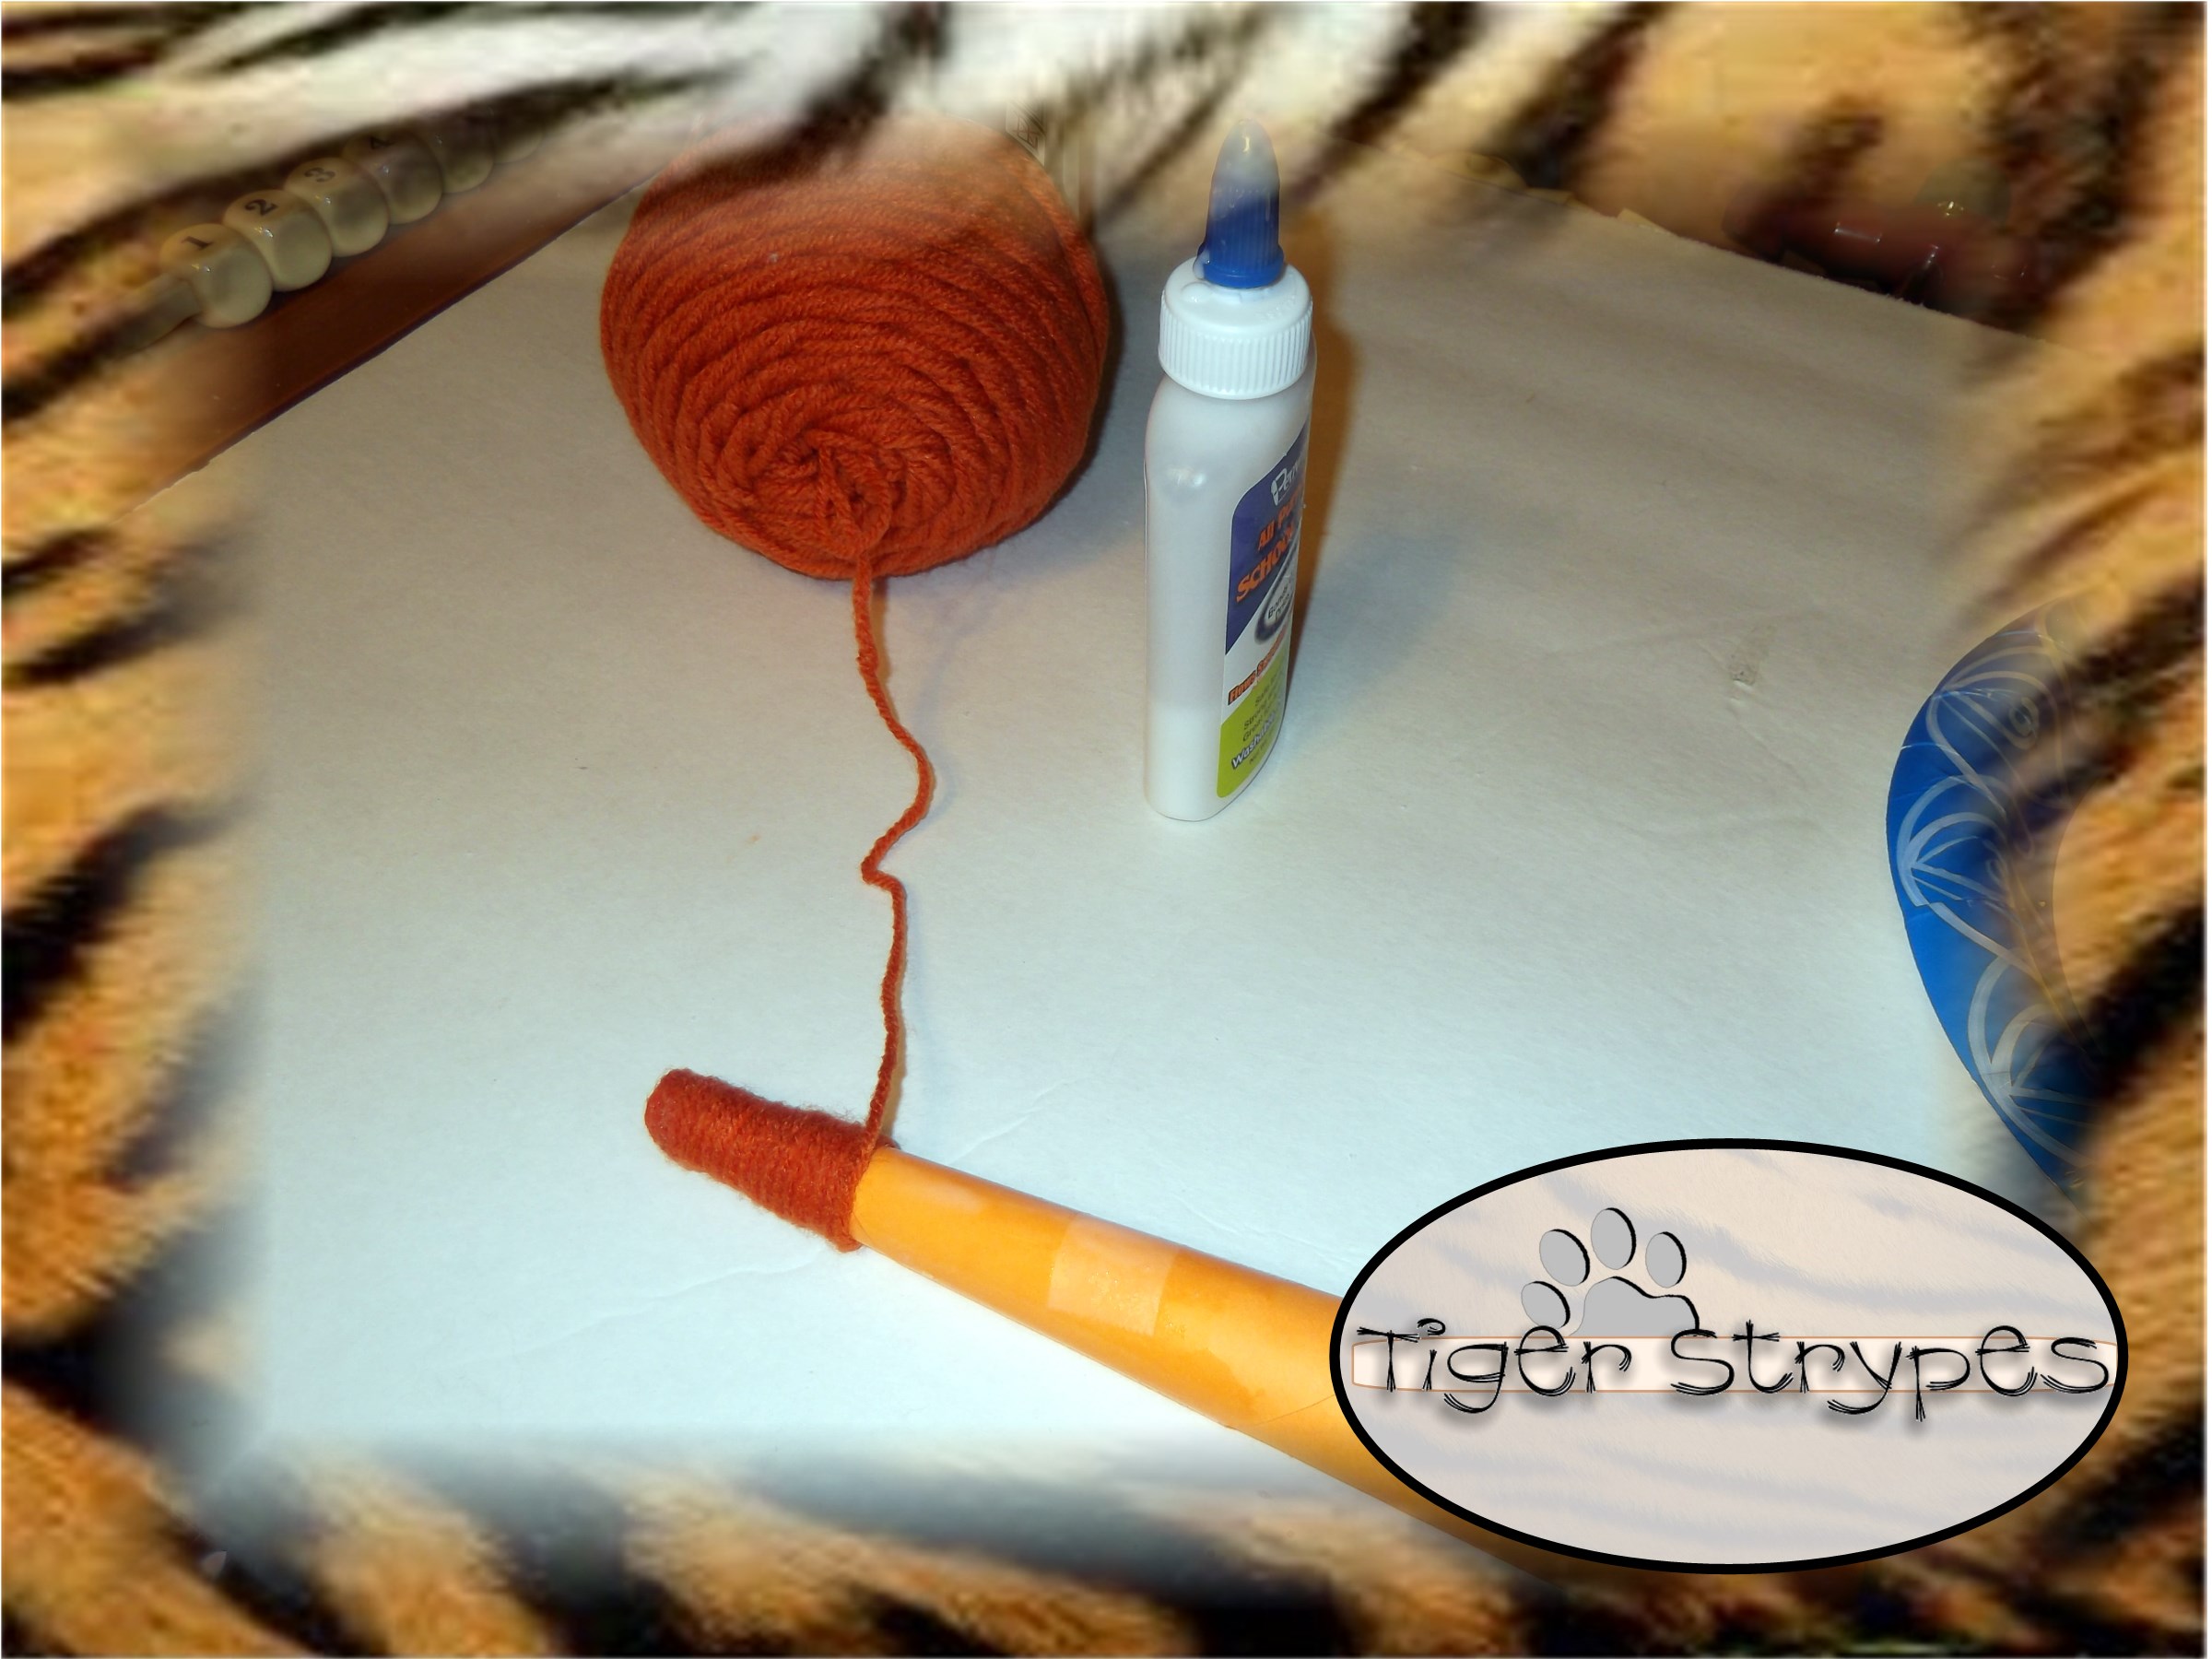
You can just glue as you go to keep things from getting messy, just be sure to have the yarn on straight and semi-tight. When you finish the covering, just snip the yarn at the end and secure it into place with glue.
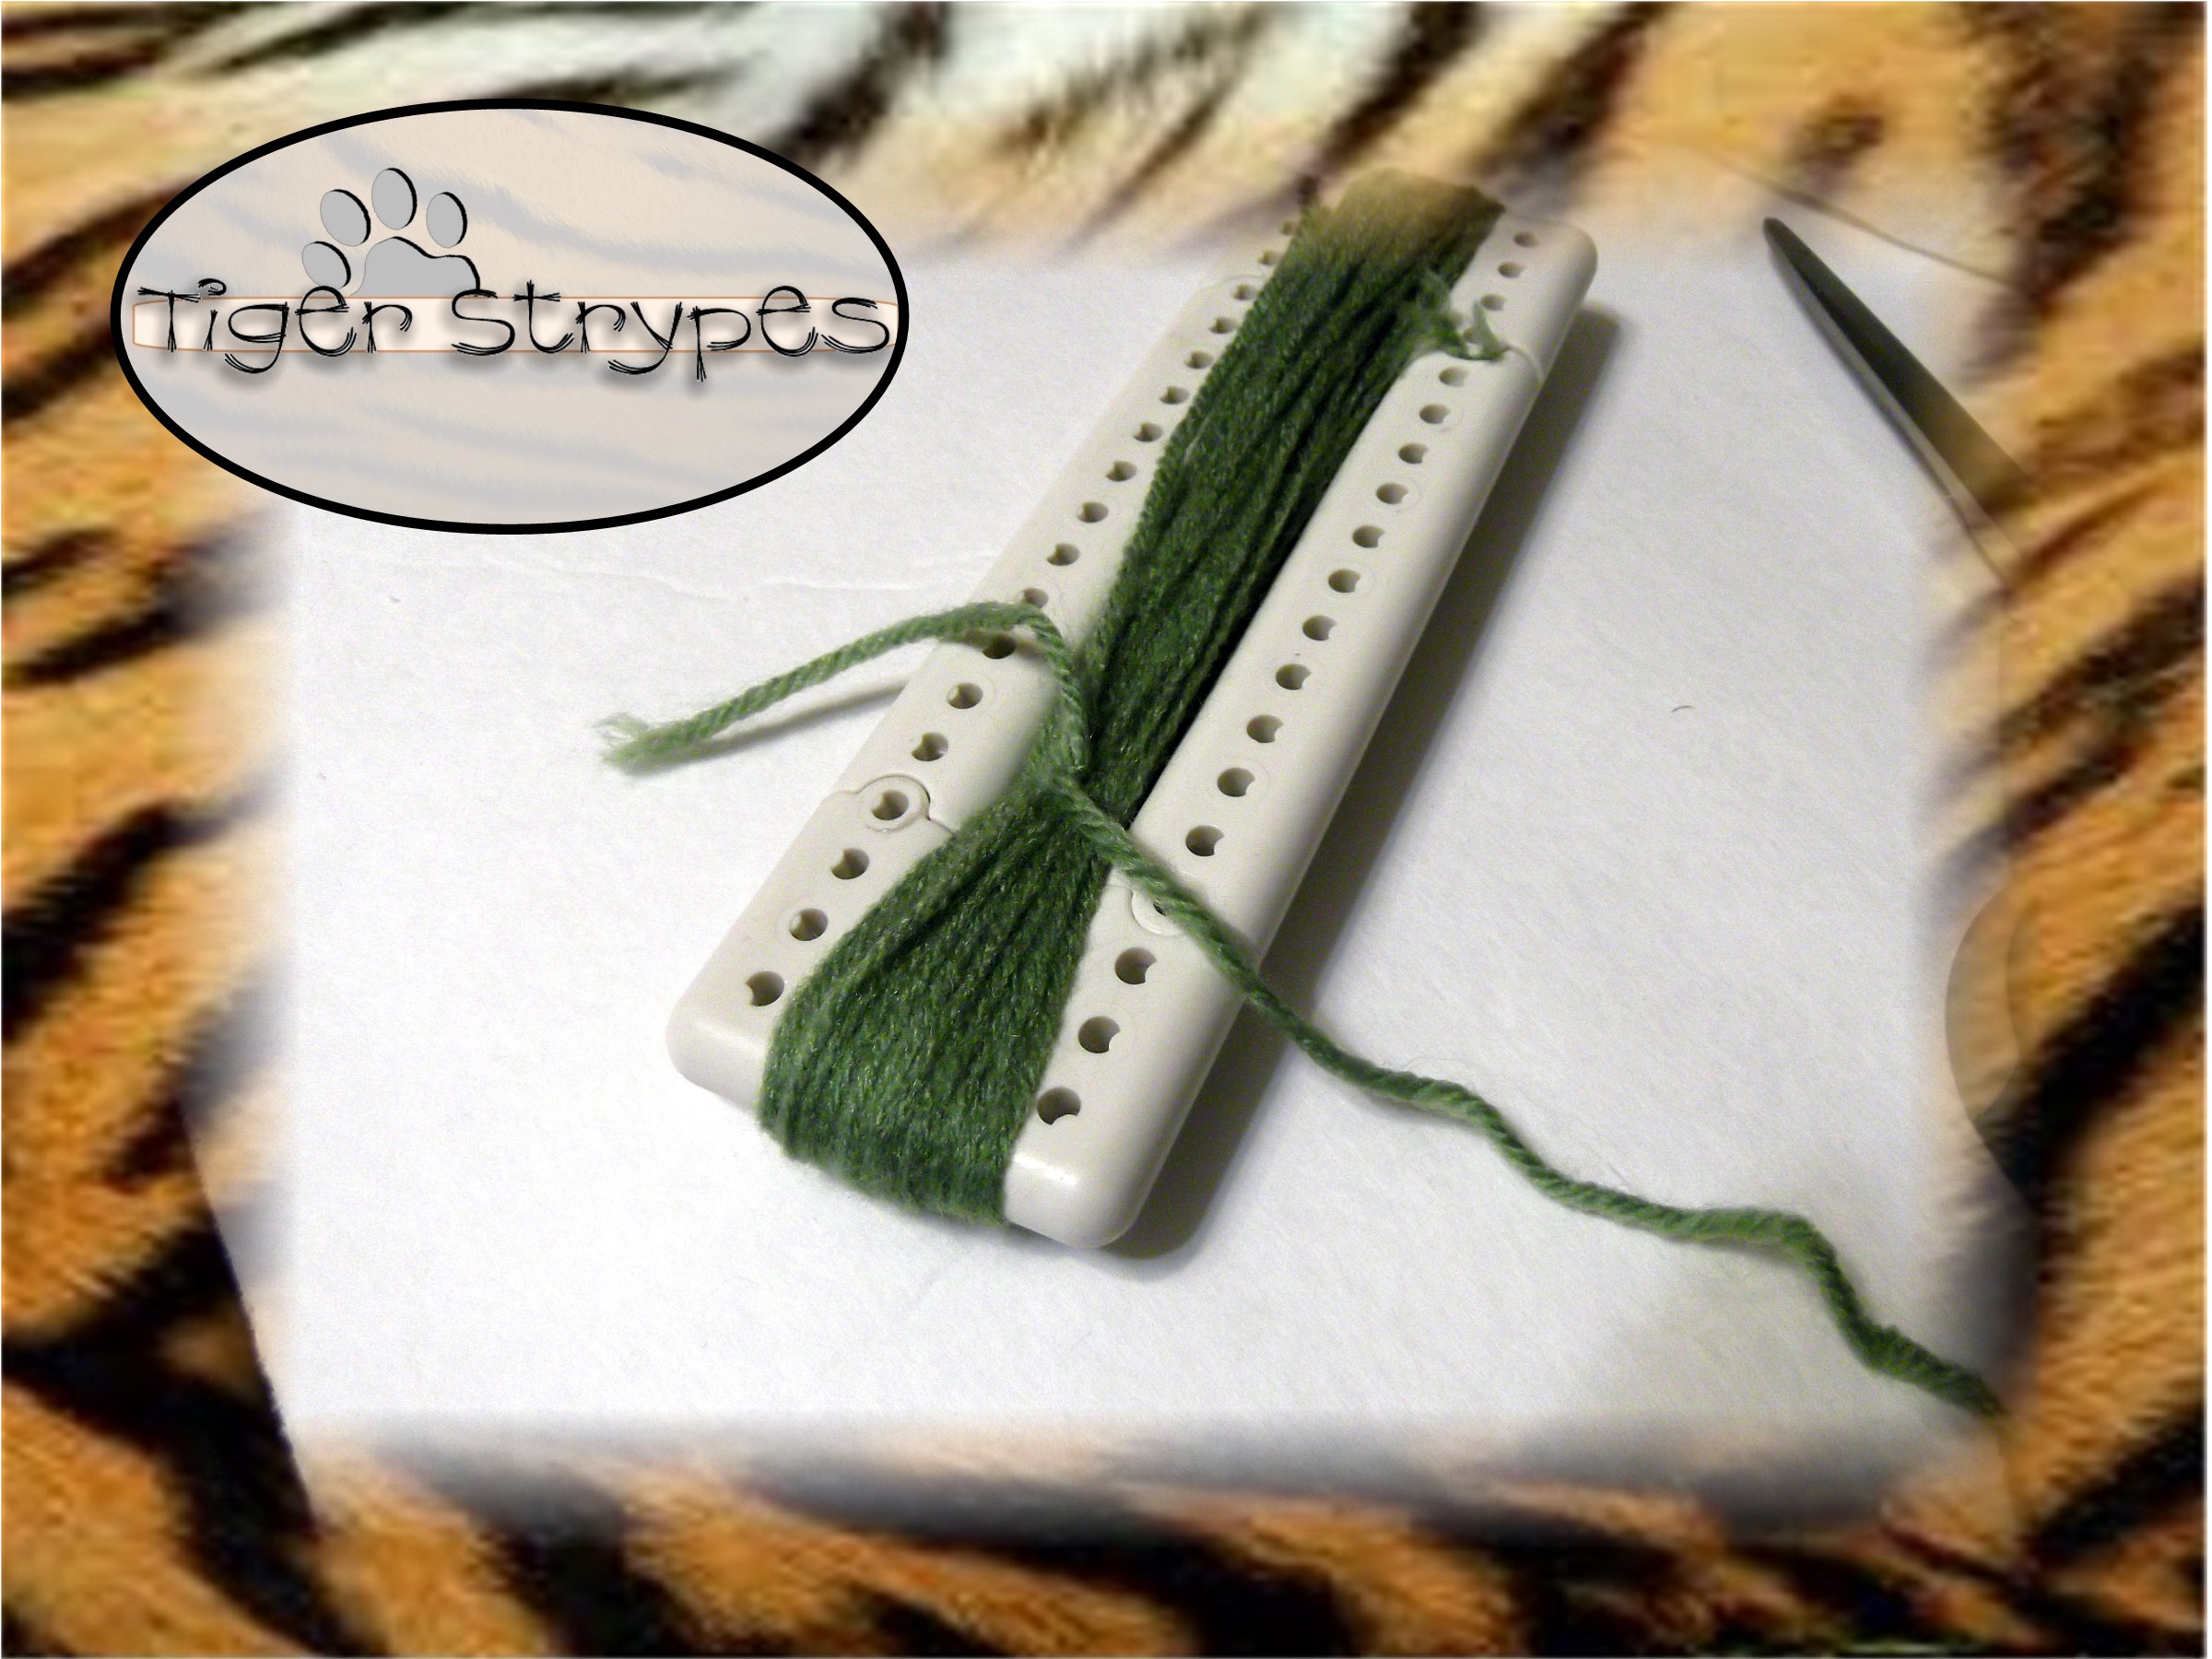
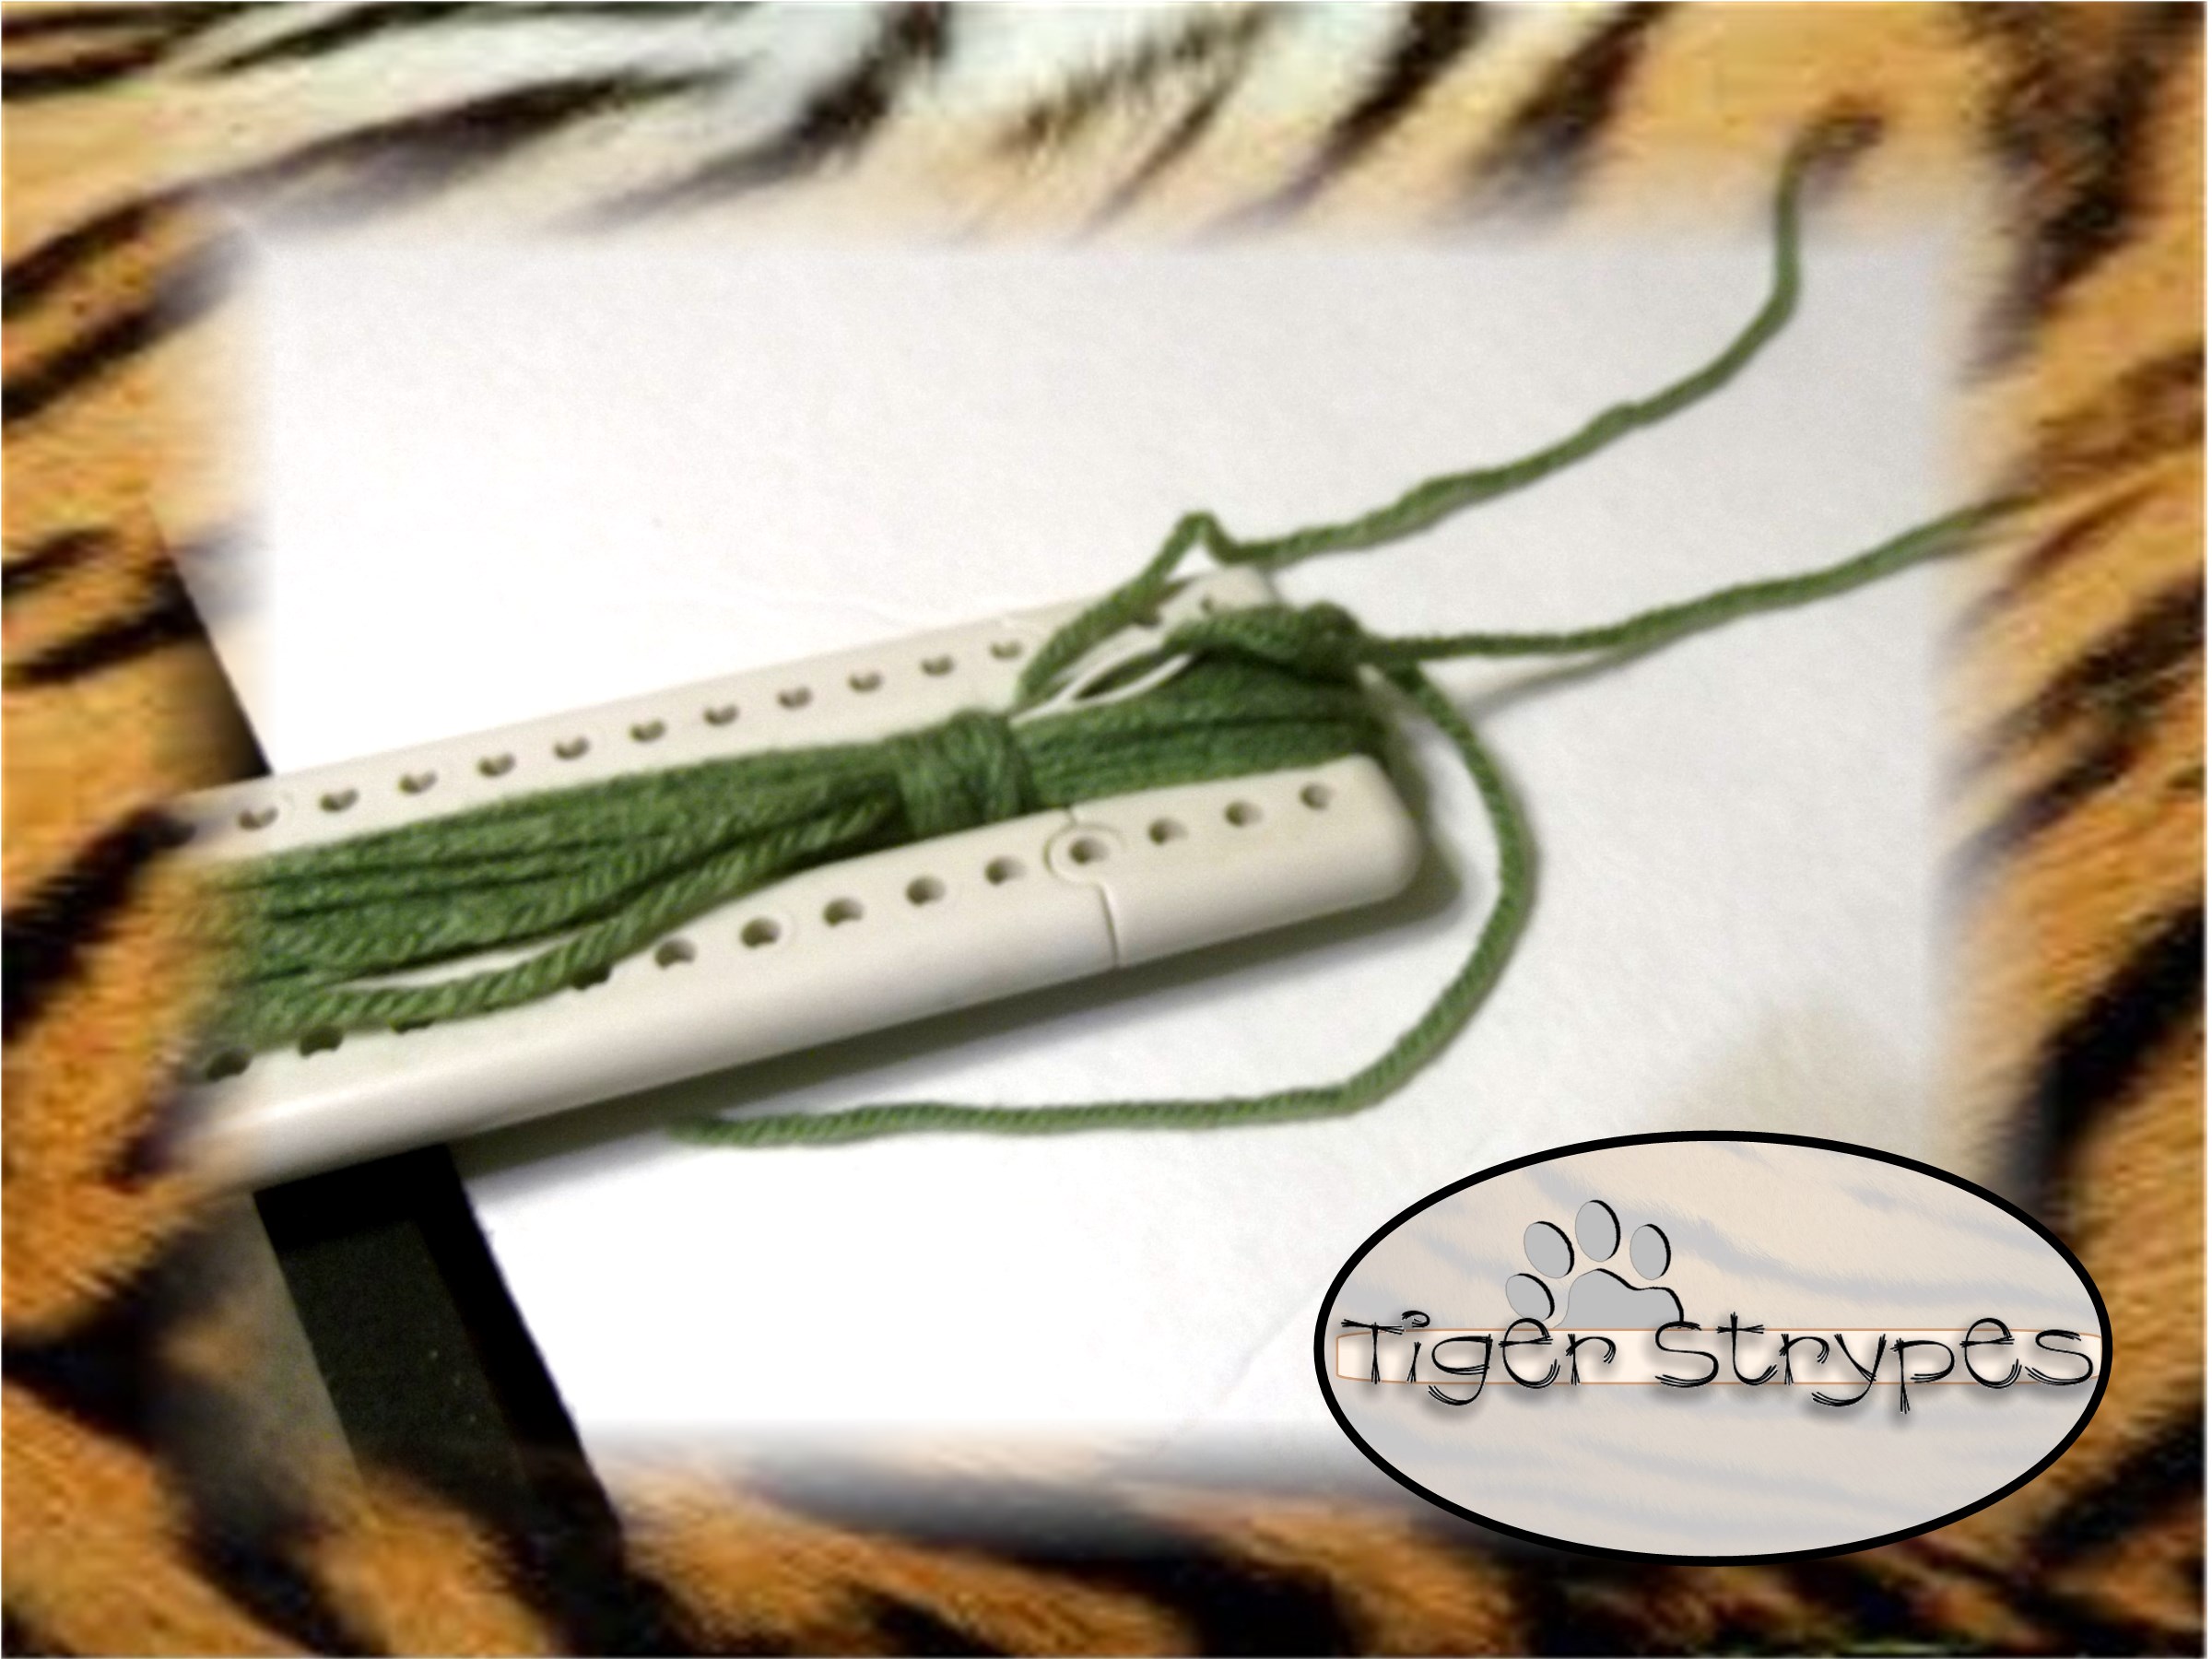
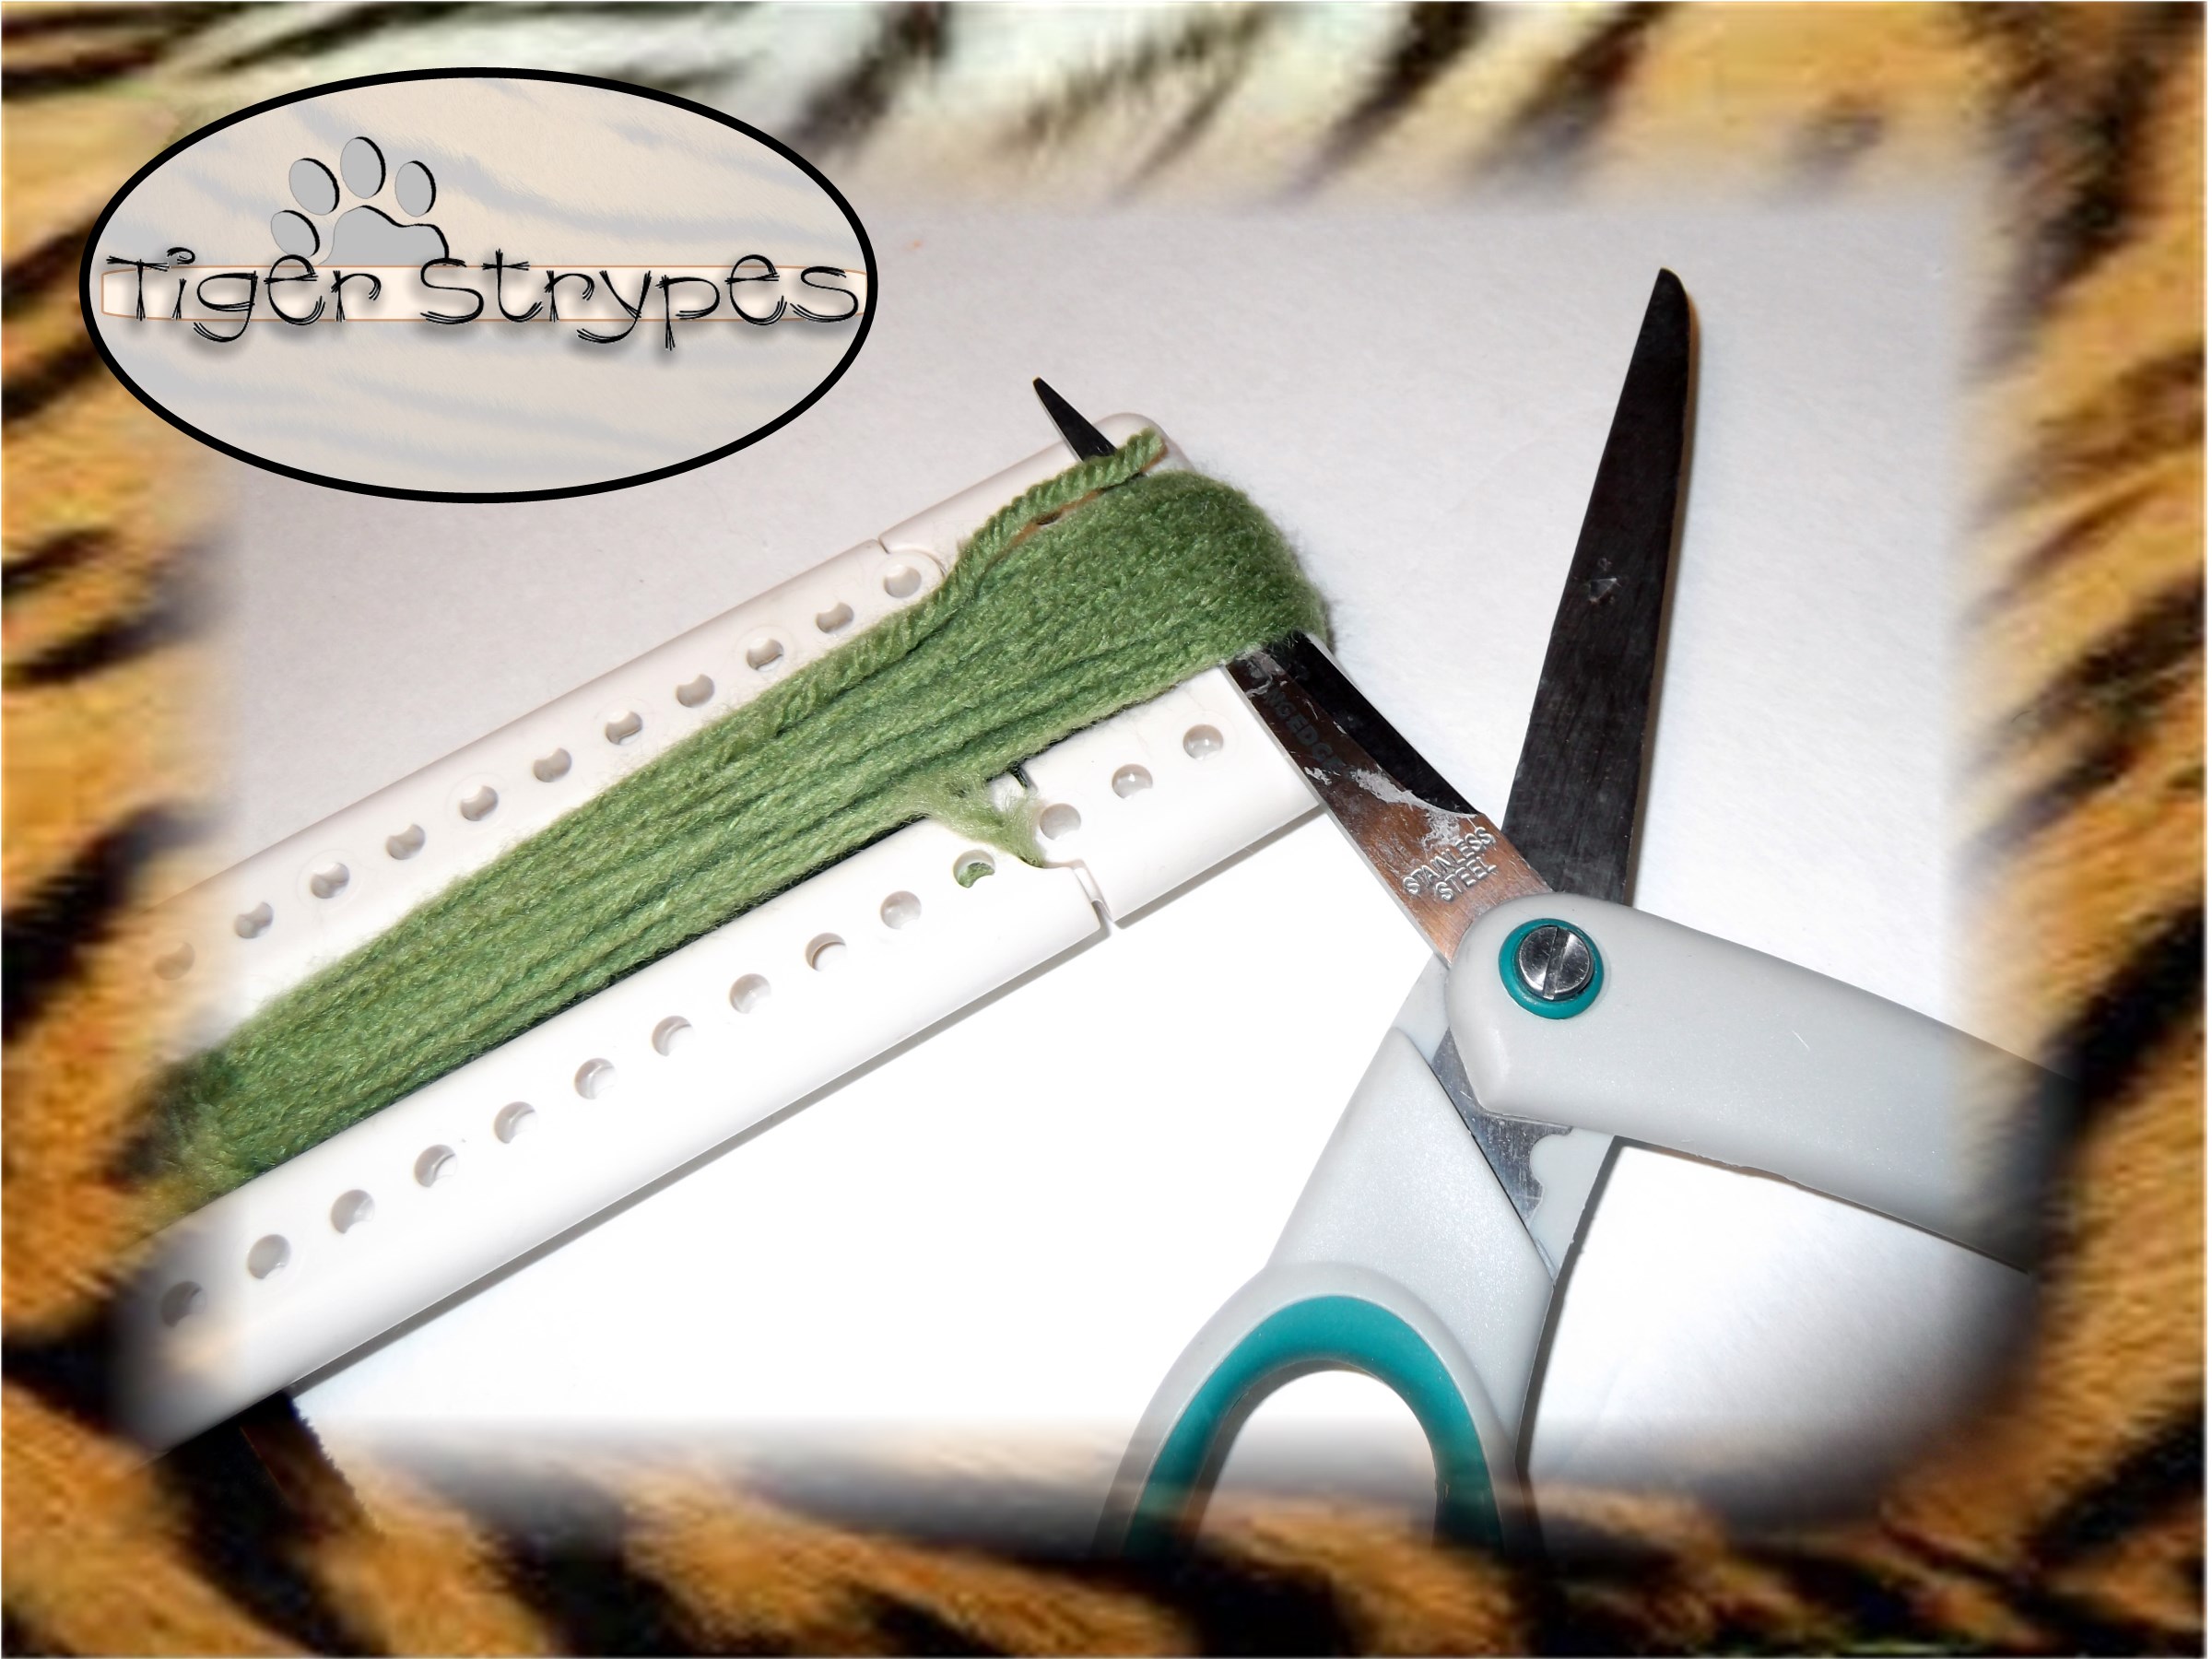
When you’ve finished with the orange portion, you can begin on the “leafy greens” tassel for your carrot top. Start by either cutting out a piece of cardboard in the length you wish, or do it with whatever tools you use. I used my “Martha Stewart Knitting Kit” and made it easy with that. Wrap your green yarn around the piece, using a pretty good amount of yarn to make this heft. You want your end piece to be large enough to fit in the top of the carrot when you’re done, so use that as a sizing tool. Once you have it wrapped as much as you want, cut it at the top with your scissors.

After that, use another piece of yarn to secure the main one at the bottom. Make sure you tie this very tight and leave a bit of the yarn to blend into the tassel. Cut the end about 36″ to 48″, since you’ll need the extra to secure this bottom piece.
Next, use a large plastic craft needle to take that excess yarn and circle it around where you knotted. Be sure to make this pretty tight. When you have an amount you feel is acceptable, thread your needle from the bottom up and then trim your thread to match the height of the yarn piece. Trim off the other side (beginning of the yarn) that has been secured into this looping to hide it.
Once you have all of this done, you can use your scissors to cut at the top of the piece to make your carrot top.
Next, take apart the loom, or you can cut the piece of cardboard to free up the bottom part. Just pull it off cautiously and be sure not to pull the yarn too hard to mess up your tassel. When you get it off, you can trip the top portion to be equal, or leave it where it’s a bit off, for a more natural look – your call.
Next, insert the rounded bottom of the tassel into the top of the carrot piece. Use glue inside of the carrot top to secure. If you’ve made your tassel large enough, you might not even need to do this part. I had to use my plastic needle to push it in. If you have kids that might be pulling this, though, you might want to secure it, just in case.
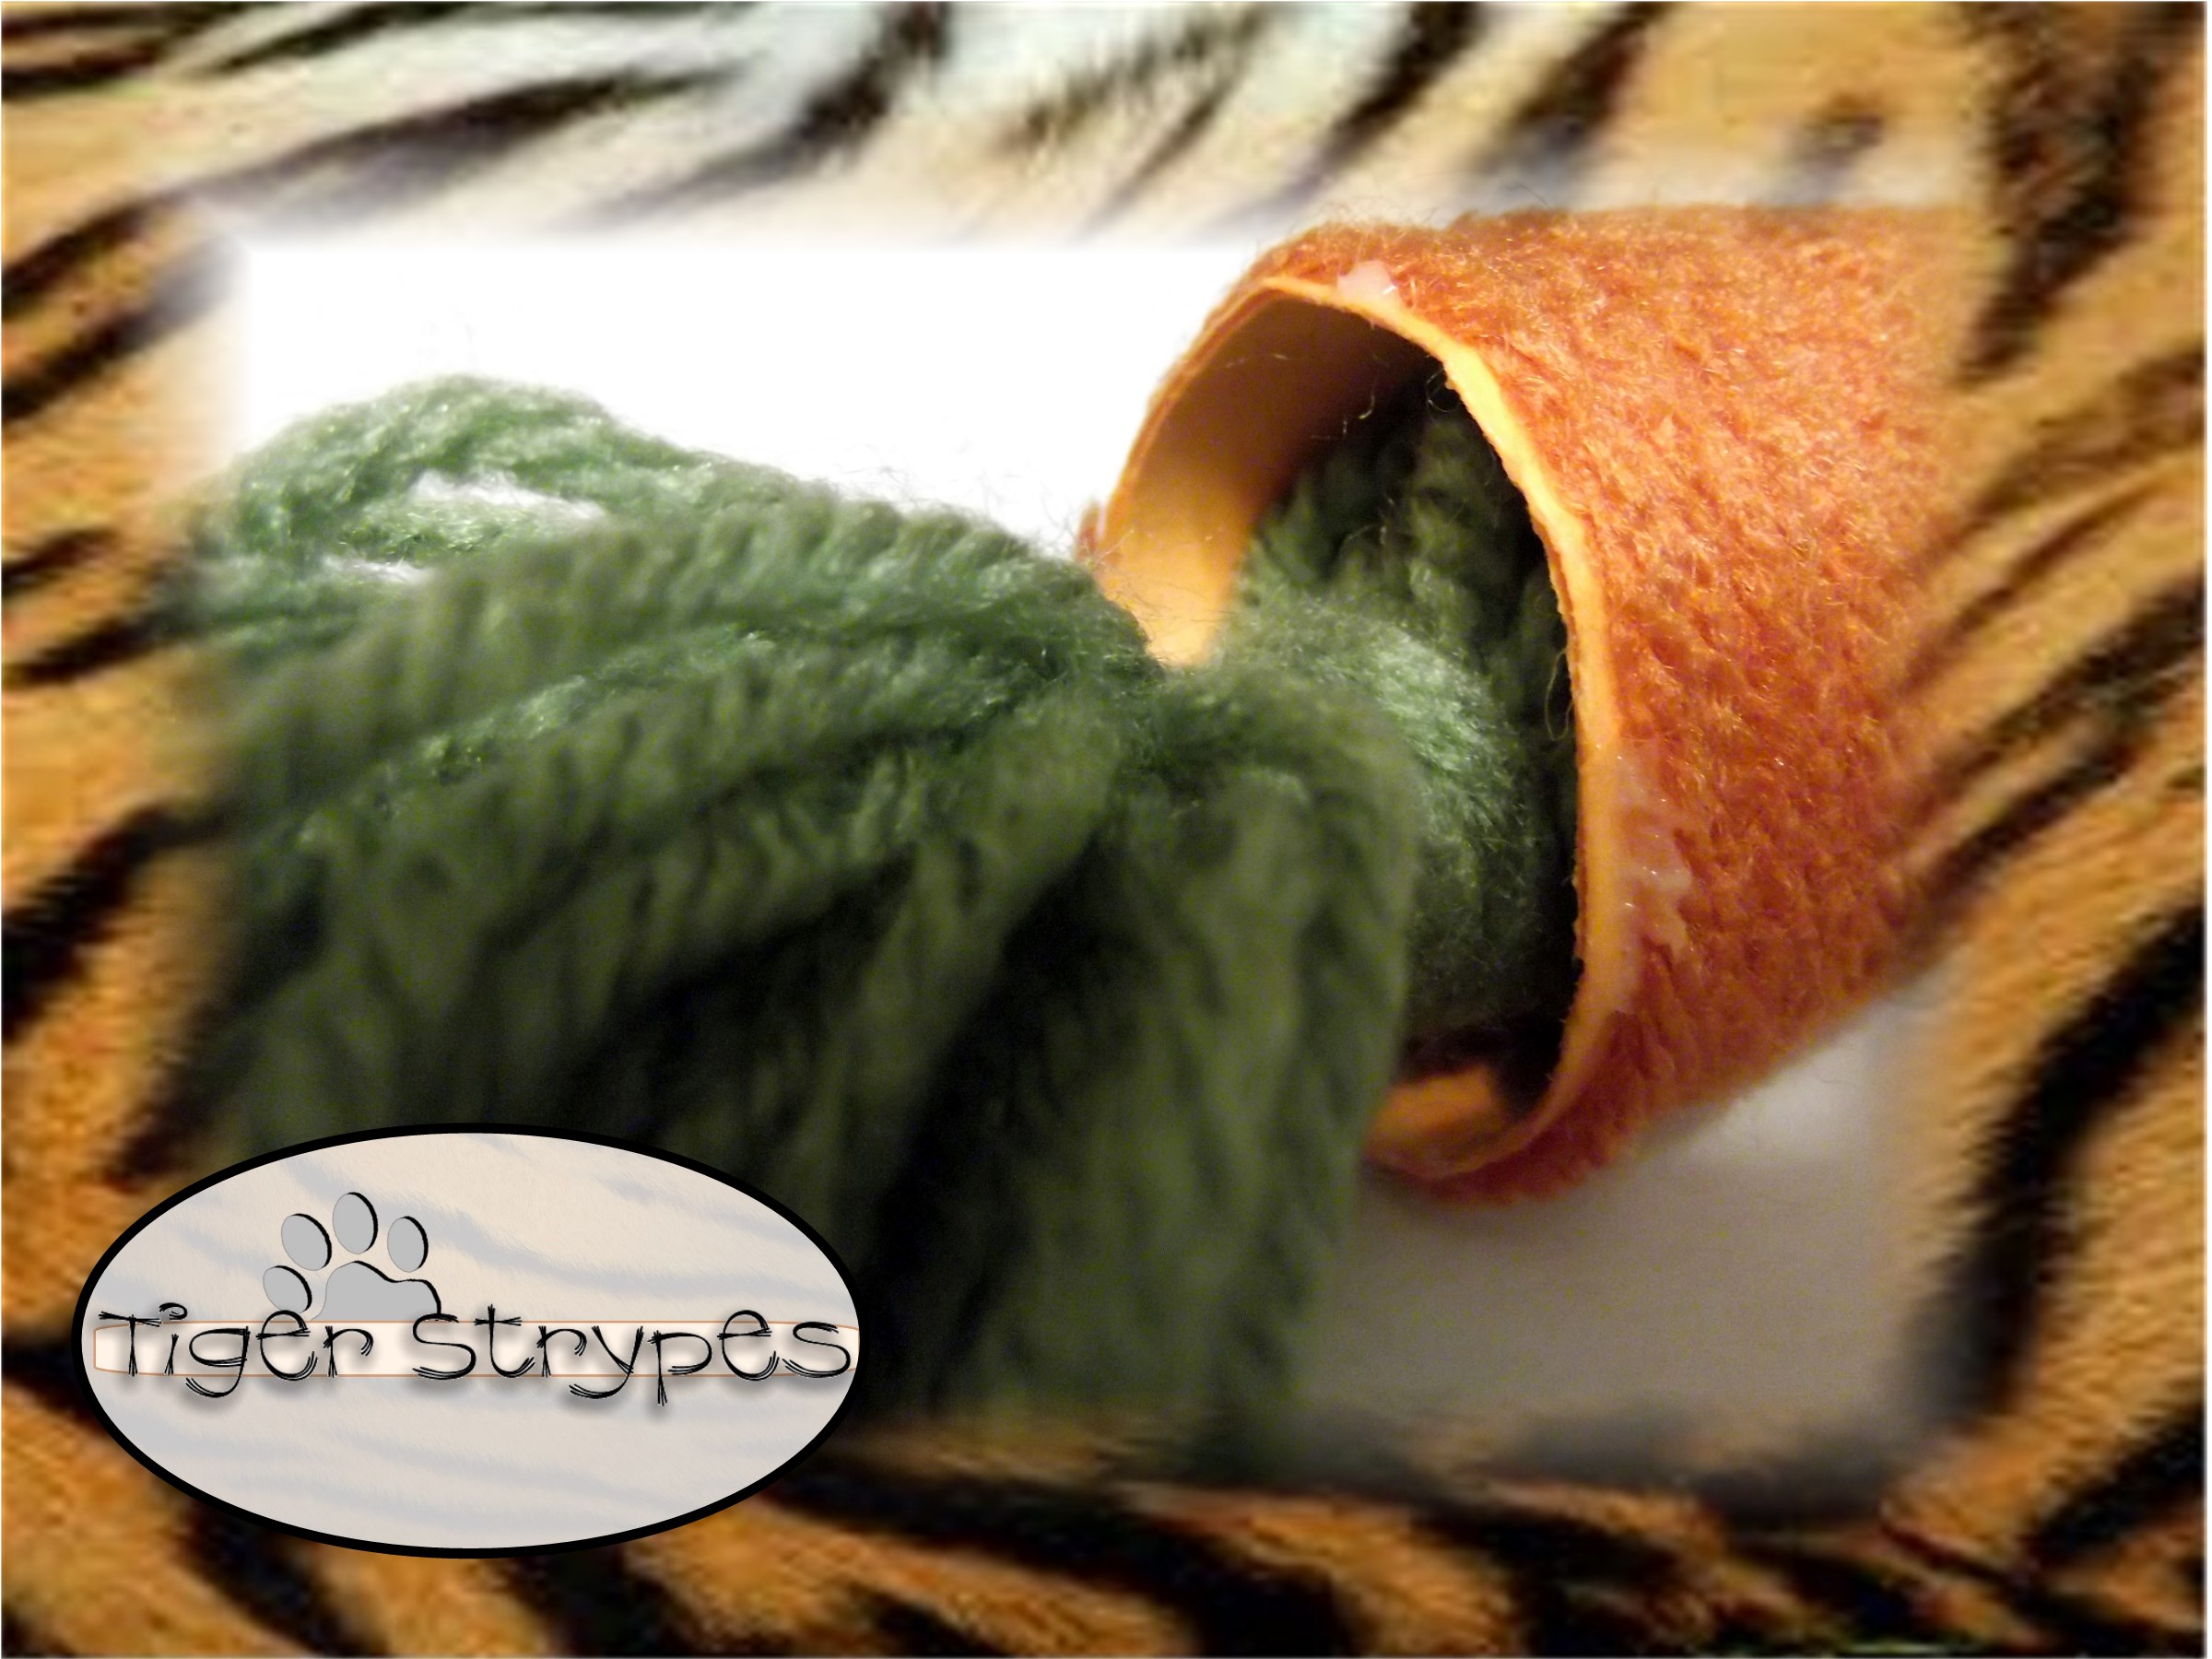
That’s it, now you can make however many you like and decorate around your home for Spring time. These could even be used all year long in a basket of veggies in your kitchen, etc.
I sure hope you like it! Please take a minute to leave me a comment and let me know what you would do different, or what you would add, etc. Be sure to tweet, pin, share, etc. – thanks!!
All pictures and text are my own and have not been copied in any way. I, Jamie Tomkins, own and operate Tiger Strypes Blog located at www.TigerStrypes.com. From time to time you’ll hear about my real life experiences or creations with products and/or services from companies and individuals. Let it be known that I have no affiliation with these said companies, and have not received compensation for reviewing or using their service/product. The information that I give regarding the product/service is based off my own personal experience, I do not guarantee that your experience will be the same.
PLEASE SHARE THIS POST USING THE OPTIONS BELOW…THANKS!!
*****************************************************************************************************


How cute! This would look great used on an indoor wreath, too. Sharing!
I love the finished product. Very nice! I’m a color-visual person, and I really like the color combination that this spring craft offers.
This is so cute!! I am pinning this 🙂
That is so cool looking. I remember making pom poms like these as a kid
That is so so cute! Love it simple and fun, guess kids can do it too!
Kids could help with it – it was really fun, just a simple way to decorate and even use up extra stuff, if you have it laying around.
This is super adorable! Love the carrots!!!!
What a great craft! I could see using these in many different ways, even as treats! You could fill them up with candy! How fun! Tweeted and Pinned!
Hey, that’s a great idea Dawn – see now I know I left the end open for a reason!! ha/ha
That’s adorable! What a fun craft!