
“Upcycled Solar Chandelier” #TBCCrafters Hop
I saw some pin a project like this on Pinterest and figured it would be a pretty easy project to take on. I found a beat up old chandelier at the local thrift store (helping out the animals when crafting 😀 ) and thought it would be perfect to make into this creation. You only need as many lights as there are fixtures, so be sure to buy the lamp first. Can you tell I did this backwards? ha/ha The lights at Lowe’s were only $0.99 each, so the extra (3) I had left over, I just added to some planters in my garden for extra light at night.
I installed this on our back patio from a tree, and it cracked me up when my husband told me that it reminded him of the lights that hang by themselves in the Haunted House at Disneyland. ha/ha – we have a theme park in our yard now!!! Just kidding!
I hope you like it!! Have a blessed day, and please be sure to comment on and share this #TBCCrafters craft!!
“Upcycled Solar Chandelier”
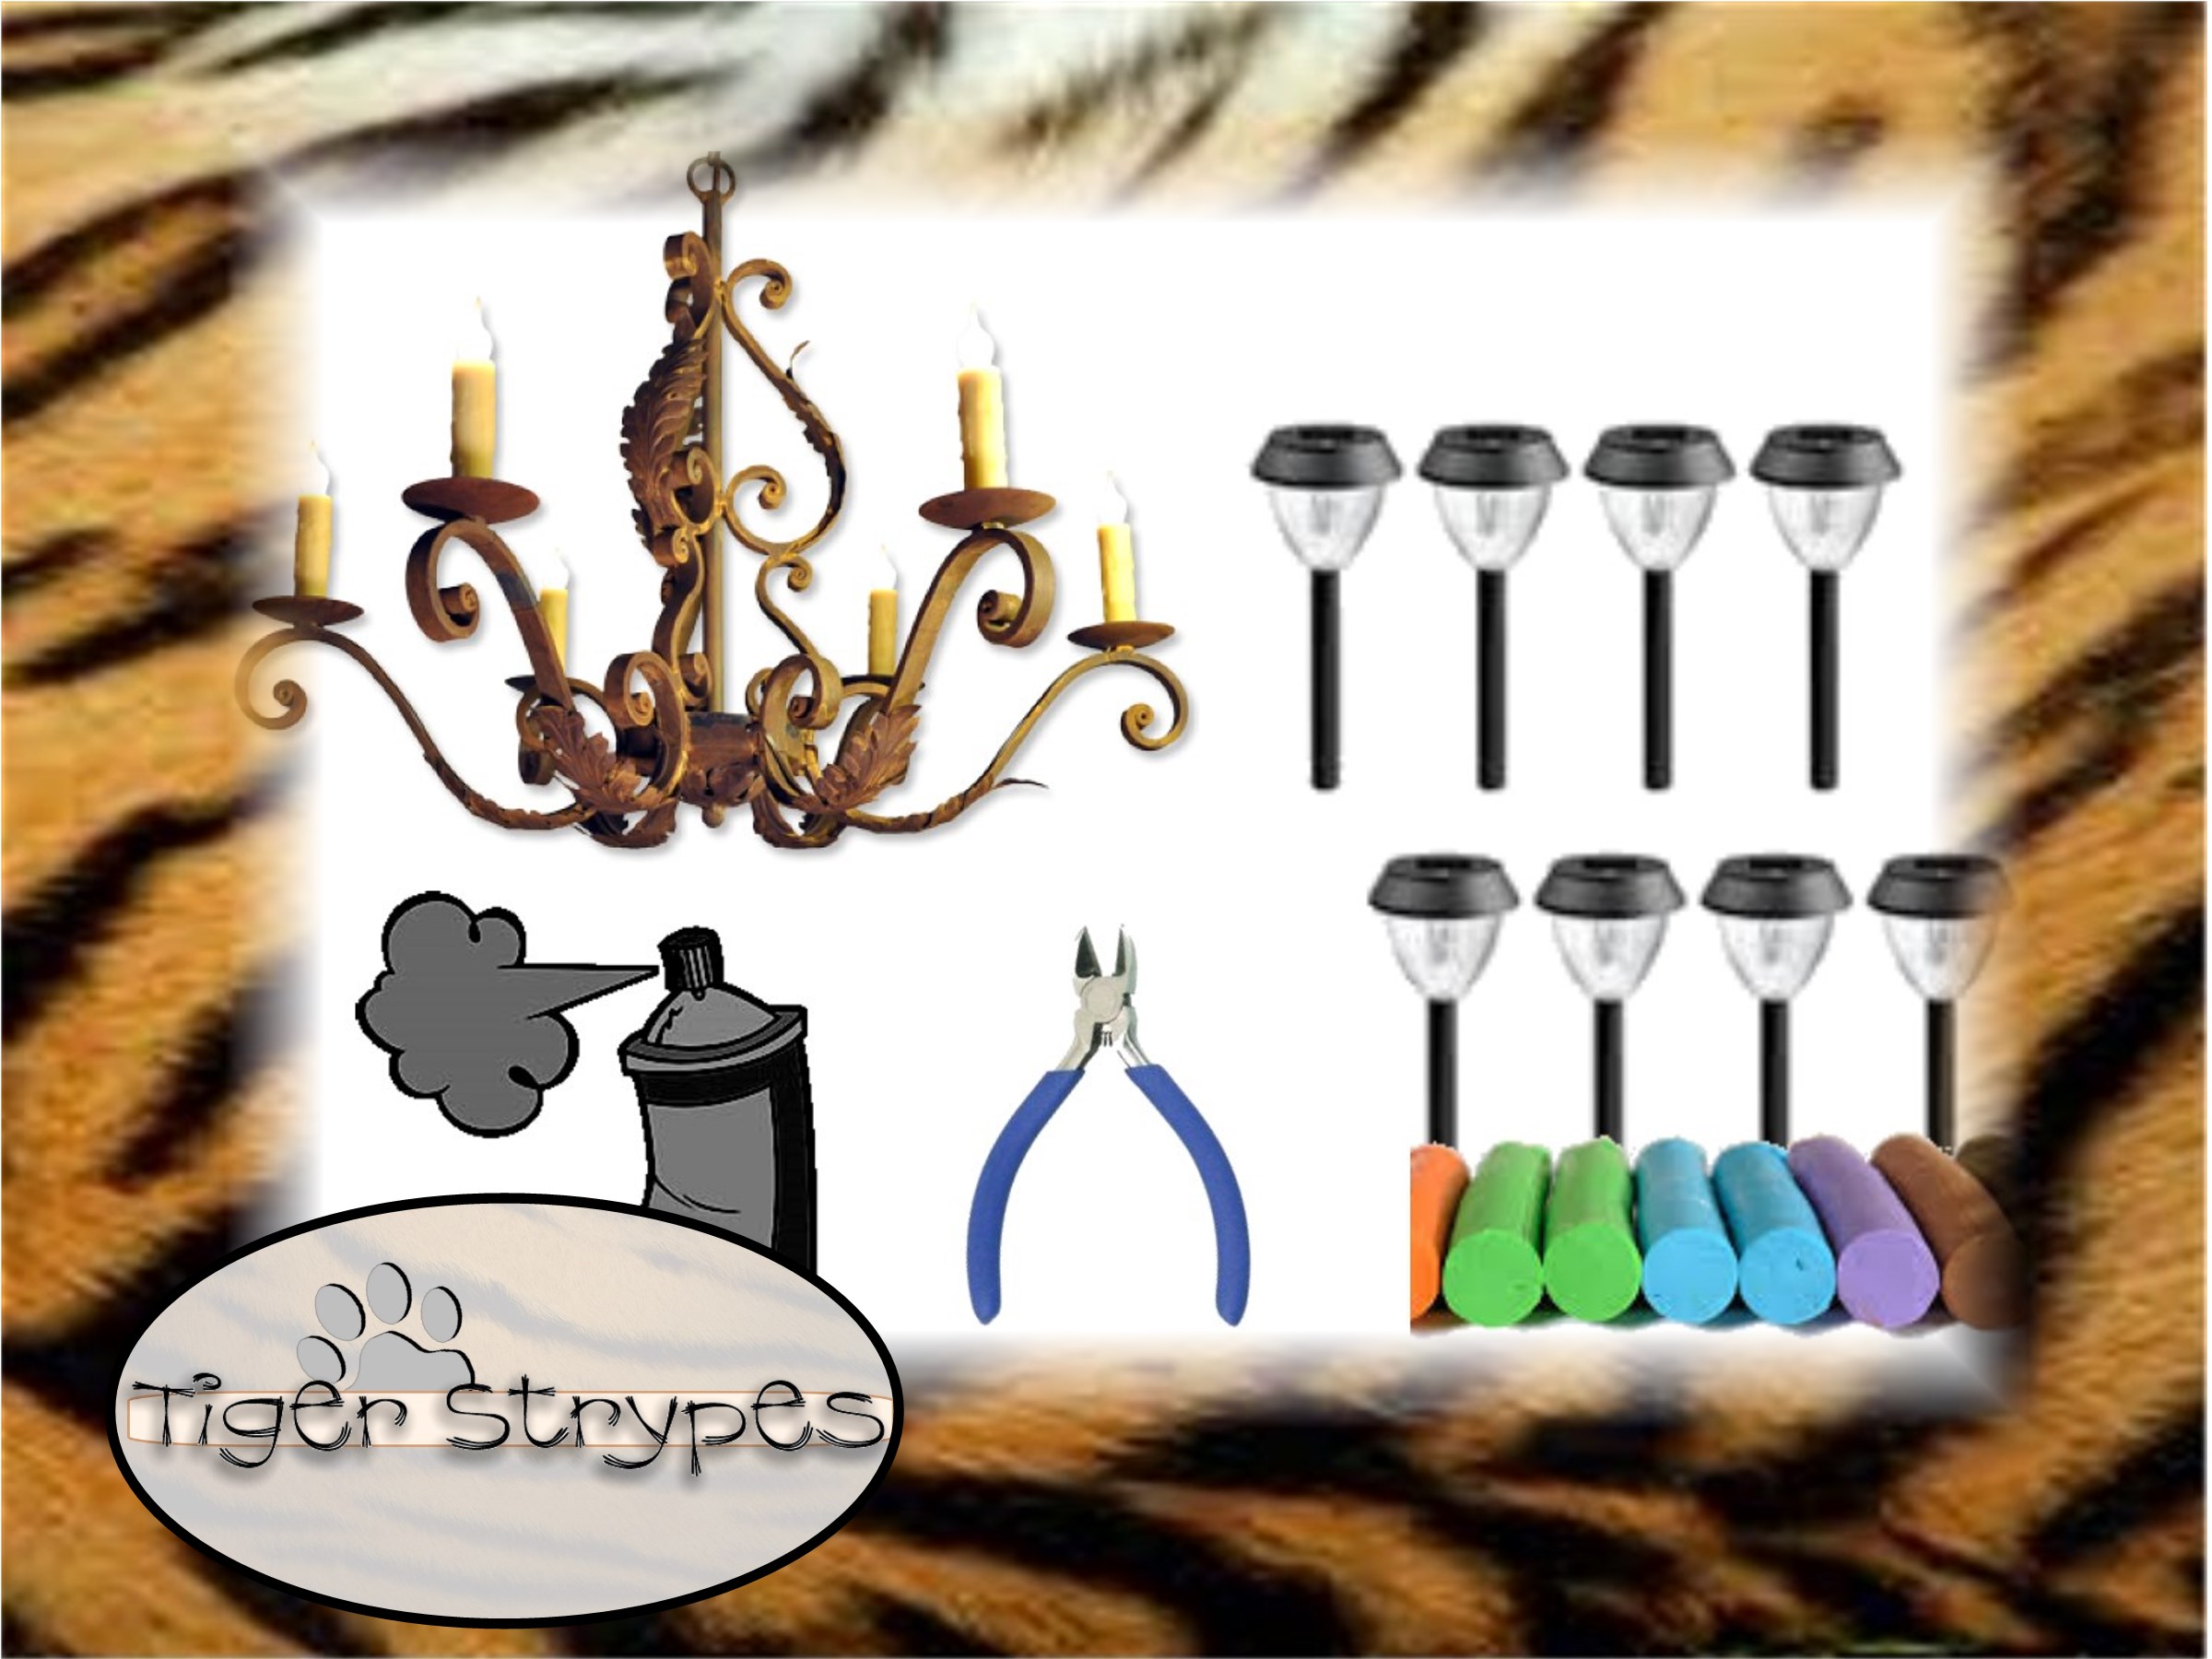
Materials/Tools Needed:
- Old Chandelier
- Spray Paint
- Garden Solar Lights
- DIY Tools (If Needed)
- Putty, Clay or Glue
- & Time!
Instructions:
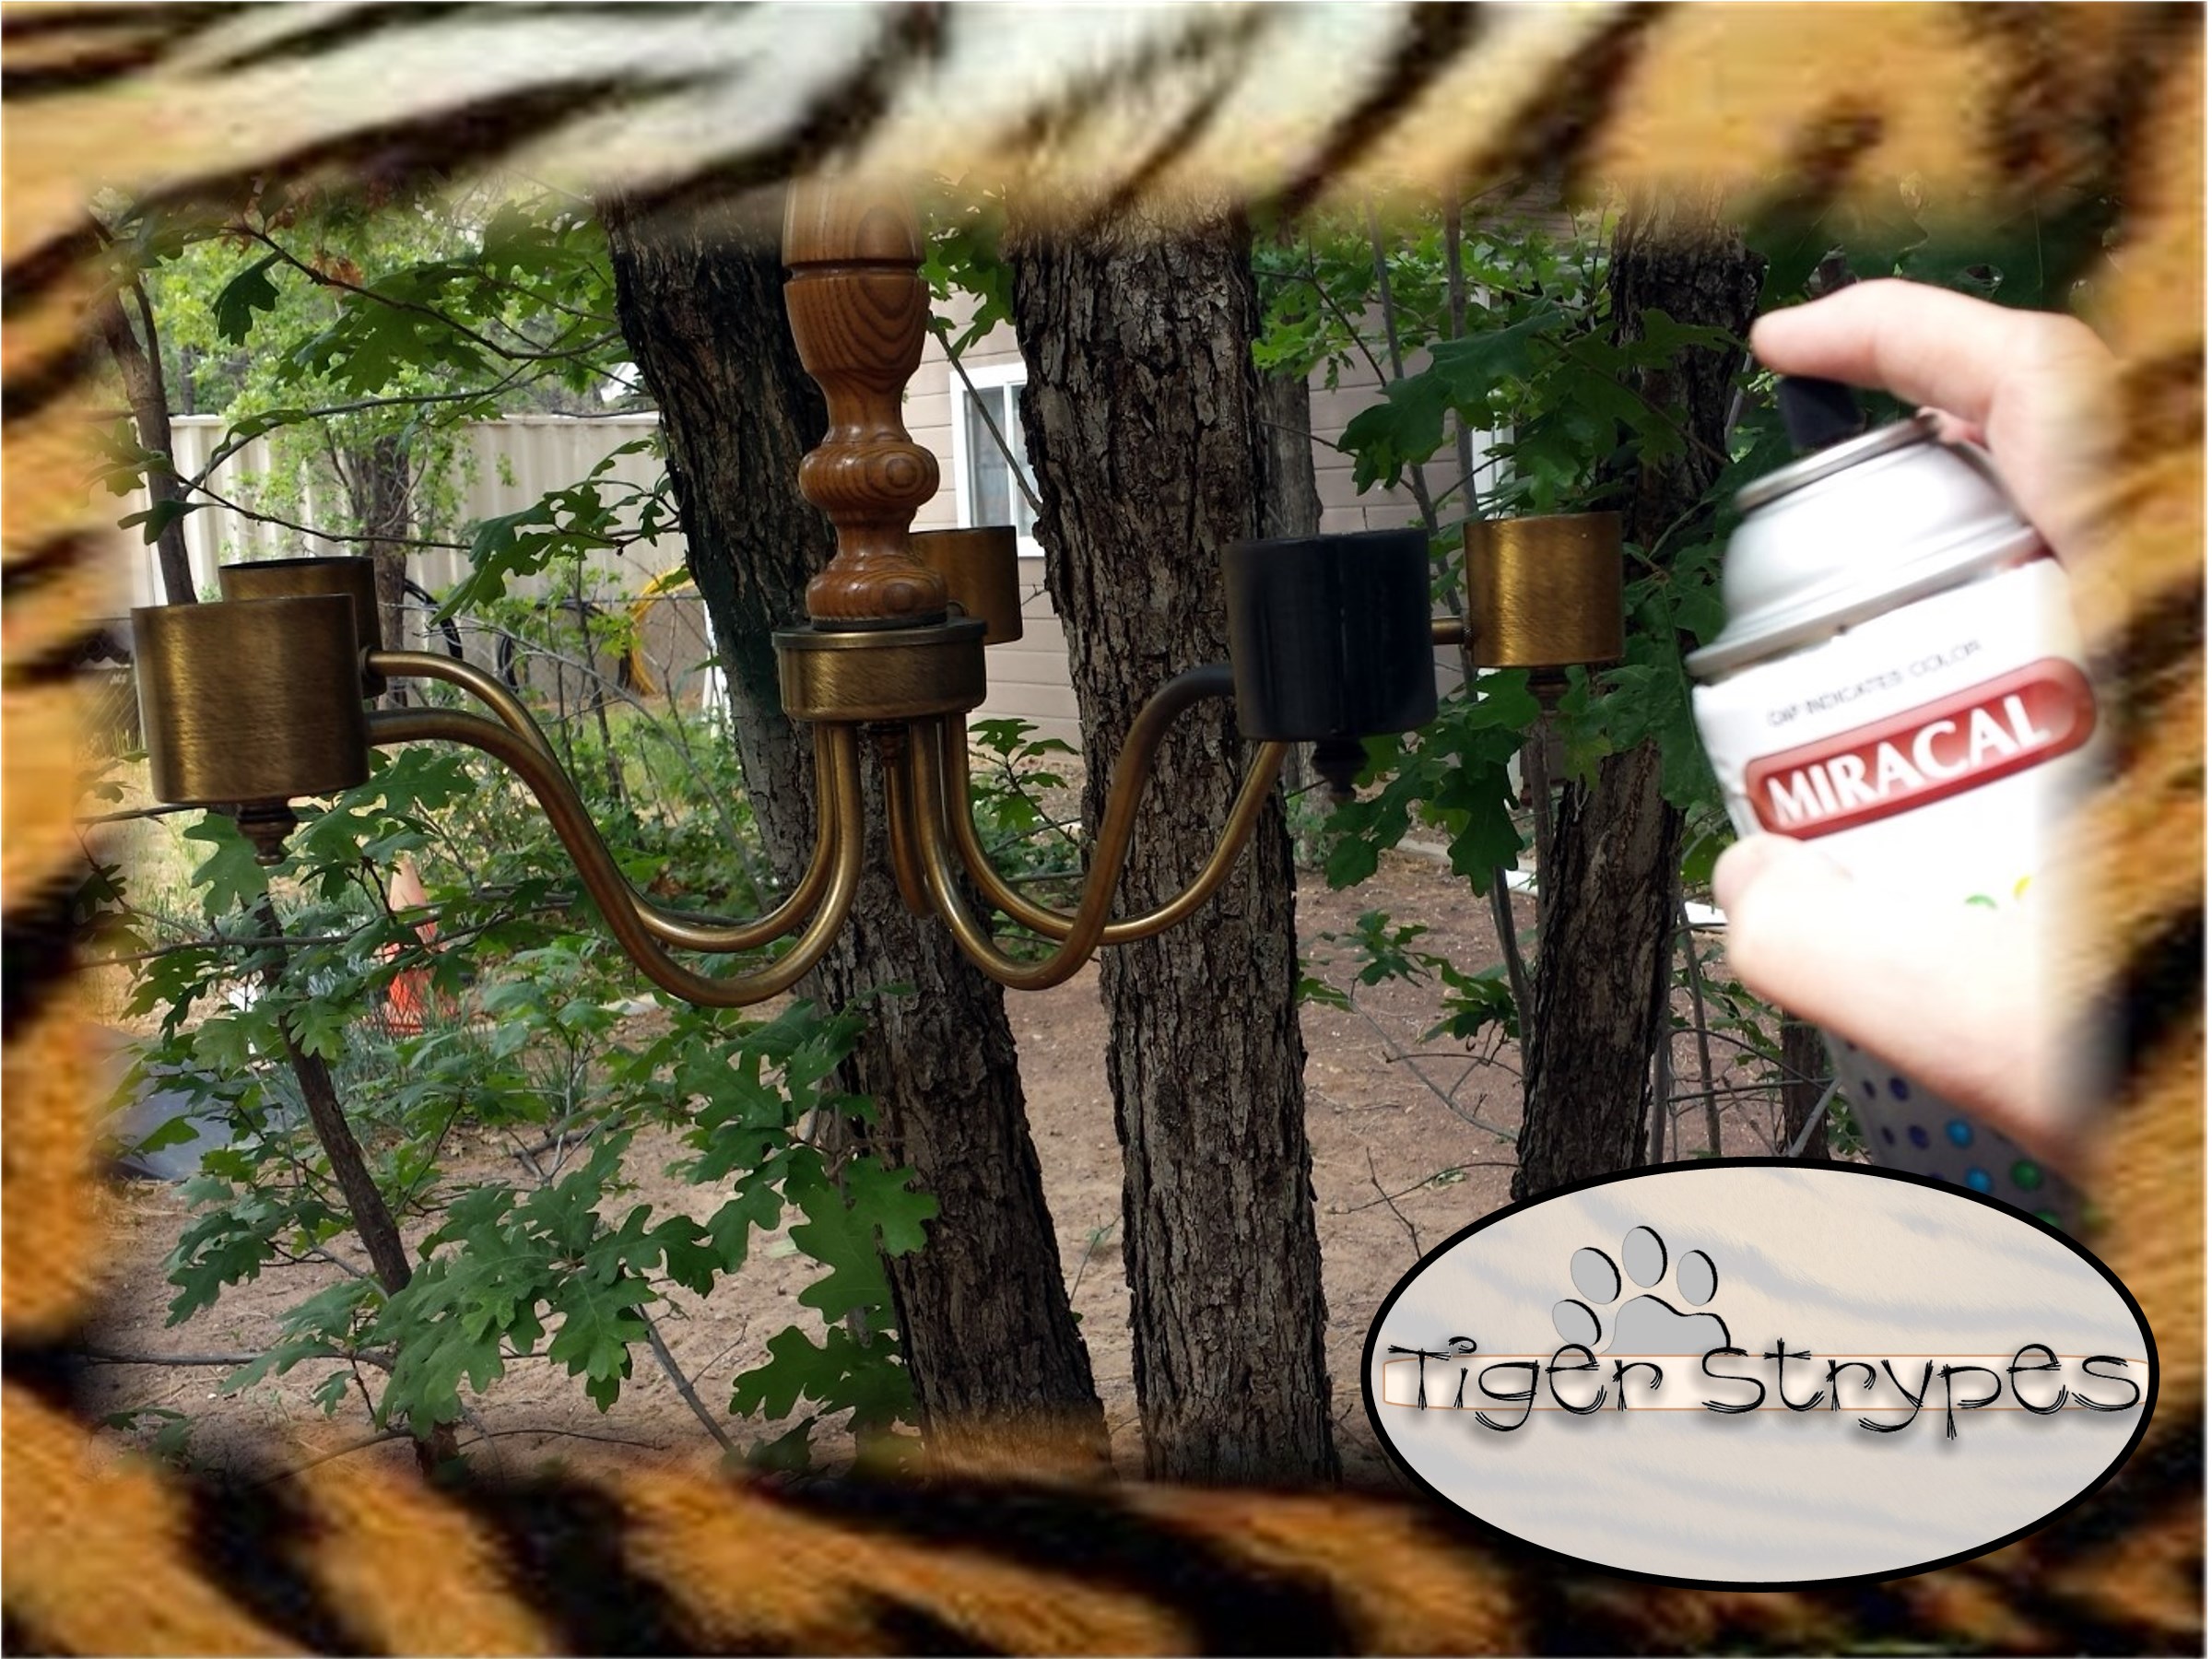
I started by spray painting the chandelier I bought at the thrift store and flat black. If you find one that looks great, you can just skip this step. Lucky!!
Next, I set the solar lights outside to be ready to light up in the evening, once I got this all put together.
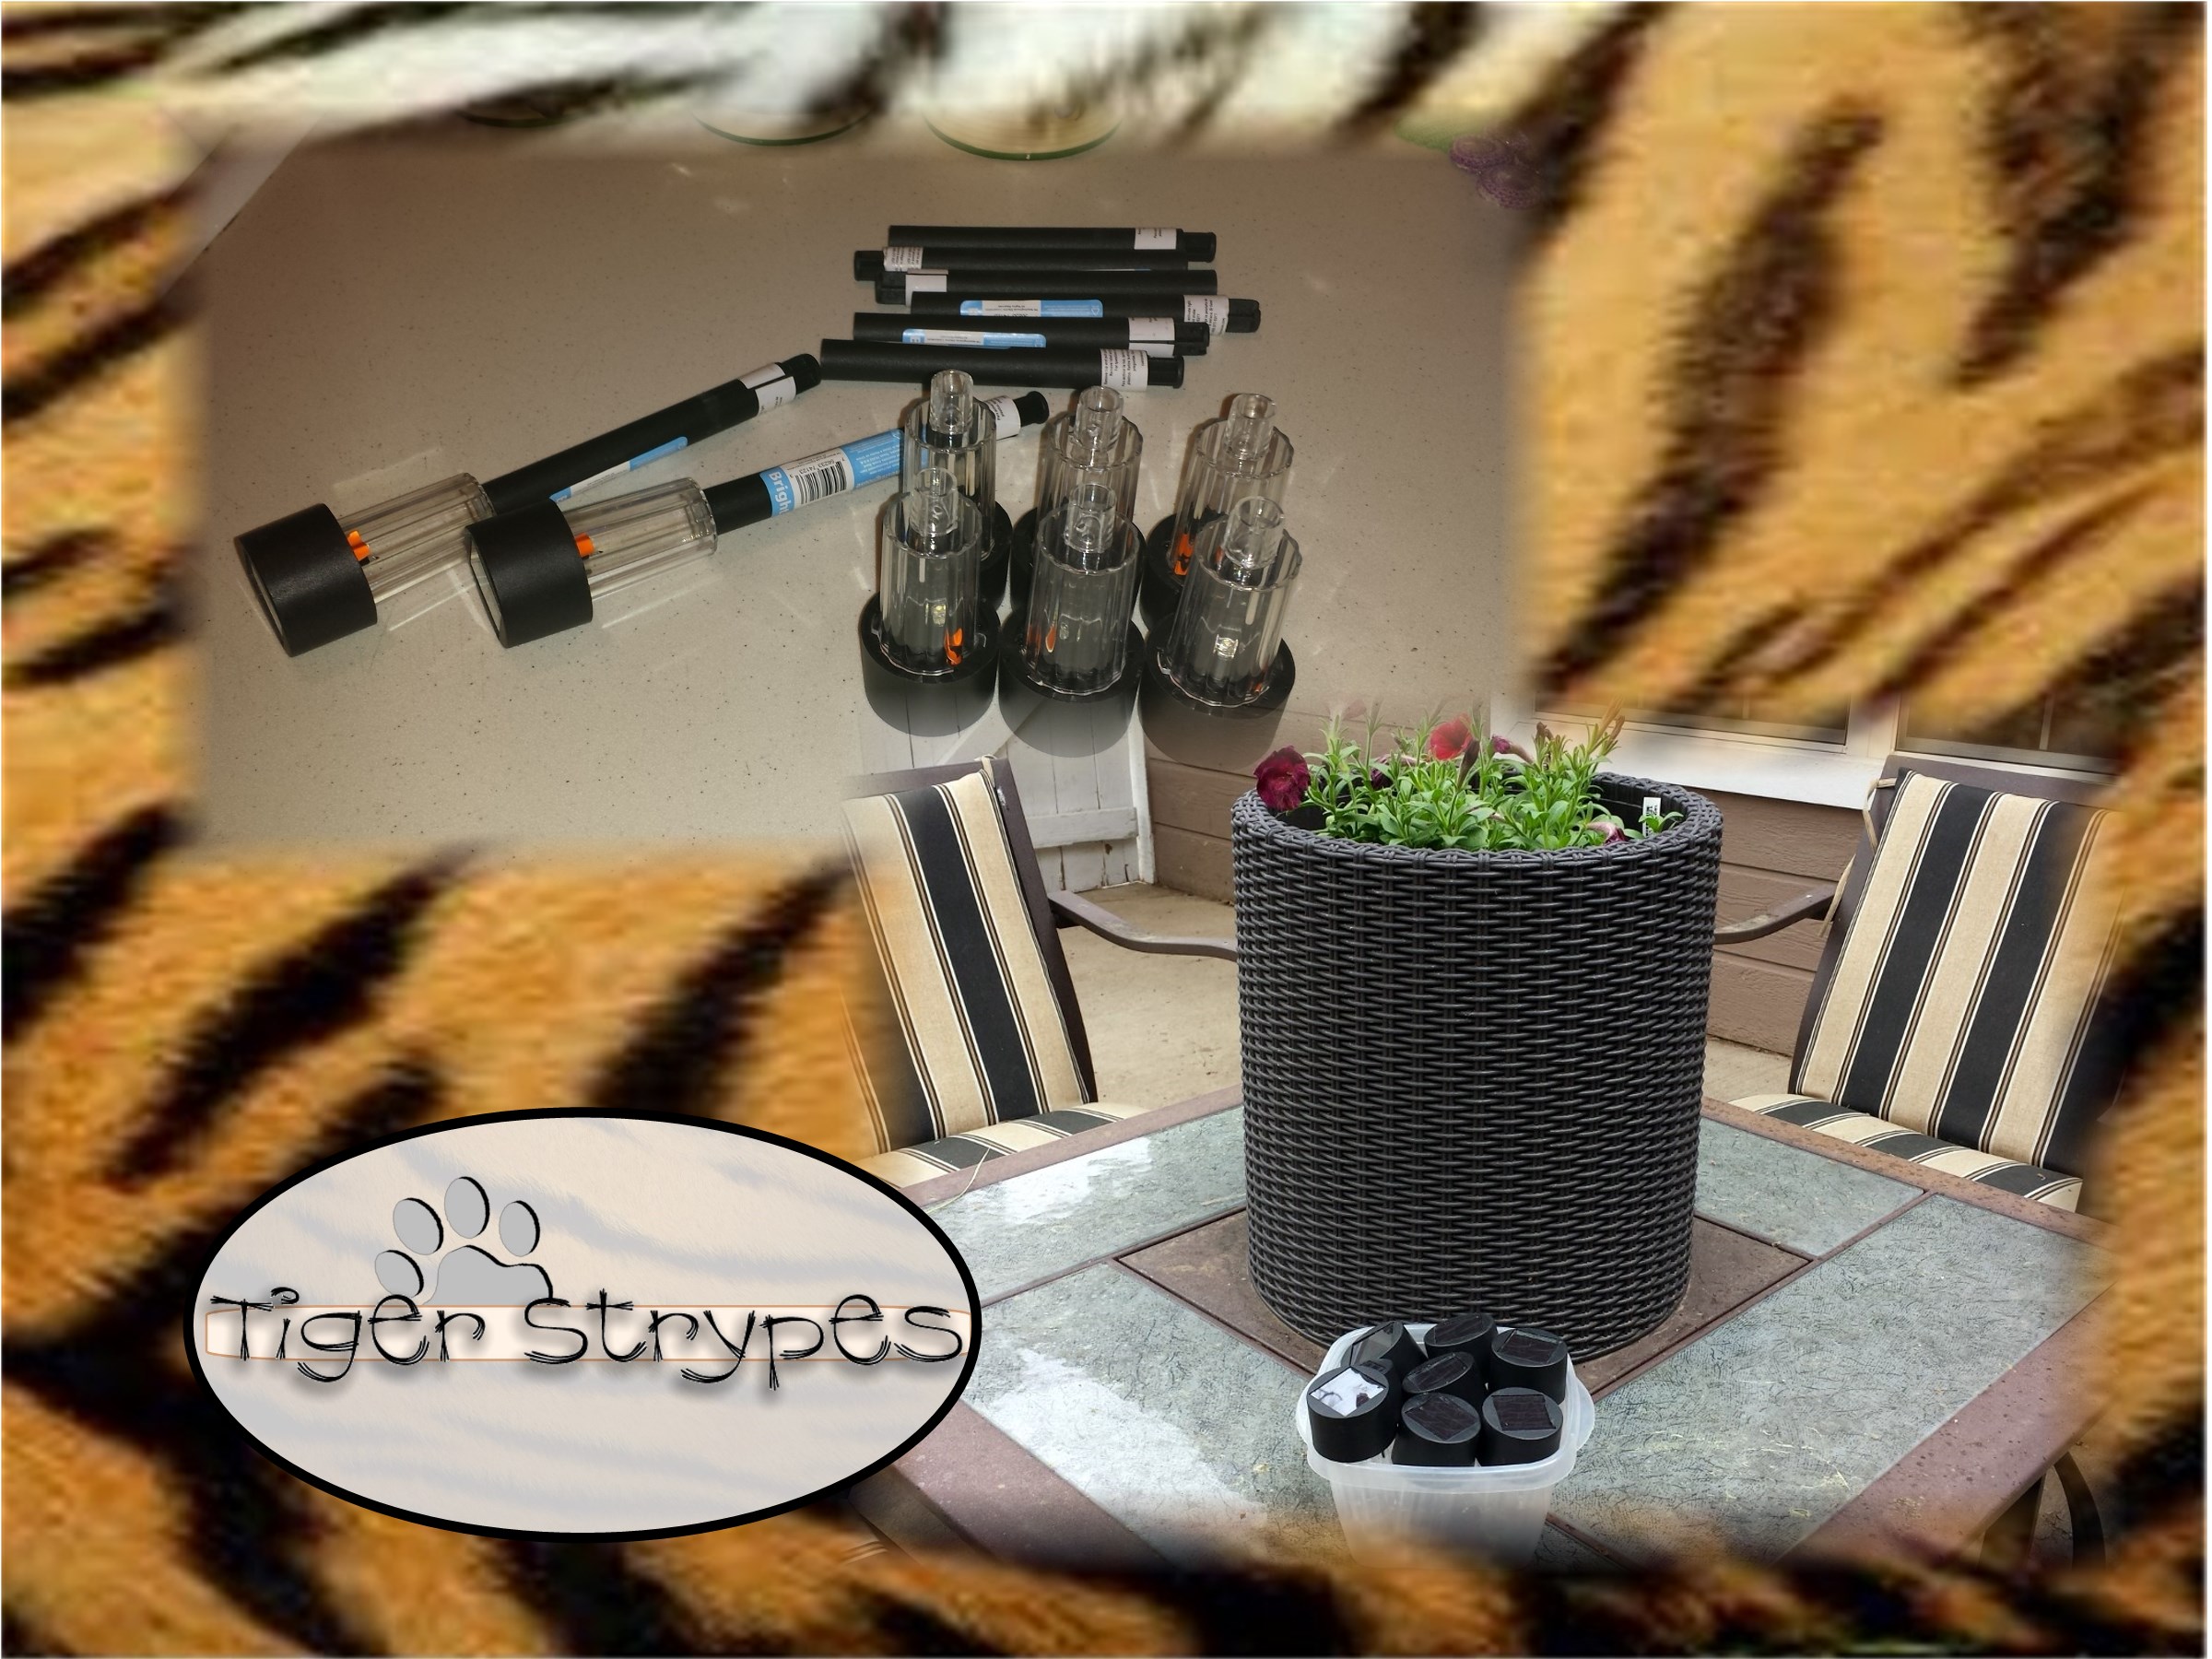
Now that you have your lights out getting ready, you can start working on the fixture (once the paint dries). Depending on the kind you have, you might need to remove the lamp sockets to get more room. I just had to use wire cutters to remove the base and then cut the bottom part off to reinsert (so that the part at the bottom was able to screw on)…only for decorative purposes – you could always just leave it completely off.

After I got each one ready, I used some clay to make a form at the bottom that the lights could stick into. I had previously removed the “stand” from each, since I didn’t want them up very high. Like before, this all depends on the main lamp and lights you purchase, if you need to do this, or not.
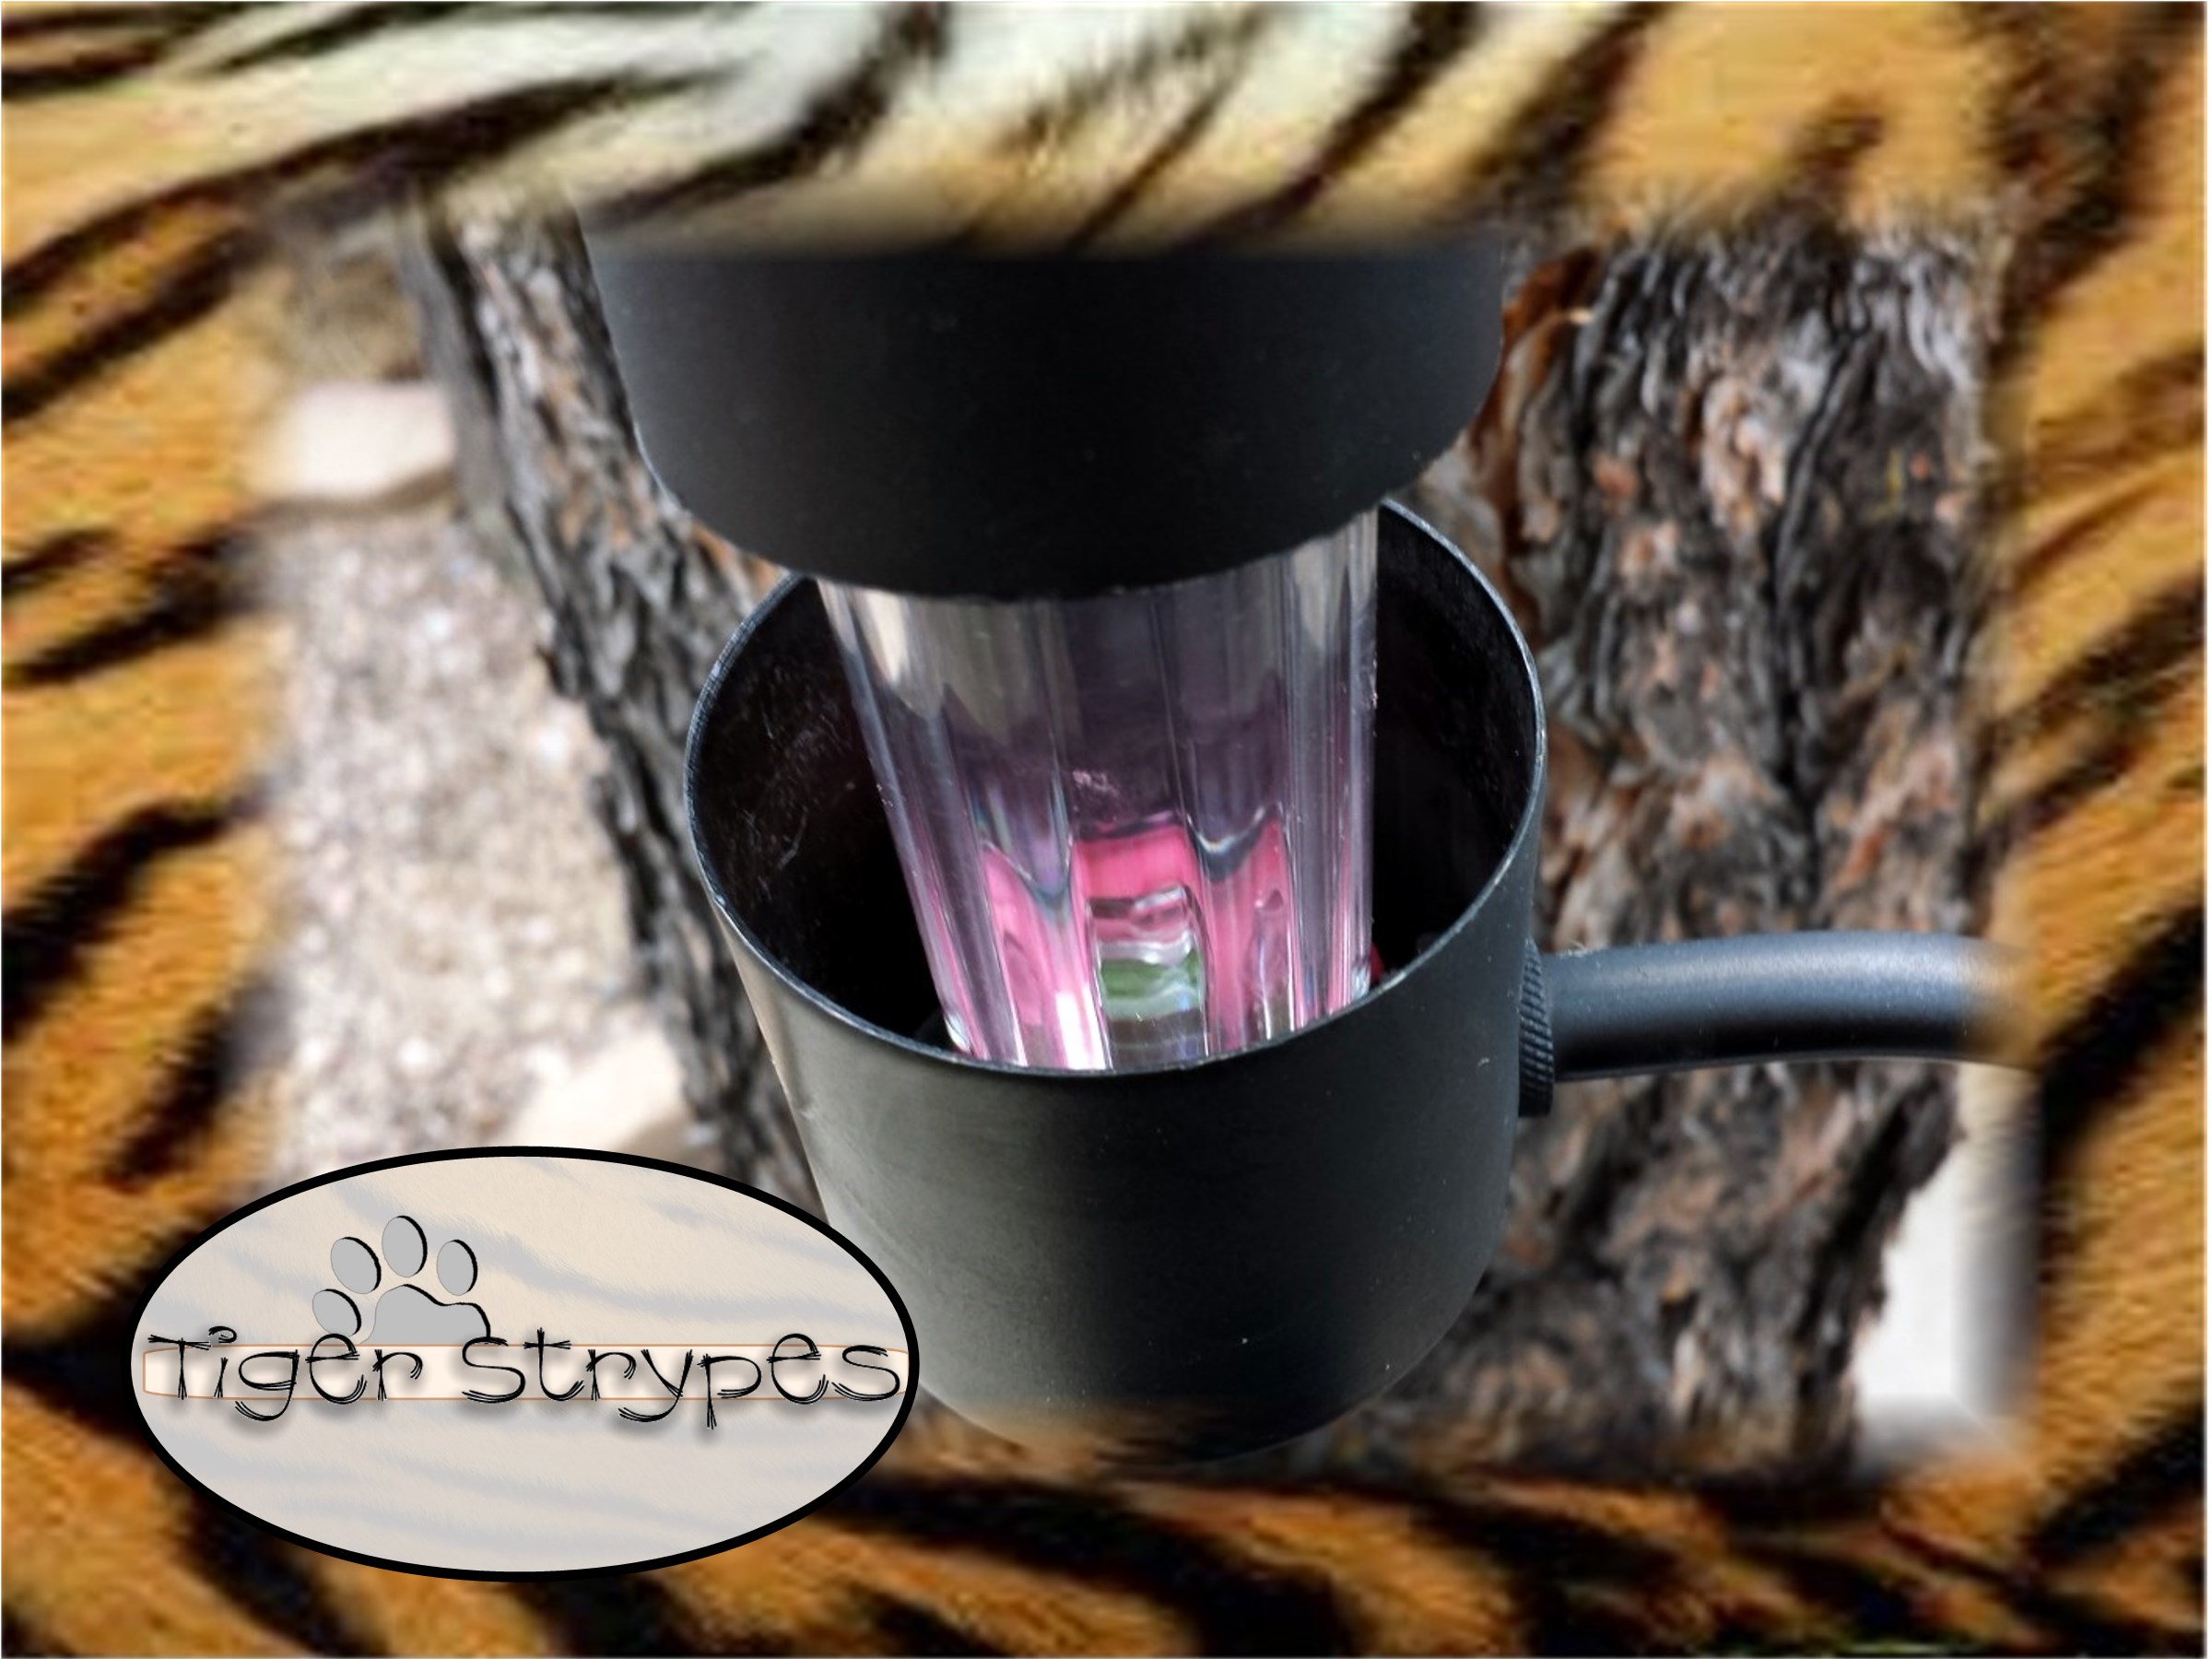
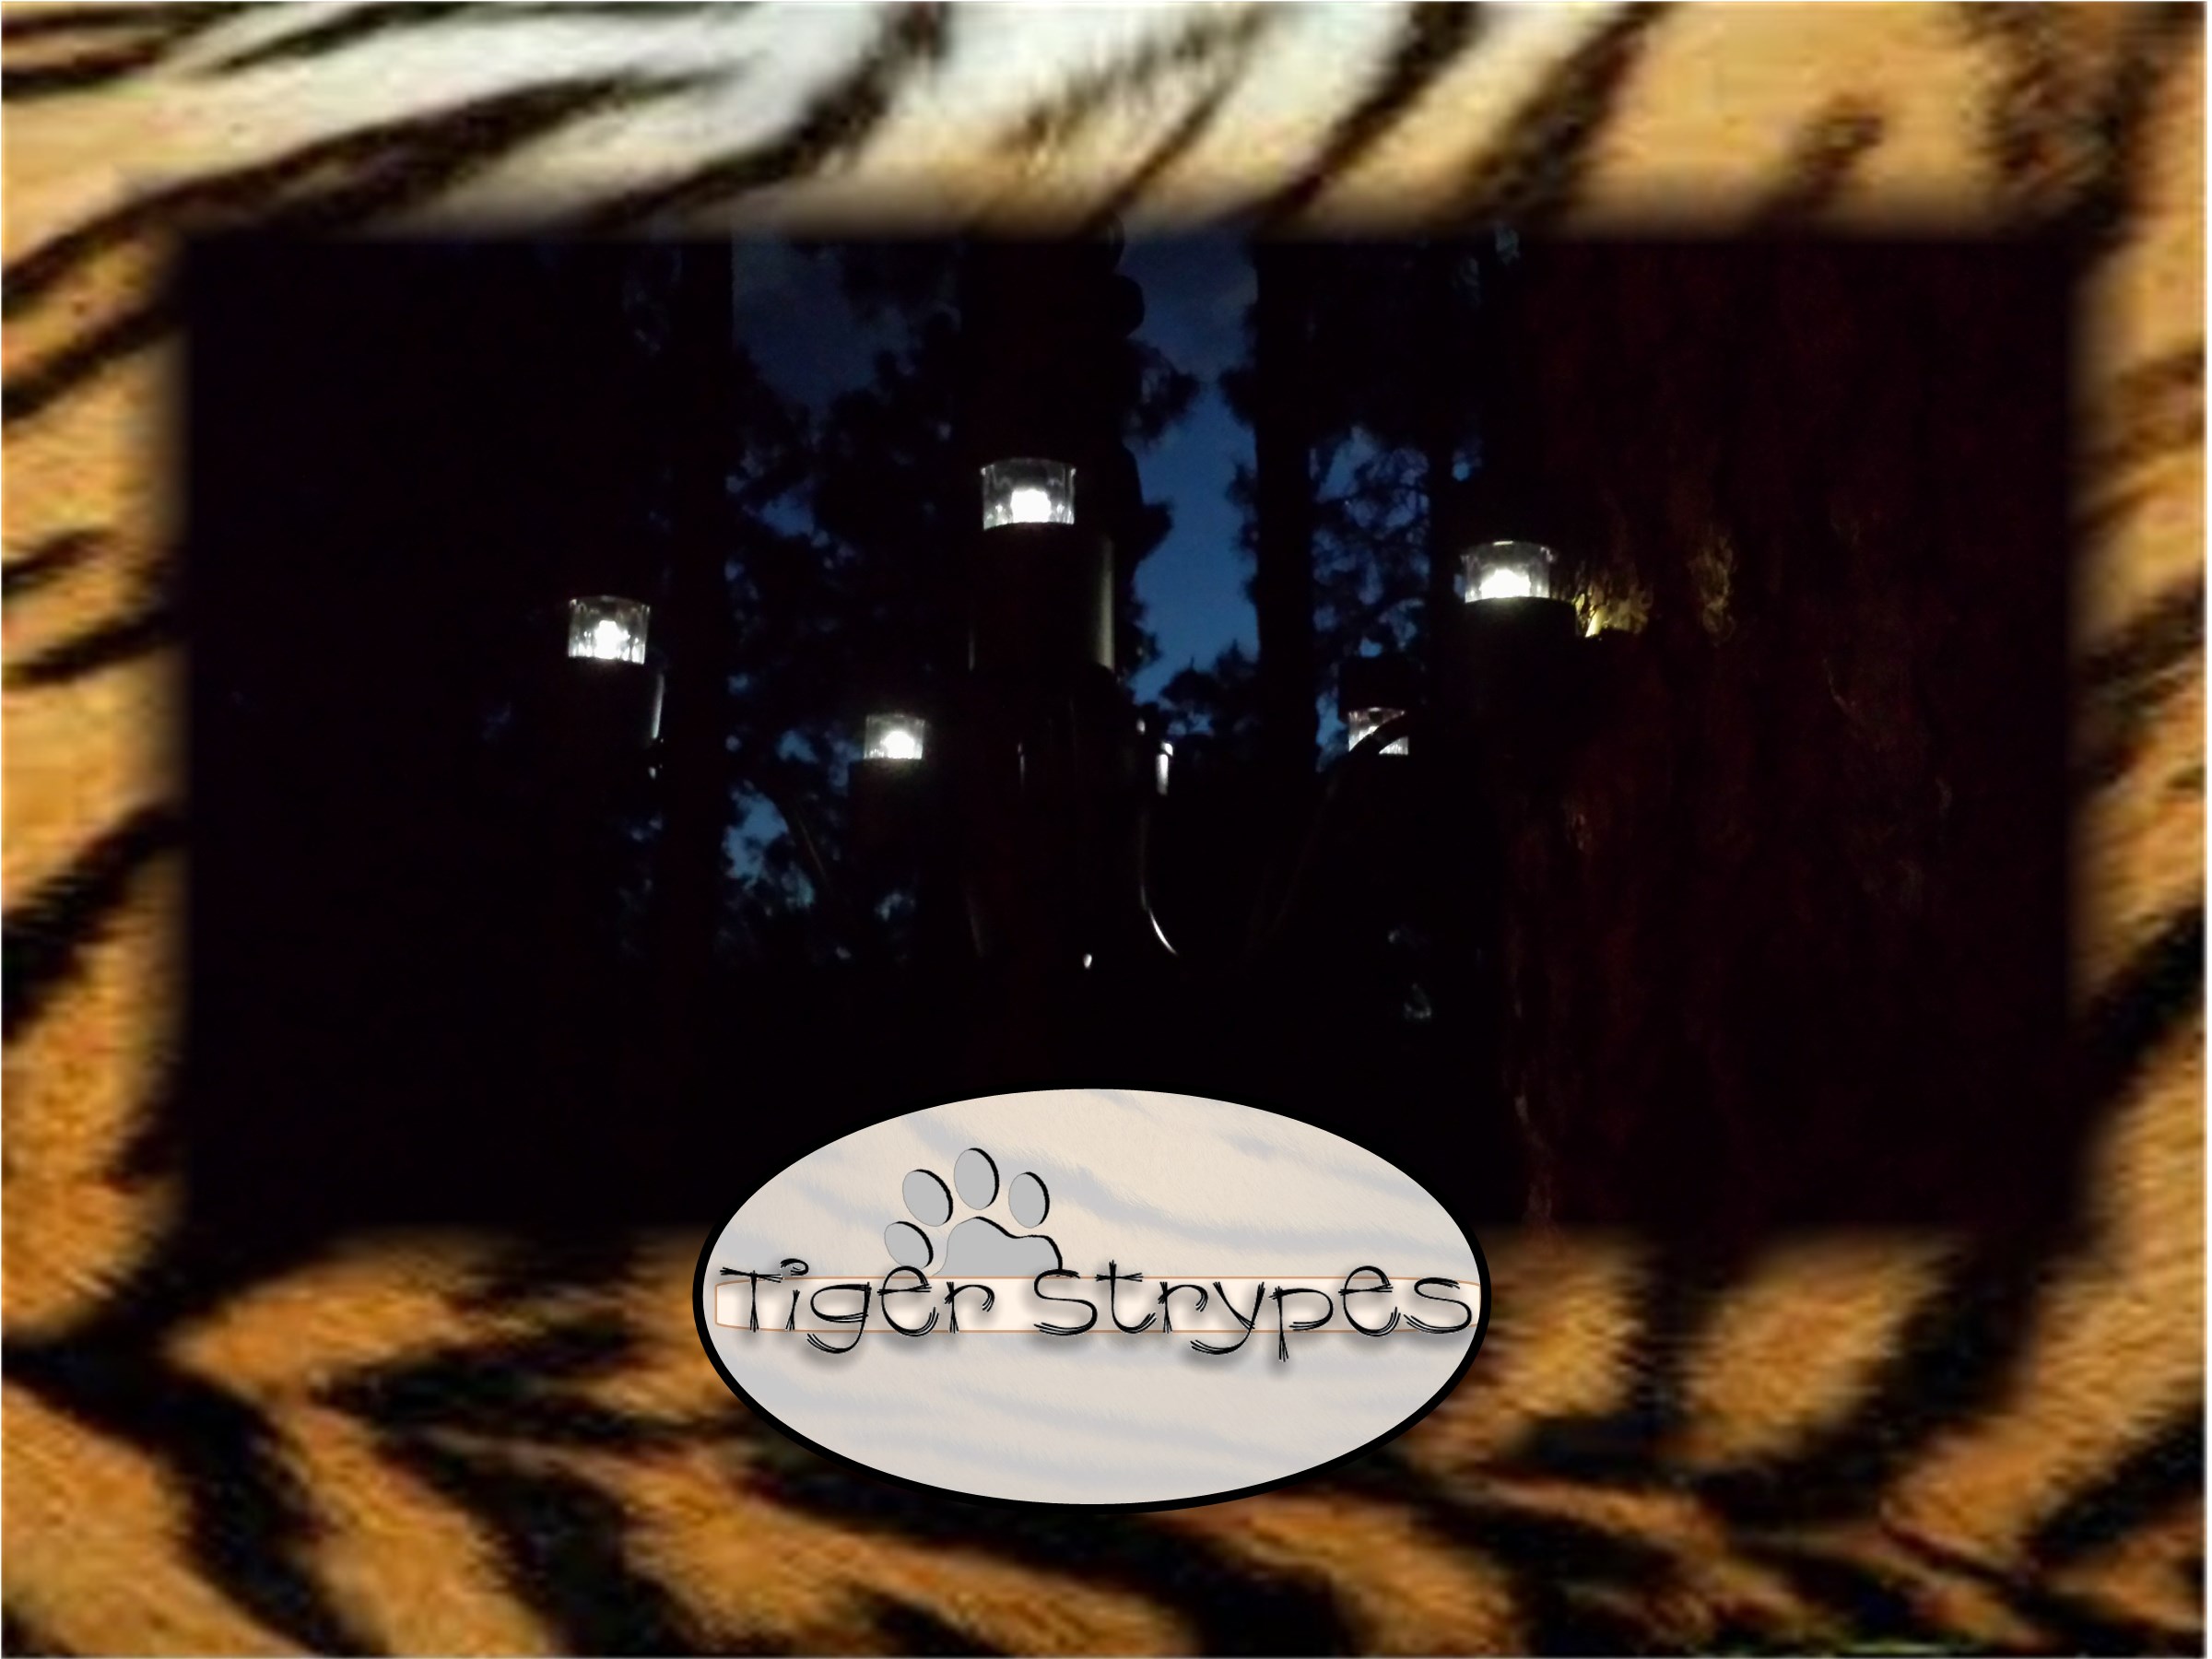
After you’ve finished installing the lights, find a place to hang it outside that will be open to the sun for full exposure.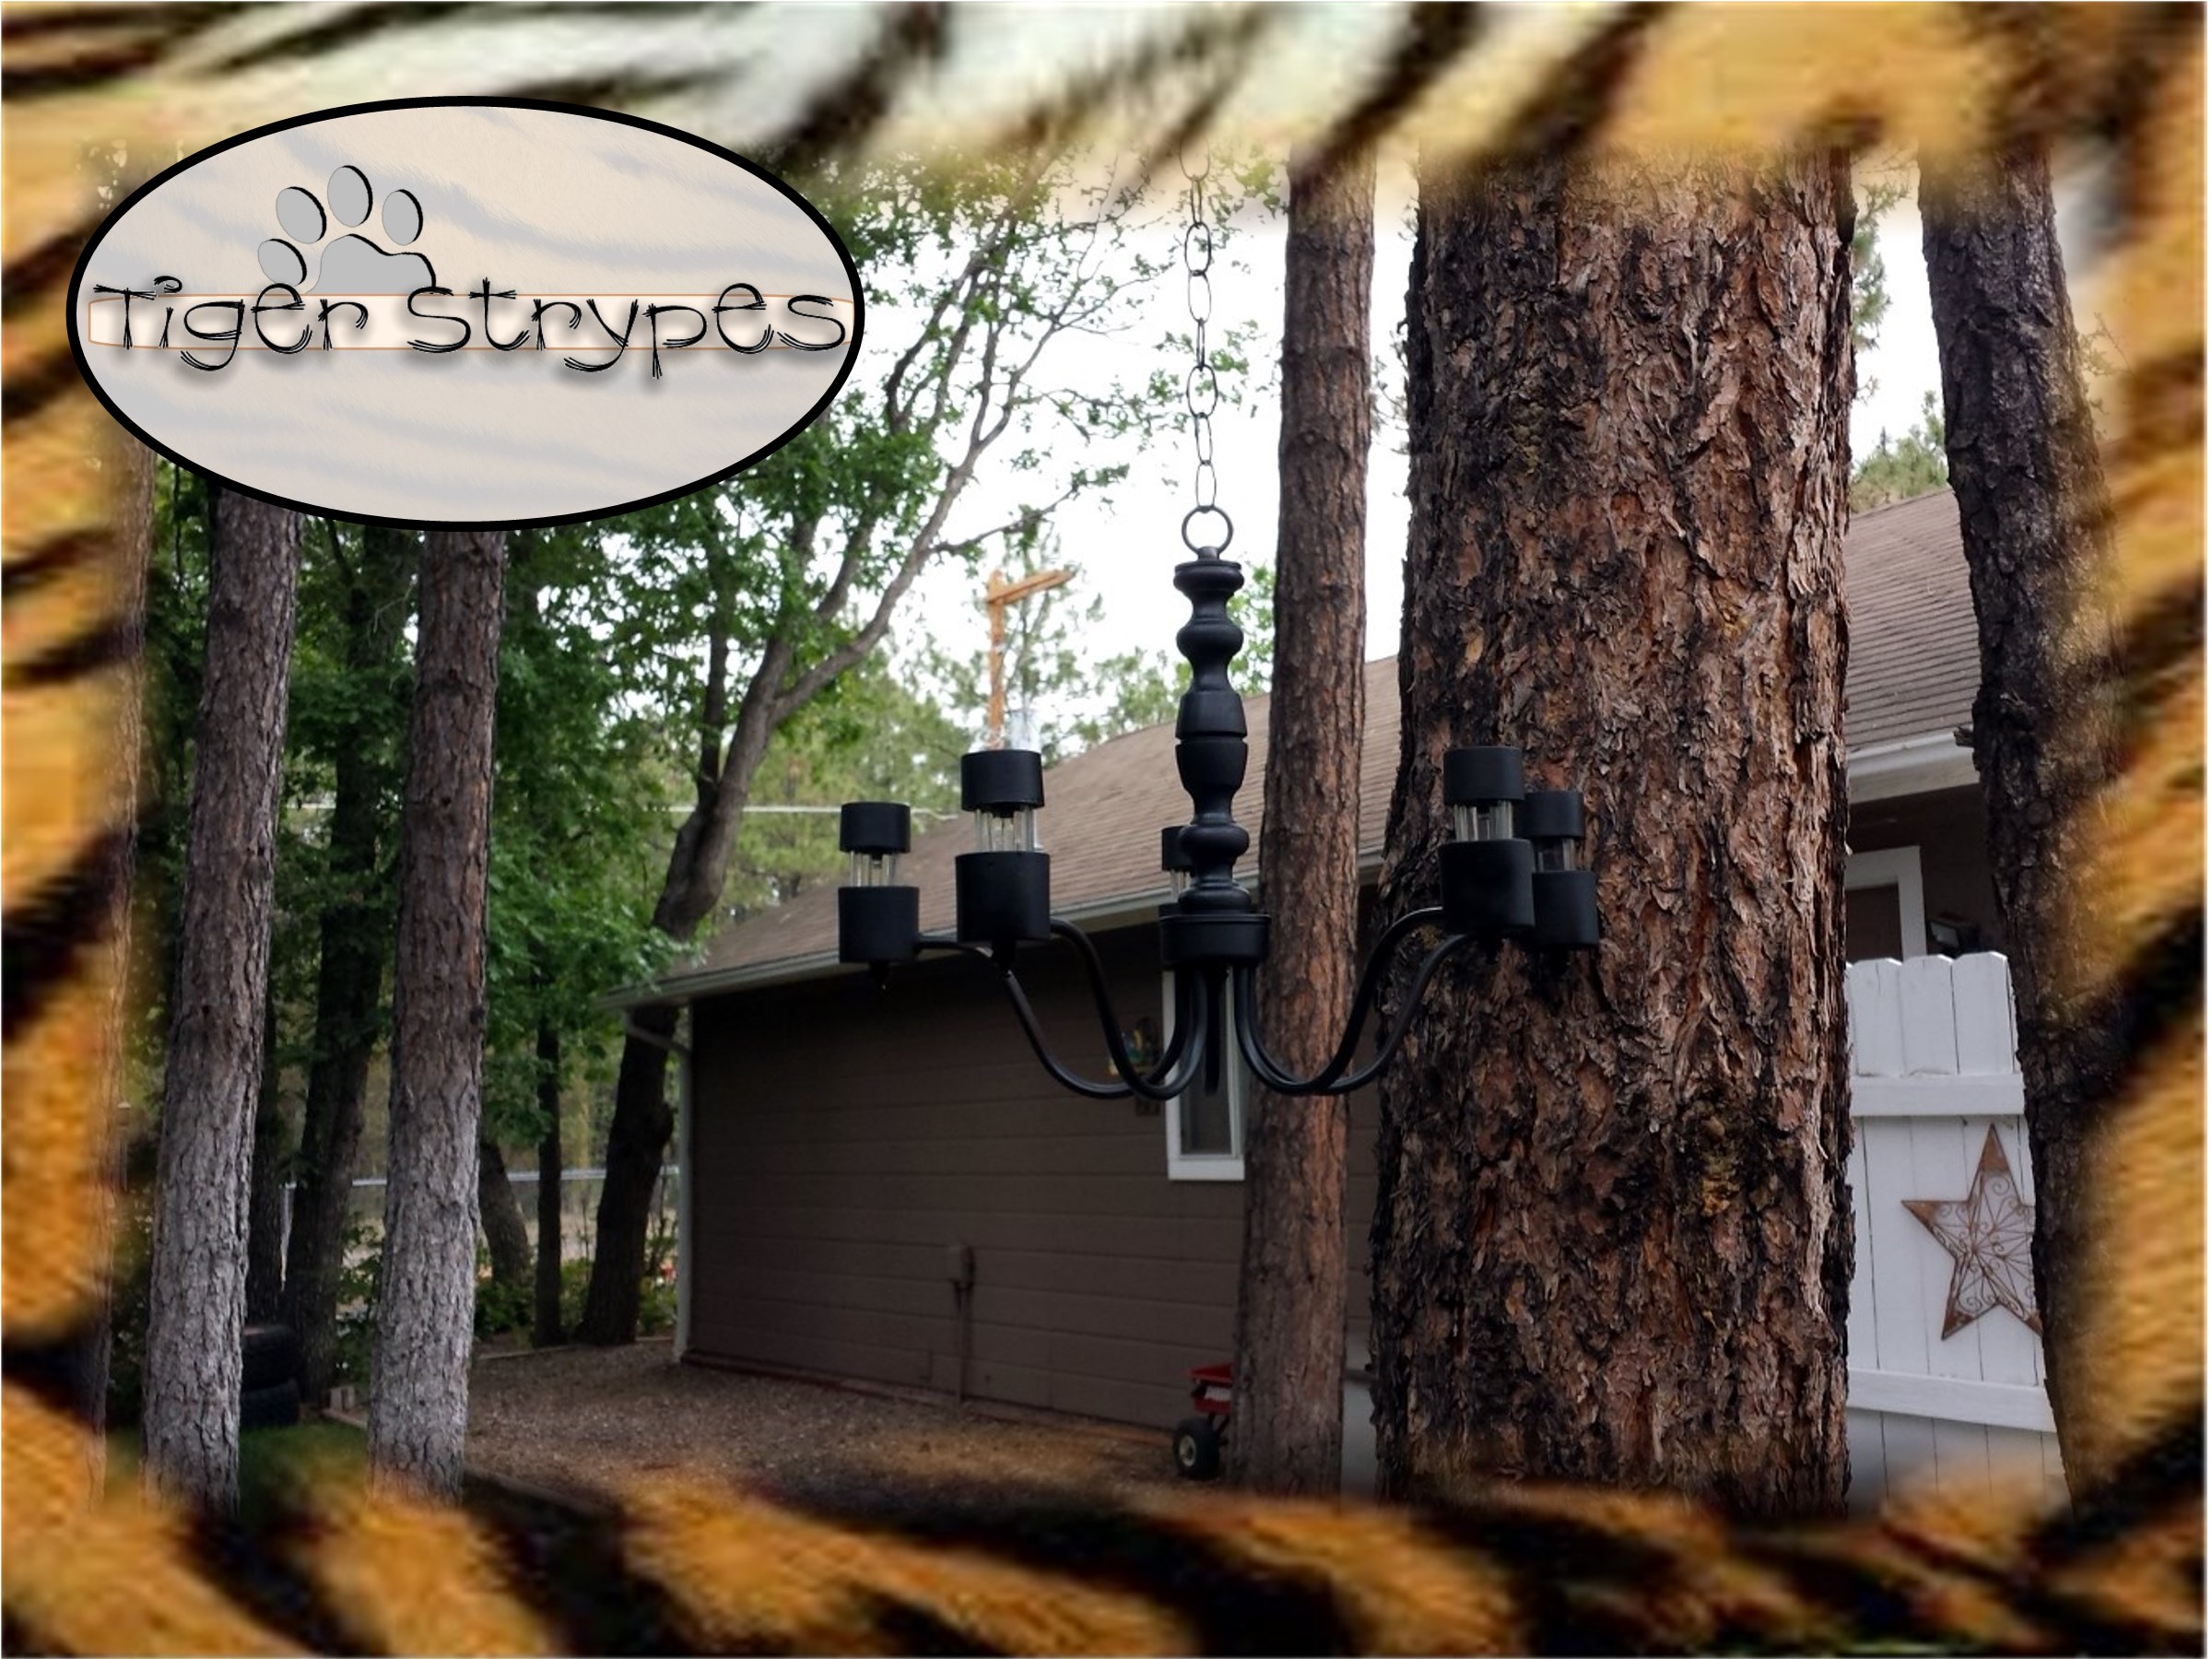 Once it sat out there for the evening, I was able to see it glow. Like I said, my husband says it reminds him of the Haunted House at Disneyland with the “floating” lanterns, but oh well – I like it! 🙂
Please take a minute to leave me a comment and let me know what you would do different, or what you would add, etc. Be sure to tweet, pin, share, etc. – thanks!!
All pictures and text are my own and have not been copied in any way. I, Jamie Tomkins, own and operate Tiger Strypes Blog located at www.TigerStrypes.com. From time to time you’ll hear about my real life experiences or creations with products and/or services from companies and individuals. Let it be known that I have no affiliation with these said companies, and have not received compensation for reviewing or using their service/product. The information that I give regarding the product/service is based off my own personal experience, I do not guarantee that your experience will be the same.
PLEASE SHARE THIS POST USING THE OPTIONS BELOW…THANKS!!
*****************************************************************************************************


This is so cool! I would love to do this if I can find a chandelier cheap enough. I’ll be sure to find the chandelier first before buying the lights – thanks for saving me that trouble! 🙂
You’re welcome!! Just head to a thrift store, they usually always have one for cheap!
Wow this is such a great idea. I would love a chandelier without the insane price they often come with. A solar chandelier would be just perfect.
This looks so cool. I have most of the items to make it too.
Very cool. It looks doable and adds a little decor.
Great idea to upcycle and give the old chandelier a new life! Pinned and tweeted, spread love!
That is really cute, I love this idea. Fabulous outdoor lighting 🙂
I never would have thought of doing this. I love the way it looks!