“Snowy Coasters” #TBCCrafters Hop
Still no snow, so I decided to just make my own!! We are praying for some of the white stuff to fall soon, since we’re not wanting to be shaking during fire season and worrying about what will happen then. I wish we could rent some of the clouds from the East Coast!! 🙂 I saw a coaster craft like this on Fave Crafts and thought it would be fun to make some for the living room. Theirs were a bit different, I just added my own twist to these. Figure they would be great for displaying candles, using for a winter party for drinks or any other ways that these little snowflakes could be used around the house. I’m hoping they will call their friends from the sky to fall outside as well!! 🙂
Please be sure to comment and share this #TBCCrafters craft, I hope you like it!!
“Snowy Coasters” Craft
Materials/Tools Needed:
- Metal Washers (Varied Sizes)
- Foam Mats
- Snowflake Template
- Scissors
- Glitter, Other Decor
- Paper Towels, Newspaper
- & Time!
Instructions:
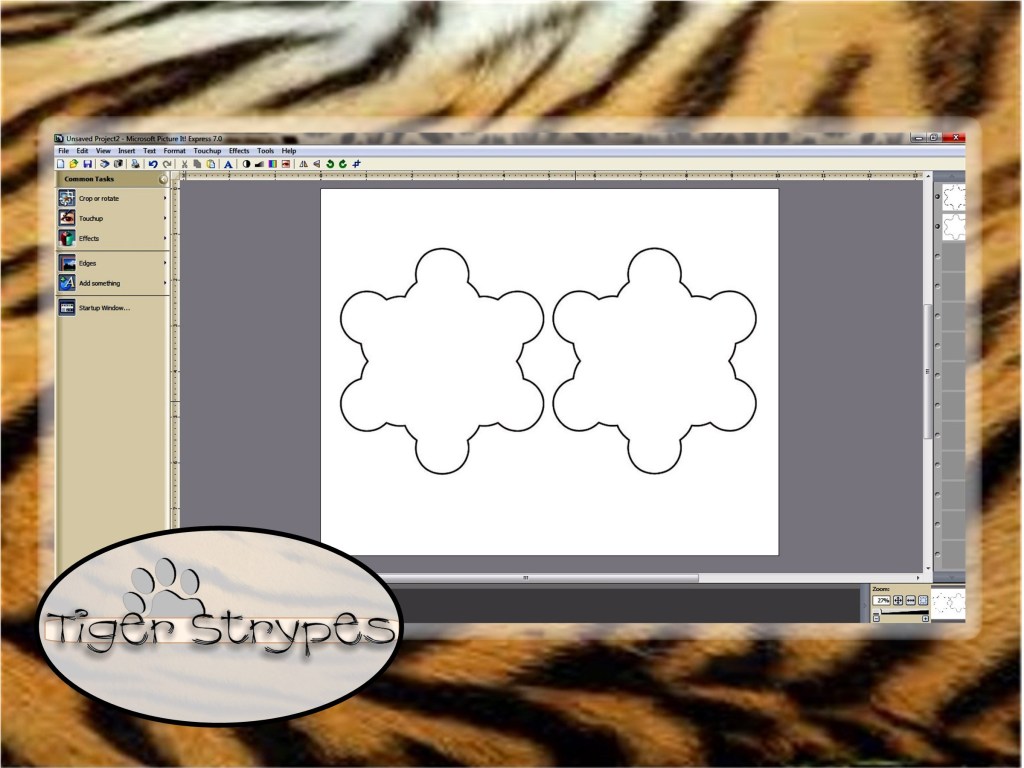
Start by printing out a template for a snowflake that would work with washers. I found a basic one on Google searching for “Snowflake Outline”. Doesn’t have to be anything special, just something to help you build the pieces. I used Picture It! to edit the size of them to be about 4-5″ square, about.
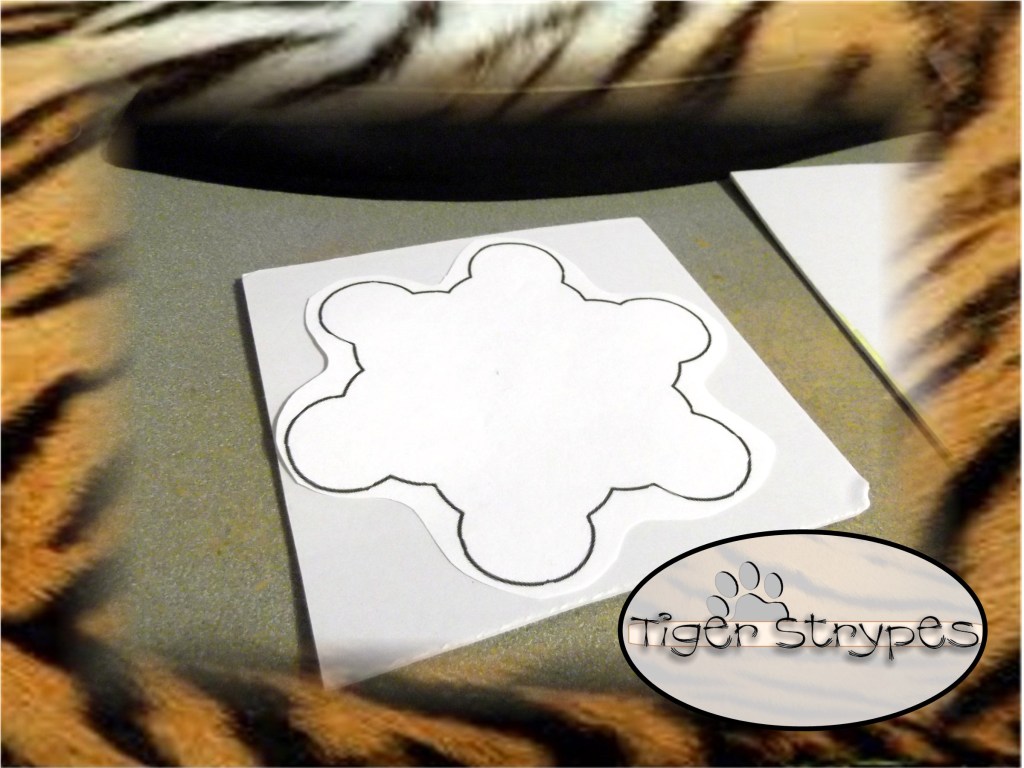
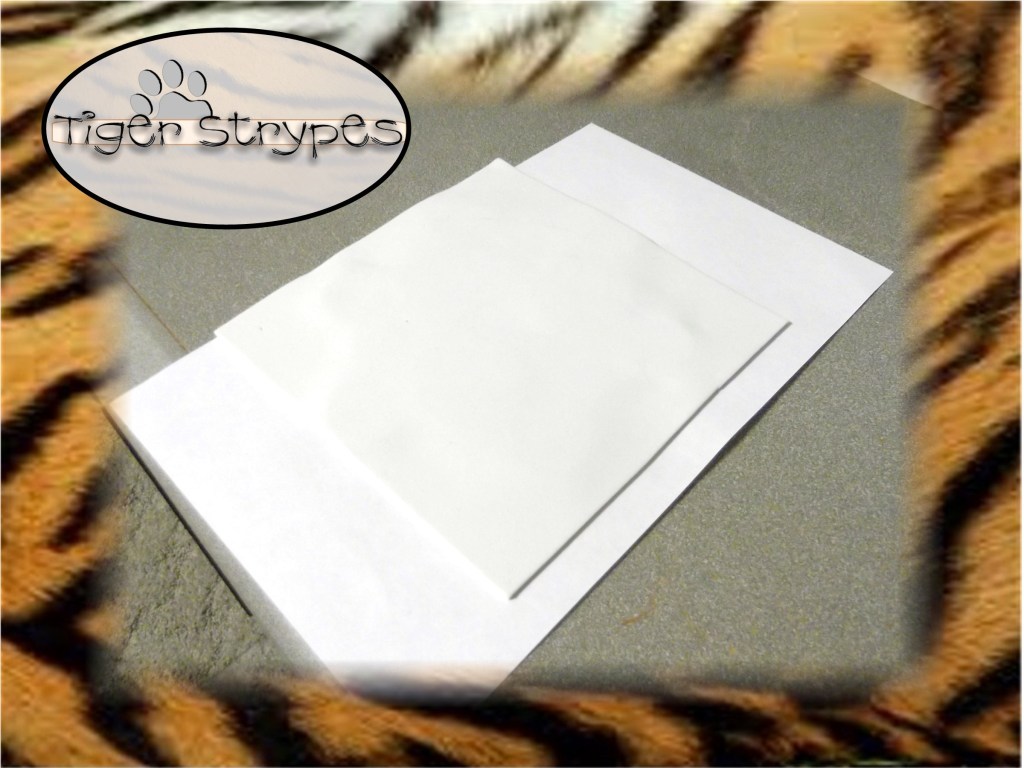
Next, cut out one of the templates (just in a box around it) for size and place it on a piece of foam board (I used sticky board, but you can always glue the pieces on, as well.
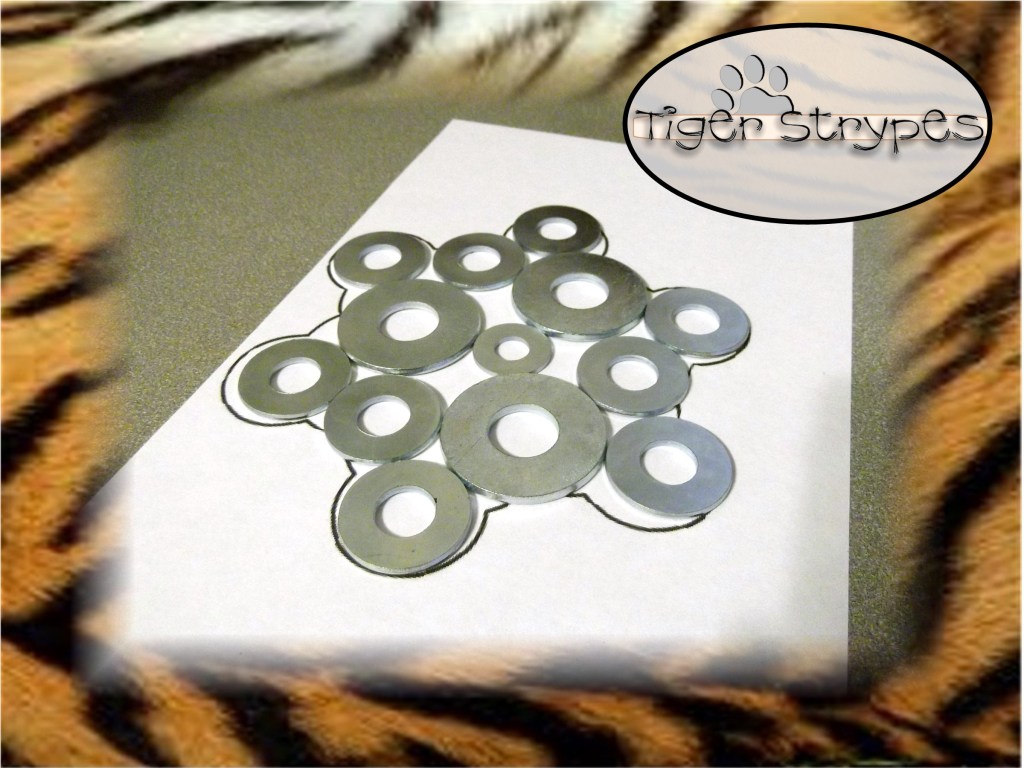
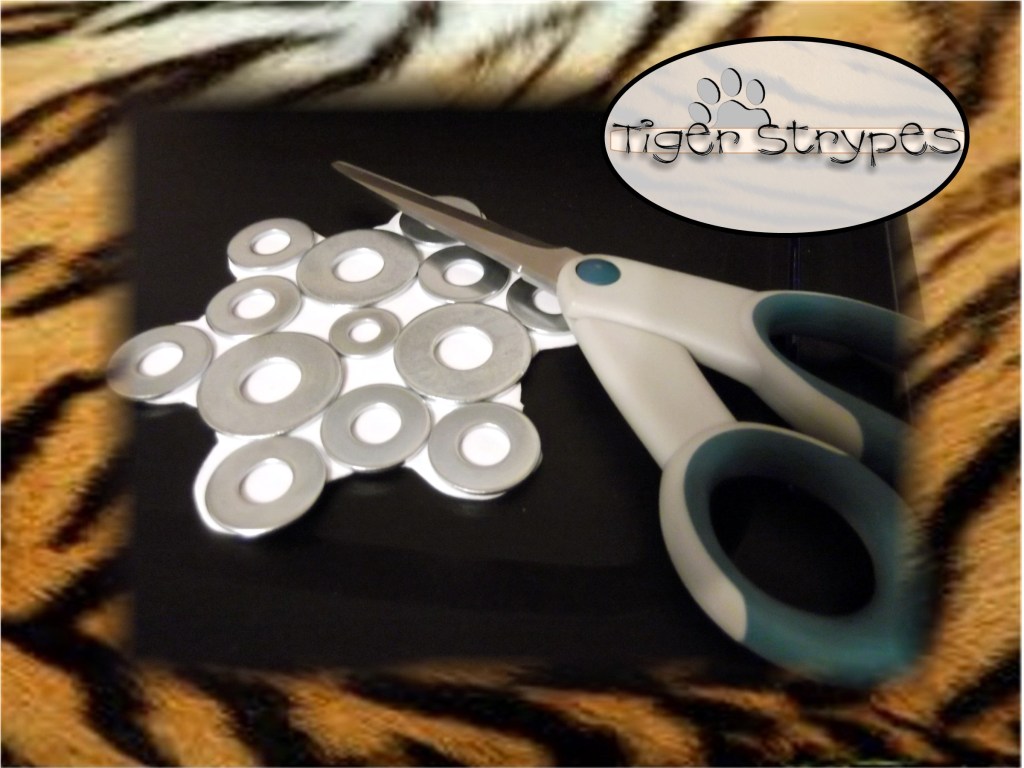
Once you have as many pieces of foam cut for the “flakes” you wish to create you can use your other template to ballpark how you want your washers to be placed. Be sure to check if there is a rounded or flat side on each and place the side you wish to be the top of the coaster down against the table. That way when you flip it on the foam board, it will be the right way up. There is no science to how you place the pieces and it’s however you wish to do it with the sizes you have available.
When you have it set up to about how you want it, use the piece of foam board you cut (sticky side toward the washers) and press it onto the washers.
Be sure to push down firmly to attach all of the pieces to the sticky foam board. If you’re using regular foam, you’ll have to glue each of the washers together first and then glue them down to the foam piece. I figured it was easier to do it this way. Once they are all attached, flip it over and remove the template piece. You can now begin trimming the excess from the edges. This was a pain, so be warned. Just get it as straight and as close as you can. I even tried using an Exacto knife and that was even worse. If you know of a better way to cut sticky foam board, let me know!
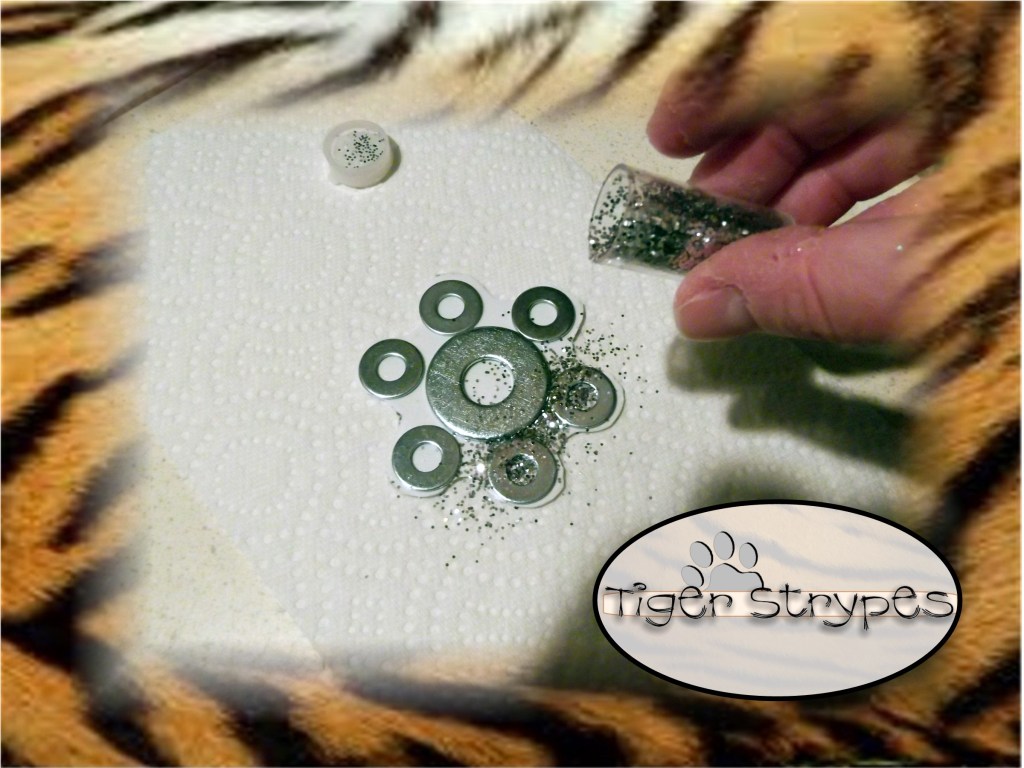
Once you have it trimmed, you’ll have the sticky side facing up and can add some sparkle to it. I used silver glitter and poured it over the open spots.
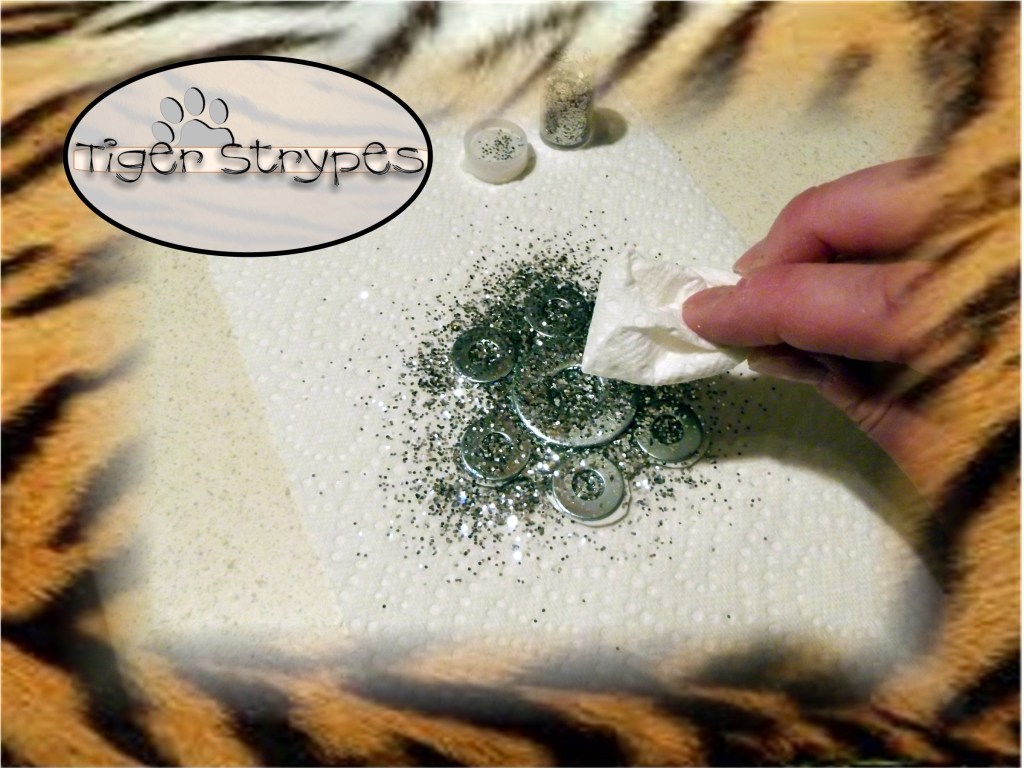
Use a paper towel or whatever to move the glitter around to be sure and cover all open areas. Once you have the glitter completely set, you can tap it off over other paper towels to remove the excess and then put it back in it’s container for another use.
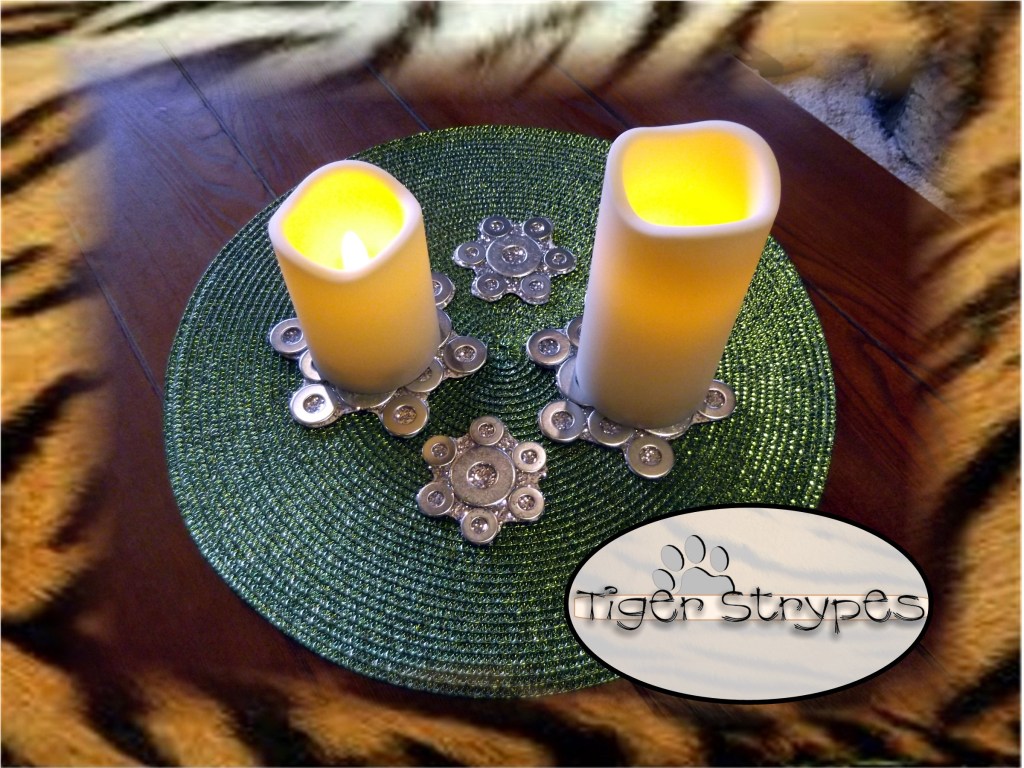
Now, just display them however you wish to use them. You could use them for coasters, candle holders or anything else you could think of.
Hope you like it! Leave me a comment and let me know what you would do different, or what you would add, etc. Be sure to tweet, pin, share, etc. – thanks!!
“Like snow in summer and like rain in harvest, So honor is not fitting for a fool.” –Proverbs 26:1
All pictures and text are my own and have not been copied in any way. I, Jamie Tomkins, own and operate Tiger Strypes Blog located at www.TigerStrypes.com. From time to time you’ll hear about my real life experiences or creations with products and/or services from companies and individuals. Let it be known that I have no affiliation with these said companies, and have not received compensation for reviewing or using their service/product. The information that I give regarding the product/service is based off my own personal experience, I do not guarantee that your experience will be the same.
*****************************************************************************************************



Love it!
Very cool idea for coasters. They are very unique
I have a huge bucket of washers – this is a great idea!
How creative! We’re in the need of some new coasters, I may have to give this one a try. Thanks.
Very crafty idea! I like it.
That is such a creative use for the Washers, I’ve used them in the past to make jewelry. Awesome snowflakes!
What a pretty idea. I have lots of washers laying around.
Those are pretty cool! My son would love to make these! Pinned and Tweeted!