Craft Tips: Make a Simple Bookmark
(#TBCCRAFTERS)
I didn’t have a lot of time this week, since we’re getting started on prep for the “4th Annual Winter Wonderland Charity Auction” for Mountain Christian School. I’m having to email businesses, send requests for donations, etc. and just don’t have much time to breathe right now. I decided to make something pretty easy that I had seen on the Silhouette blog and thought it would be a great gift for a reader in your family or for a student, etc. Hope you enjoy!!
Also, if you’d like to help M.C.S. with the auction, and have something that you wish to donate (all donations are able to be tax-deductible), please let me know. I have a formal request sheet I can email you and set up a way to get the donation, etc. With any donation, there will be advertising of your blog, business, etc. given out to our entire community for free. All that come to our event get to see flyers and a slideshow of all of our sponsors, and if you have any paperwork, business cards, etc. that you would like given out, just include those. Thank you so much and we would love to have you as a helper in this event!!
- Paper Clips
- Scrapbook Paper/Cardstock
- Glue or Glue Stick
- Silhouette Machine/Cricut Machine
- Craft Knife/Scissors
- & Time
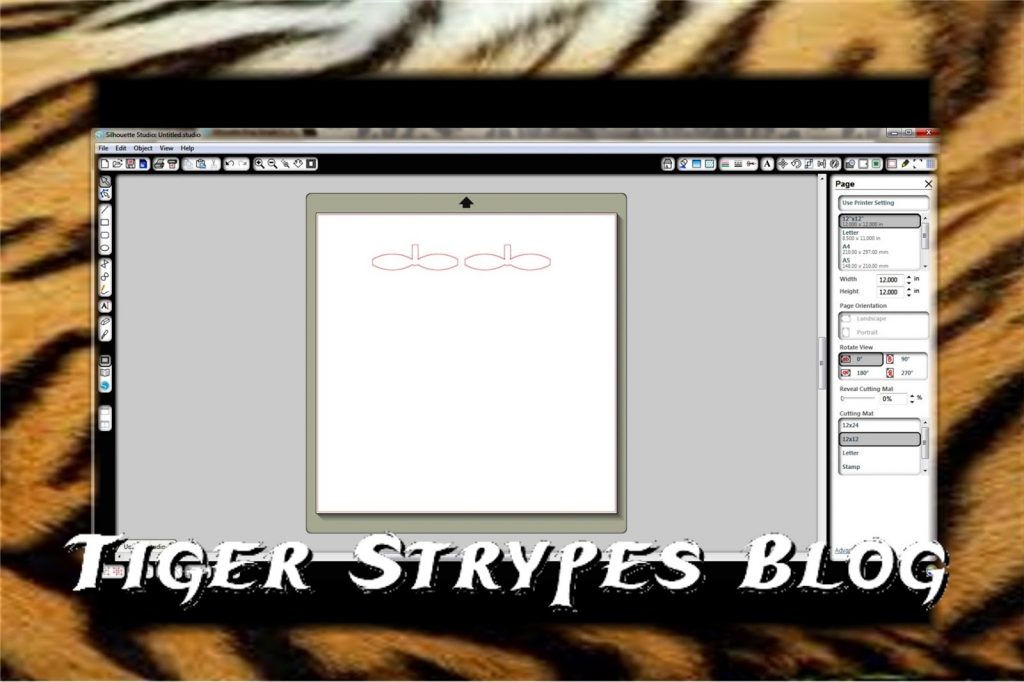
Begin by designing your bow shape. I have a Silhouette Cutter and used the one I found here.
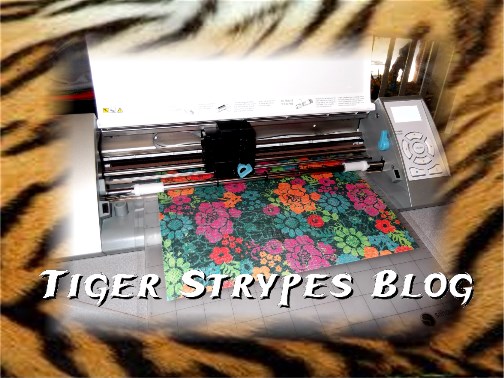
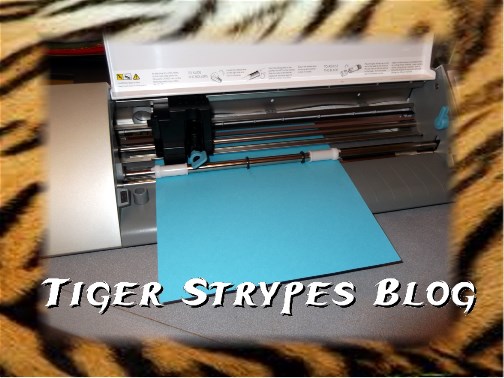
Once you have it designed and copy how ever many you wish to create, insert your scrapbook paper into the machine to cut.
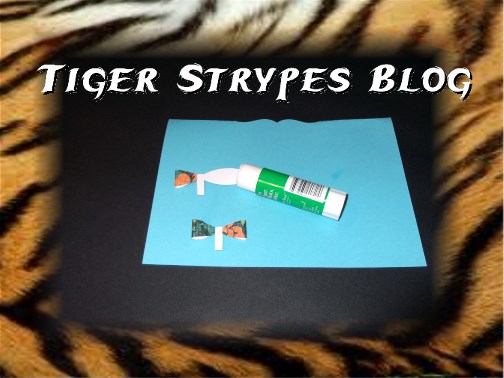
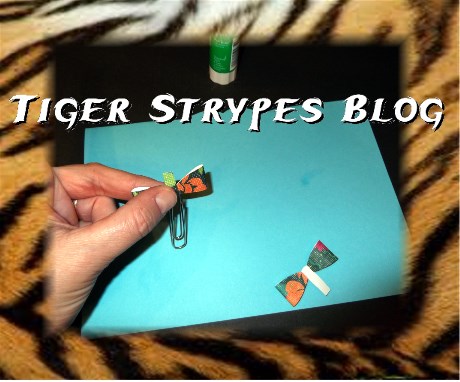
When the bow shapes are cut out, remove the excess paper (save excess for another craft) and begin to create the actual bow. Start by gluing the edges and folding them over to the sides of the center piece.
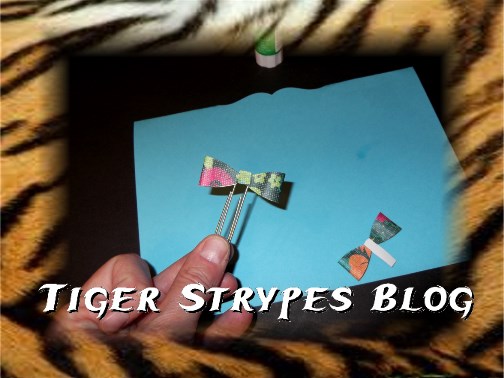
Once you have the edges attached, insert your paper clip over the bottom tag.
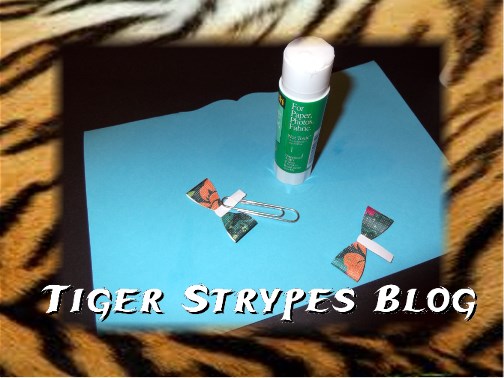
When that's in place, glue the end and fold it over and behind the bow.
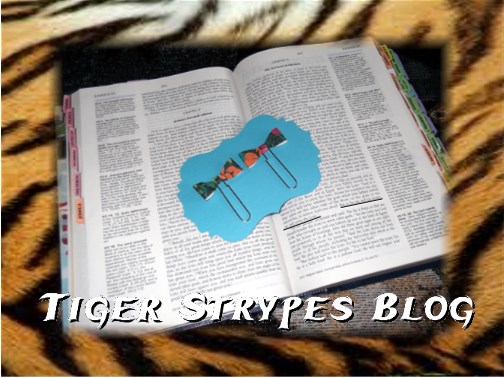
Now that you have your clip finished, you can be done, or make a little piece that you can attach them to, to give as a gift, etc. I used another shape found at the Silhouette store that you can find here, and made it about 5" wide. Then you just cut it out on your machine, like the bow.
After that is cut out, you need a line that is about 3" or so centered in the piece. I measured it out and than cut it with a craft knife.
Now you can attach your pieces and have it ready for giving!! Hope you like it!!
All pictures and text are my own and have not been copied in any way. I, Jamie Tomkins, own and operate Tiger Strypes Blog located at www.TigerStrypes.com. From time to time you’ll hear about my real life experiences or creations with products and/or services from companies and individuals. Let it be known that I have no affiliation with these said companies, and have not received compensation for reviewing or using their service/product. The information that I give regarding the product/service is based off my own personal experience, I do not guarantee that your experience will be the same.



Wonderful and simple one! My kids need a lot of bookmark and we are using plain paper strips now but this one is much cuter.
Oh, okay, so now you’re telling me that I need a silhouette cutter huh? LOL!
This is very adorable, I hate giving just a gift card, so this would be a nice addition.
Ha/Ha – I actually have my own home business (www.JTGDesign.com) that I need all of these machines for, so it just kind of helps during craft time!! 🙂
What a cute idea.That would make a nice tuck in for a card.
Wow Ellen, now you gave me an idea, thanks!! 🙂
Oh those are cute and a wonderful gift for any reader! I had a huge collection of bookmarks, and I sure do miss them. These look easy to make too! Pinned & Tweeted!
Thanks Dawn!