
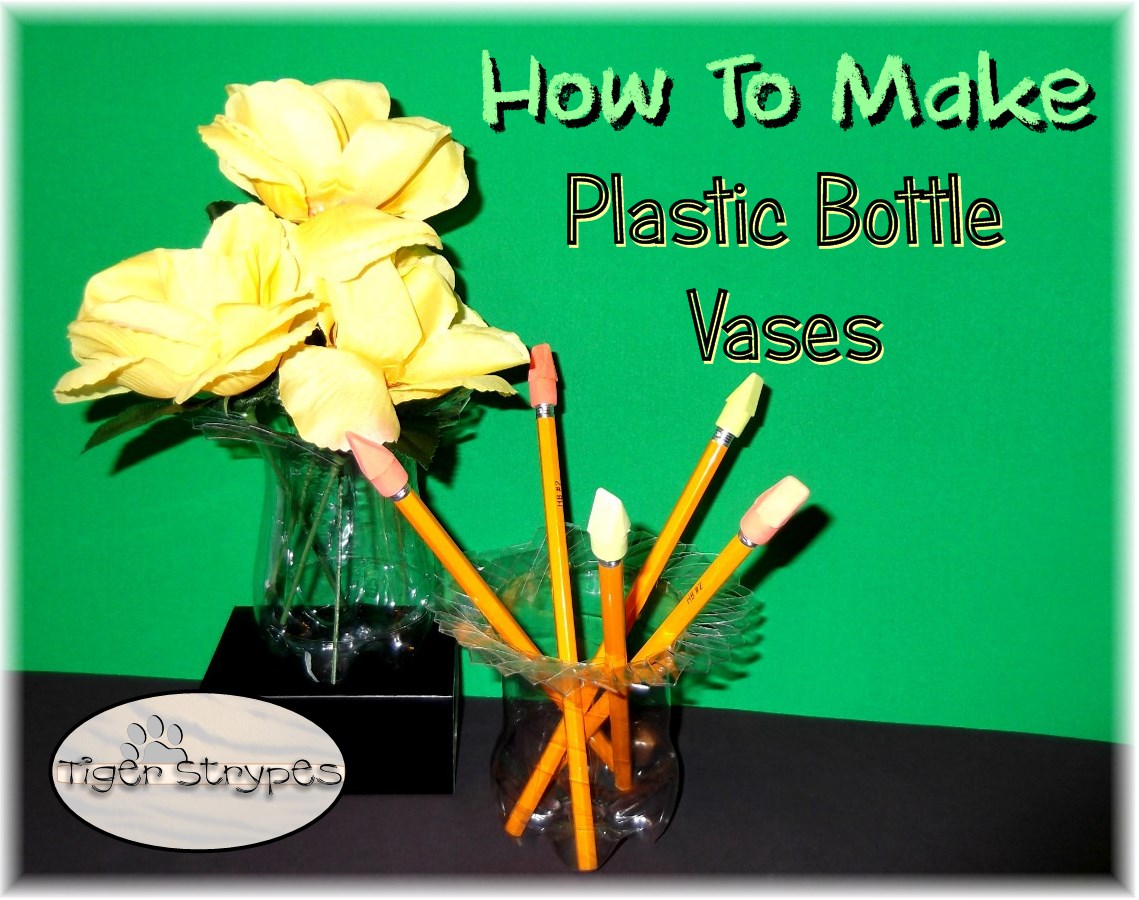
Recycle Your Soda Into a Plastic Bottle Vase
I love to make things from things that usually end up in the trash. I saw something like this on a wiki site and thought it would be fun to try. It’s pretty easy to do and would be awesome with colored bottles, etc. I used mine for a pencil holder and a vase, so it would be up to you on what you would use it for.
I hope you like it!! Have a blessed day, and please be sure to comment on and share this #TBCCrafters craft!!

“Plastic Bottle Vase“
Materials/Tools Used:
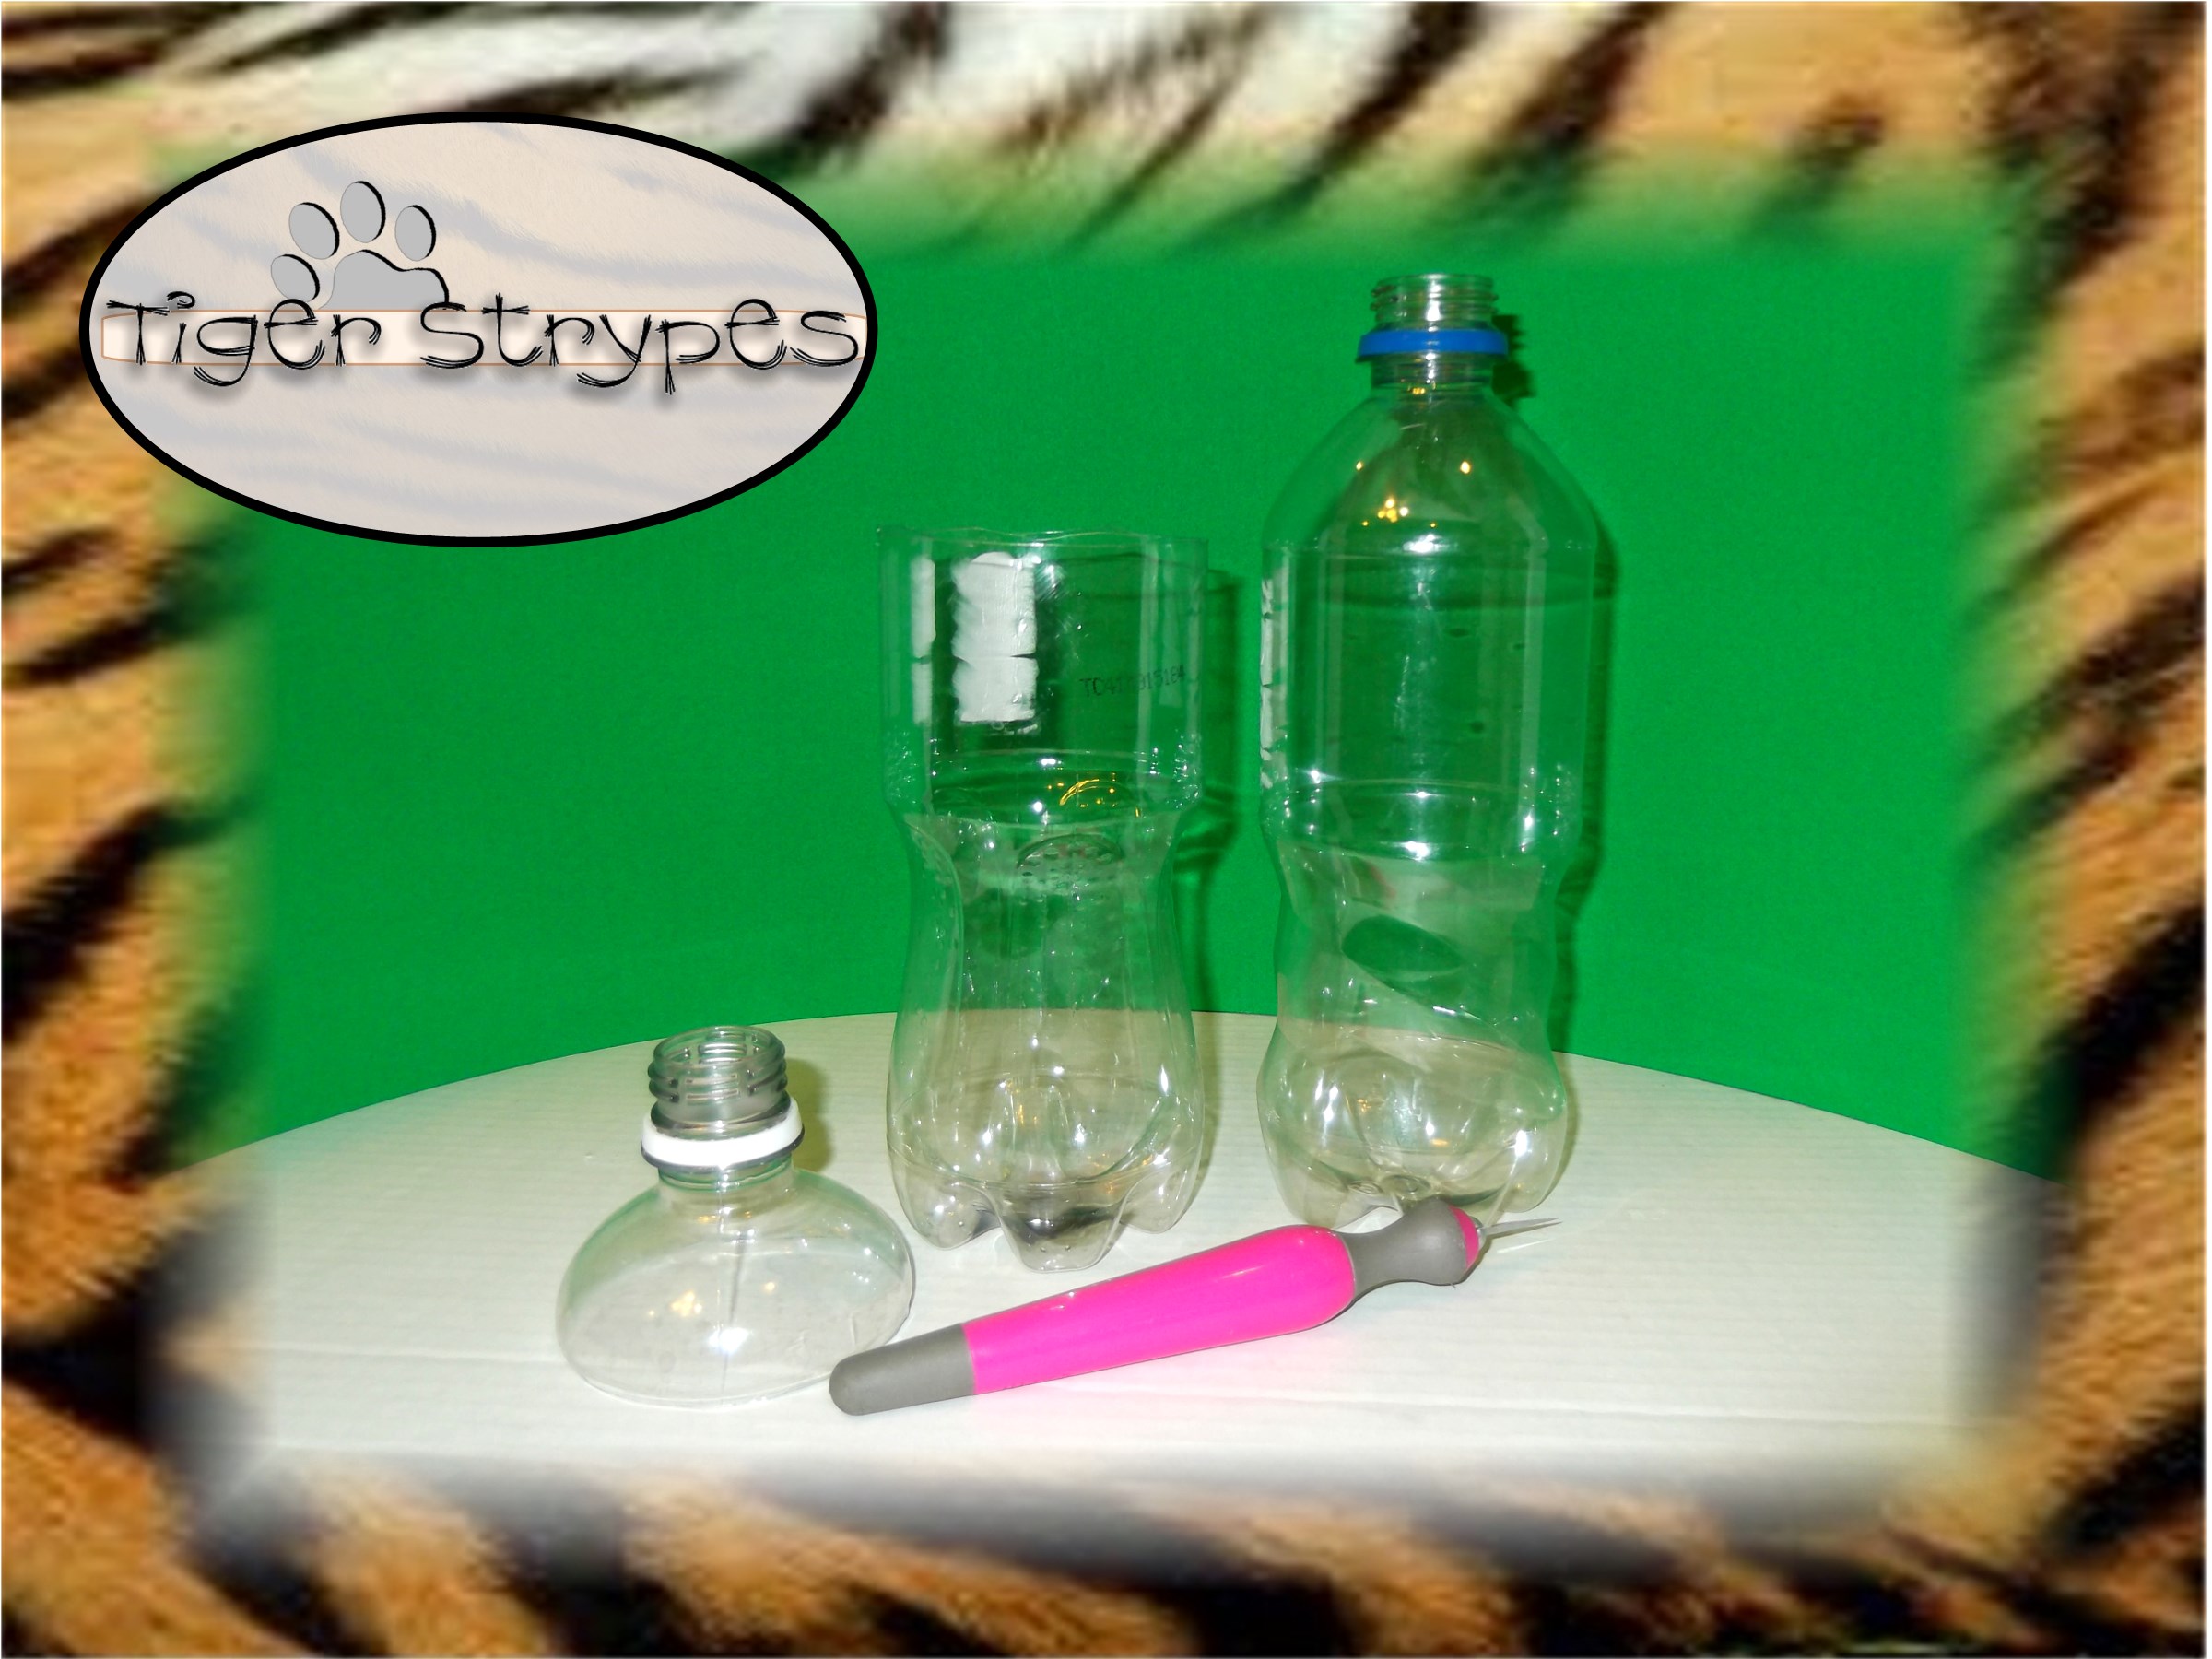
- Plastic Bottles (label removed)
- Scissors
- Craft Knife
- & Time!
Start by cutting the top off of the bottle. I started by poking a hole with the craft knife and then was able to finish it around with the scissors. Try to keep this as even as you can. Be sure to have the labels off either before or after this task…I should have done it before, but forgot. 😛
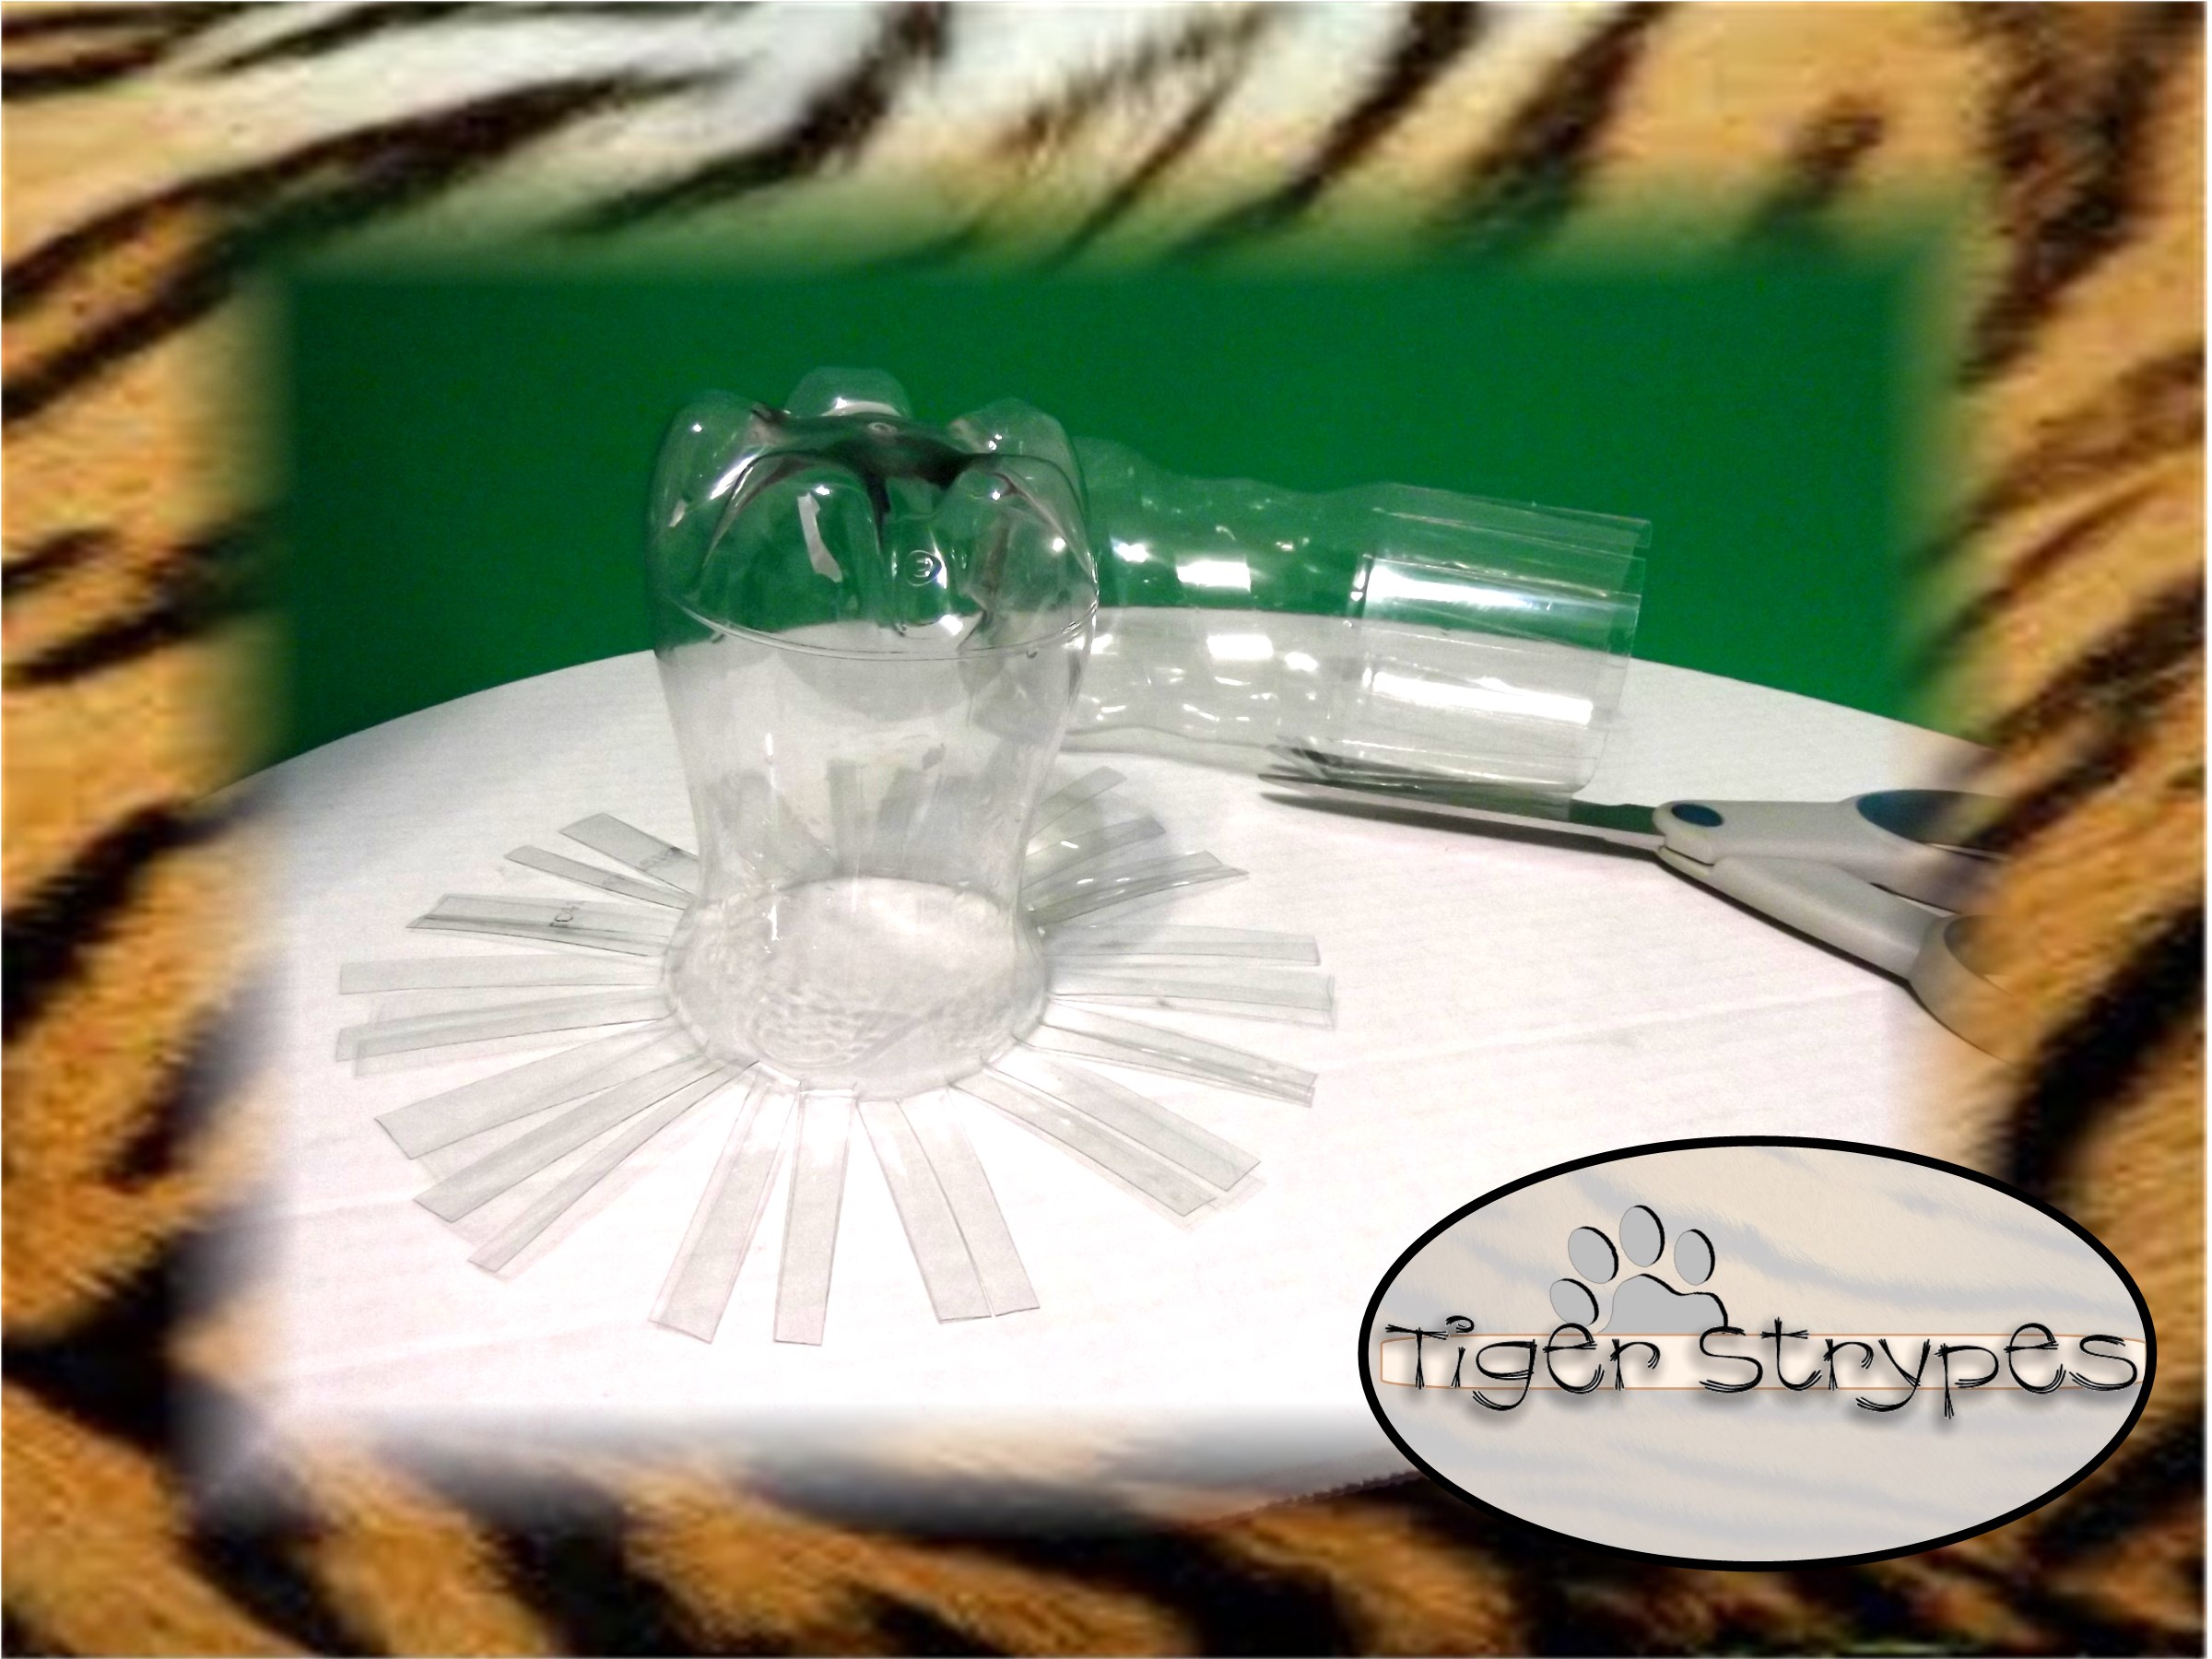
Next, begin cutting at about every 0.25″ or so, start with cuts on each side and then cut them in half, etc. That way you can be sure to have them all line up and be even. When you have it all cut, press it down to make the creases a bit more pronounced.
Now, fold one “tab” over the one next to it and beneath the following two pieces. If it doesn’t go under the two, don’t worry, just be sure to bend it and as if you’re folding paper, try and make sure it sets.
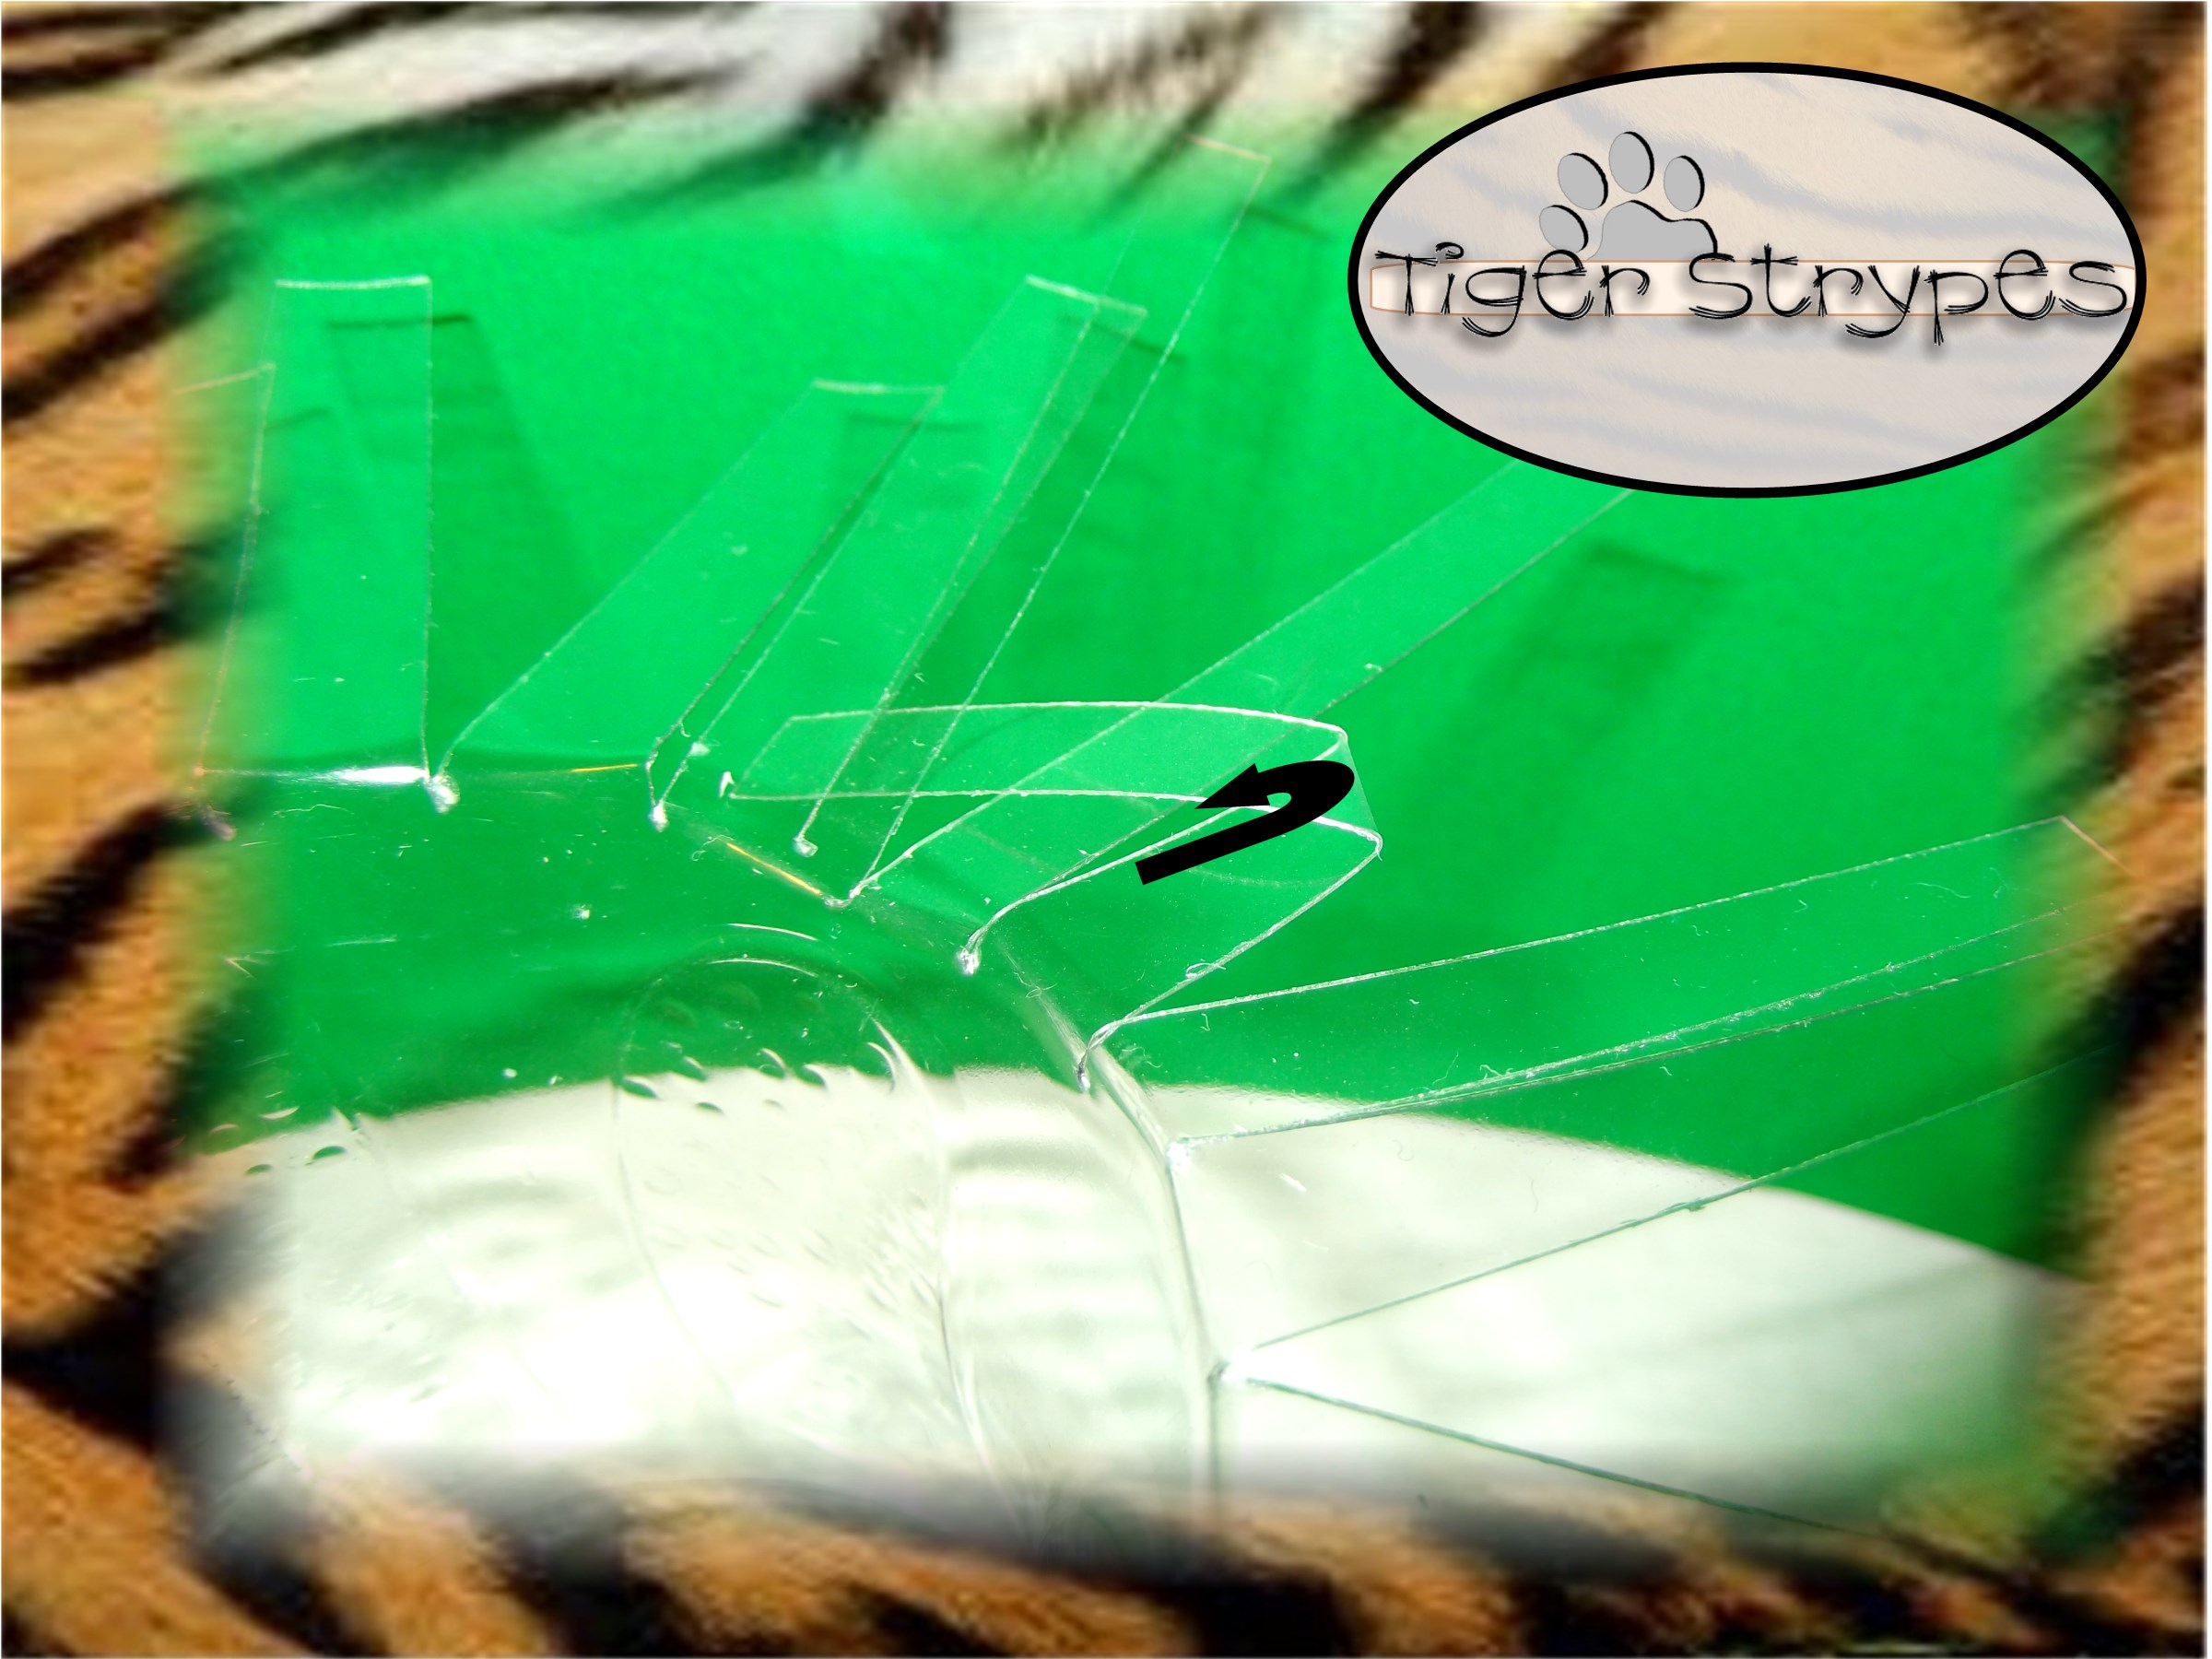
After that you just continue this process all around the top.
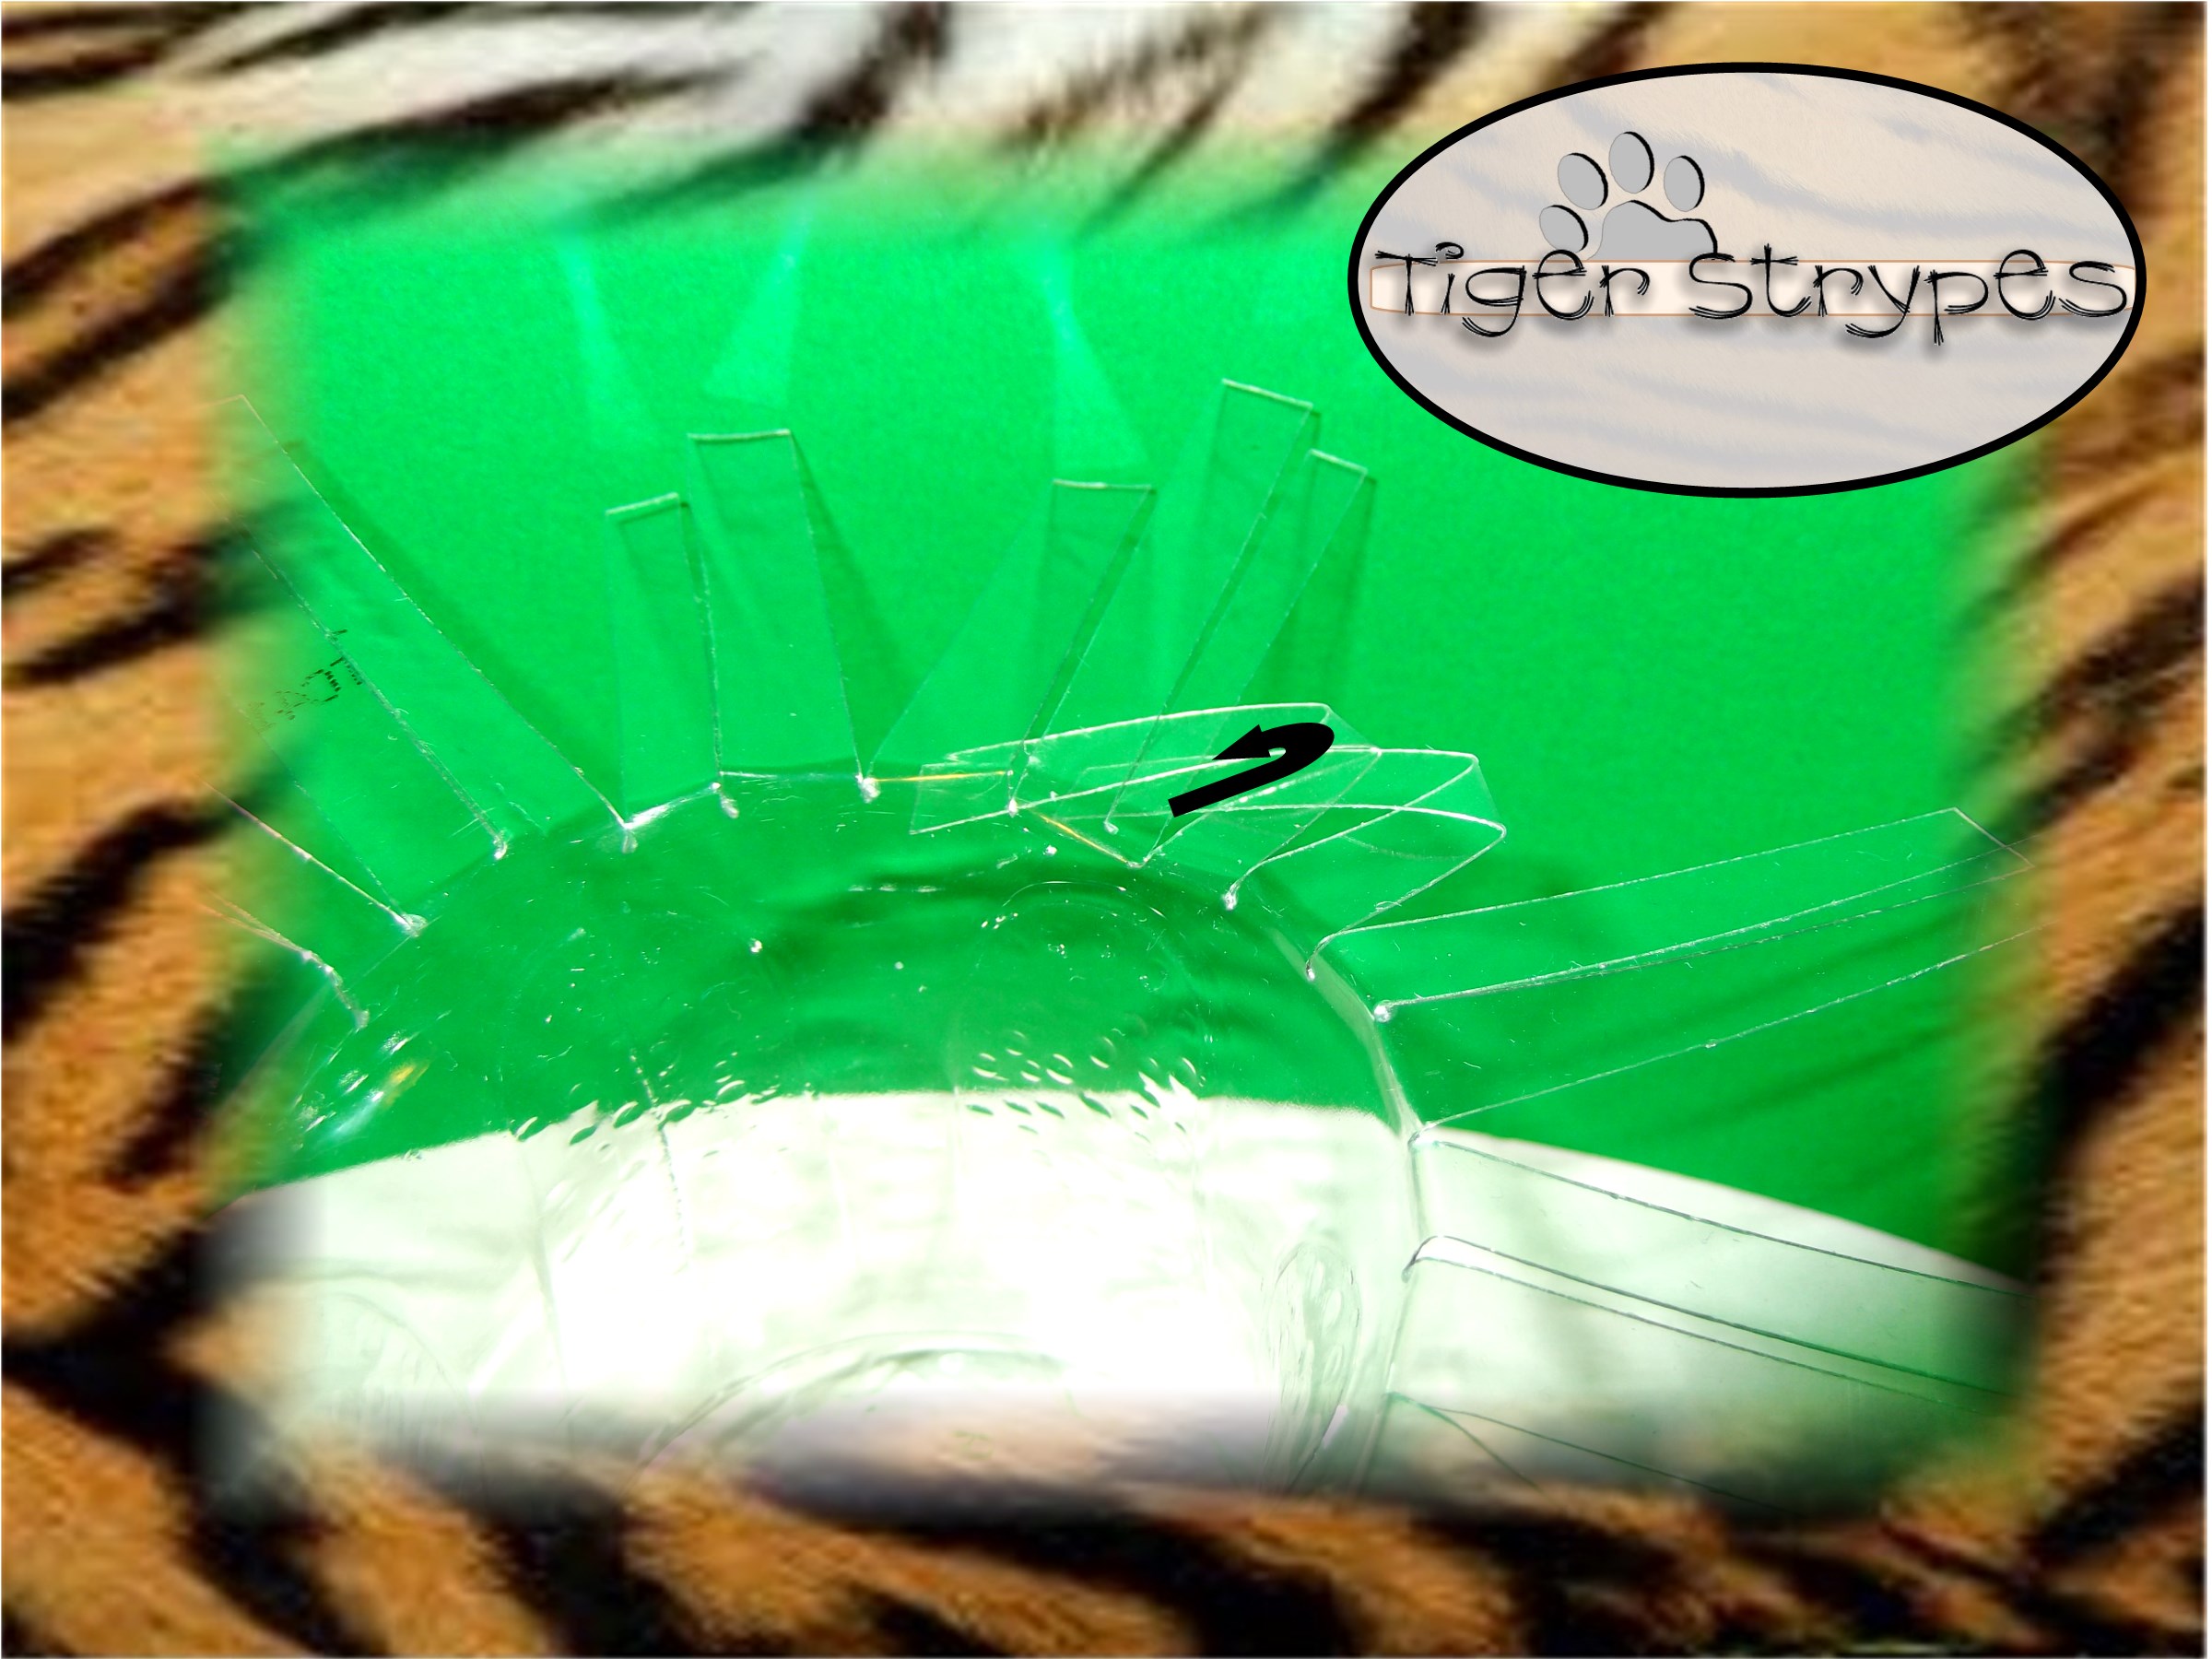
When you get to the last three tabs, you have to be a bit more into it. Bend the one over the next and be sure to secure it however you can underneath. The last two will just have to be inserted in some already bent to be sure they aren’t just hanging out.

After that, you can put in whatever you wish.

I figured I could use it for multiple things. It’s great as a vase or for your desk!!
Hope you like it! Please take a minute to leave me a comment and let me know what you would do different, or what you would add, etc. Be sure to tweet, pin, share, etc. – thanks!!
“Doesn’t the potter have the right to shape the clay in any way he chooses? Can’t he make one lump into an elegant vase, and another into a common jug?” –Romans 9:21
All pictures and text are my own and have not been copied in any way. I, Jamie Tomkins, own and operate Tiger Strypes Blog located at www.TigerStrypes.com. From time to time you’ll hear about my real life experiences or creations with products and/or services from companies and individuals. Let it be known that I have no affiliation with these said companies, and have not received compensation for reviewing or using their service/product. The information that I give regarding the product/service is based off my own personal experience, I do not guarantee that your experience will be the same.
PLEASE SHARE THIS POST USING THE OPTIONS BELOW…THANKS!!
*****************************************************************************************************


What a cool idea and a great way to recycle. Love having you as a cohost on #homemattersparty
Thank you Melissa – it was fun to make! 🙂
Like everyone else has said, I really like the top part of the vase. Great upcycle, Jamie. #HomeMattersParty
This is so cool! I ‘just love the design on top! Very clever! #HomeMattersParty
WHAT?!?! This is so cool, I’m having to scroll up and down still trying to figure out how you made it look so easy to transform that bottle into a vase. Great upcycle! #HomeMattersParty
Thanks Nicole – it was really fun to make and a great project for the kids!! 🙂
ohhh this is too cool! love the plastic bottle vase, the weaving of the edge is brilliant! thanks for sharing that the creative challenge!
What a fun idea.Great way to upcycle.
That’s pretty neat right there! I love these kinds of projects!