“Paint Chip Flowers” #TBCCrafters Hop
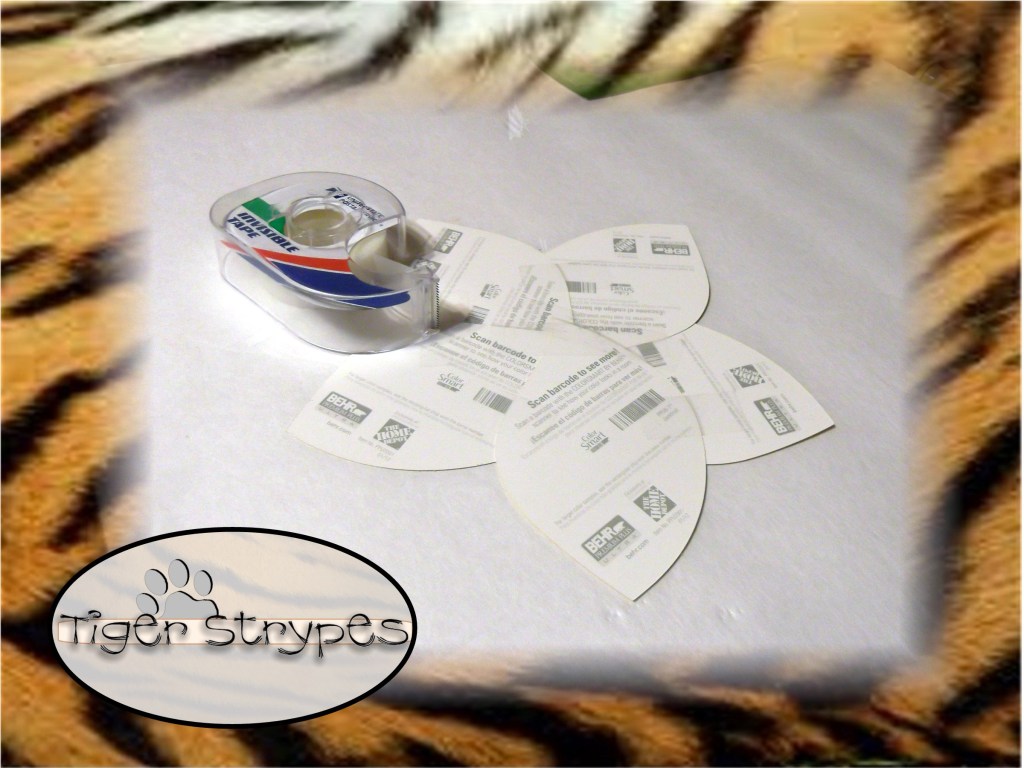
Have you ever heard of “Paint Chip Art”? I saw something in a magazine like this and figured it would be fun to try. You just have to go to the paint section at your local hardware store and ask them if they have any extra paint chips. I found the ones I used and they were already shaped like a petal, so I didn’t even have to cut them…time saver!!! You could use these however you wished and I even think that they would be great to have a classroom of kids create decorations at school, etc.
I hope you like it!! Have a blessed day, and please be sure to comment on and share this #TBCCrafters craft!!
Instructions:
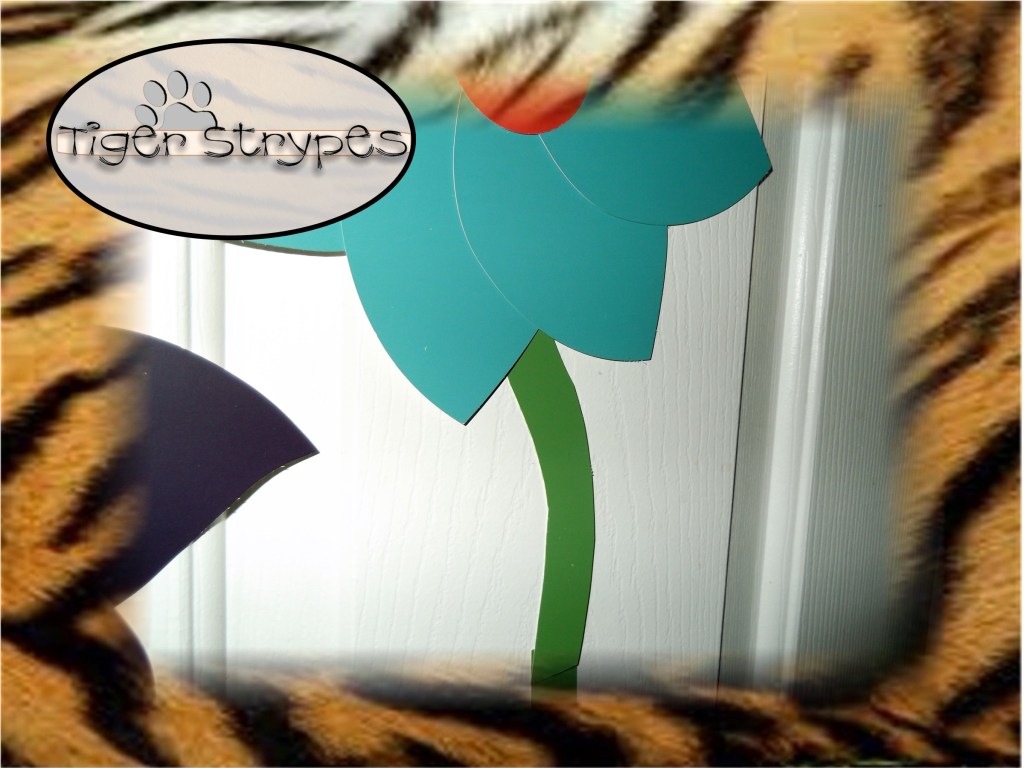
Start by arranging your paint chips in the flower shape you prefer. If you are only able to find the old school square ones, then first cut them into a petal shape that you like. Tape them all together on the back to secure the pieces.
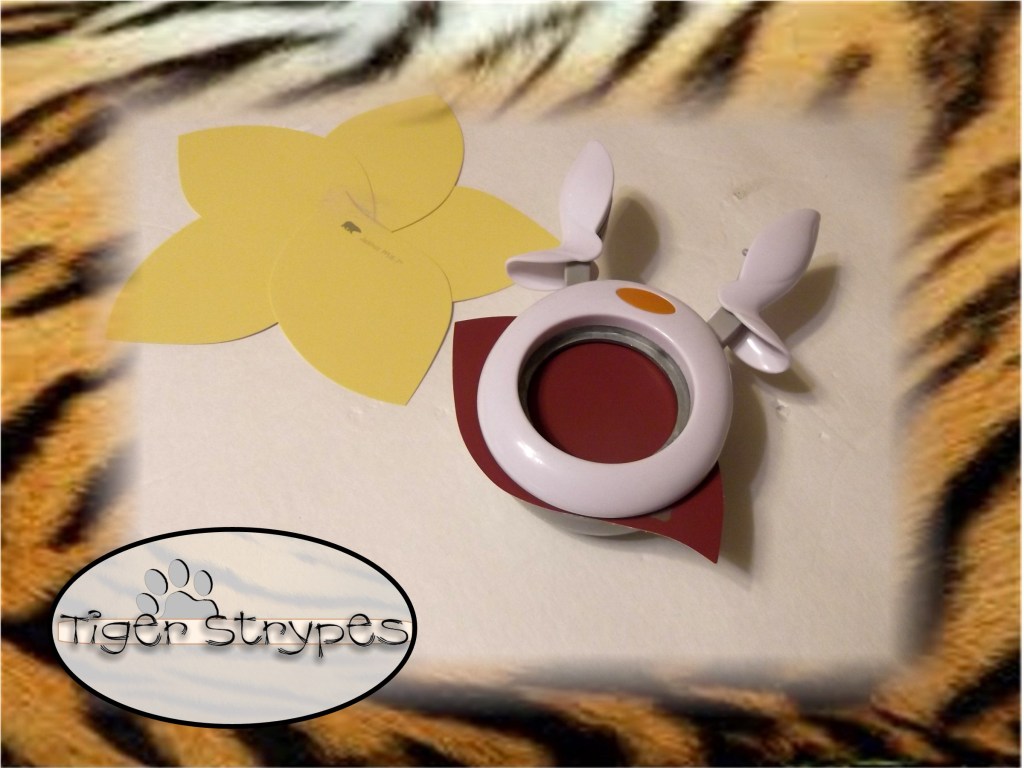
Next, using a large circle punch, punch the color of paint chip you wish to use as your center part of the flower.
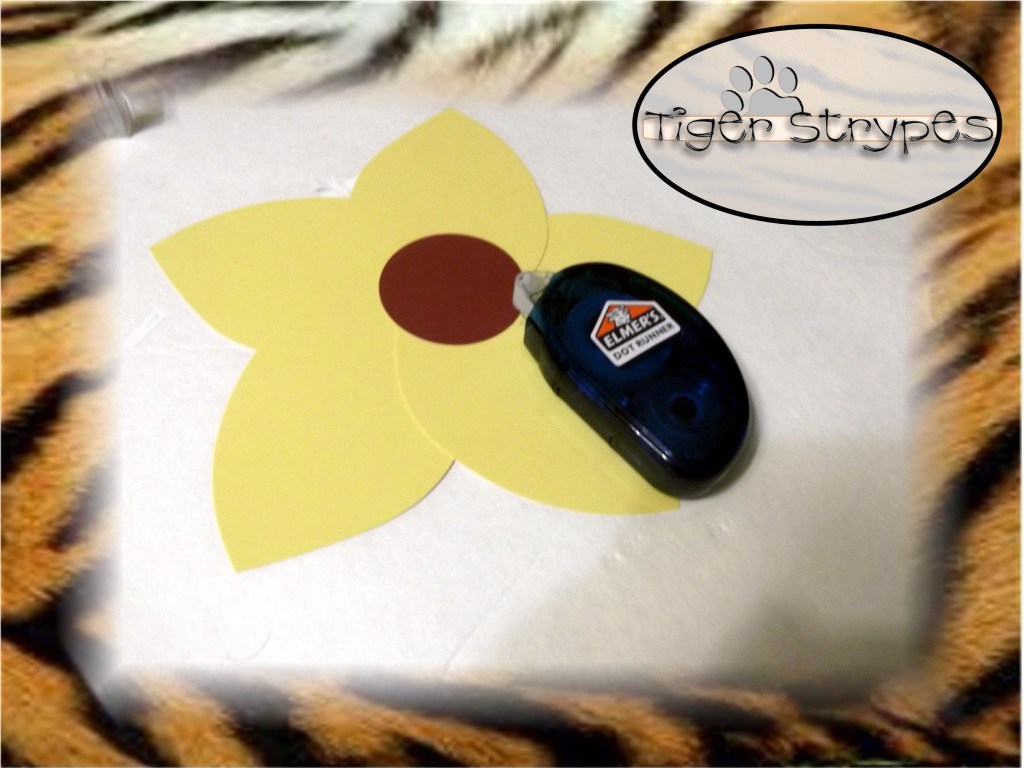
I used glue dots to secure it into place. You can place these however you wish, it just works better to hide the paint color text with it in the middle for mine. Some people like them not centered, but I’m a bit too particular for that! 🙂
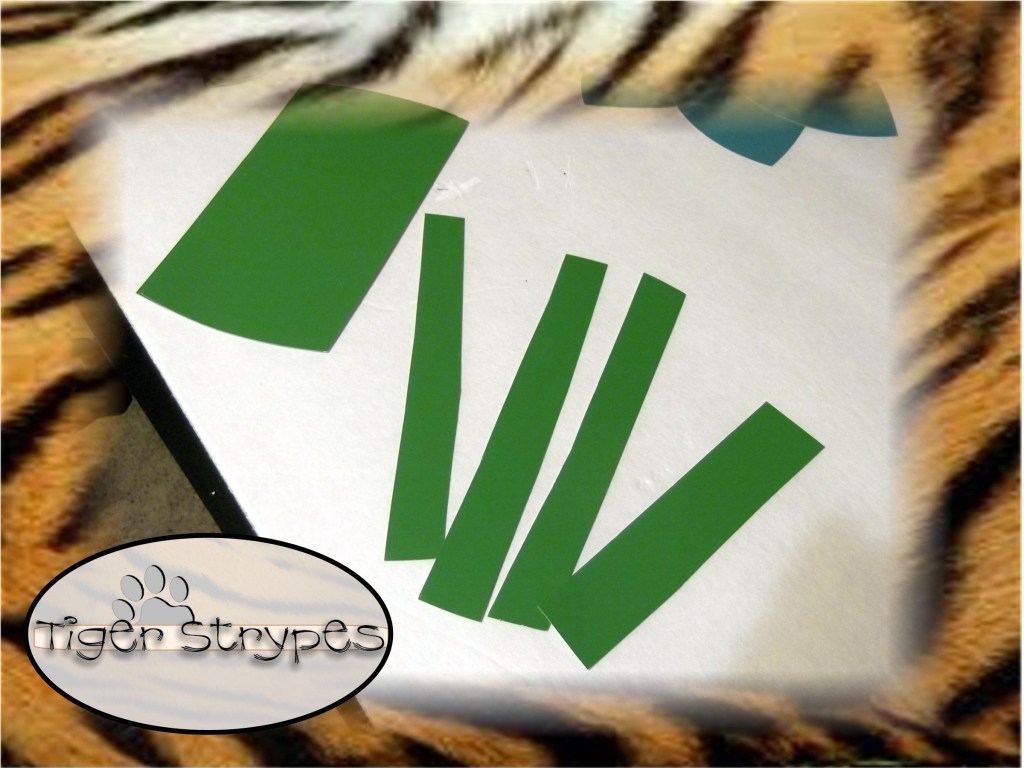
Next, I used some of the regular square shaped paint chips to create the stems for the flowers. Just cut them in the sizes you wish to go with the tops, you can angle them or make them thinner – up to you.
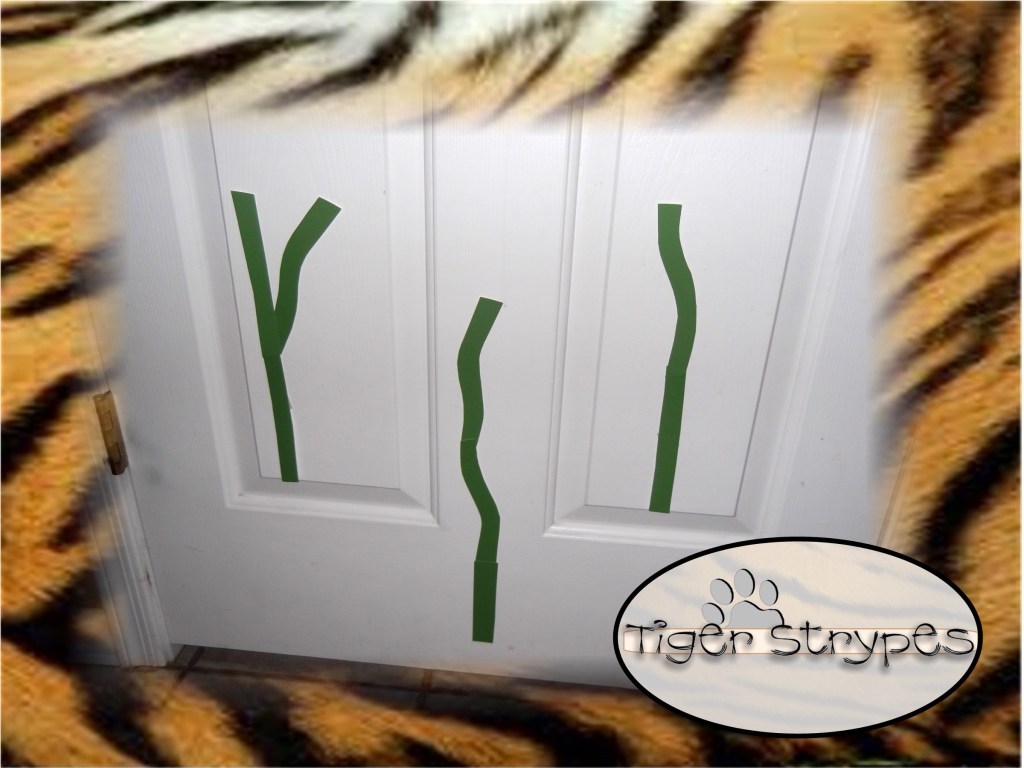
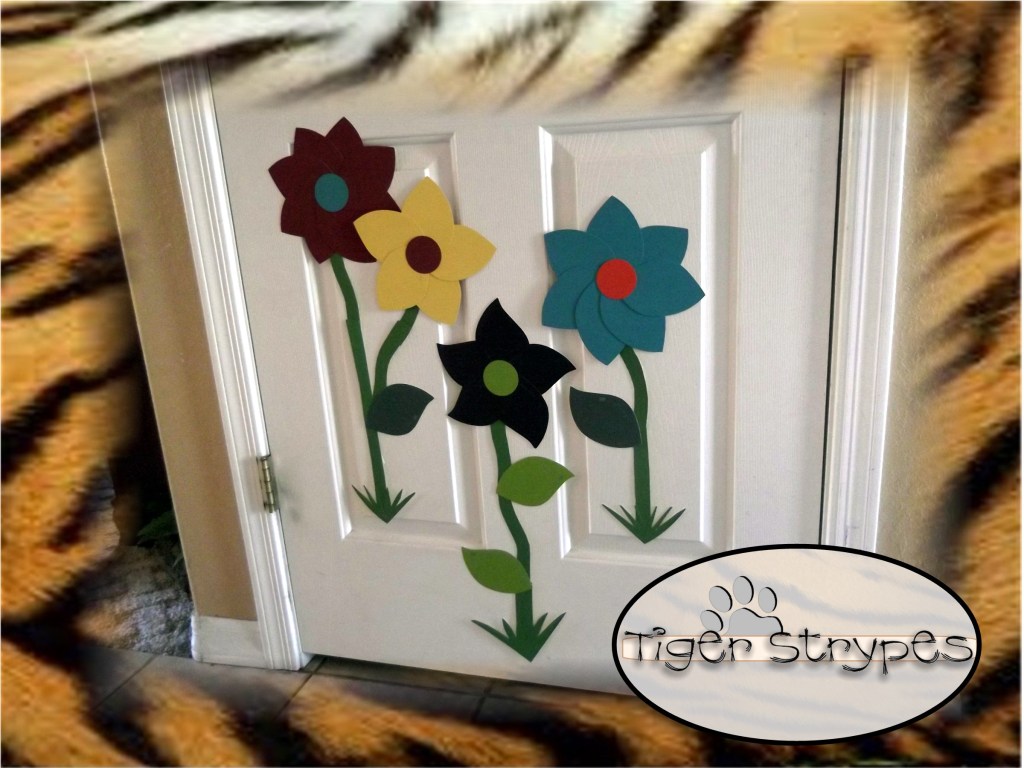
Once you have the stems all cut out, you can begin designing your creation. I decided to just do it on the closet door in the entry way of our home to add a bit of Spring to the house. Just use some glue dots, as needed, to make them stay where you want them.
Once you have the stems put up, you can begin adding the flowers. I used glue dots to attach them to the door on top of the stems.
Since the paint chips I used for the petals, in my opinion, looked just as much a leaf, I then used them on the stems to give a bit more decoration to the project.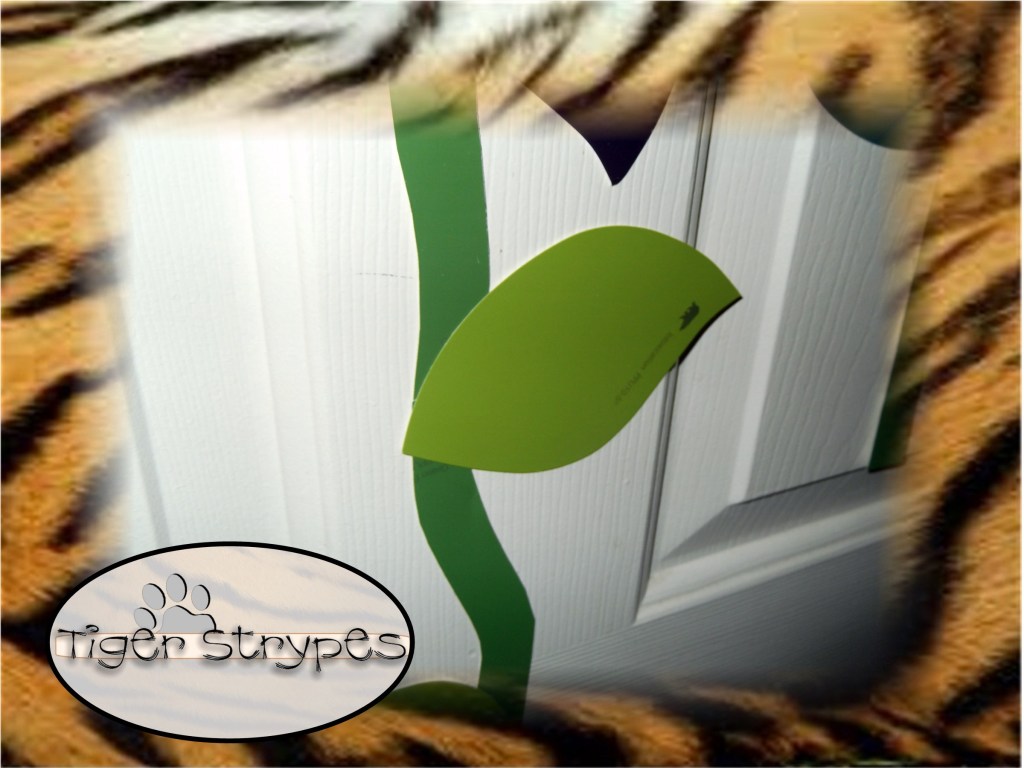
After that, I used a little more of the green to add a bit of a grass patch at the bottom, since I really didn’t like them just “stopping” at the end. I sure hope you like it! Please take a minute to leave me a comment and let me know what you would do different, or what you would add, etc. Be sure to tweet, pin, share, etc. – thanks!!
All pictures and text are my own and have not been copied in any way. I, Jamie Tomkins, own and operate Tiger Strypes Blog located at www.TigerStrypes.com. From time to time you’ll hear about my real life experiences or creations with products and/or services from companies and individuals. Let it be known that I have no affiliation with these said companies, and have not received compensation for reviewing or using their service/product. The information that I give regarding the product/service is based off my own personal experience, I do not guarantee that your experience will be the same.
PLEASE SHARE THIS POST USING THE OPTIONS BELOW…THANKS!!
*****************************************************************************************************



That is so cool. I will pick up some paint chips just to make this flowers.
That is cool! I have a lot of paint chips but in rectangular shape. I am also thinking about how to utilize them. These flowers are so adorable!
Awesome! I have some of those petal shapped paint chips and was experimenting with them a few weeks ago. I thought about the flower shape, and you took it all the way! I love it! My local Home Depot and Lowe’s has displays with free paint chips and I always pick up a few while I am there! Now I know what to do with them!!
How cool that your paint chips are already in that shape! Very cool, I see that you like to decorate for the holidays and seasons, that is awesome!