With Thanksgiving just a few days away, I thought it would be fun to make something to decorate the table with. I saw something like this on Pinterest, and thought it would be something fun to make. Having a chance to use my Cricut Explore is always a great one. This craft was inexpensive to make (with supplies that I already had at home). All I had to do was buy the pumpkin, and that was only about $1!!
I hope you like it!! Have a blessed day, and please be sure to comment on and share this fun #Thanksgiving craft!!
Decorate for #Thanksgiving with a Mini Pumpkin Turkey #Craft! Learn to make 1 at Share on X
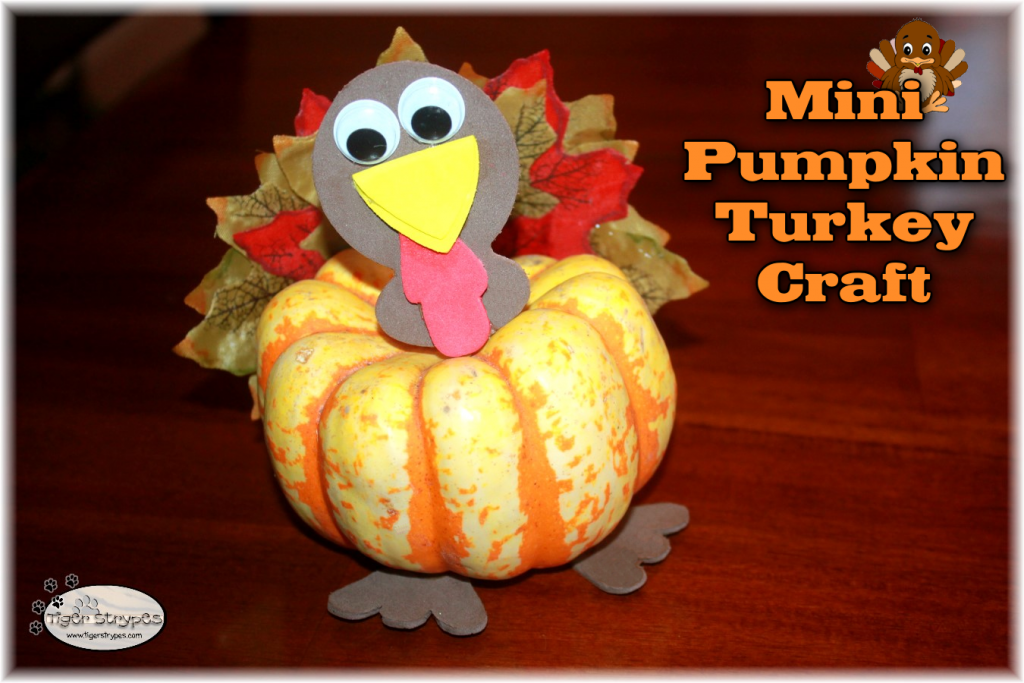
Mini Pumpkin Turkey Craft
Materials/Tools Used for Each:
- (1) Mini Pumpkin
- Craft Foam
- Cricut Explore
- Artificial Leaves
- Glue
- & Time!
Mini Pumpkin Turkey Instructions:
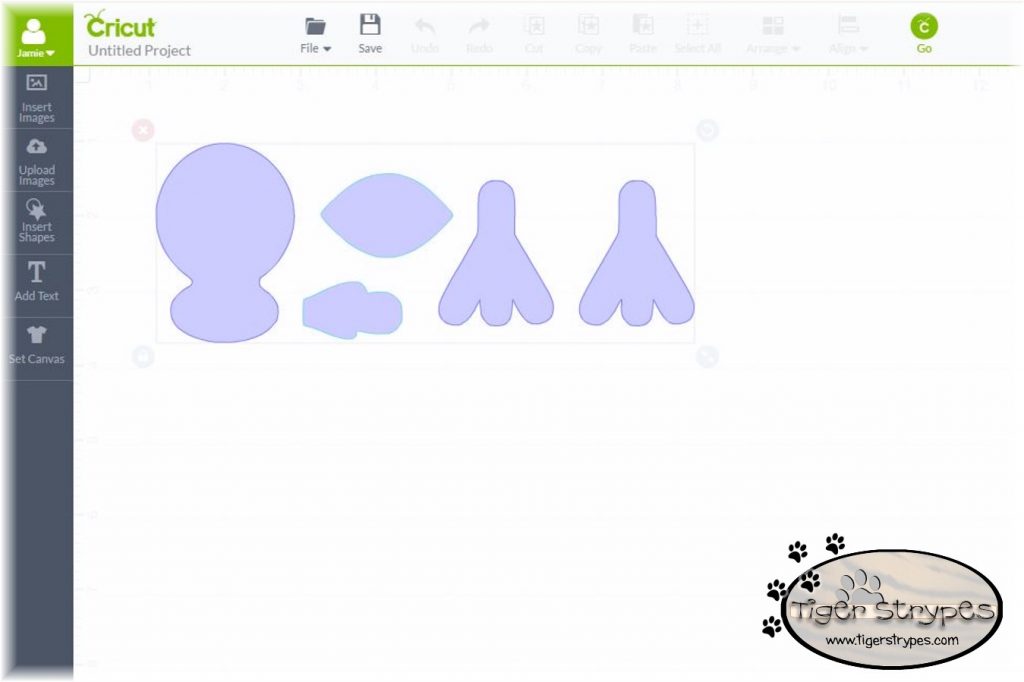
I started by using a design with my Cricut Explore software to get ready for cutting from the craft foam.
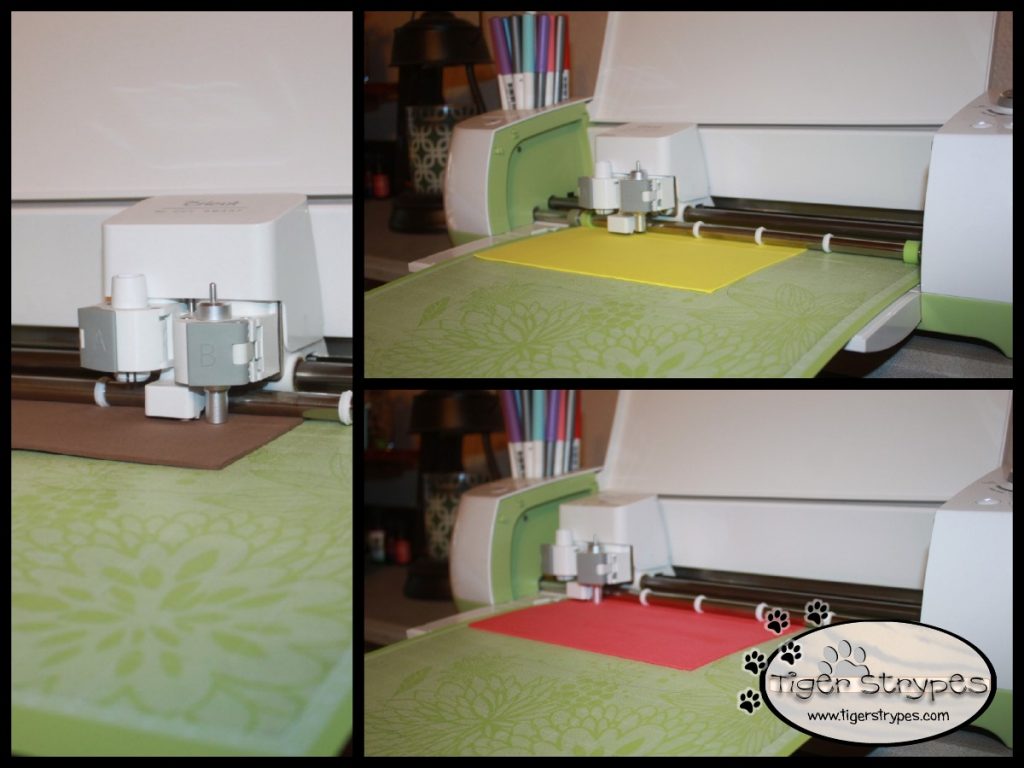
Next, using my Cricut Explore, I cut the pieces that I needed on the color of craft foam that was necessary.
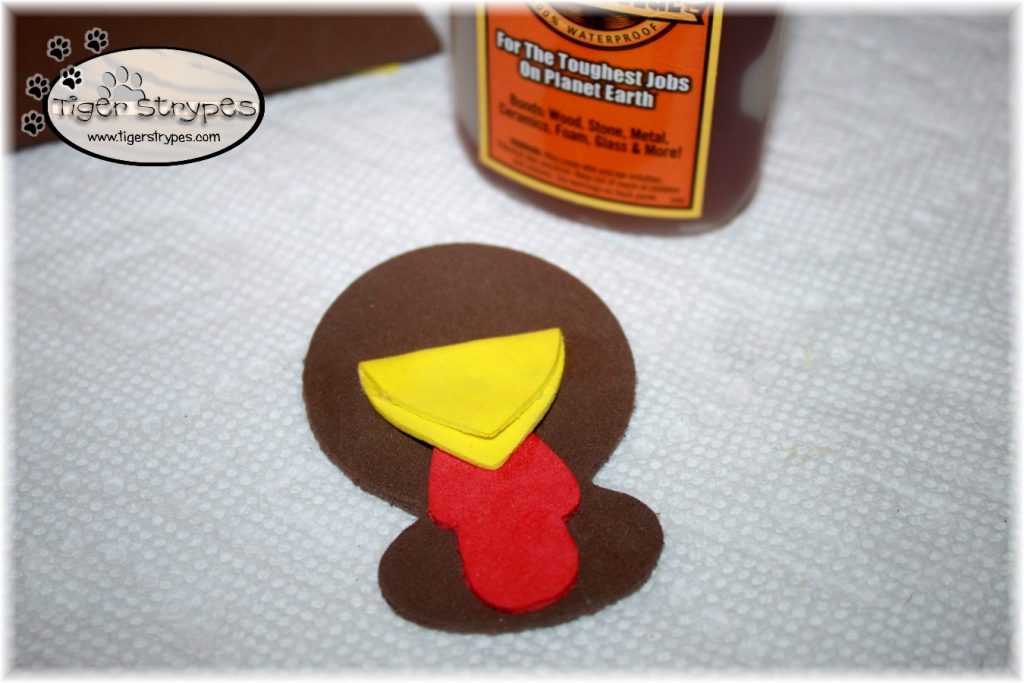
When all of the pieces were finished, I began putting everything together. Starting with the “head” portion, I glued the waddle and beak in place.
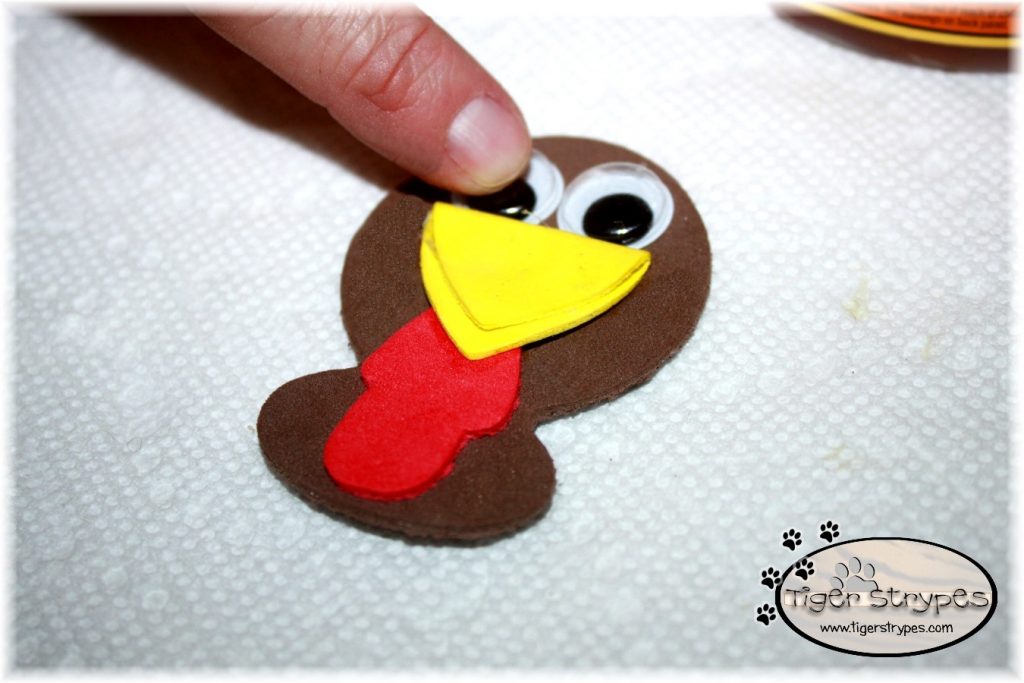
Next, I glued the wiggly eyes above that to complete the front face portion.
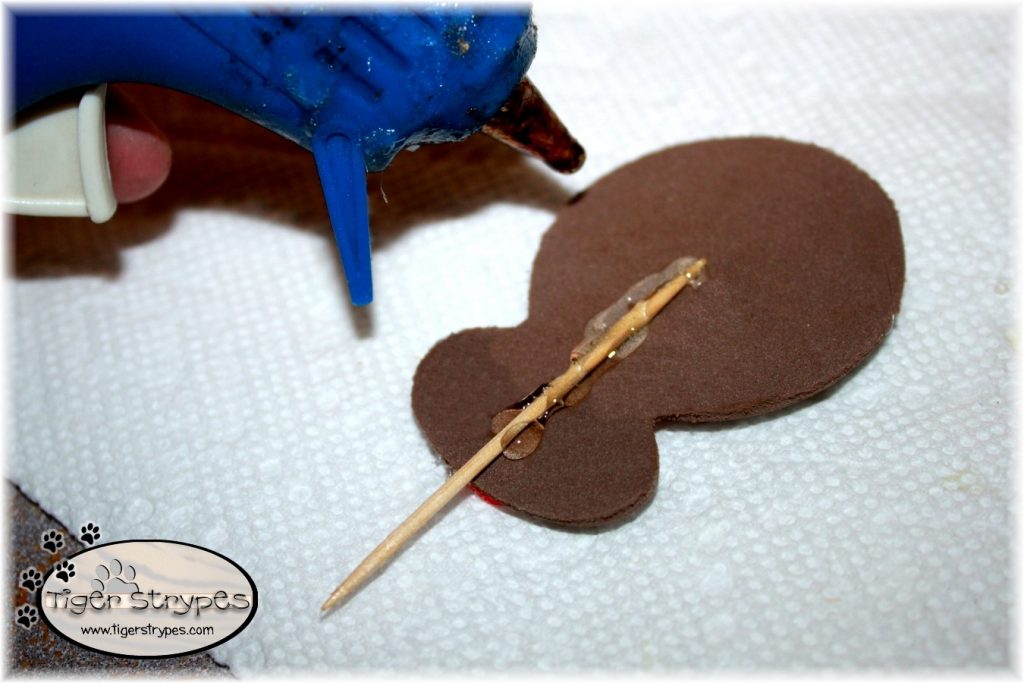
To make it easy to attach to the pumpkin, I flipped the face over and glued a toothpick to the back.
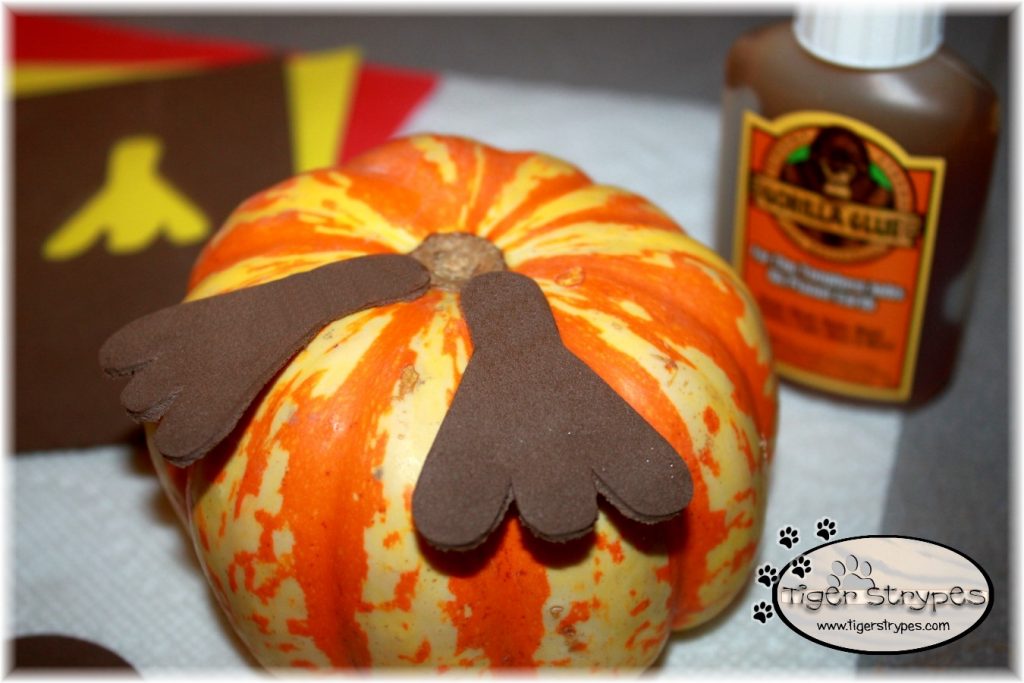
Now, I attached the feet to the bottom of the mini pumpkin with glue.
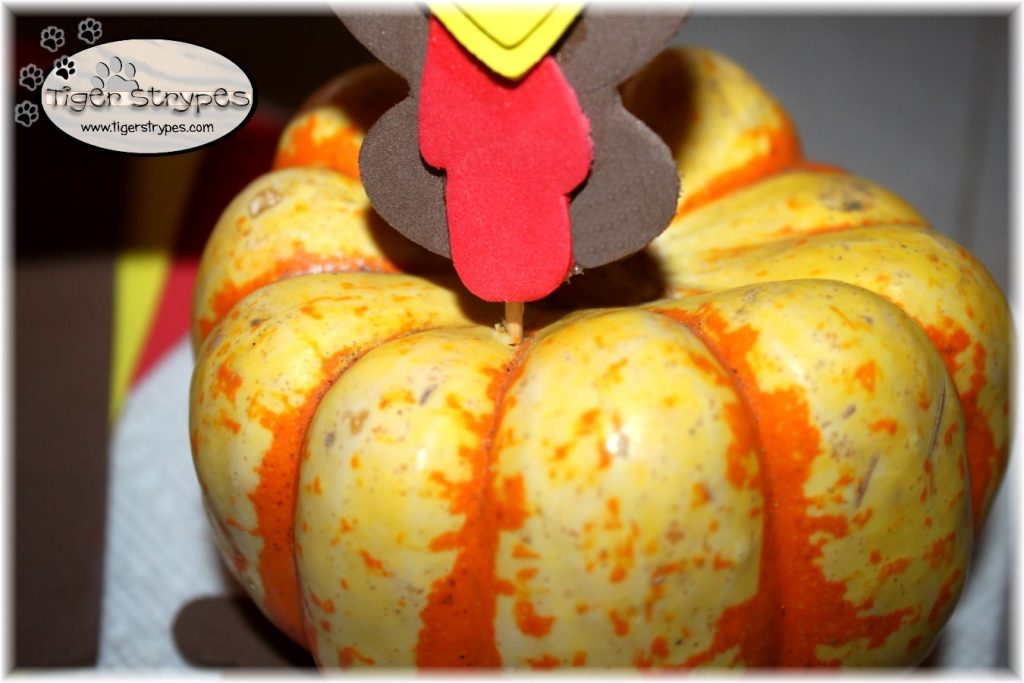
Once the feet were dry, I flipped it over and inserted the toothpick to the top.
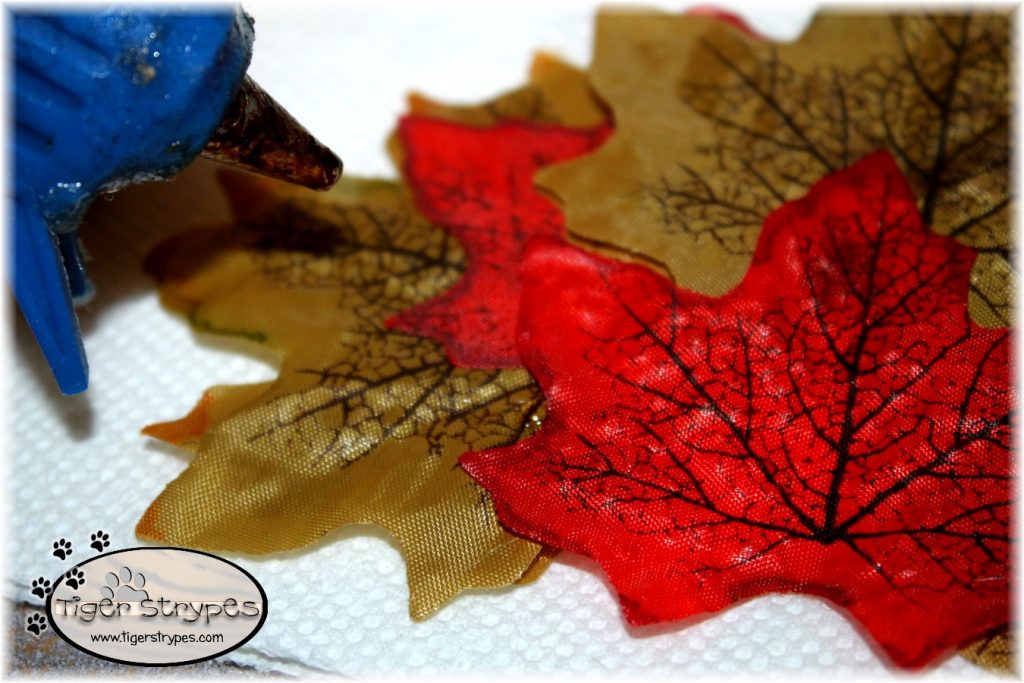
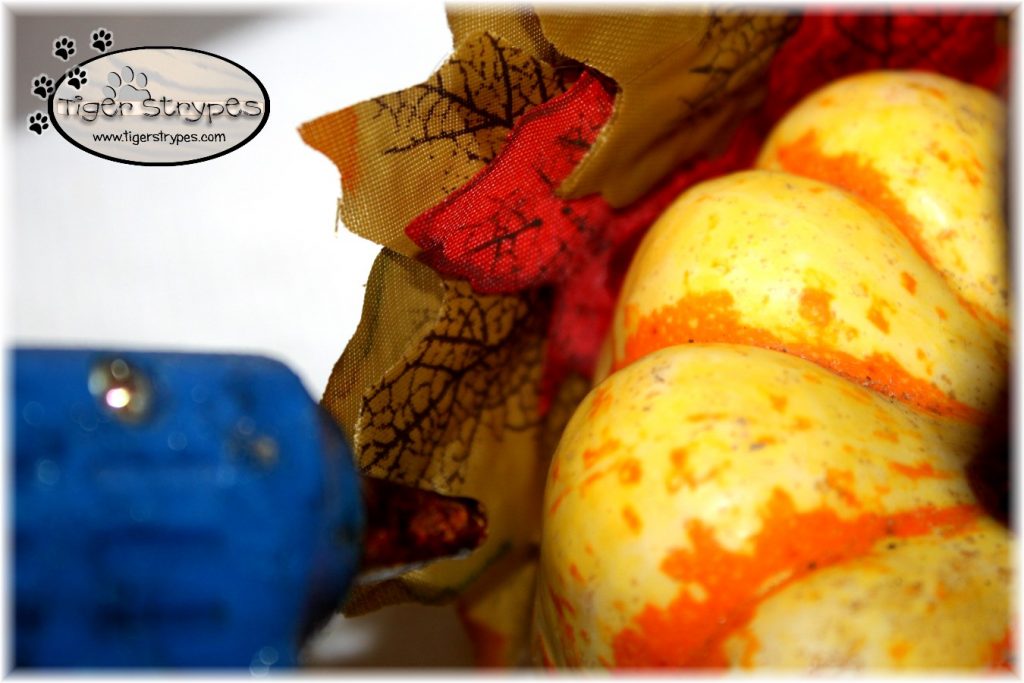
To create the turkey tail, I used some fall leaves that I found at the dollar store. Stacking them in the shape of a tail, I used my glue gun to do them and adhere them all together into one piece.
When they were complete, I added some glue to the back of the turkey pumpkin and attached the “tail.”
Now, you can display it wherever you wish, or even give it to a friend for a Thanksgiving gift. Let them know how thankful you are for them, as I am for all of my amazing TigerStrypes Blog readers!
I hope you like it! Please take a minute to leave me a comment. Let me know what you would do different, or what you would add, etc. Be sure to tweet, pin, share, etc. – thanks!!
“Let us learn about our amazing Lord. Let us get to know our Lord. He will come to us, as sure as the morning comes. He will come to us, just like the autumn rains and the spring rains that water the ground.” –Hosea 6:3
All pictures and text are my own and have not been copied in any way. I, Jamie Tomkins, own and operate Tiger Strypes Blog located at www.TigerStrypes.com. From time to time you’ll hear about my real life experiences or creations with products and/or services from companies and individuals. Let it be known that I have no affiliation with these said companies, and have not received compensation for reviewing or using their service/product. The information that I give regarding the product/service is based off my own personal experience, I do not guarantee that your experience will be the same.




How did you get those turkey shapes/design? I would love to make this with my class by cutitng pieces on my new Cricut!
I had the shapes and uploaded them. Cricut has a cute one you could edit for free right now, at Turkey #M37AB3 in Design Space.
That is just too adorable. I’m a sucker for anything with googly eyes.
Thank you Denise – it was really fun to make, too!
That is cute and even to put in cupcakes too if have no pumkins
That’s a great idea! Would have been perfect for my husband’s birthday, which was the day before Thanksgiving! 🙂
That is one cute turkey. These would make great place name card holders
That’s a great idea, Tara! Now I better get to making some more! 🙂