

Make Some Apple Table Cards
#TBCCraftersHop
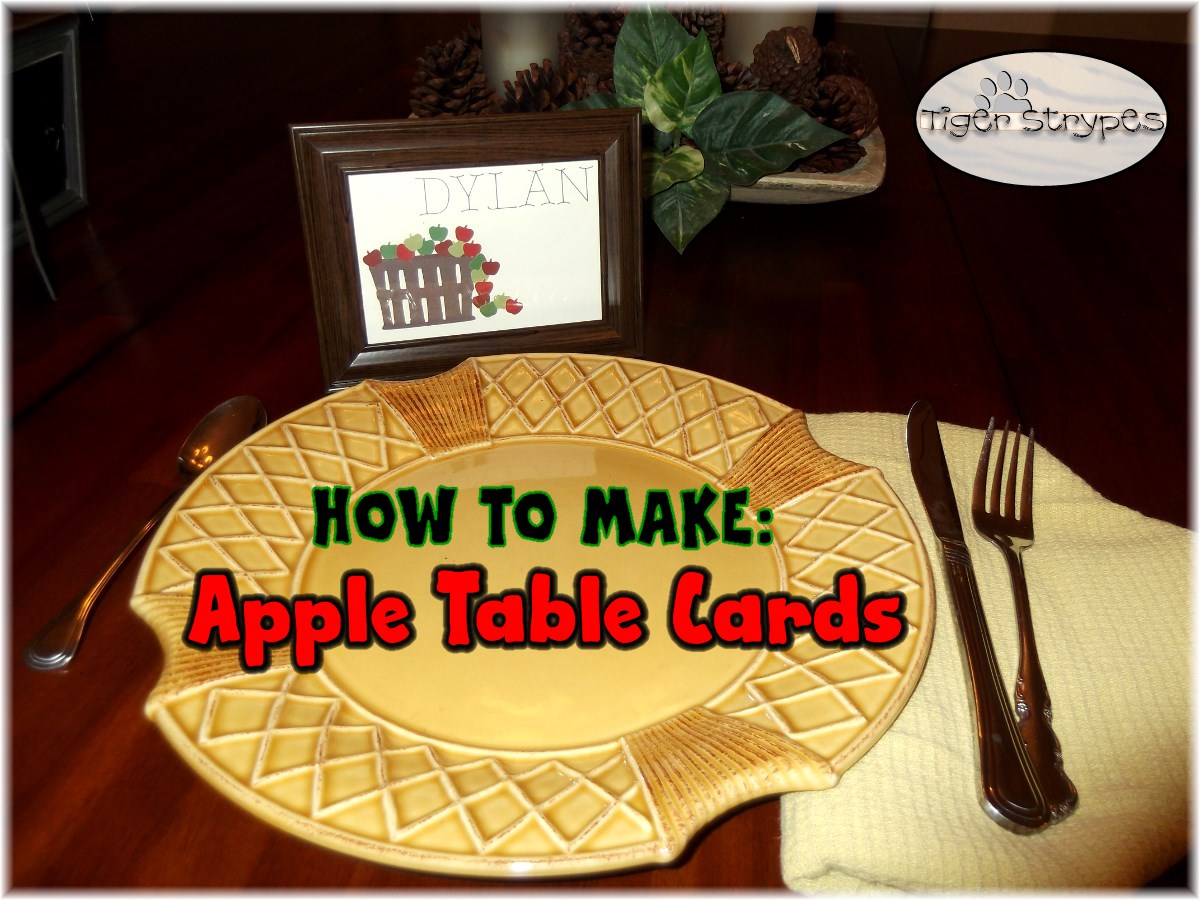
I saw something like this on Pinterest, but they were just punching them to add to an envelope in someone’s card. Thought it would be fun to make up some place cards like this early to be able to use for our Thanksgiving table. We usually don’t have a lot of people, so there’s no need to really have to place cards, but it’s a fun thing to do for the family to make them feel special. They were very easy to make, and I found the Apple Punch on Amazon for pretty cheap. Have you ever made cards for the table? What were yours like?
I hope you like it!! Have a blessed day, and please be sure to comment on and share this #TBCCrafters craft!!

“Apple Table Cards” Craft
Materials/Tools Used:
- Paint Chips
- Apple Punch
- Cricut Explore
- Cardstock
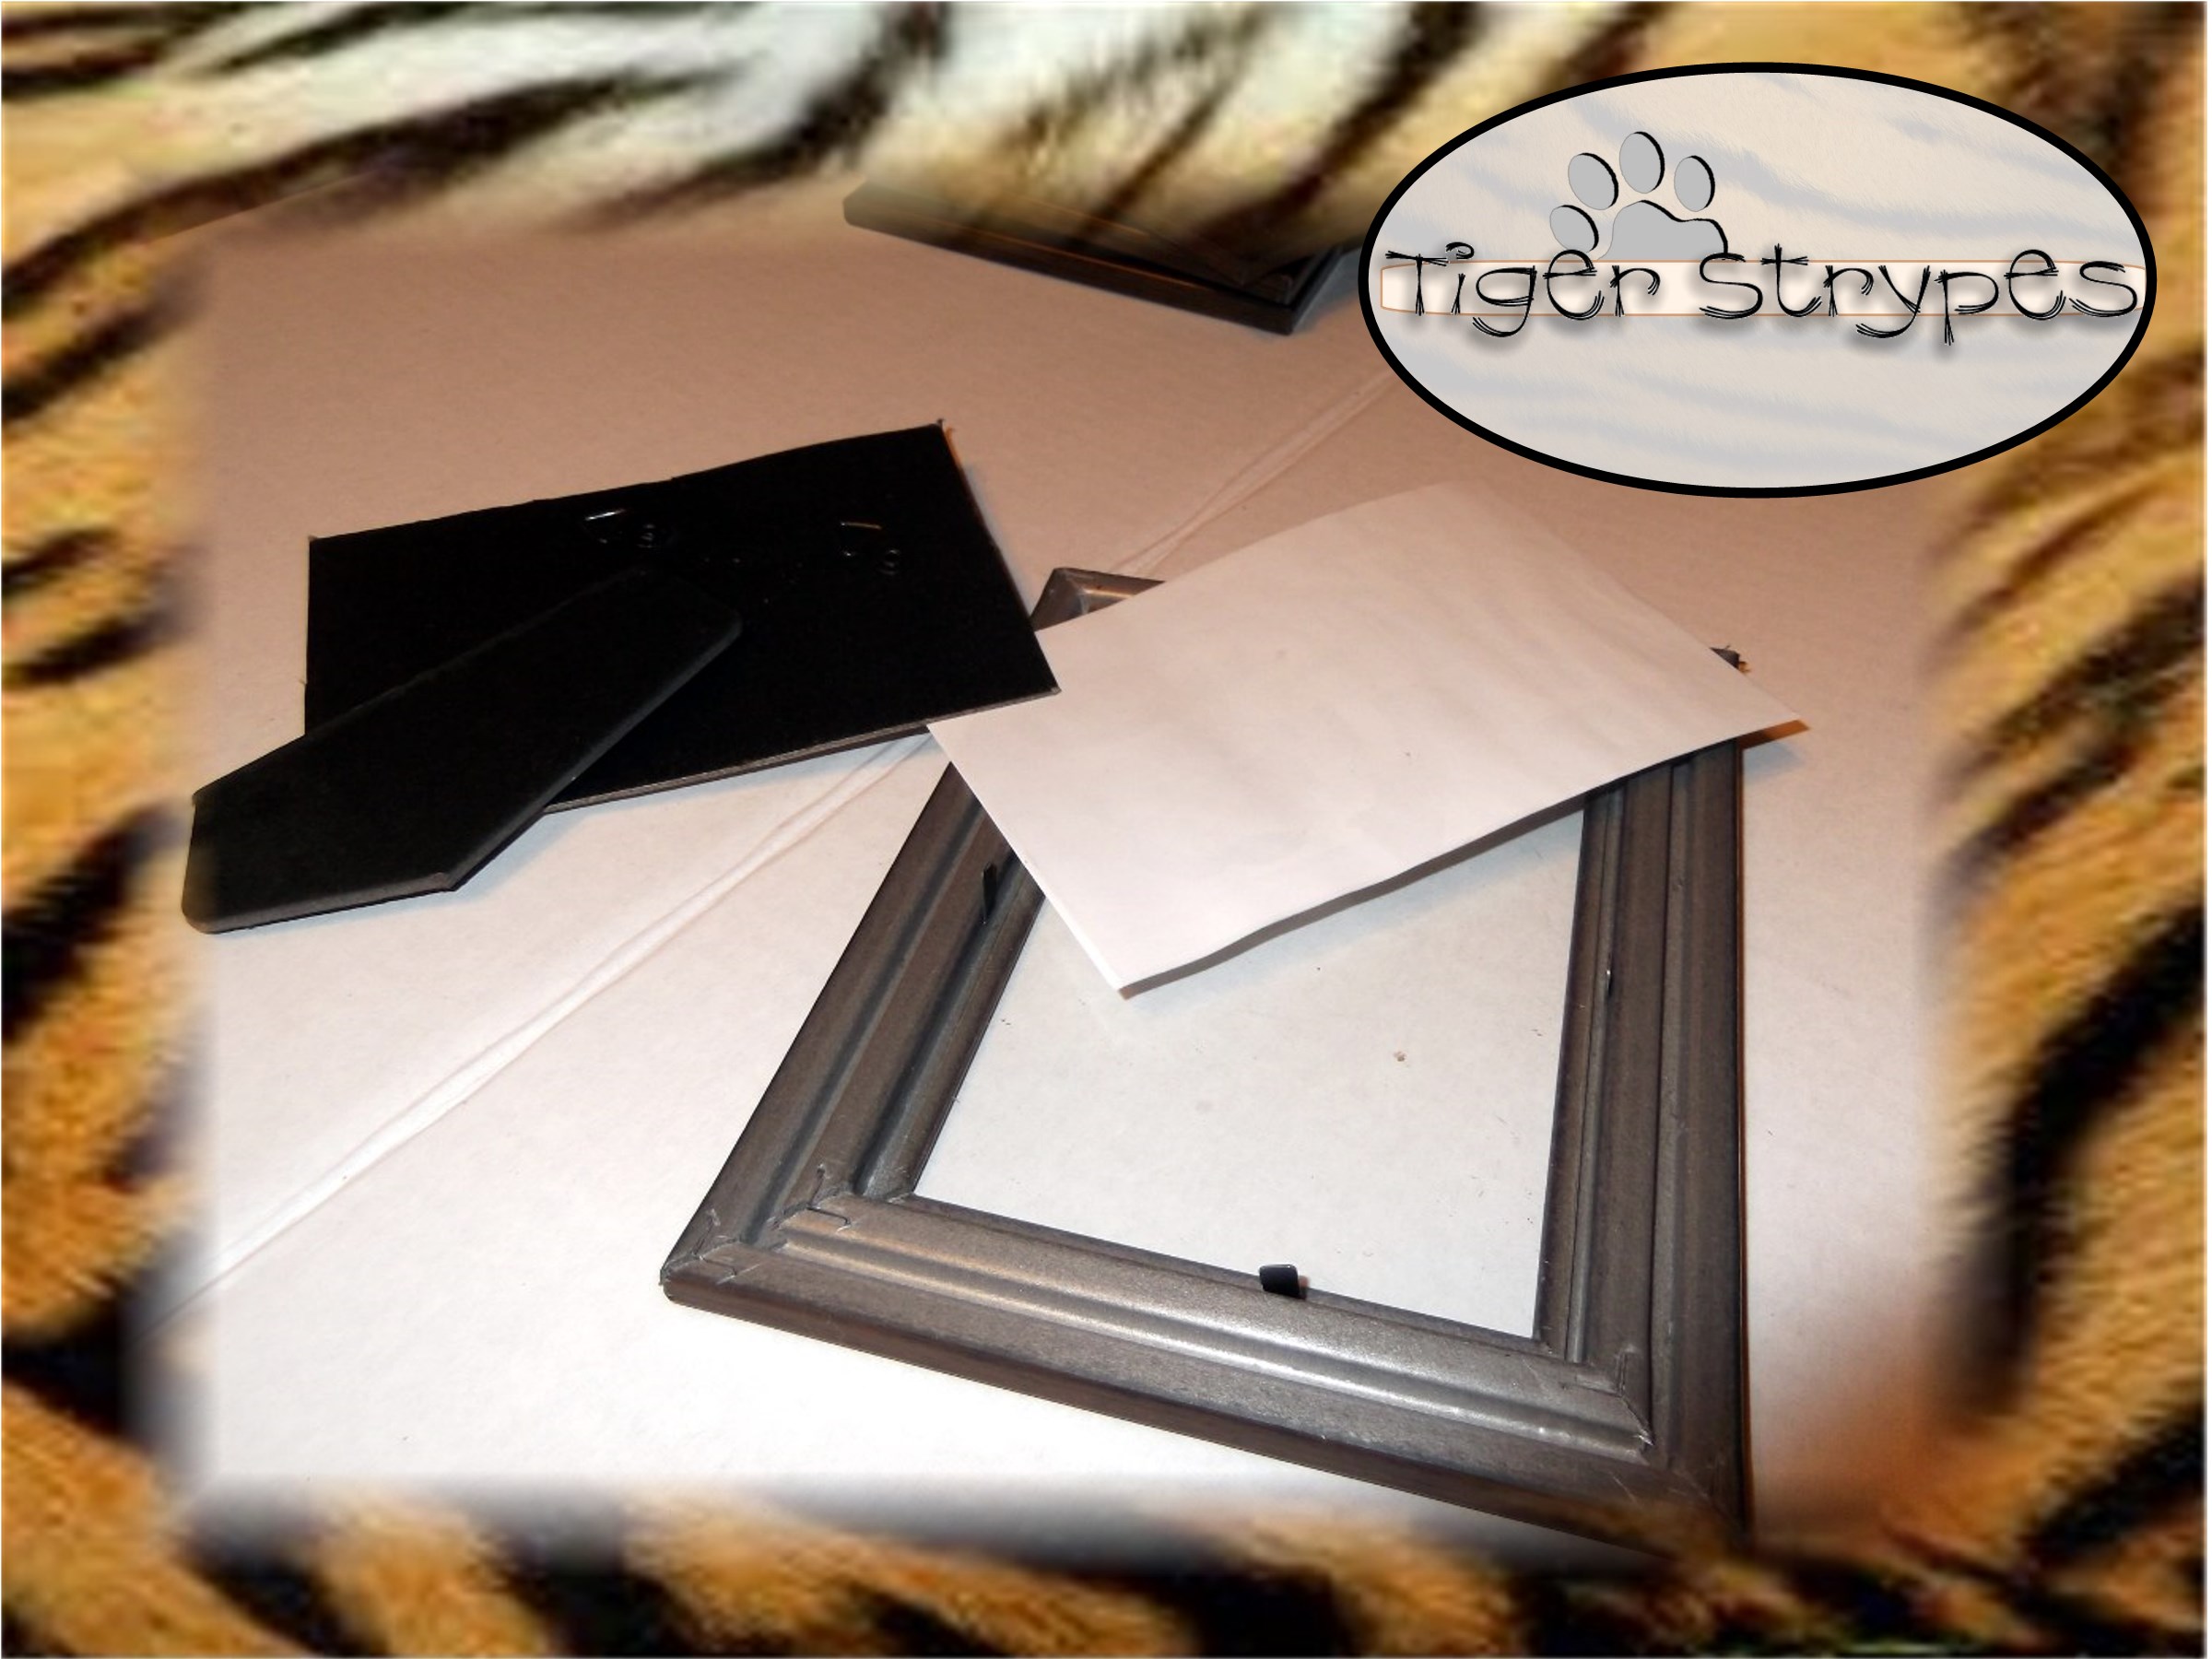
- Small Frames
- Glue Dots or Craft Tape
- & Time!
Instructions:
Begin by heading to your local hardware store and getting some paint chips in the color you wish to use. Our store is pretty good at letting me have them for crafts, but you might want to ask before you take some. 🙂

Next, I used the “Apple Punch” that I got from Amazon to make some apples from the chips.
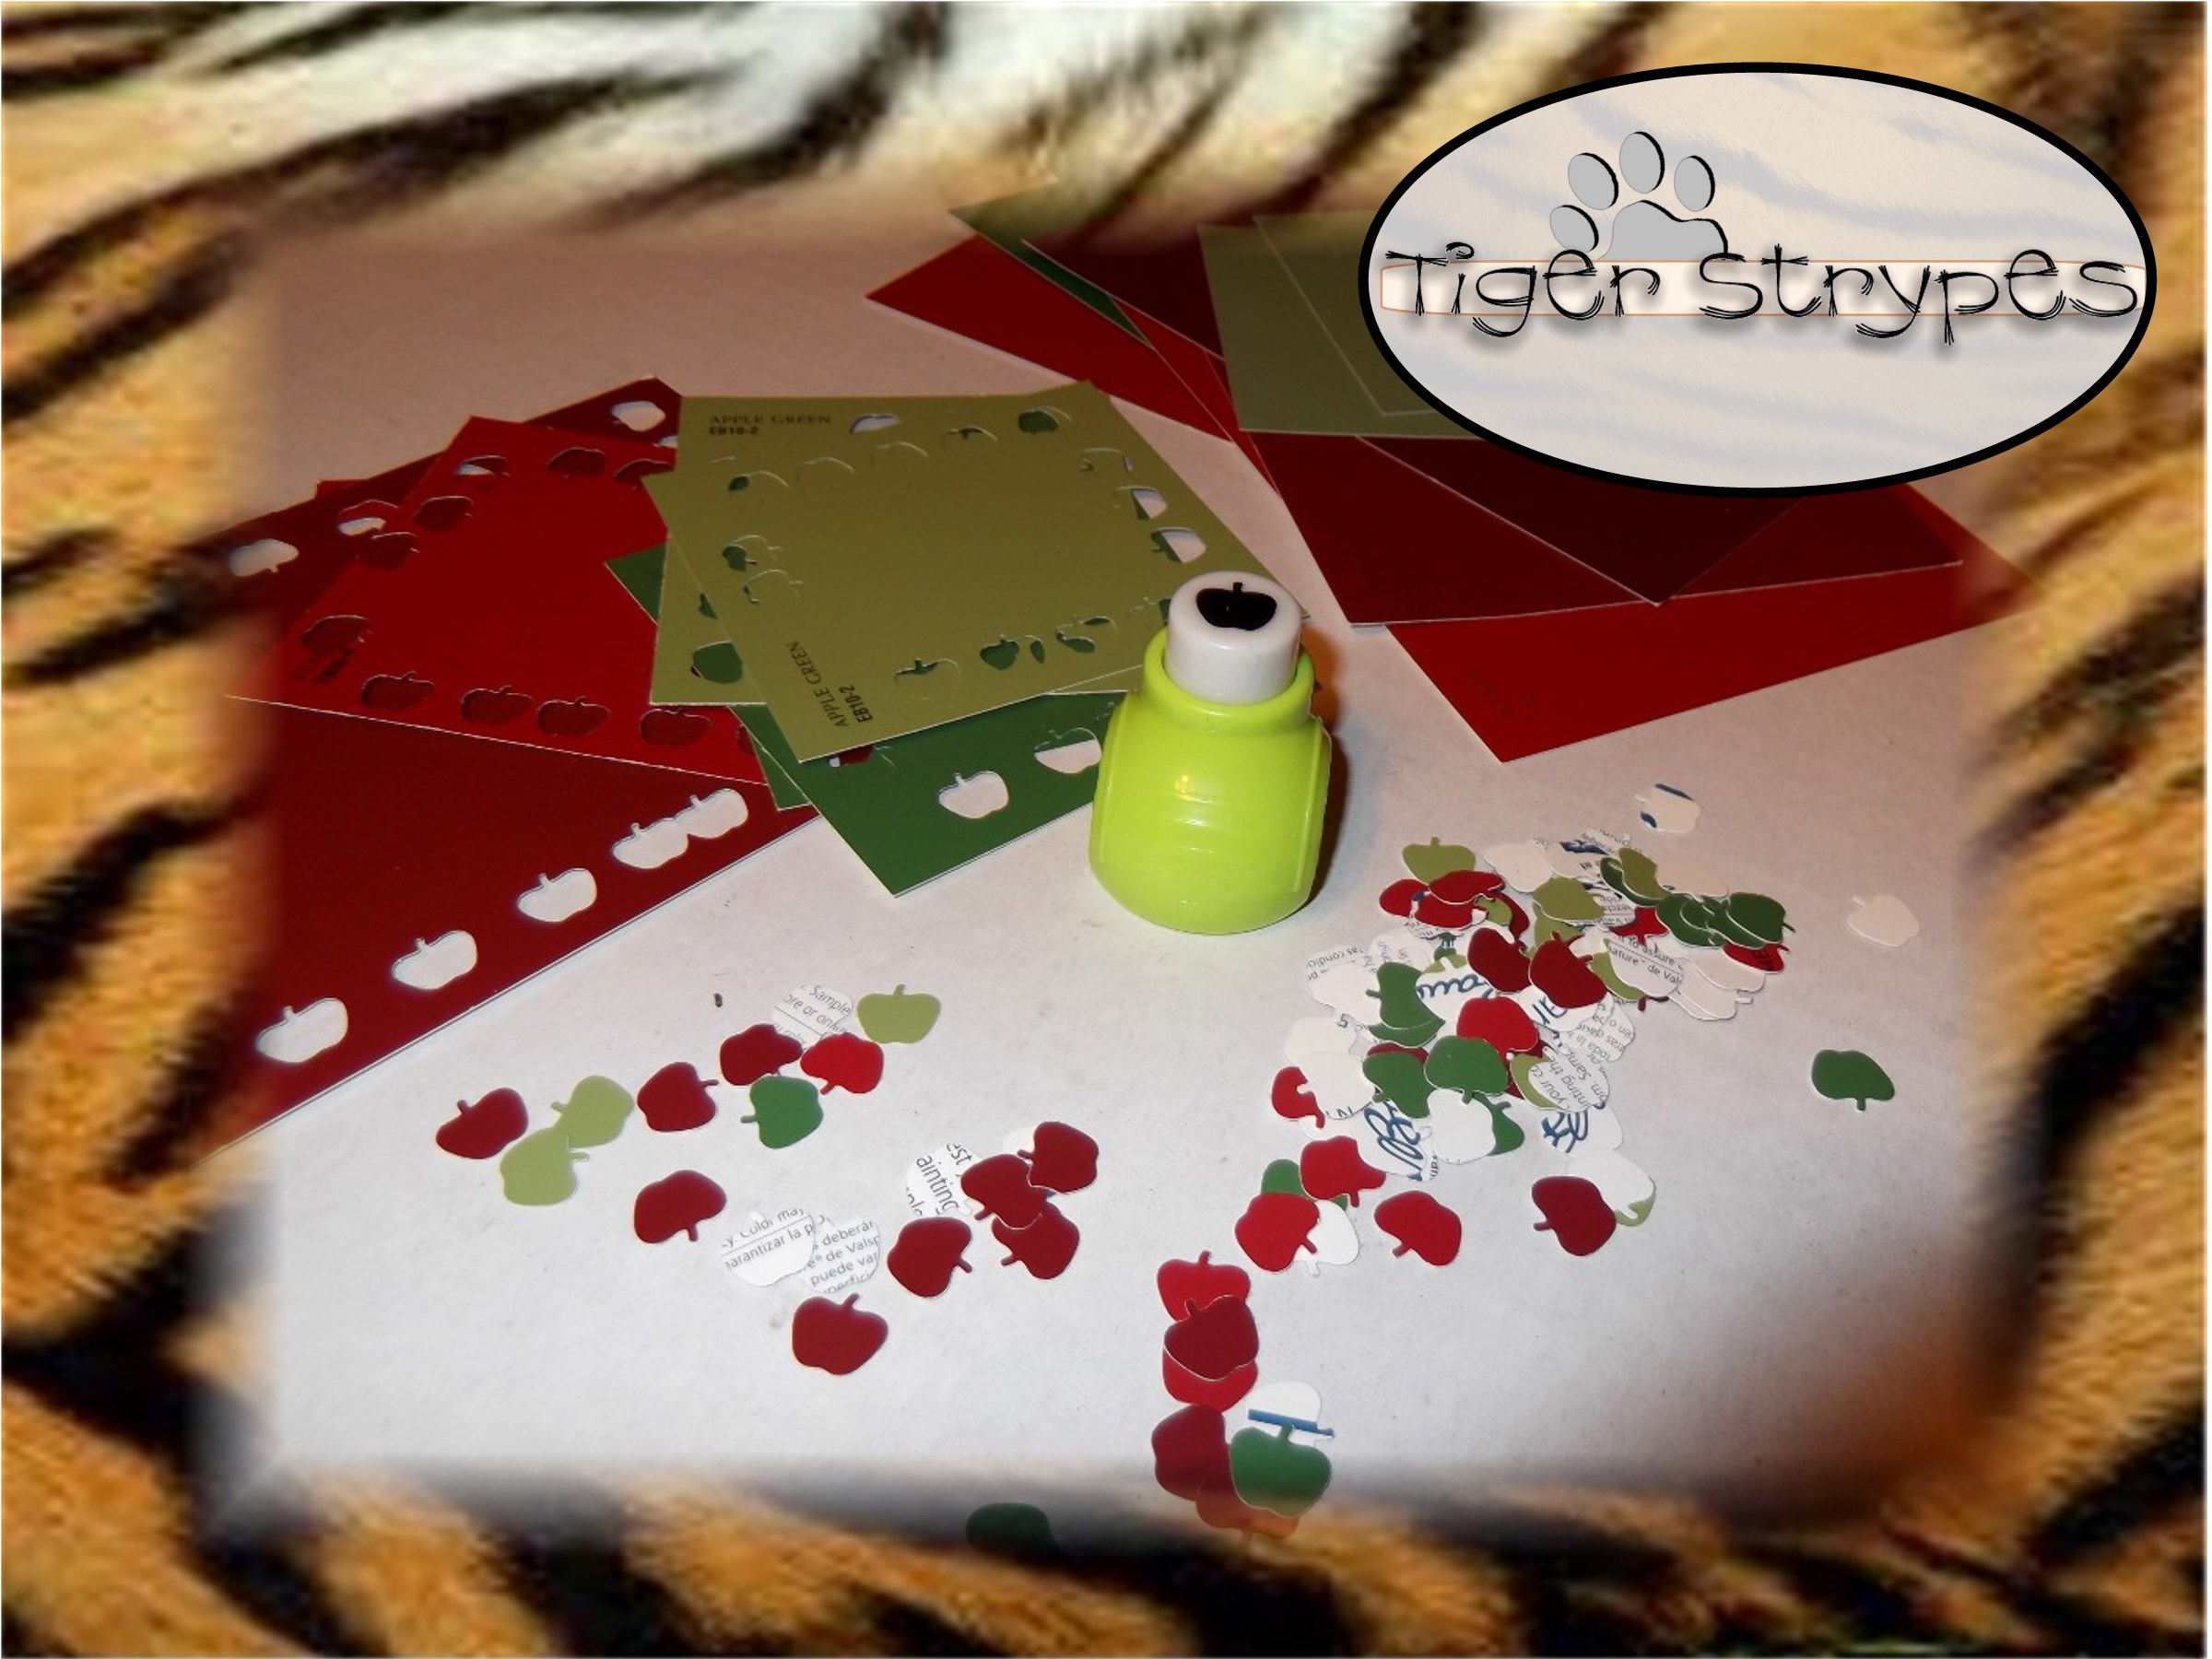
When you have as many punched out, as you think you’re going to need, you can begin on the rest. I used my Cricut to cut out a basket shape that would fit the frames that I was going to use.

Now you can start assembling the pieces. I found some small frames (about 3×4″) at Dollar Tree and bought enough for each place setting. When you bring them home, remove the back and then use the “fake picture” to size the piece of cardstock you will use for the setting.
Once you have it sized and have cut out the cardstock to fit (be sure to measure twice, cut once), you can then use your Cricut to write the names on the pieces. I haven’t saved up for a font cartridge yet, and am hoping to get one soon – don’t really like these basic letters, but it’s all I had.

Now, after the ink has dried, you can attach the basket that you cut…
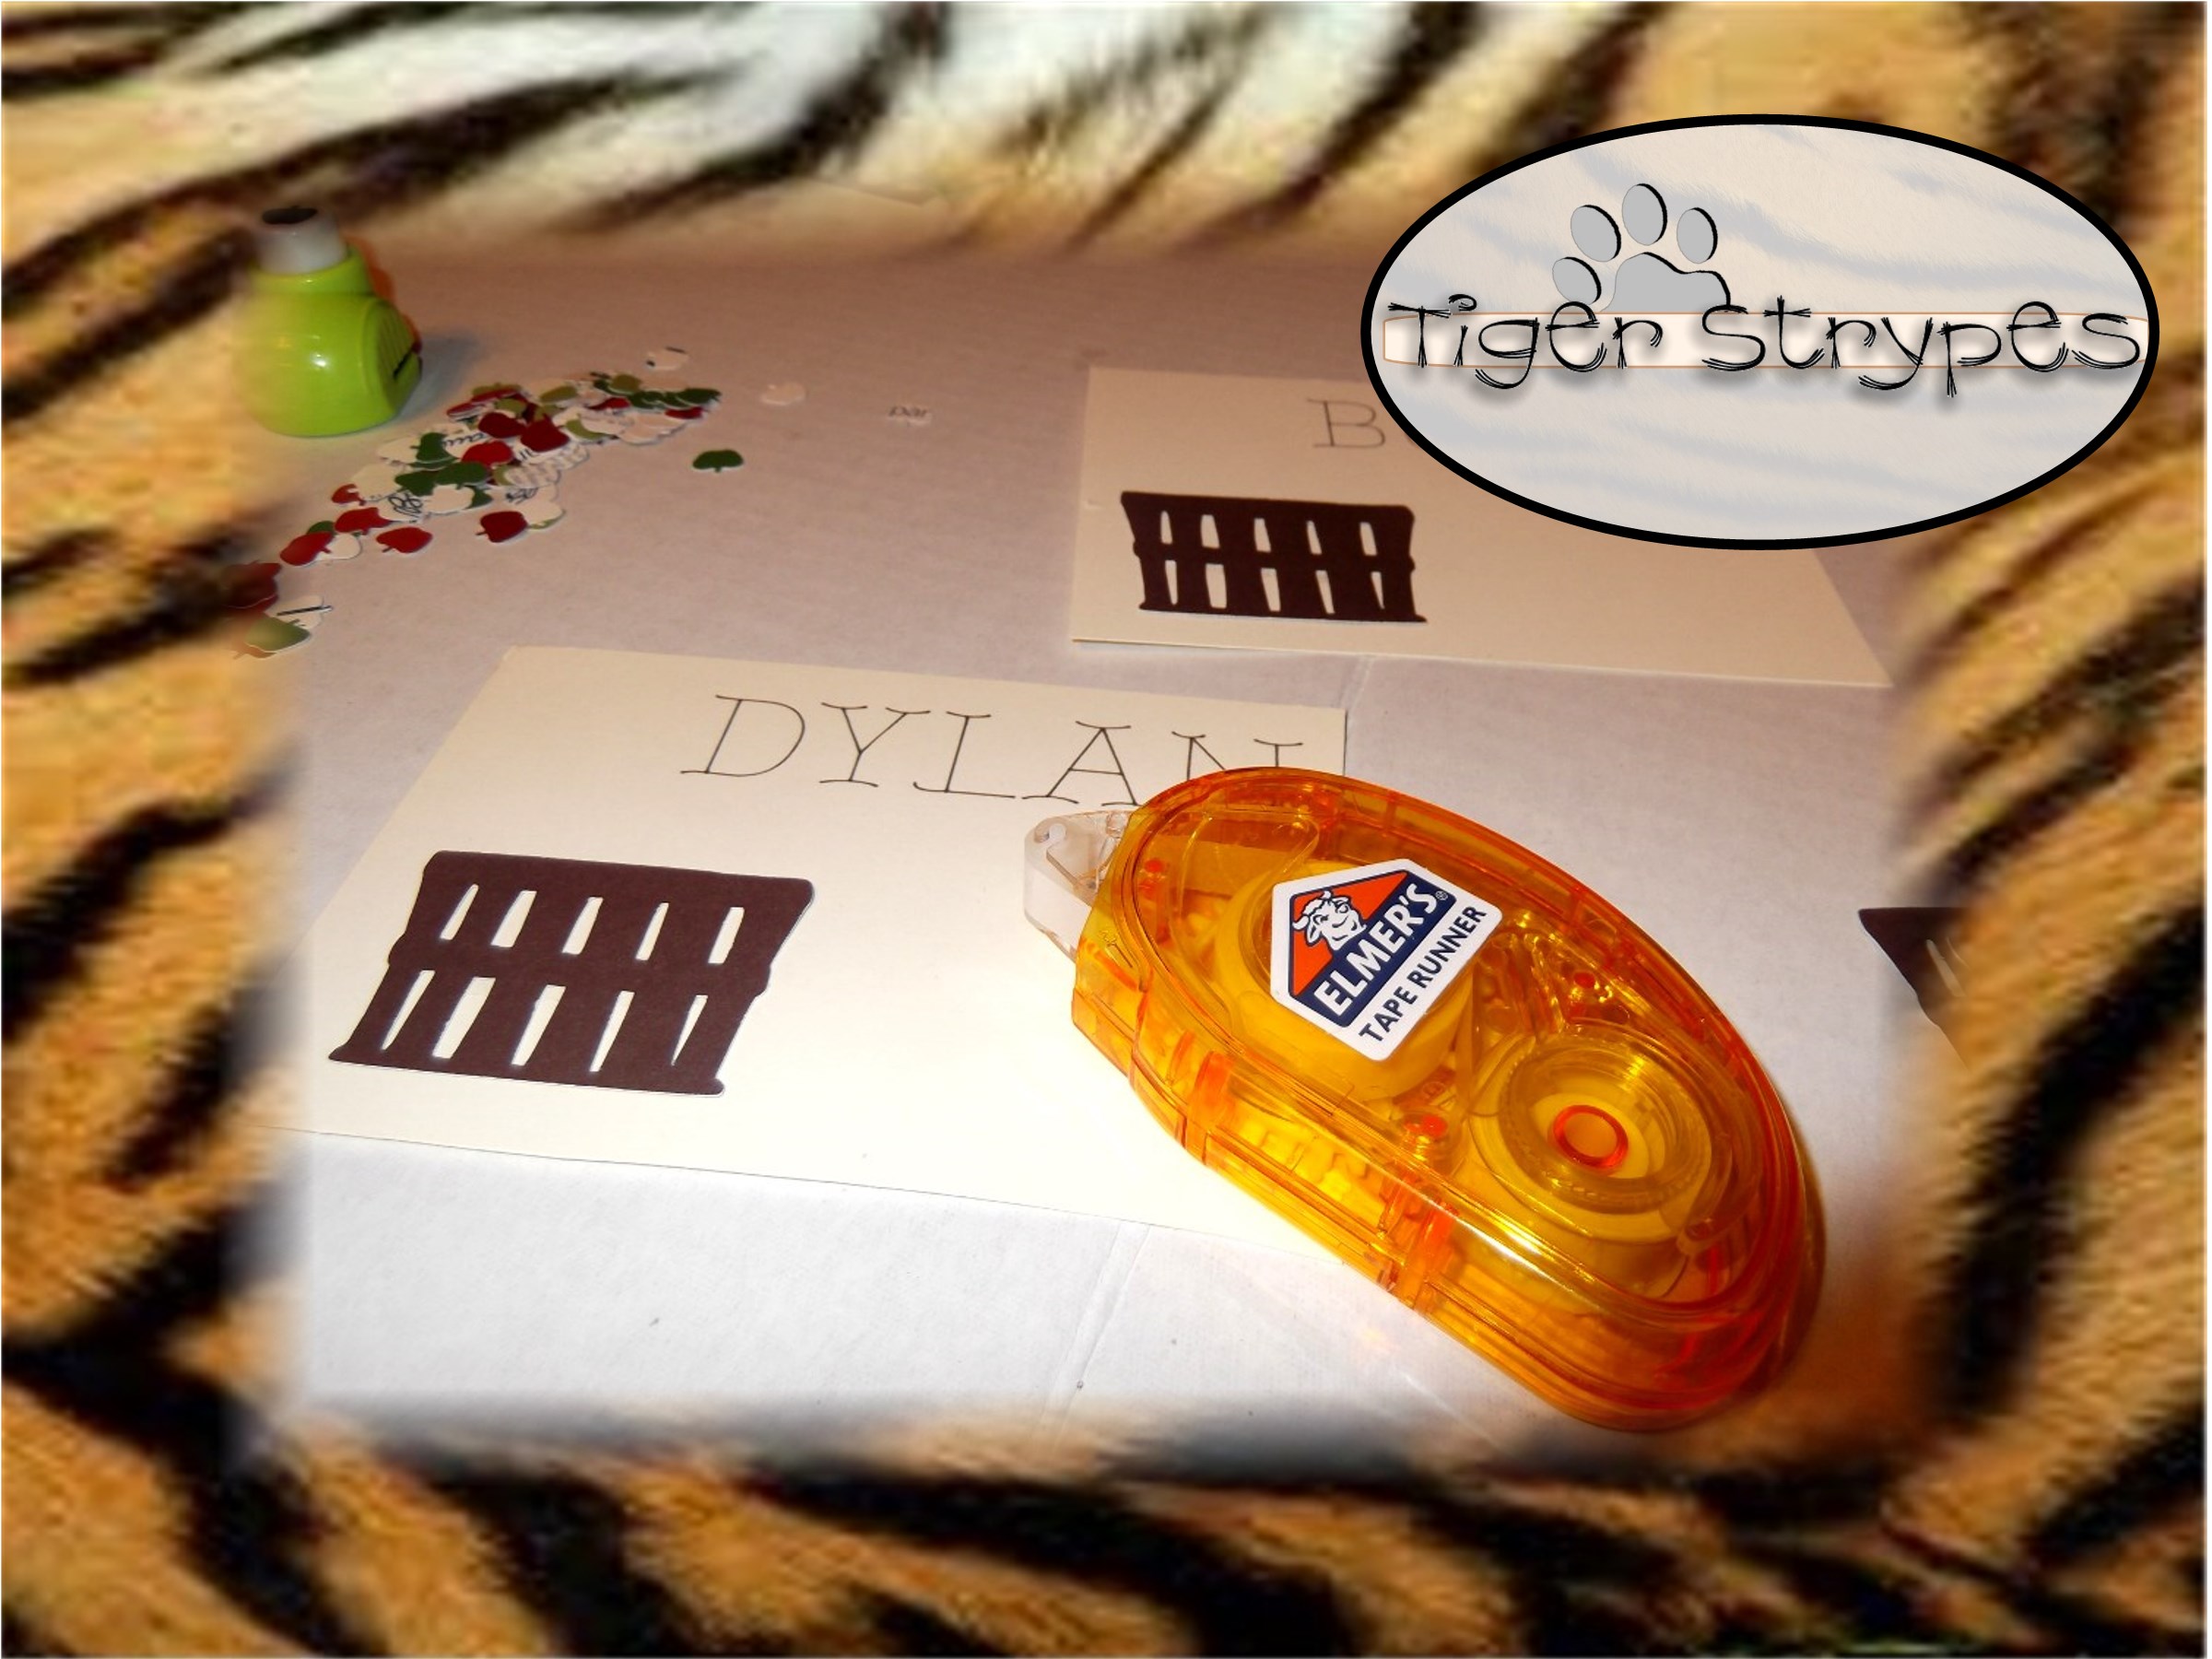
…and then add the apples to that, however you wish.

I let our dog enjoy his as he had his water one night. 🙂
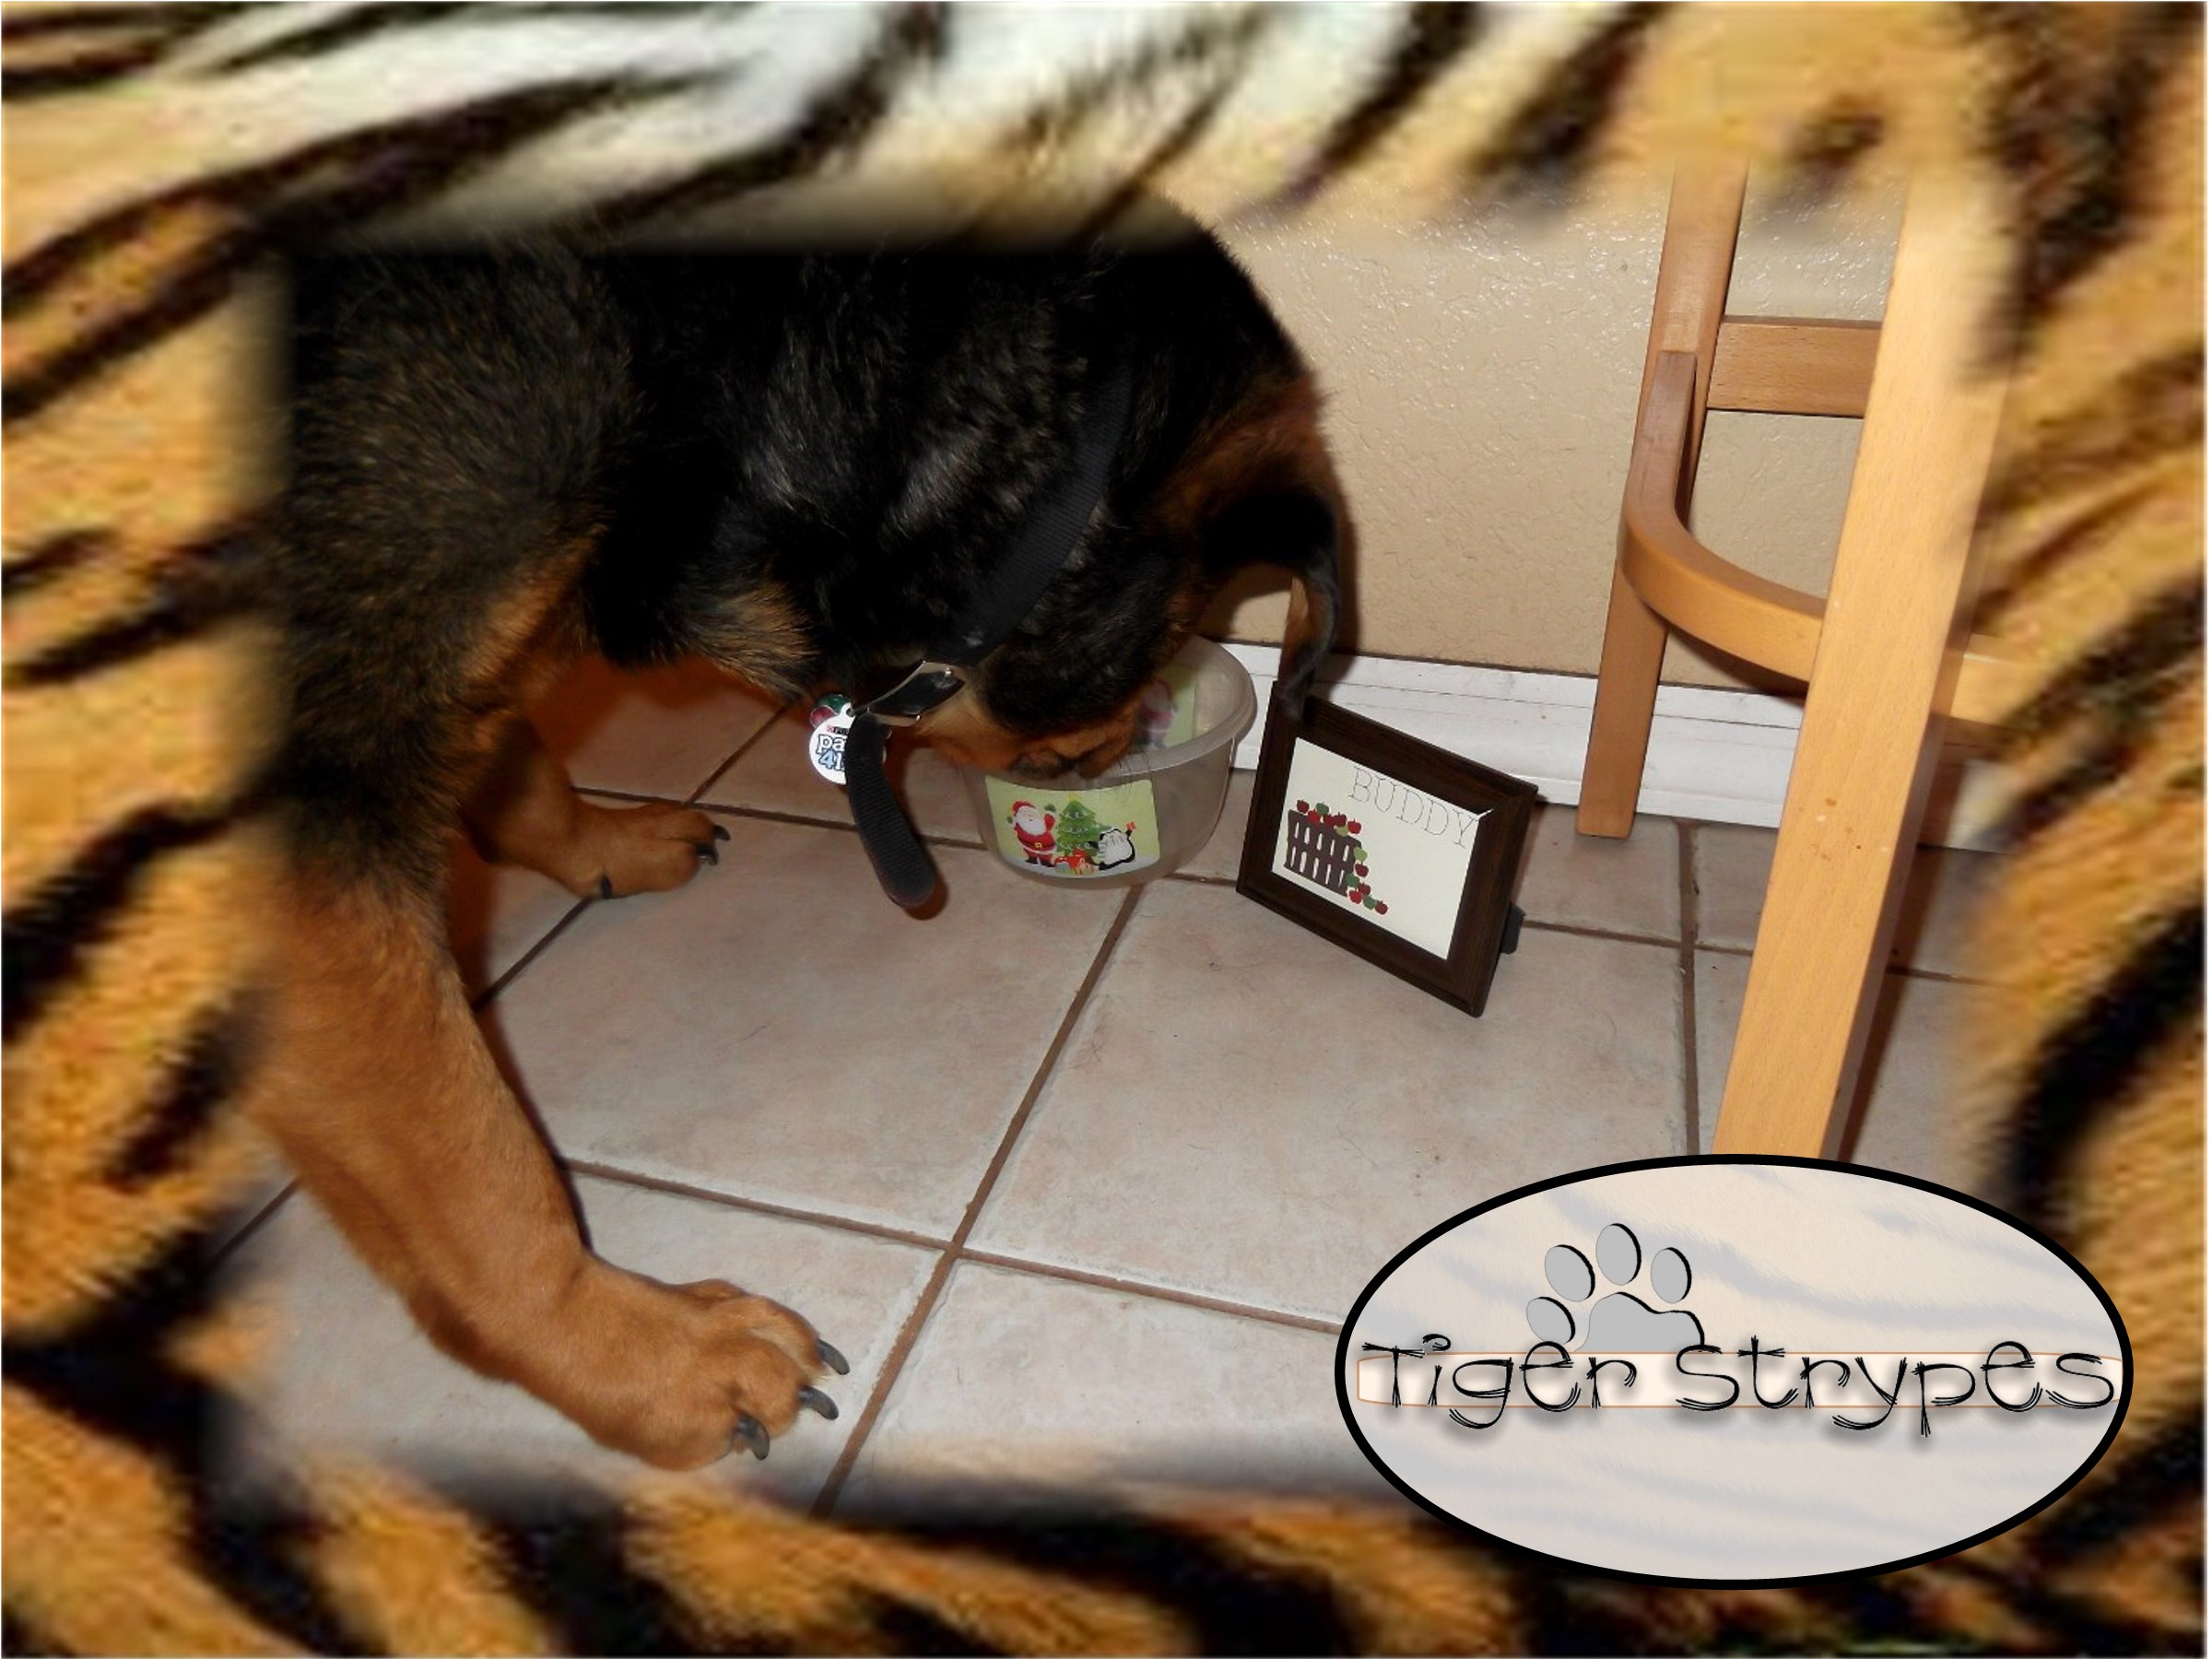
Now, just arrange them on your table, as needed! These would be great for people to take home with them, as well, after the party!
Hope you like it! Please take a minute to leave me a comment and let me know what you would do different, or what you would add, etc. Be sure to tweet, pin, share, etc. – thanks!!
All pictures and text are my own and have not been copied in any way. I, Jamie Tomkins, own and operate Tiger Strypes Blog located at www.TigerStrypes.com. From time to time you’ll hear about my real life experiences or creations with products and/or services from companies and individuals. Let it be known that I have no affiliation with these said companies, and have not received compensation for reviewing or using their service/product. The information that I give regarding the product/service is based off my own personal experience, I do not guarantee that your experience will be the same.
PLEASE SHARE THIS POST USING THE OPTIONS BELOW…THANKS!!
*****************************************************************************************************


Adorable idea! Such a fun way to set places for a holiday dinner. Those would make adorable placemats laminated as well. Thanks for sharing.
These are so cute! I love that you made one for the dog, silly! haha!
Jen, Buddy would have been jealous if only we had one!! ha/ha
OH MY GOODNESS! These are THE CUTEST! Where did you get your little frames? Absolutely ADORABLE!
Thanks Rose!! I got the frames at Dollar Tree, so I didn’t have to spend a lot!! 🙂