This site contains affiliate links. Please see below for more information.
Valentine’s Day String Art Card
#DIY #Craft #ValentinesDay #Valentine
It’s hard to believe that it’s already February and we’re planning for Valentine’s Day. If you’re like me, the holiday really doesn’t mean anything more than not having to cook, and being able to go out to dinner! This year, we actually have tickets to see a Frankie Valli tribute concert at our local Hon-Dah casino. My husband and I are going, and taking his Mom and a friend of hers to enjoy. It should be fun. Other than that, my husband and I usually give each other a card, and maybe candy. Nothing special. I guess when you’ve been married for 23 years, these holidays really don’t mean what they did when we were dating. Do you agree?
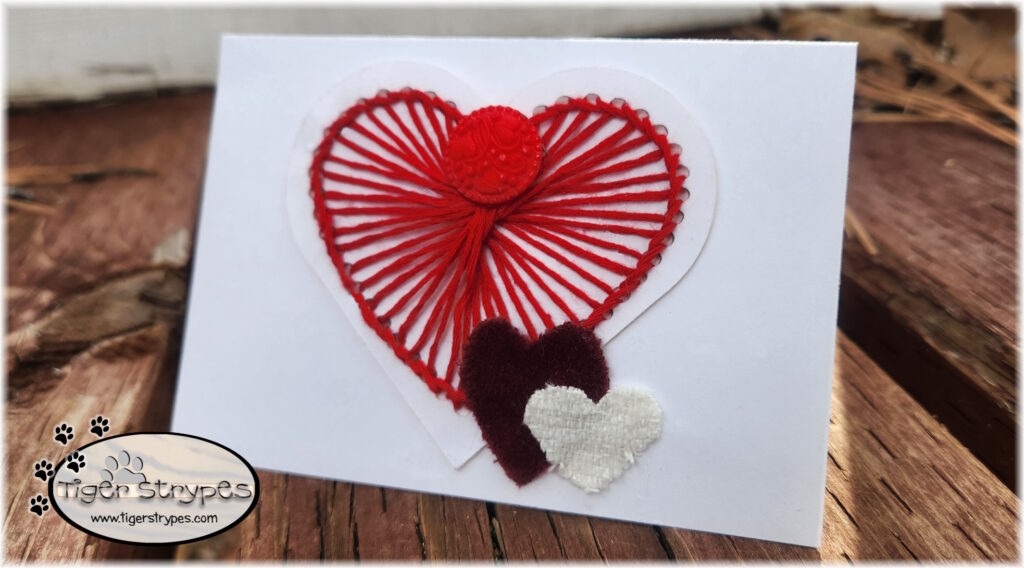
I love doing string art crafts, and thought that this would be an alternate way to do it. This looked like a fun way to try it, instead of using nails, a piece of wood and praying that the string doesn’t come off, halfway before you’re done! It was pretty easy and could be changed up however you want. I decided to add some fabric cut outs, just for a bit of flair!
I hope you enjoy this craft idea, or know someone who would. If you end up making one, be sure and share a photo on my FB page, with what you come up with. I’d love to see it! I sure hope that you like the tutorial, and pray that you have a blessed day!
Please be sure to comment, and share this craft on your social media channels – thanks so much!!
Celebrate #ValentinesDay with a #StringArt greeting card. Fun way to bring a smile and share your love! #Craft #DIY via #TigerStrypesBlog - Find out more at Share on X
Materials/Tools Used:
- Cardstock
- Needlepoint Floss
- Material Scraps
- Cricut
- Envelope
- & Time!
Instructions for the Valentine’s Day String Art:
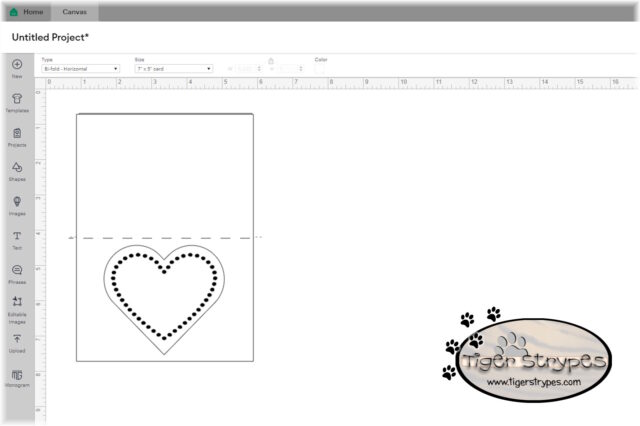
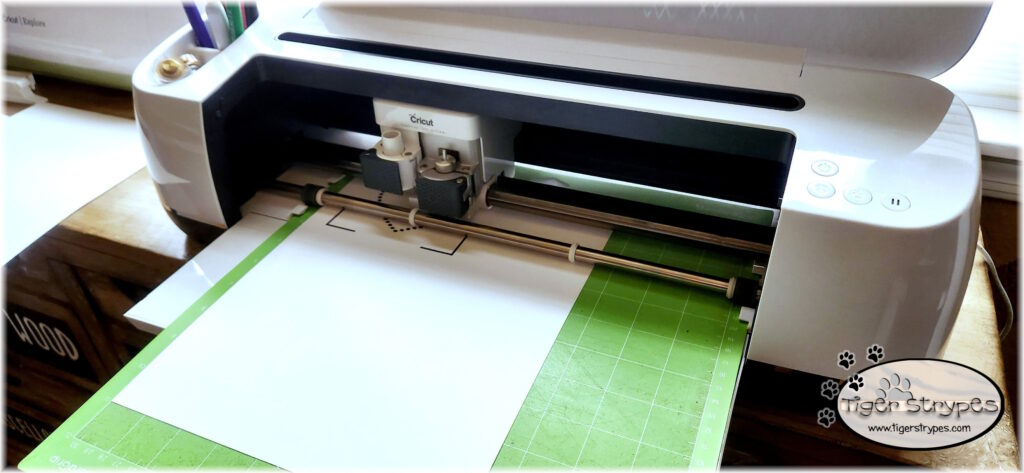
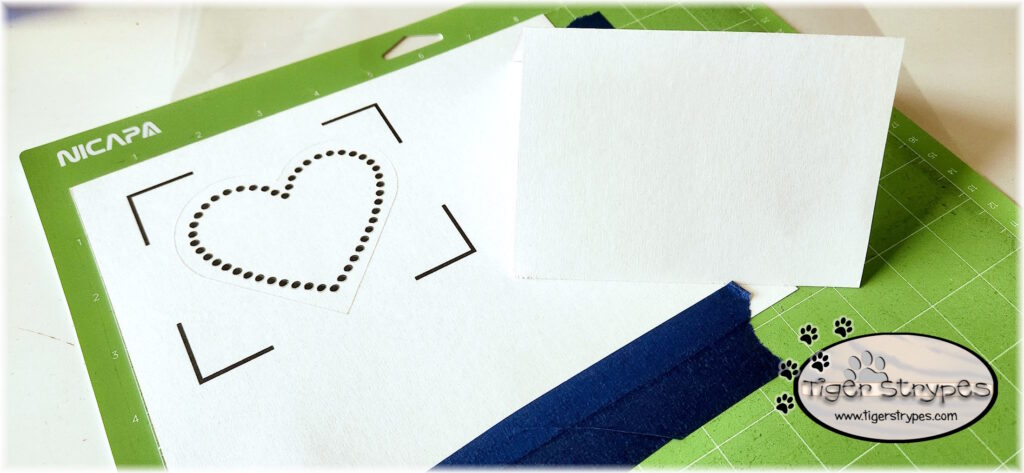
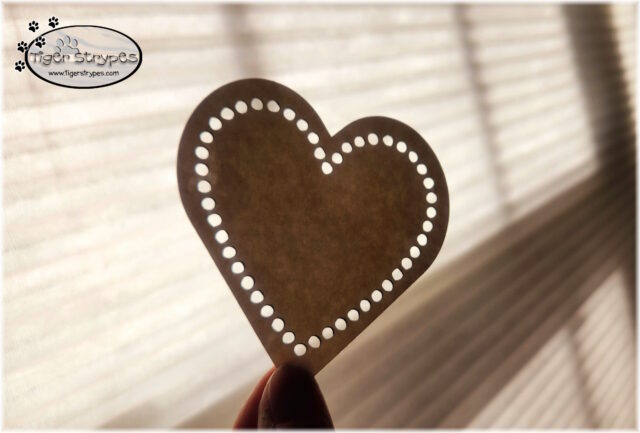
Start by using your Cricut or other cutting machine to make the card portion and heart cutout template. I layered everything online to verify size, etc. I didn’t know that the dots were going to cut out, but it turned out perfectly and I didn’t have to worry about using enough thread to cover the marks.
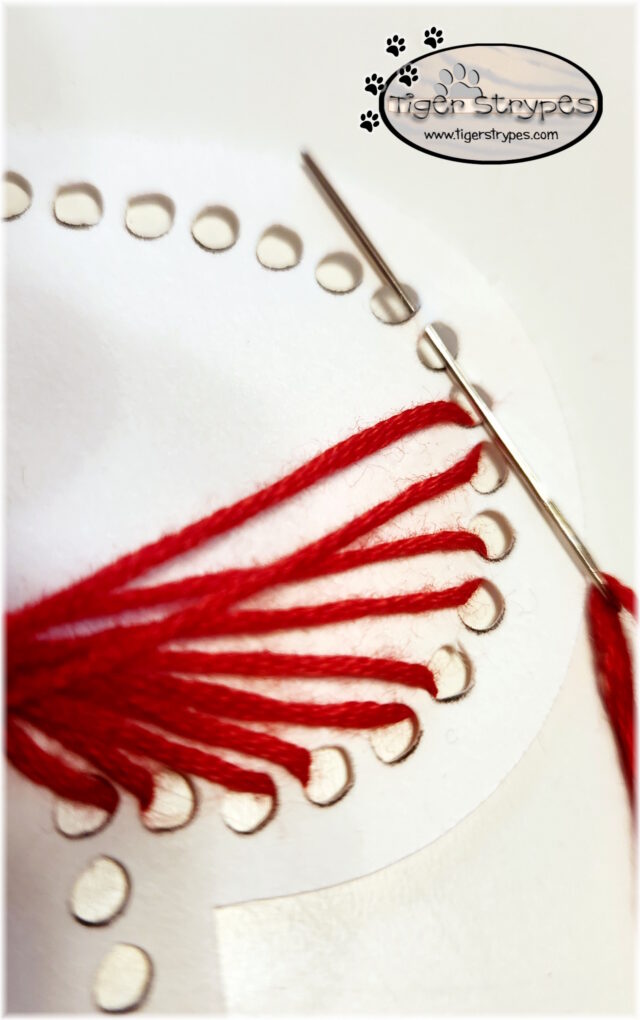
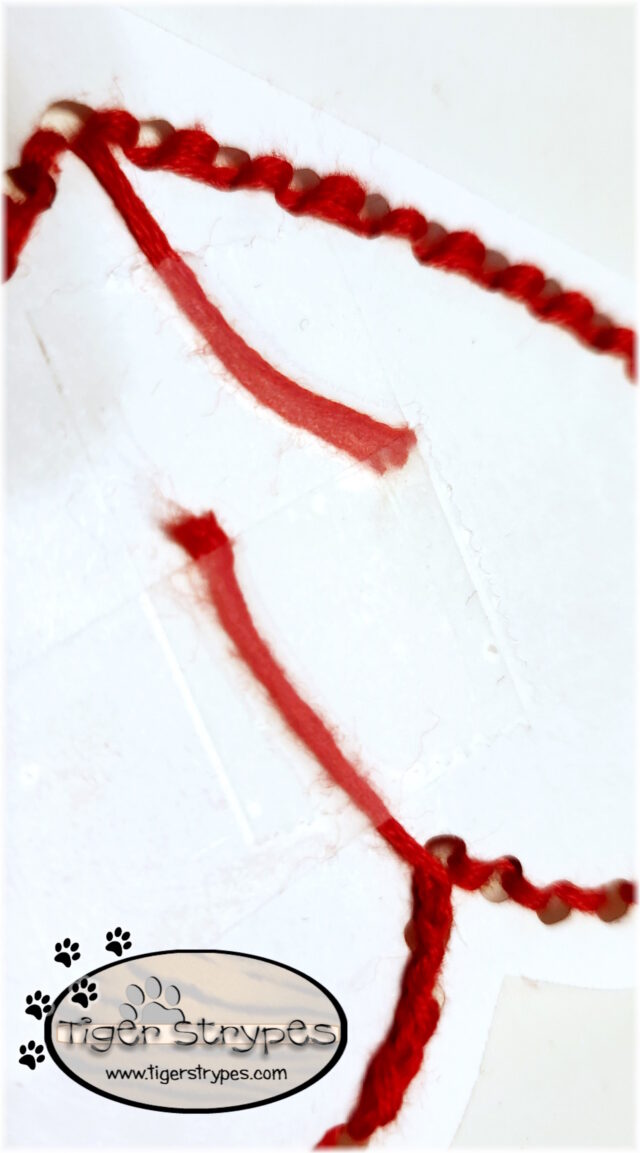
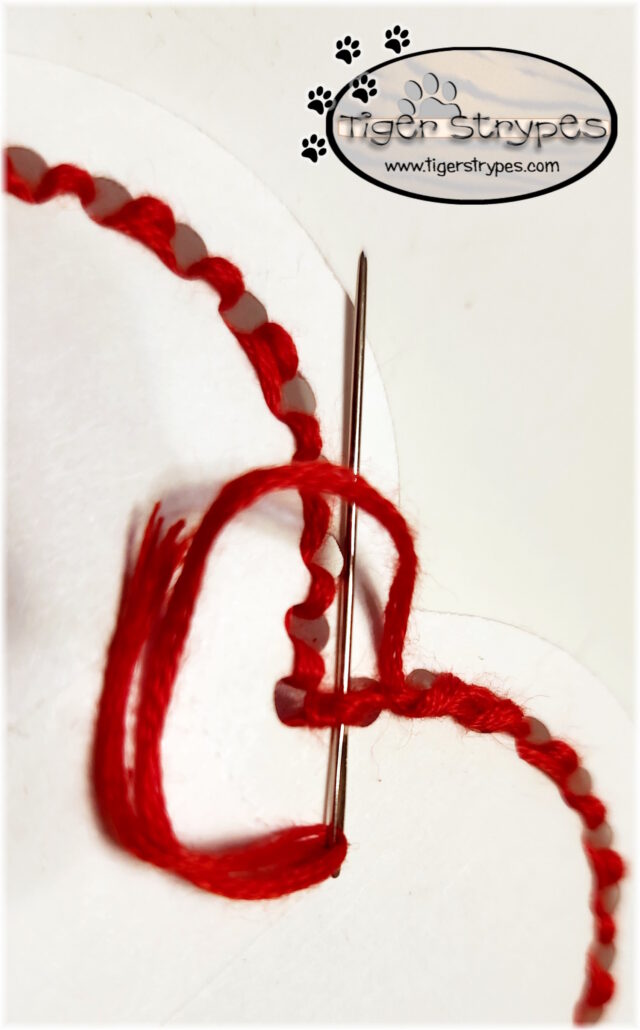
When everything is cut out, grab some floss or yarn and get ready to start “stitching.” I have so much leftover cross-stitch thread, I love finding projects that can use up some of that. This was perfect. I started from the bottom hole of the heart. Pull your needle to the front side from the back side, pulling the thread almost completely through. Tape a bit to the back to secure it. You’ll do this on both ends to complete it.
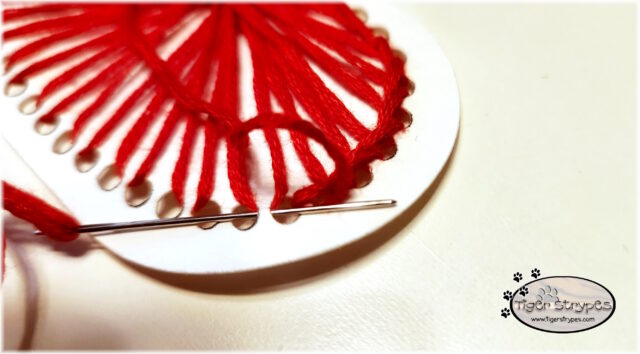
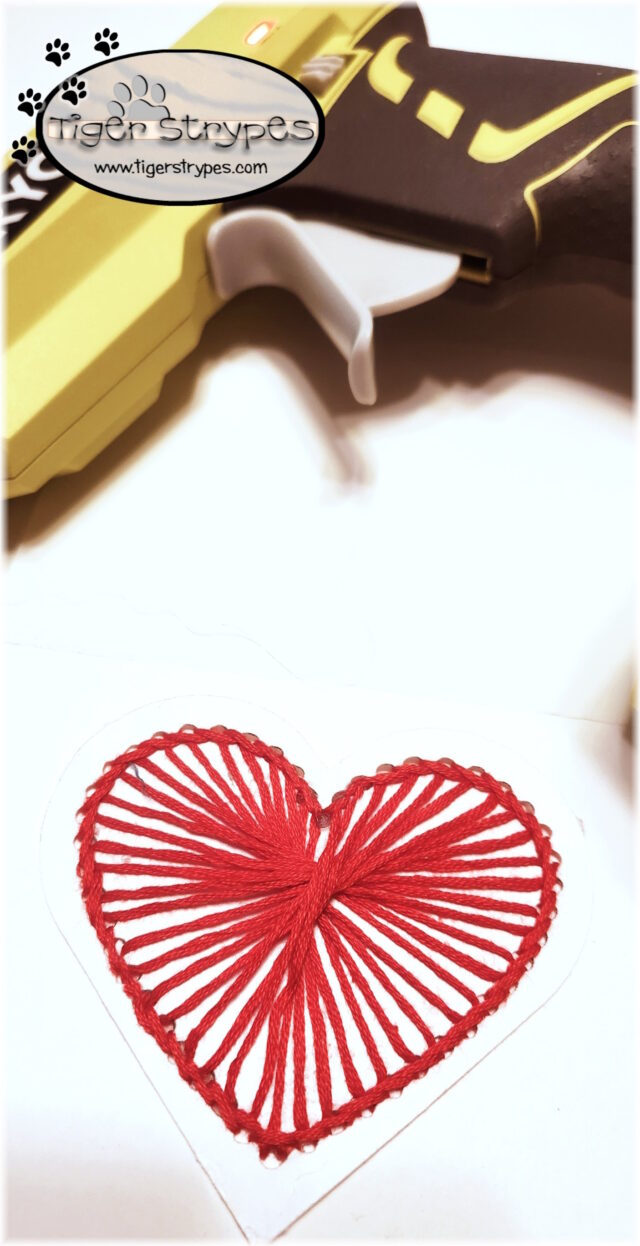
Next, draw your thread to the hole opposite to the one you’re at and pull it through to the back. Now pull your needle out the front, from the hole that is next to your current one (doesn’t matter which side). Continue these steps, until back to the original hole. Then like in the photo above, you can secure your end piece and trim it off completely.
When the heart is done, you can add a frame to it, if you’d like. It’s fine being just the heart, but I love a bit of flair with an edge. Just do a type of straight stitch along the edge.
Now you can end that edge stitch by running it under some others on the back, trimming it and then adding tape.
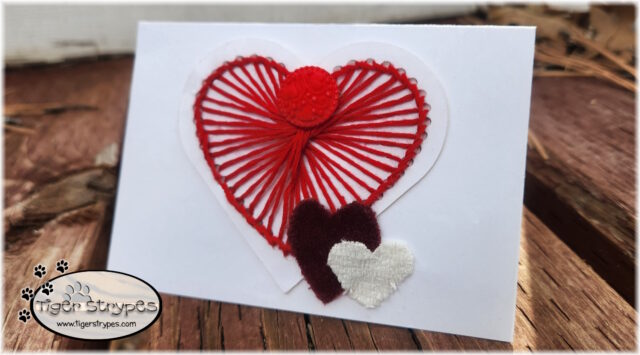
It’s time to attach it to the card. Just use your glue gun, or any type of glue to adhere it to the card cutout that you did. You could put it wherever you want, so no set spot is needed. It’s hard to see the white card in the picture below (sorry about that).
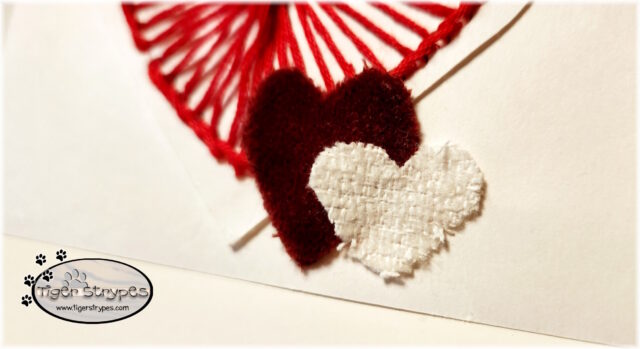
Having some scrap fabric laying around, I decided to cut out some more hearts from that to just add a bit more to the colors, etc. I just glued those on over the heart. I finished with a button on the top, as well.
Now it was ready to write in and send out to my Mom! She said she liked it, so I’m happy. What do you think of this craft? I hope you like it! Please take a minute to leave me a comment on what you would like to create, and maybe if you have any tips on how to do it different, or better!
Be sure to tweet, pin, share, etc. – thanks!!
“…“My heart rejoices in the Lord; in the Lord my horn is lifted high. My mouth boasts over my enemies, for I delight in your deliverance.”–1 Samuel 2:1
PLEASE SHARE THIS POST USING THE OPTIONS BELOW…THANKS!
Affiliate links for Amazon are used on my site. This means that when you click on a link, and make a purchase, I earn a commission for that purchase. There is no extra charge for you, it’s just their sites way of saying thank you for helping them get a customer. I use affiliate links to help fund my crafting budget, as well as help provide for our home.



This is so beautiful and I am pinning this post so that I can make this craft next year! It looks gorgeous and I would love this!
Thanks, Melissa!
This is such a creative way to make a card. I love this and would make it next V-Day!
Thanks – it was fun to make!
This is a cute craft idea. I briefly remember doing something like this in school or Girl Scouts. It’s been a while since I’ve done any crafting due to time. Maybe I’ll try this but with a 4 leaf clover since Valentine’s Day has already passed.
I think we did it with shoelaces in like 1st grade. Old school crafting, right?
It does look nice for framing. Perfect for the holiday where everyone is all about the hearts. 🙂
That might be a good idea to frame one. Hmmm….
that is such a cute diy idea for Valentine’s.. i recall making similar string crafts as a kid myself and then later with my own kids..
This is such a cute idea for a homemade Valentine’s card. Sometimes homemade items can be so much nicer than shop bought products. This could be an activity my son could do if I get some rounded needles in. He likes arts and crafts.
What a fantastic idea for a homemade Valentine’s gift! It’s so true, and finding new ways to express love and appreciation becomes even more meaningful.
I am absolutely thrilled at the idea of trying out a Valentine’s Day string art card project next year! The combination of creativity and craftsmanship involved in creating a unique piece of art with string is so intriguing and inspiring. I can already imagine how beautiful and intricate the final result will be, perfect for expressing love and appreciation on Valentine’s Day.
A string art heart is something special and I love the idea of it and it is cute as well.
The string art heart looks absolutely charming, and the addition of fabric cutouts adds a lovely flair.
Thank you. I figured it’s always better to layer. 🙂
The gift is special because you made it yourself.
I figured my Mom would think that, too. 🙂
This is such a fun craft idea. I will have to show my daughter. She will want to make this.
Thanks, Amber – I hope she enjoys it!
My son had a craft at his Valentine’s party today that was a plate with a bunch of hole punches in the shape of a heart. It was so much fun for him! Now I need to try your card and have him try to make this with me, especially since it’s a fun way to use my Cricut and spend quality time with him!
Awww… I love it!!! He’s so talented!