
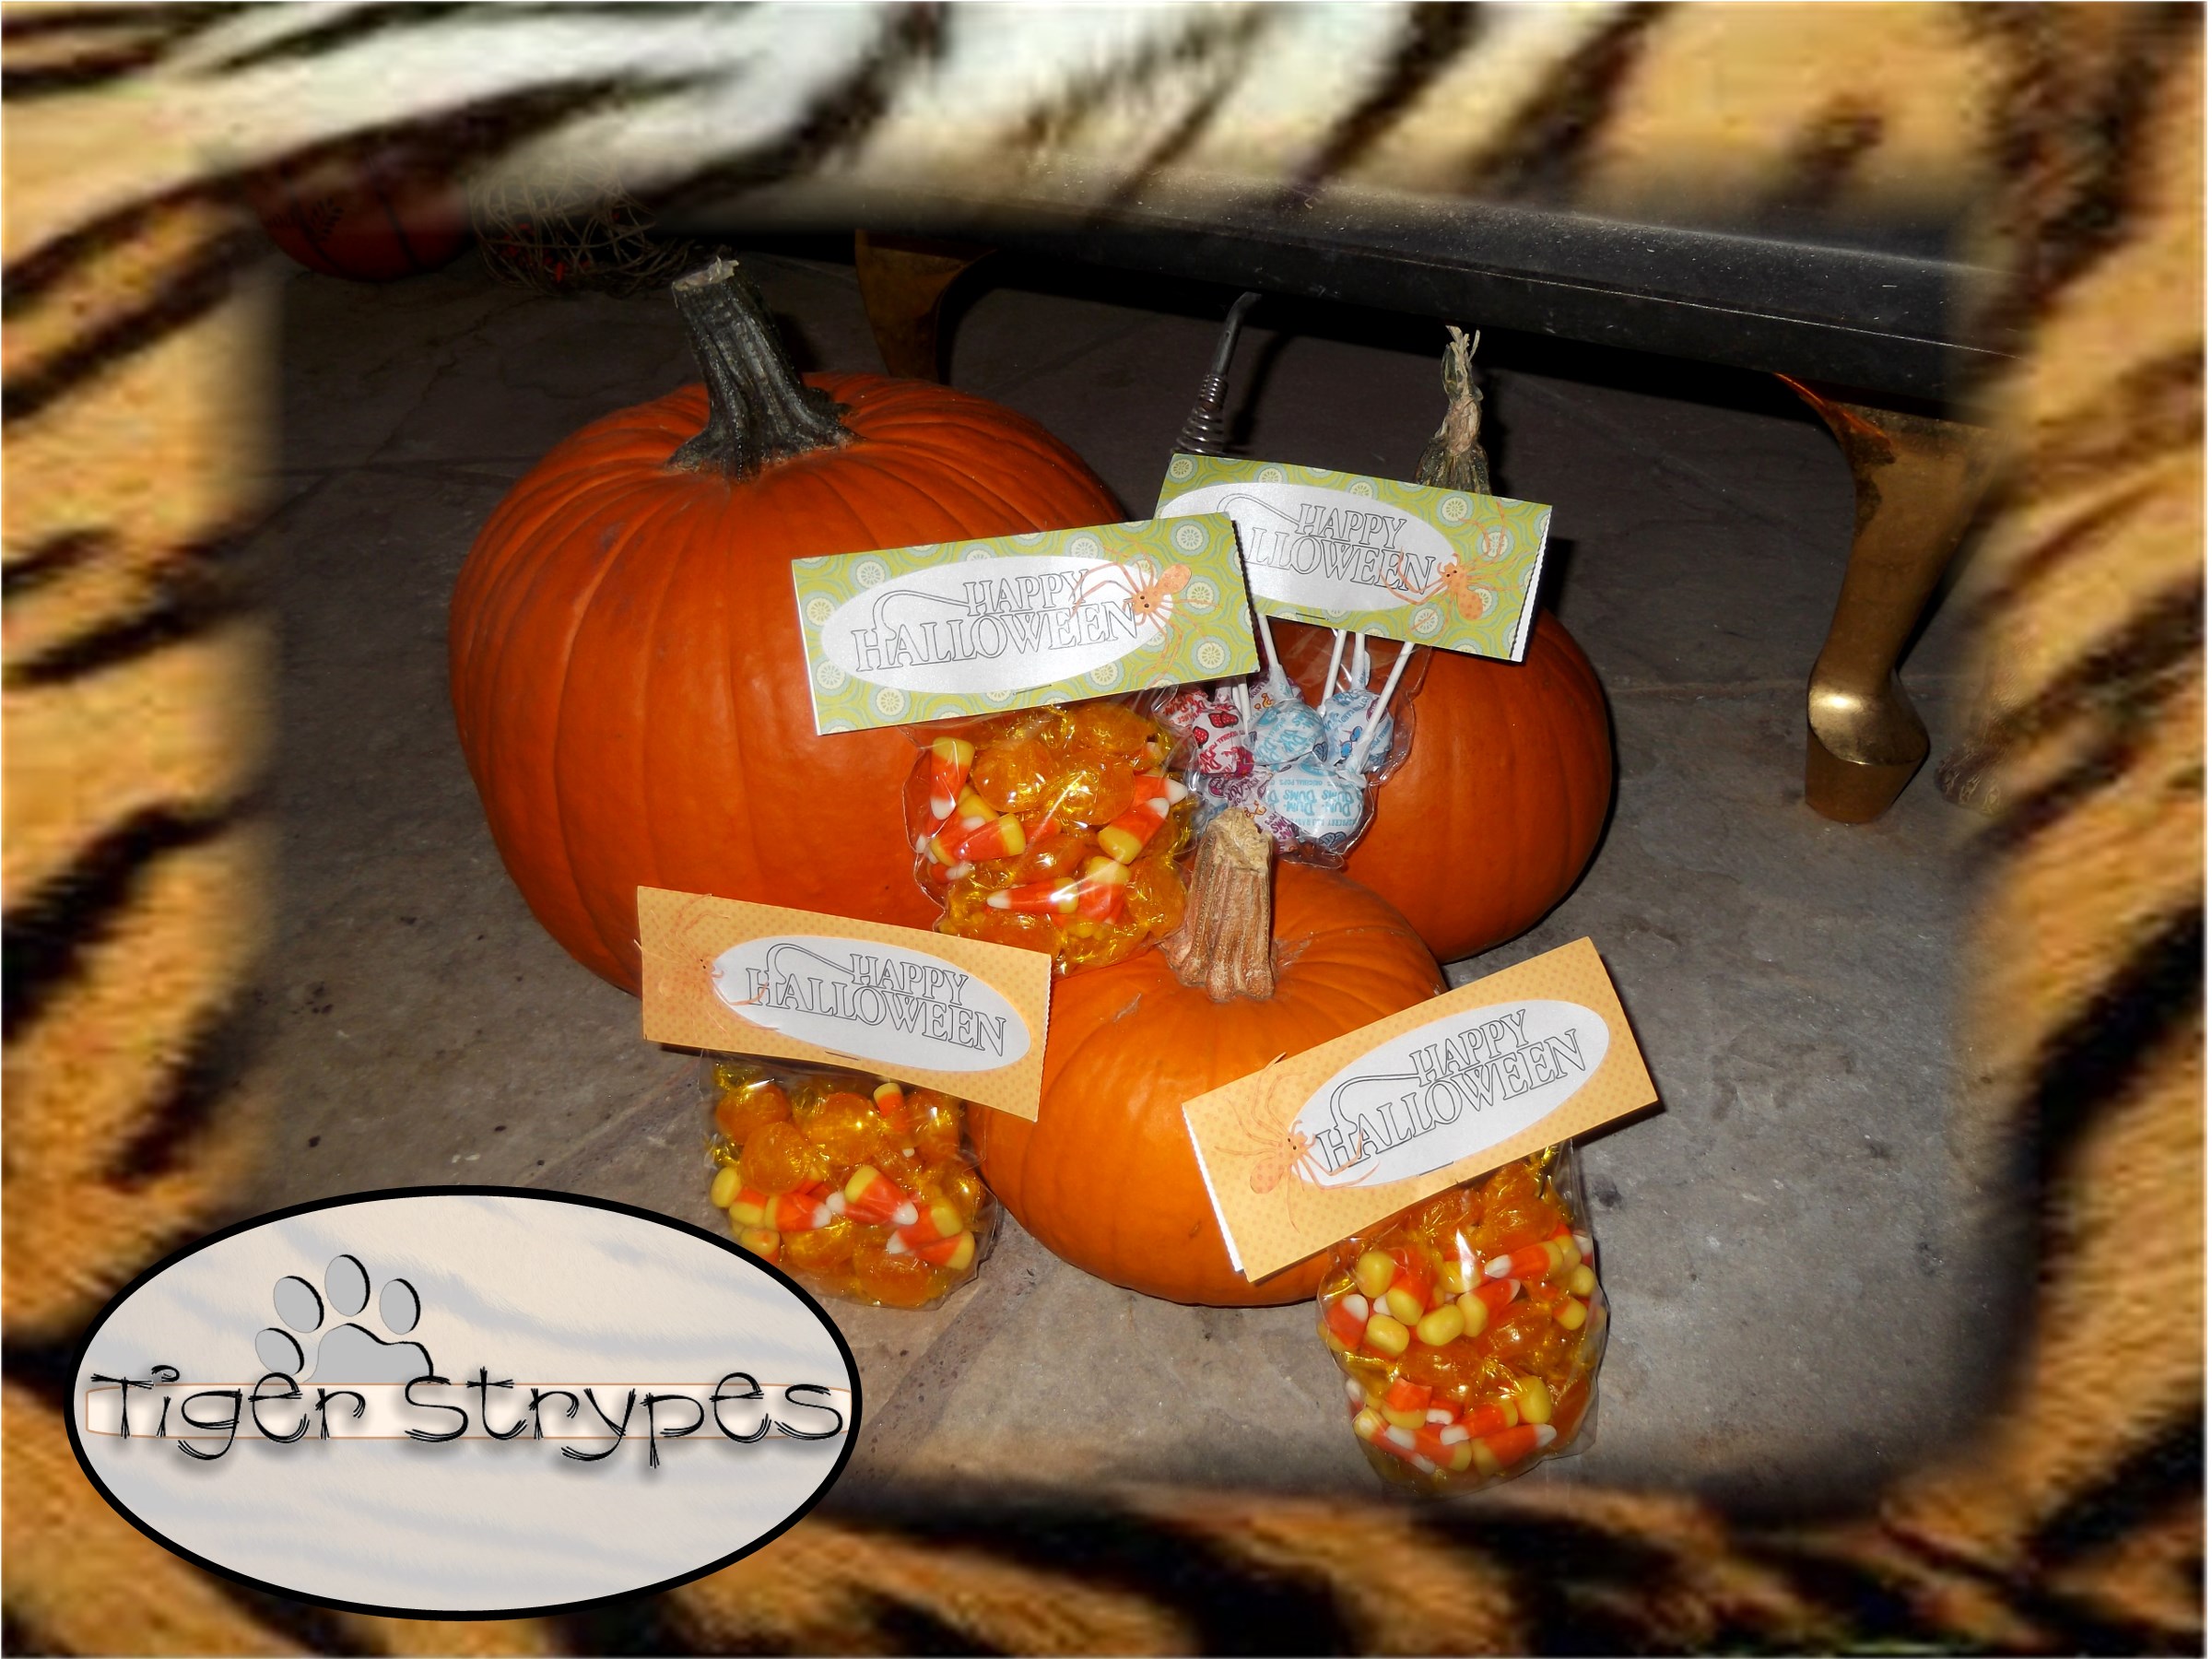
Make Some “Halloween Candy Treat Bags”
I saw something like this on Etsy and pretty much laughed at the price the person was asking. All it was, was a pdf file that you would print out yourself and then attach to a baggie and they wanted like $5.00 EACH!! I got that “I can do that” look on my face and powered up the Silhouette Cameo to design my own.
Like I said in my last post, we live in a very small town, and have only about 4 kids over at our house on Halloween, so we don’t need a huge bucket. I figured making these would make it a bit more special and I could even give something to their Mom’s! I hope you like it!!
“Halloween Candy Treat Bags” Craft
Materials/Tools Needed:
- Spider Pattern from Silhouette (Click Here)
- Text Pattern from Silhouette (Click Here)
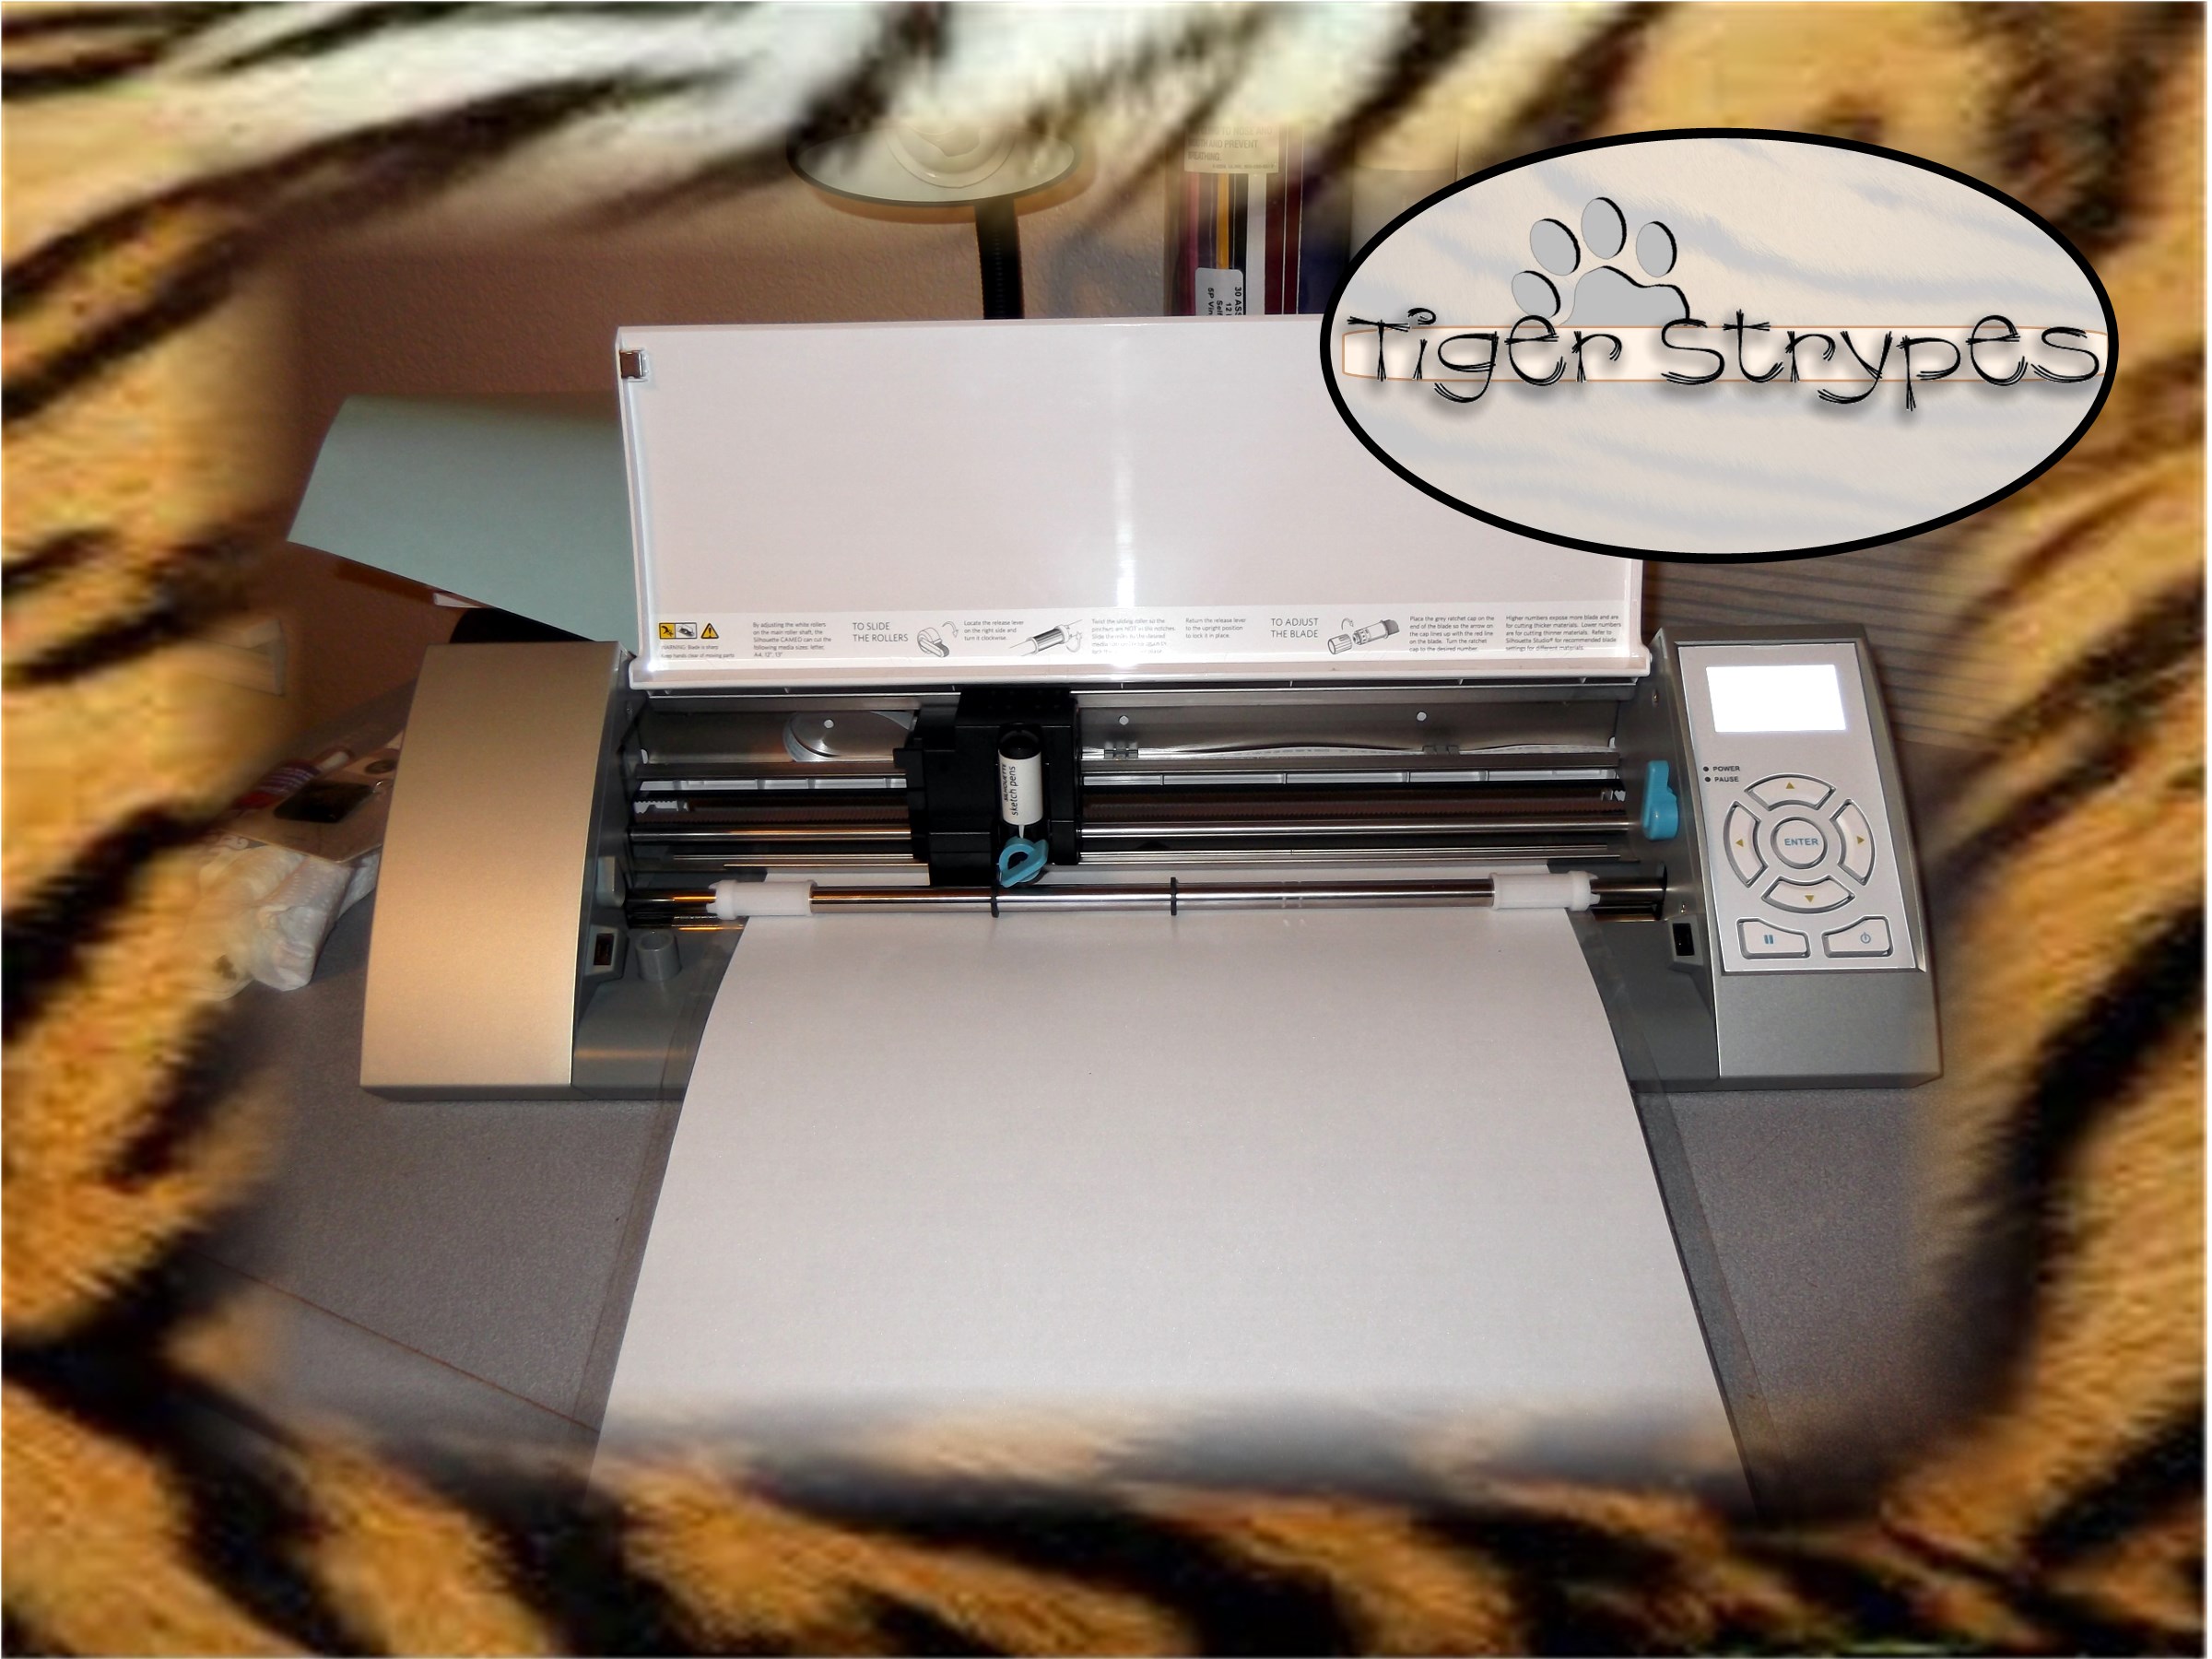
- Silhouette Machine
- Paper/Card Stock (Color of Your Choice)
- Clear Bags
- Glue
- Paper Cutter
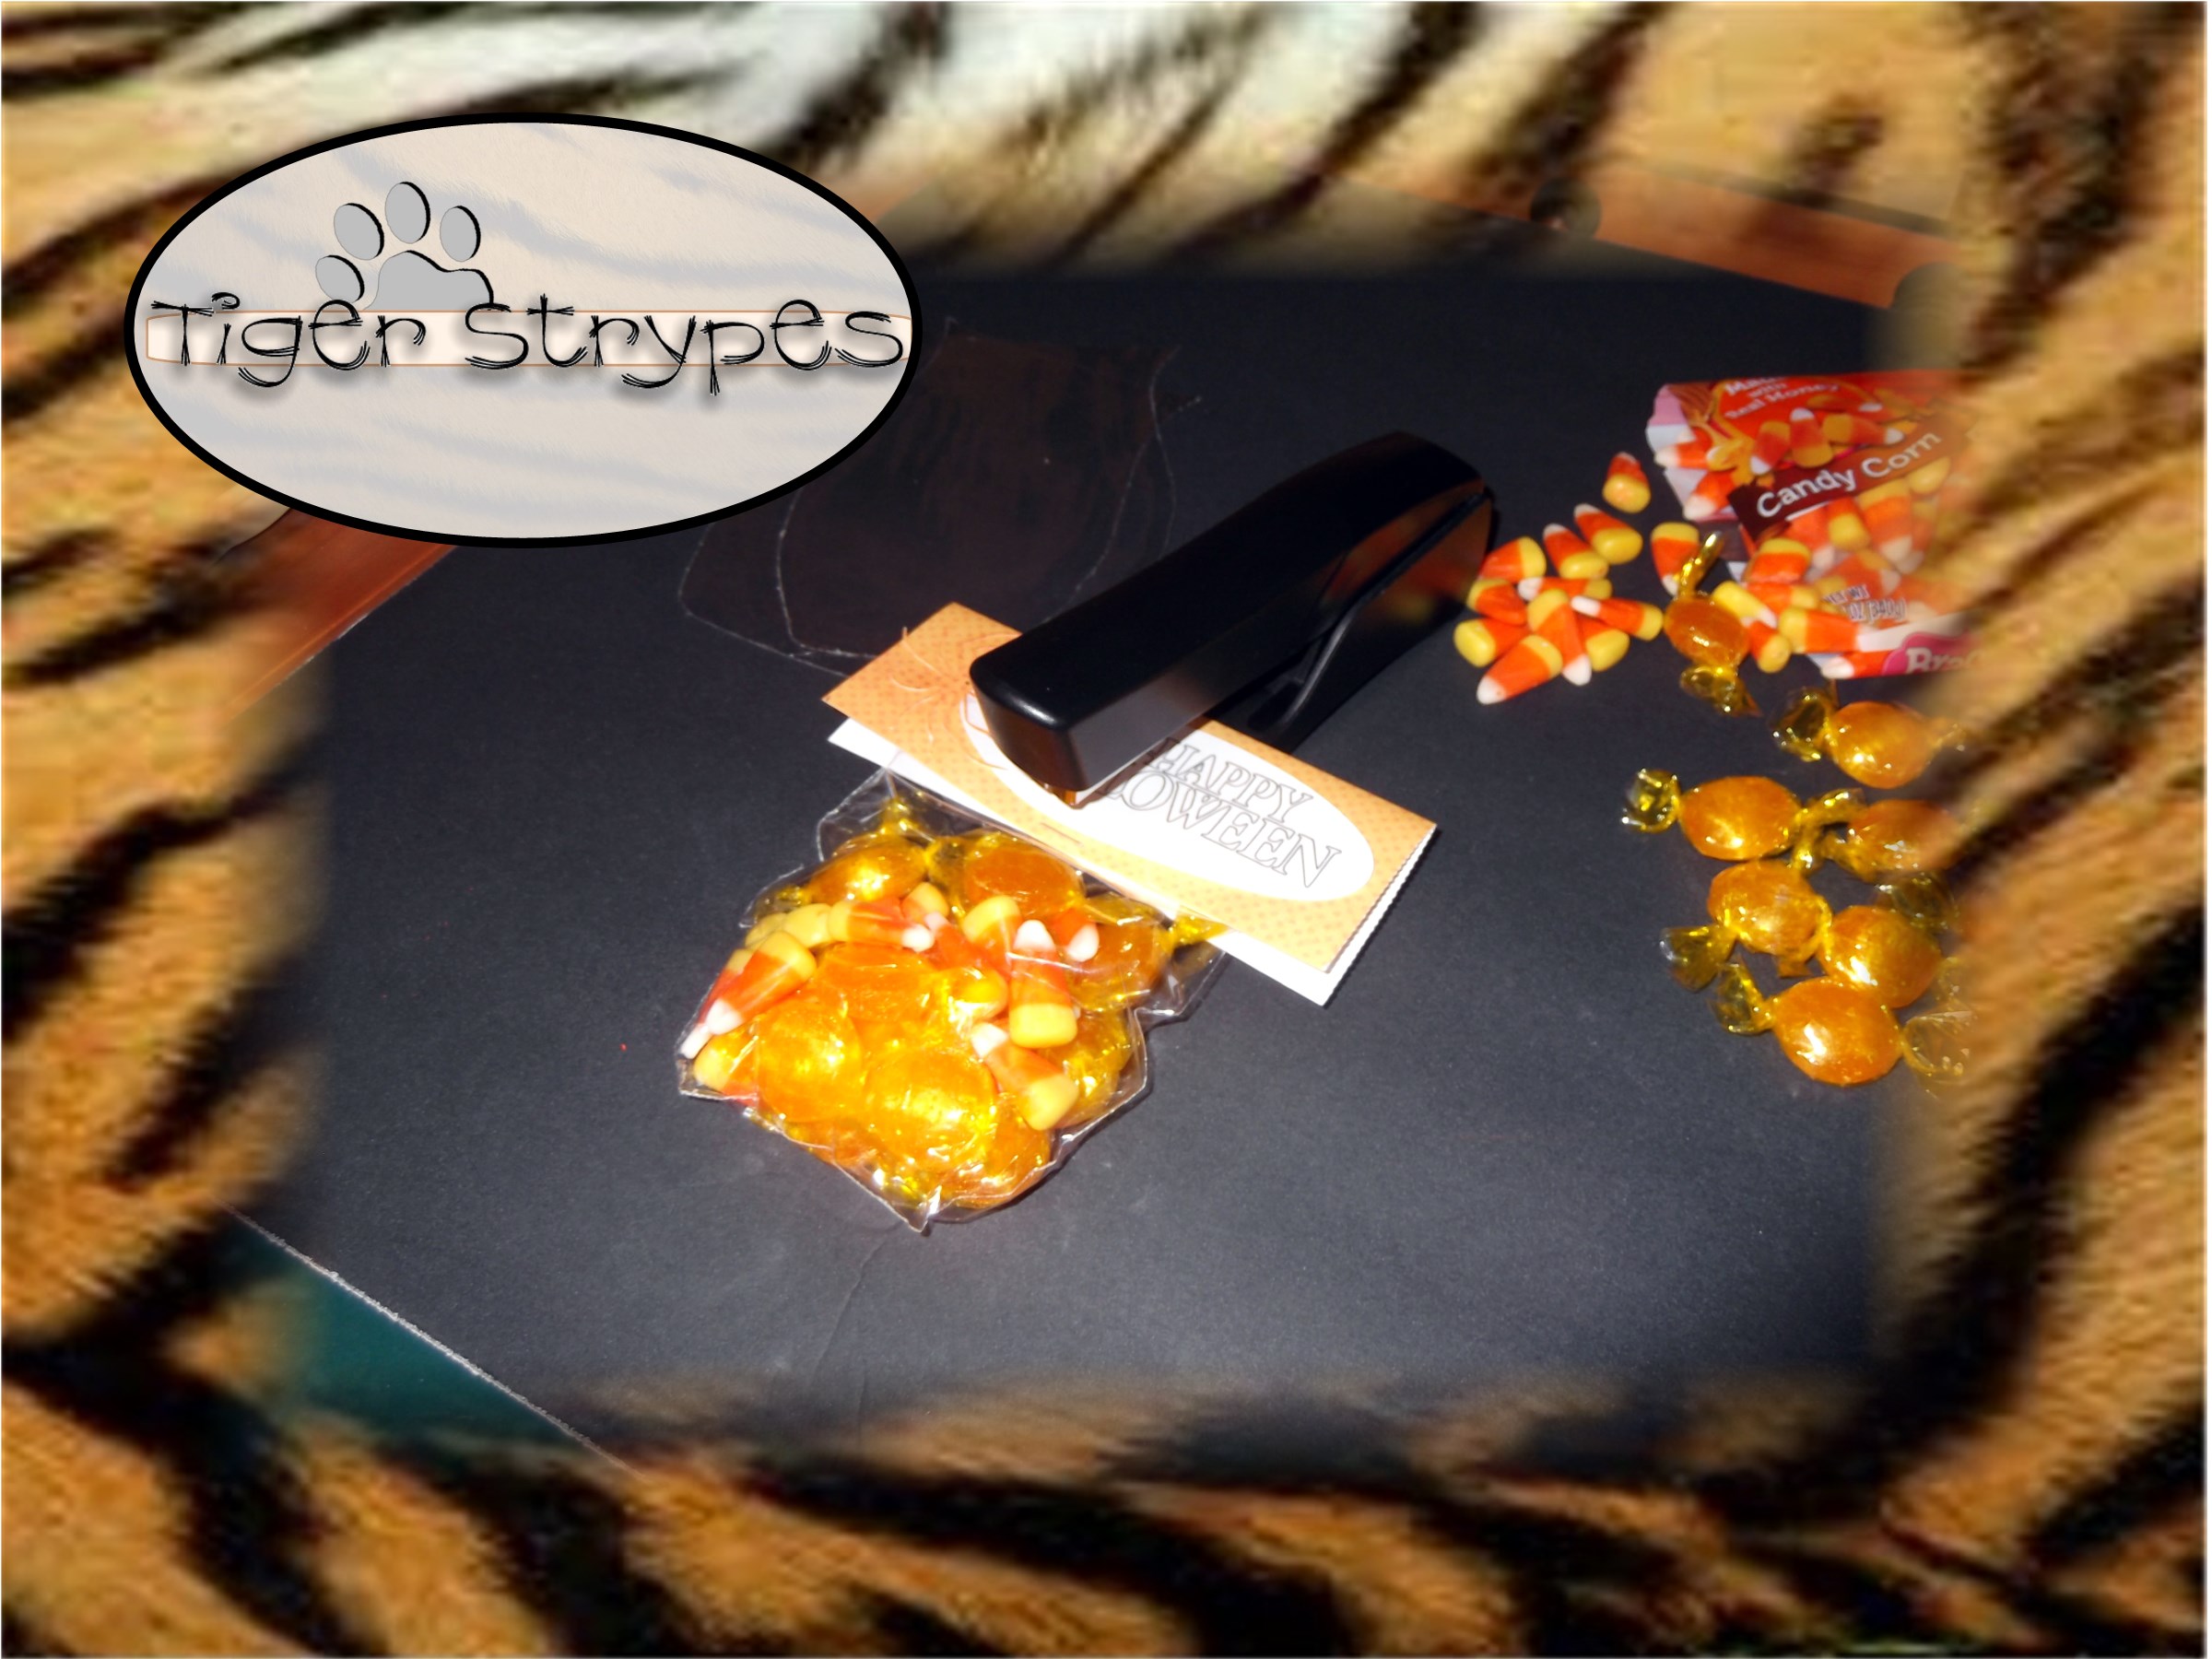
- Stapler
- Candy
- & Time
Instructions:
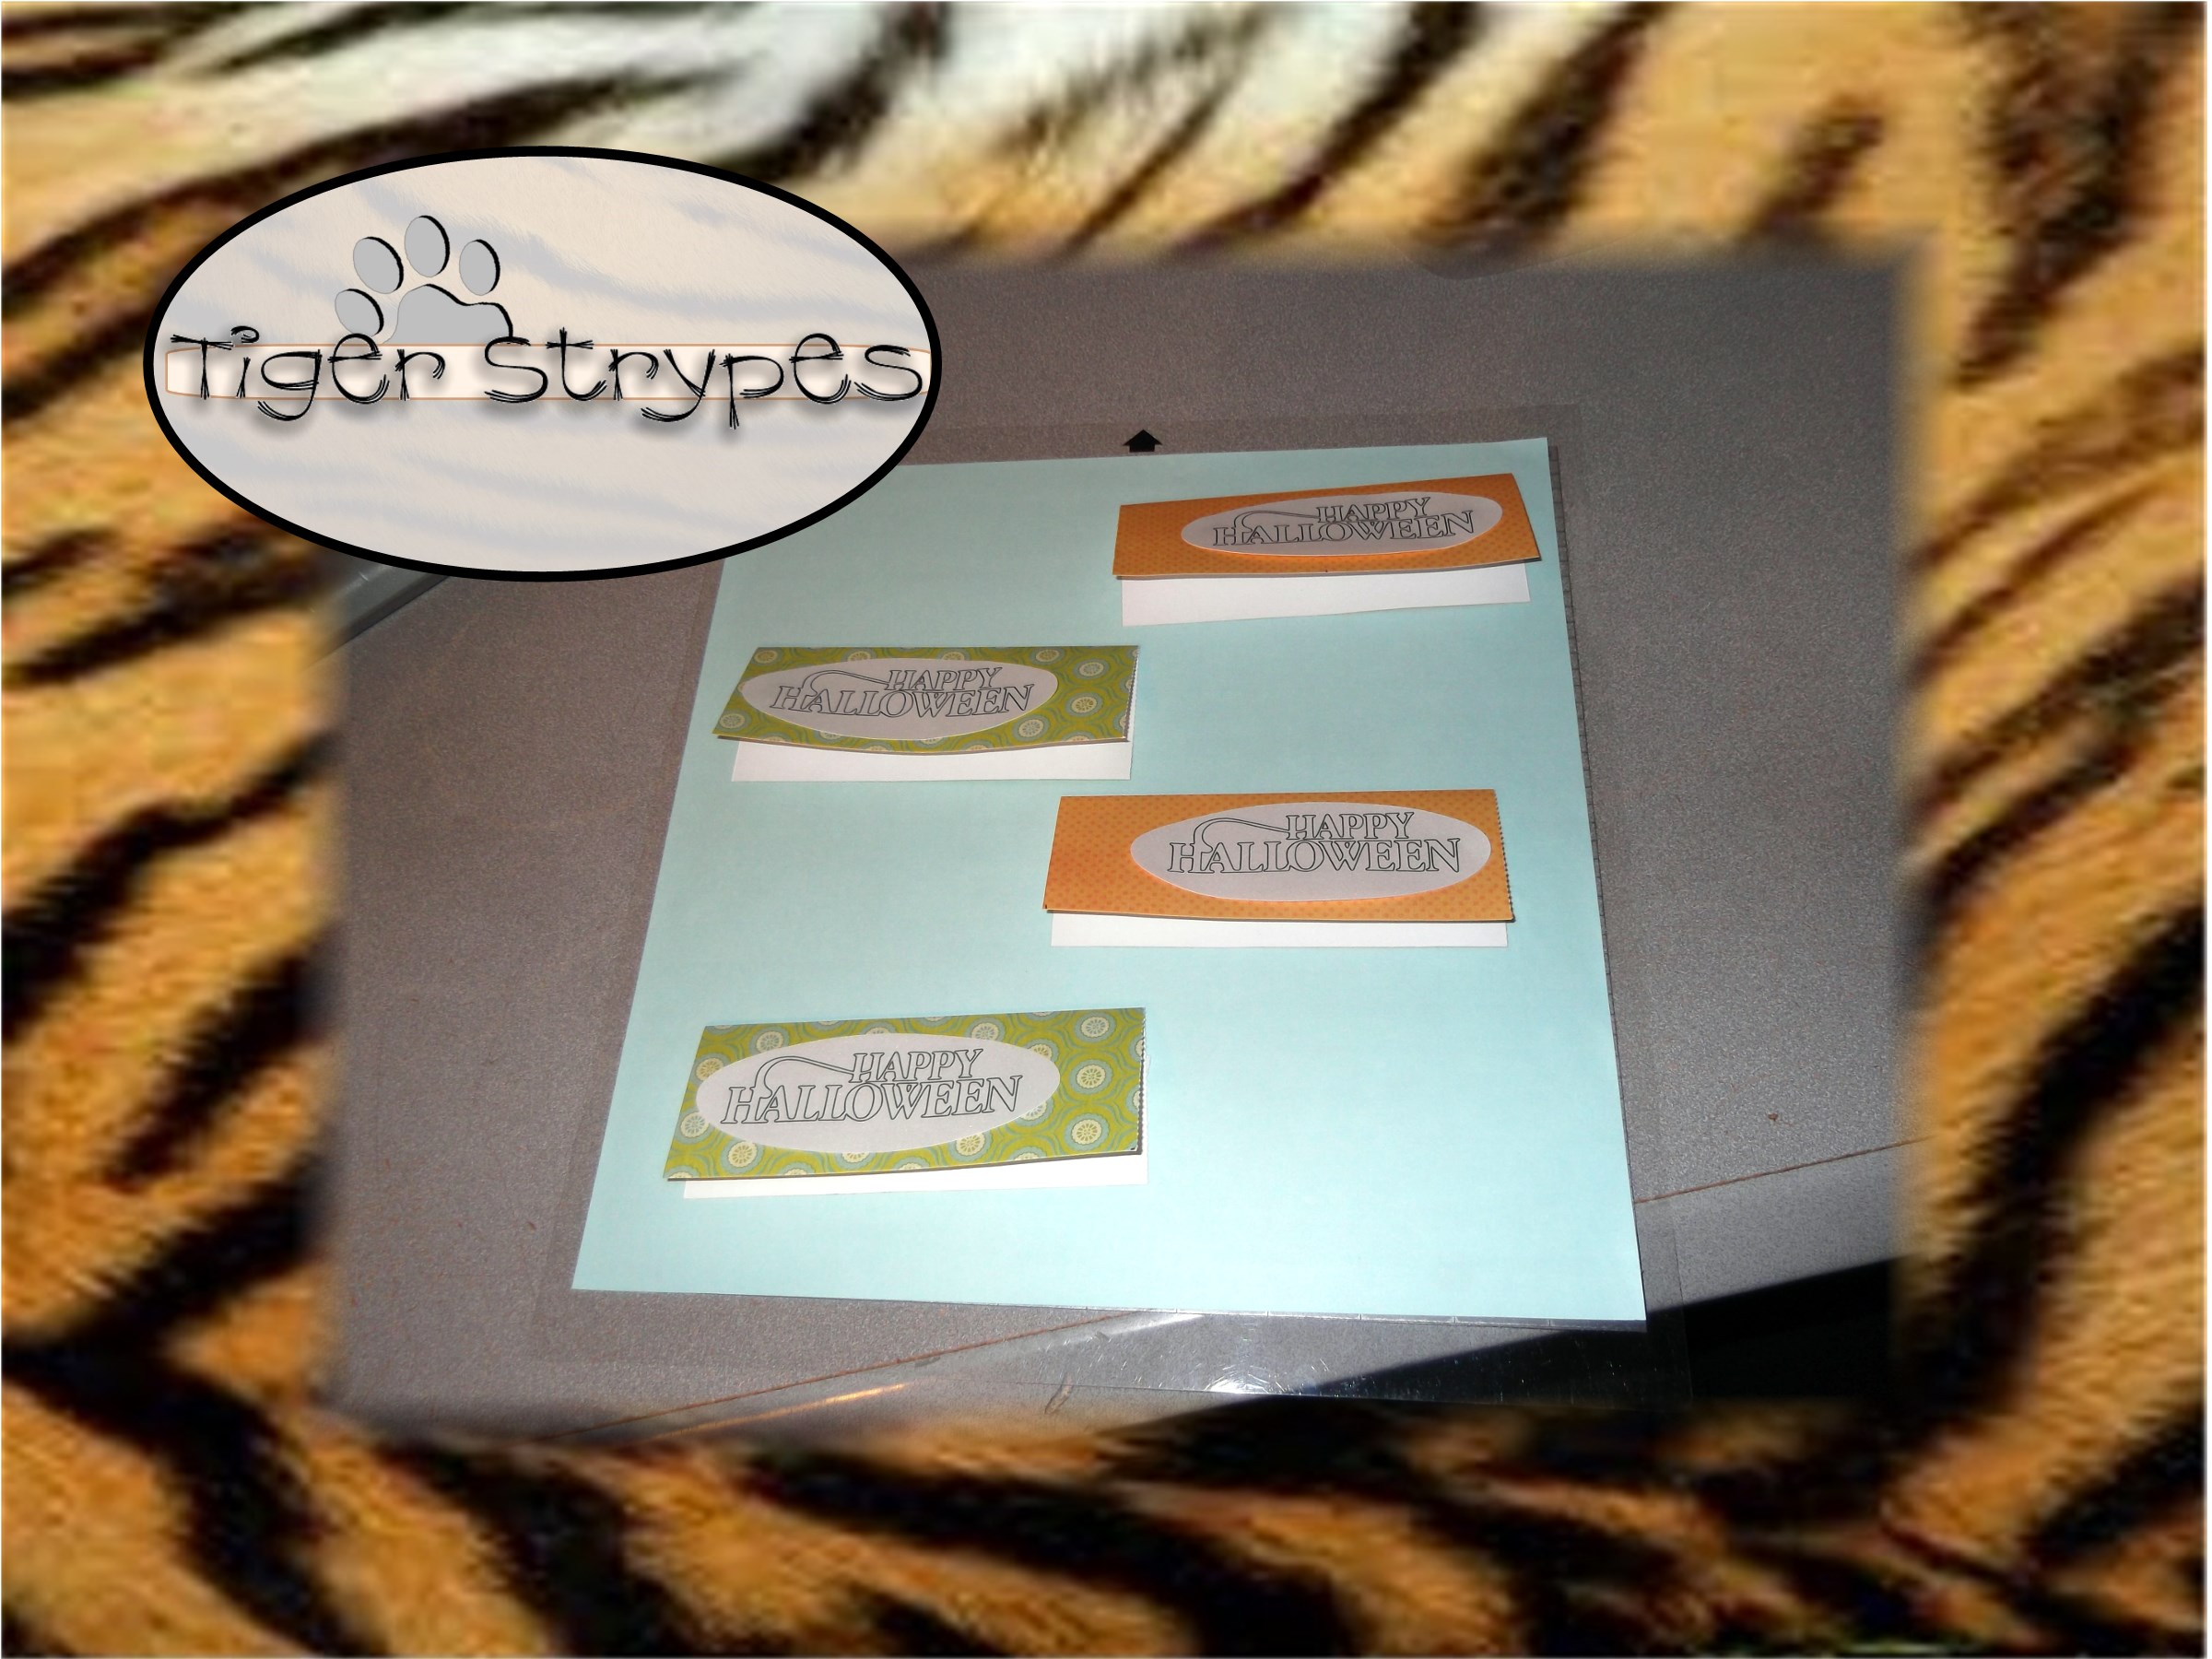
Being by using your paper cutter to cut the paper/card stock to the size needed to be able to fold over evenly over the bag you are using.
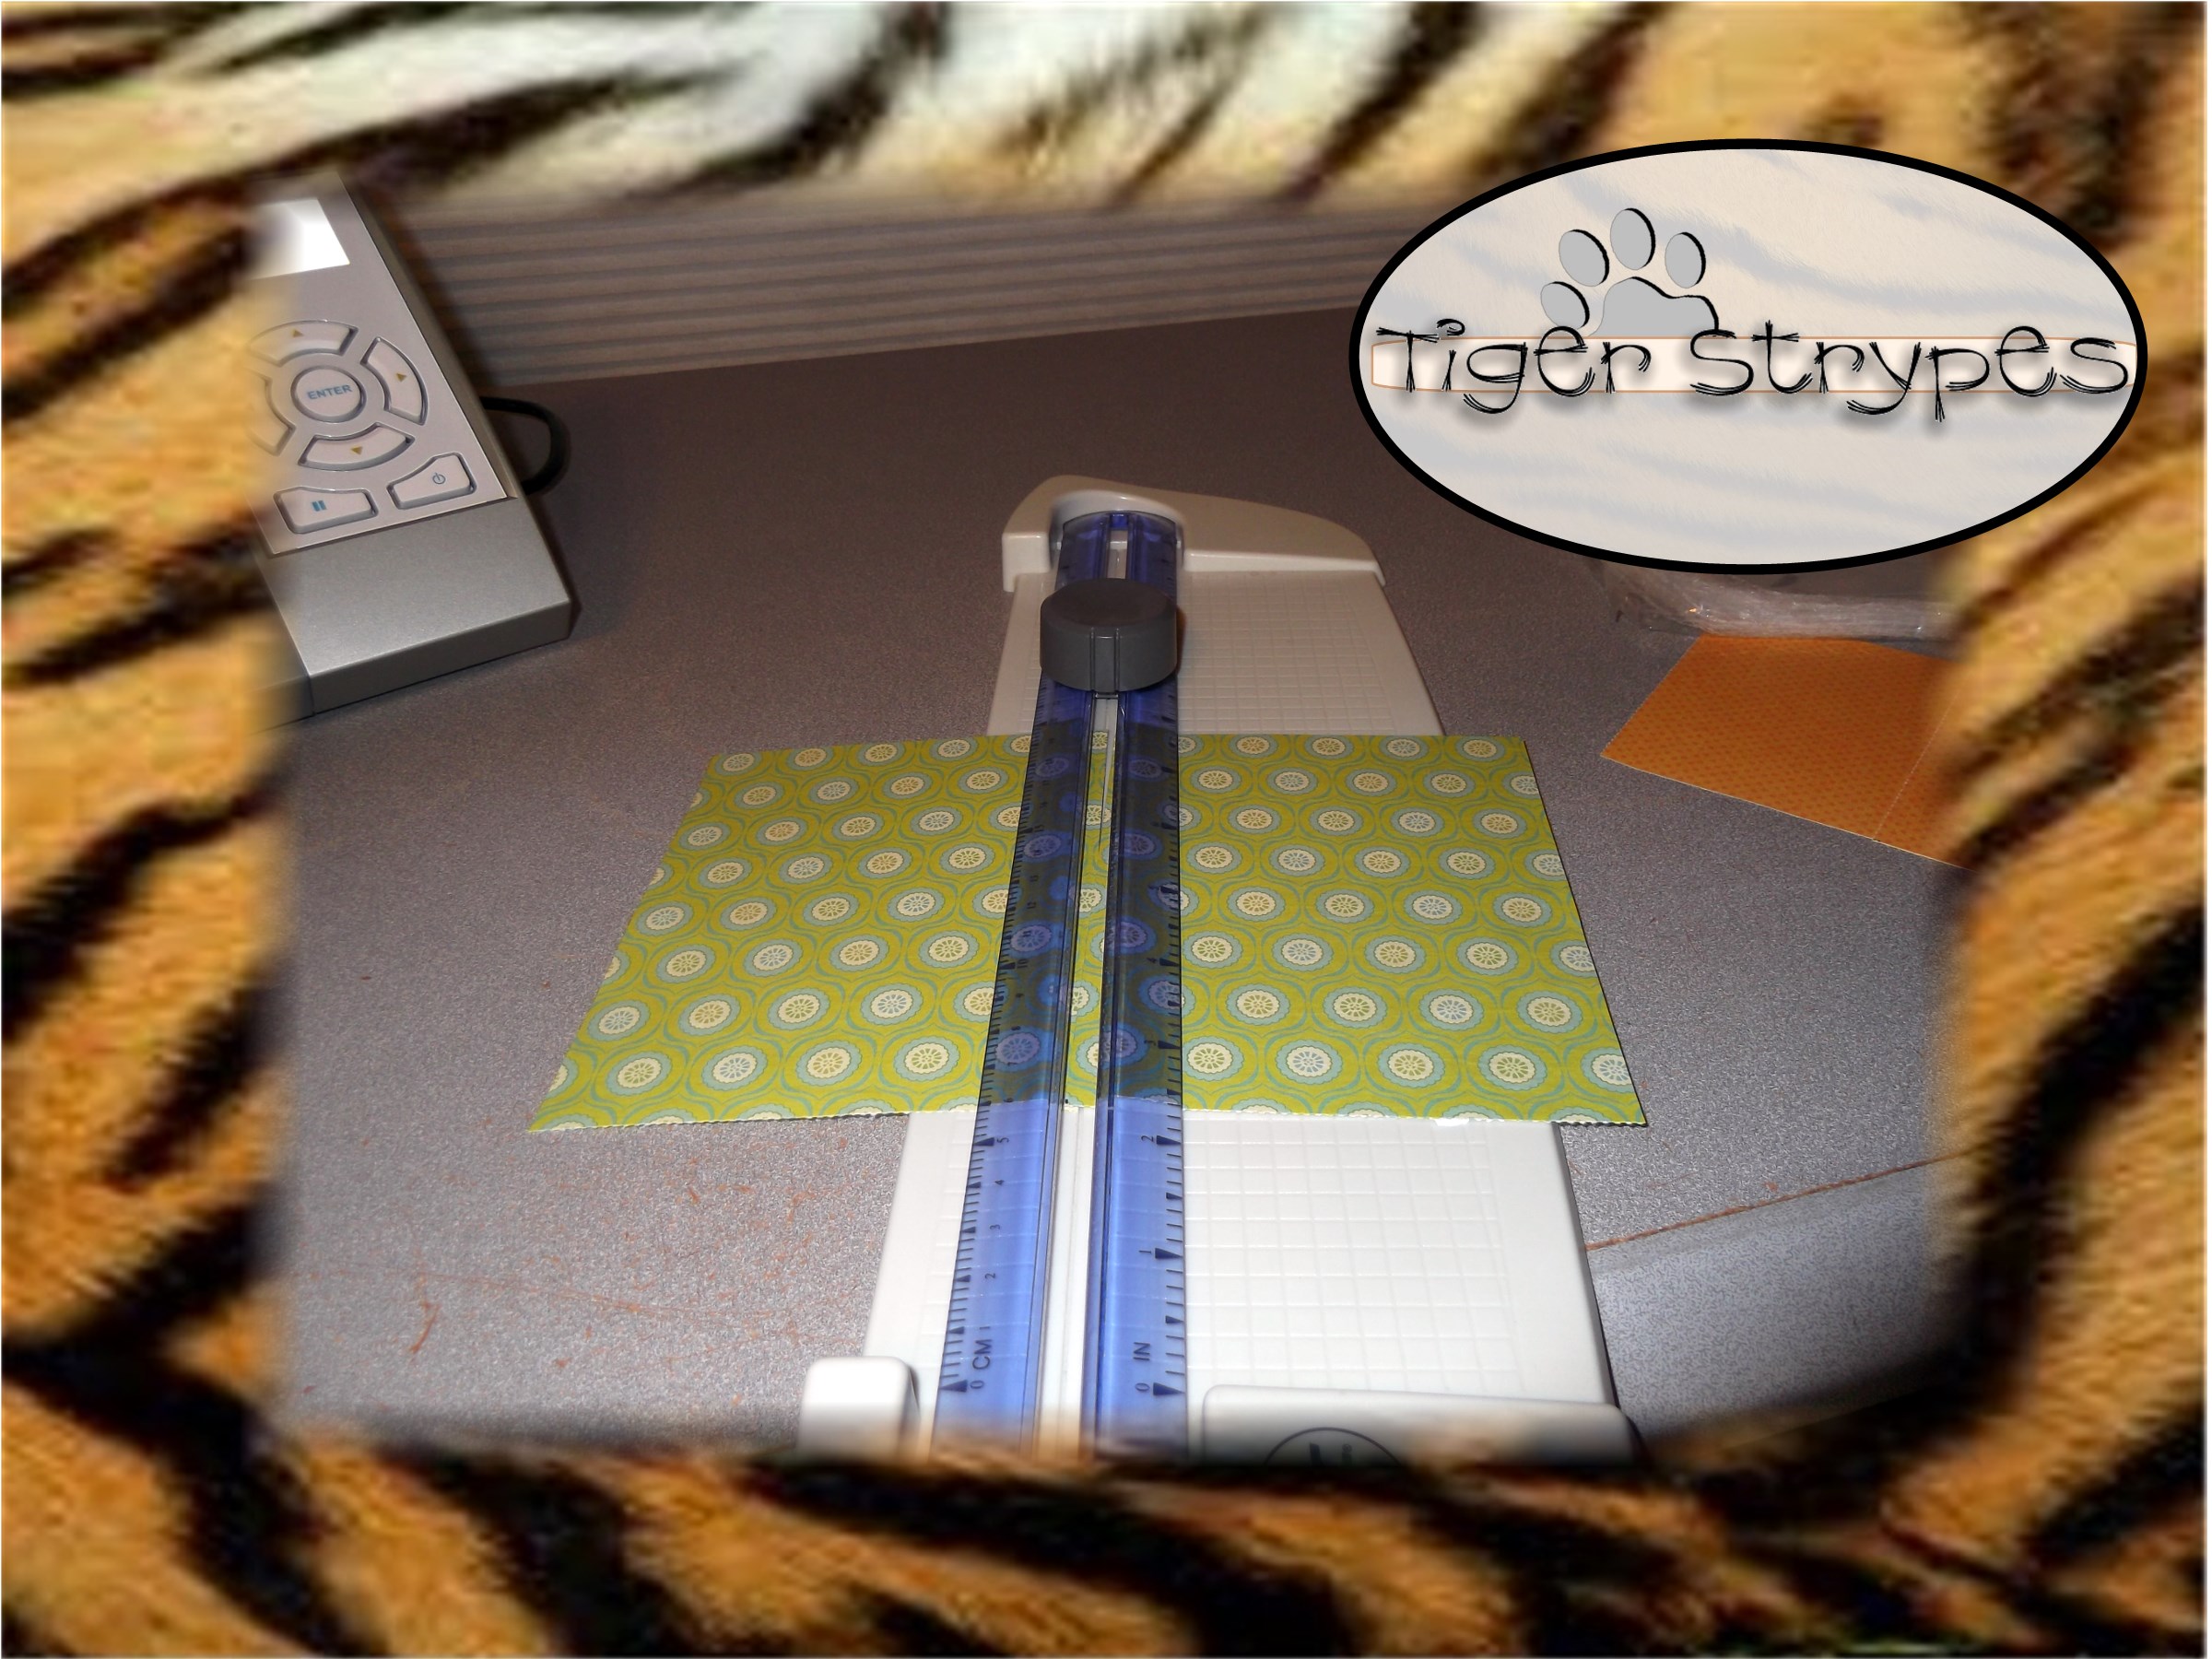
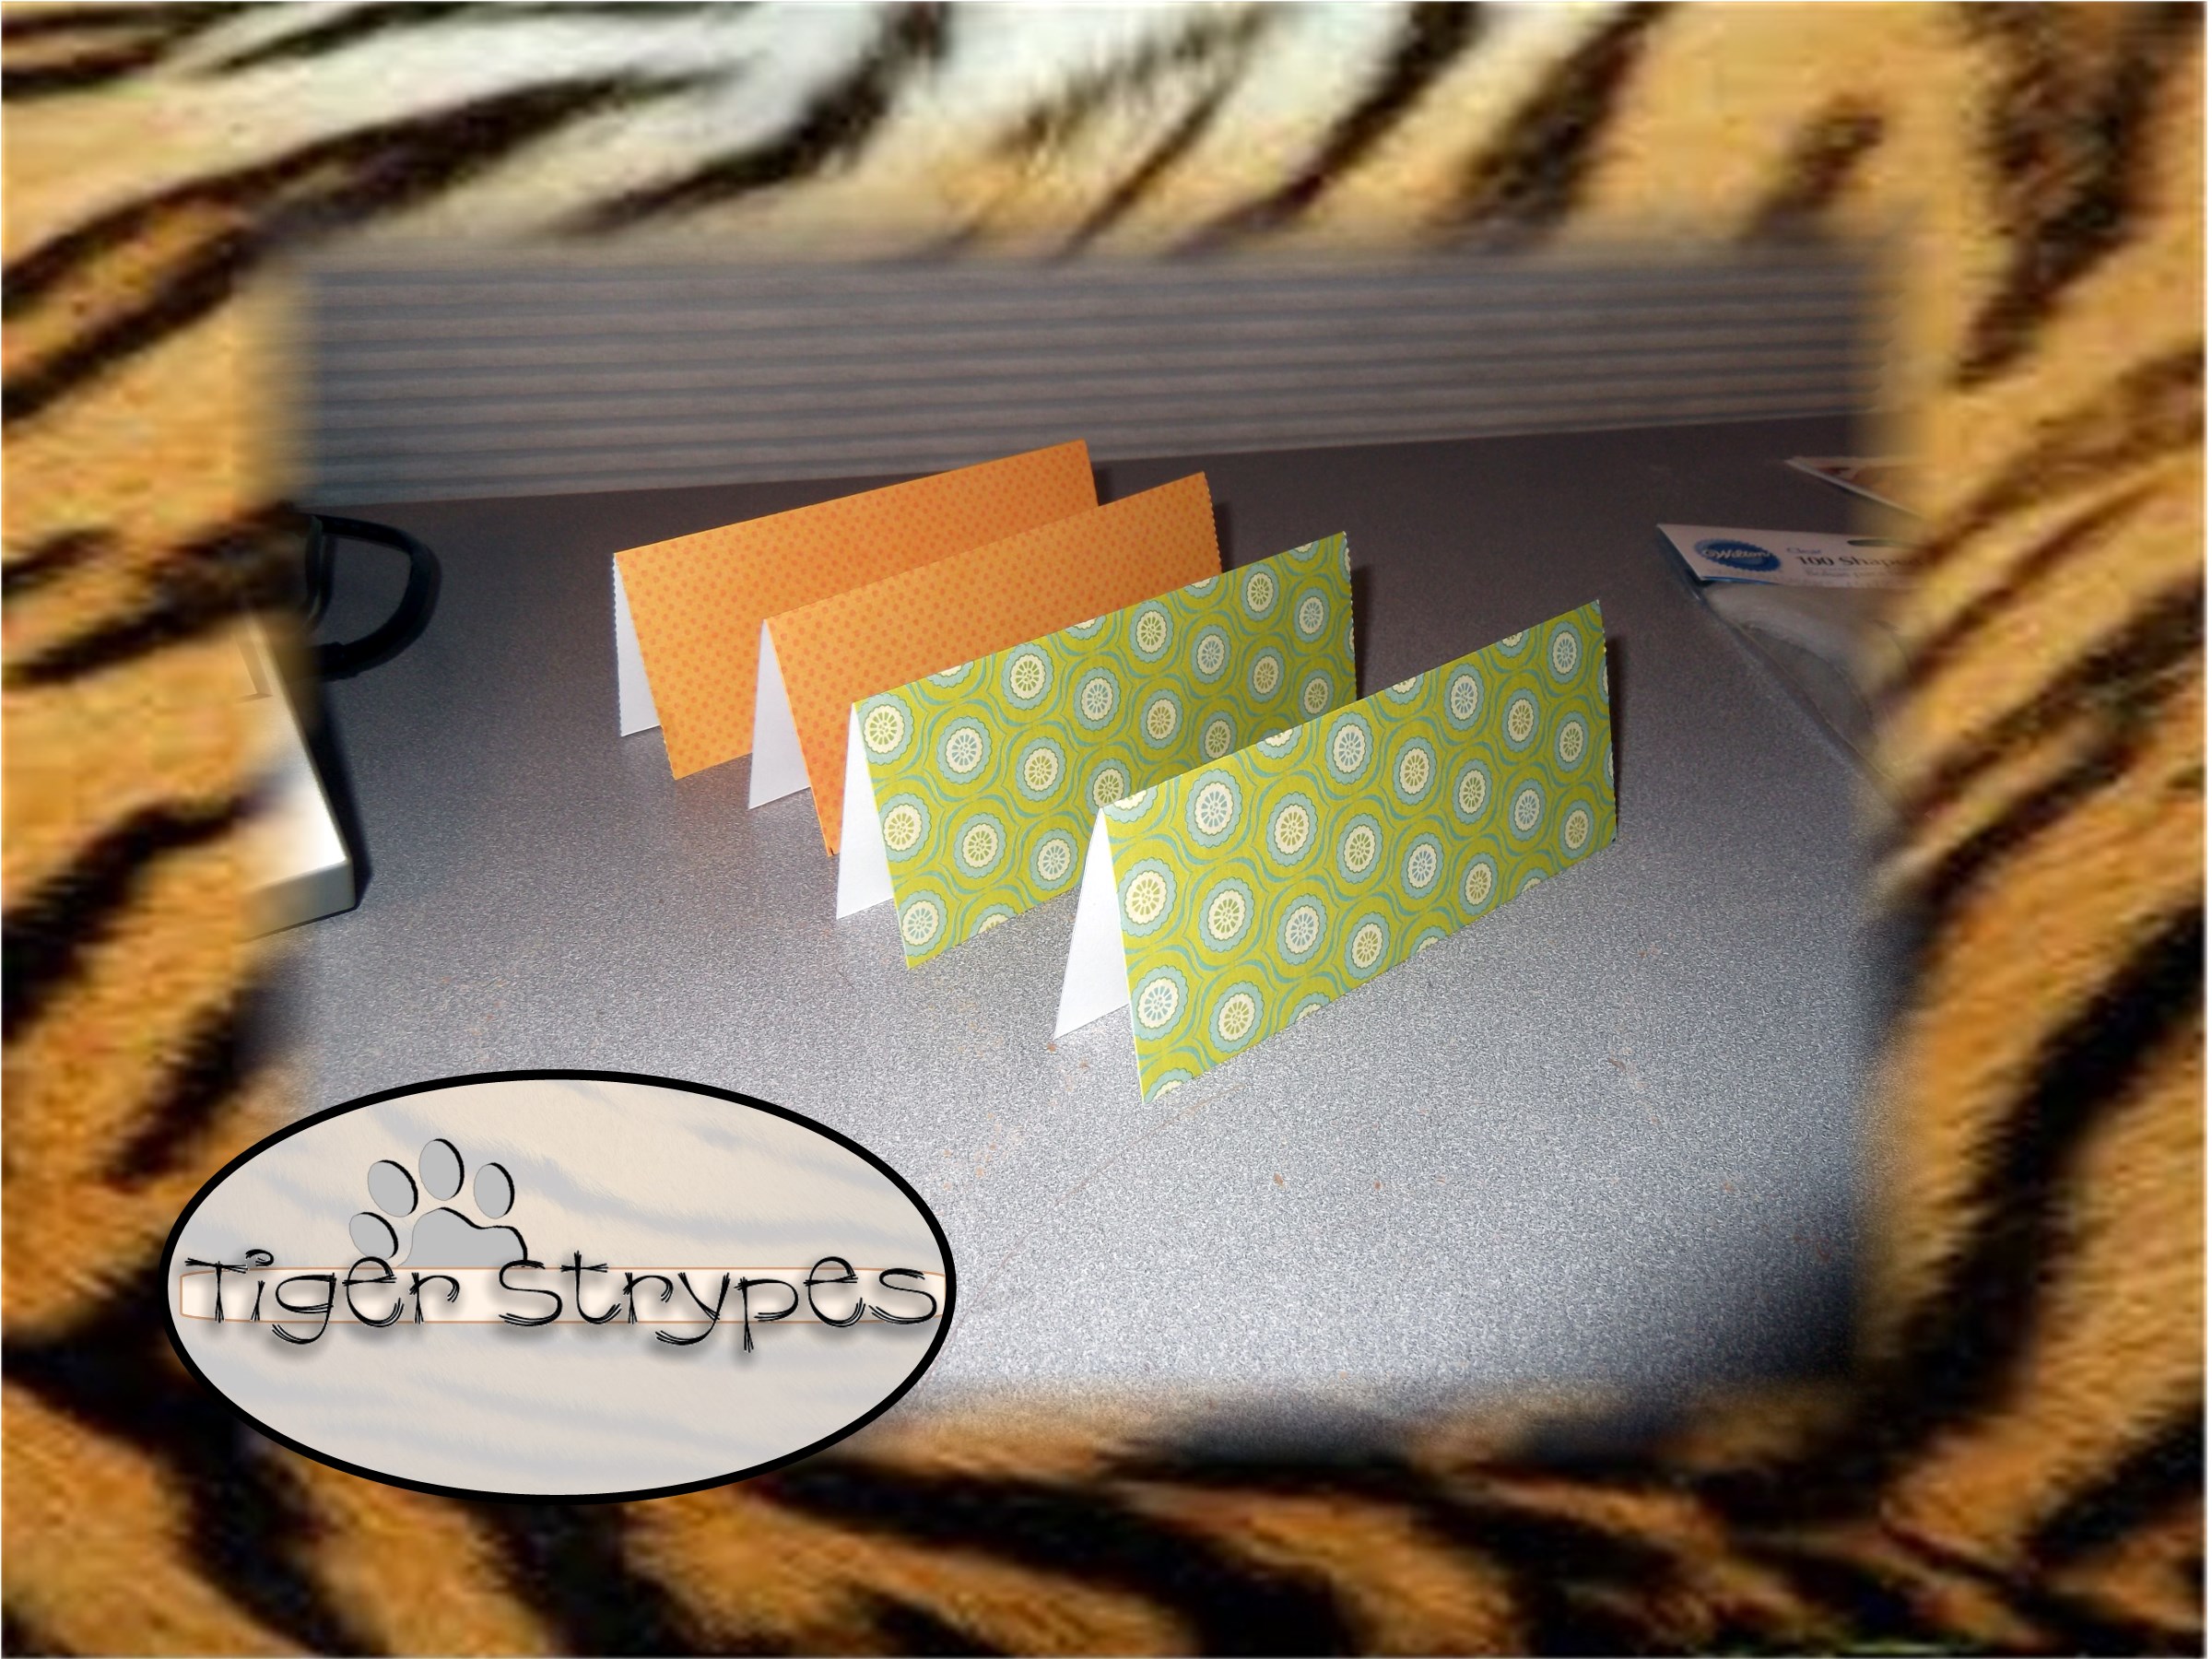
Next, fold each piece over evenly to be the backdrop of the layout you are using.
Next, using your Silhouette software, load the downloaded design and size it as needed to fit your area.
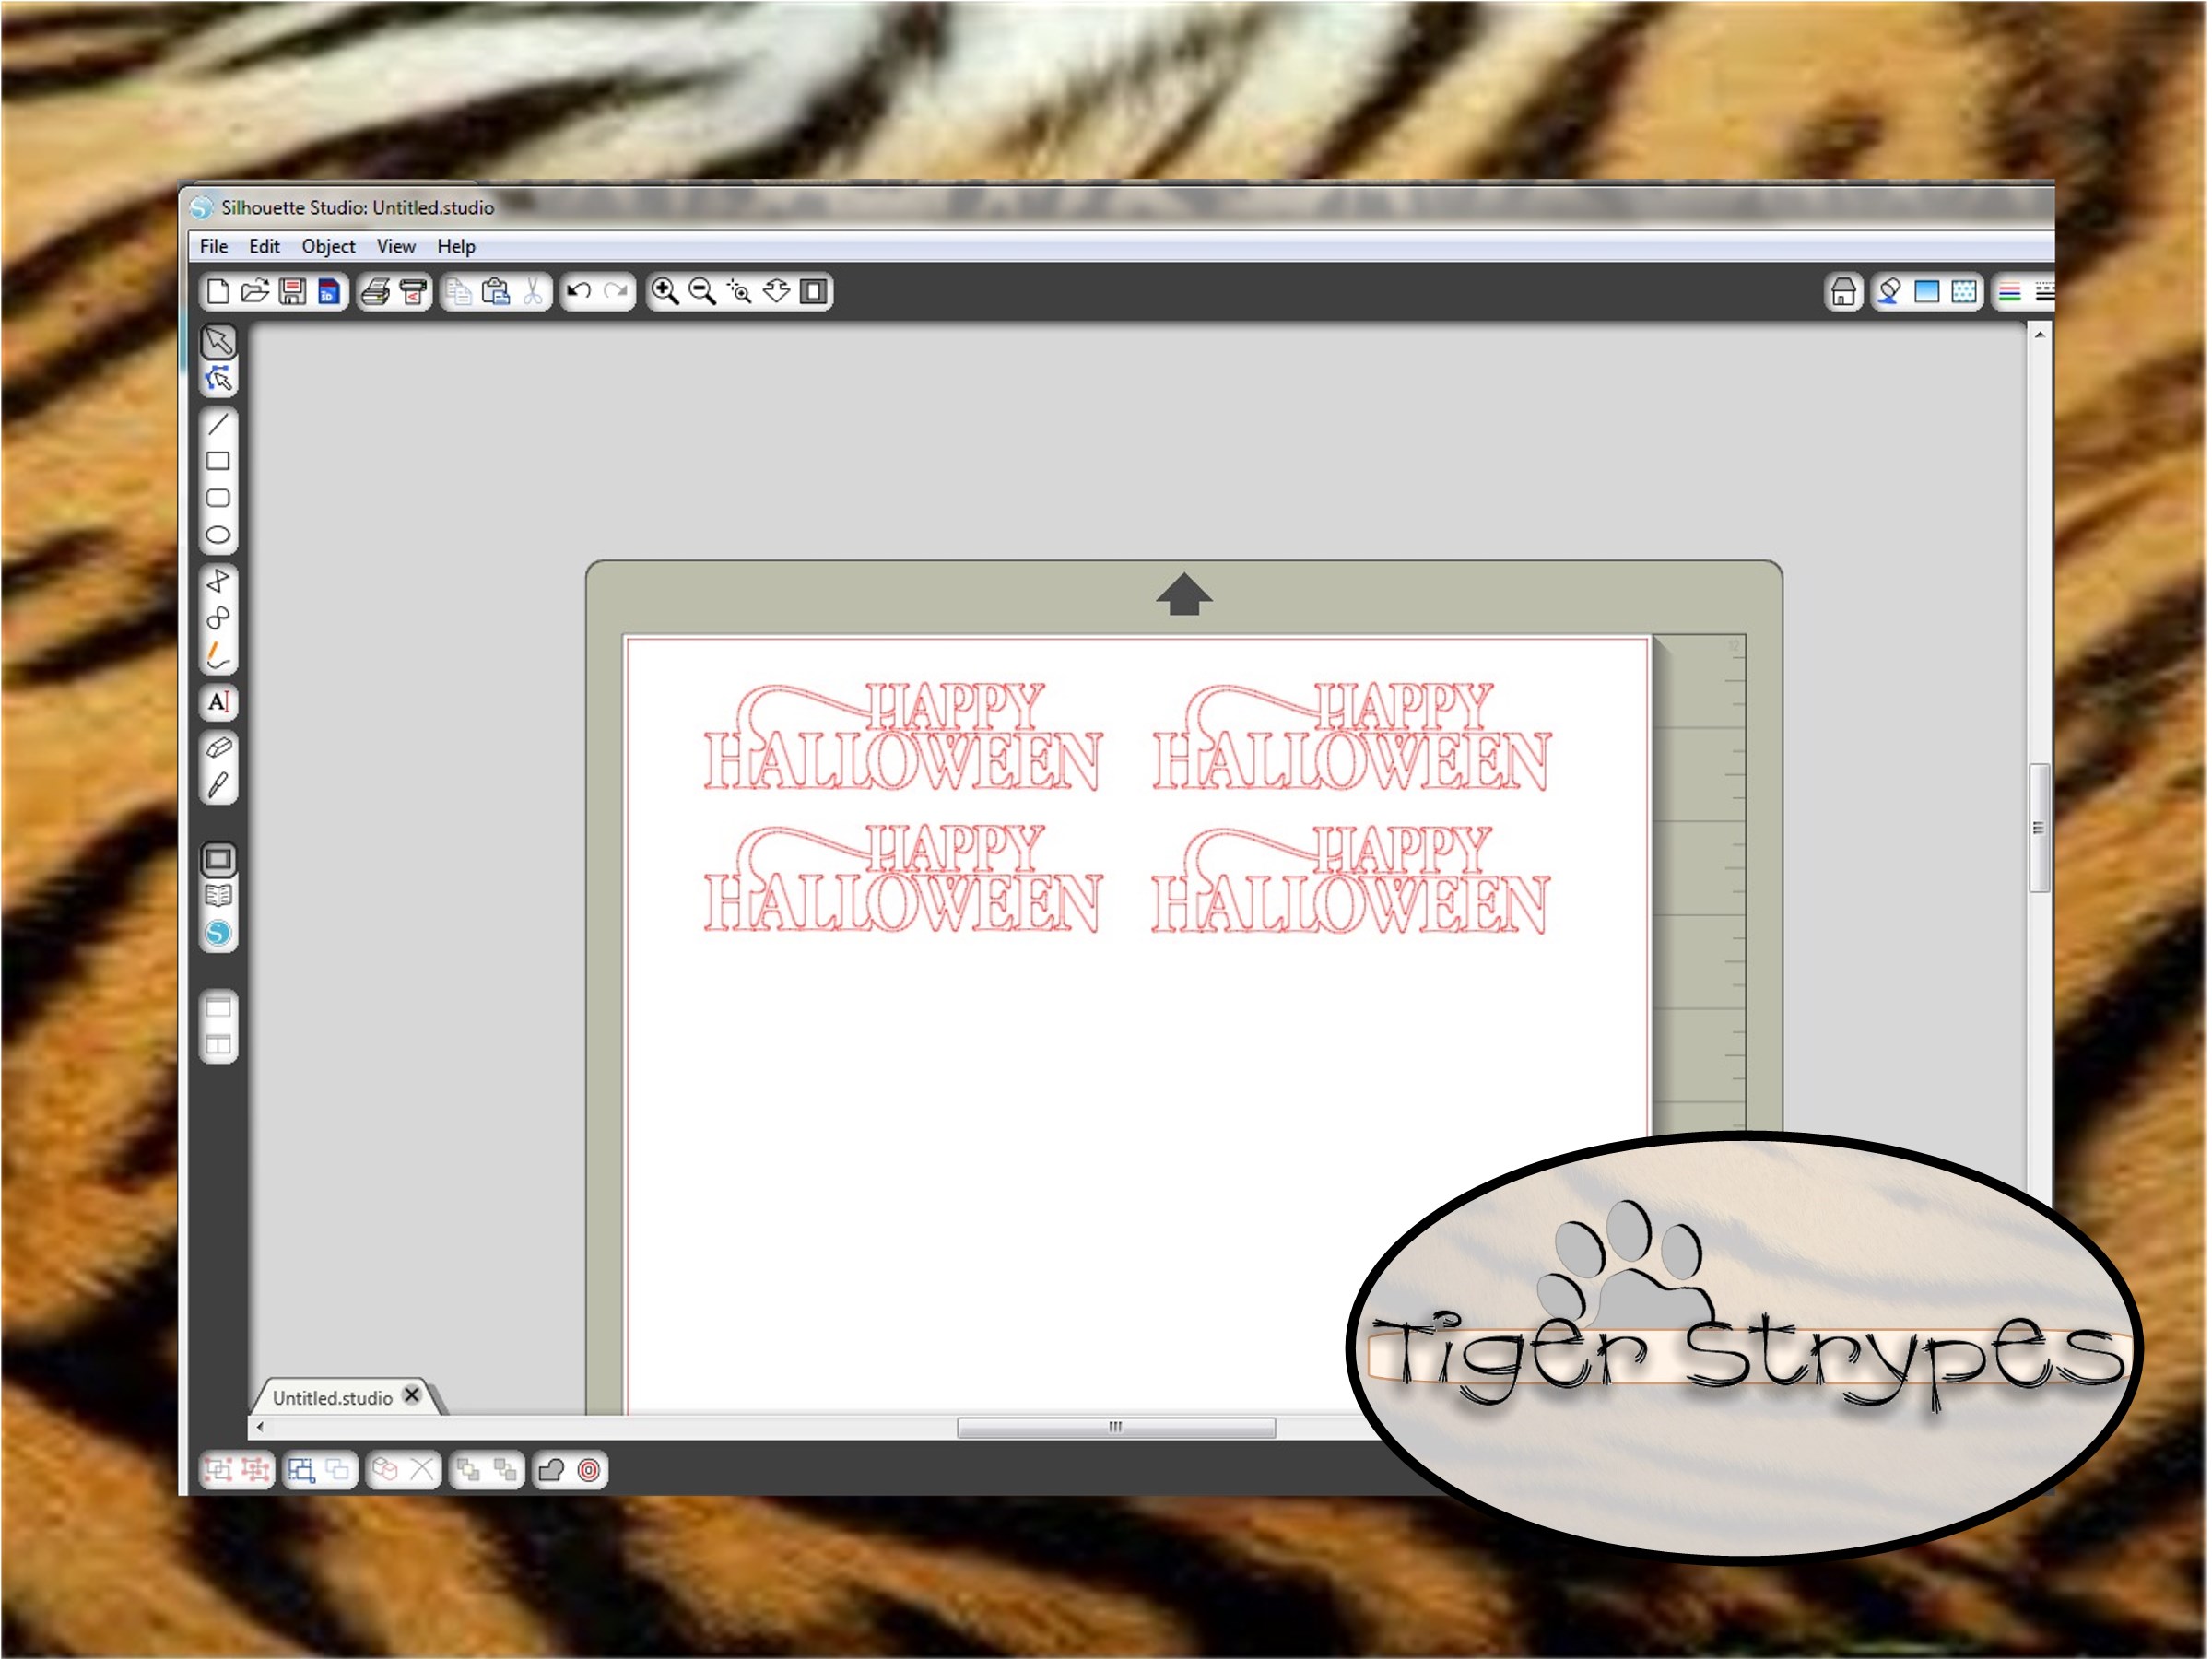
I decided to use my pen instead of the cutter for this piece, since I wanted to be able to use the cutter for the shape later.
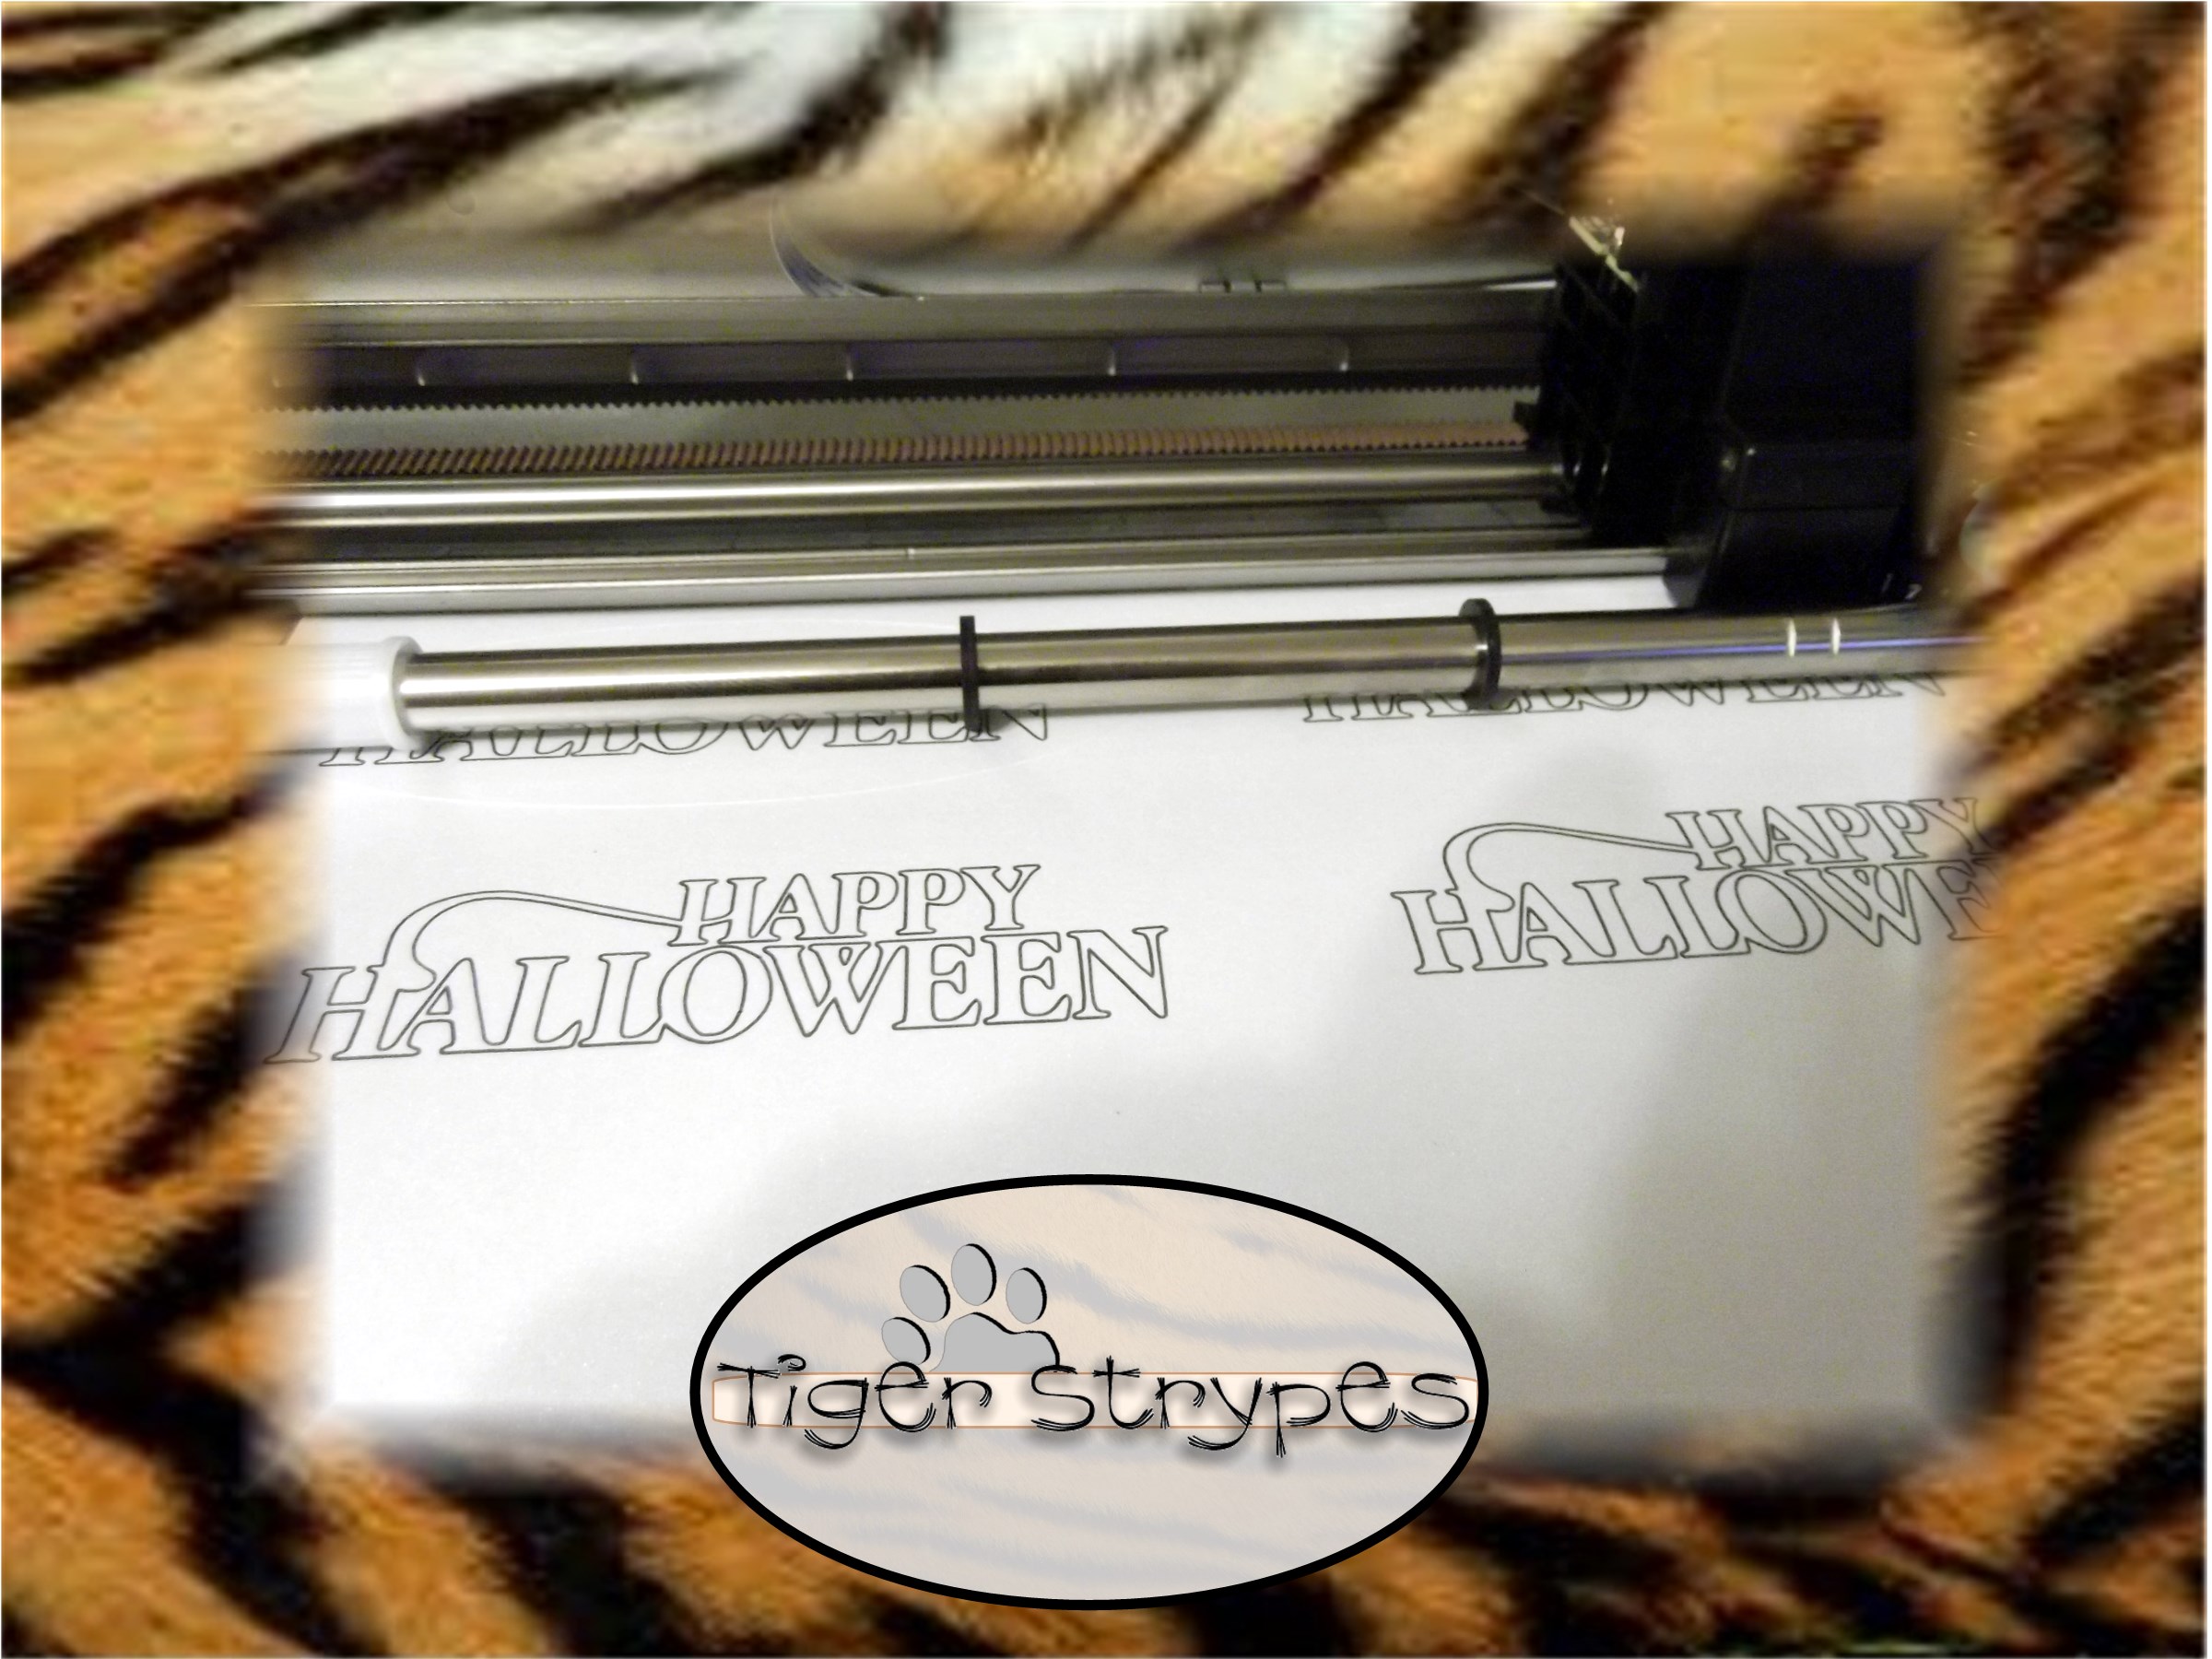
Once I had the text printed out, I set the shape on the Cameo to cut it in an oval shape.
Next, peel your pieces off of the mat and attach glue dots to the sides to be able to add to the folded paper.
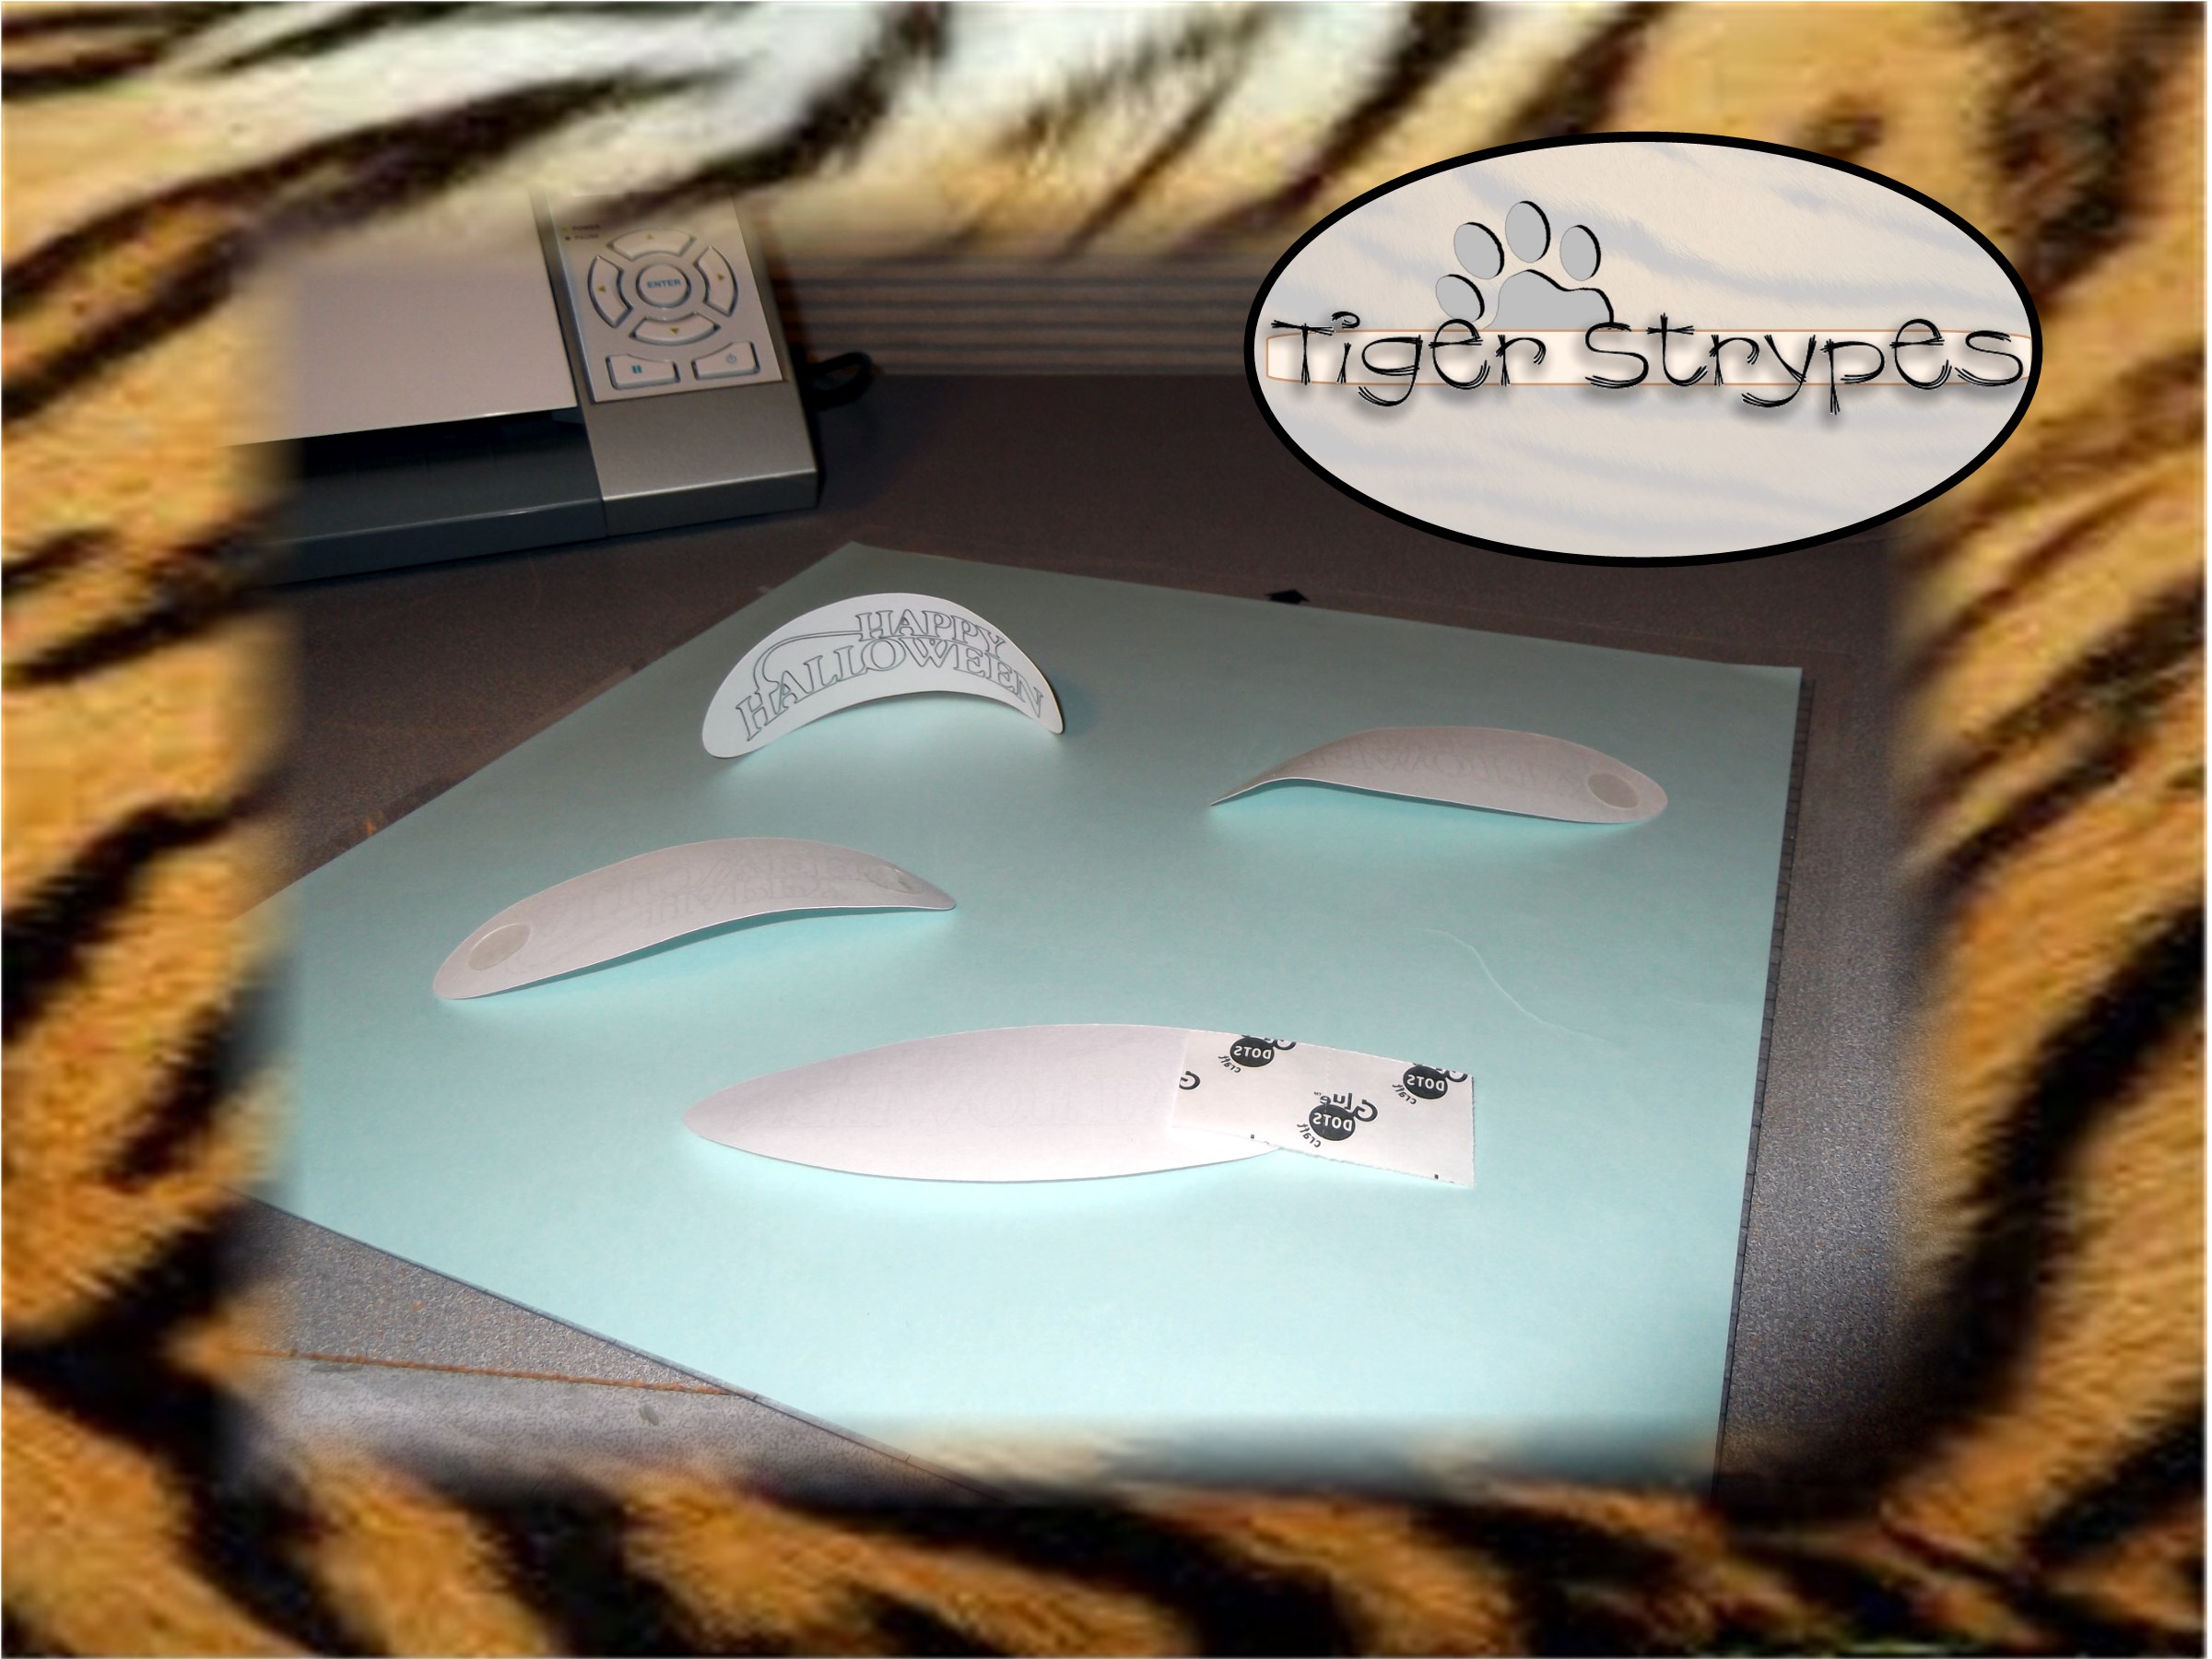
Once you have it all set to apply, affix it onto the backing however you wish (centered/side, etc.).
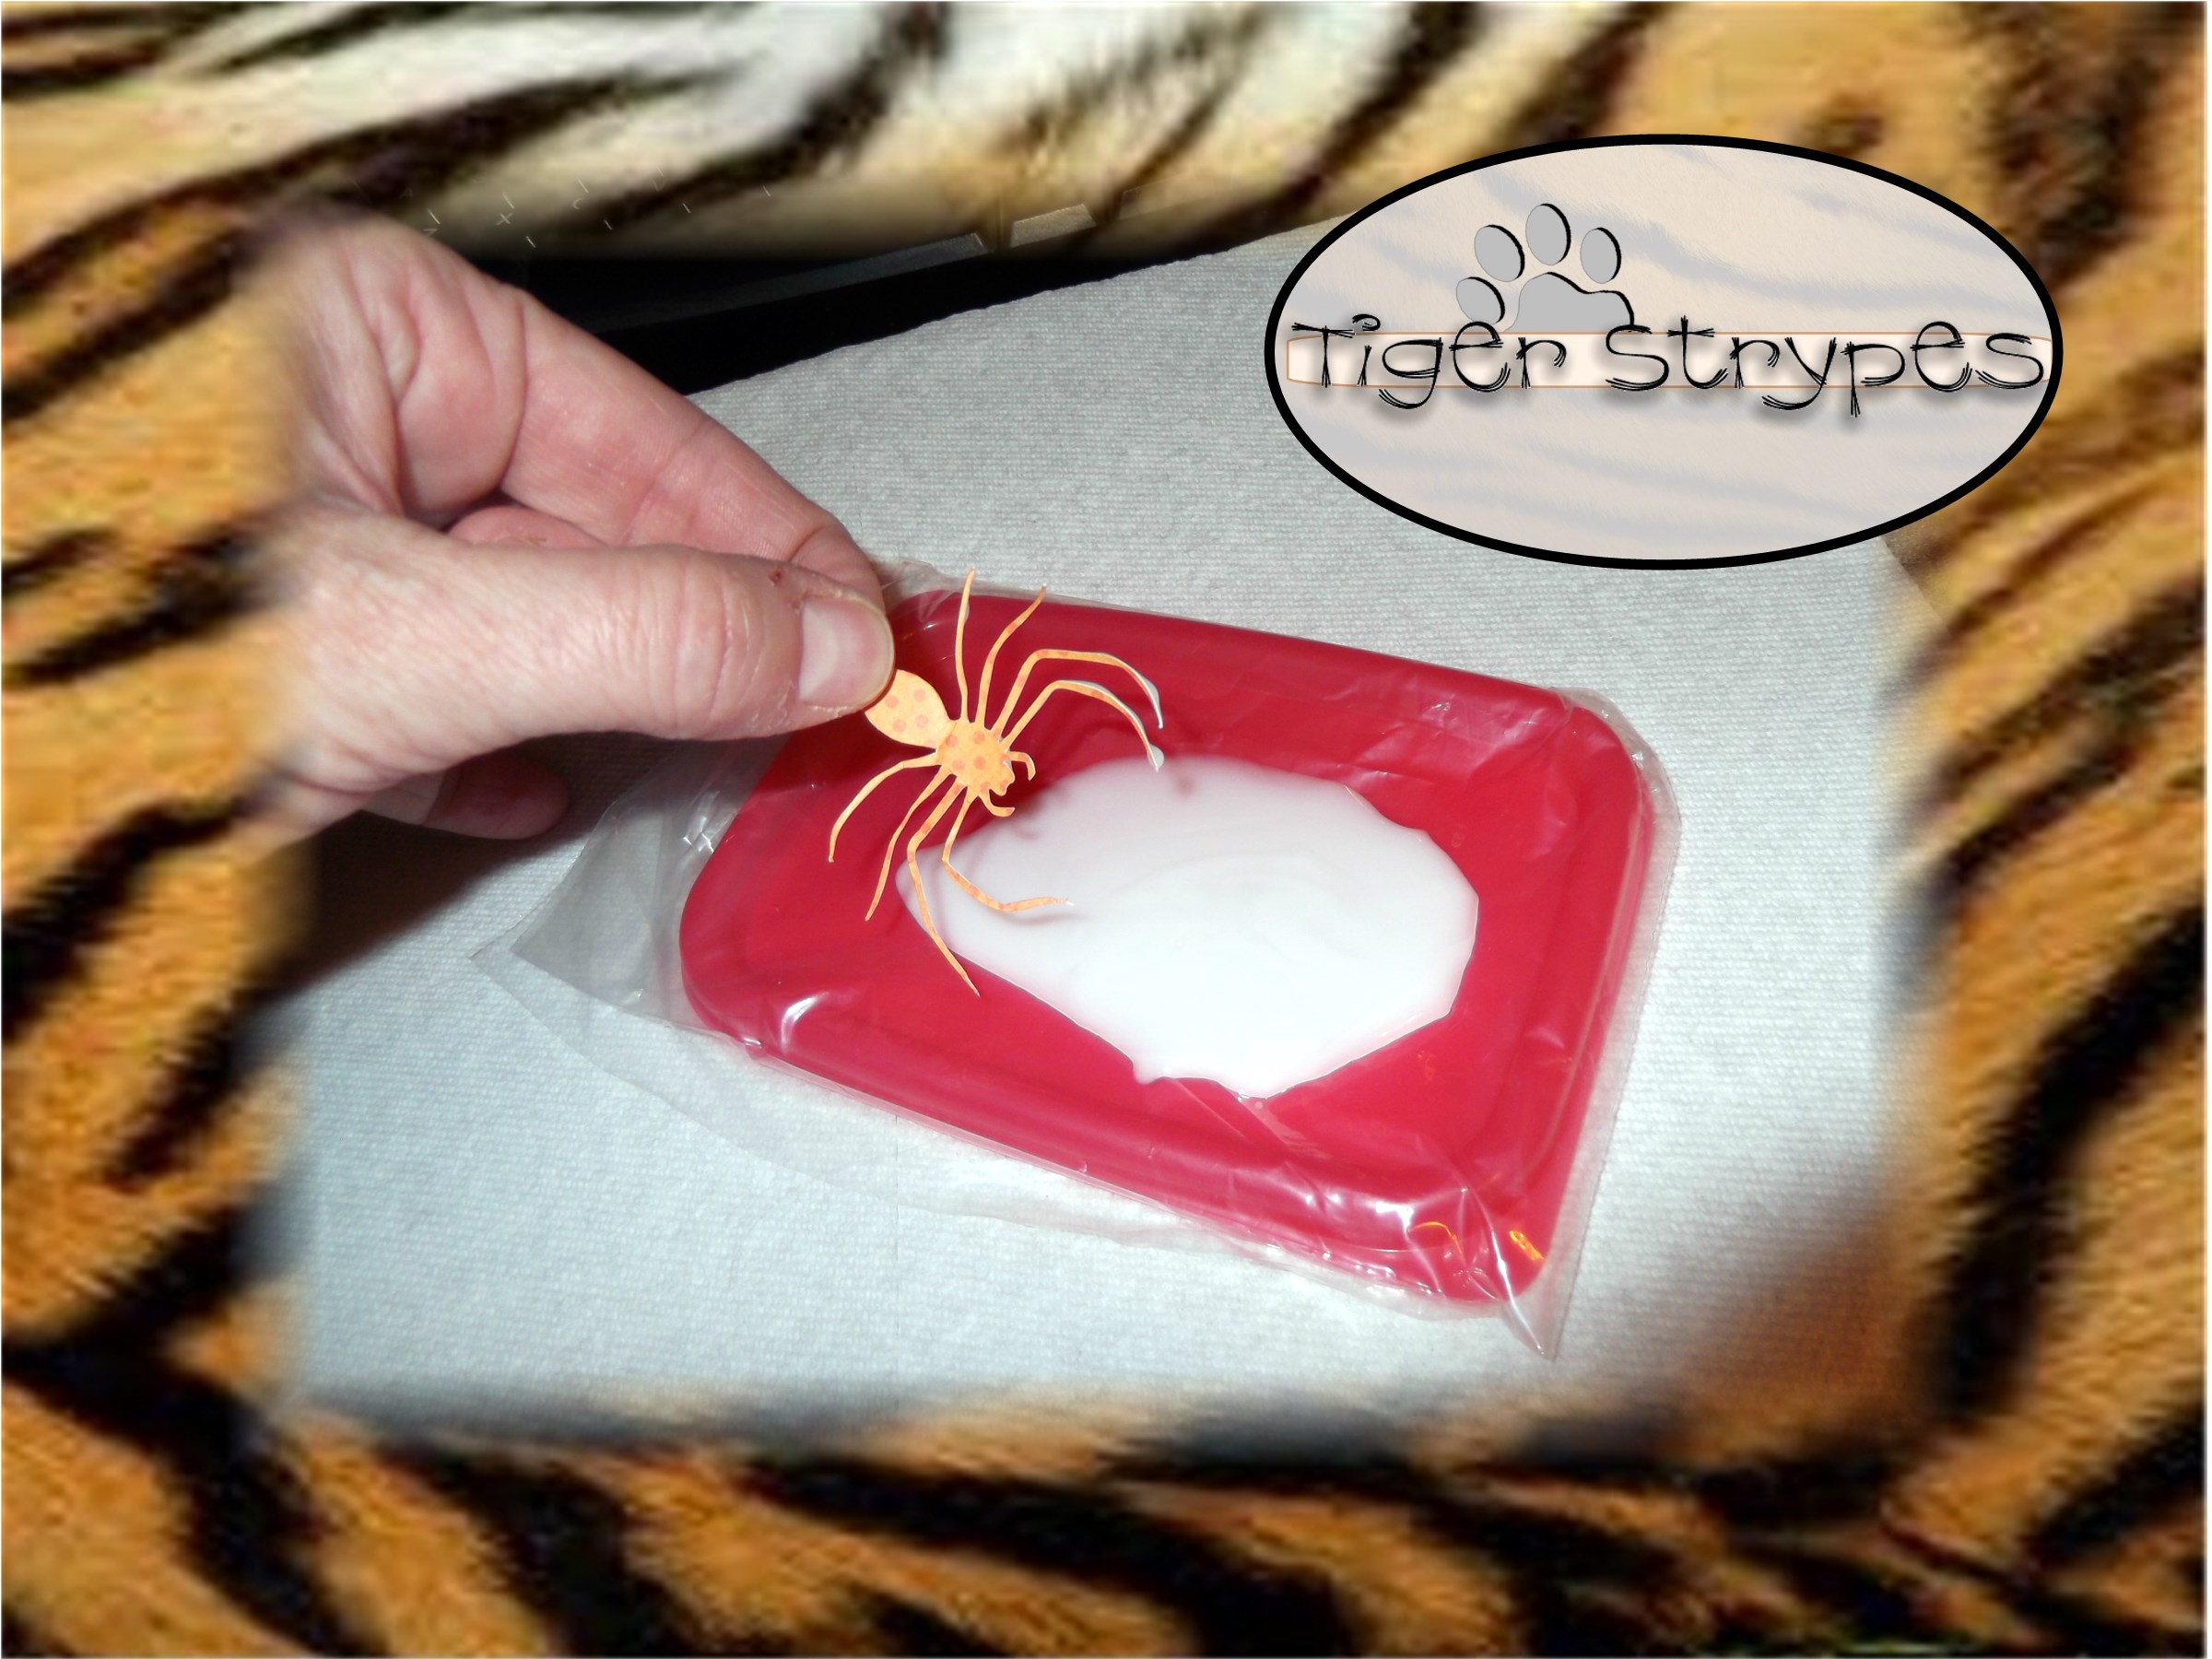
Now for this, forgive me but I forgot to take pictures of cutting the spiders out. I did it on the Cameo and it was a bit of a pain to get the guys off of the sticky back, so just be careful with that. After you have them cut out, fill a small container with glue to help with the next step. I just used a Tupperware topper and put a baggie over the top of it, so I could just throw it out and not make a mess. Just dip the spider into the glue to cover the bottom and make it easy to attach.

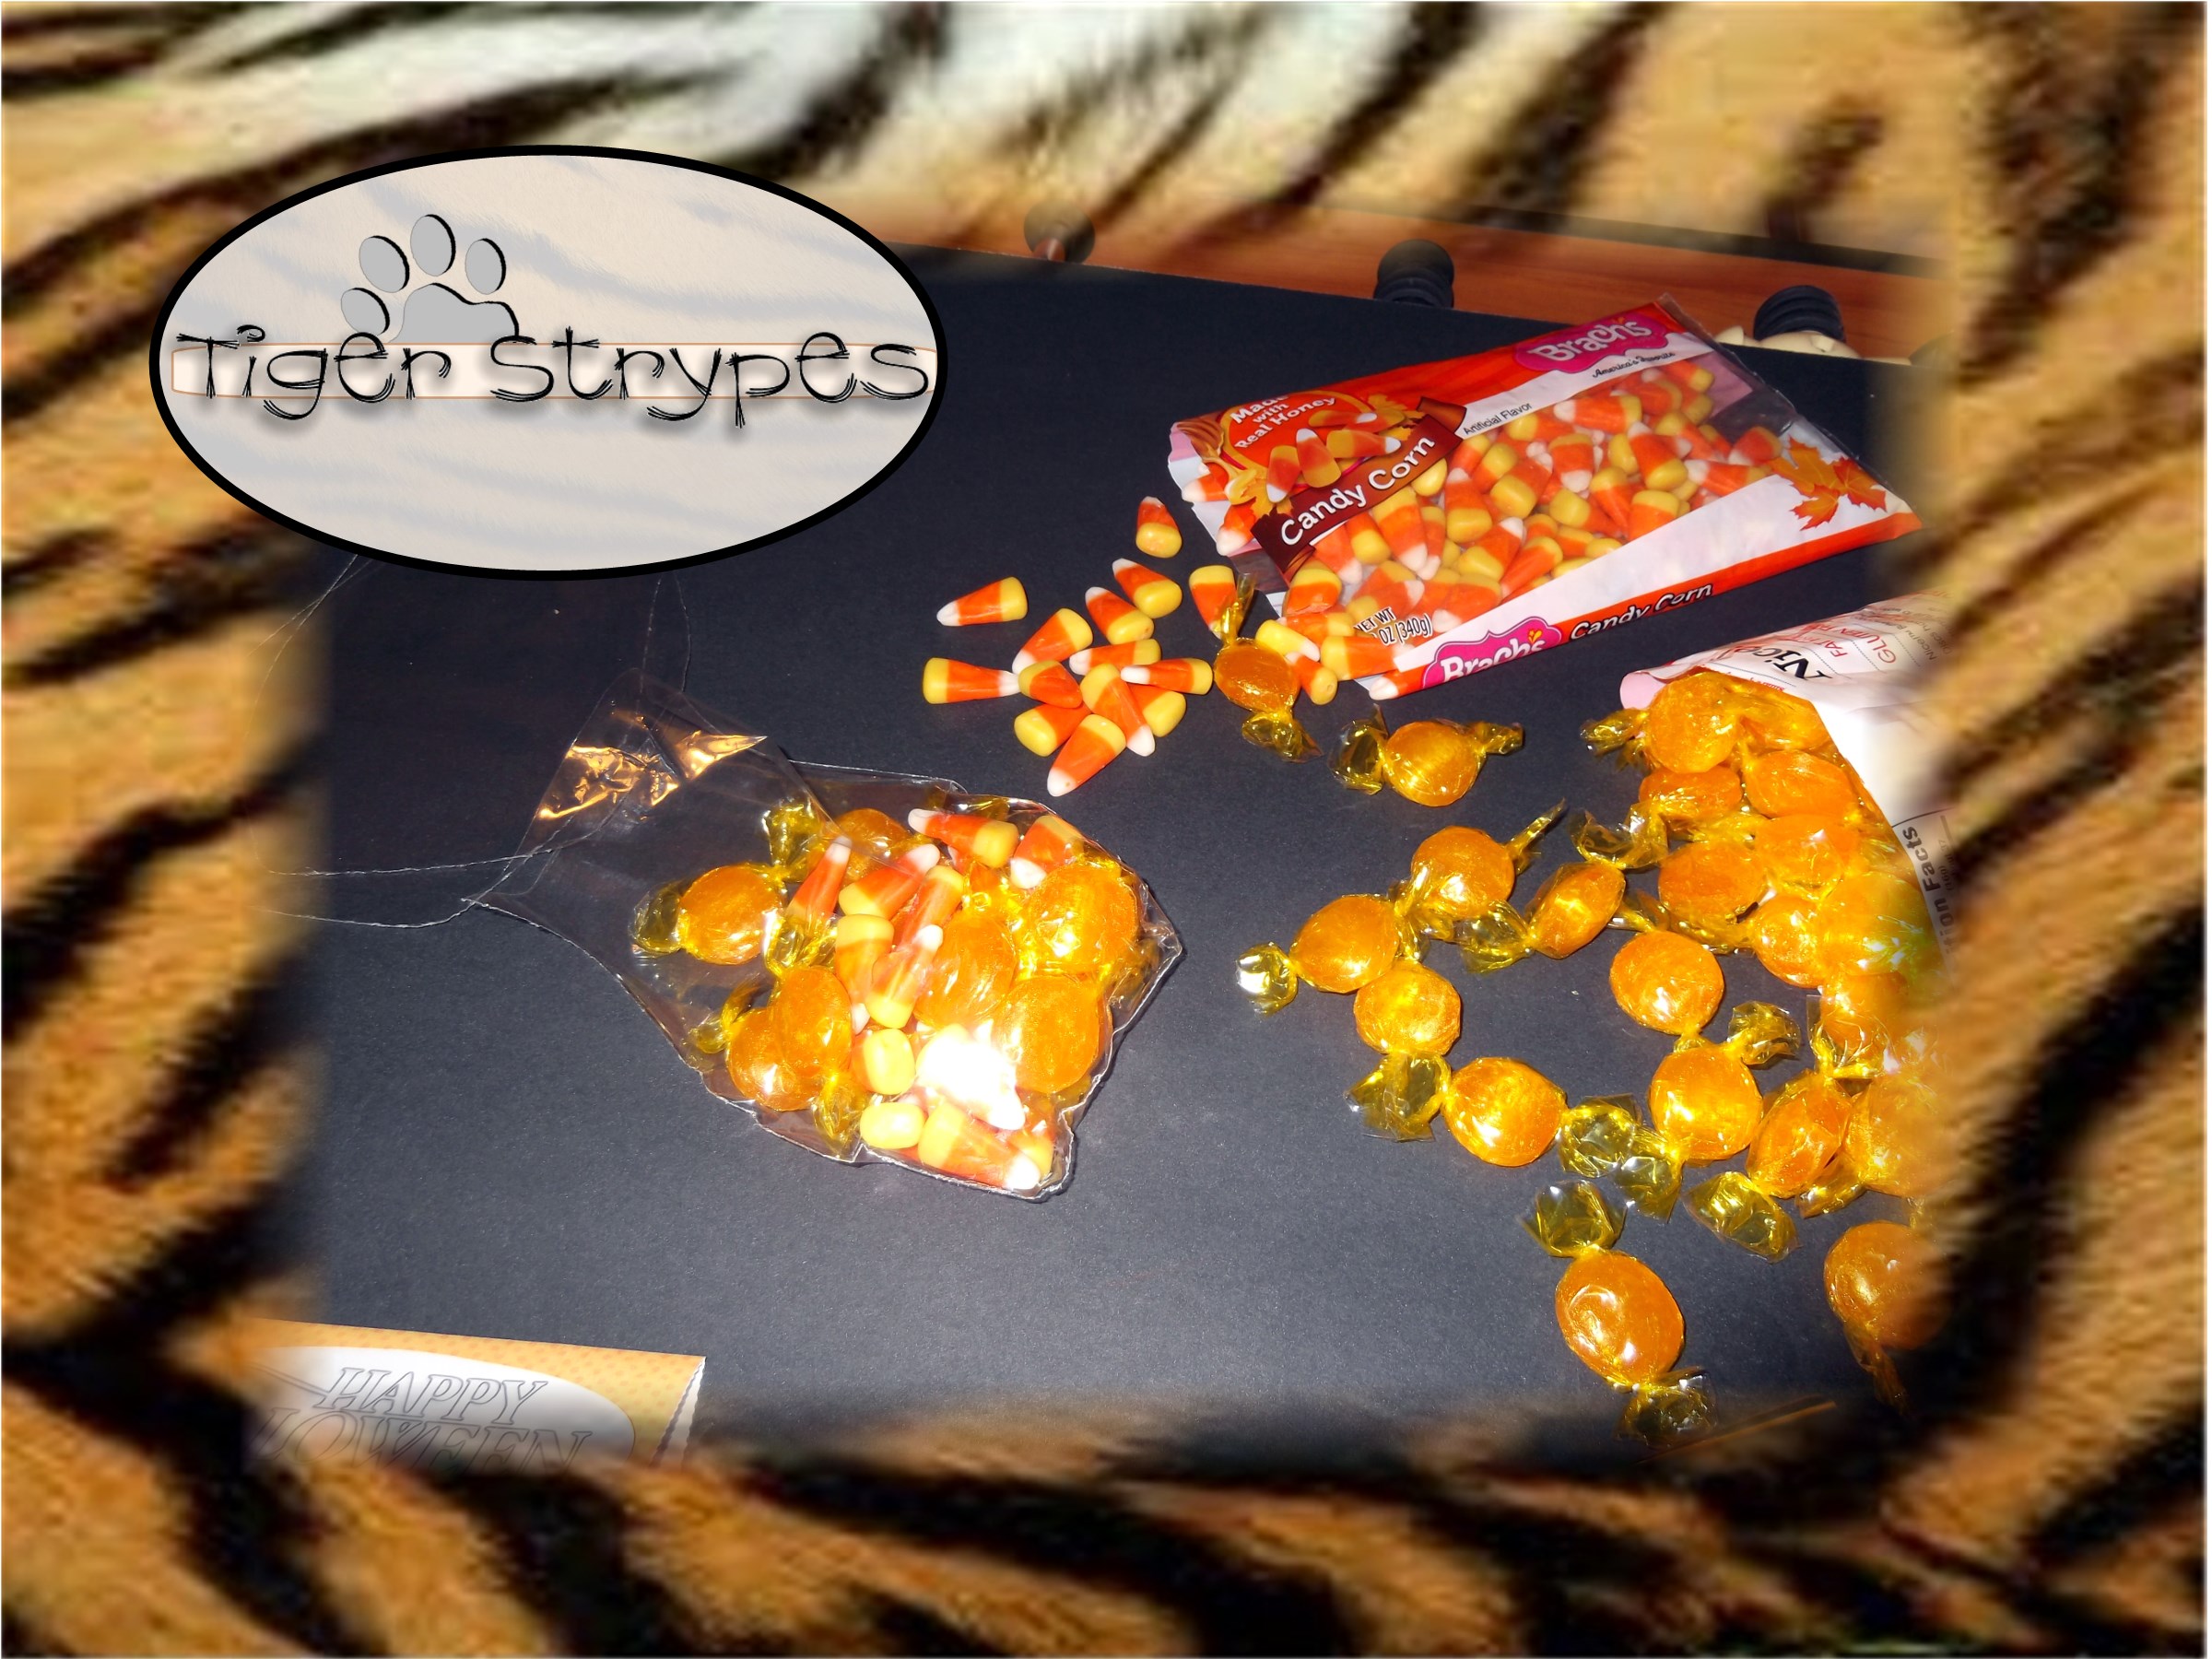
When you have it as full as needed (be sure to test it, so that it’s not overfull) you can then staple it onto the top of your bag. I just stapled it at the bottom of the paper piece to make sure it was snug and hide the staple just a bit.
“A gift opens the way and ushers the giver into the presence of the great.” -Proverbs 18:16
All pictures and text are my own and have not been copied in any way. I, Jamie Tomkins, own and operate Tiger Strypes Blog located at www.TigerStrypes.com. From time to time you’ll hear about my real life experiences or creations with products and/or services from companies and individuals. Let it be known that I have no affiliation with these said companies, and have not received compensation for reviewing or using their service/product. The information that I give regarding the product/service is based off my own personal experience, I do not guarantee that your experience will be the same.
*****************************************************************************************************


These treat bags are SO cute! Thanks for sharing and being a wonderful co-host of the #HomeMattersParty – we love having you on the team! 🙂
~Lorelai
Life With Lorelai
Thanks Lorelai – they were really fun to make, too! 🙂
Super cute! Love these easy and cute treat bags. Happy Halloween! #HomeMattersParty
Thanks Chelsea – they were fun to make!
I laugh at the prices some people want to charge on Etsy too. These are cute, and I can fill them with non-candy for my son’s class (too many allergies and health issues so no food gifts). I am enjoying co-hosting the #HomeMattersParty with you.
That’s a great idea, Audrey!! I feel bad for the people that don’t know they are being over-charged!
These are adorable! As always, it’s nice to be co-hosting this week’s #HomeMattersParty with you!
Thanks Denise – thanks for stopping by!
Fun idea! I don’t use my Silhouette nearly enough for projects like this.
#HomeMattersParty
There is so much we can do with our Cameo’s or Explore!! 🙂
Cool idea! Thanks for sharing on Click Chicks! This Thursday’s theme is LOVE! Hope to see you there.
How easy and so much cheaper! They look very professional! My kids would be tickled to get a treat bag like that!
Oh now that is super cute, I see you are making good use out of your Silhouette! Love it!
Very cute! I wish we had trick or treaters to hand candy to!
Ellen, something you could do is make some up and take them to a senior center or local hospital. That’s always a blessing to see those smiles!!