
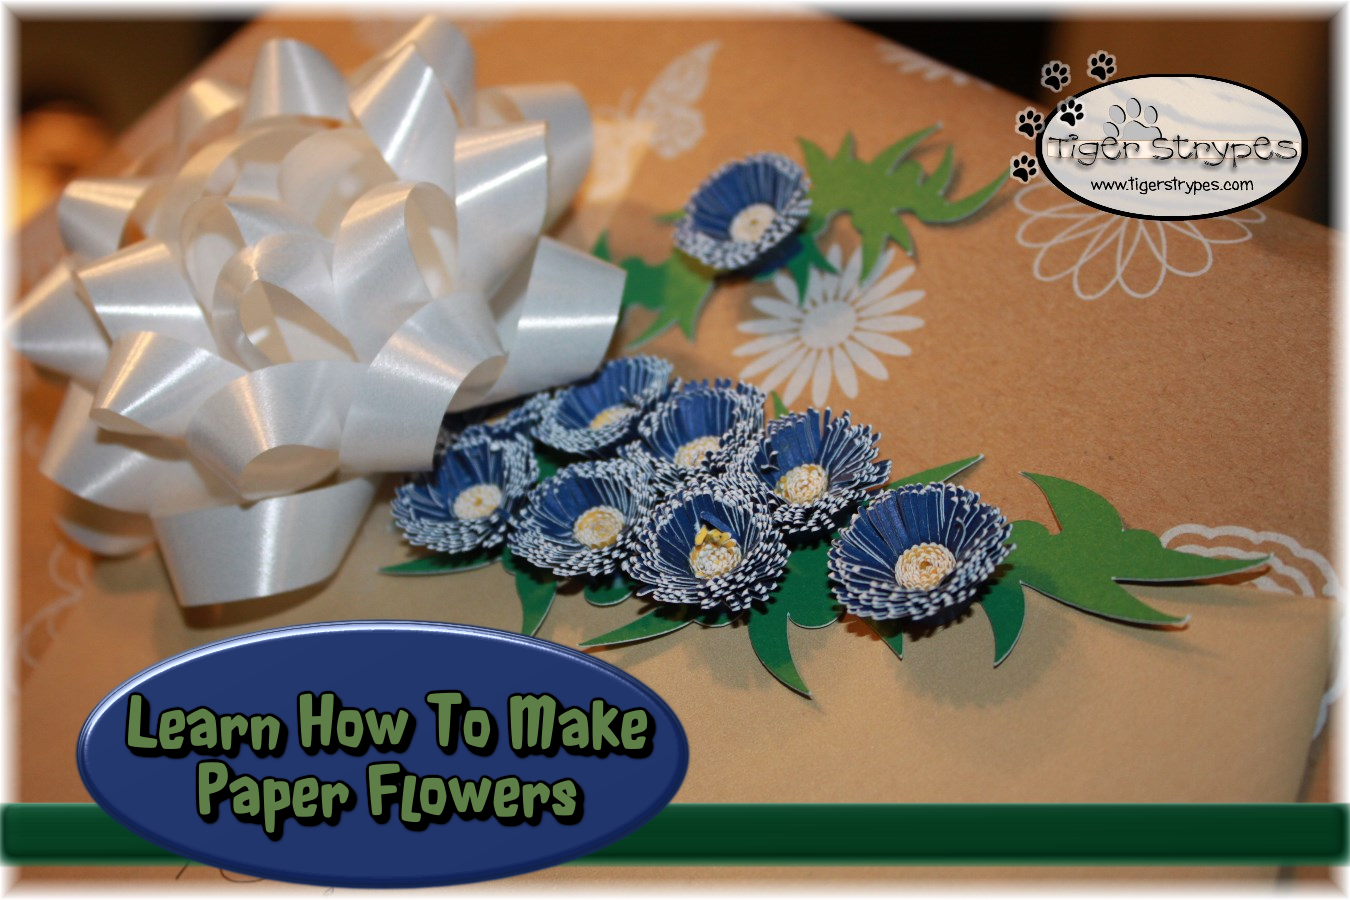
“Punched Flowers” #TBCCrafters Hop
I saw something like this on the Fiskars website and thought it would be fun to try out. I have so many different punches and wanted to learn how to use them and what I could make. When I saw this, I thought of many ways I could use the final product. Turned out to be pretty easy to do, once you got the hang of it. Using glue tape instead of regular glue for most of it saved a lot of time, too.
I hope you like it!! Have a blessed day, and please be sure to comment on and share this #TBCCrafters craft!!
“Punched Flowers“
Materials/Tools Needed:
- Cardstock
- Decorative Punches
- Glue Dots/Tape
- 1/4″ Hole Punch
- 1/16″ Hole Punch
- Floral Wire
- Regular Glue
- Pliers
- Scissors
- & Time!

Instructions:
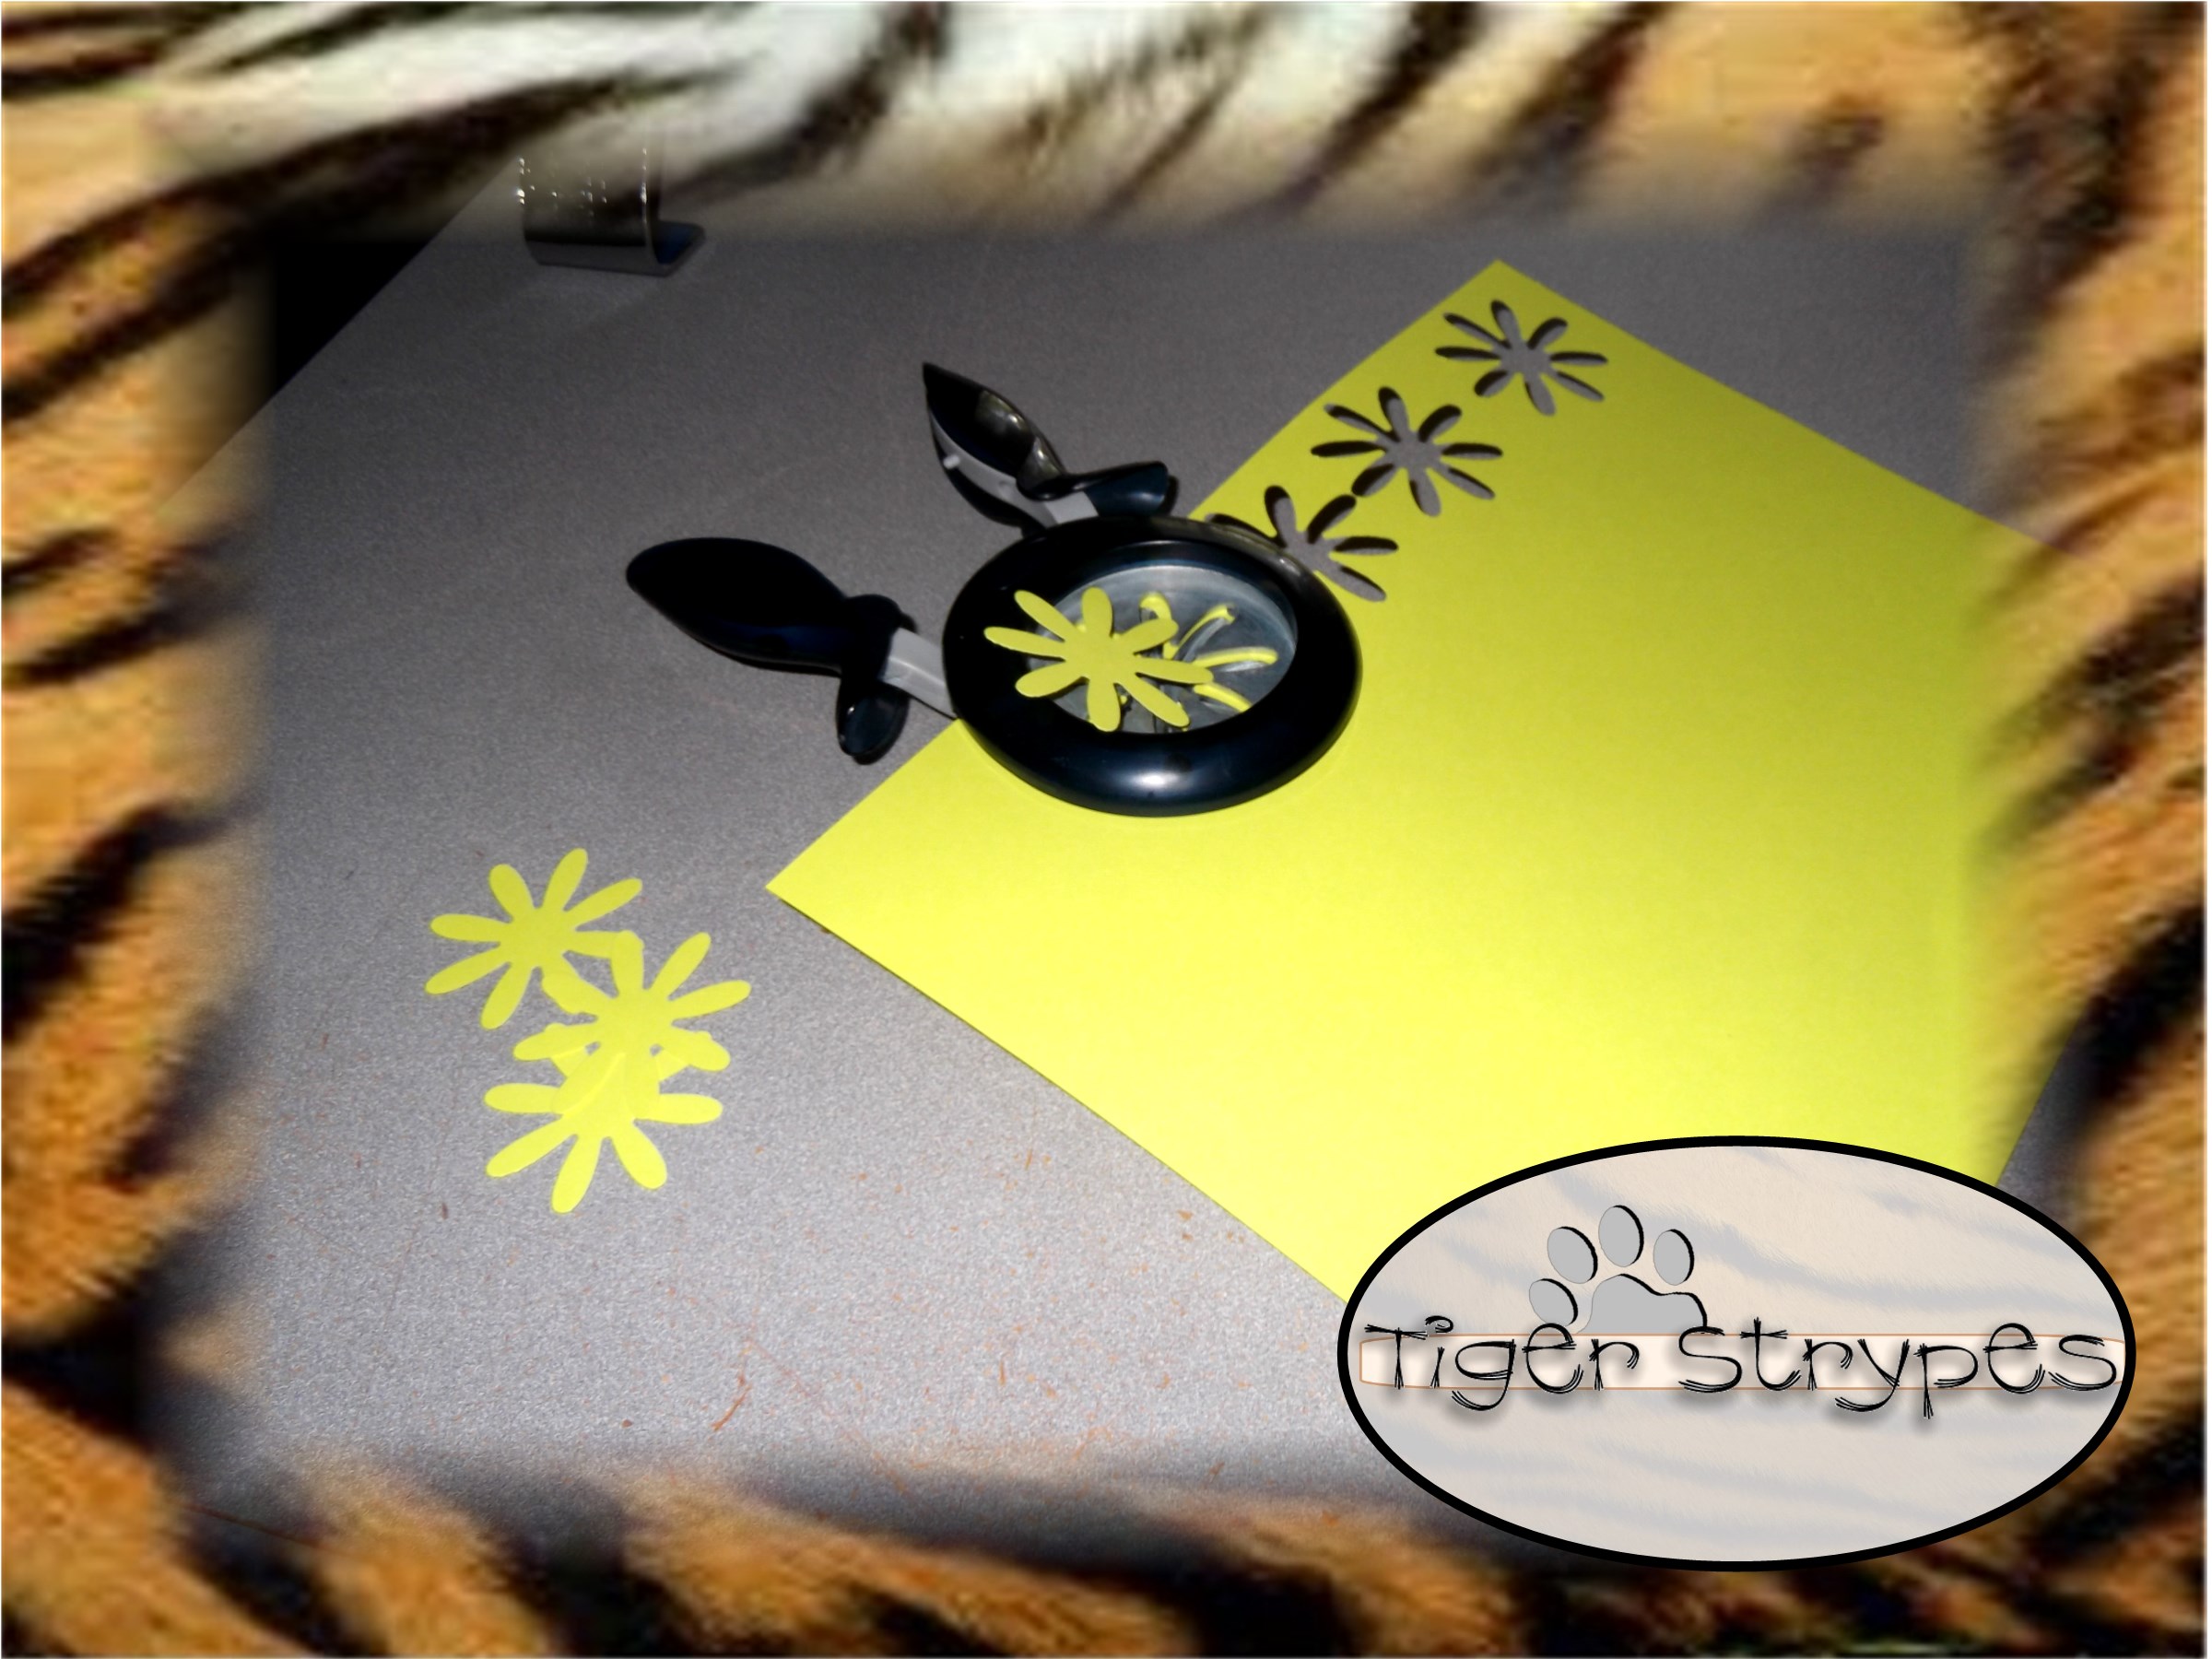
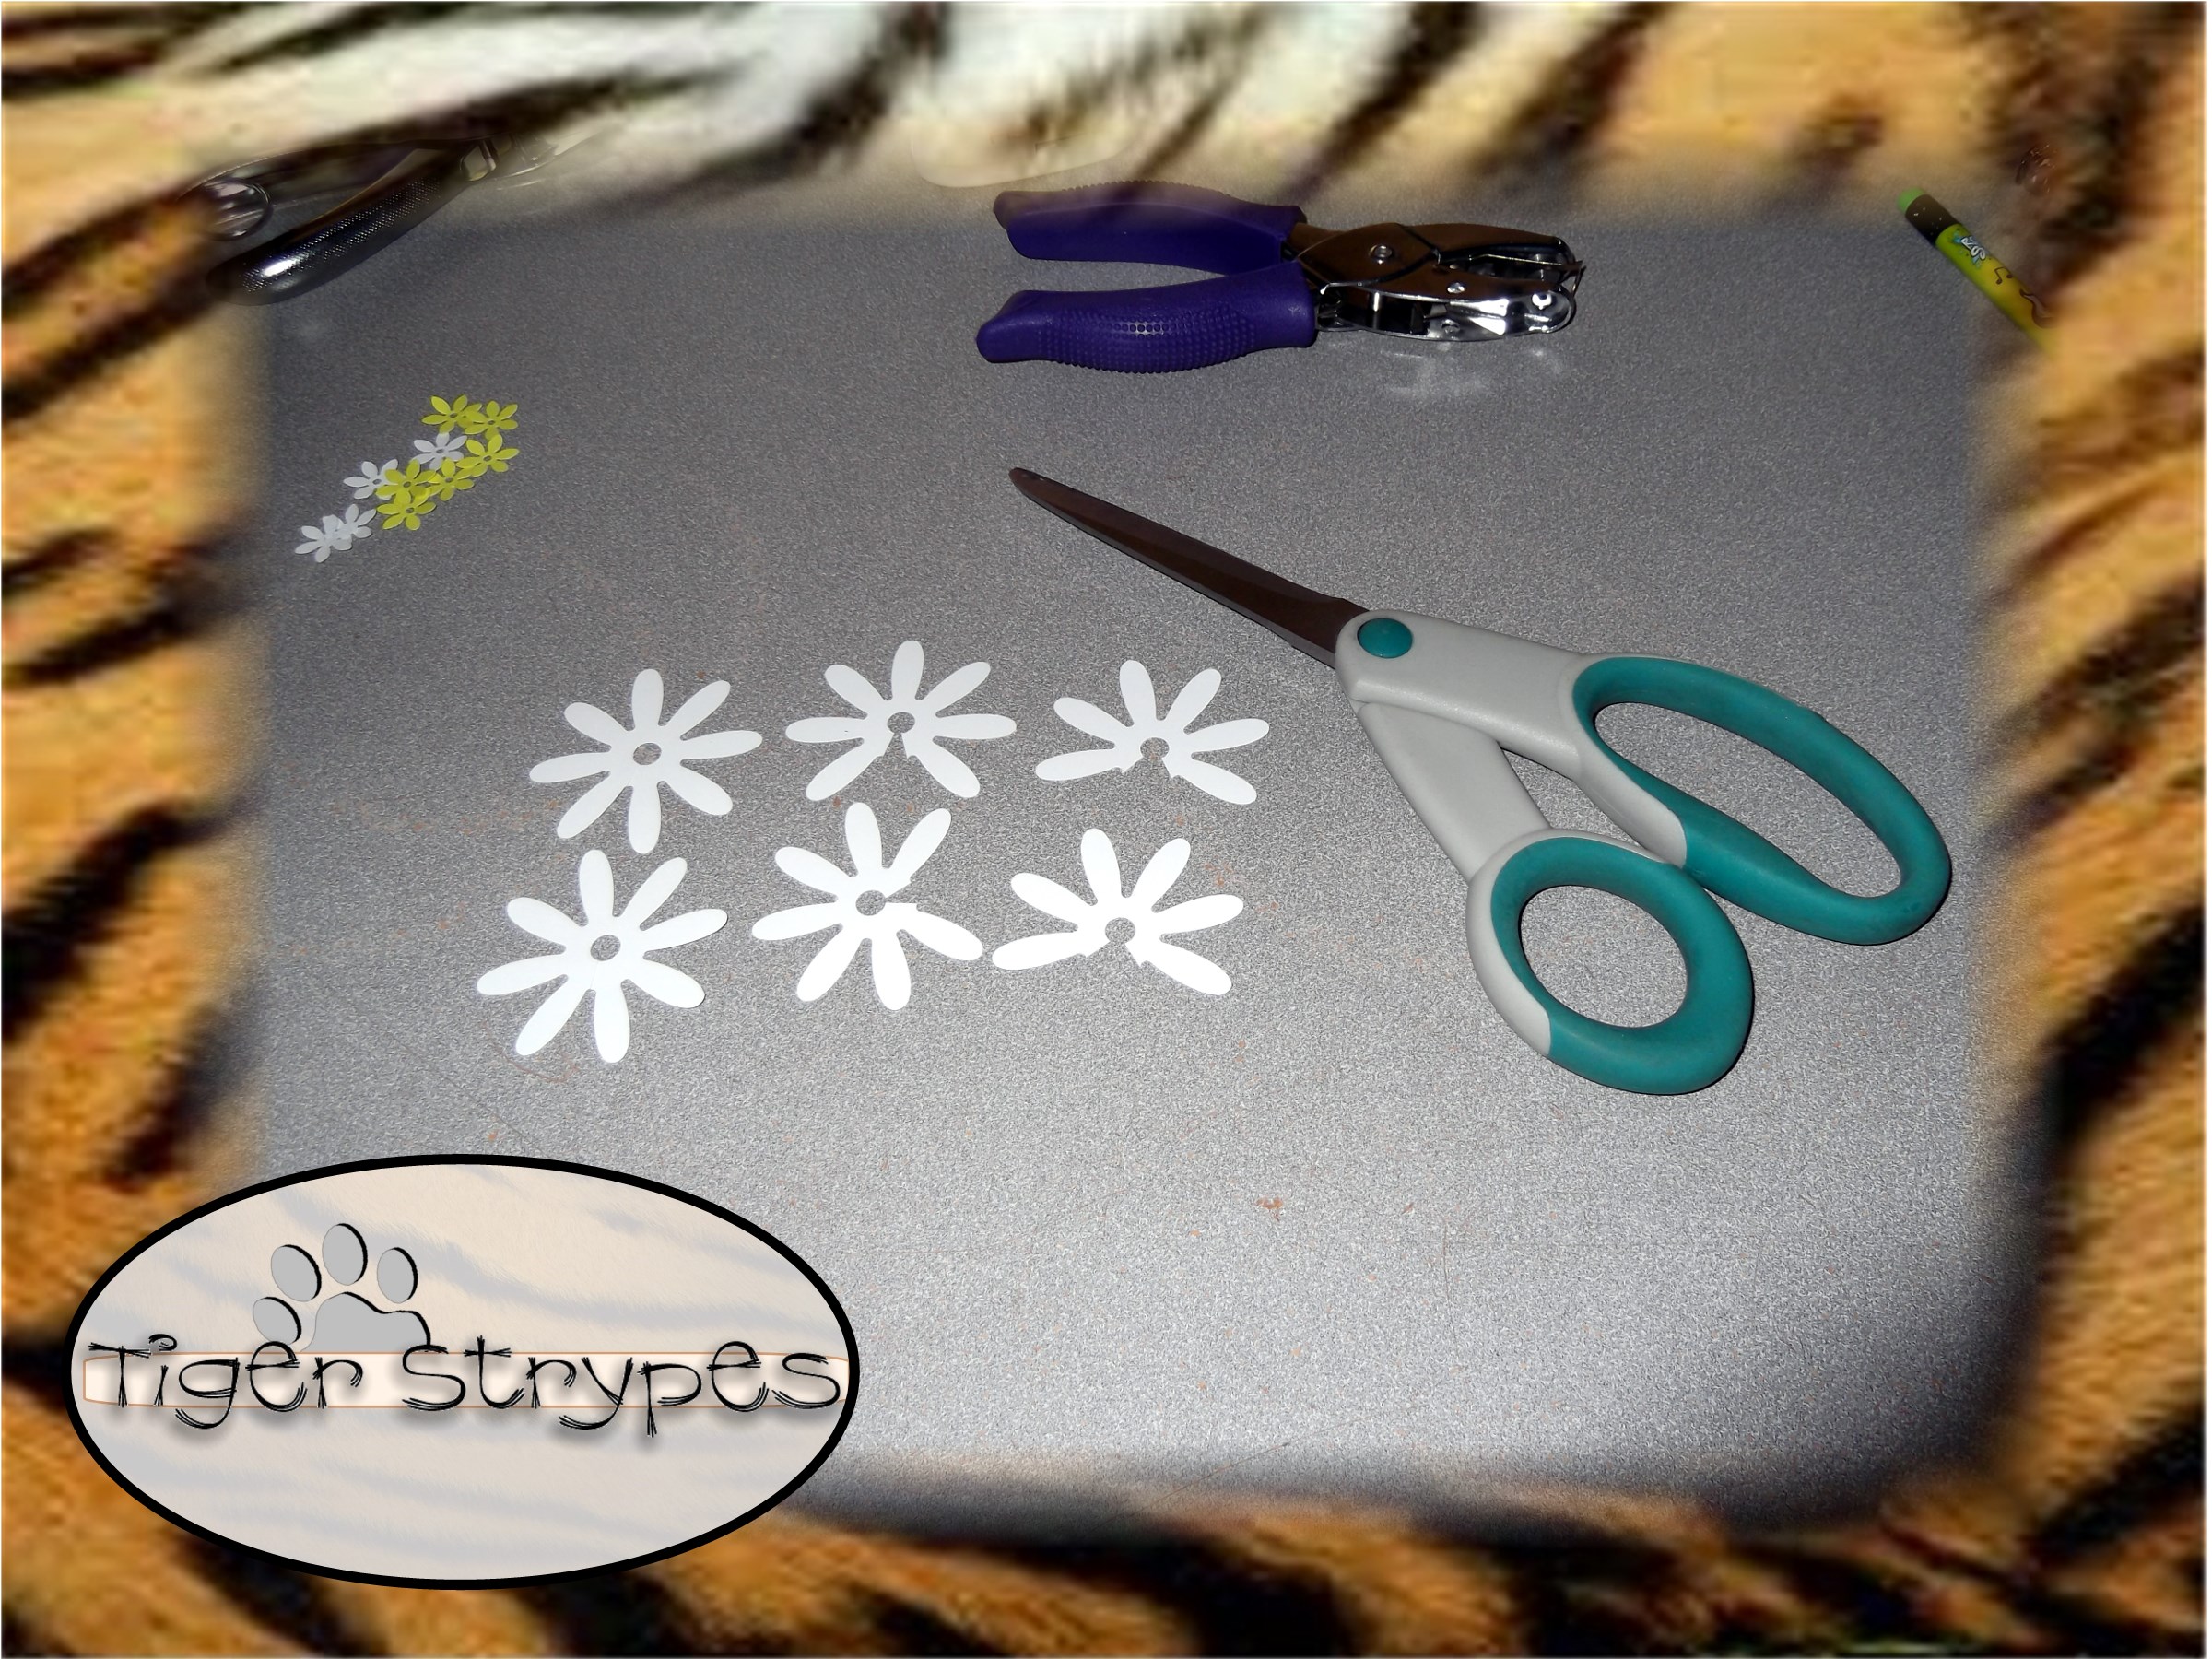
Start by gathering the colors of cardstock you wish to use. Using your decorative punch (I used the Oopsie Daisy Squeeze Punch (Extra-Large) shape), start punching out the amount of flowers you’ll wish to use. NOTE: You’ll need (3) flower punches for each single flower.
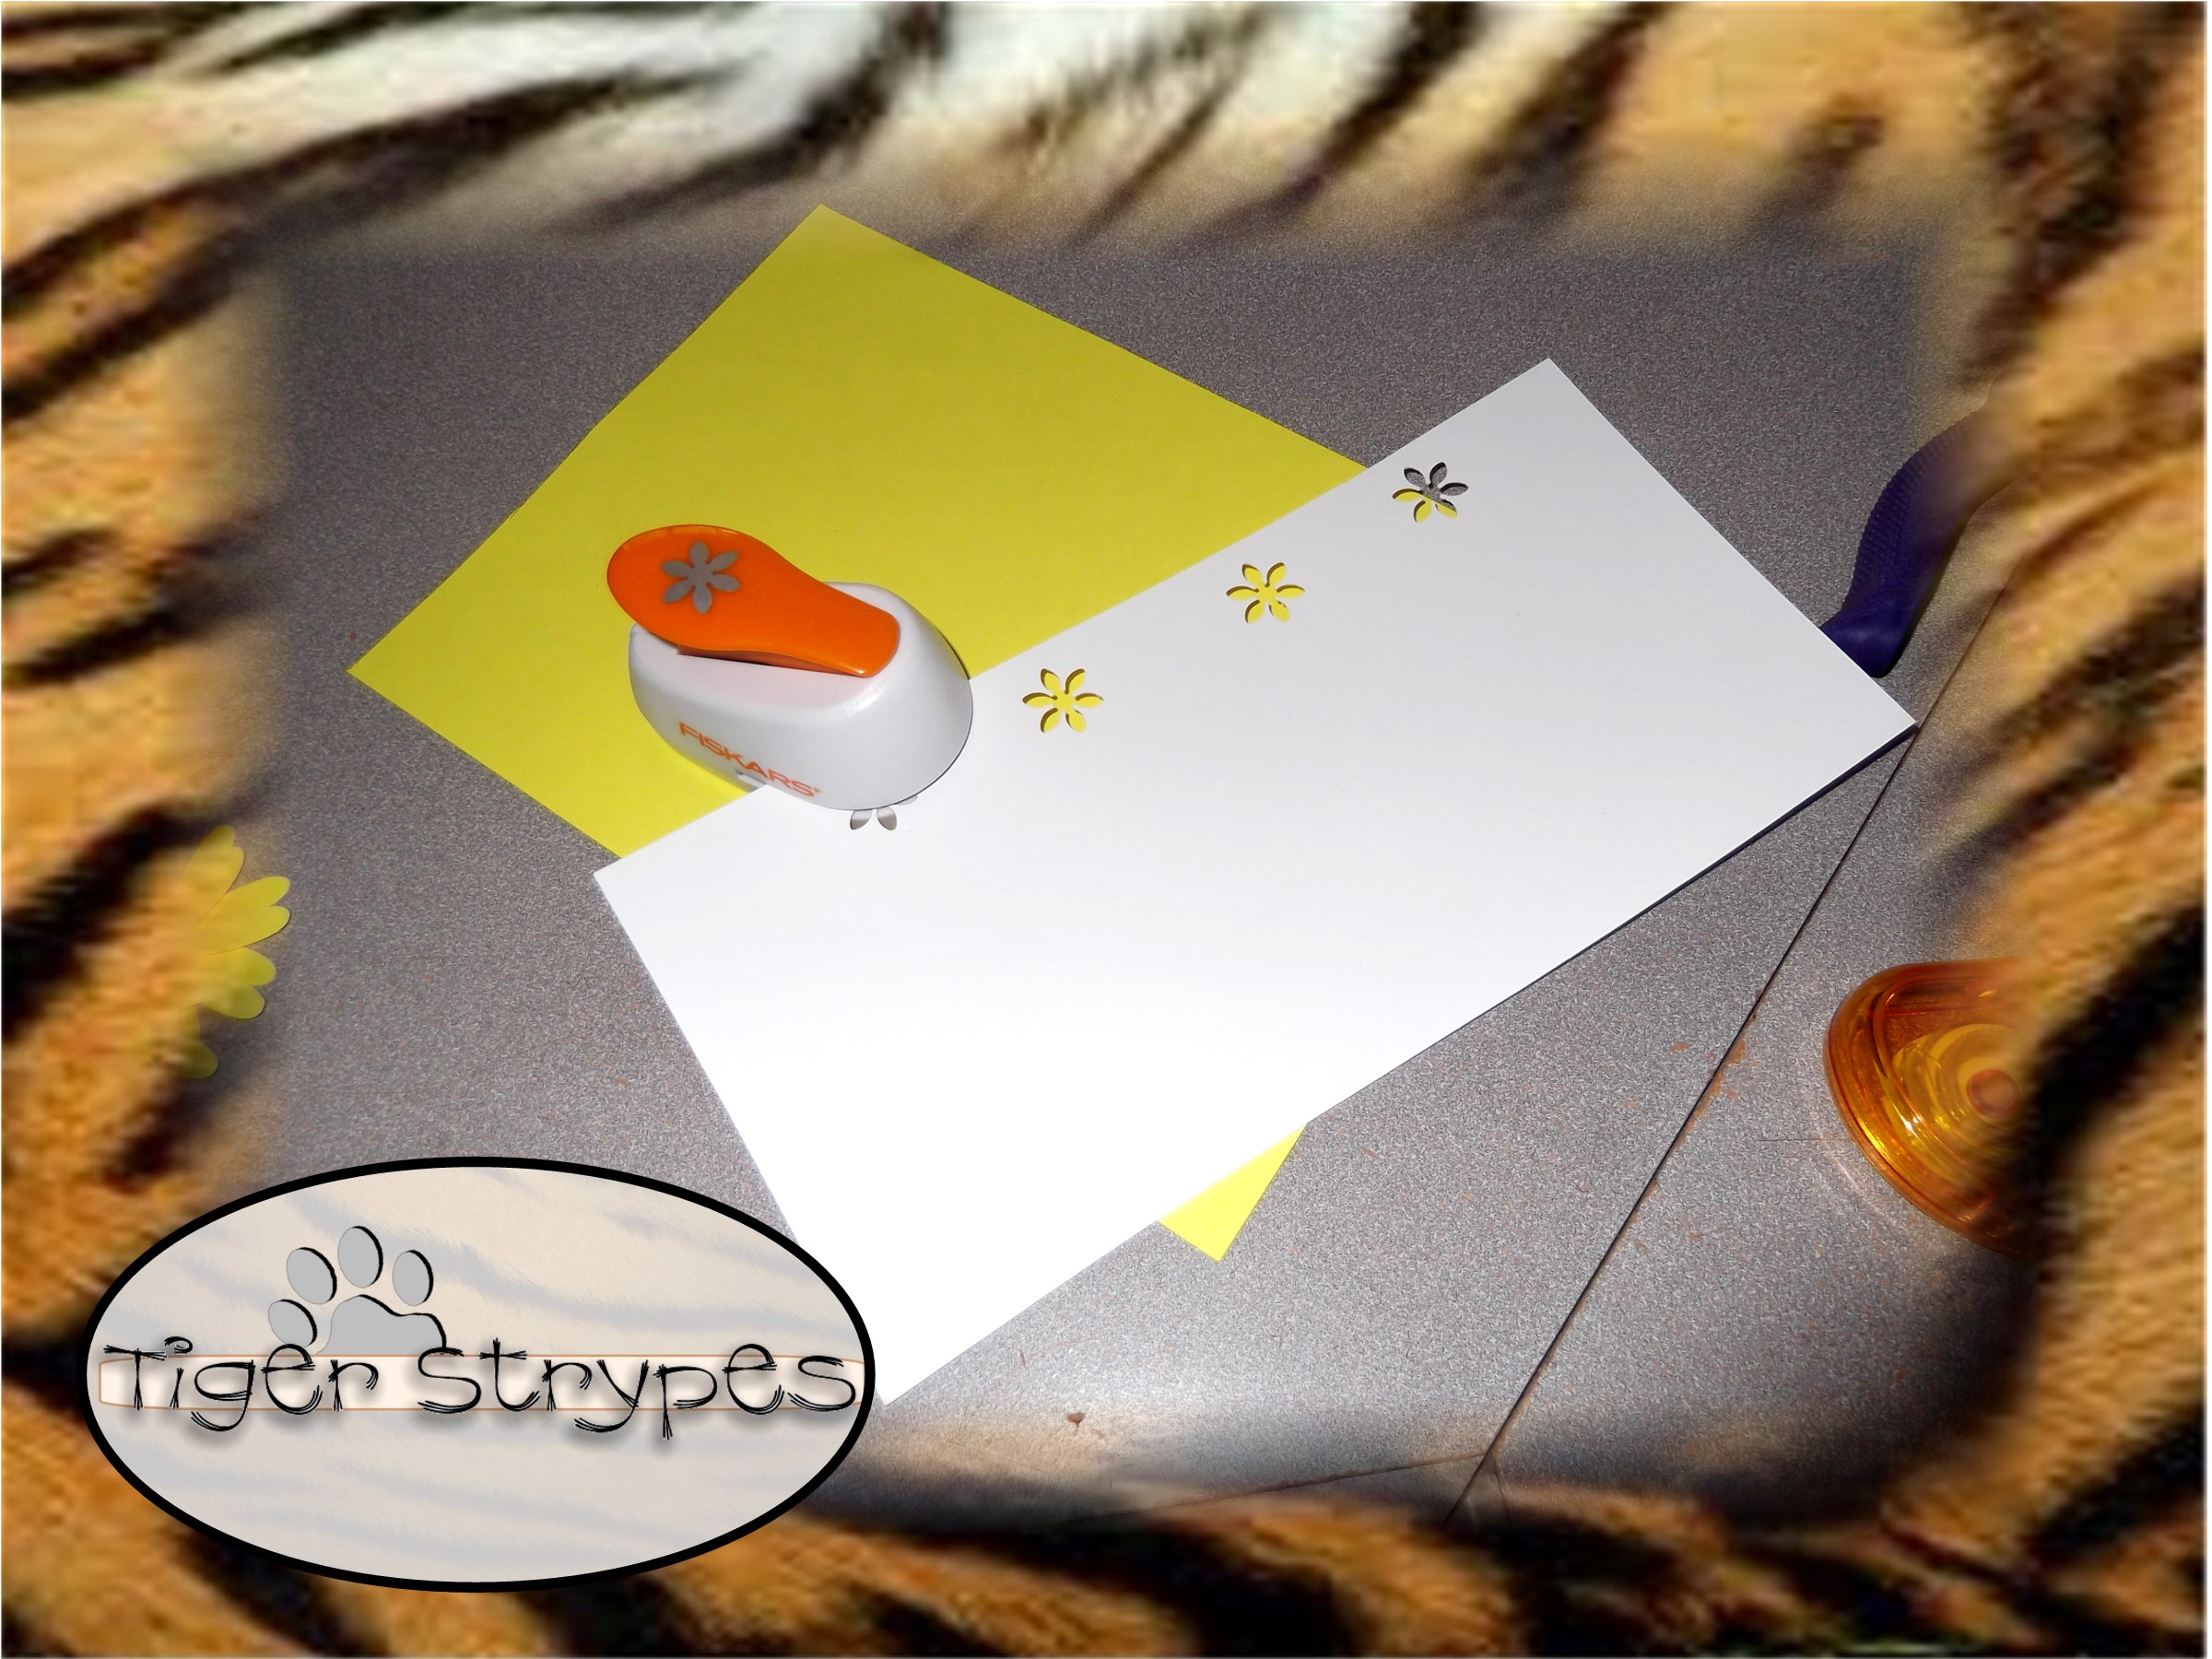
Next, use your small decorative punch (I used the Flower Lever Punch) for the middle part of the flower. You’ll only need (1) of these for each finished flower. Be sure to use a color of paper that goes with the flower, but has it’s own punch.
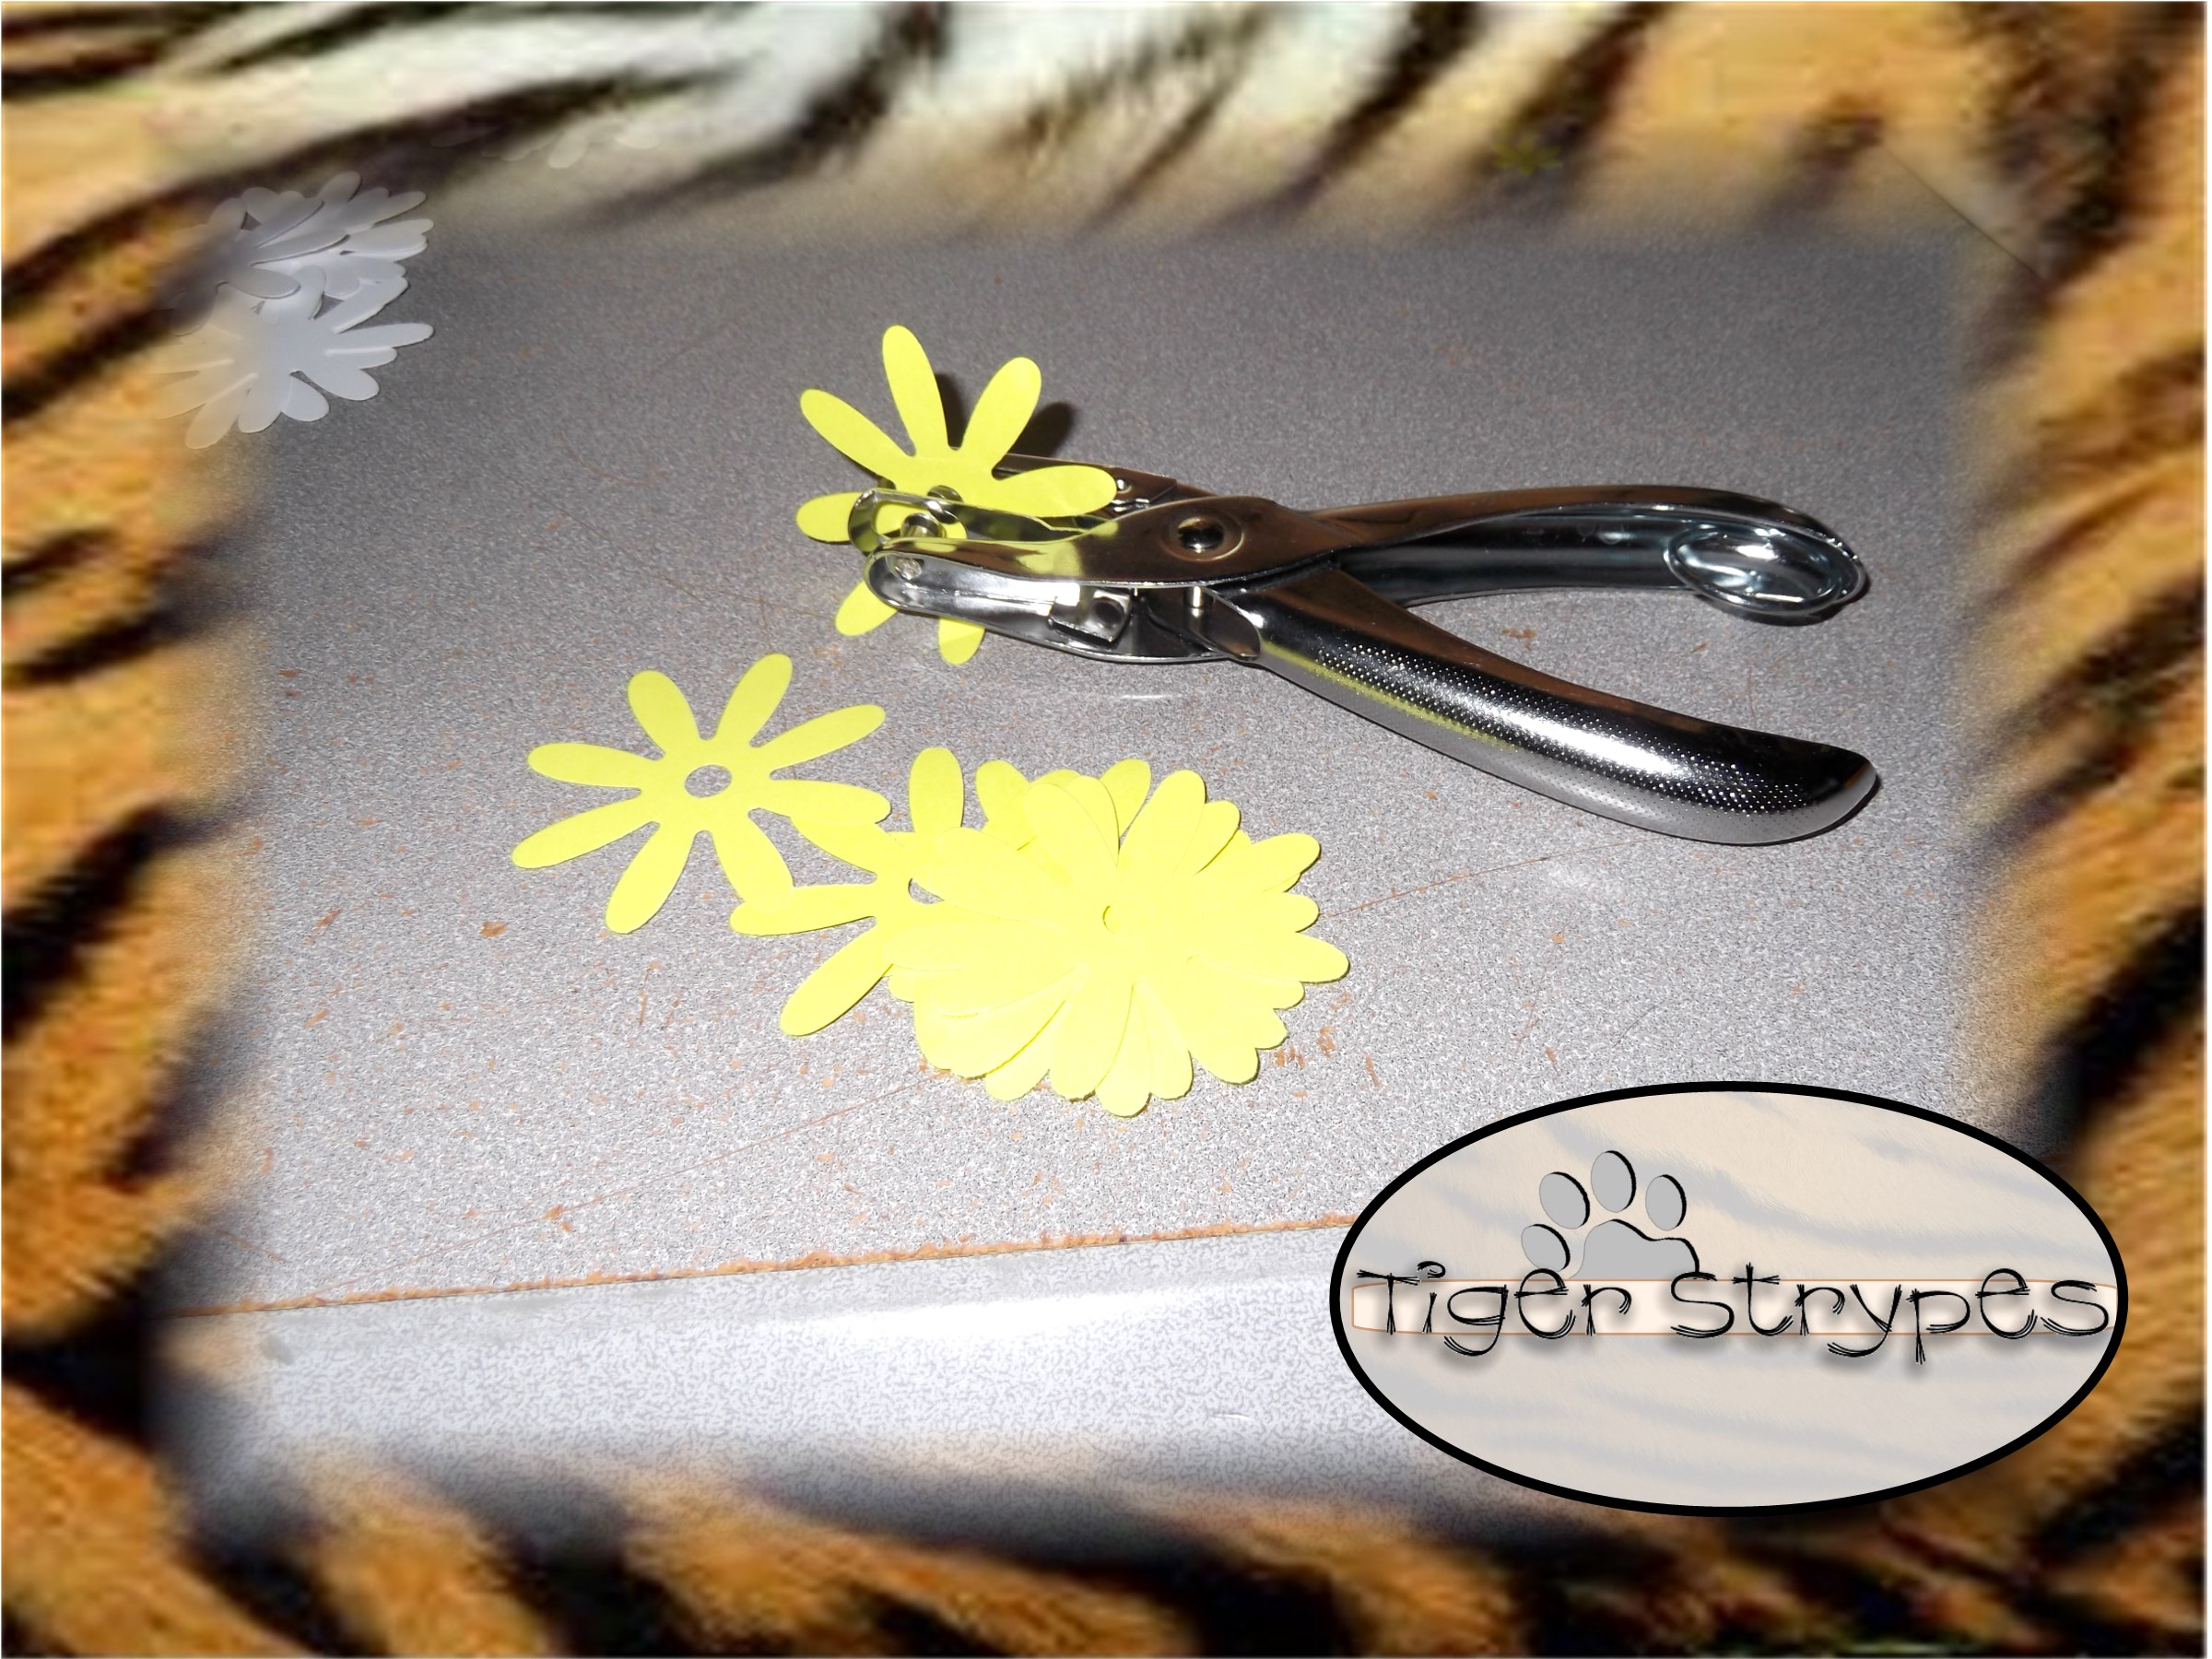
Next, you’ll need to use a 1/4″ hole punch to add holes to the middle of each large flower.
Next, I used a pencil to mark the center of the small flowers, since it was hard to tell when I got then in the punch. I wanted to make sure I got it as centered as I could.
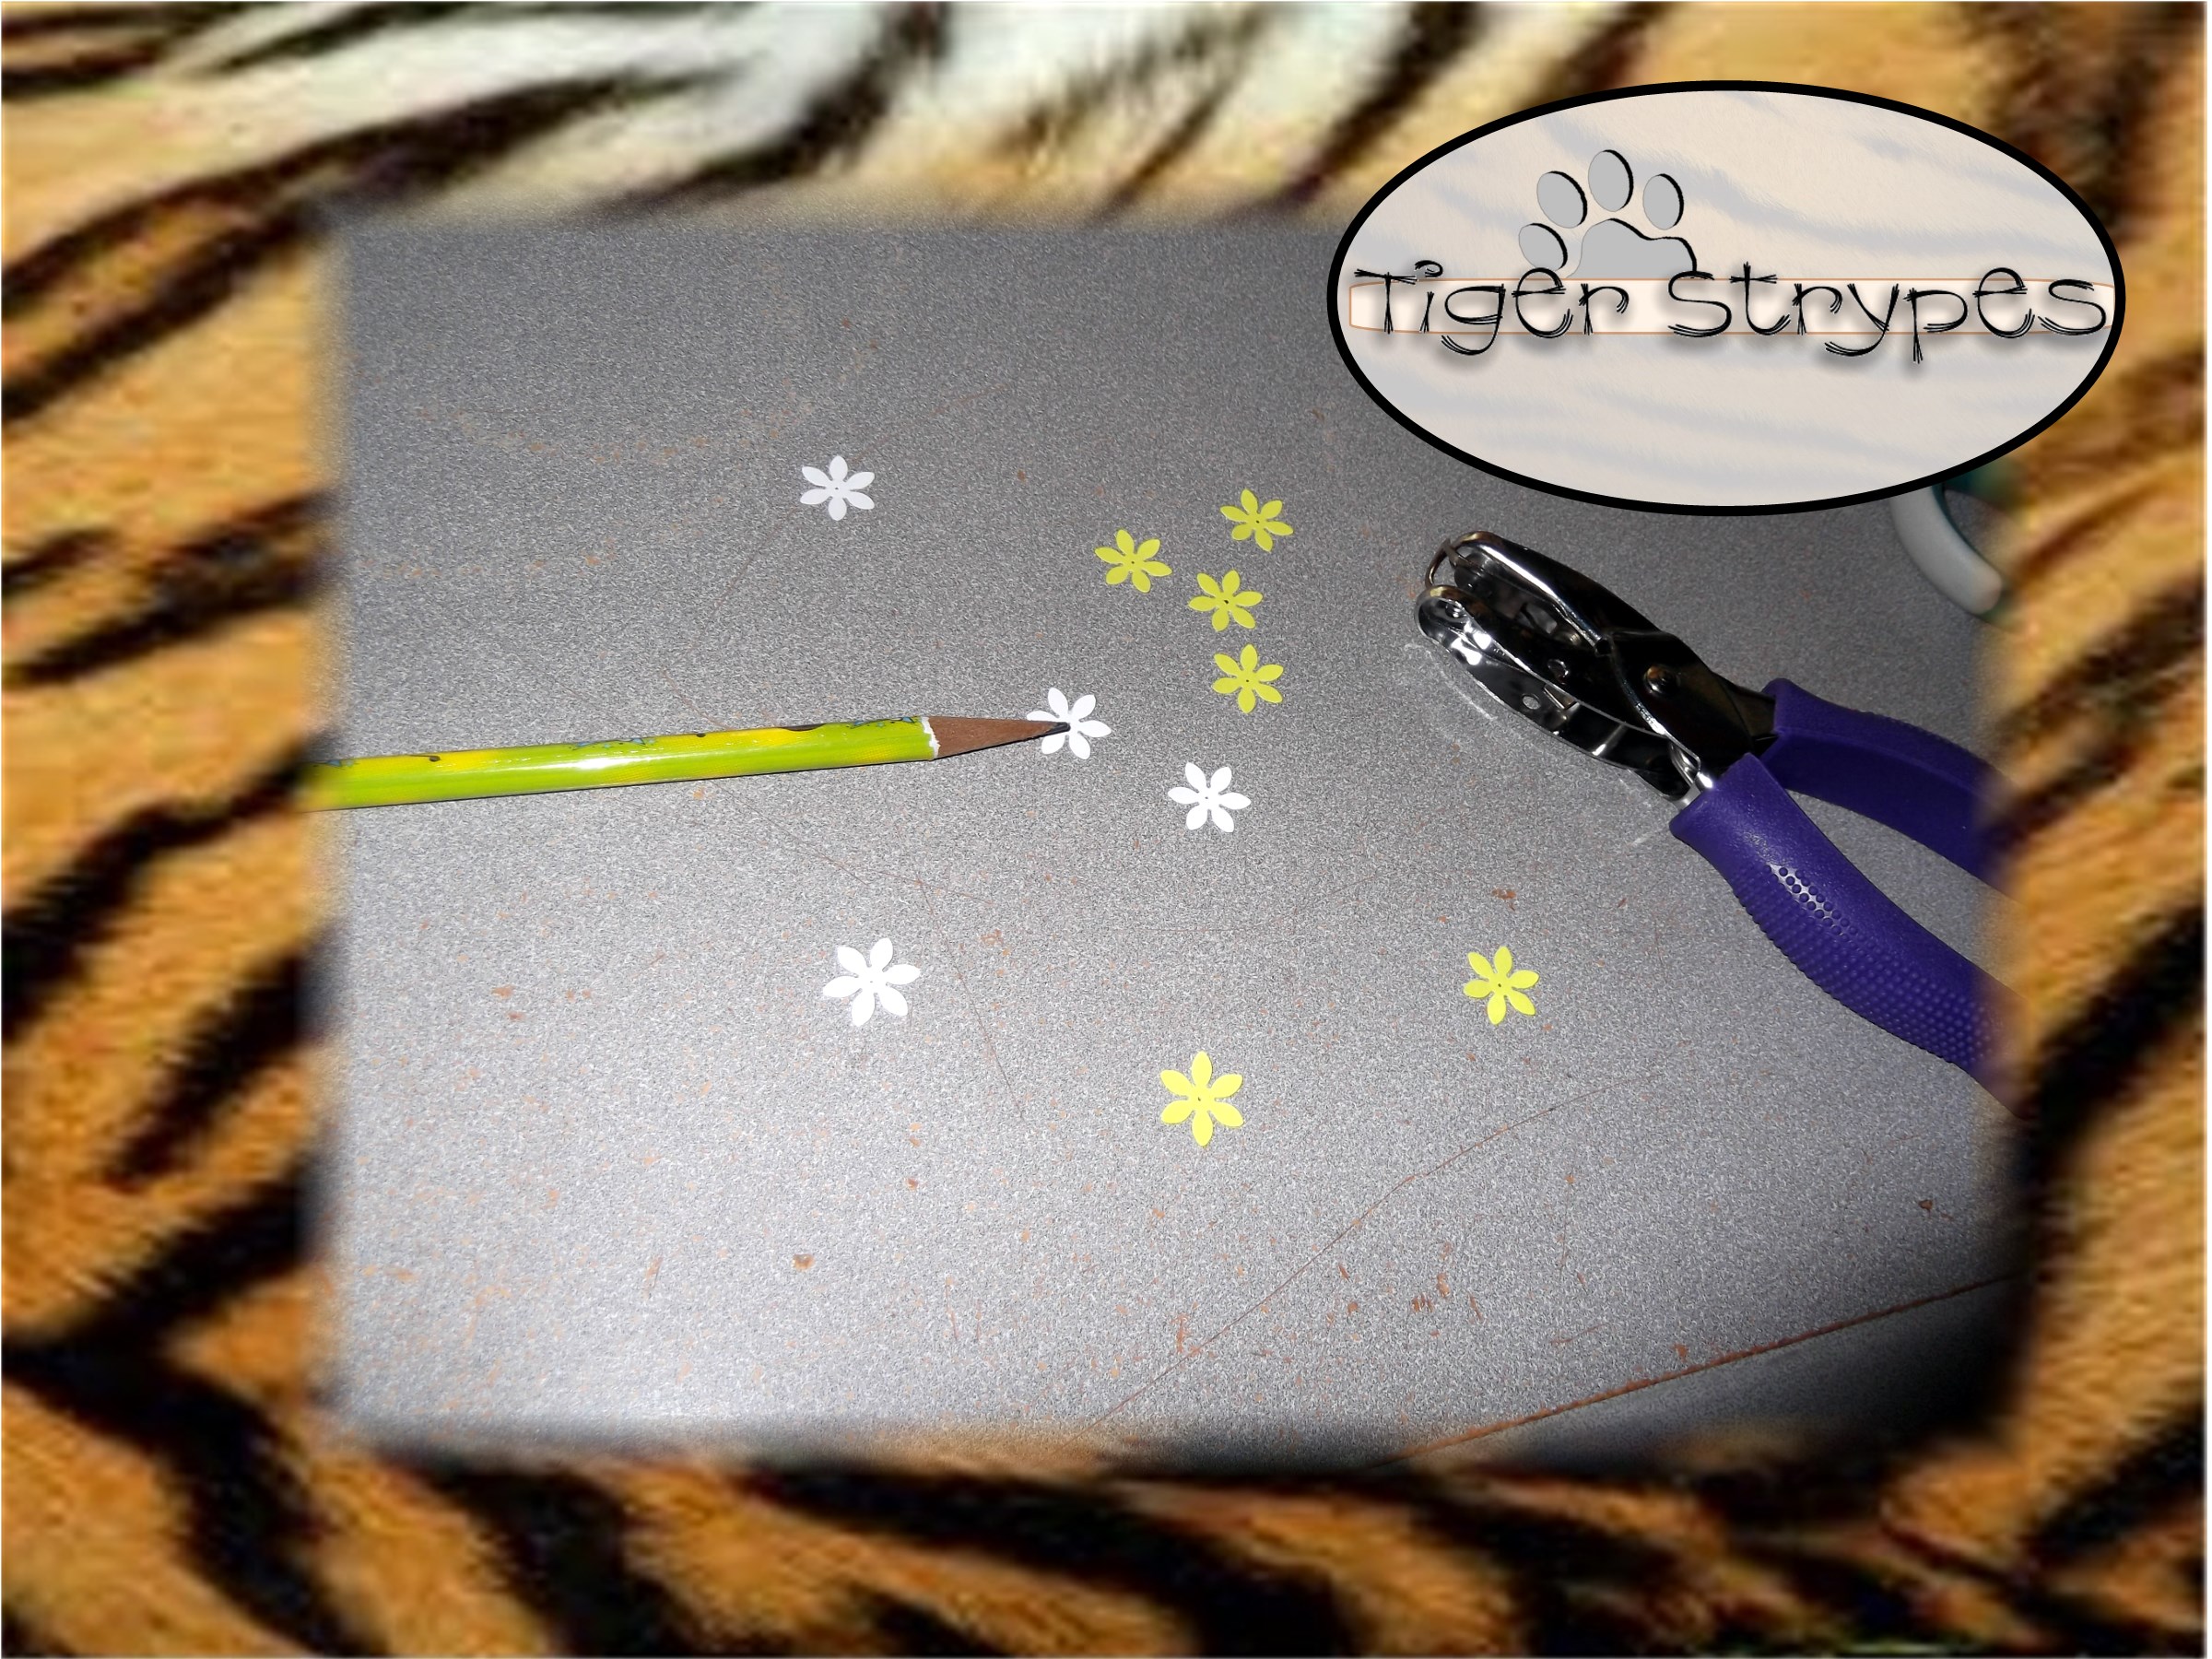
Next, use a 1/16″ hole punch to add holes to the middle of each small flower. NOTE: Mine almost always got stuck, so I got a pair of tweezers to easily remove them off of the punch, without tearing them.

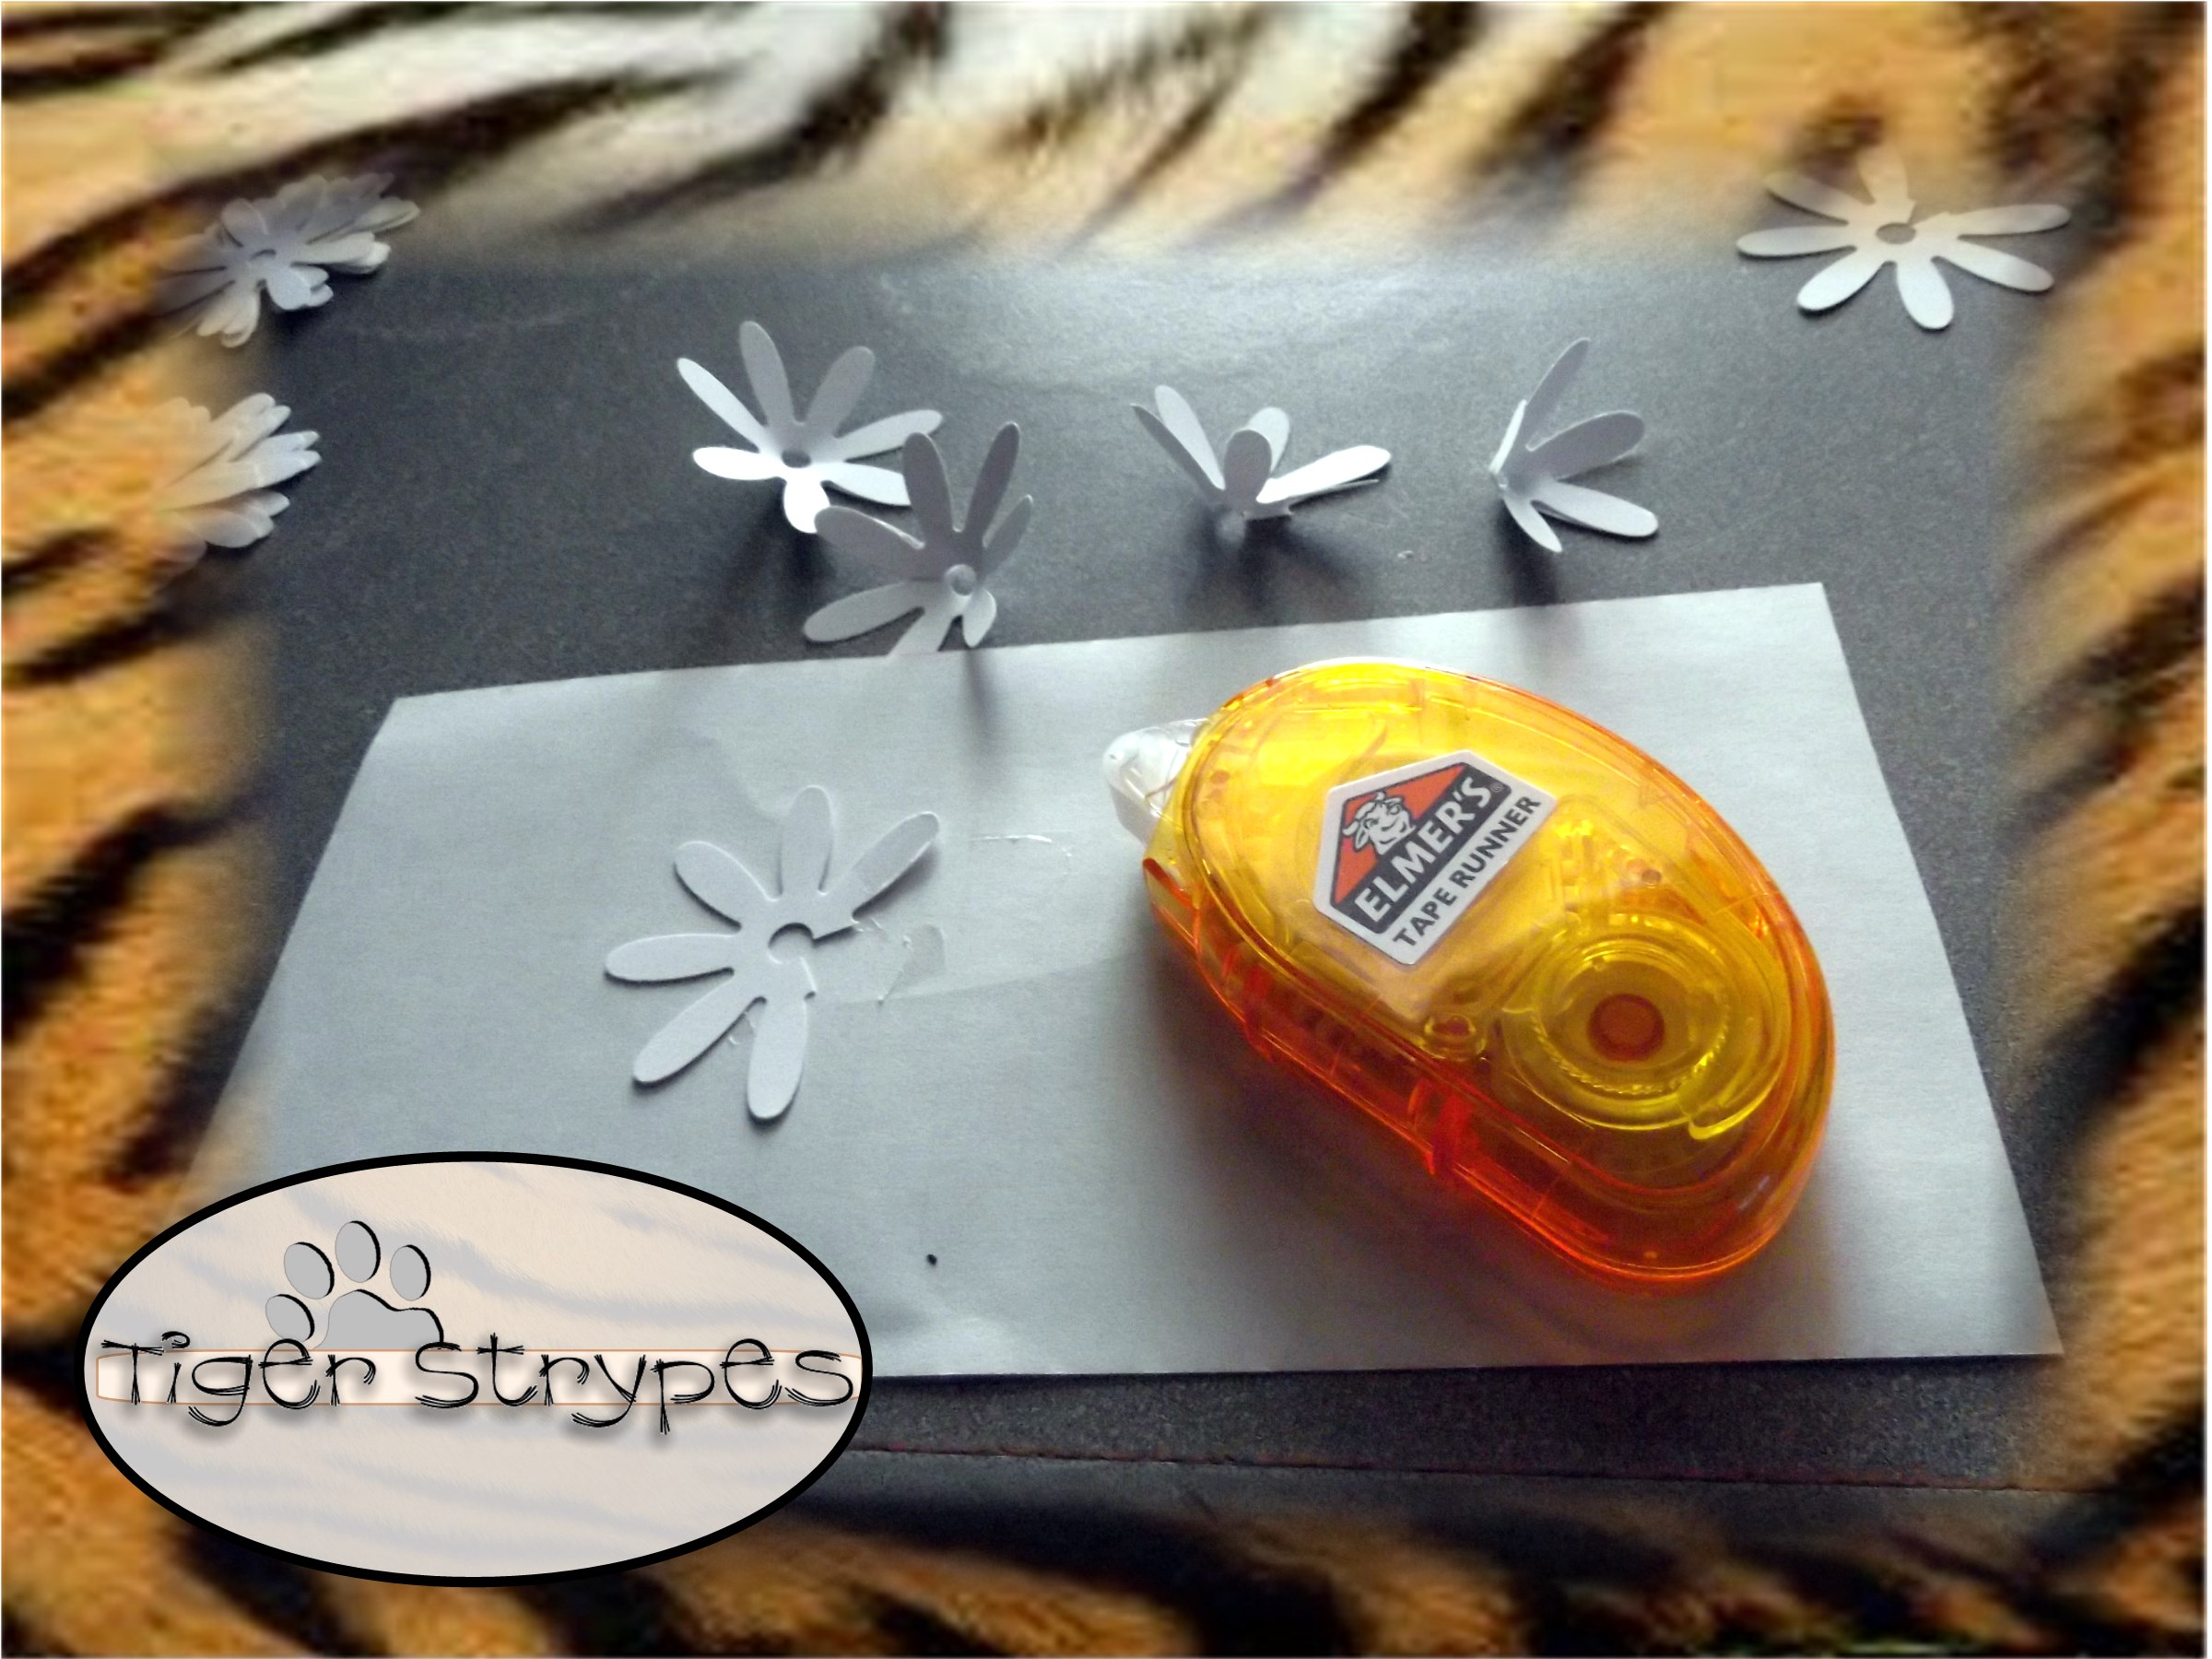
After that, you’ll need to trim the flower shapes to begin your piece. I show (2) of each, but if you’re only making one, then you need (1) cut with a slit between 2 petals – just a simple cut, (1) with a petal cut off and (1) with two petals cut off.
Now you use your glue tape or glue dots to attach the petals next to the cuts together. You’ll need to put the one on top of the other to make them a single piece. Be sure to get them as even as possible.
After you’re done gluing the flowers together, use a stylus or thin pencil to curve the petals (for a more realistic look).
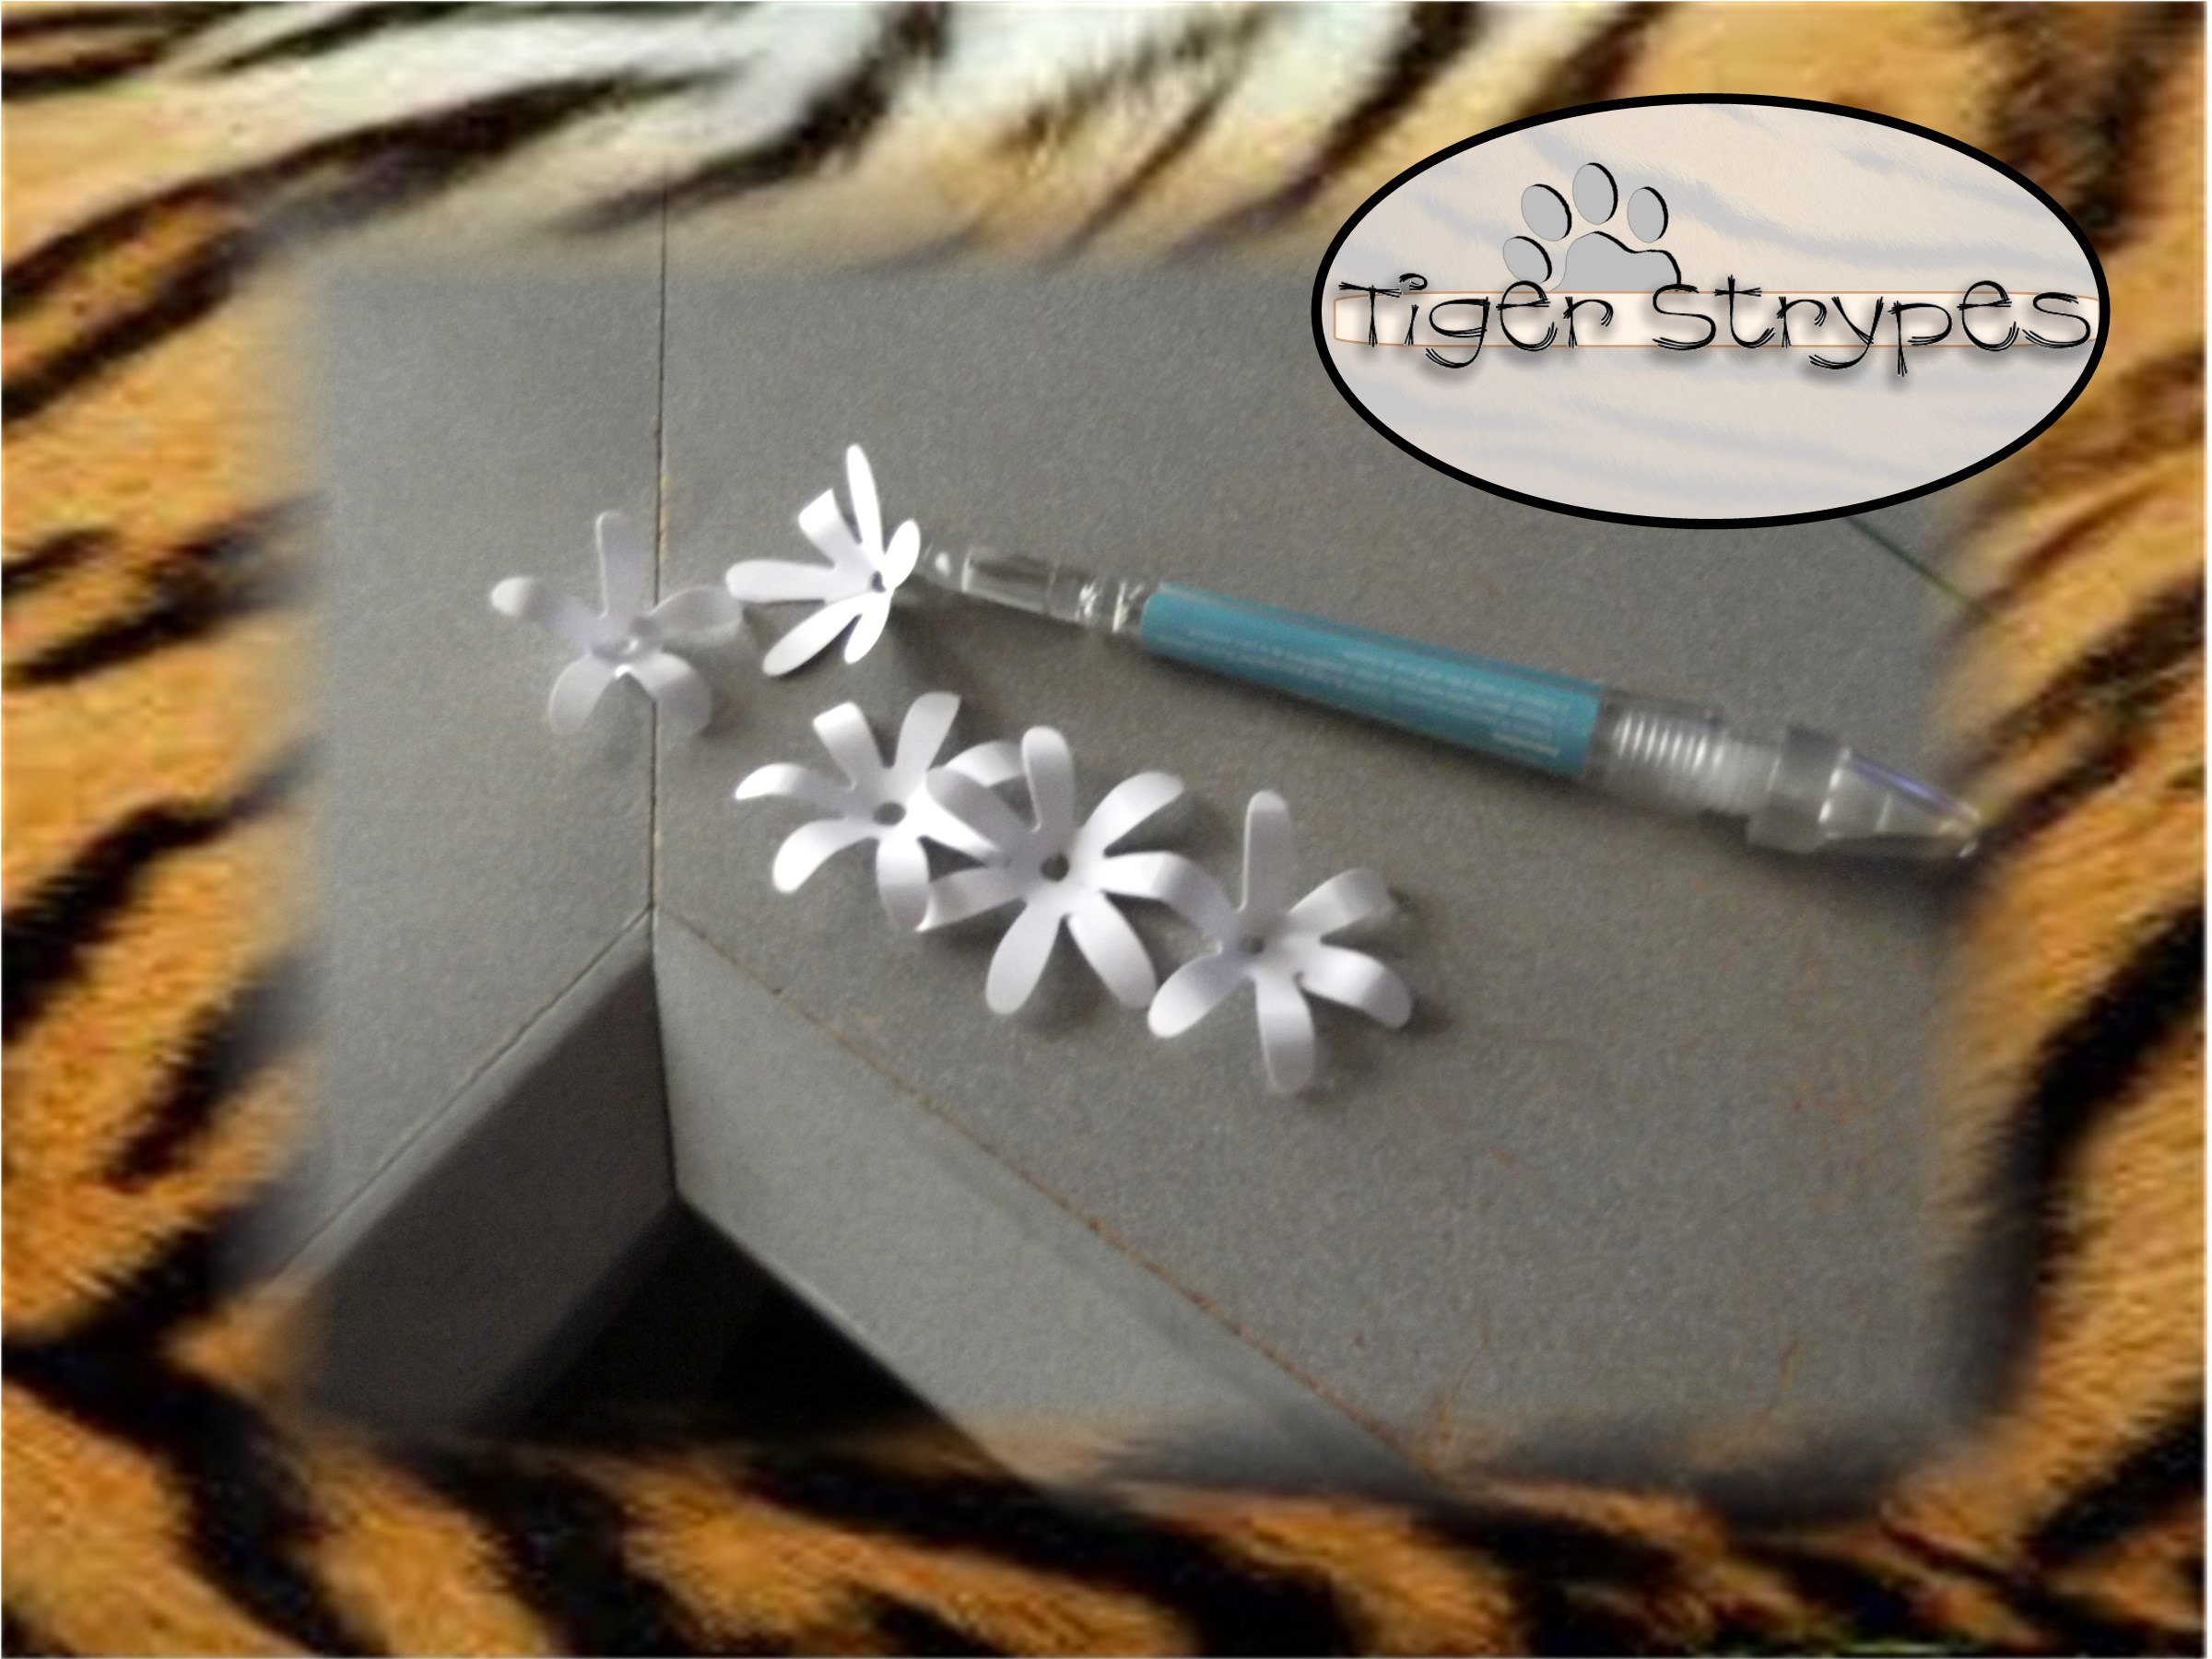
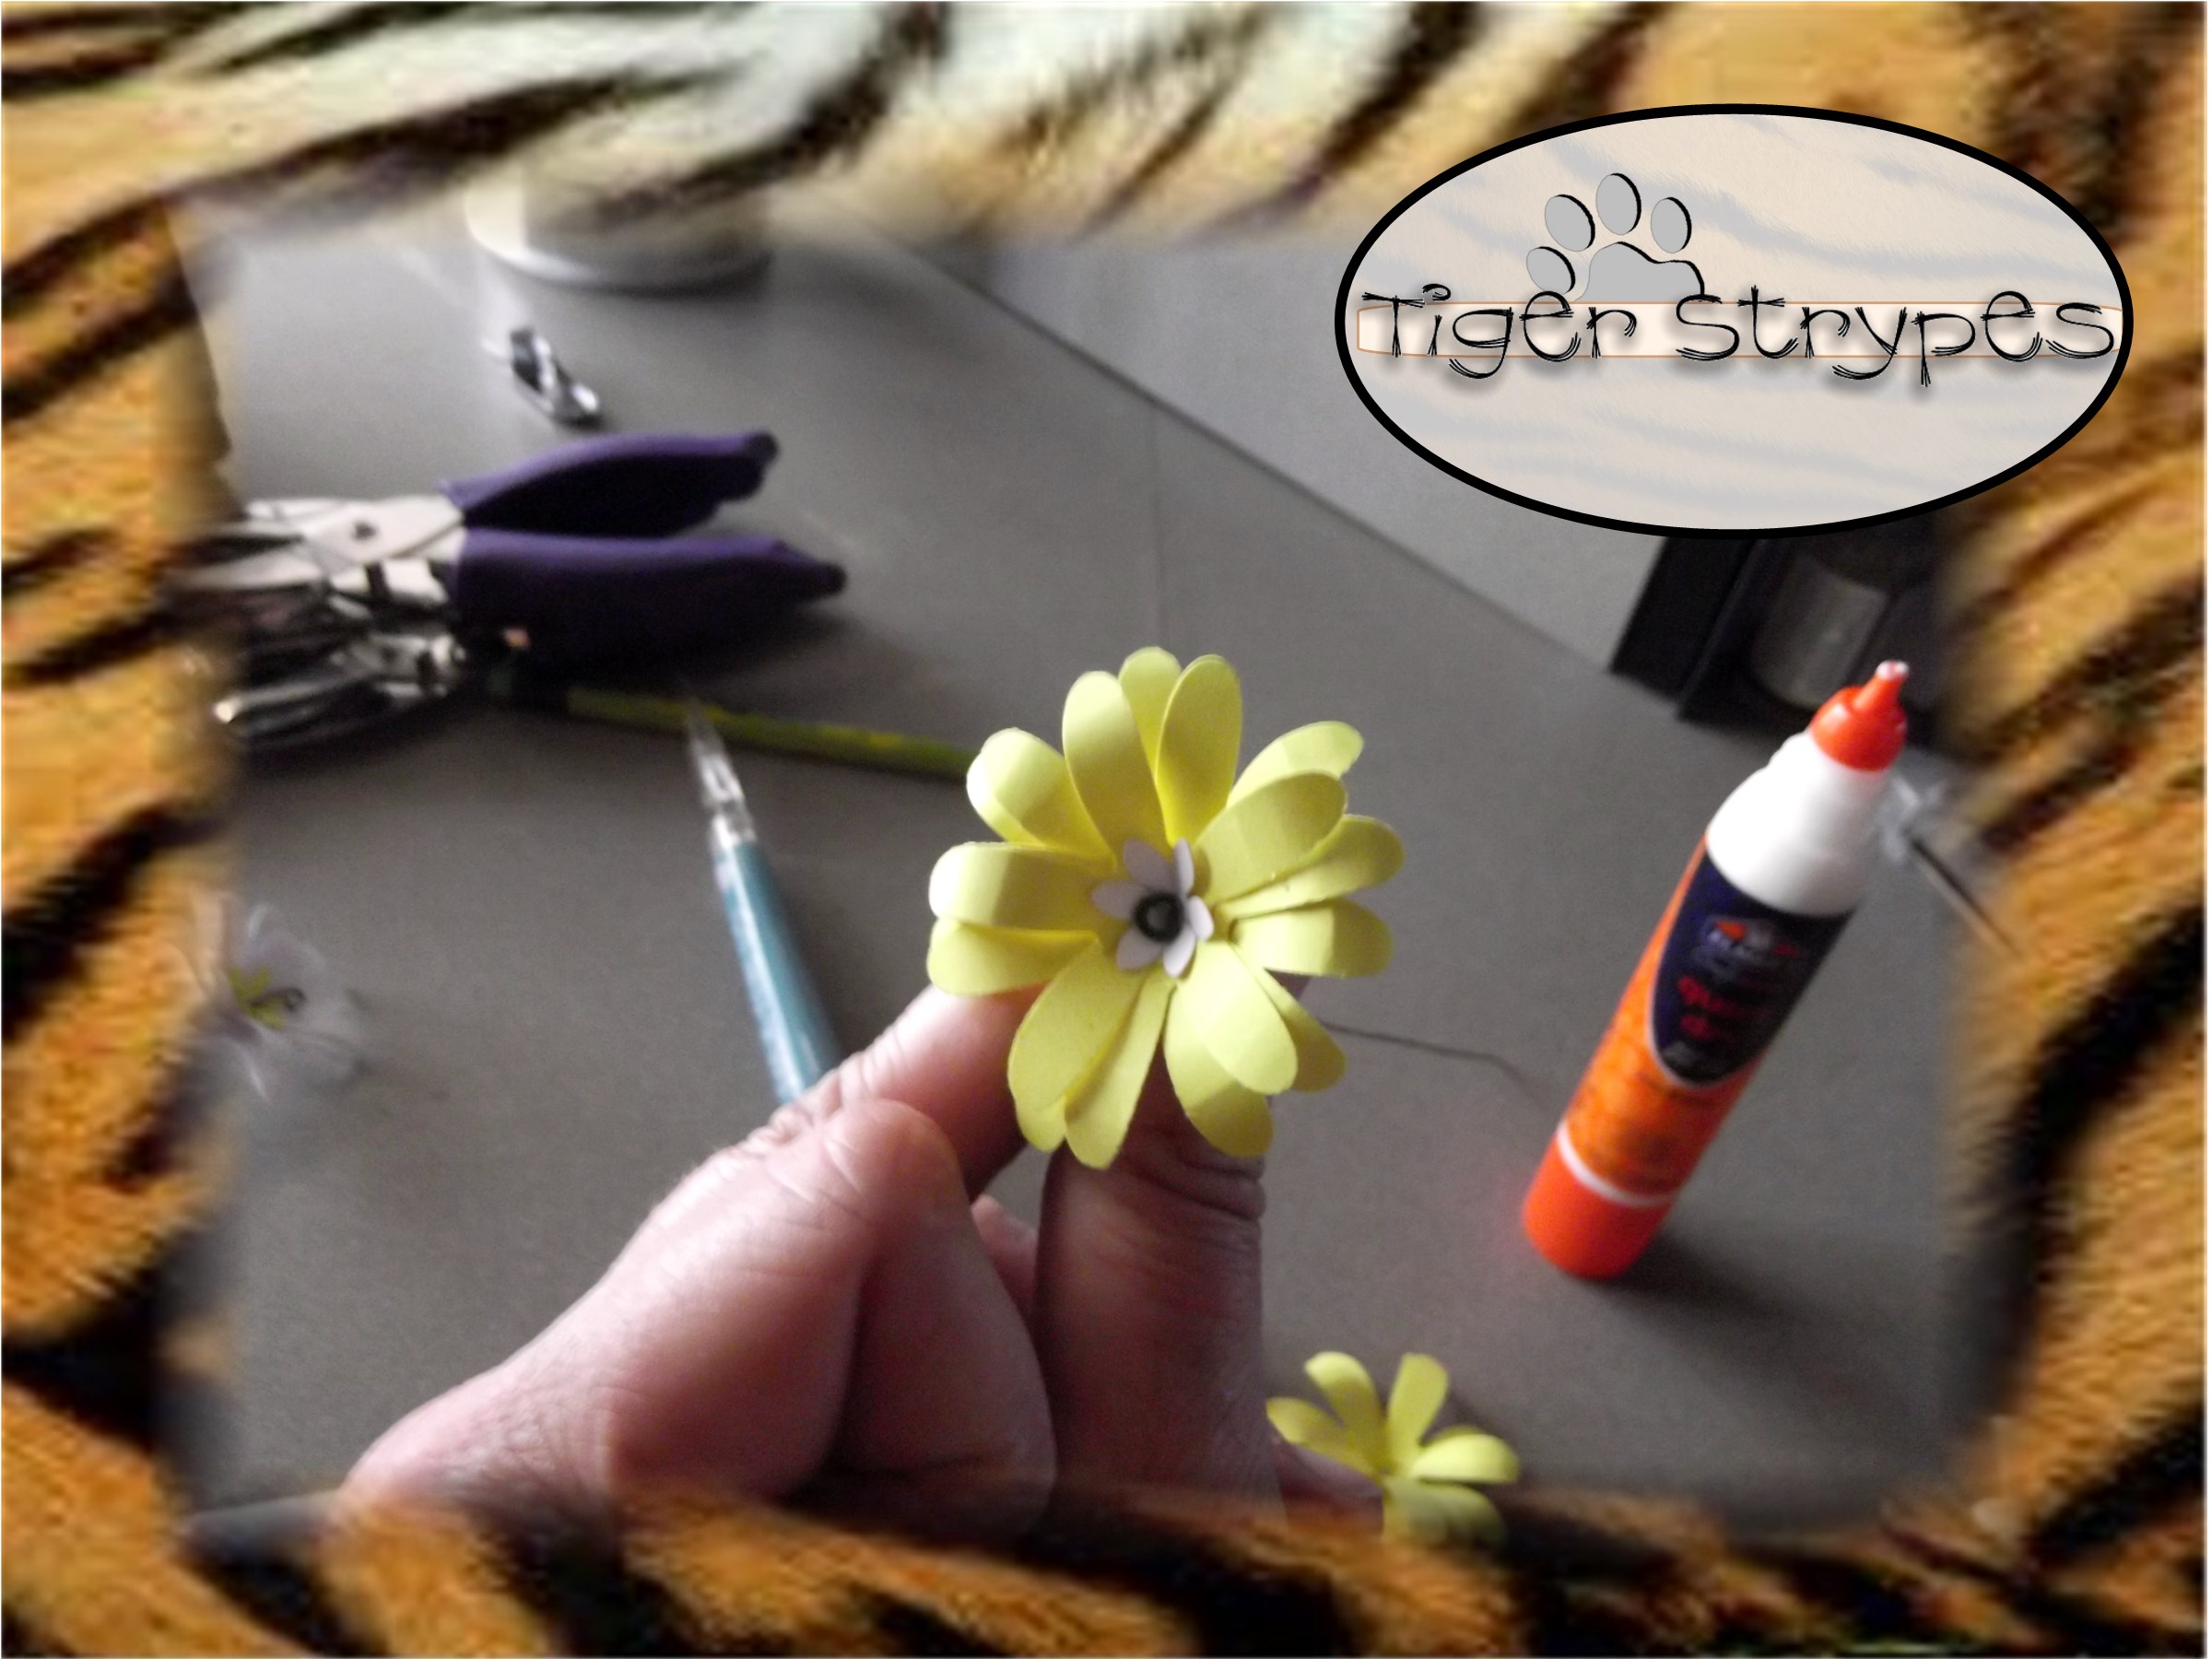
Once you have them all curved, layer the one with the most to the one with the least petals on top of each other and glue into place.
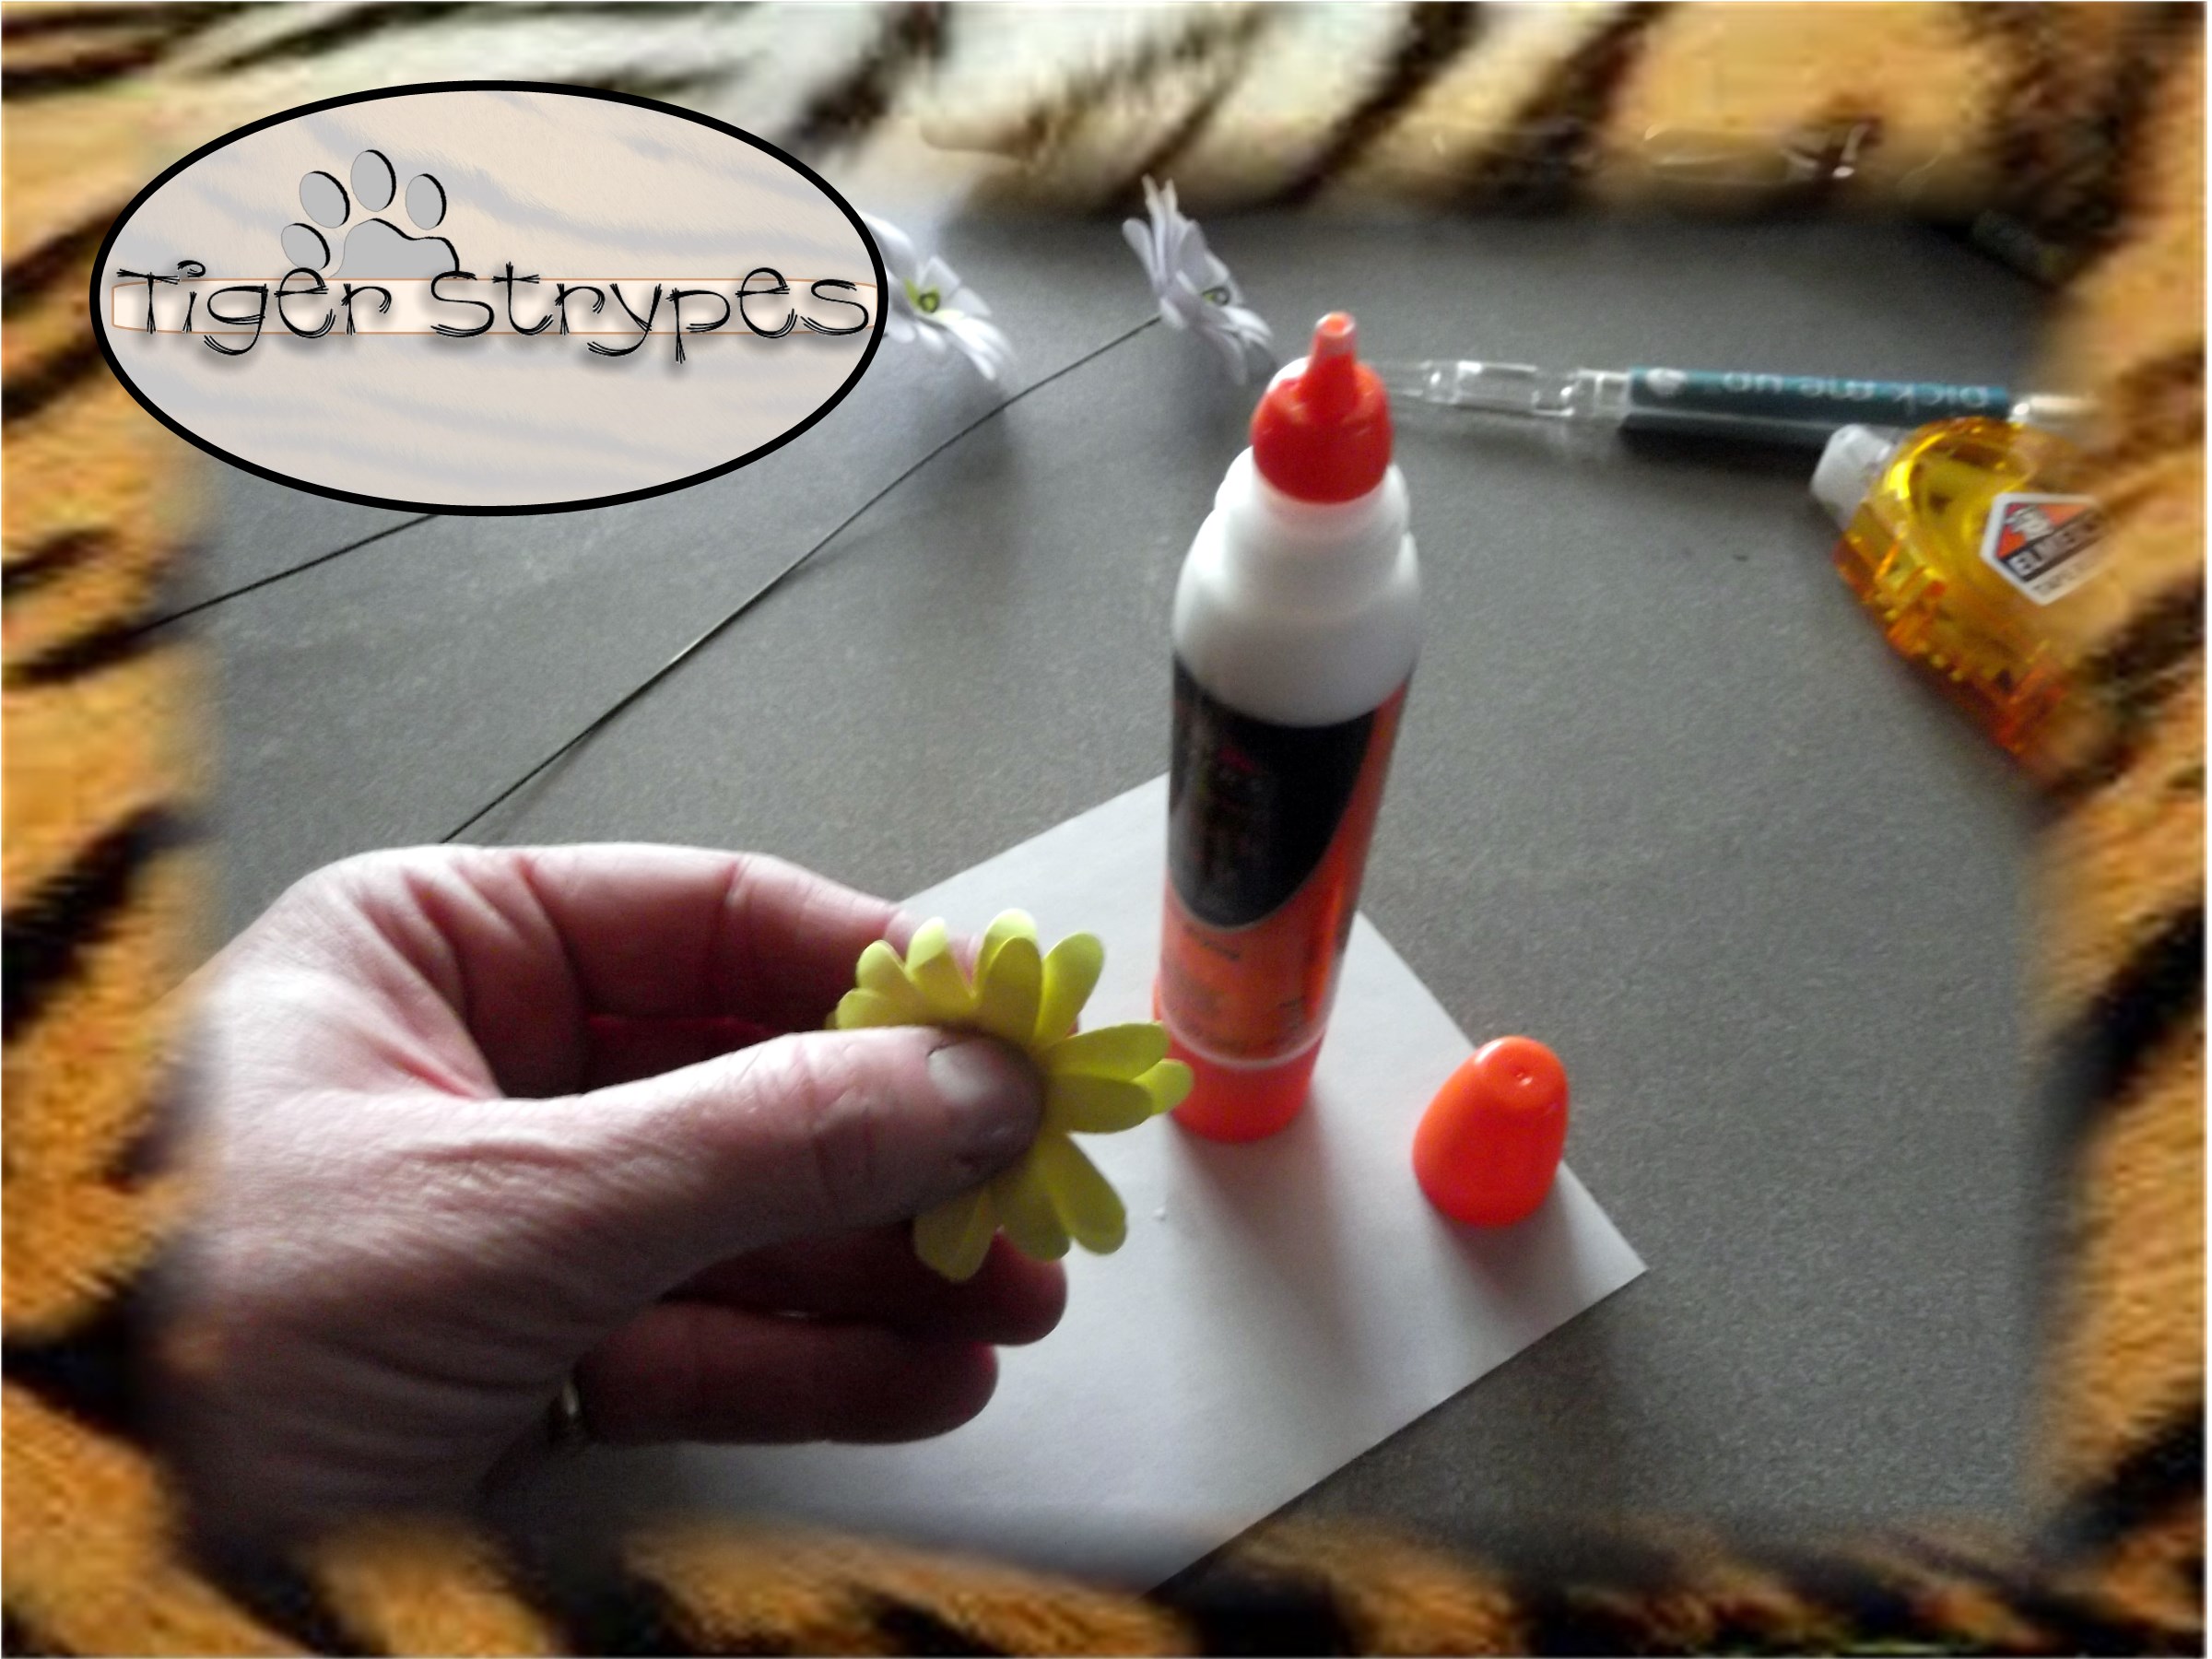
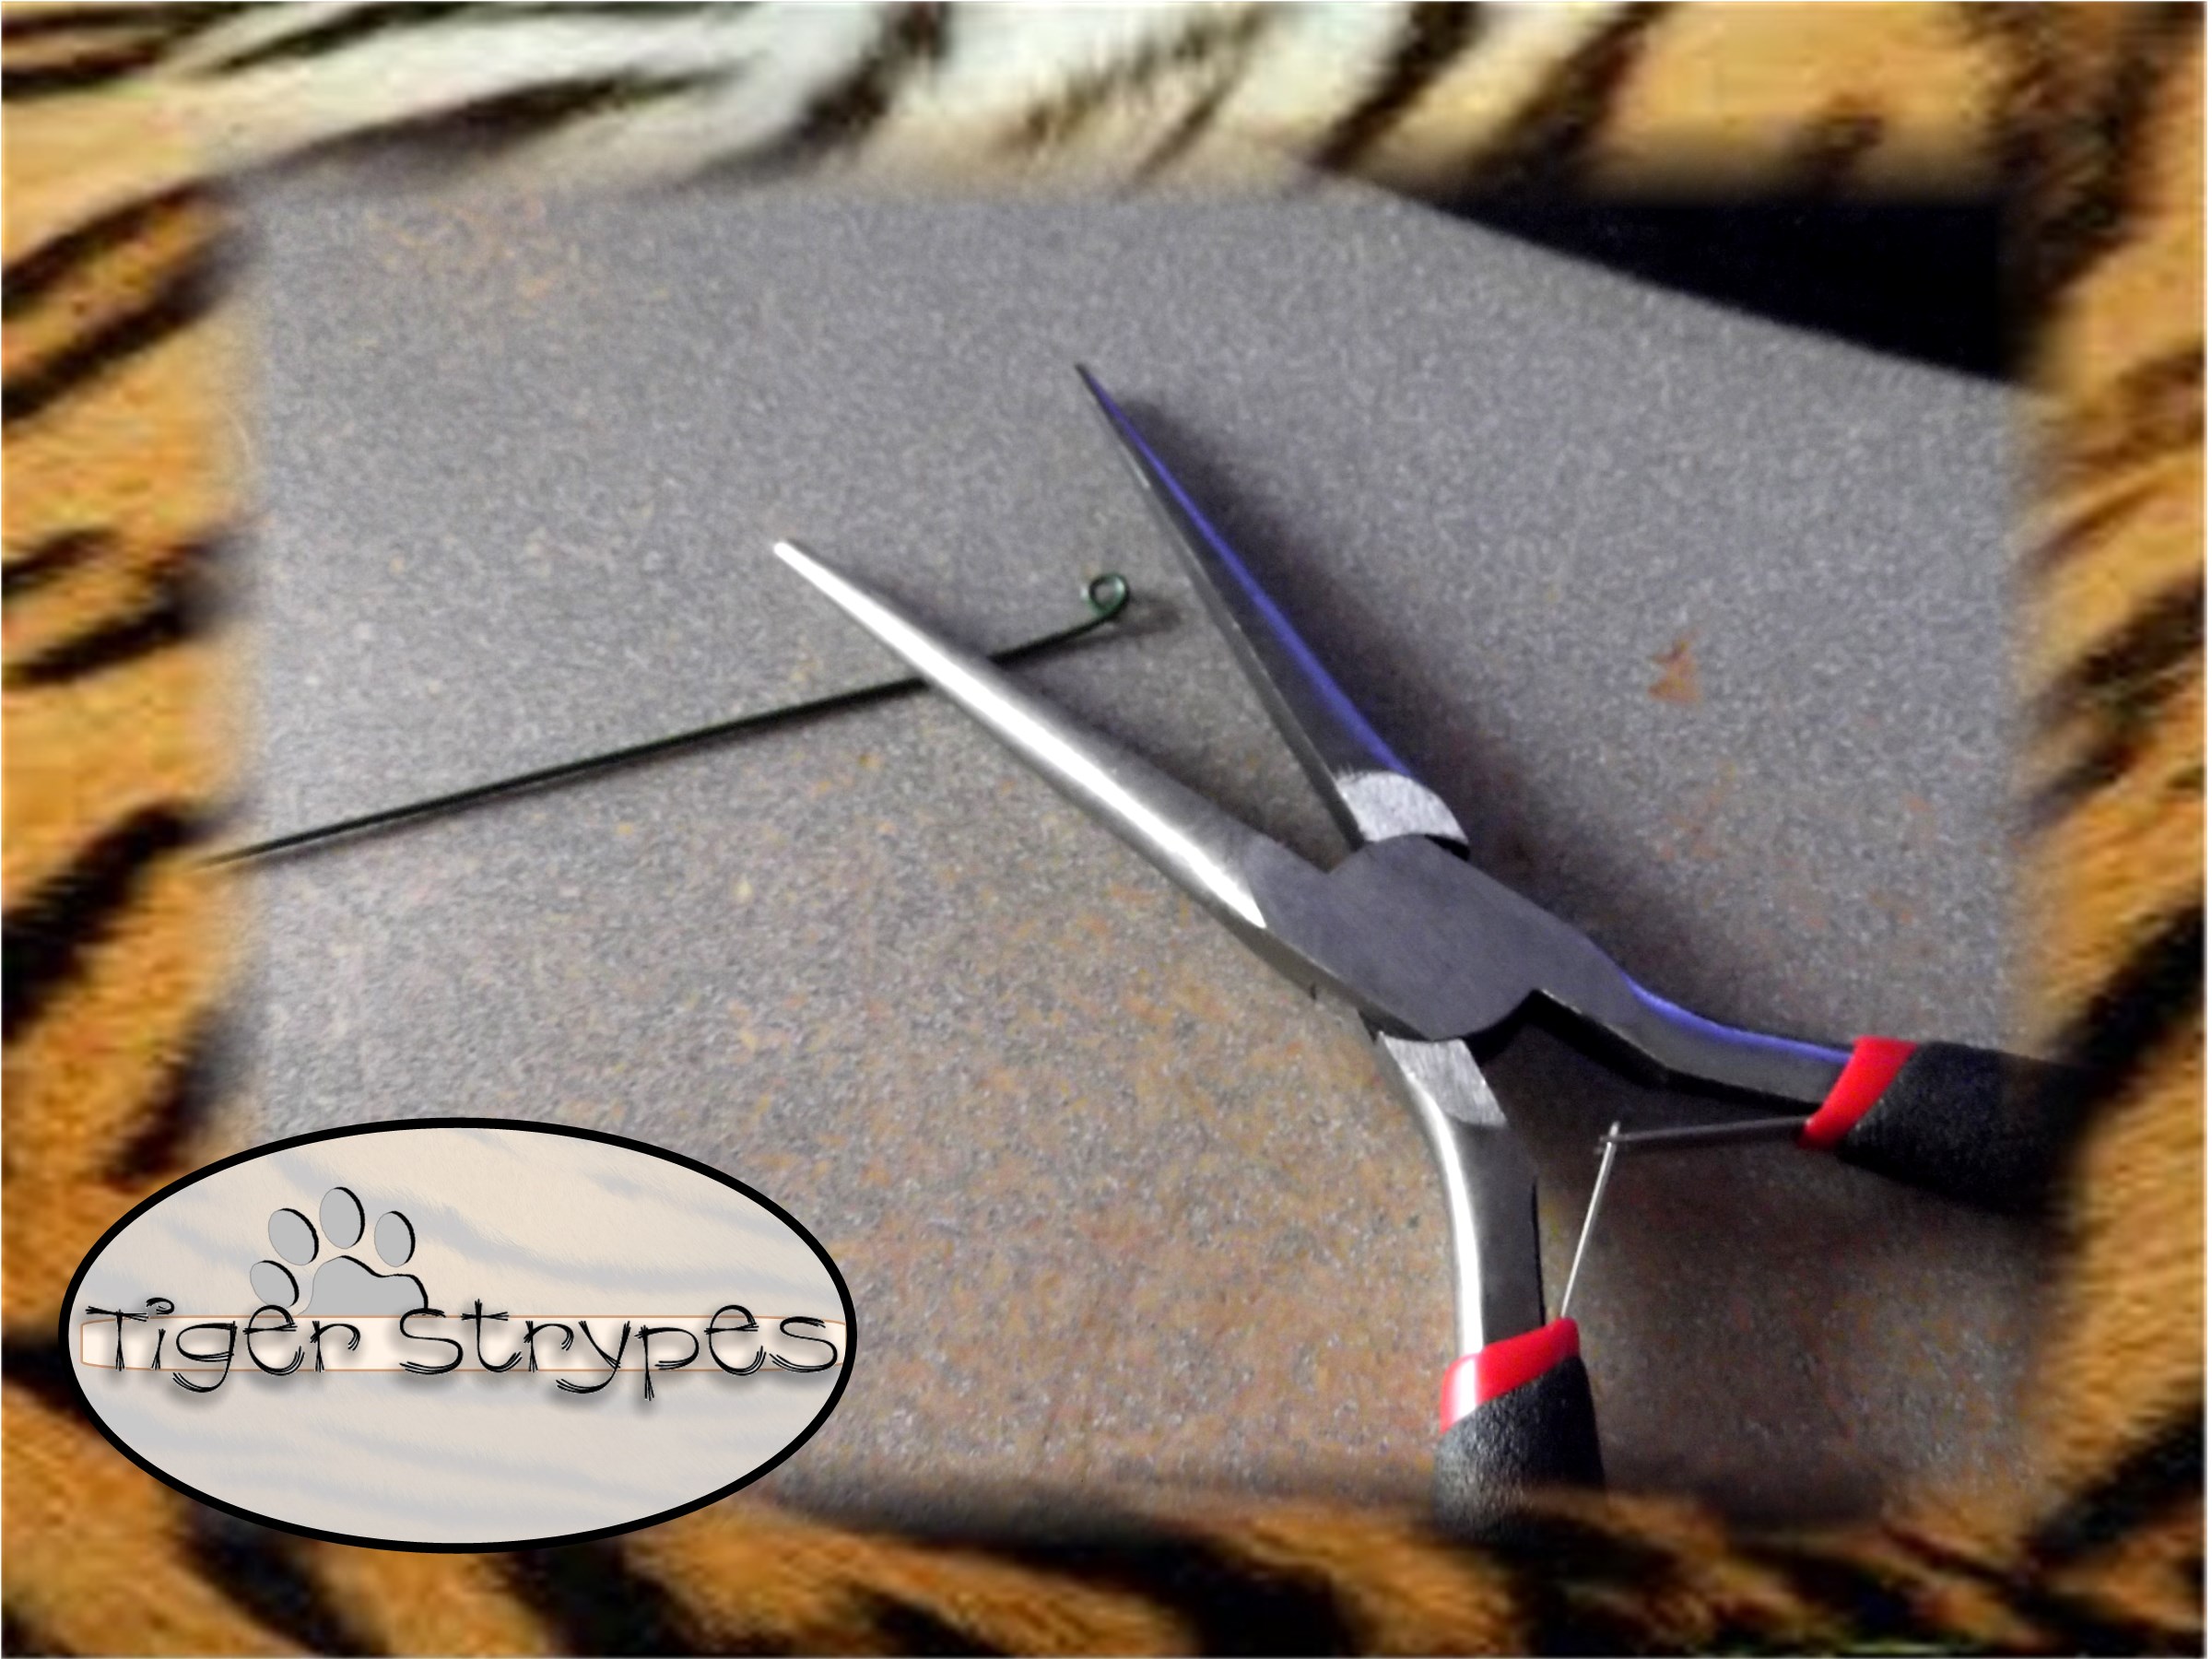
Start getting your “stems” ready by using a piece of floral wire about 6″ long (or longer, depending on how you wish to display). Using your pliers, bend the tip into a circle to keep the flowers together.
Now, put your small petal onto the wire first and then the 3-layer flower after that. Put a small dot of glue to hold it all together.
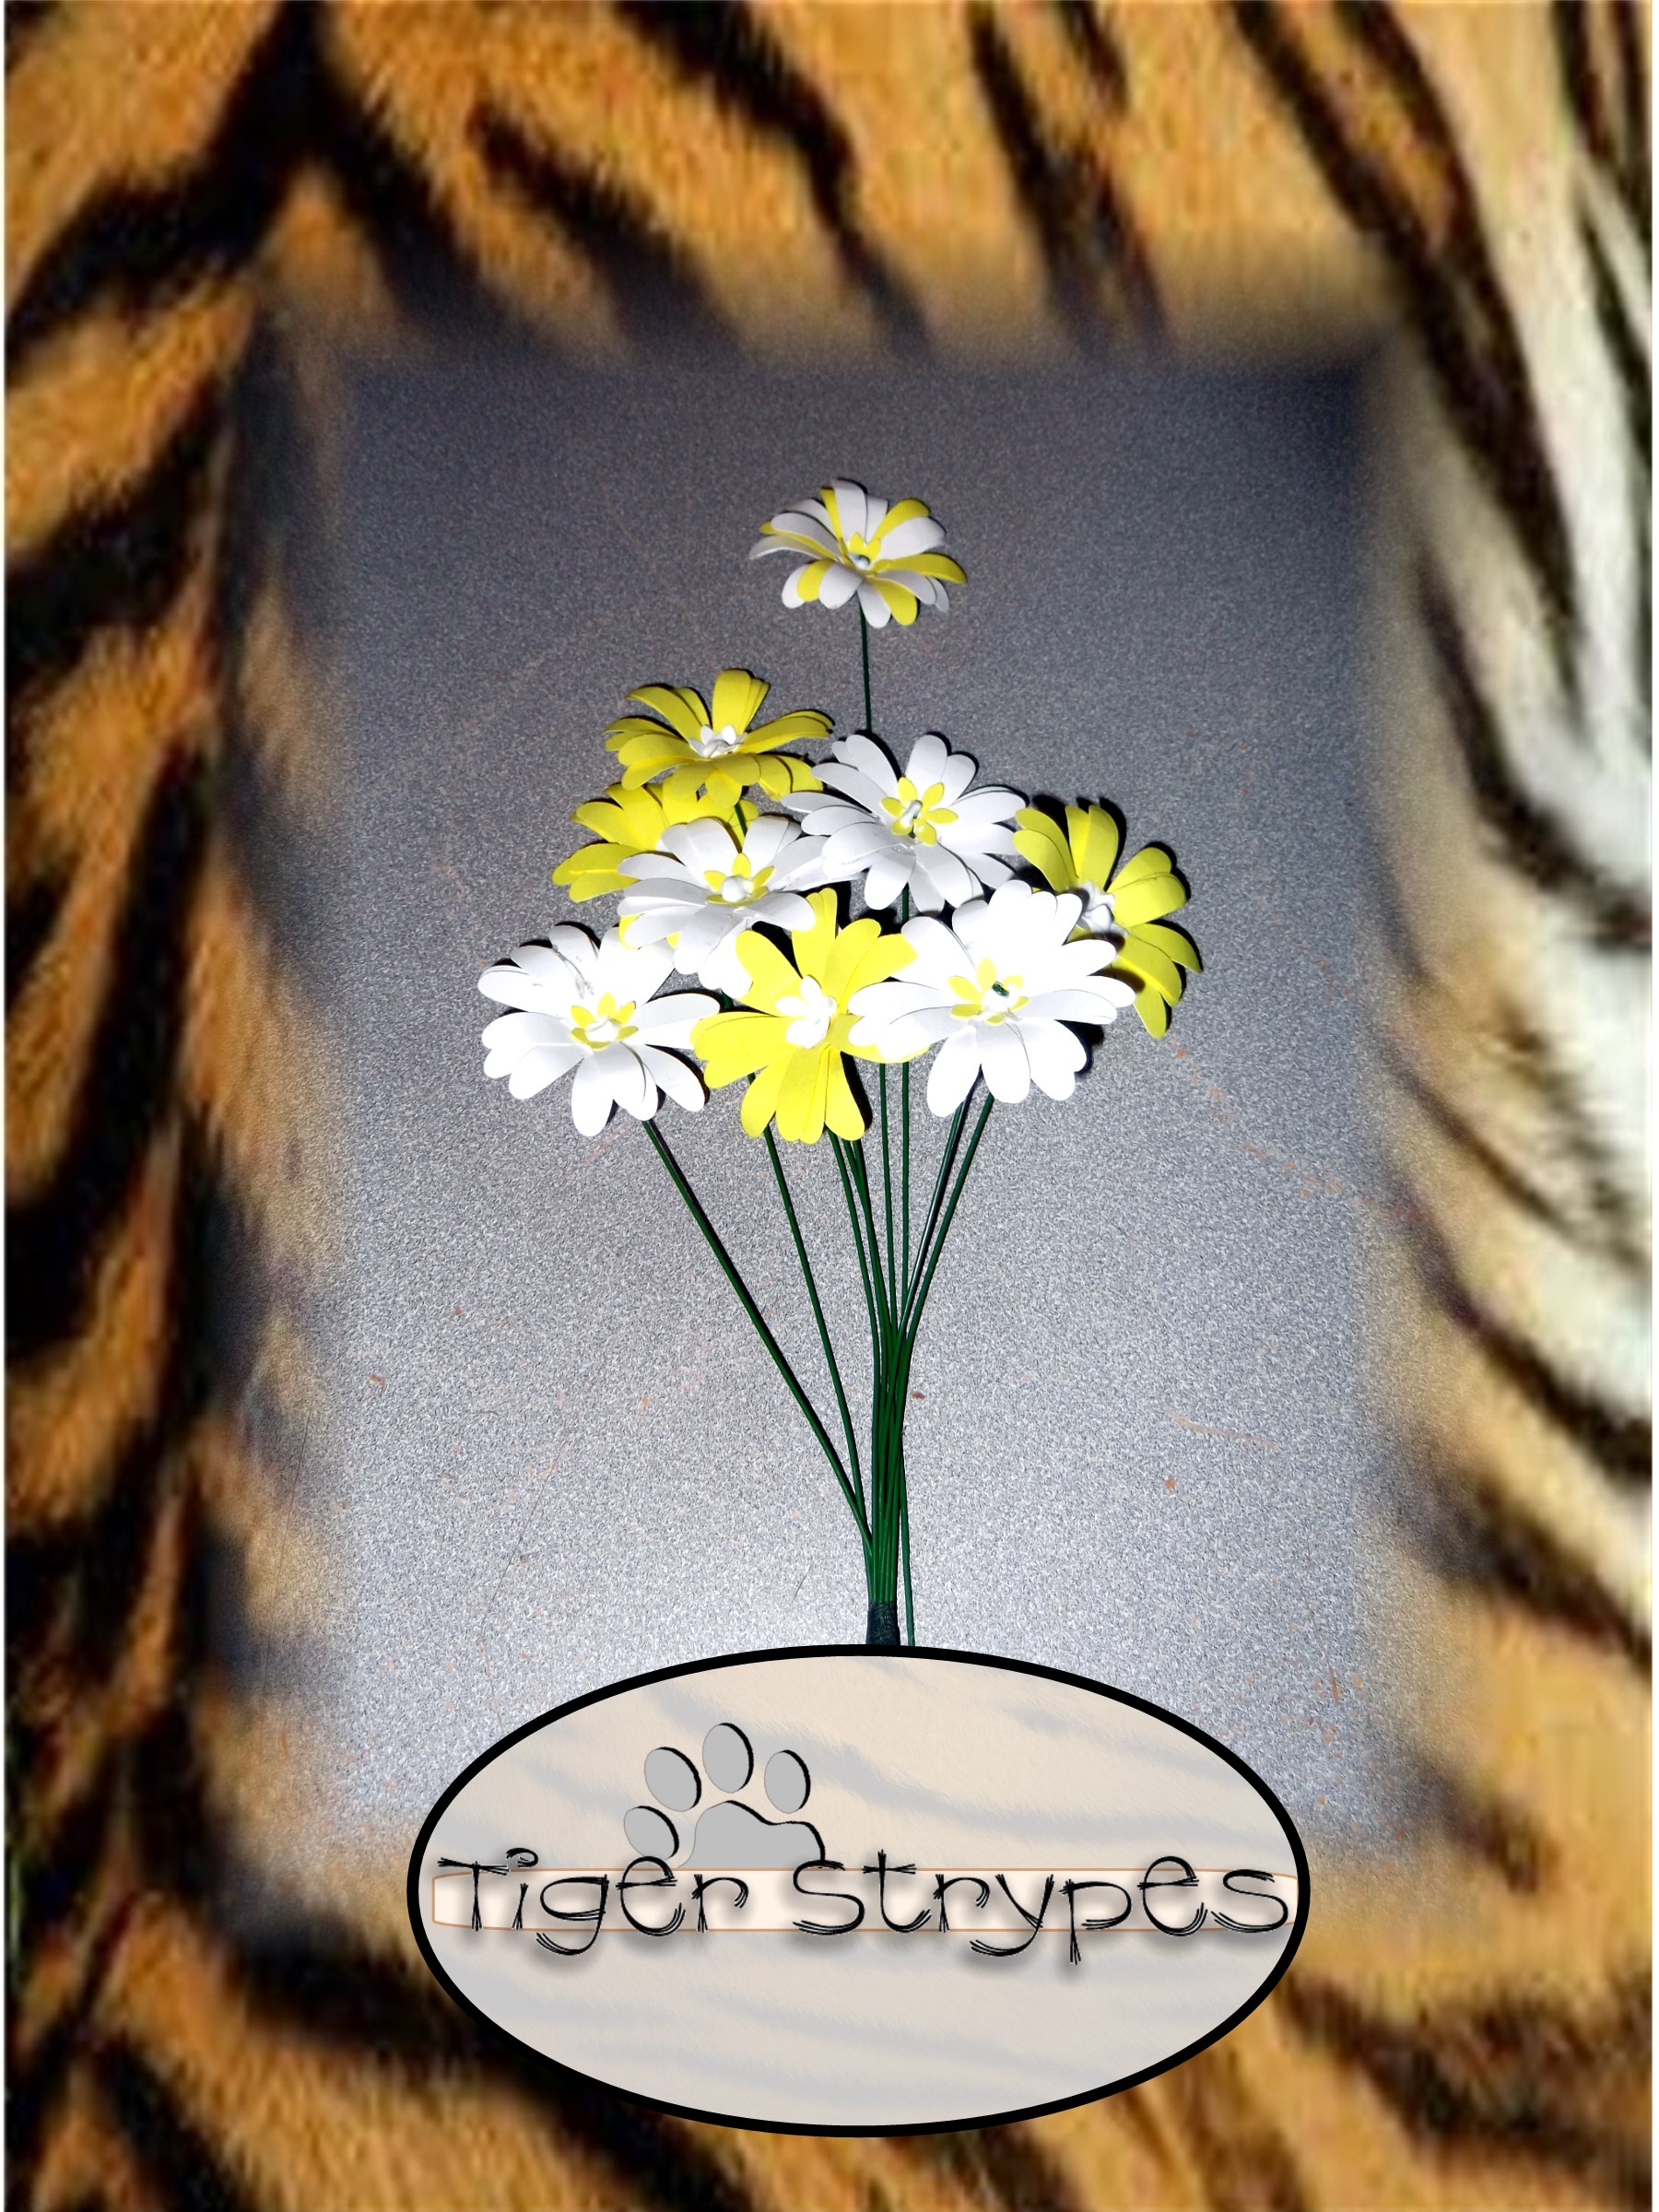
Now you can display them however you wish. I am making a shadow box with them, so being flat is great. If you’re wanting to make them into an arrangement to display on a table, etc. be sure to secure them well, so they don’t fall. You can also add leaves, etc. to doll them up even more!
Please take a minute to leave me a comment and let me know what you would do different, or what you would add, etc. Be sure to tweet, pin, share, etc. – thanks!!
All pictures and text are my own and have not been copied in any way. I, Jamie Tomkins, own and operate Tiger Strypes Blog located at www.TigerStrypes.com. From time to time you’ll hear about my real life experiences or creations with products and/or services from companies and individuals. Let it be known that I have no affiliation with these said companies, and have not received compensation for reviewing or using their service/product. The information that I give regarding the product/service is based off my own personal experience, I do not guarantee that your experience will be the same.
PLEASE SHARE THIS POST USING THE OPTIONS BELOW…THANKS!!
*****************************************************************************************************


This is so beautiful. I have the same little flower punch but not the biggest one. These punches are so expensive. Now, you get me a reason to buy it.
Thanks Maggie – I got mine on Amazon, on sale – so finally found it as a deal!! YIPPEE!!
I love paper flowers and these are awesome!! You make it look easy too! Pinned and tweeted!
Adorable! I love this idea!
That is so cute. What a fun summer craft!
Love your bouquet! The yellow and white is so cheery. I have been having a lot of fun with paper flowers lately. The punches are so easy to work with. Too bad I have a wishlist of punches a mile long!