
“Picture Frame Re-Purpose” #TBCCrafters Hop
I wanted to do a picture frame makeover, of sorts. I’ve seen the projects on some craft blogs about gluing together picture frames, etc. to make a collage type project. I had planned on doing that, but then saw this frame on sale at Big Lots for only $10. Figured it was easier and cheaper to do. I wanted to re-purpose it from just being a picture holder and make it into something of double use. Have you ever turned something into something else? What was it and do you have a link? Share it below so I can see who else is in the re-purpose family!
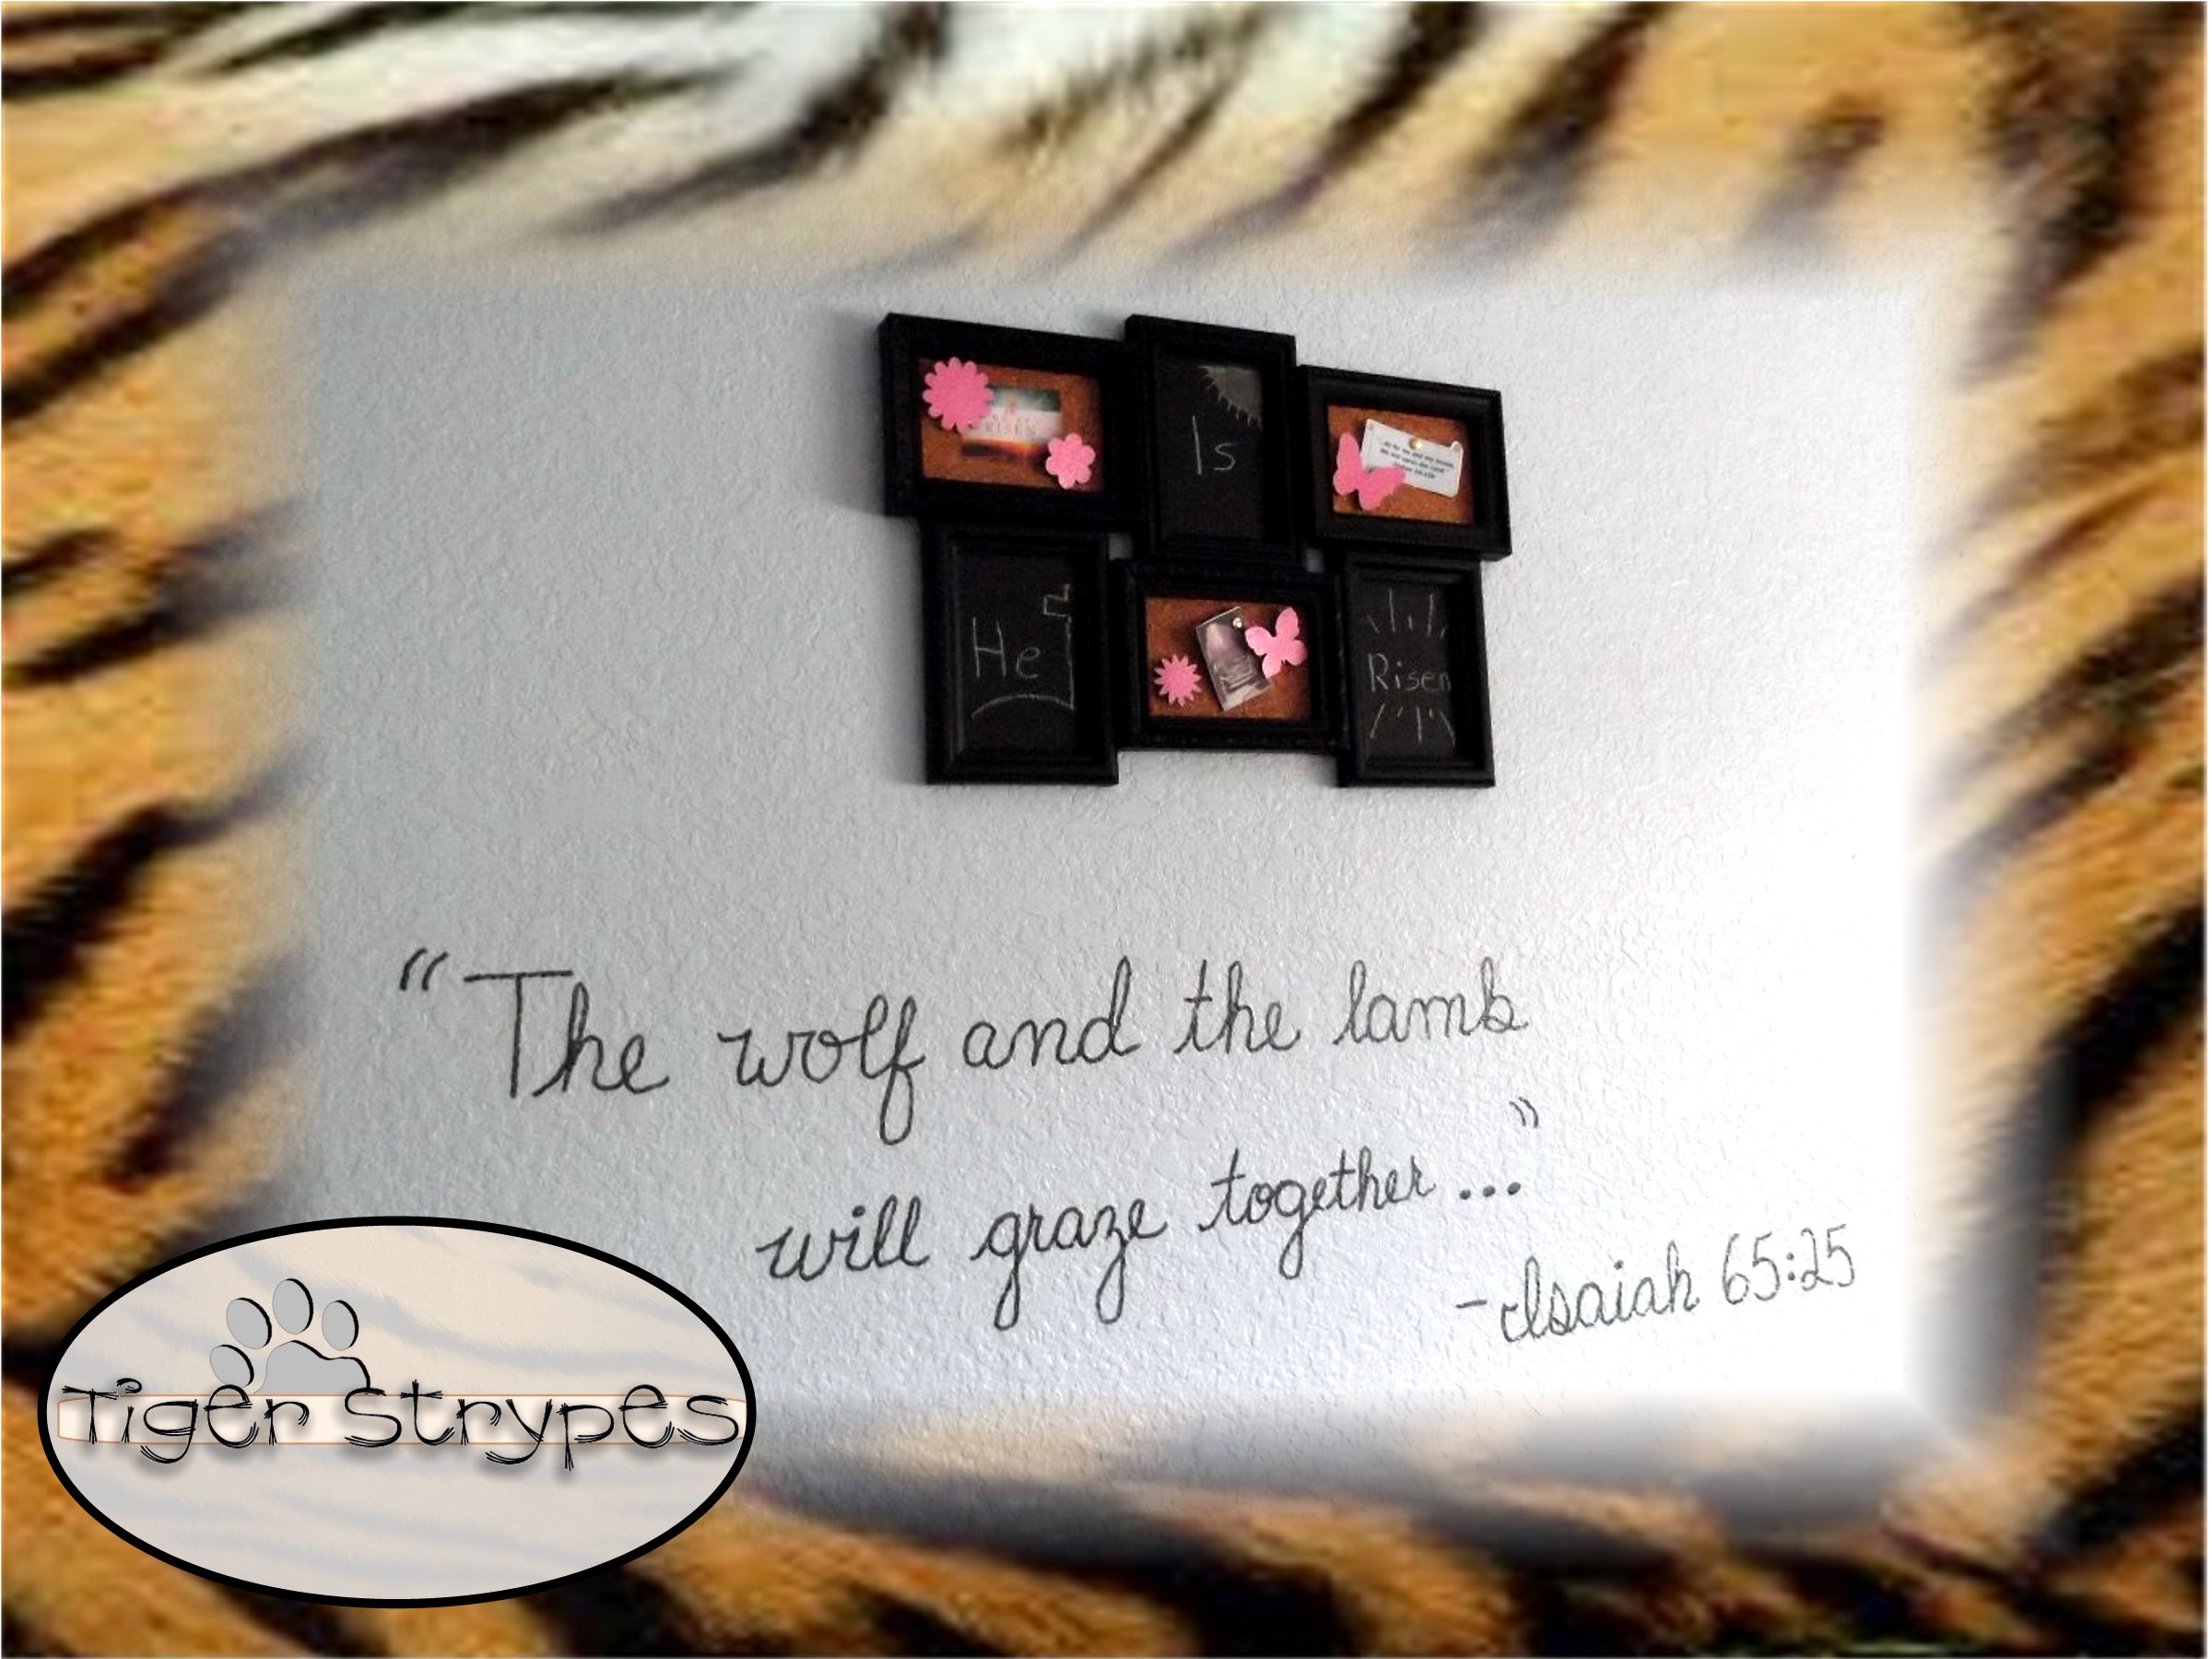
Since Resurrection Sunday is fast approaching, I decided to decorate it for that. Figured a reminder when you walk in the room will help you give thanks for what the Lord did for us on that day. Praying your week is blessed.
I hope you like it!! Have a blessed day, and please be sure to comment on and share this #TBCCrafters craft!!
“Picture Frame Re-Purpose” Craft
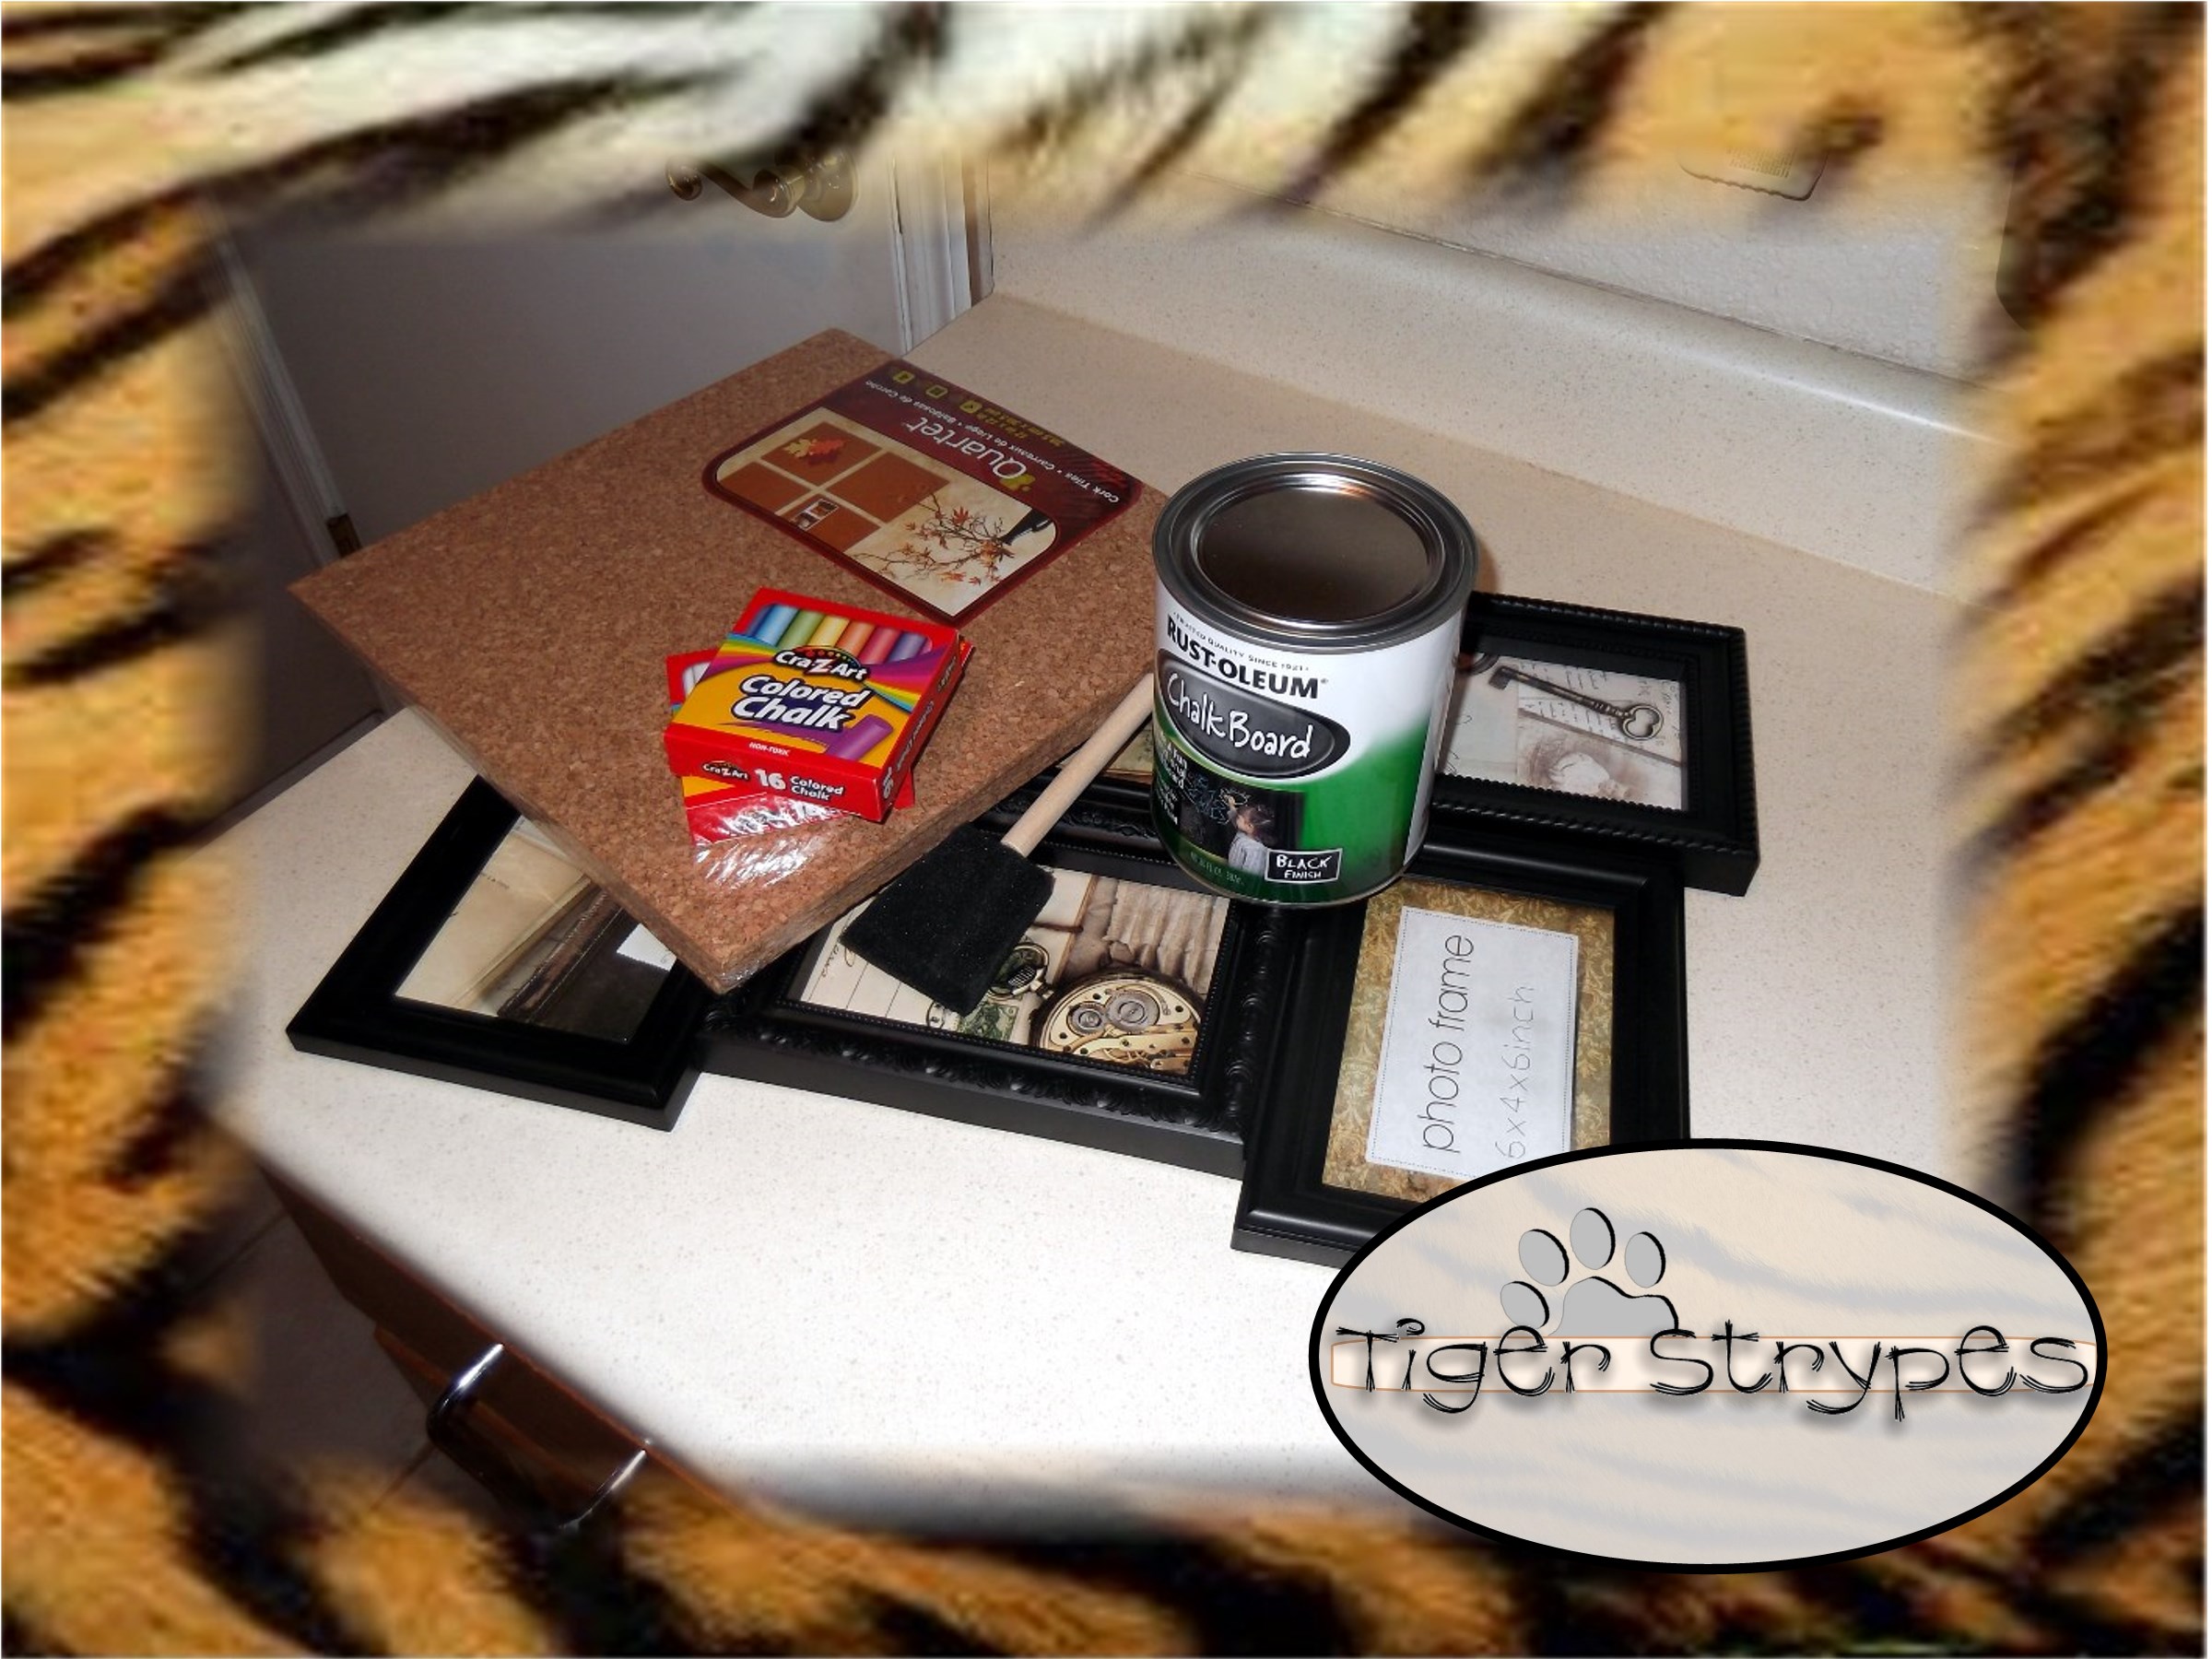
Materials/Tools Needed:
- Picture Frame Collage
- Corkboard
- Chalkboard Paint
- Brush or Sponge
- Chalk
- Decor
- & Time!
Instructions:
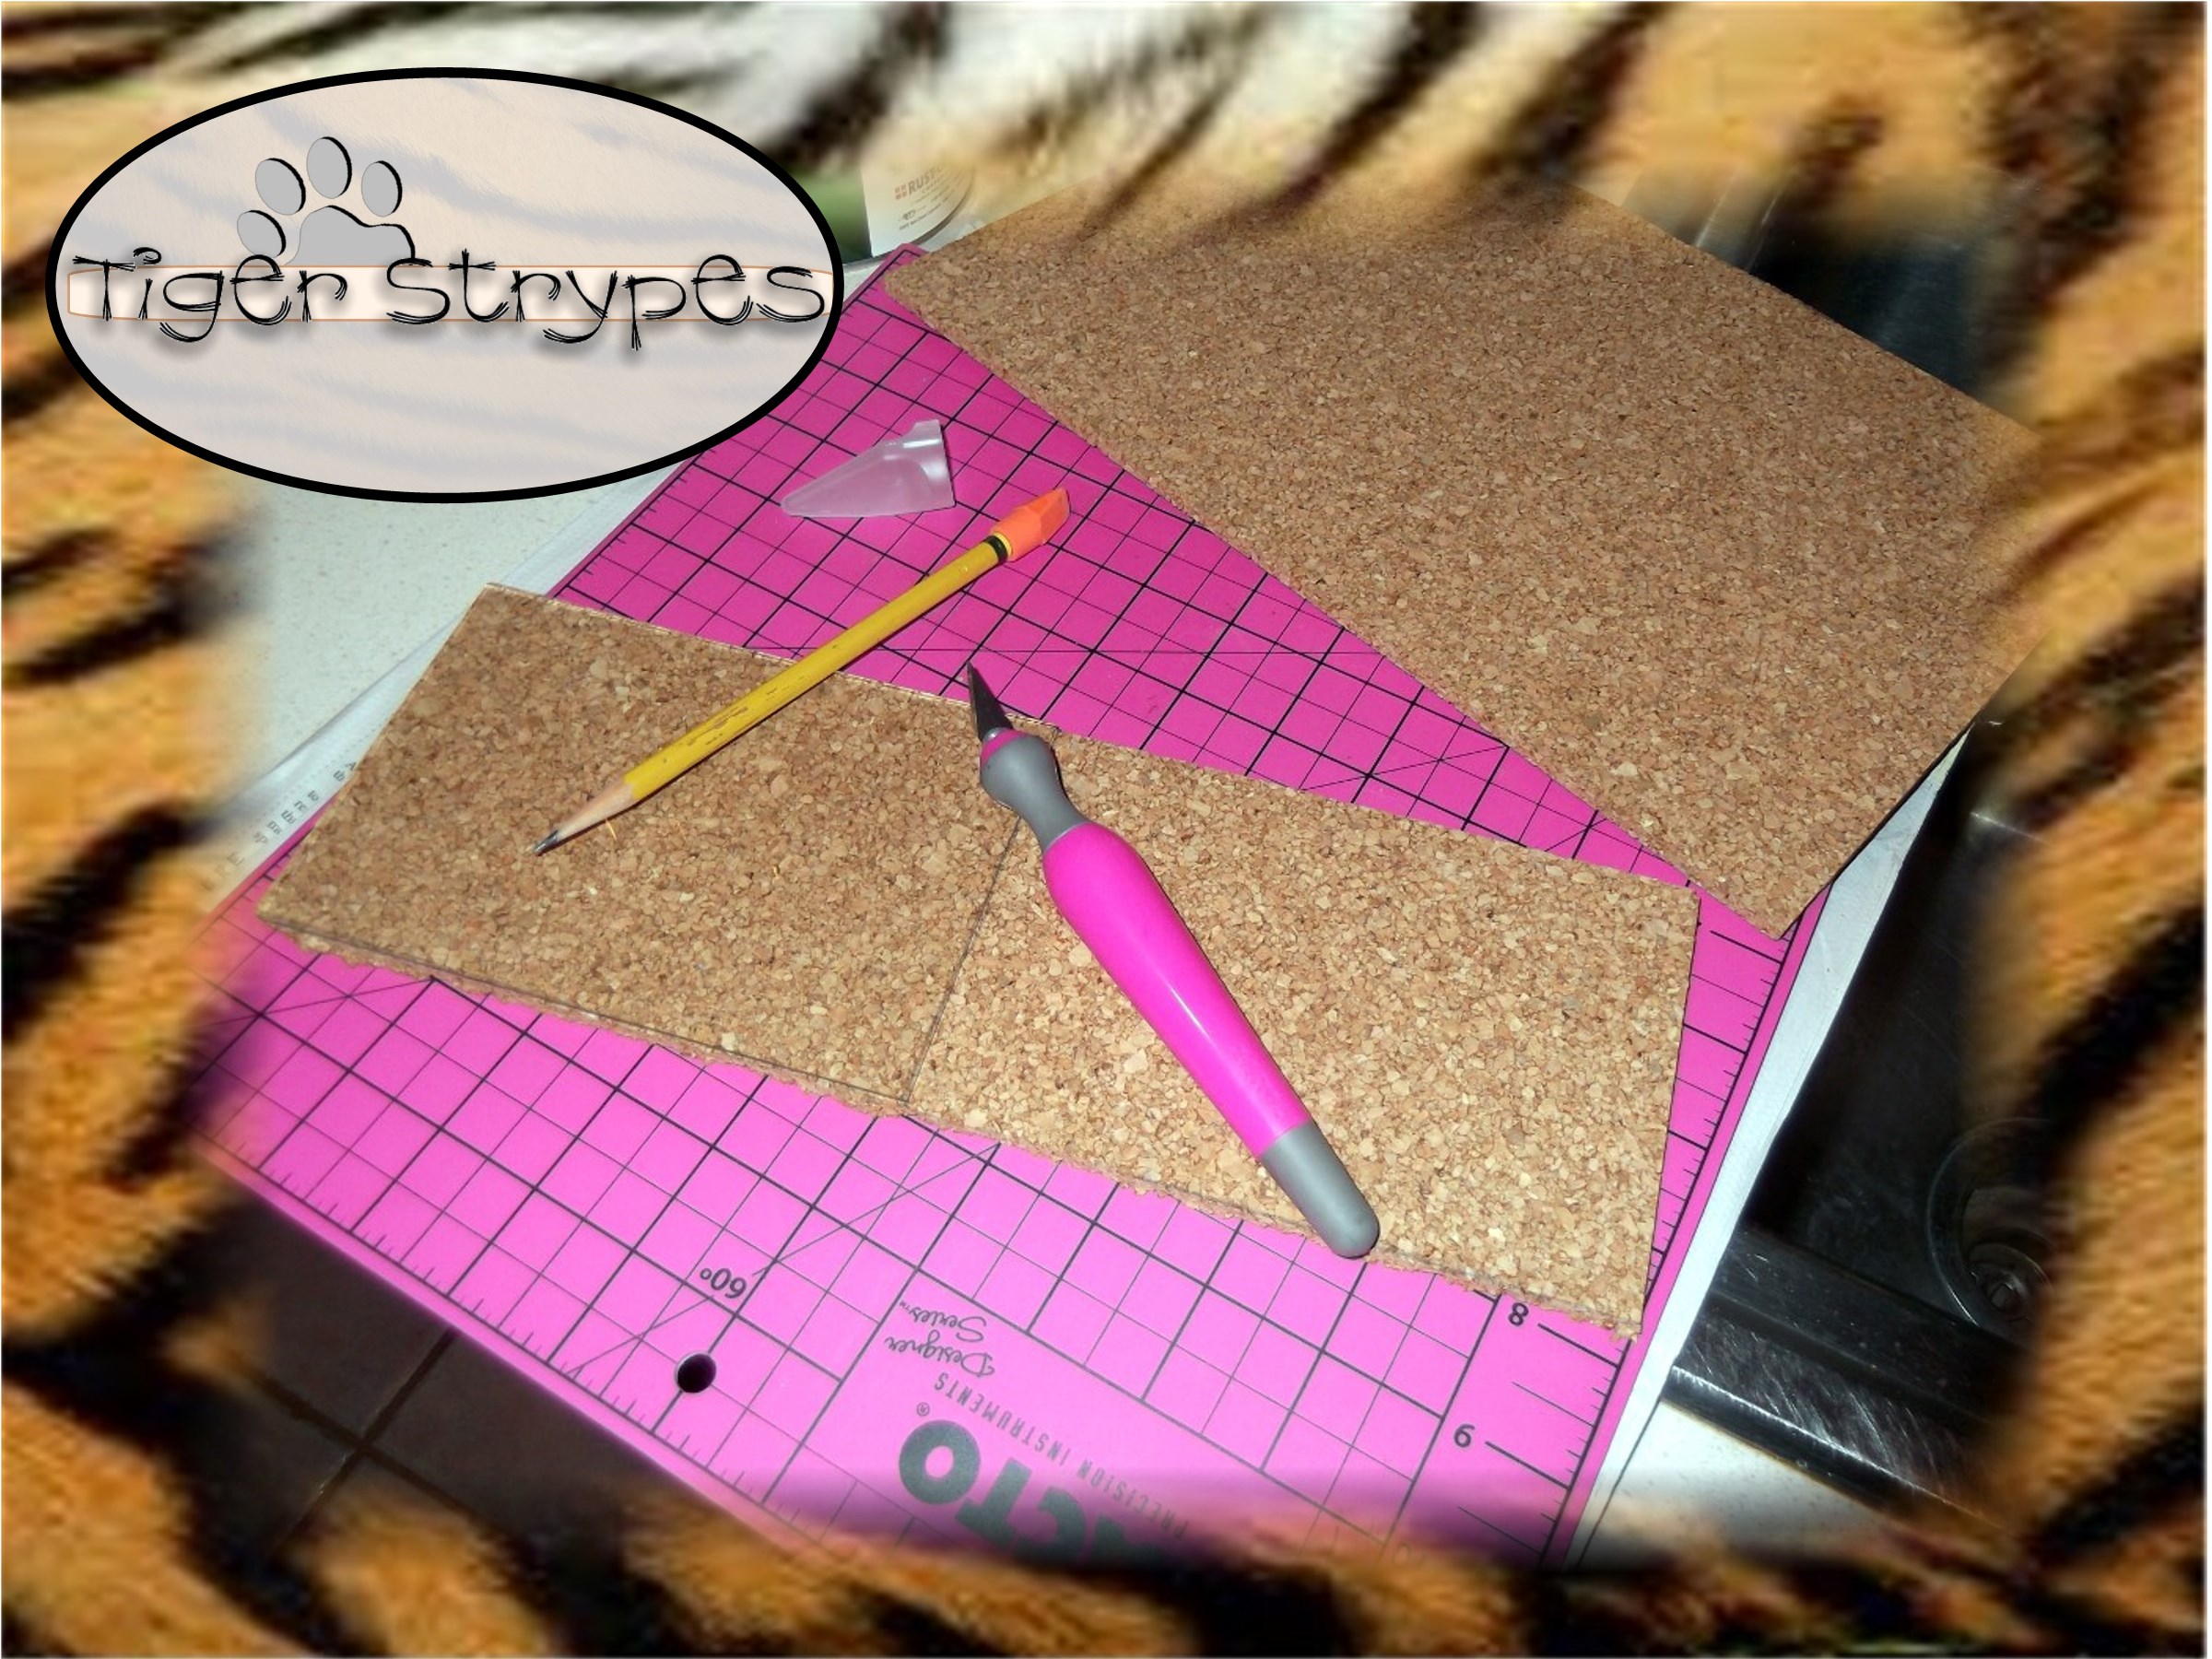
Start by measuring your corkboard. I used very thin pieces that I got at the discount store and just sized them with the paper inserts from the frames I was going to use them in. Using the X-Acto knife makes it easy to cut it to fit.
Now, remove the backing from the frame and just insert the pieces of cork into the spots you are using for that function.

Next, I just used the glass from the other frames and painted them with the chalkboard paint. It took about 2 coats, but was easy to do with the sponge brushes.

Wait for those to dry completely before adding them to their frames.
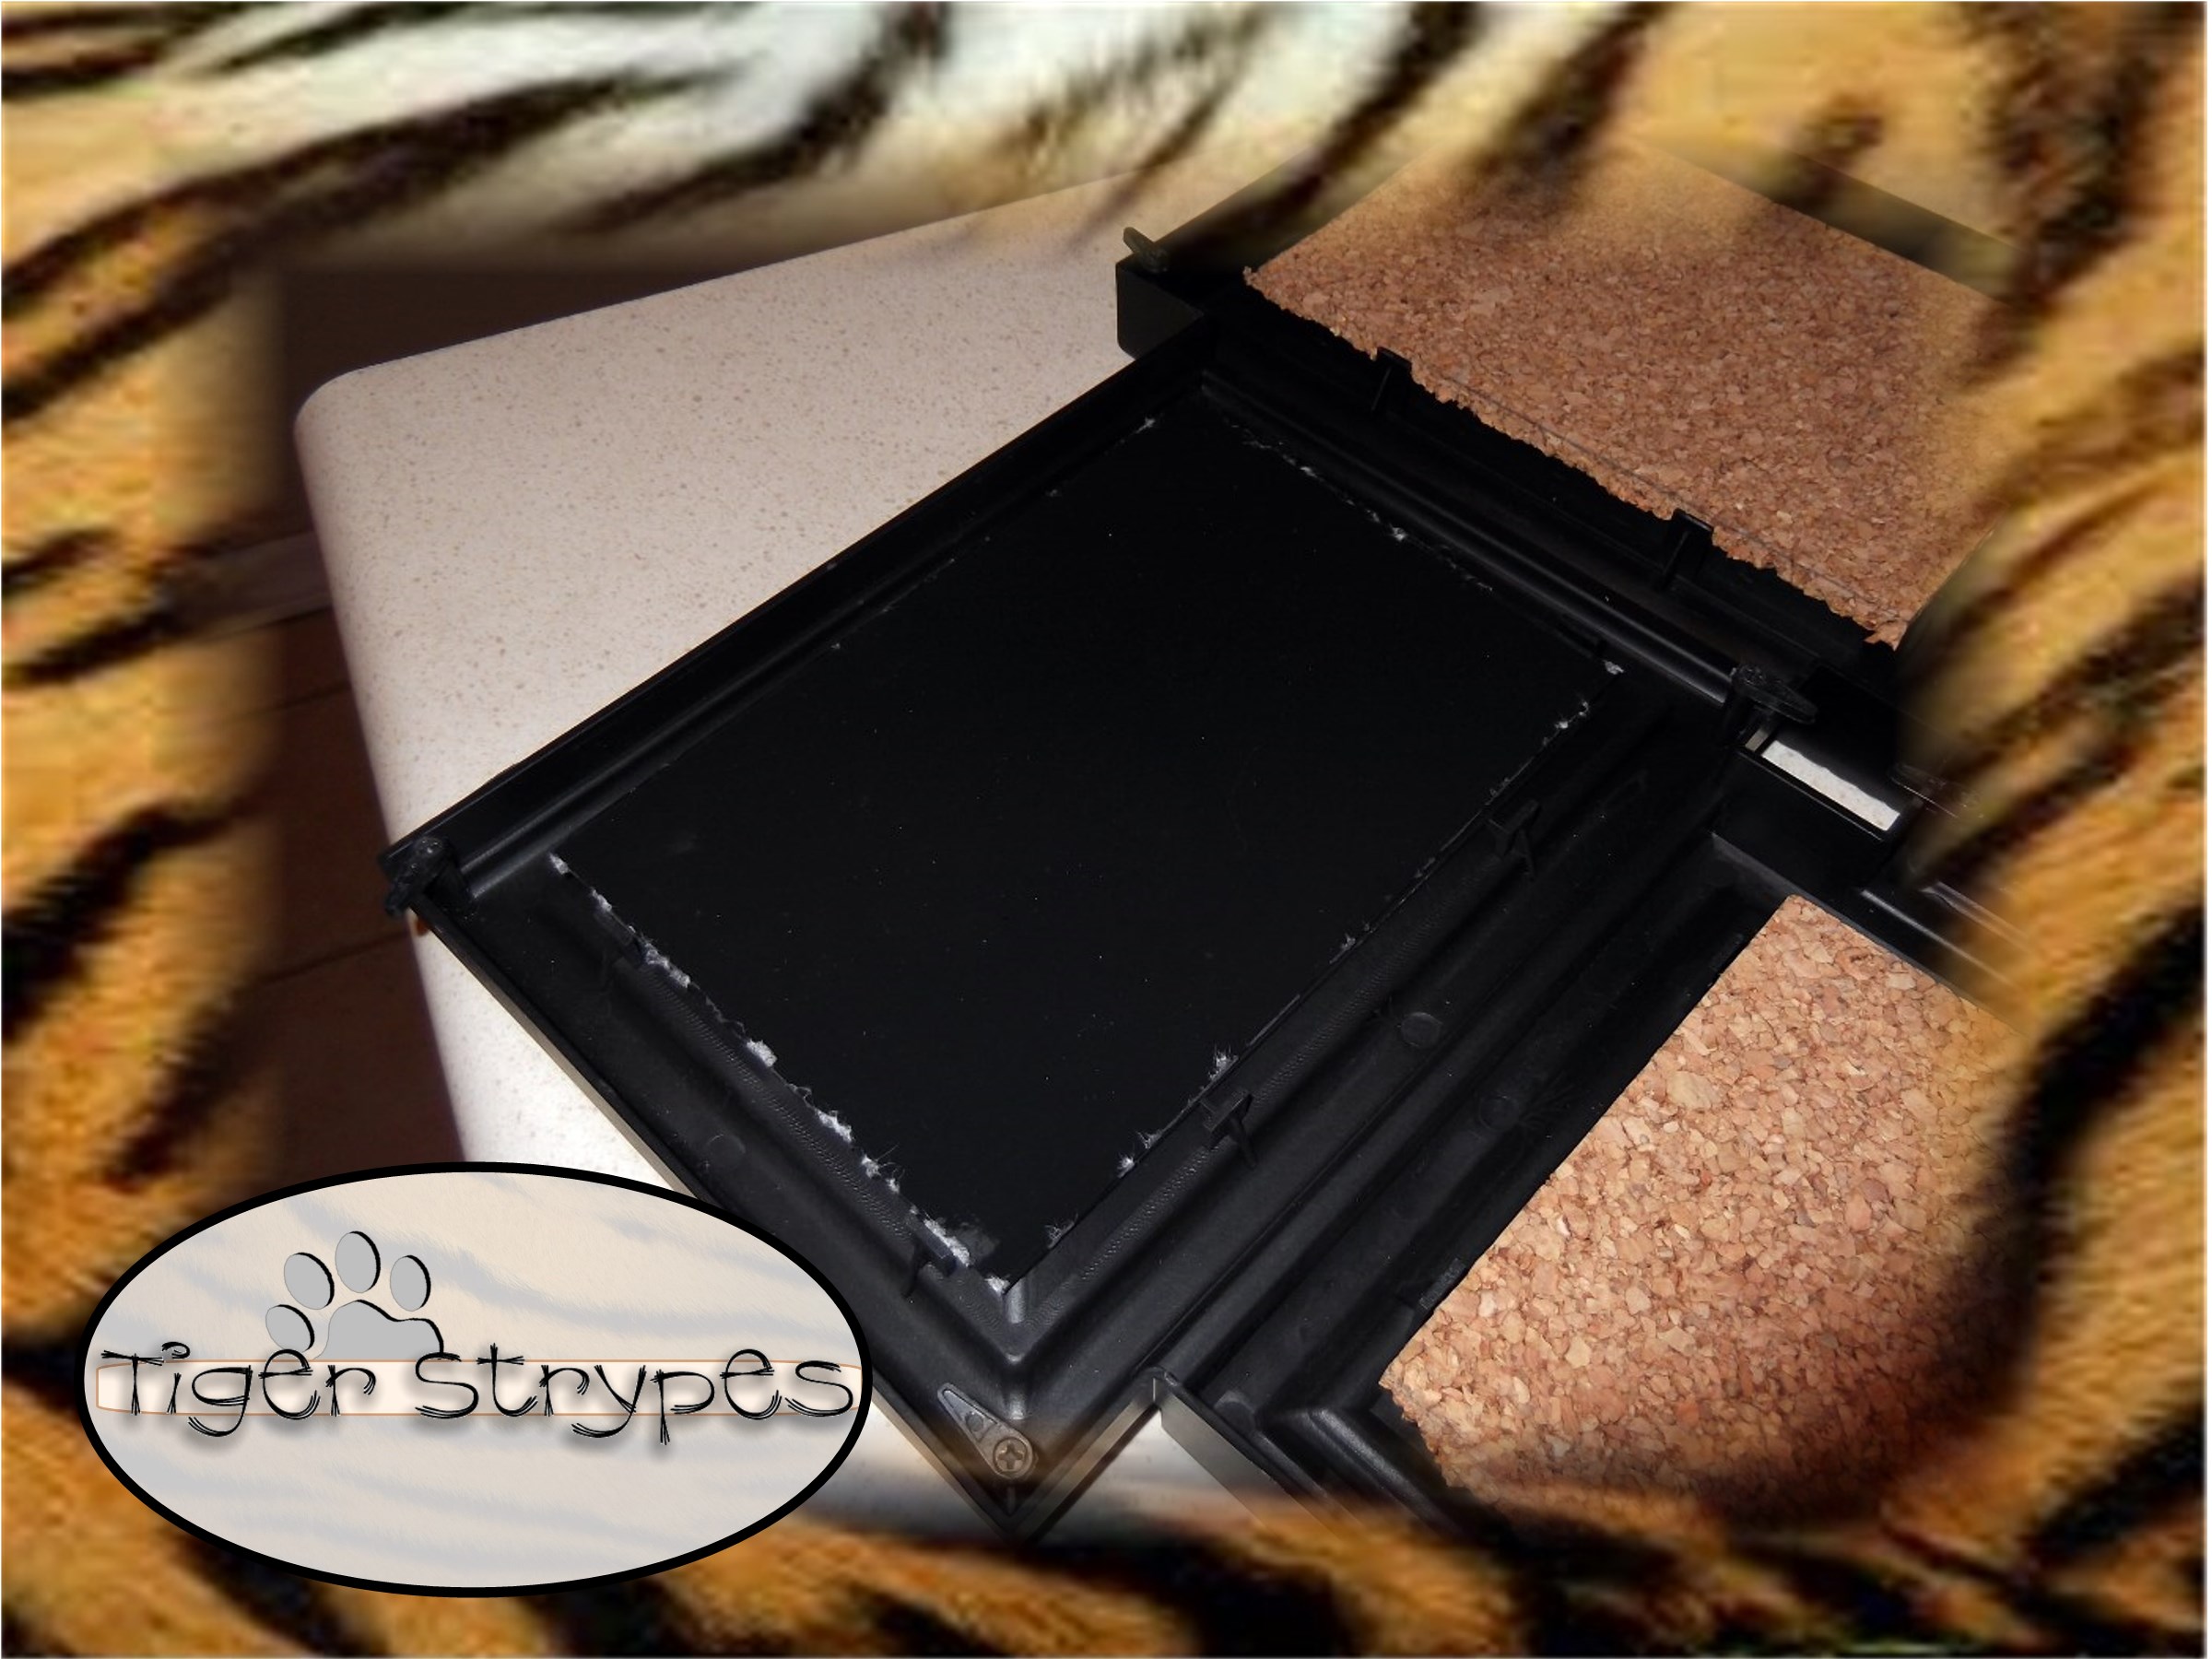
When you have the cork and “chalkboards” inserted, attach the back of the frame back onto the piece.

Next, I used some little chipboard accents to make my own pins. Just attach a glue dot to the back and put a thumbtack securely on that to create your own push pin in whatever design you want.
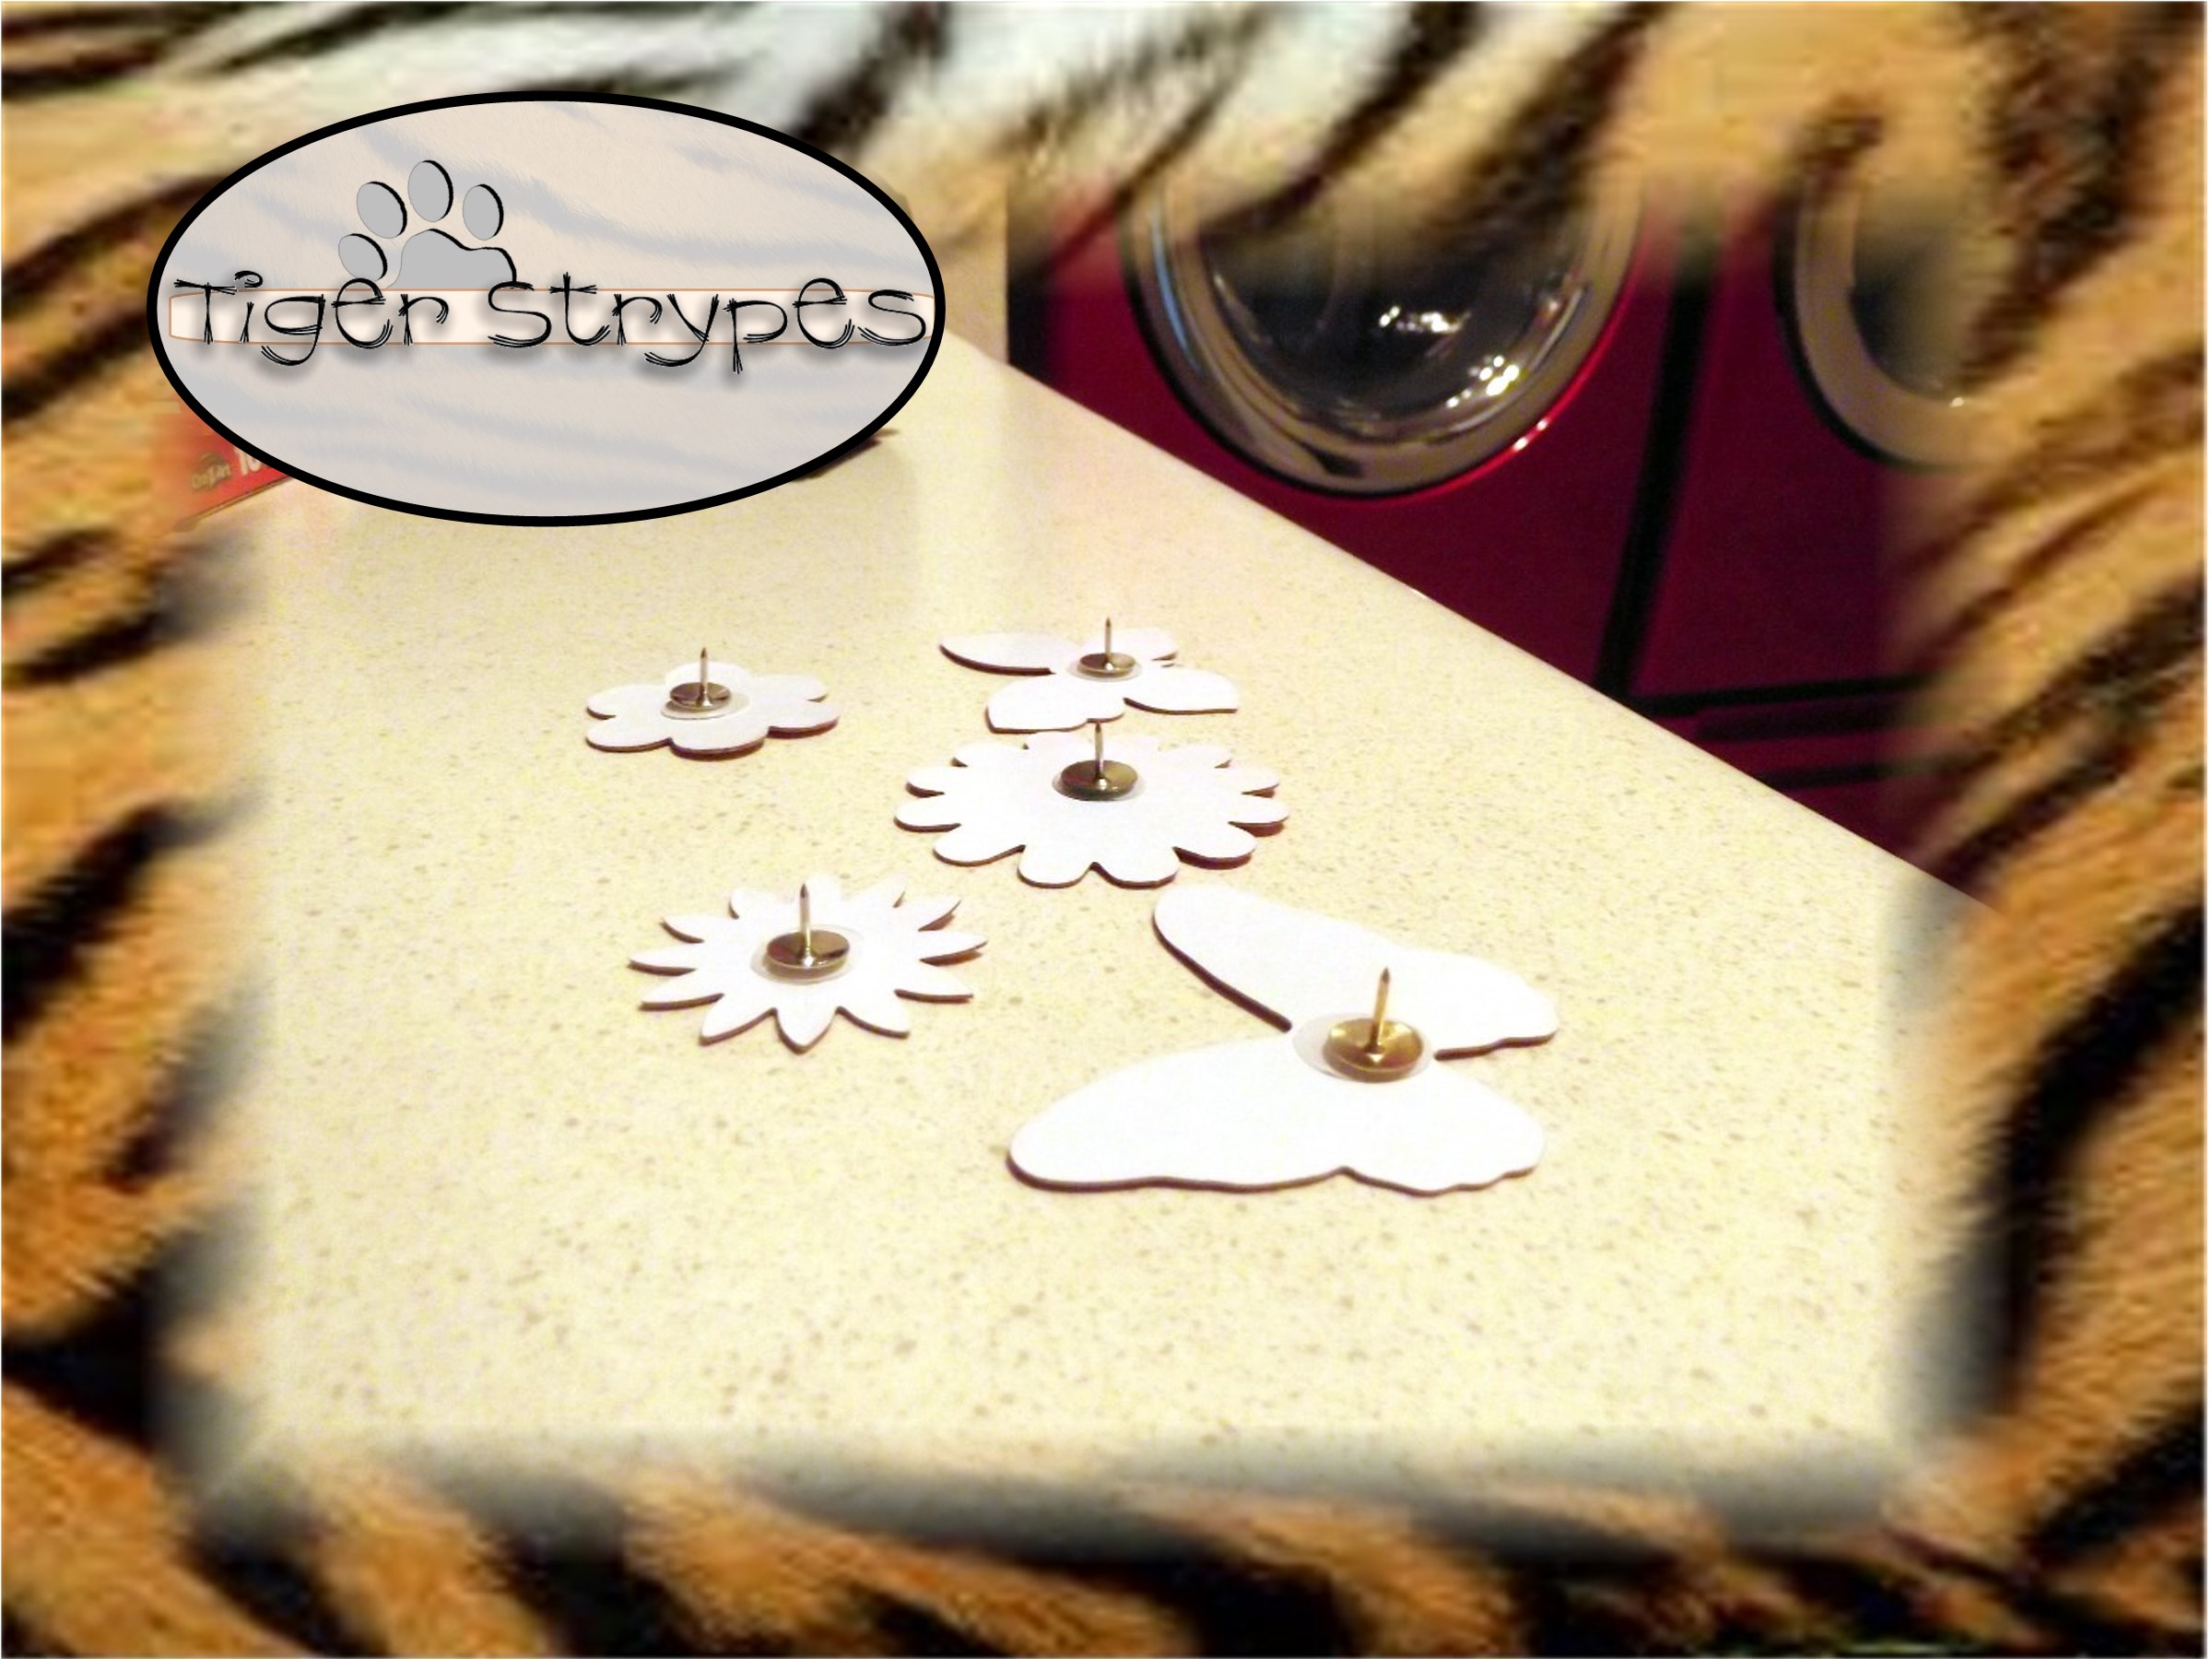
Once you have all of the pins made that you want, or have the ones you wish to use, then just decorate the corkboard with whatever you wish and write some things on the chalkboard for everyone to see. This would even be perfect for your shopping list and attaching coupons on it each week, etc.
I sure hope you like it! Please take a minute to leave me a comment and let me know what you would do different, or what you would add, etc. Be sure to tweet, pin, share, etc. – thanks!!
All pictures and text are my own and have not been copied in any way. I, Jamie Tomkins, own and operate Tiger Strypes Blog located at www.TigerStrypes.com. From time to time you’ll hear about my real life experiences or creations with products and/or services from companies and individuals. Let it be known that I have no affiliation with these said companies, and have not received compensation for reviewing or using their service/product. The information that I give regarding the product/service is based off my own personal experience, I do not guarantee that your experience will be the same.
PLEASE SHARE THIS POST USING THE OPTIONS BELOW…THANKS!!
*****************************************************************************************************


Great idea, this is just lovely!! Also pinned!
Thanks Heidi!!
I love your heart and work 🙂 xo amazing
That turned out so good! I really love it. This is a great idea for when I do my daughter’s room makeover.
Thanks Jessica – it’s pretty easy to do, and can be personalized however you wish! 🙂
I like this craft, and the fact that if you want to…you can change the design because of the corkboard.
Thanks Yona – I love that it can look different every week. However you wish it to look, and whatever room it’s in. Fun to make, too!
I like the cork board along with the pictures, very cute.
Thanks Tara!
That’s so cute. What a great way to upcycle.
I love it! It is very useful too! I never thought to add chalkboard paint to glass! How cool! Pinned and Tweeted!
Super Duper Cuteroo! I love this repurpose!