
This site contains affiliate links. Please see below for more information.
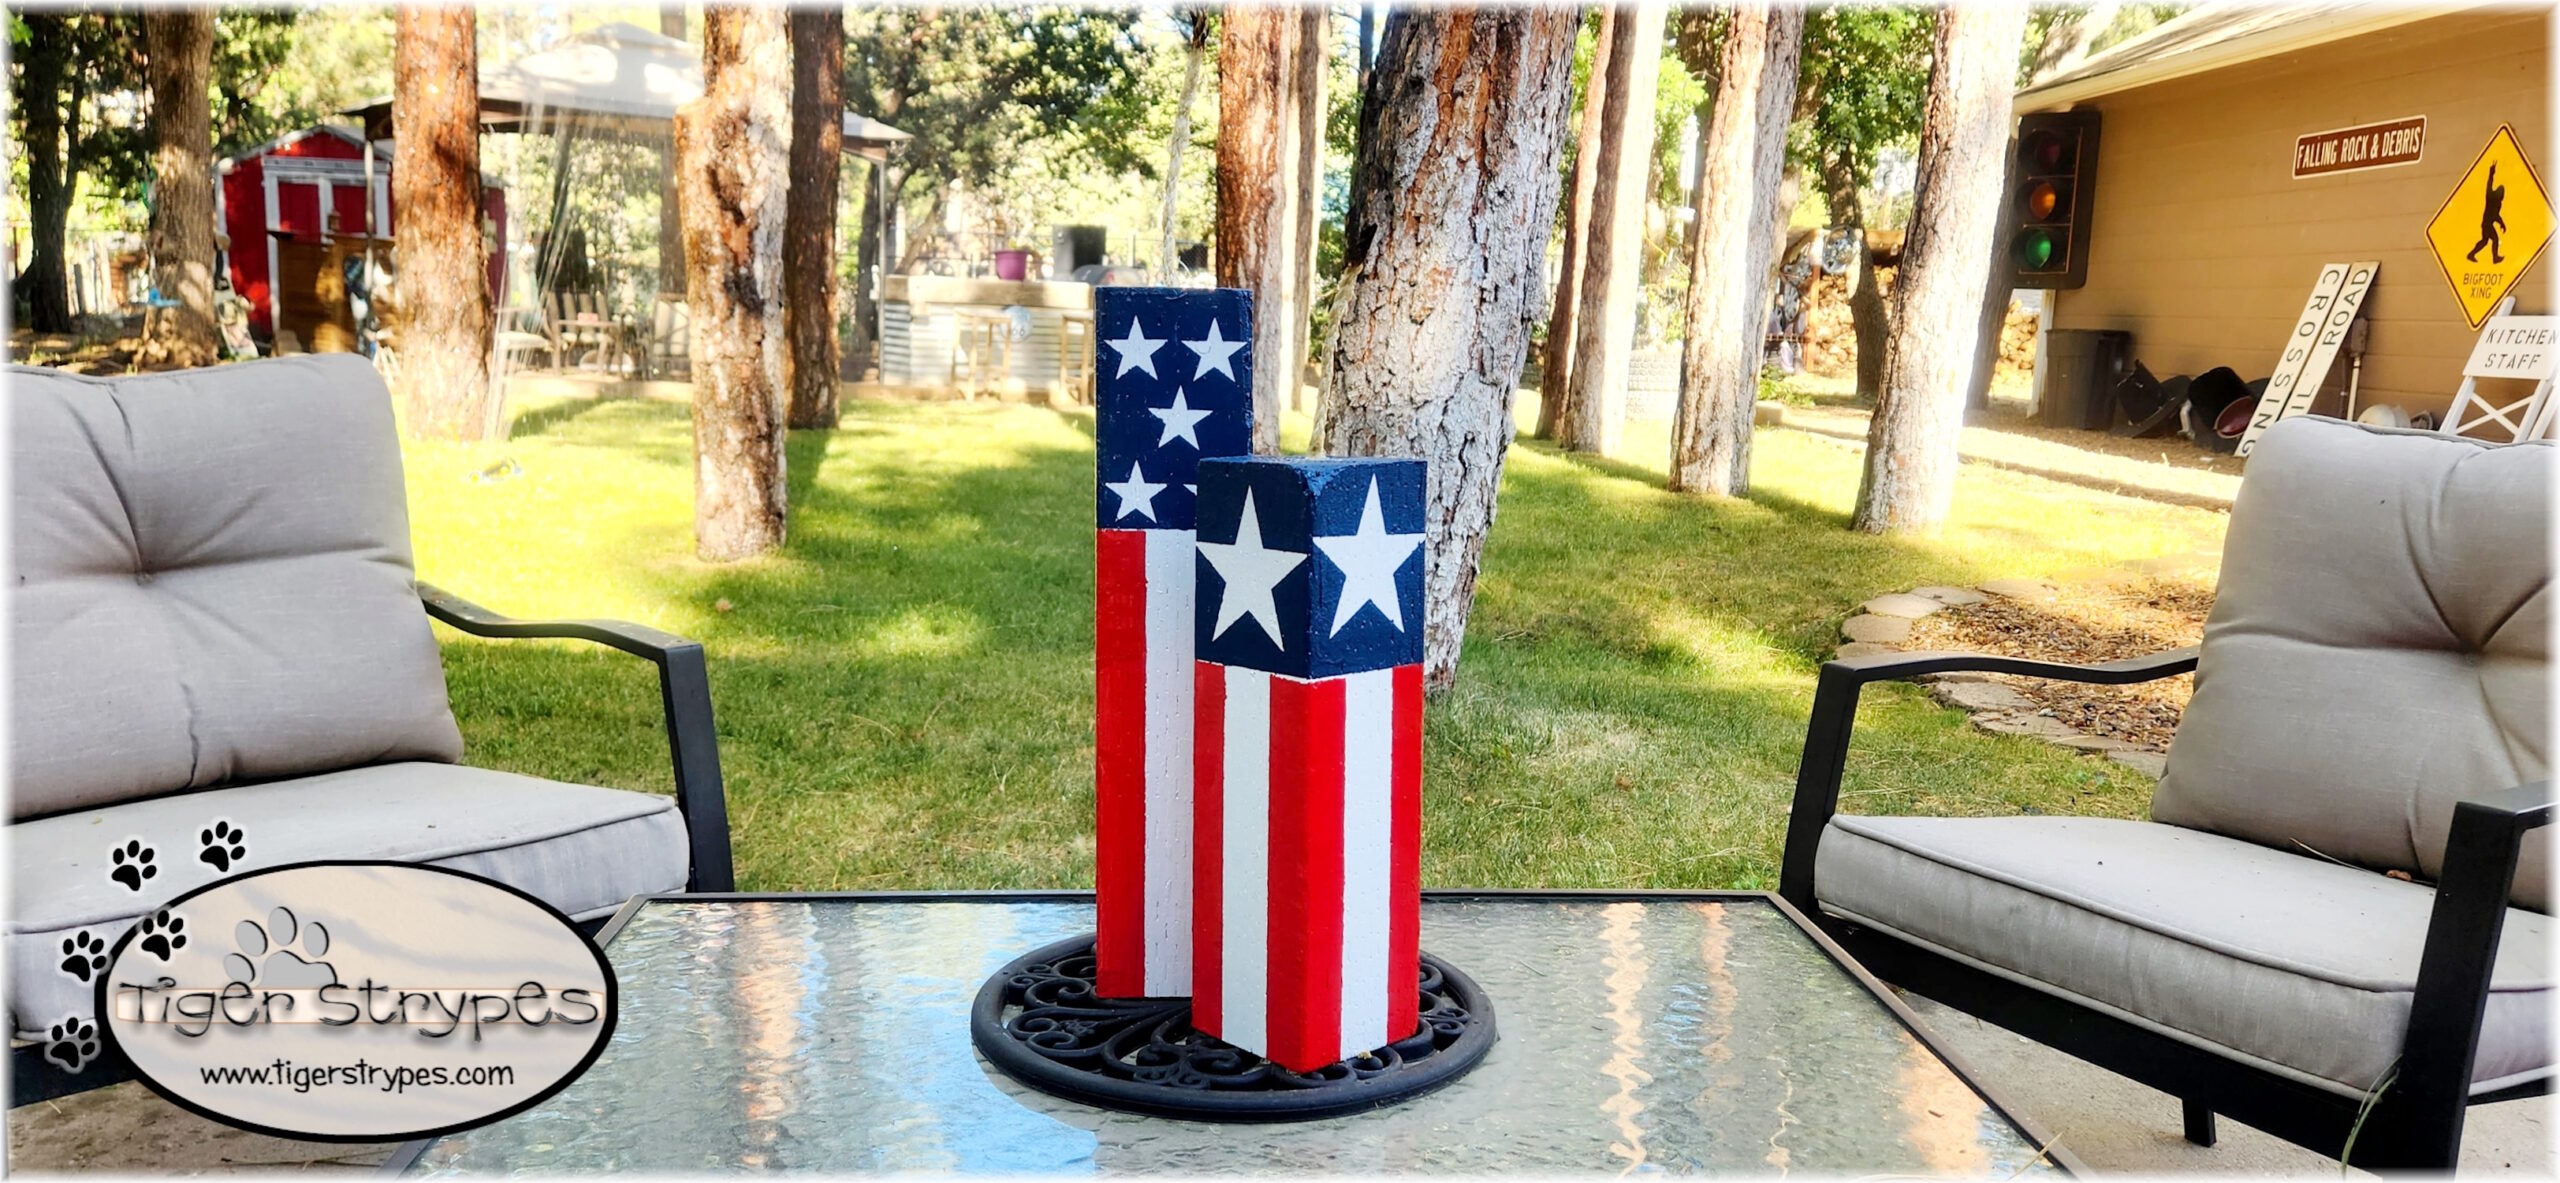
Patriotic Firecrackers from Scrap Wood
#4thofJuly #Upcycle #Fireworks
Lately, I’m really trying to start using the supplies that I have in my craft room, and outside. If you’re a crafter, or know someone who is, you know that we always have that stash of things we say we’re going to use, or need one day. Well, I decided it’s time to start using some of it up.
My husband and I recently started replacing our backyard wood fences. We’ve lived in our home almost 18 years now, the paint was falling off, and we have had to re-secure so many slats, it was getting crazy! Finally setting up the budget to cover it, we headed to the hardware store and bought what we needed. Getting one section done was a relief, now we have 2 smaller ones to go (pray for me!!!).
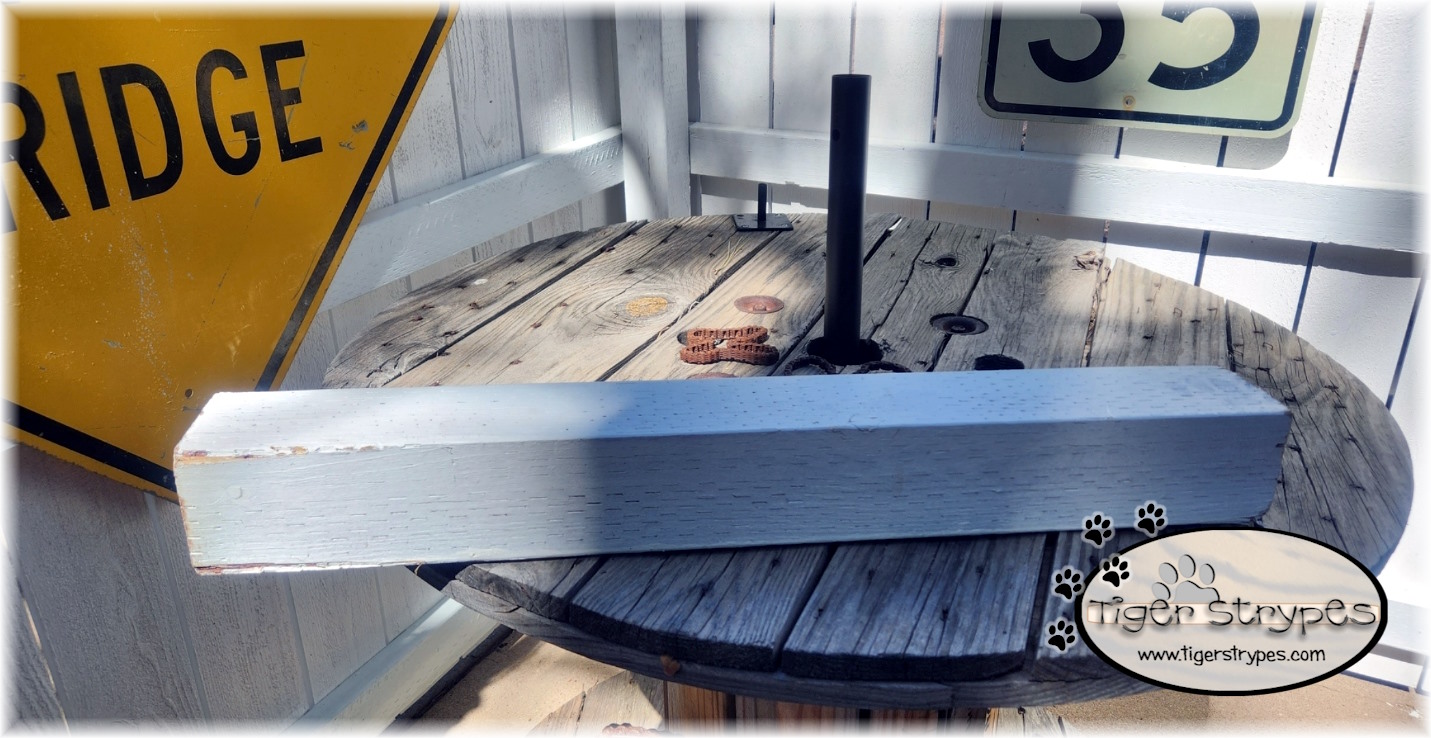
As you know, with any home project, etc. there are always things left over. Granted, we’re getting rid of the wood from the old fence, just because of it being rotten in some places and downright hideous. Other pieces that were left over from the new fence, I wanted to make use of. We had this piece that was trimmed down from a main support, and I figured that I could make something out of it.
I was able to use some of the tools in the garage, and got some help from my husband with a torch, so this was really fun! Living in the mountains, we usually aren’t able to even enjoy fireworks for the 4th of July, due to the fire hazard danger in our forest. I figured that once these were complete, they were #firewise and would be great for the Independence Holiday! I sure hope that you like the tutorial, and pray that you have a blessed day!
Please be sure to comment, and share this craft on your social media channels – thanks so much!!

Make some patriotic #firecrackers from scrap wood #4thofJuly #Upcycle #Fireworks #Home via #TigerStrypesBlog - Find out more at Share on X
Materials/Tools Used:
- 4×4 Lumber/Wood
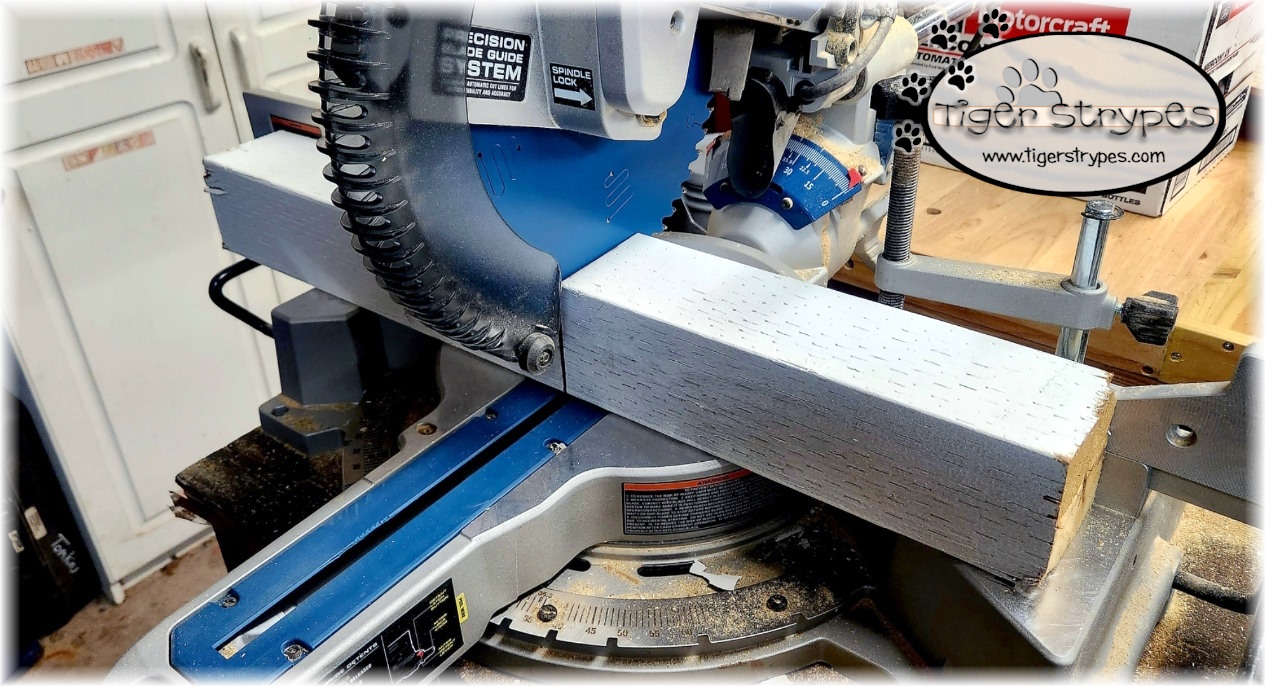
- Miter Saw
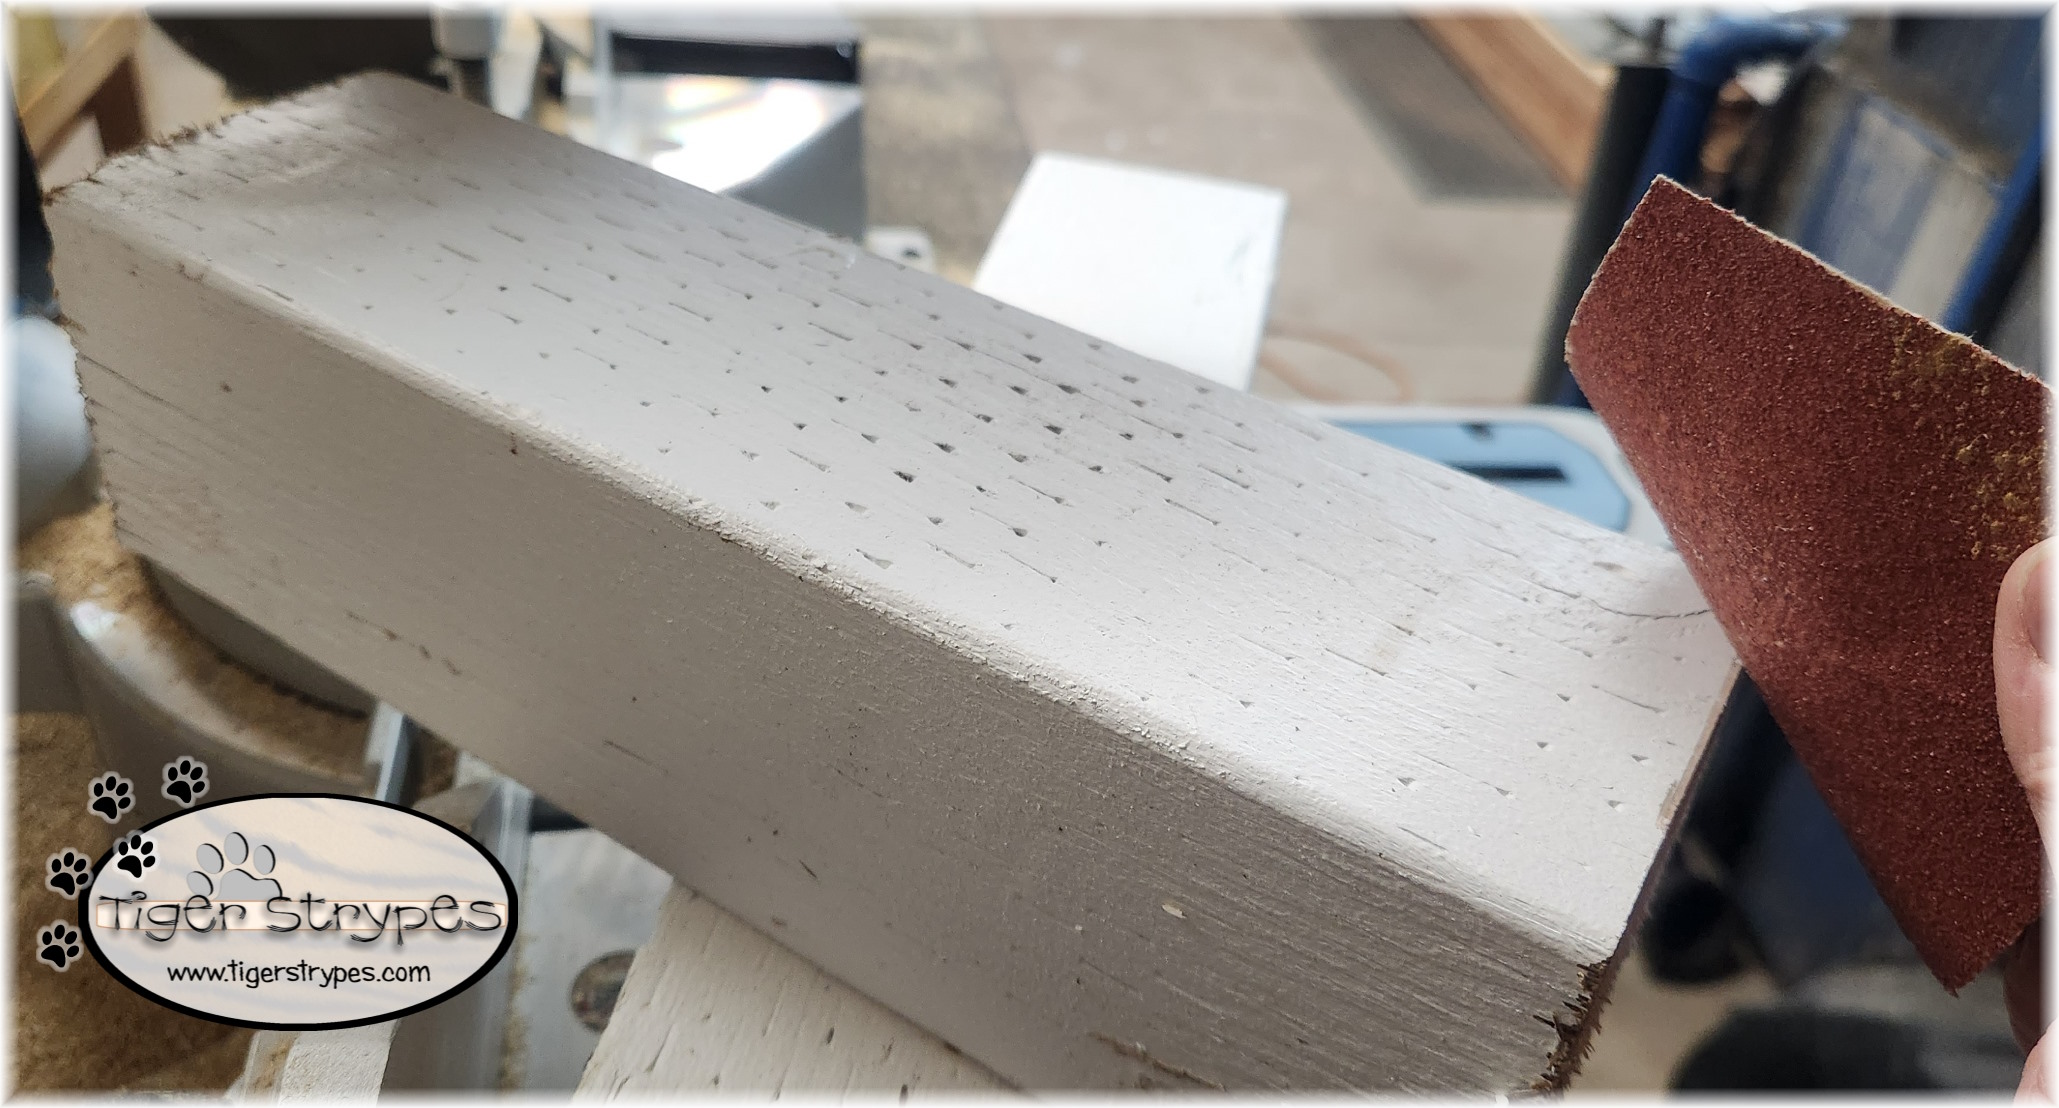
- Sandpaper
- Craft Paint
- Painter’s Tape & Brush
- Cricut w/Vinyl
- Craft Rope
- Glue
- Torch/Lighter
- & Time!
Instructions for the Patriotic Firecrackers from Scrap Wood:
Start by cutting the wood into whatever sizes you want. I decided to make one smaller, so they had a staggered look on the porch. Once they are cut, be sure to sand the edges, to remove the splinters.
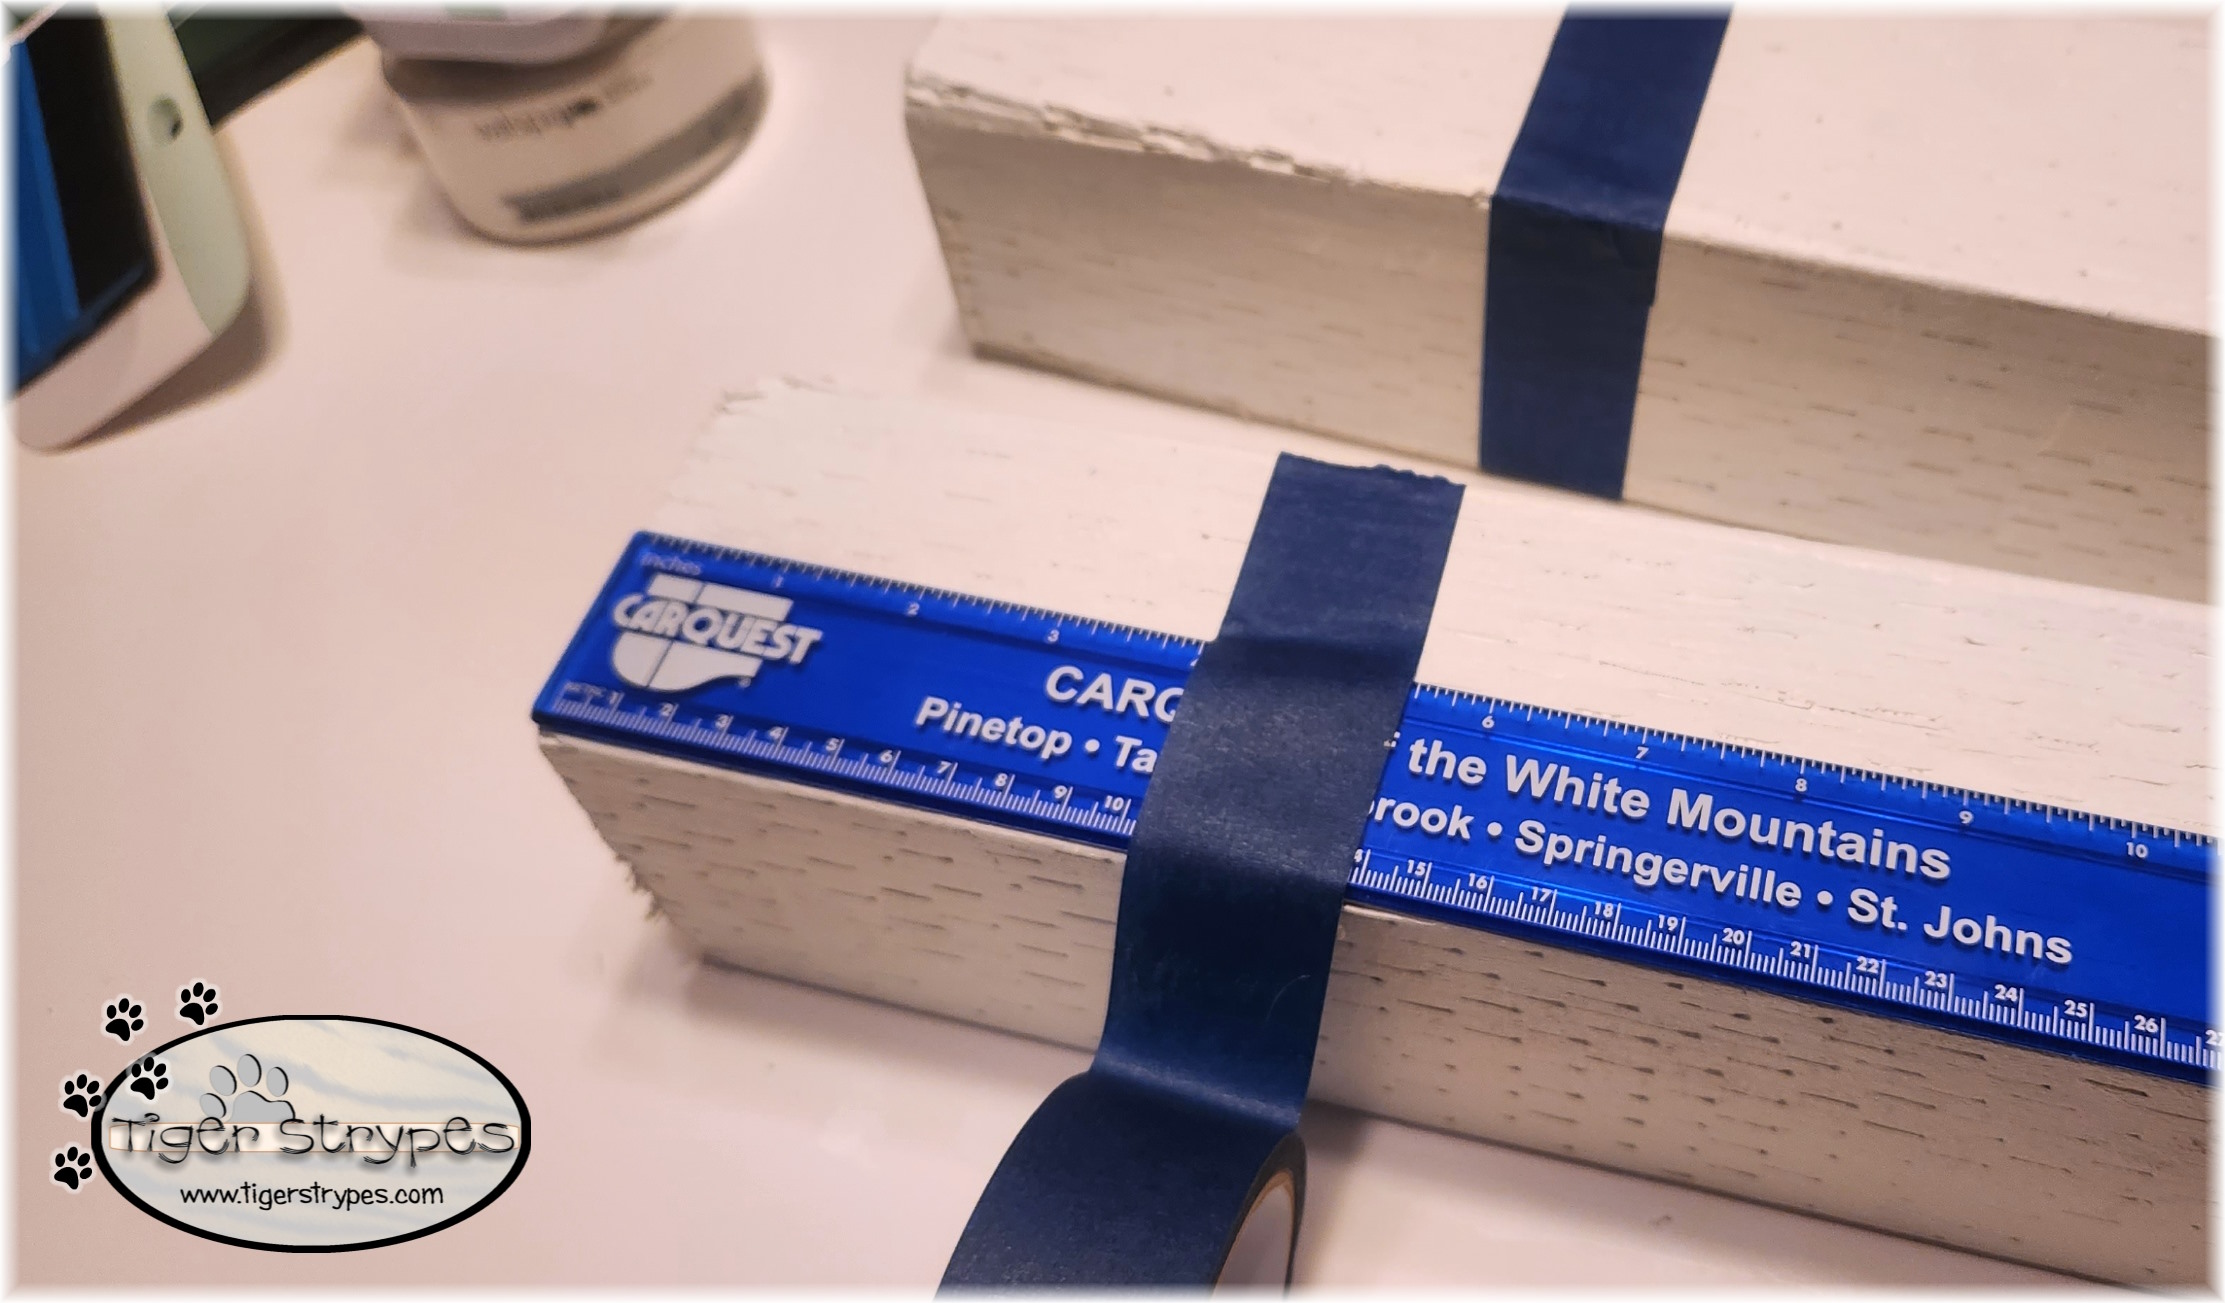
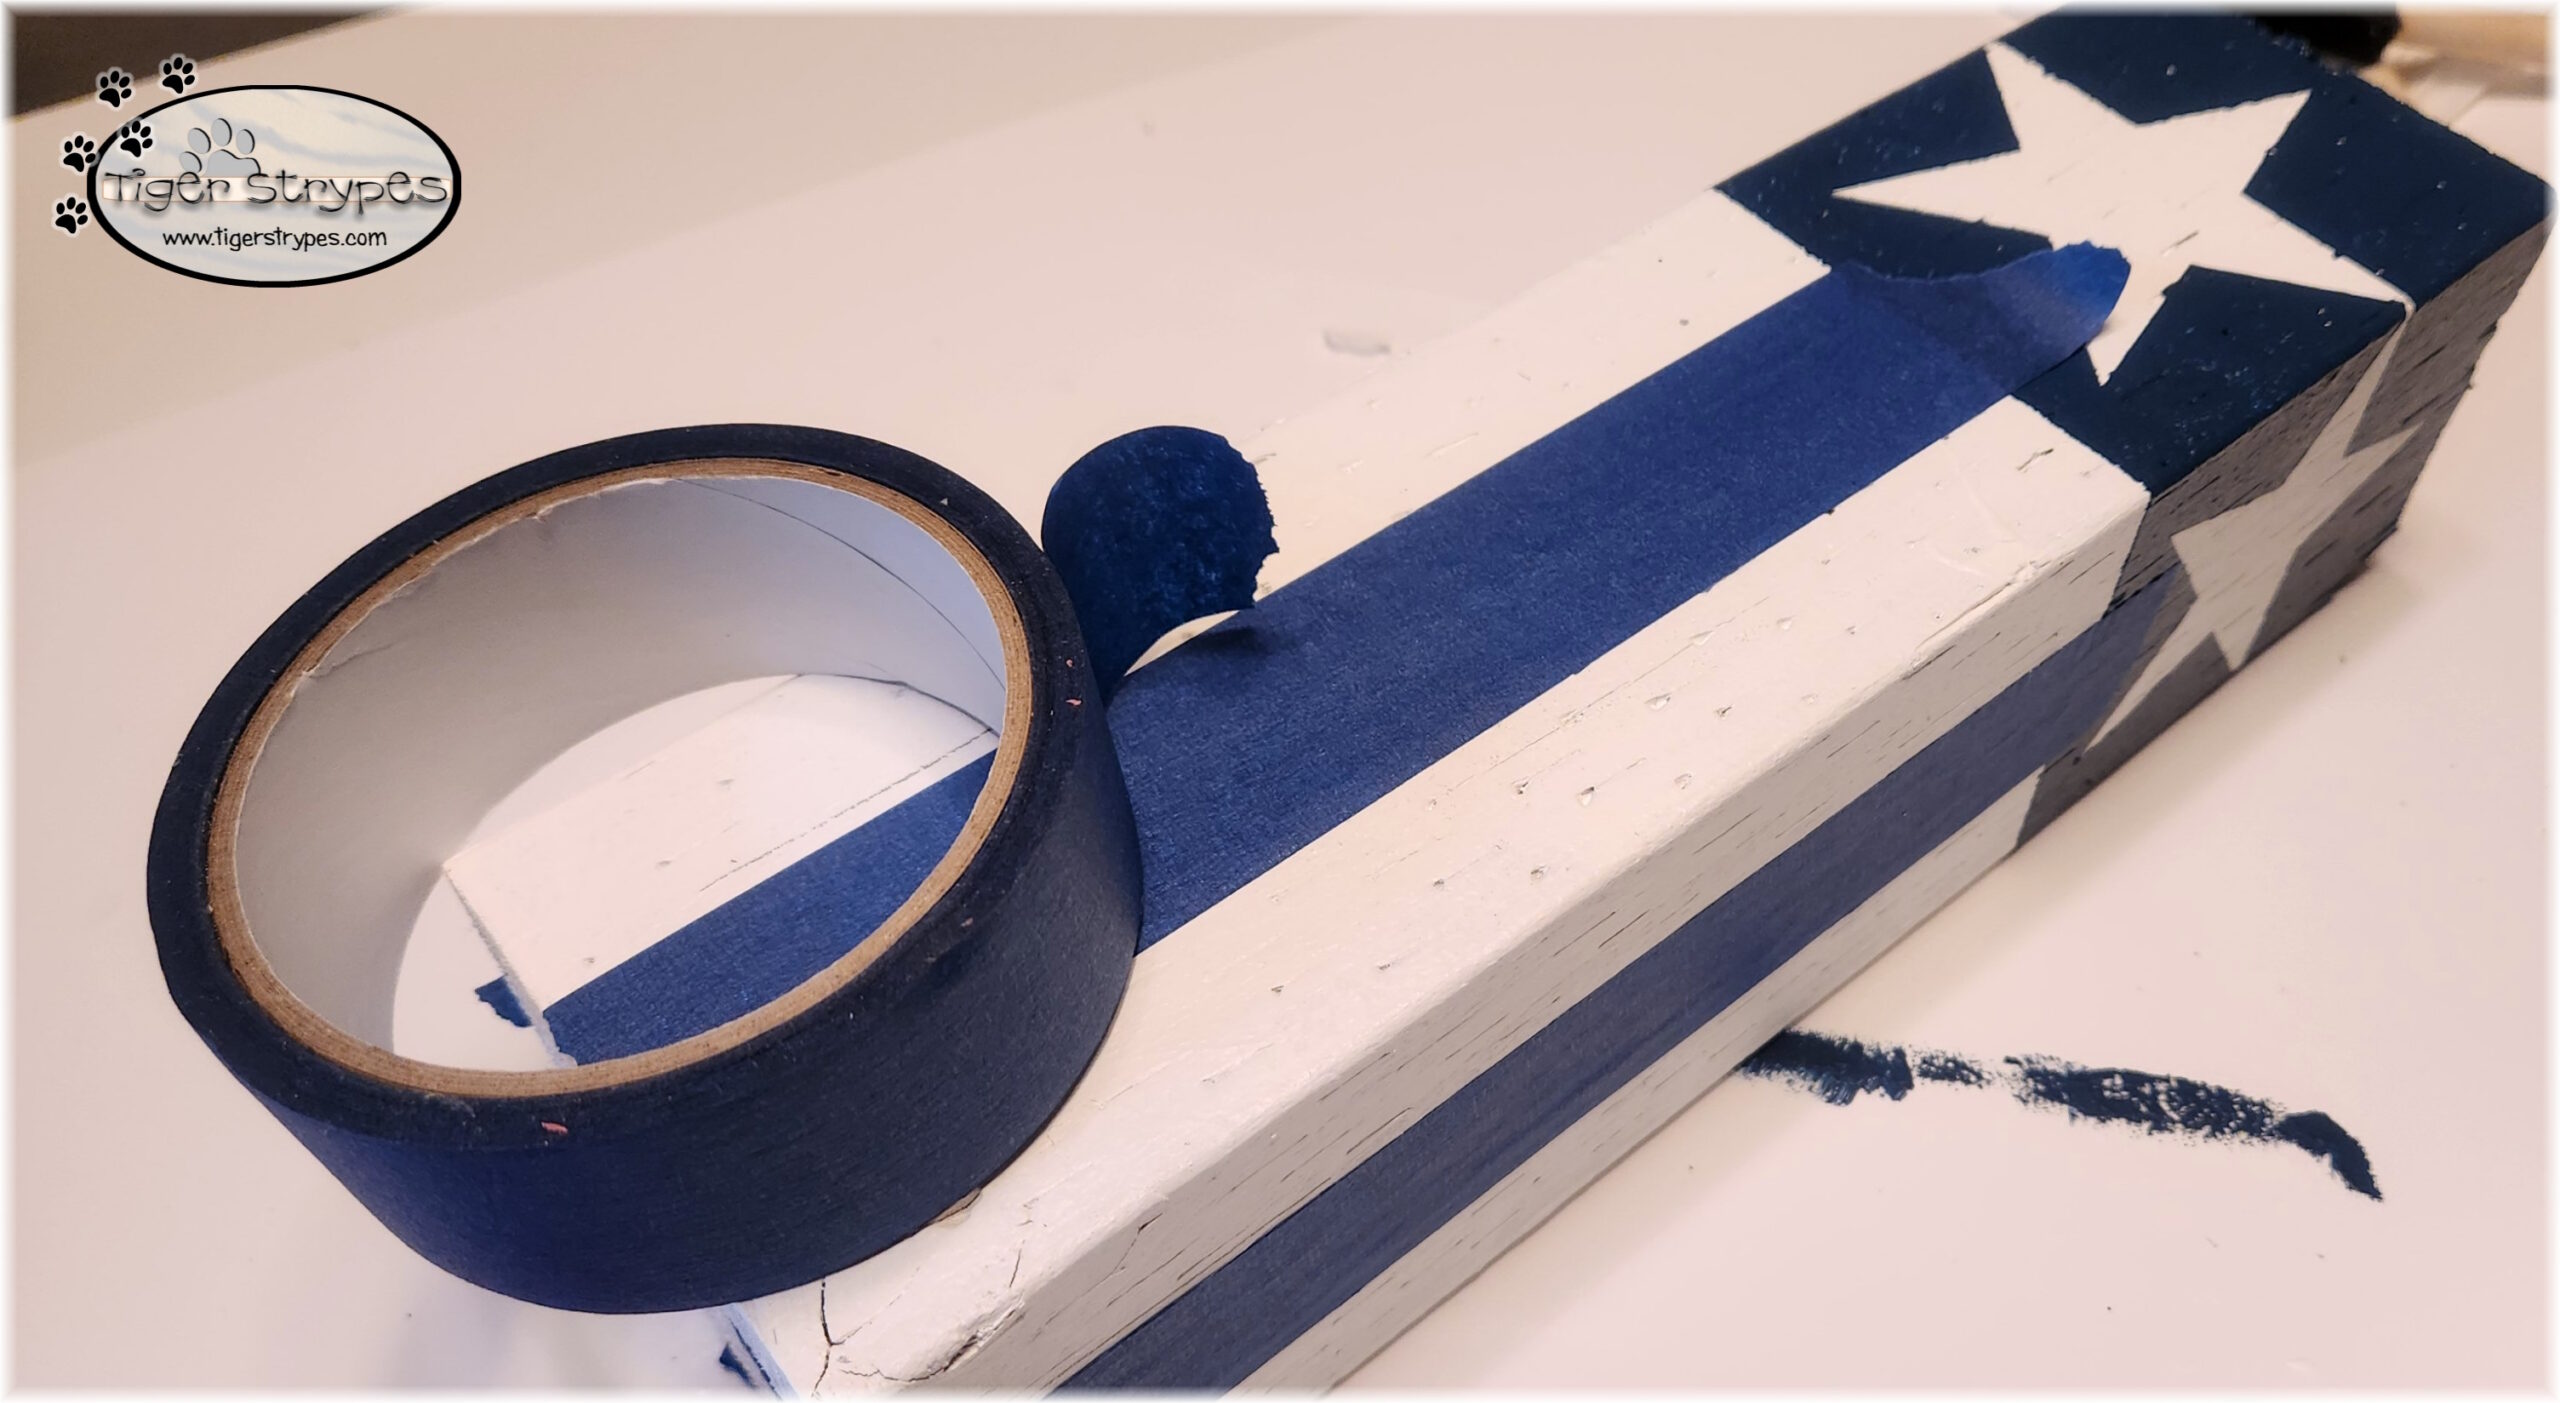
When you have your pieces cut, you can start measuring. There are no set dimensions, so be as creative as you’d like. You need to wrap painter’s tape around the top portion for the blue and the stars.
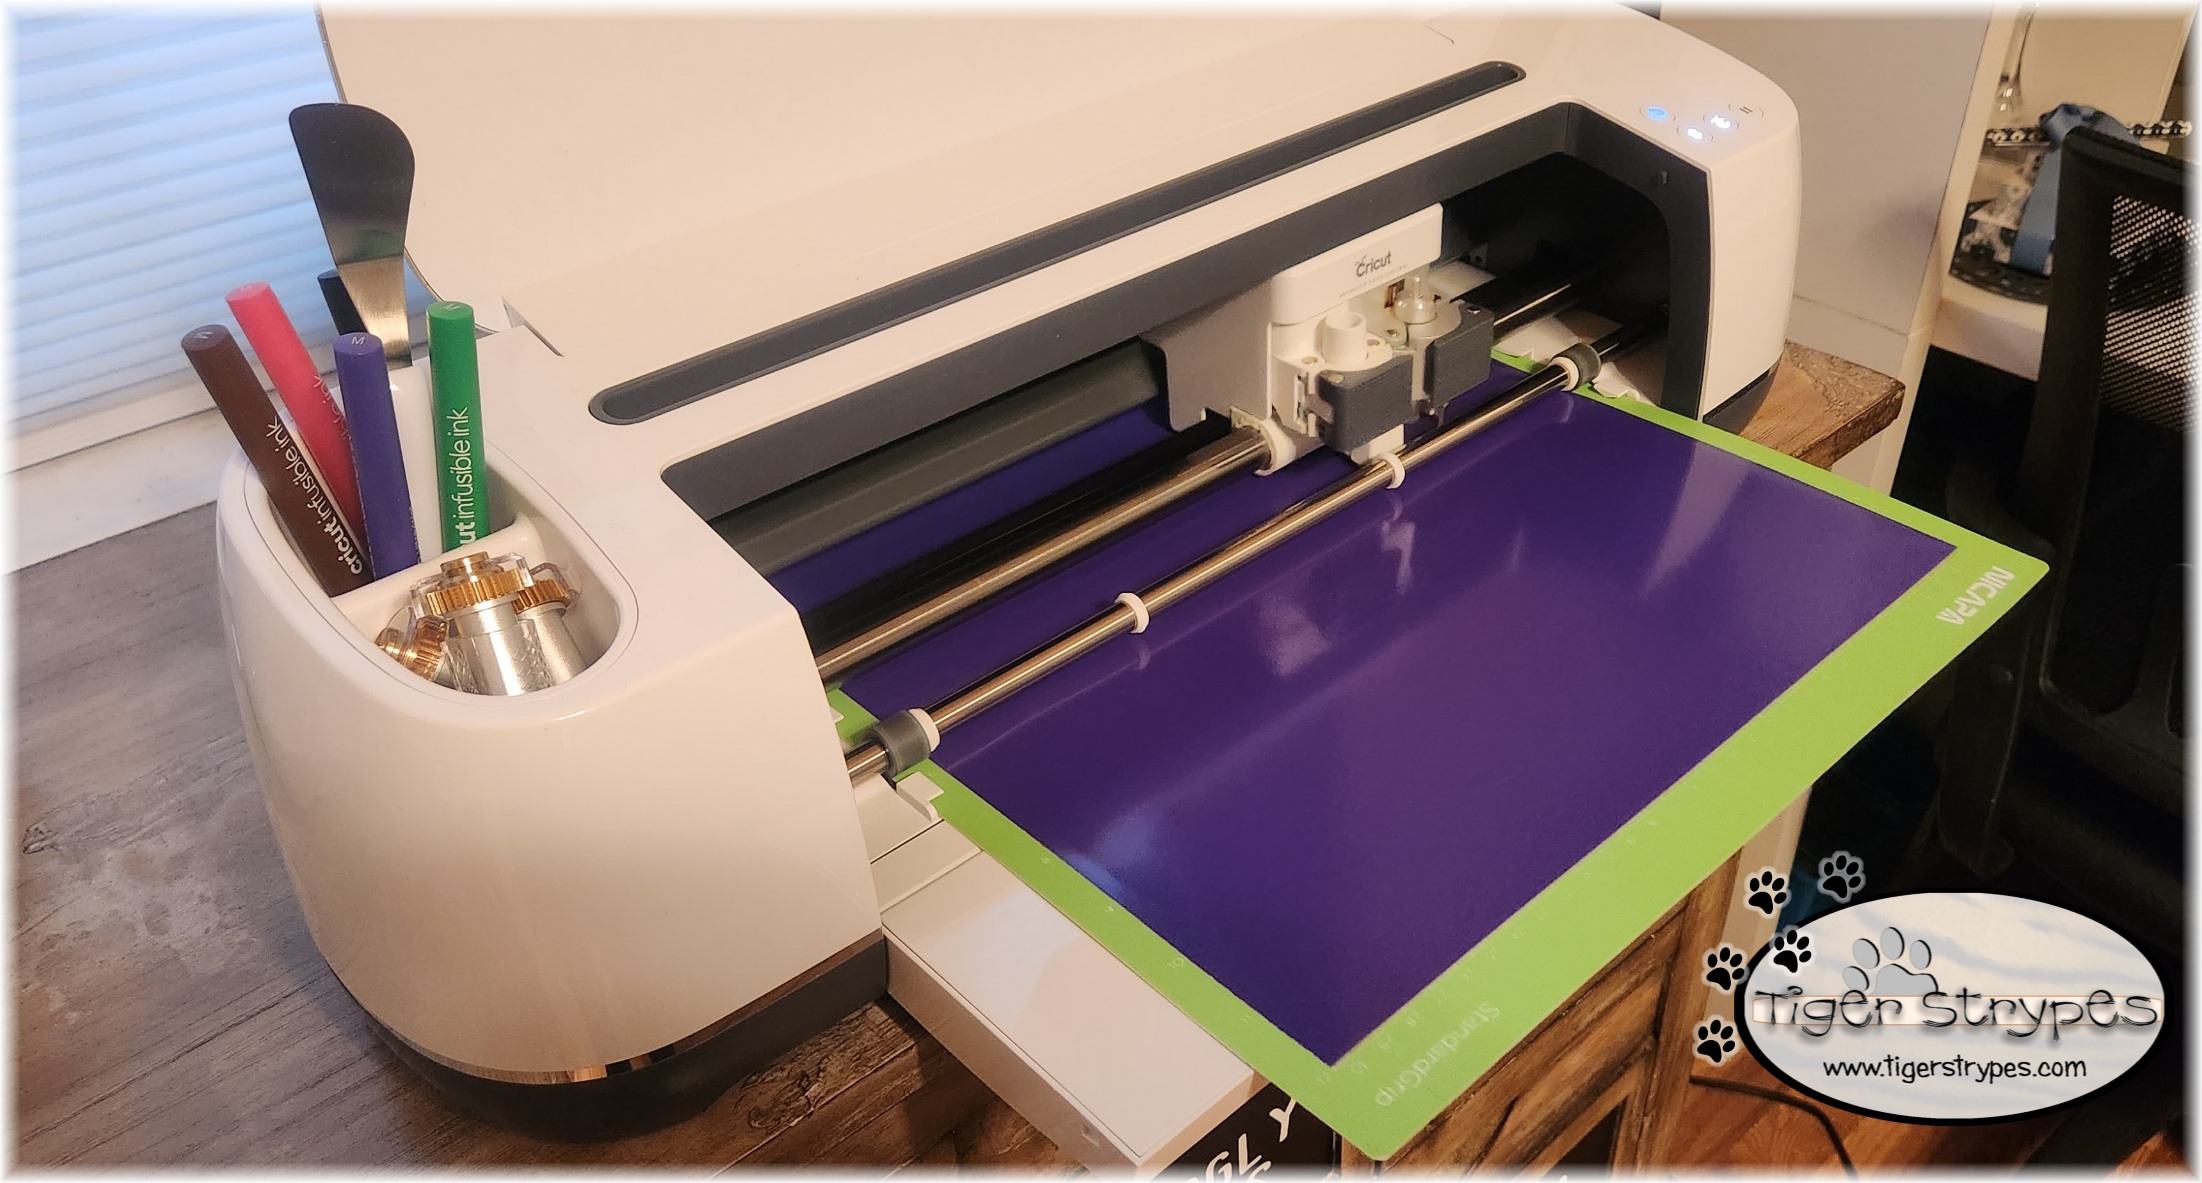
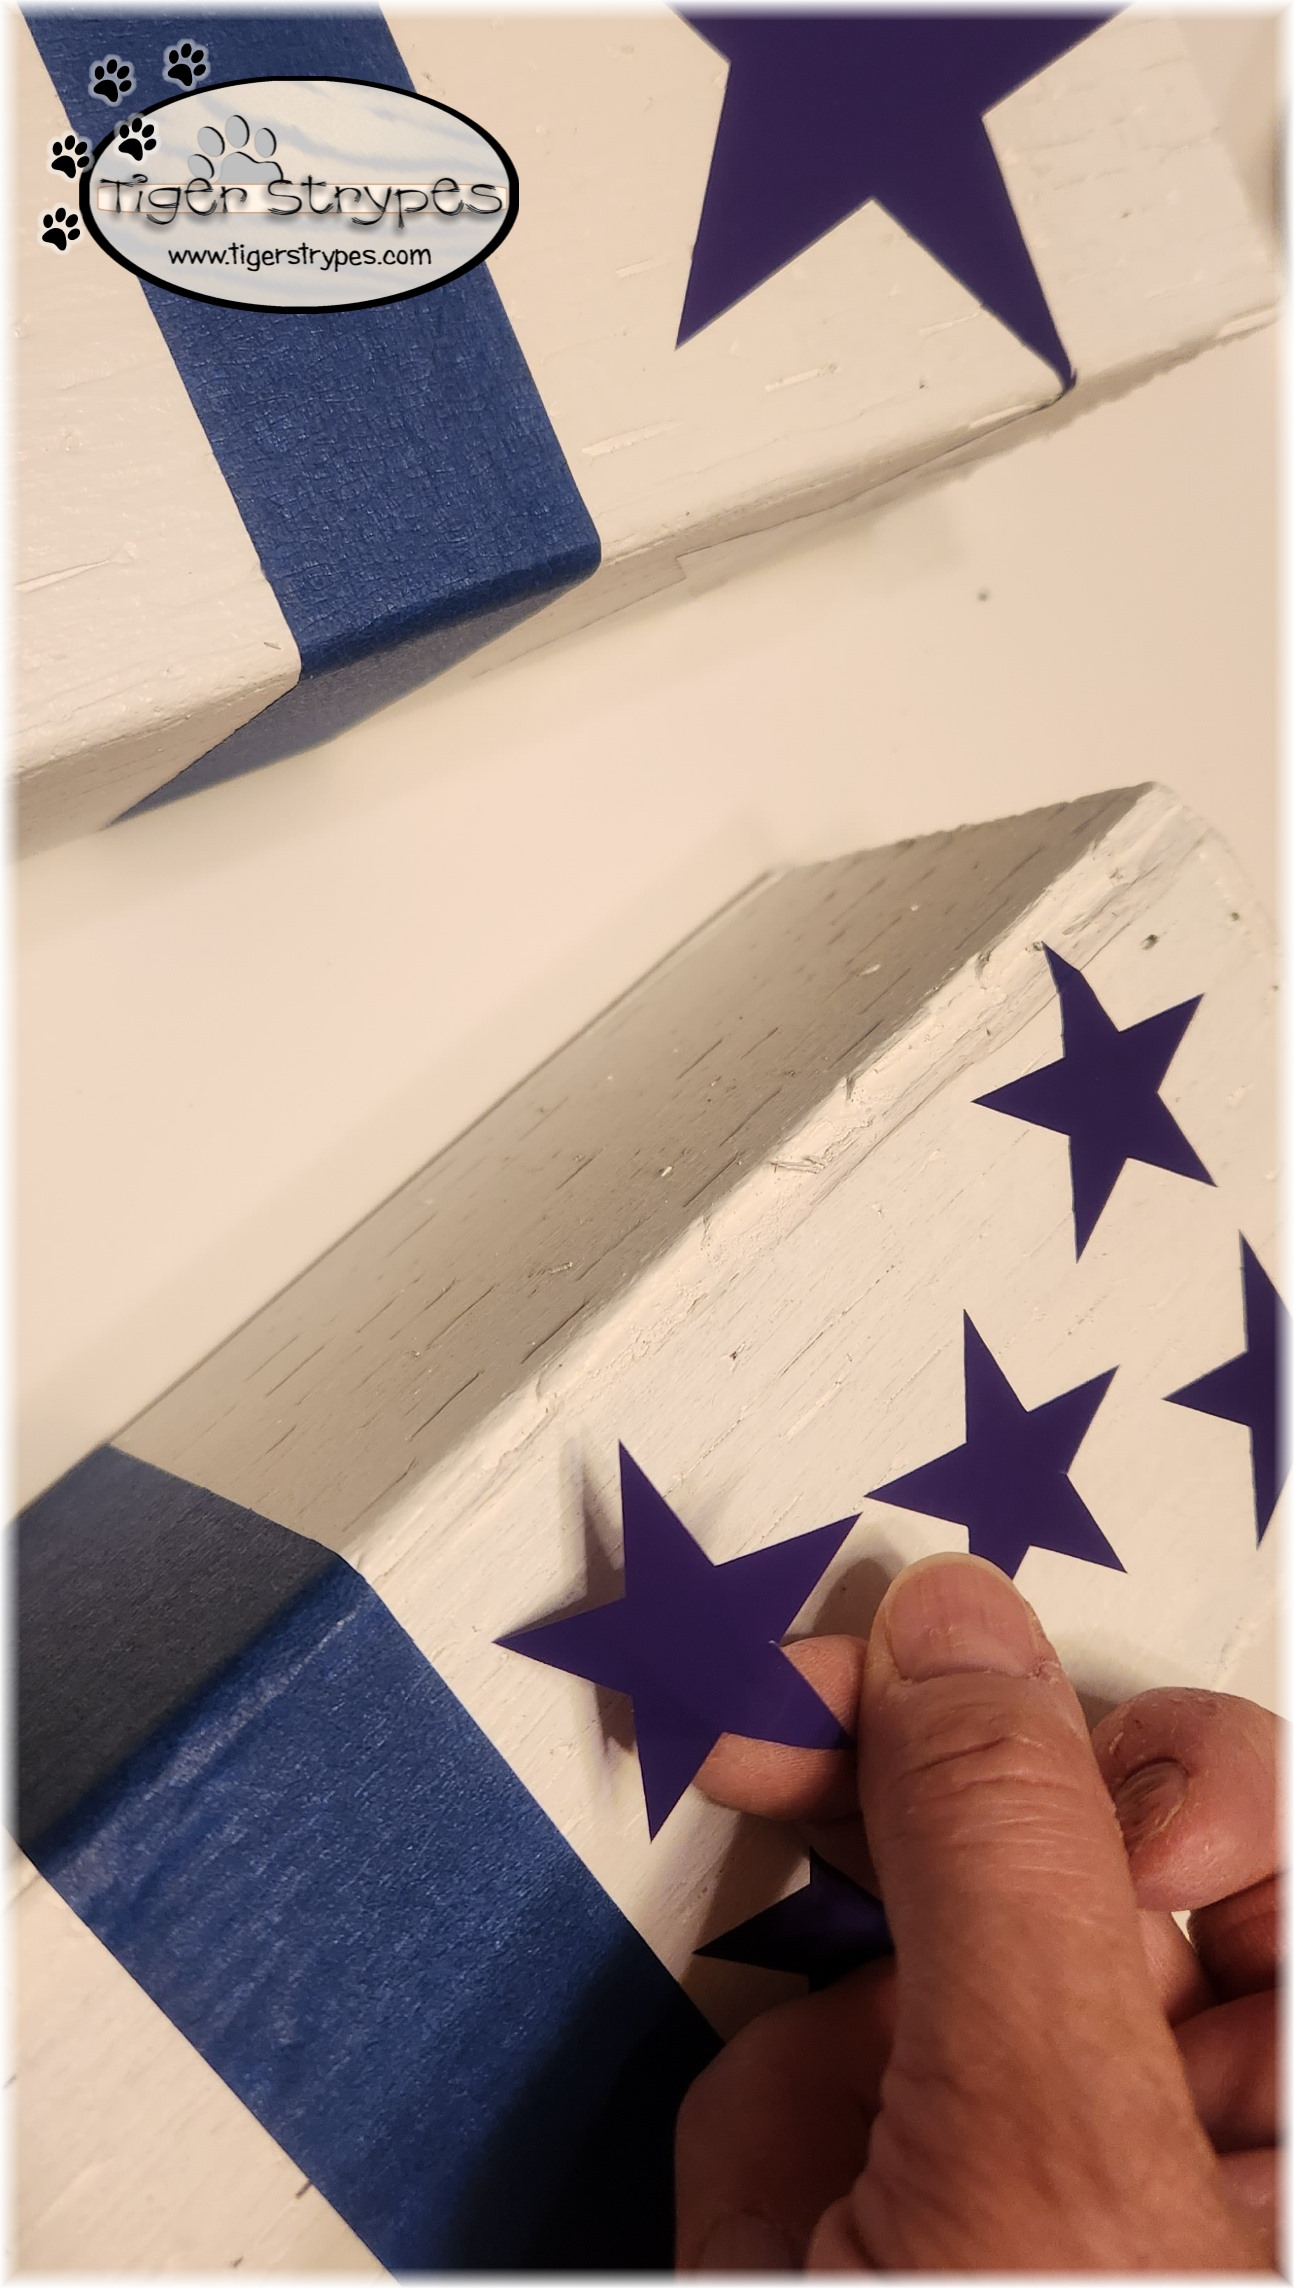
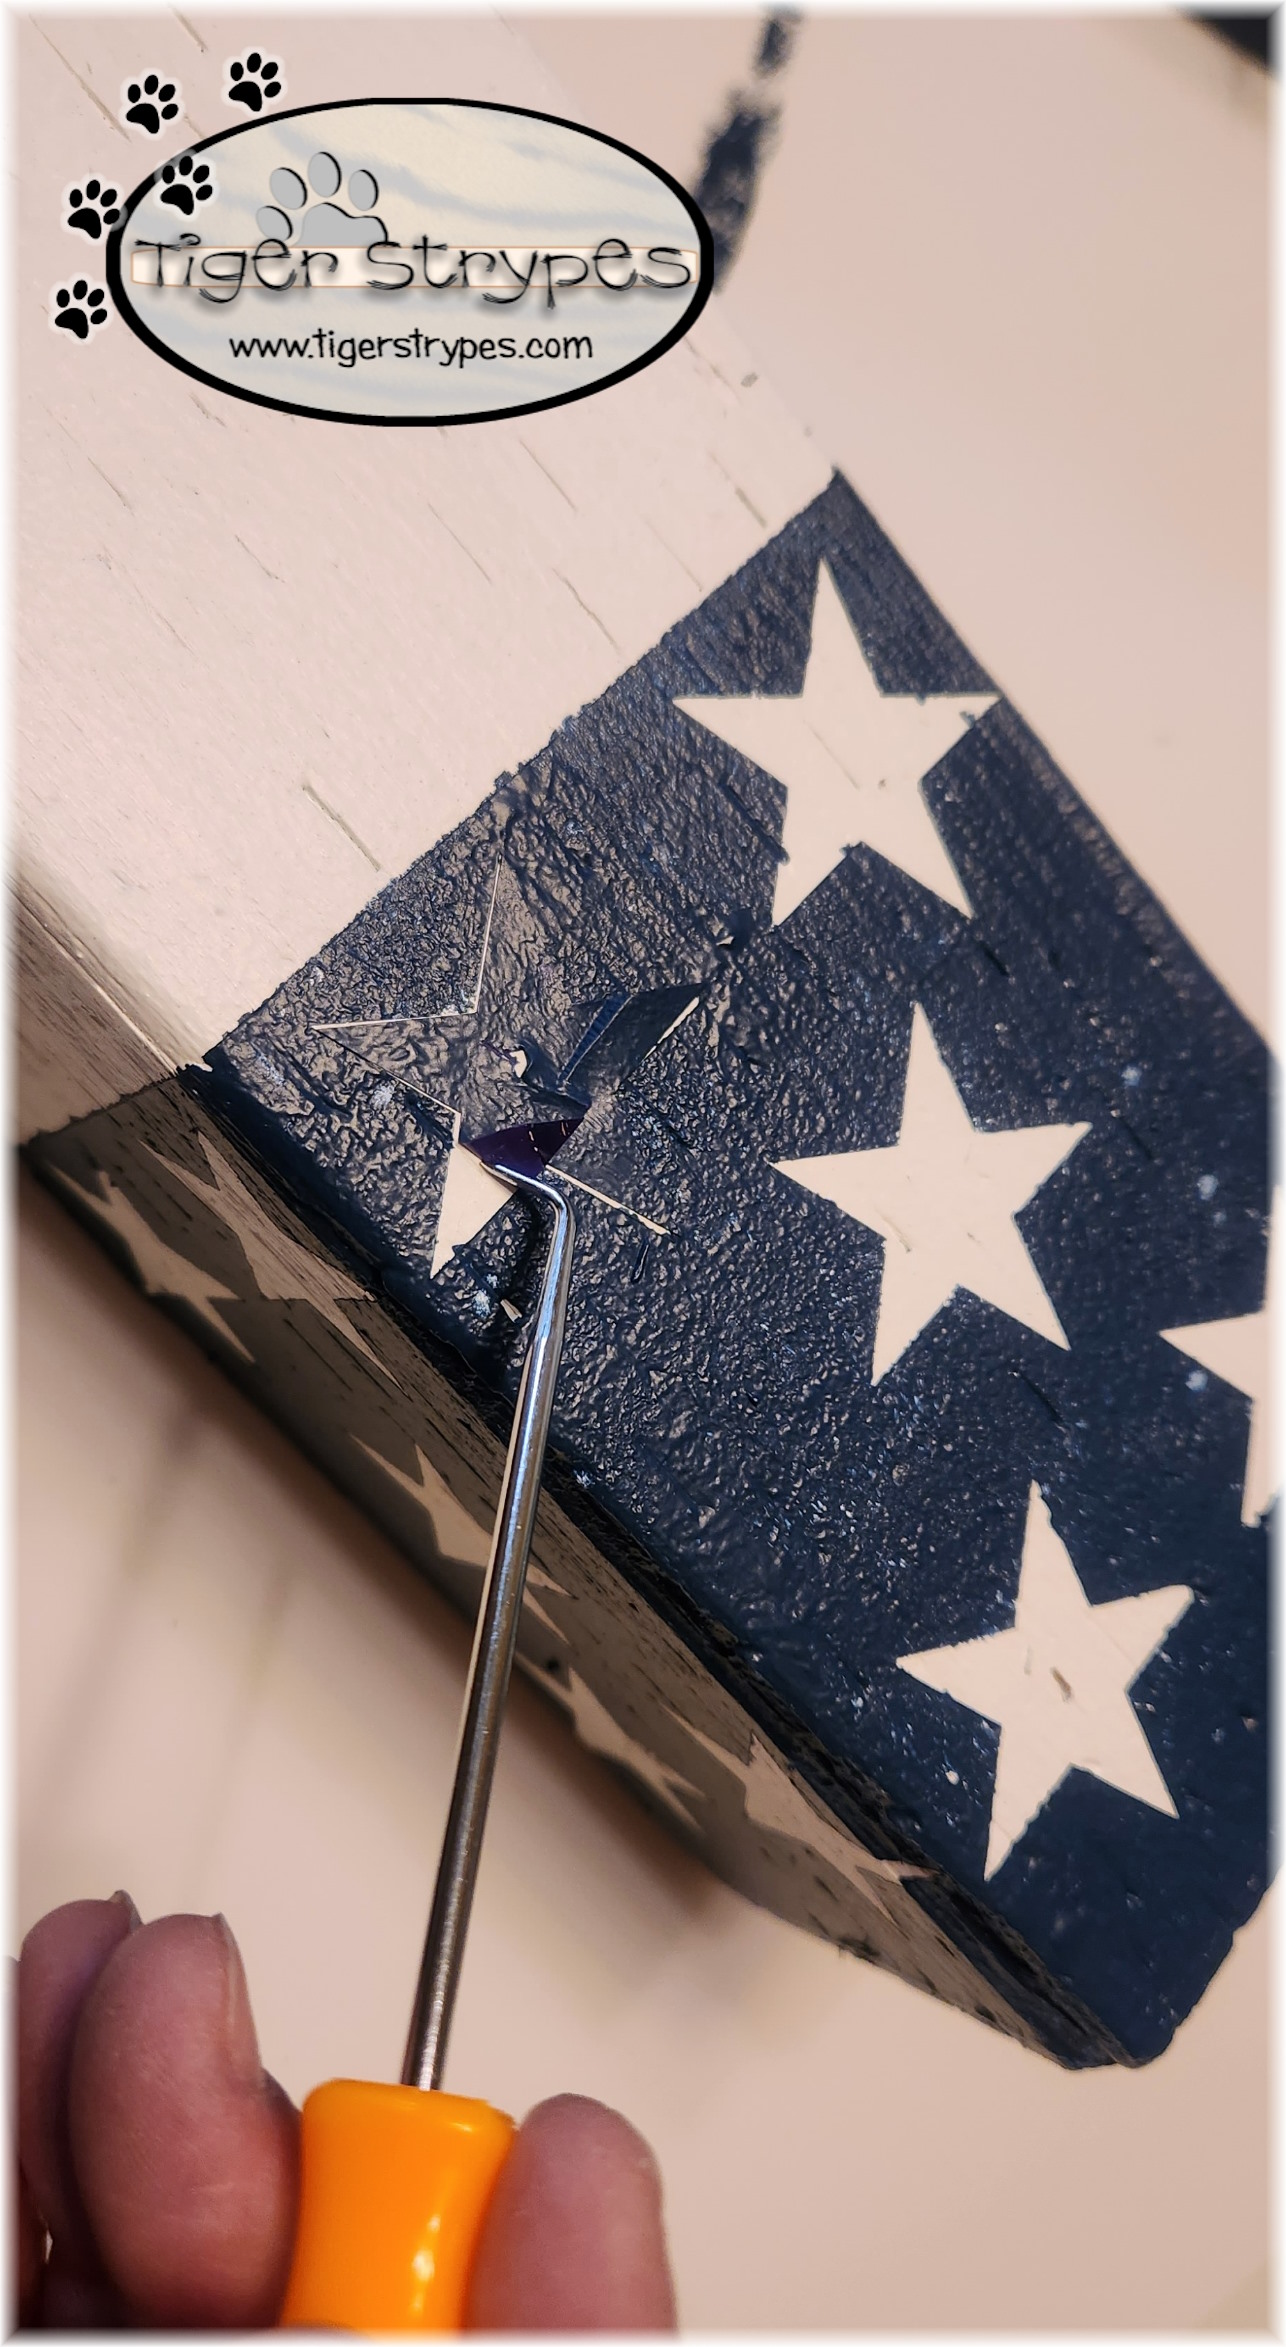
Once I had the tape secure, I used my Cricut to cut some star shapes to use as stencils. I just used some extra vinyl that had been sitting around, since I would just paint over them, let the paint dry and then remove them to be the white parts of the flag for the firecracker.
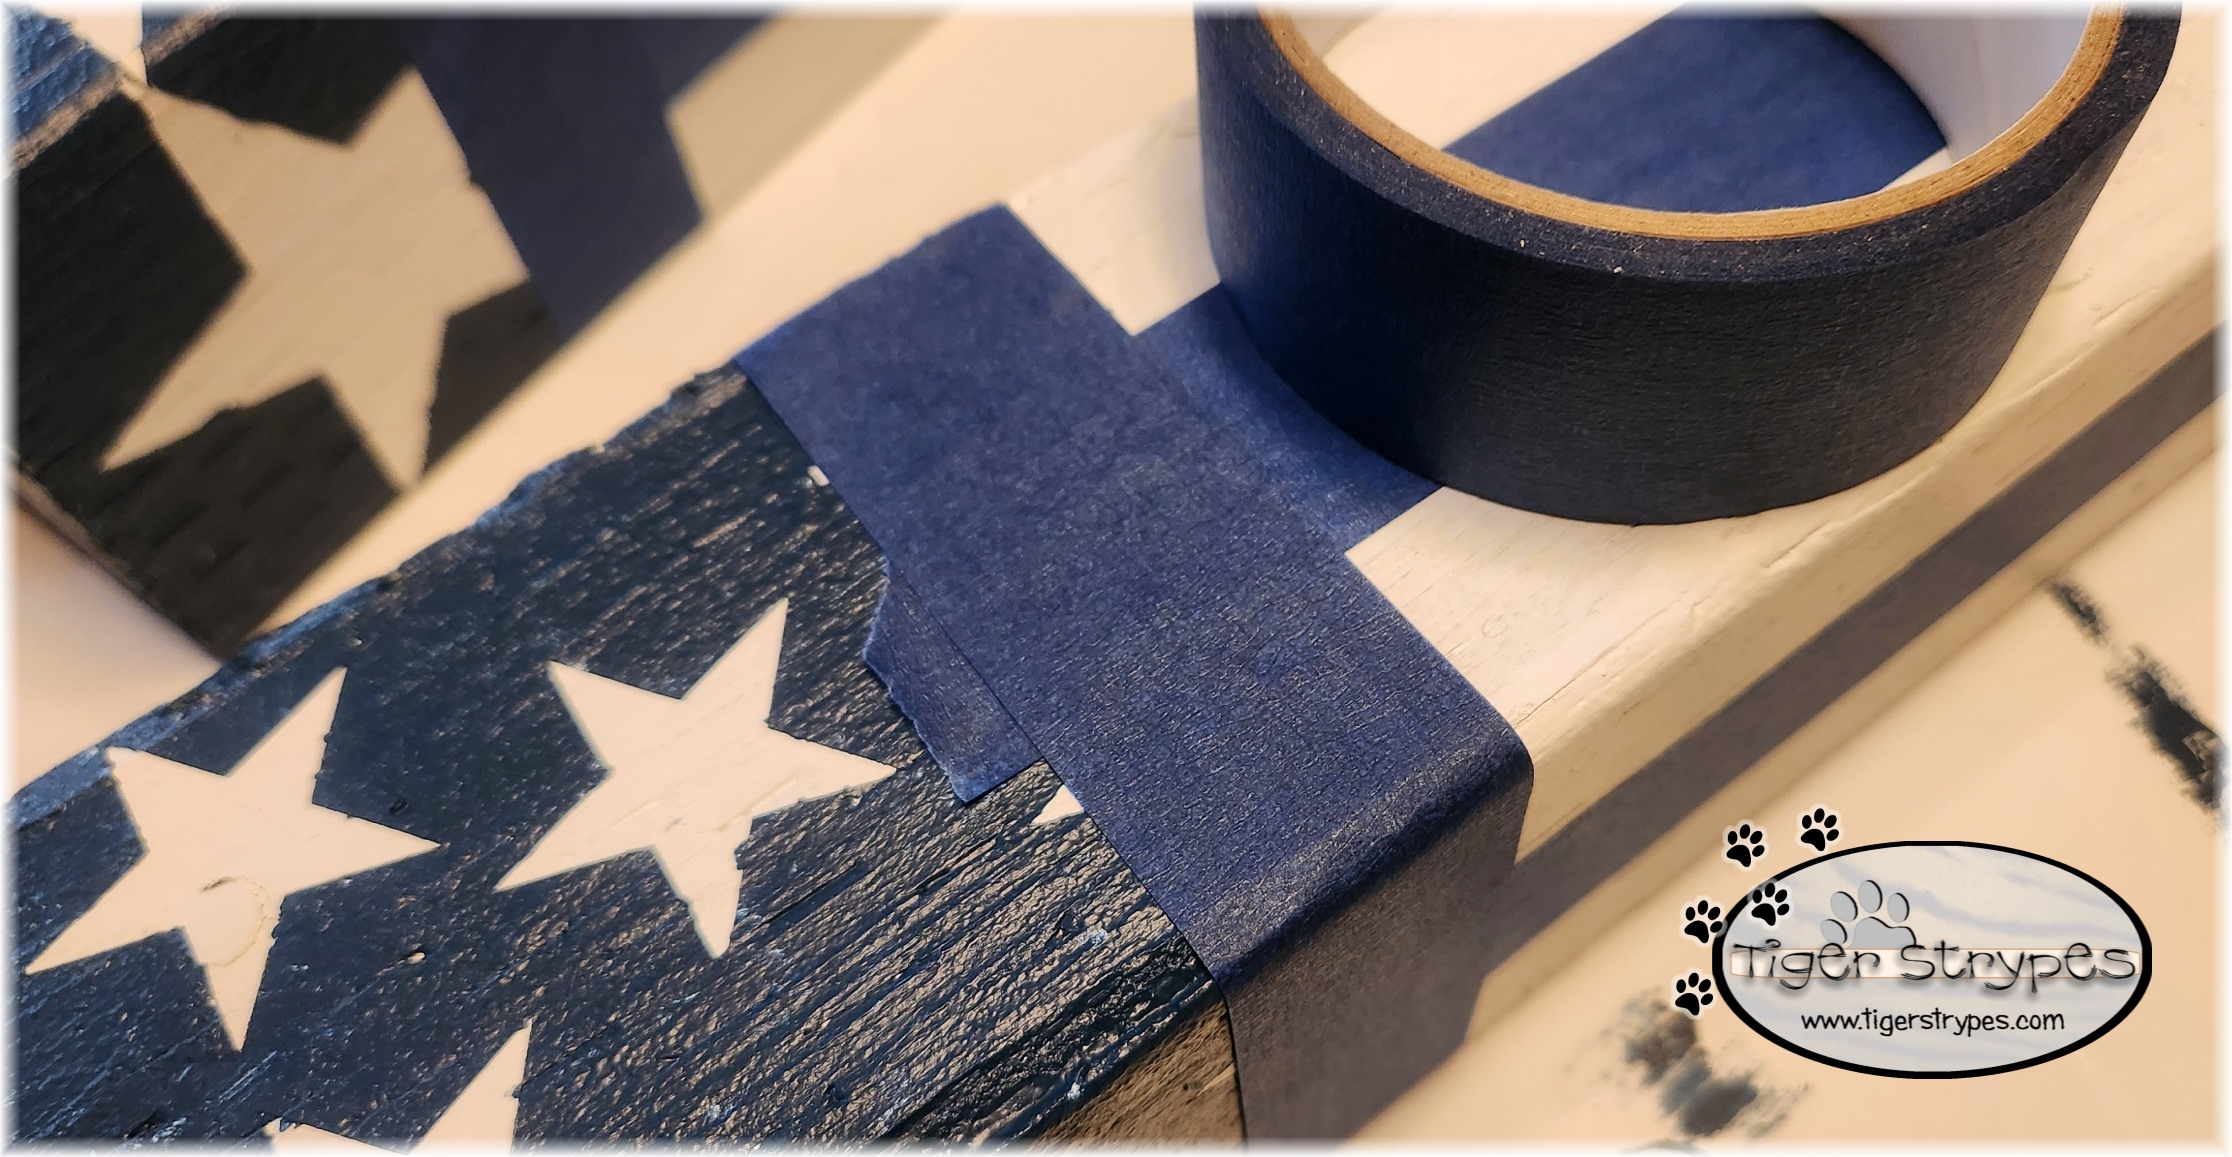
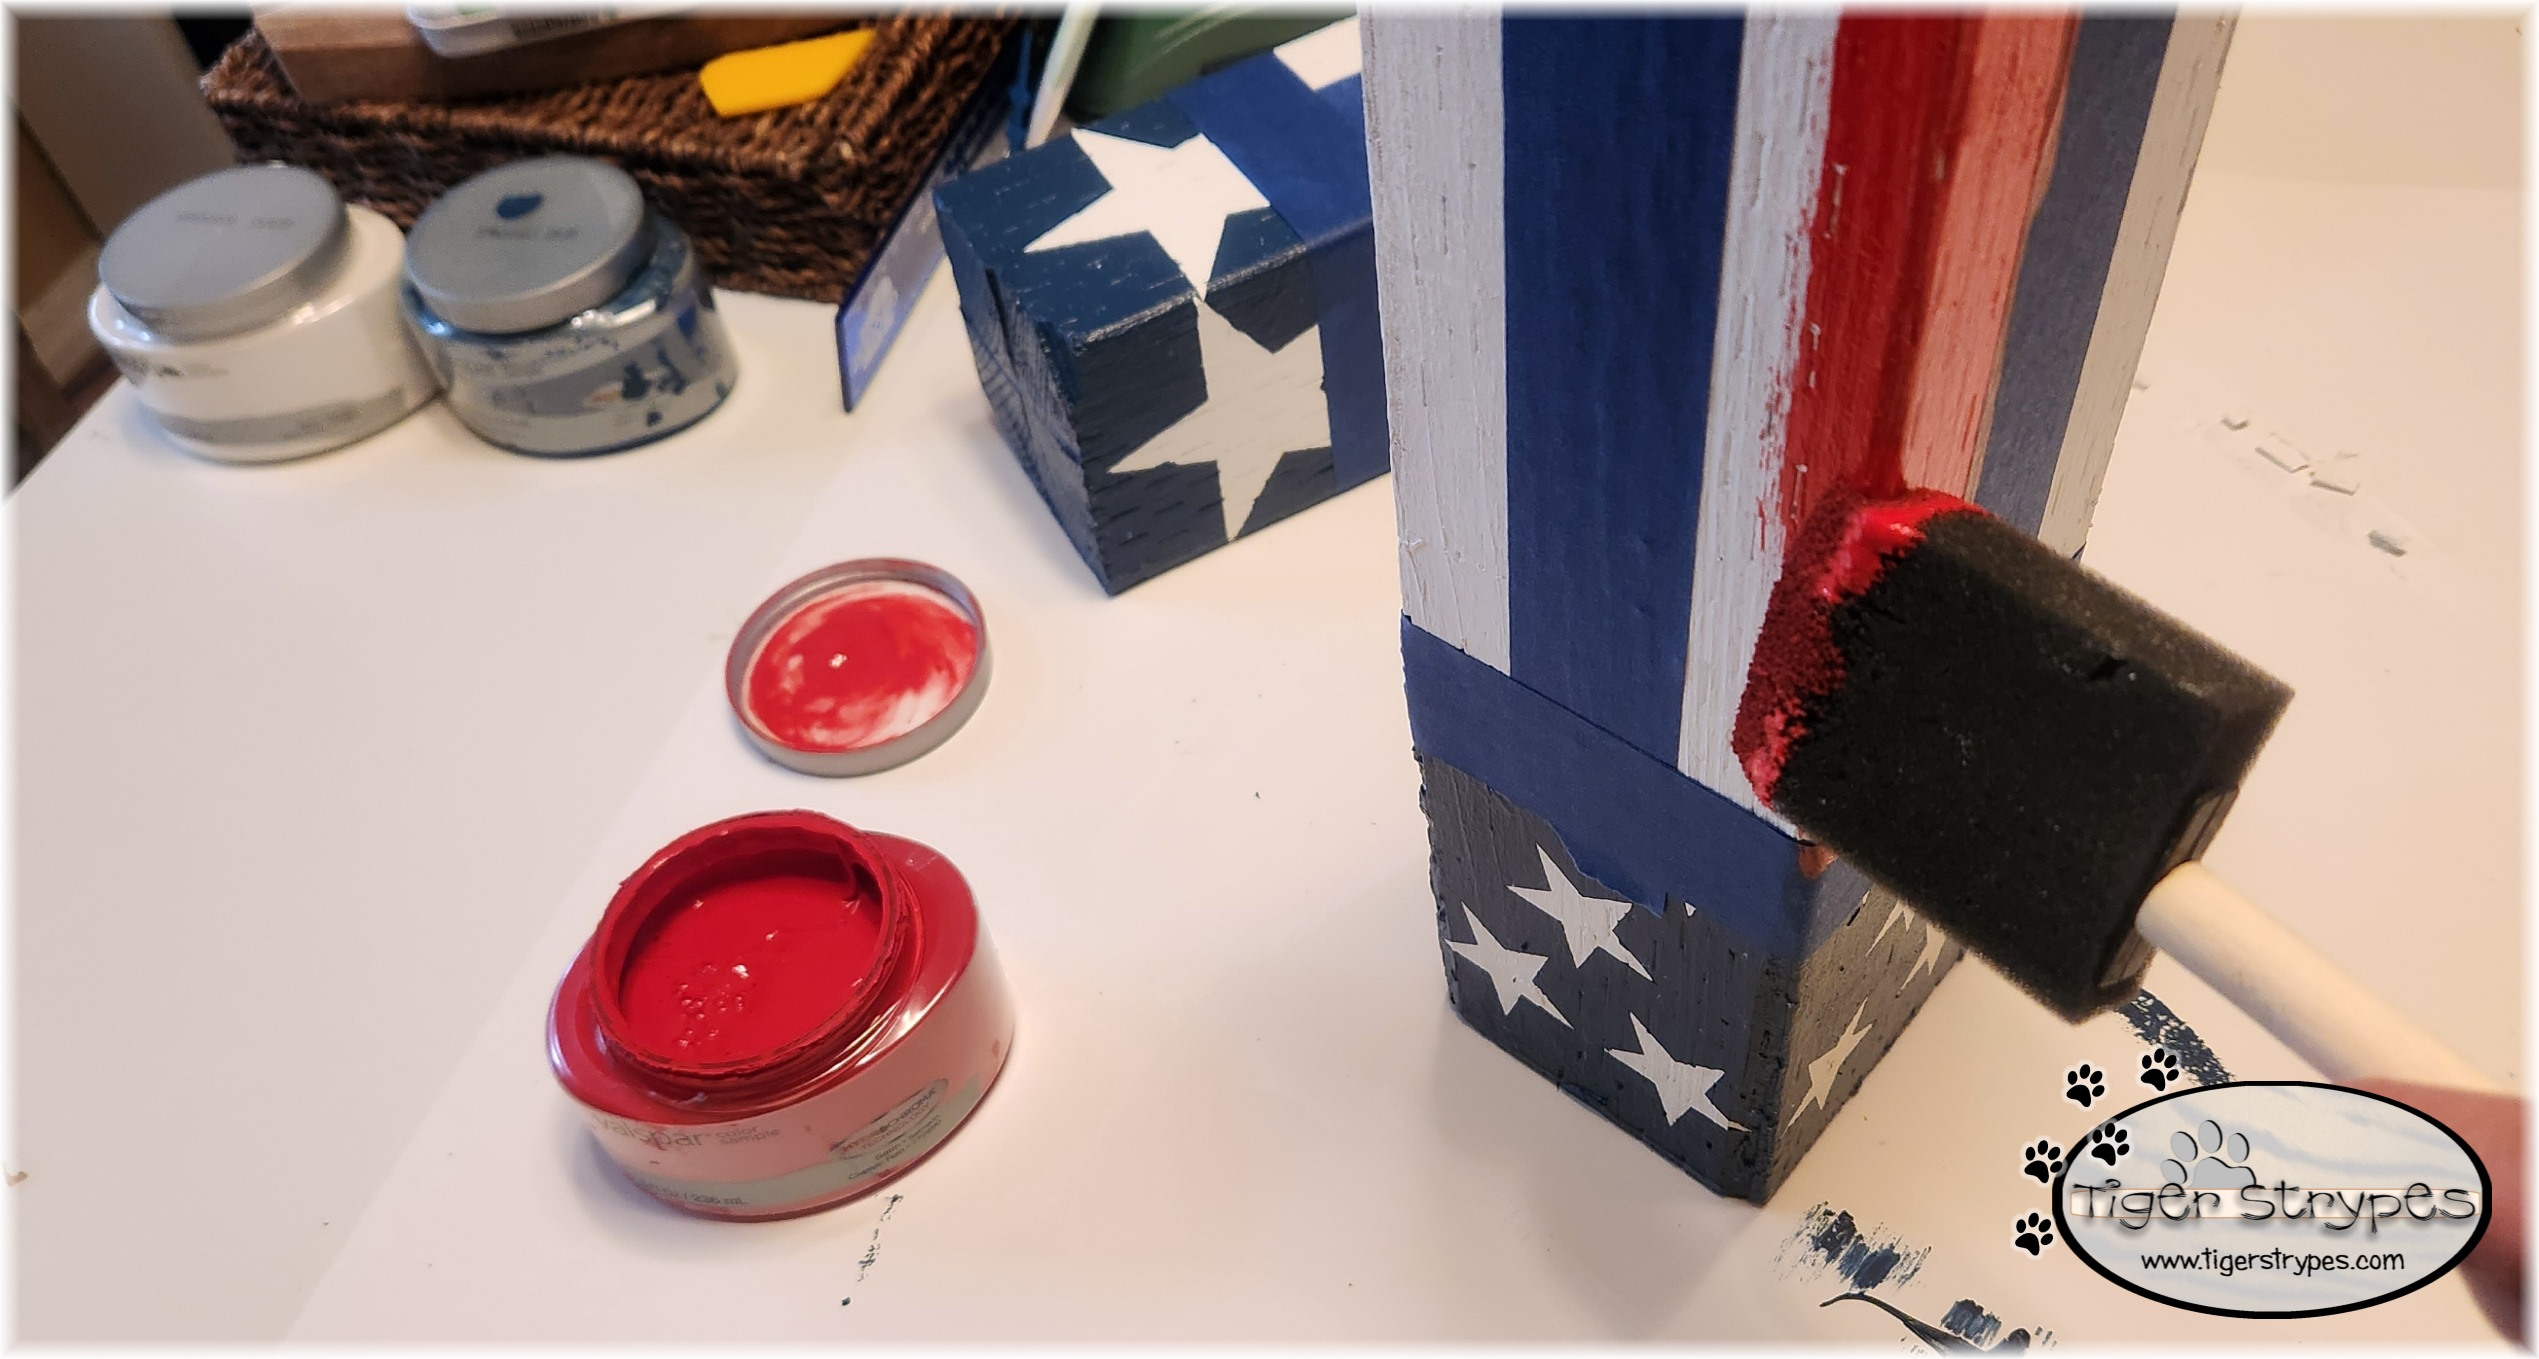
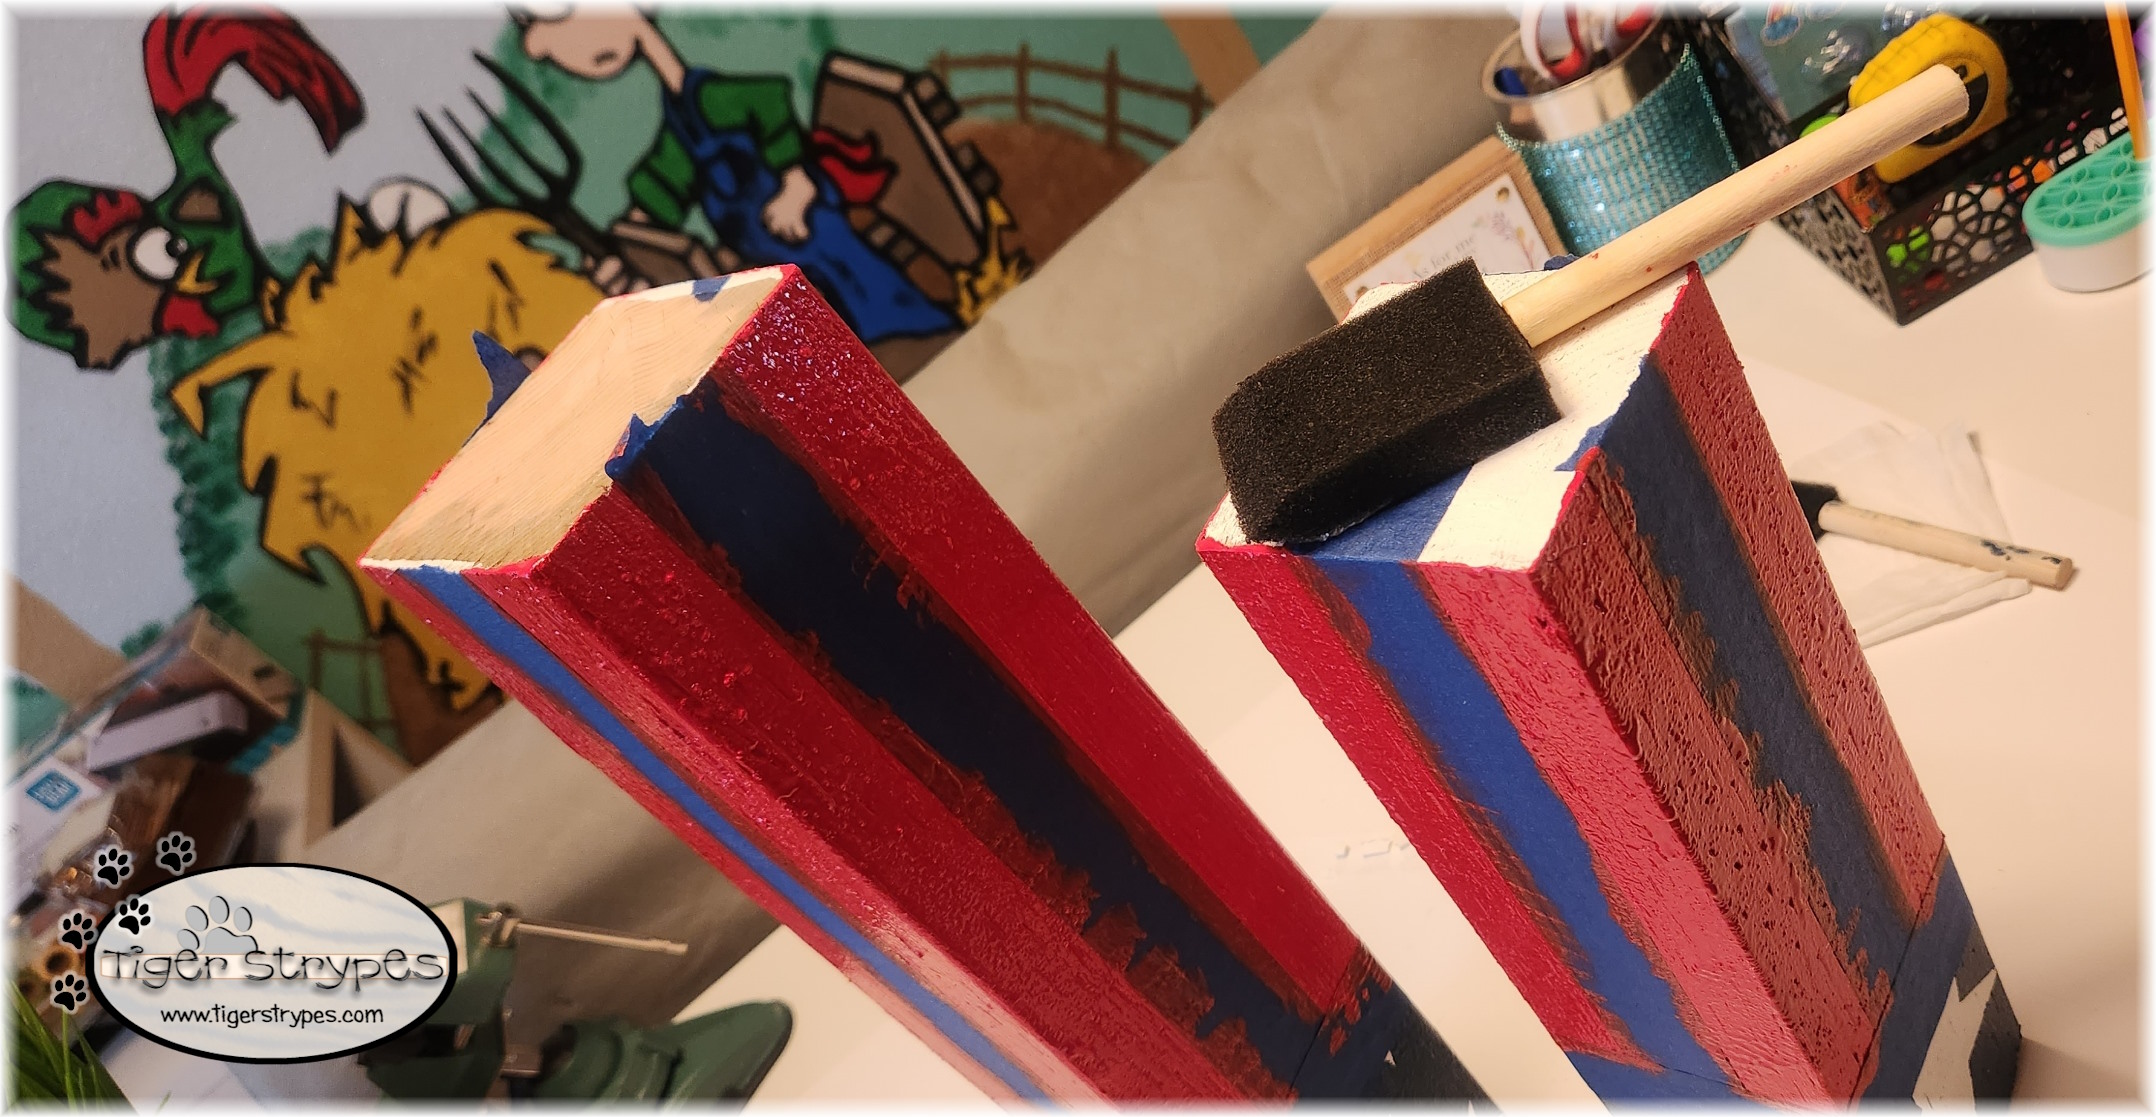
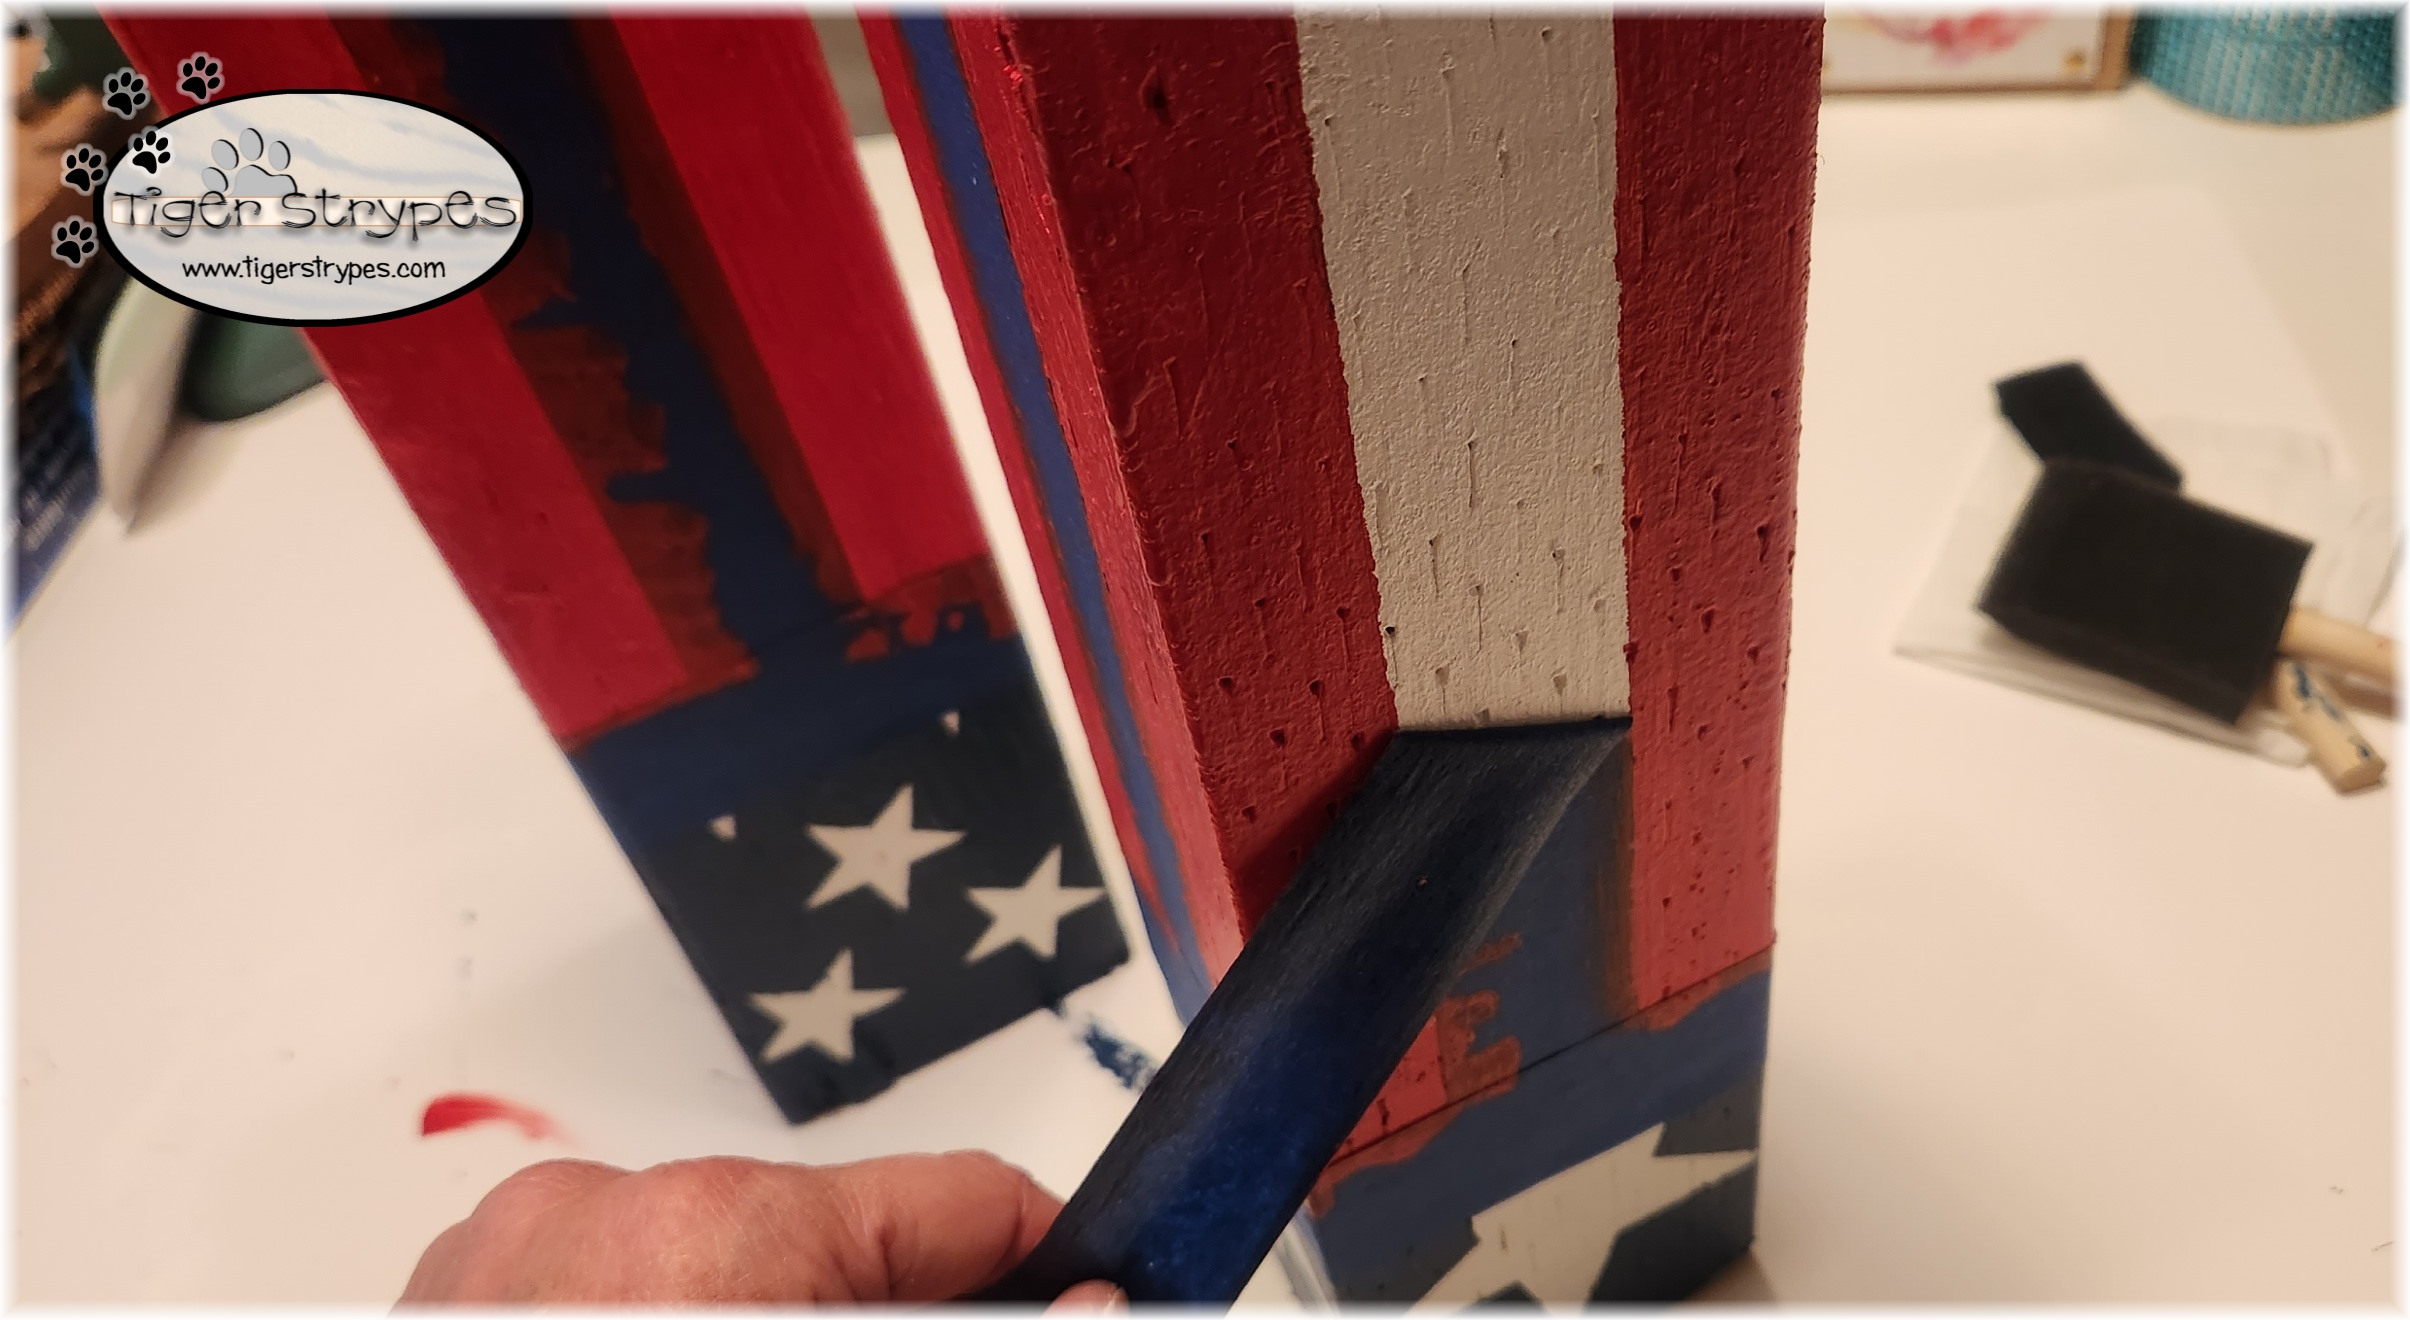
When that part is completely dry, you can start on the stripes. If you decide to do the stripes differently – go for it! The design is totally up to you. I just used painter’s tape for the width of the stripes that I would paint, to make it easy. You just apply it to each side, remove it when the paint is dry, and that will be the white part for your flag. Be sure to put some tape around the blue top, as well, so you don’t paint over that.
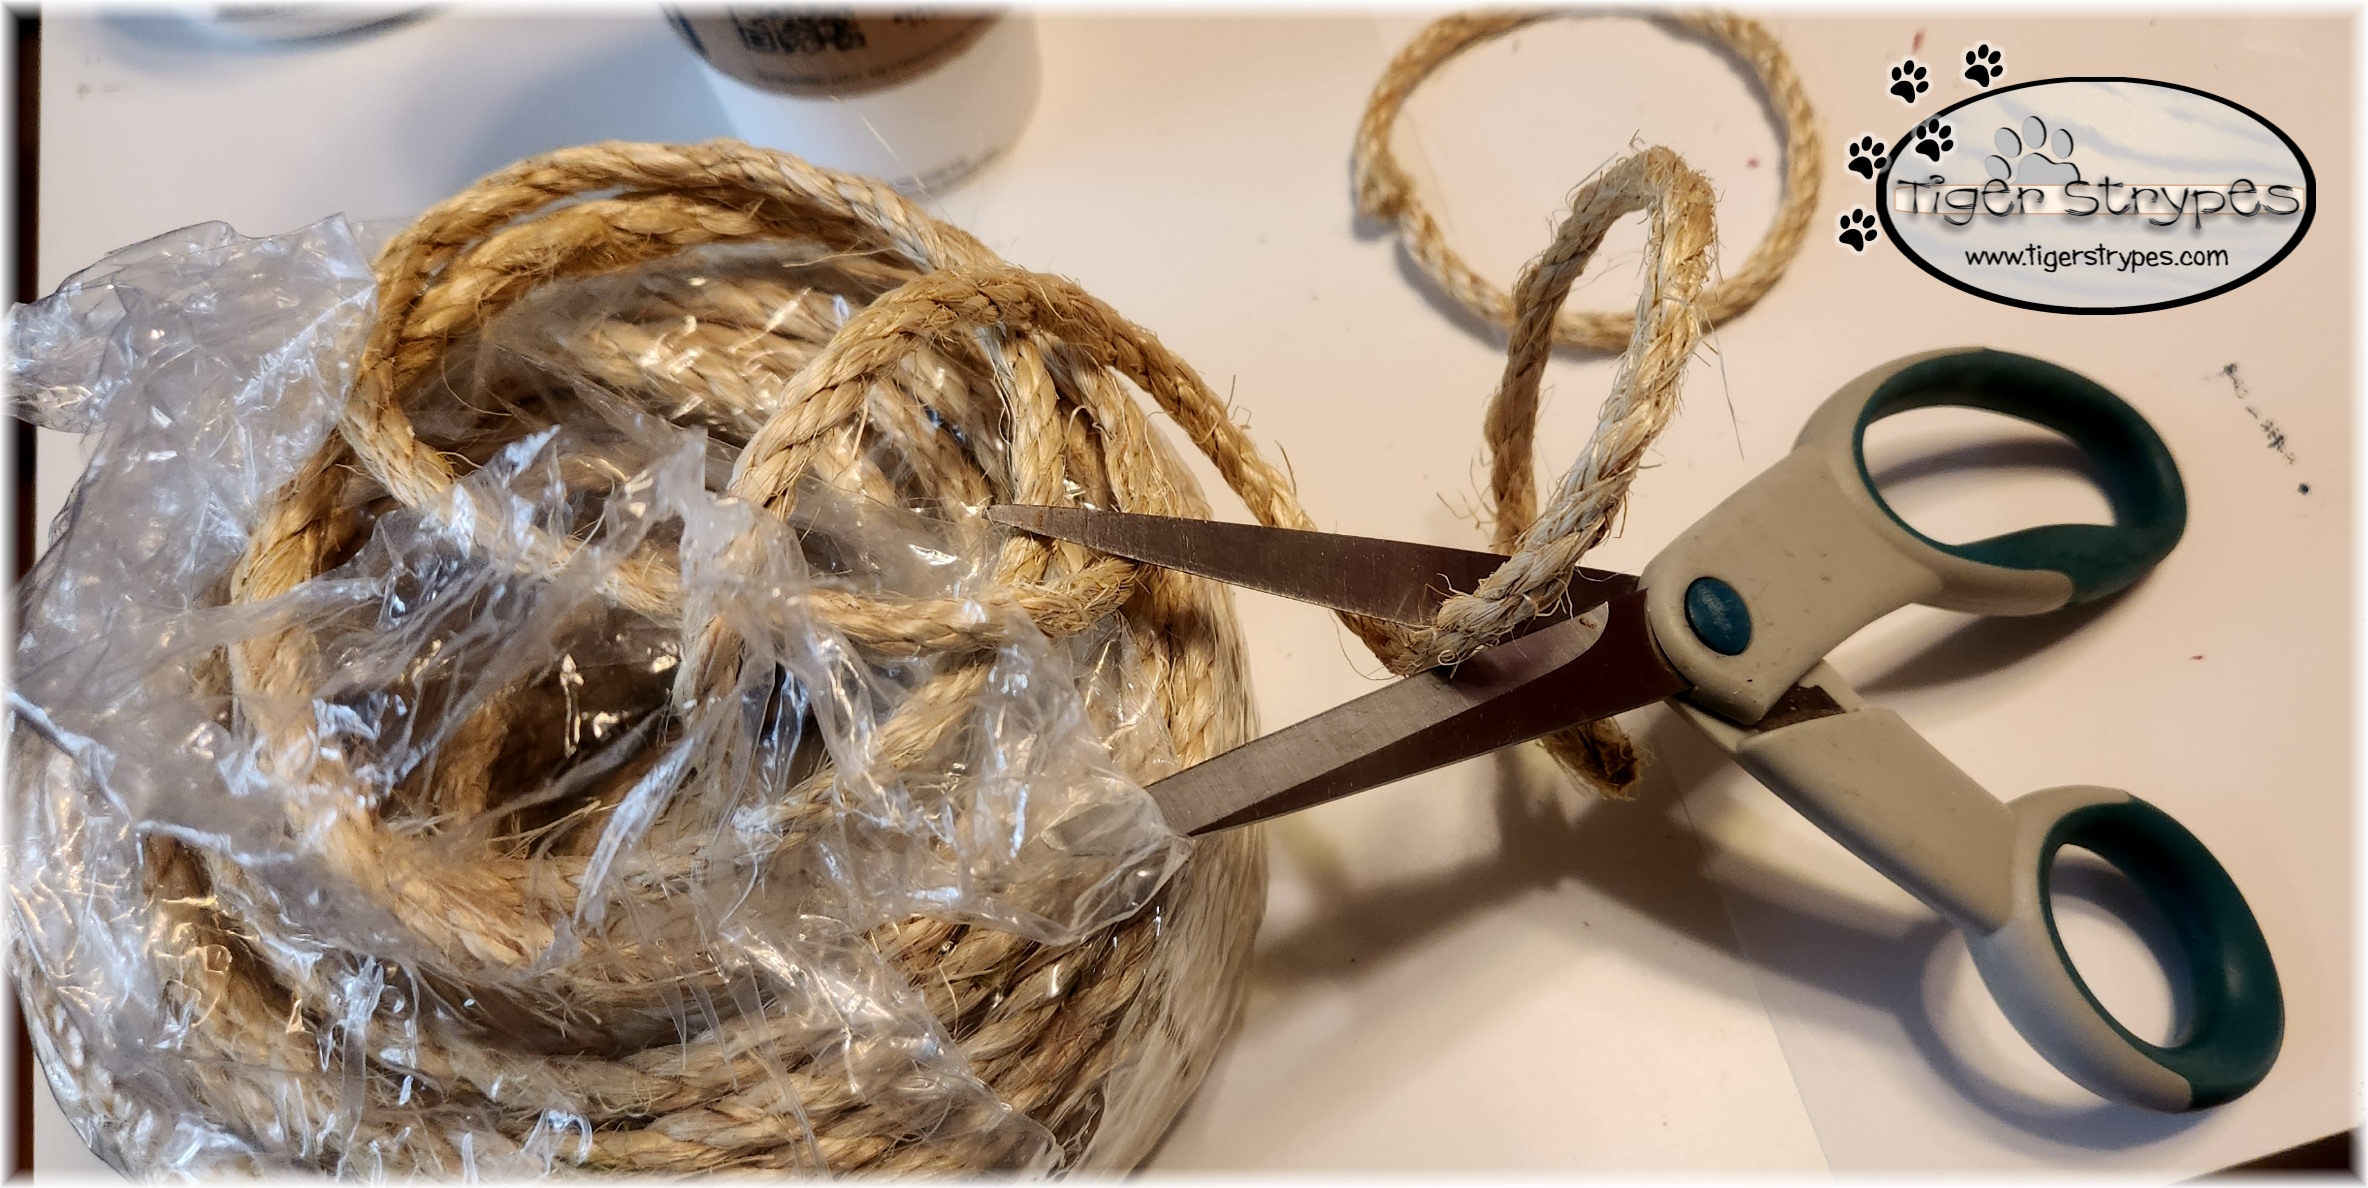
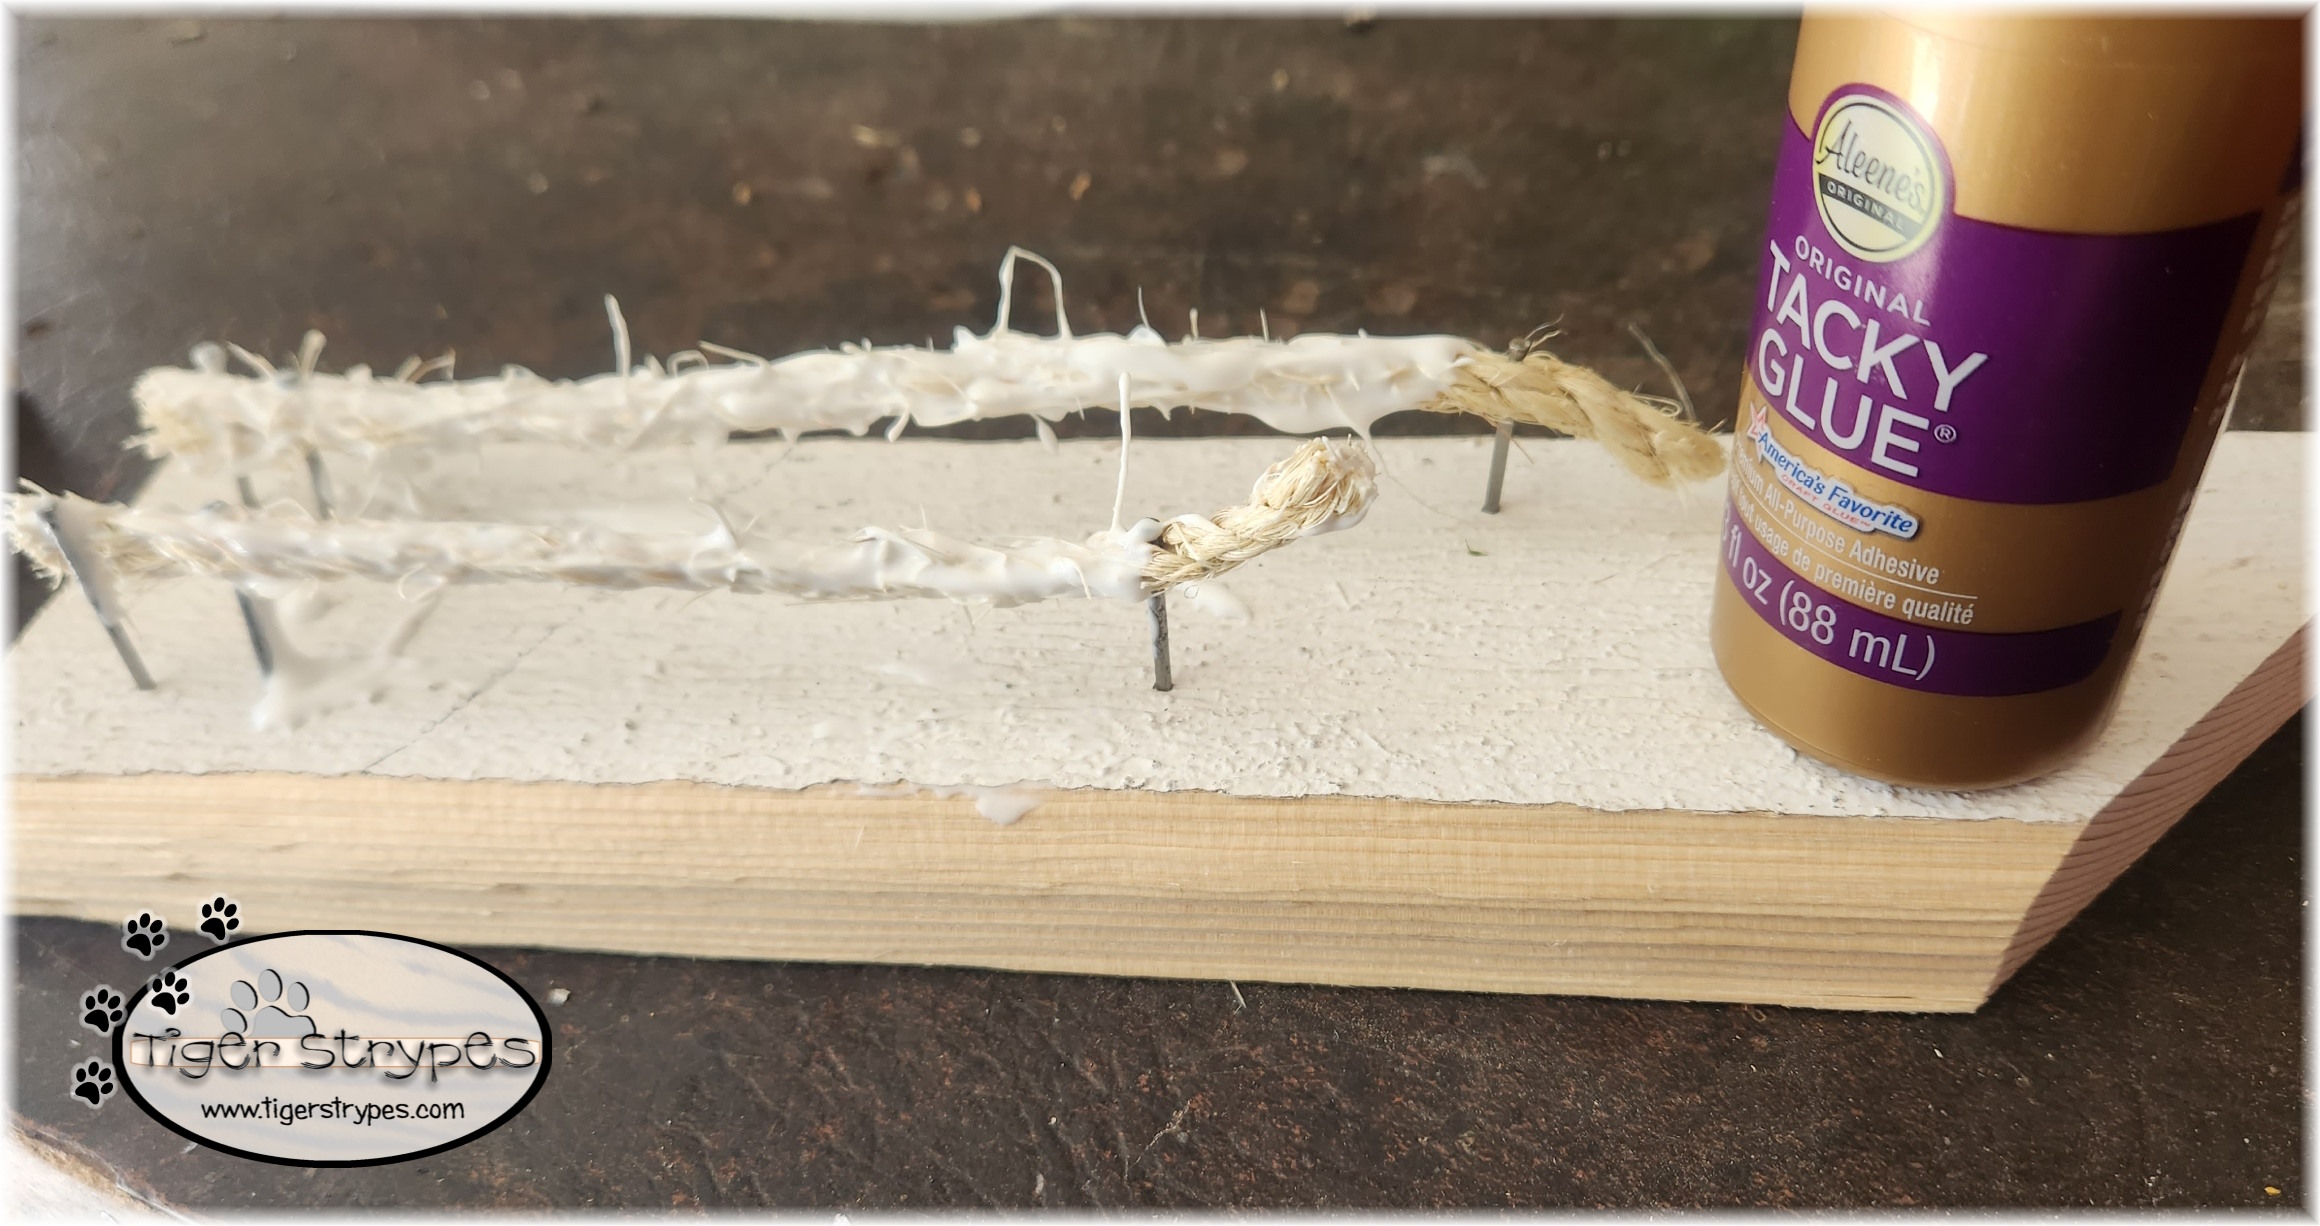
When the paint is all dry, you can start on the next piece of the project. I had some of that craft rope in the “Craft Barn,” so I decided to cut some pieces to become the firecracker wicks. There are no set lengths needed, and they can always be trimmed. Once I had them cut, I made a little holder with another piece of scrap wood and nails to hold it while I applied glue to keep them tight and not able to bend over as easily. This was just my personal choice to do, and not a requirement.
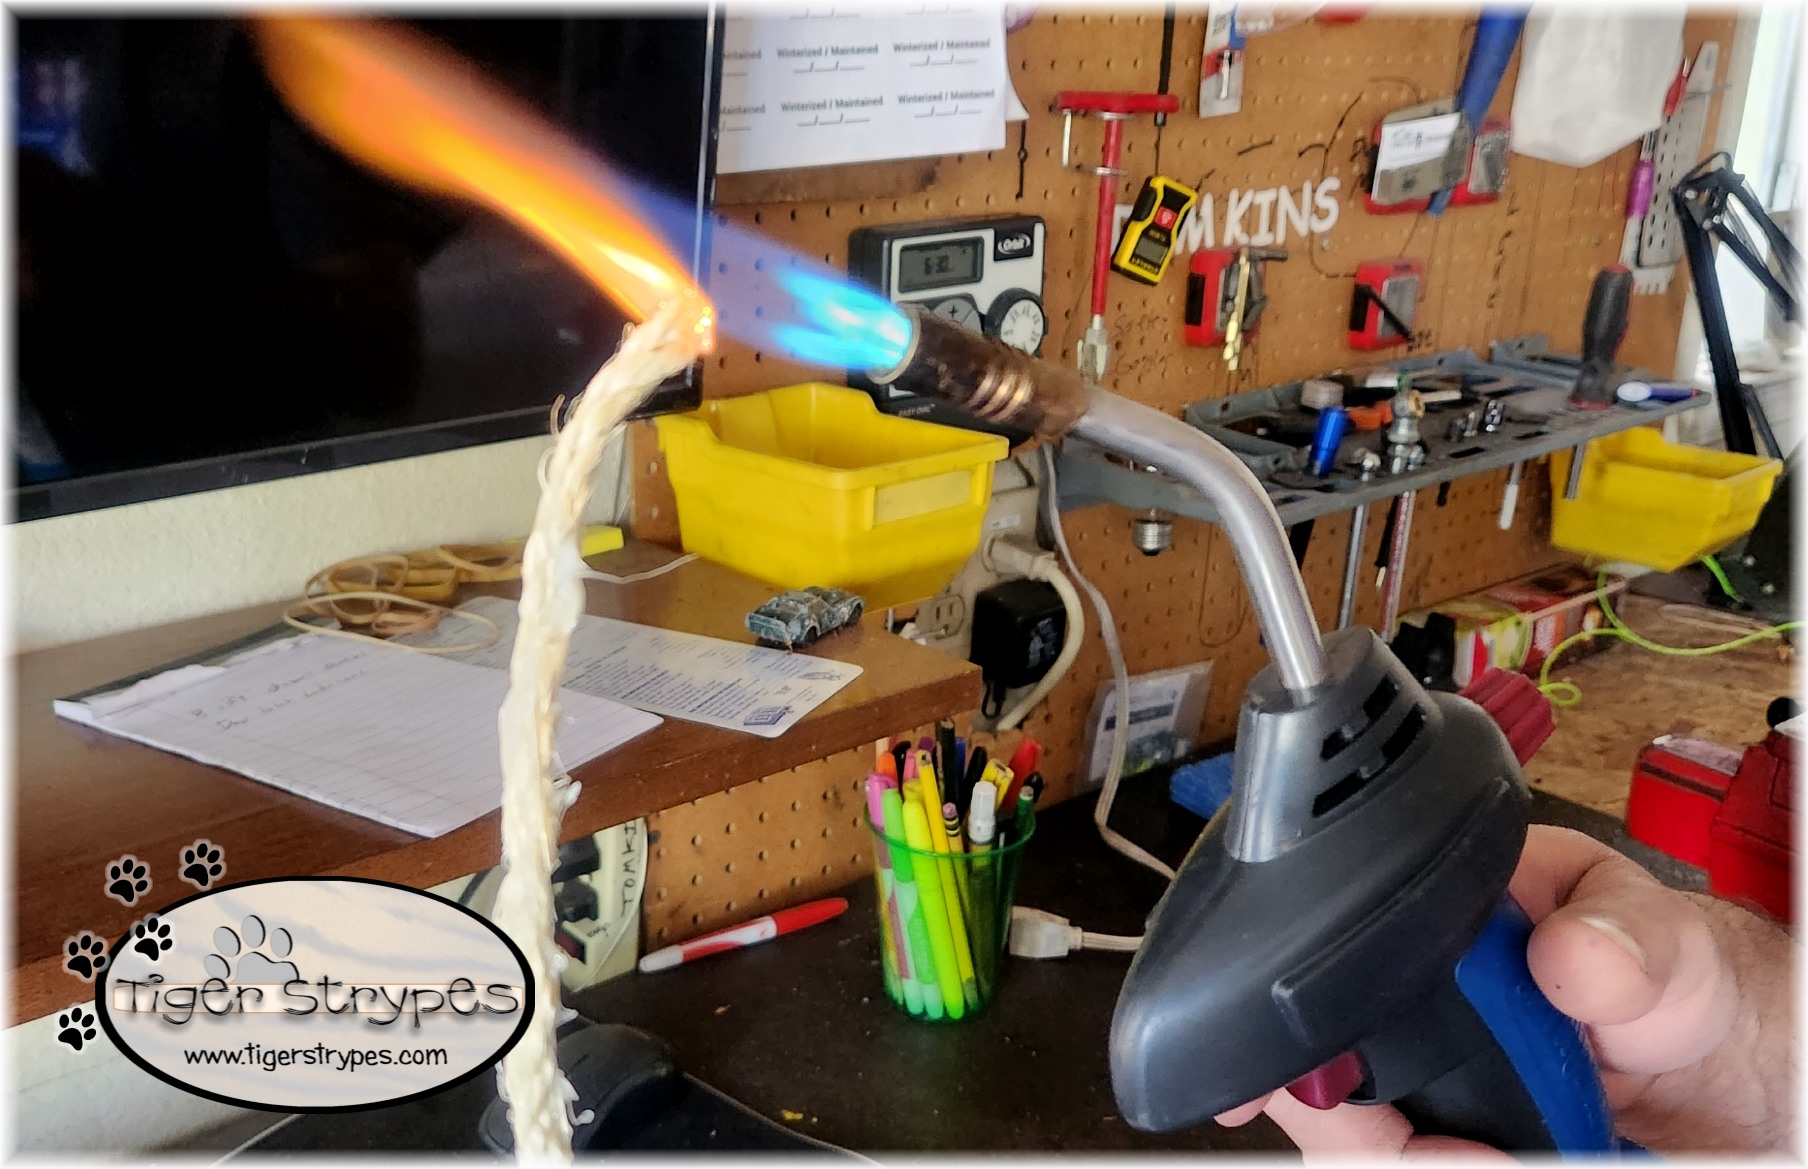
Once the pieces were dry, I had my husband use his torch to light the firecracker! 🙂 Not really….but I wanted the wick to look like it was used. This is something else that isn’t necessary, but I wanted it done to make it look different. You could always add some sparkle pieces from the dollar store, to make it look like it’s even lit forever, as well!
For the next step, my husband used a hole saw, to make a small hole where you will glue the pieces of rope down into the wood. It doesn’t have to be super deep, just enough to keep it stable.
Now, just add some glue to the hole and the bottom of the rope, and insert the rope piece. I used some more painter’s tape and wood skewers, to hold the rope in place, until it was dry.
Once the glue is dry, just remove the tape and skewers, and you can display these wherever you wish. After taking photos, I ended up putting mine out by the front door to just add to my 4th of July décor!
What do you think? I hope you like it! Please take a minute to leave me a comment on what you would like to create, and maybe if you have any tips on how to do it different, or better!
Be sure to tweet, pin, share, etc. – thanks!!
“Out of his mouth go flaming torches; sparks of fire leap forth.” –Job 41:19

PLEASE SHARE THIS POST USING THE OPTIONS BELOW…THANKS!
Affiliate links for Amazon are used on my site. This means that when you click on a link, and make a purchase, I earn a commission for that purchase. There is no extra charge for you, it’s just their sites way of saying thank you for helping them get a customer. I use affiliate links to help fund my crafting budget, as well as help provide for our home.

What a clever idea! Love this!
Thank you!! They were fun to make!
I love this so much. Any way to show off our country!
Thank you Heidi! I am still proud of what our County once WAS. Not so much today’s version, but I’ll still support those who fought to allow us an opinion. 🙂
This is so cute and simple! I love it !
Thanks, Melanie! It was fun to make!
You are so talented! I love how this project turned out!
Thanks, Daisy! I just love making stuff out of something that might just head to the trash. I love them being on my porch for the holiday! 🙂