I’ve been really trying to think about what to create for this weeks #TBCCrafters post, but figured we’re about halfway between Easter and Mother’s Day and there’s really nothing much happening right now. I thought I would keep it simple and make something up that could be used to help organize your desk or counter at work.
This was pretty easy to make and the pattern wasn’t very expensive. I figured I could use this multiple times and even change it up with different decor, etc. for my friends! You can also use this as a call phone holder to store your phone next to your bed at night, or have it be able to sit for the kids to watch TV or videos. Whatever you use it for, it’s super simple to make, once the Cricut does it’s job! 🙂
I hope you like it!! Have a blessed day, and please be sure to comment on, and share this #TBCCrafters craft on your social media channels – thanks!!
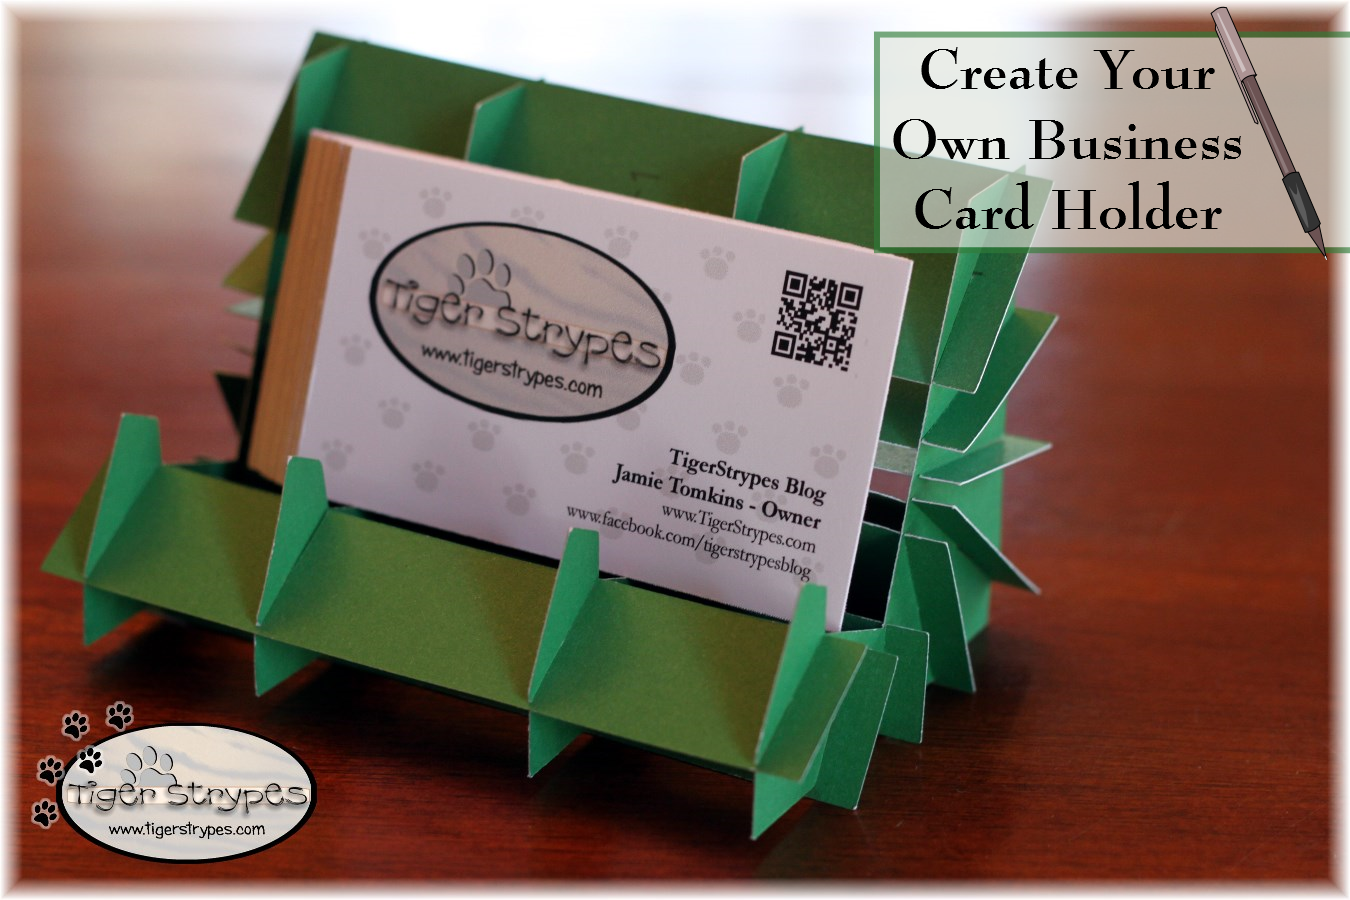
 Make Your Own “Business Card Holder”
Materials/Tools Used:
- Cardstock
- Cricut Explore
- Business Cards
- & Time!
Instructions:
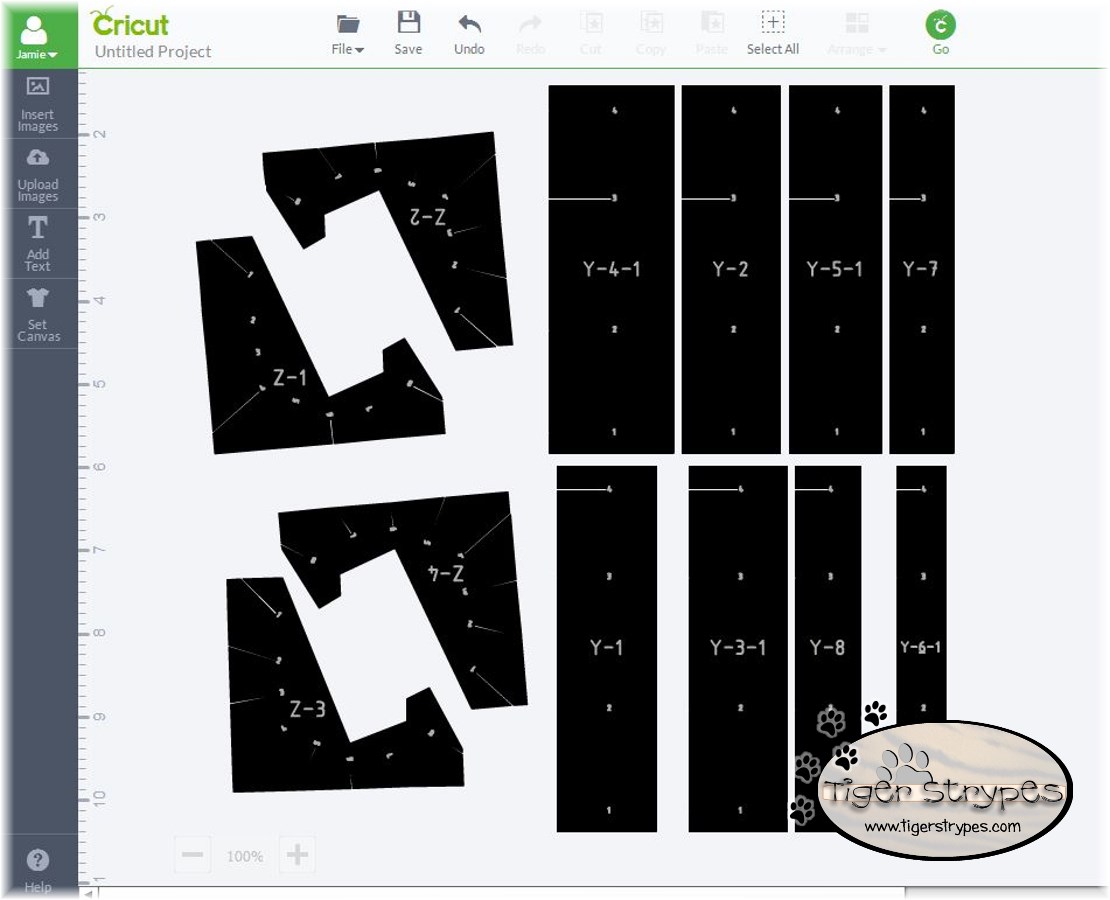
I started by using the template that I found on Cricut Design Studio. There was a charge for this one, but not too expensive. If you plan on using it again, it’s worth it!
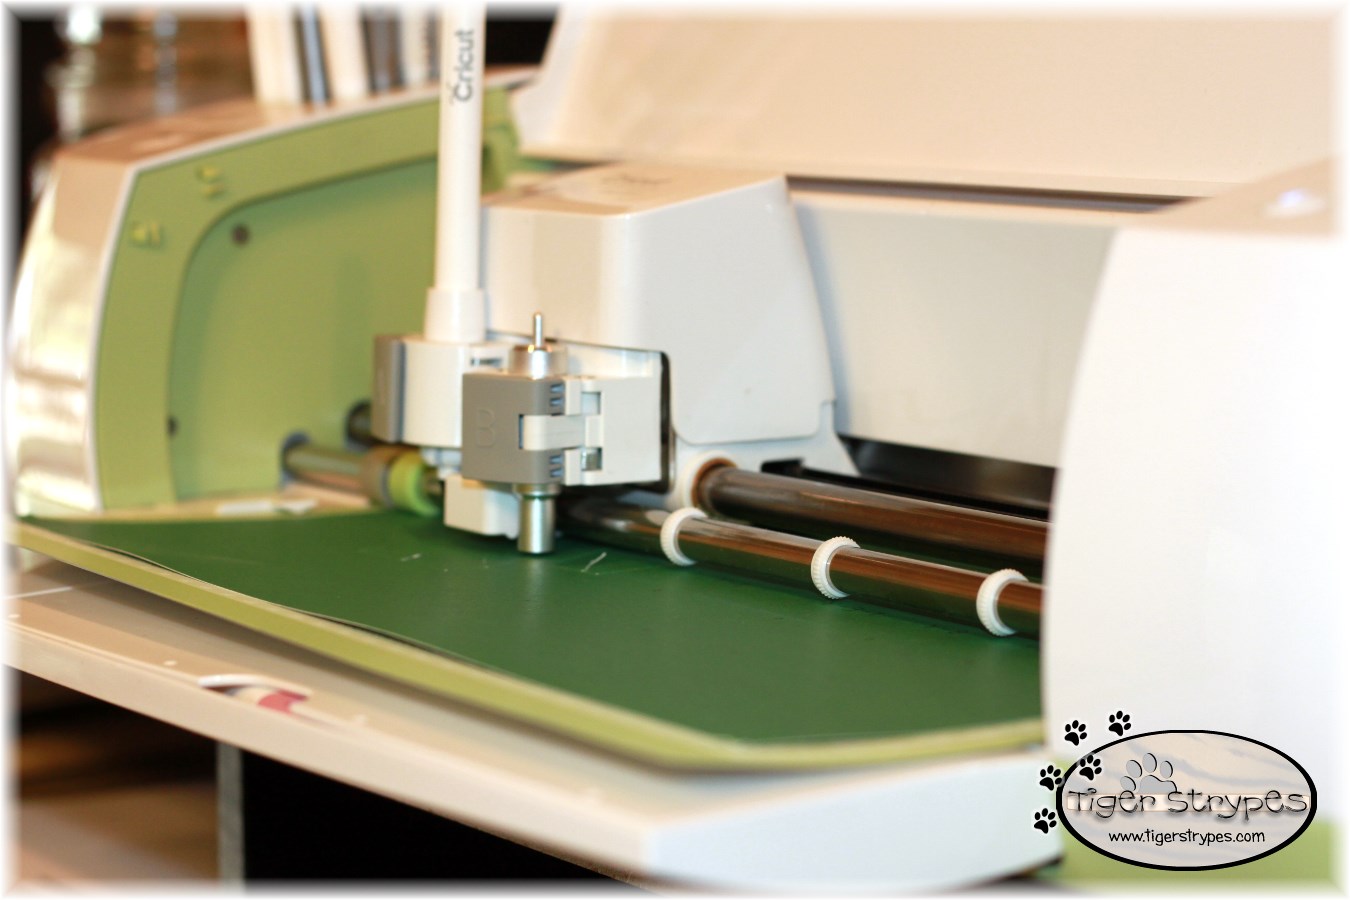
I just put in some thin cardstock of a color that I wanted and let the machine do the rest. I sure love my Cricut!!
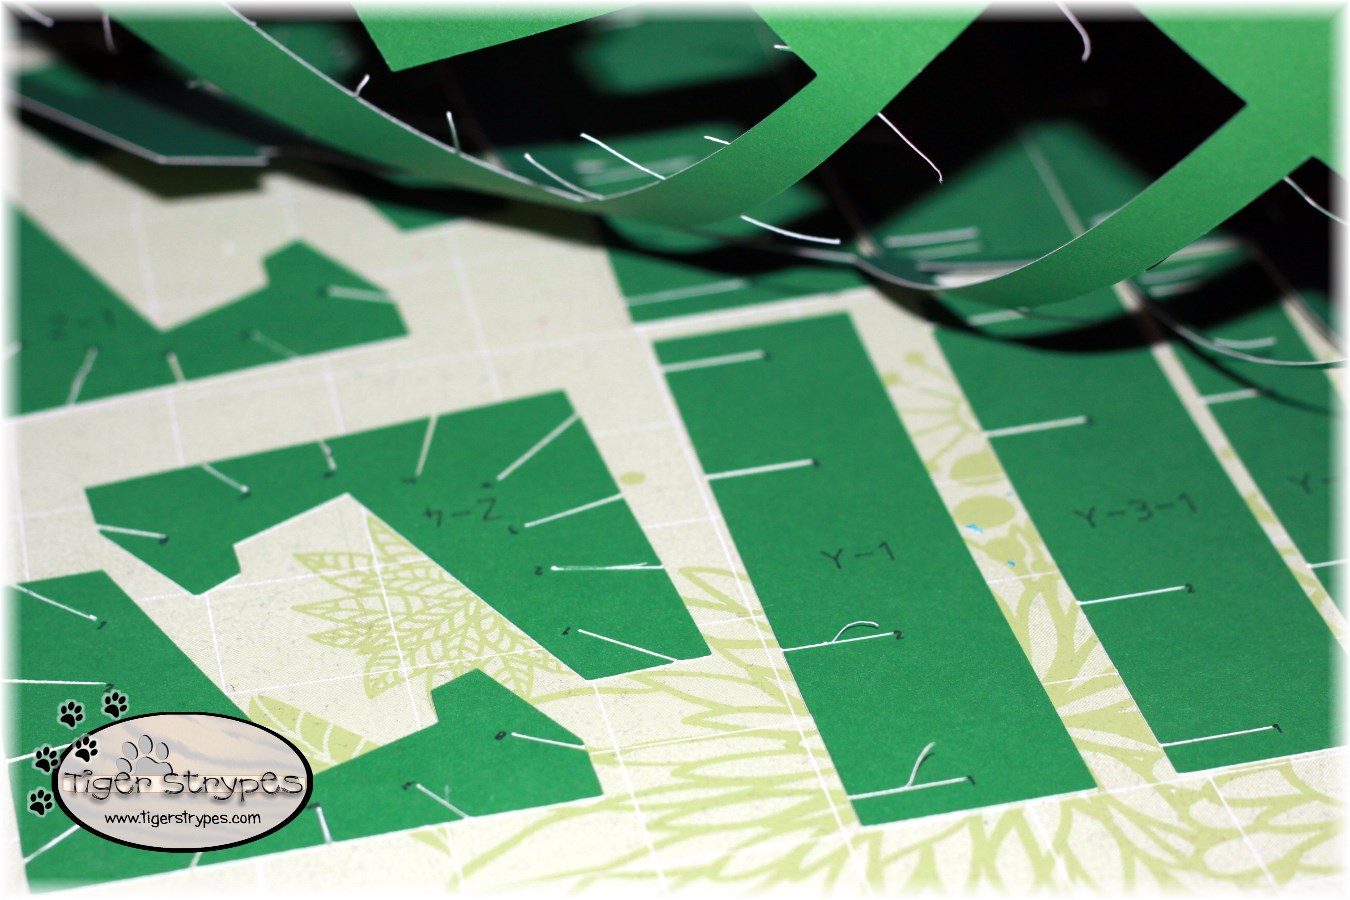
After the pieces were finished, I just removed the excess paper. I did have to use my tool to remove some of the small bits from the cutouts. You can save any pieces that you remove, for small projects in the future.
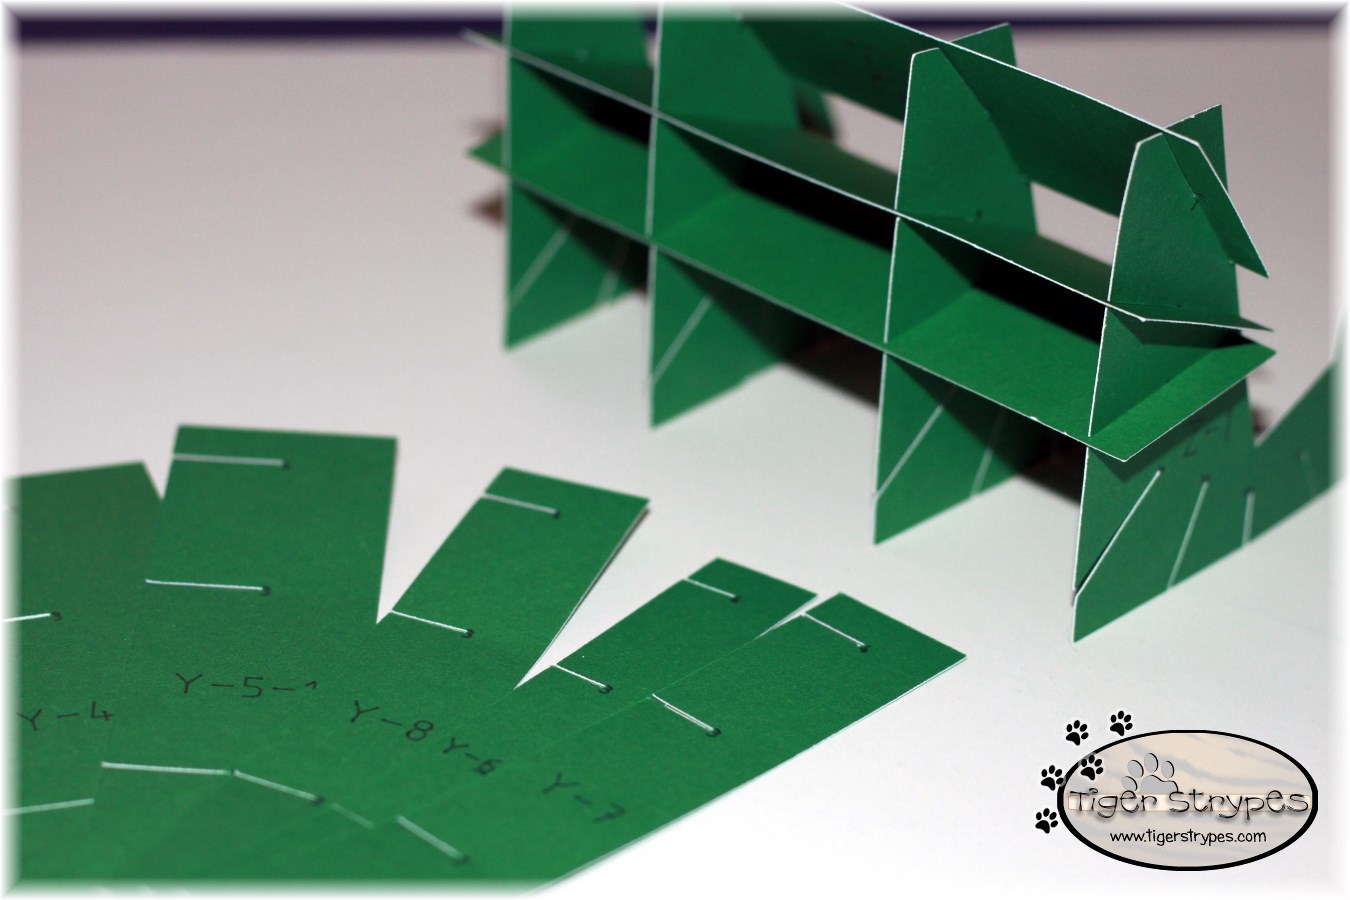
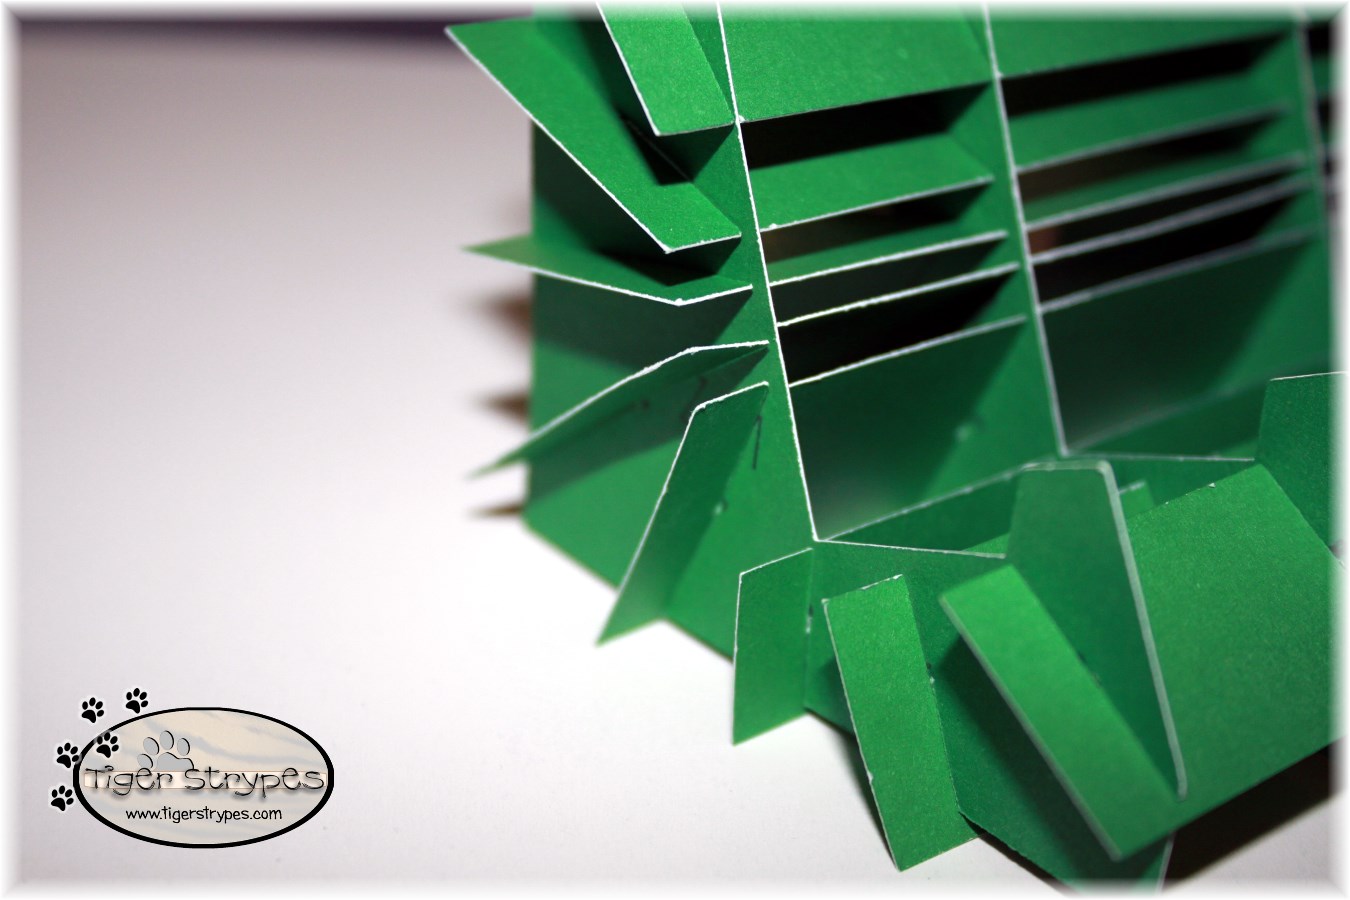
Next, I started to assemble the pieces. I found it easier to arrange them how they would go (since they are numbered), and then just started pushing them together. You have to be sure to get it snug and not fold or tear the pieces, so take it easy.
Once I had all of the pieces inserted, I just made sure that they were all in their spots tightly. Just do a once over to make sure.
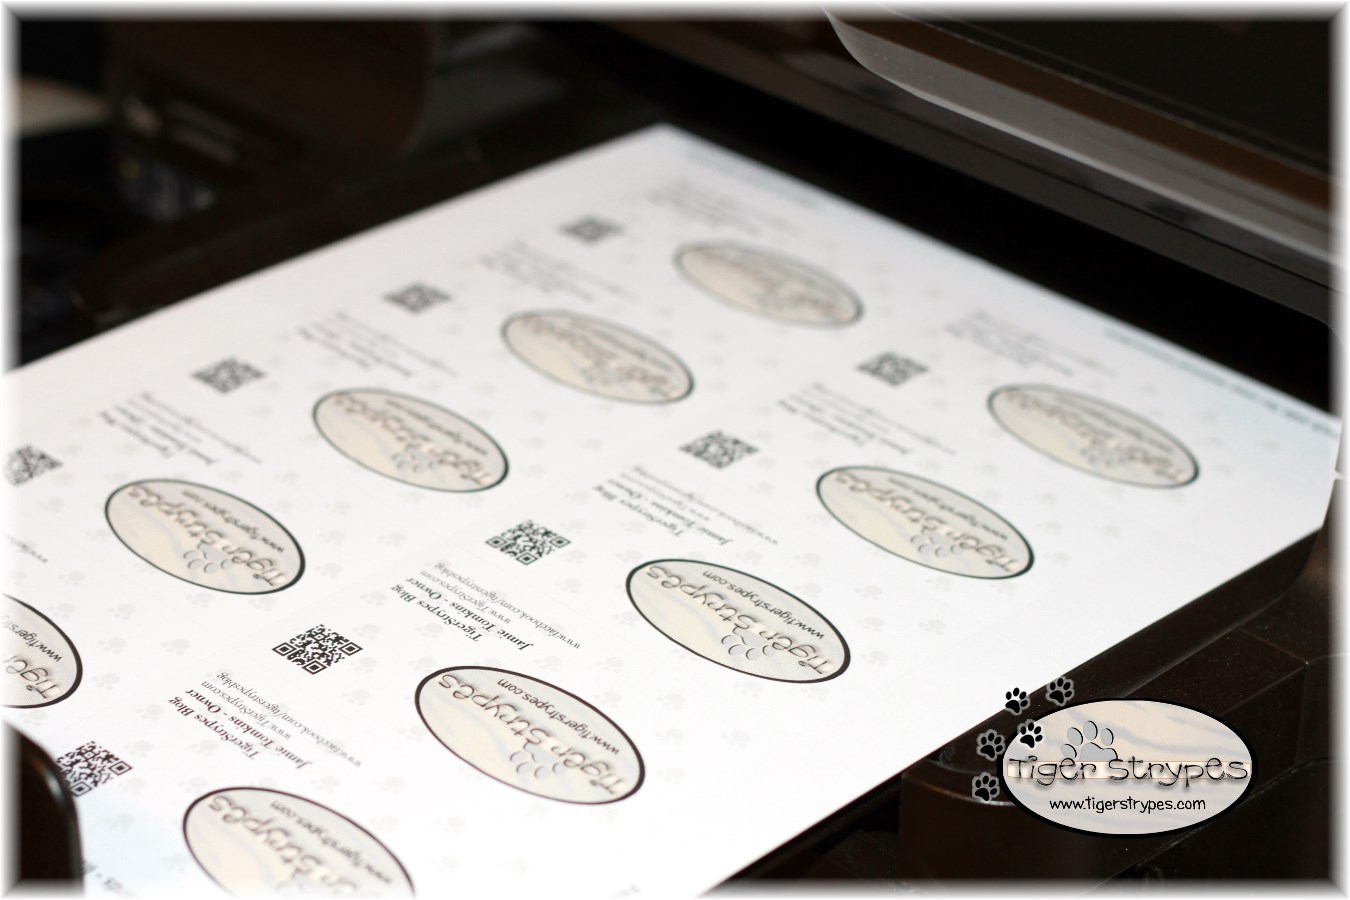
Next, using some of the new Avery InkJet Clean Edge Business Cards that I was so blessed to receive from the company to try out, I printed out some cards for my blog.
Now you can just separate them (which is SO EASY with this new product from Avery) and then display them in your stand!!
Hope you like it! Please take a minute to leave me a comment and let me know what you would do different, or what you would add, etc. Be sure to tweet, pin, share, etc. – thanks!!
All pictures and text are my own and have not been copied in any way. I, Jamie Tomkins, own and operate Tiger Strypes Blog located at www.TigerStrypes.com. From time to time you’ll hear about my real life experiences or creations with products and/or services from companies and individuals. Let it be known that I have no affiliation with these said companies, and have not received compensation for reviewing or using their service/product. The information that I give regarding the product/service is based off my own personal experience, I do not guarantee that your experience will be the same.
PLEASE SHARE THIS POST USING THE OPTIONS BELOW…THANKS!!
*****************************************************************************************************



Very cute and creative! I have thought about getting a cricut machine in the past but didn’t know what I would use it for. I didn’t realize it had such functional uses. I may have to reconsider!
The Cricut Explore is so worth it, Miranda!! You can even just draw things with out and not have to cut them. It’s amazing!
That is pretty nifty and something I could do. I like the color and I love your cards by the way.
Thanks Carlee – it was fun to make and just something a bit different! 🙂
You make such clever crafts Jamie! Pinning for later. Thanks!
Thanks Linda – always looking for ways to have a bit of fun! 🙂
How nifty, it looks like a Rolodex, which is AWESOME! Very creative!
I never thought of that, Rose – it does look like that!! Old School!! ha/ha
super #DIY Crafty and cool, I don’t know if I could ever have that talent .. Great job!