
This site contains affiliate links. Please see below for more information.
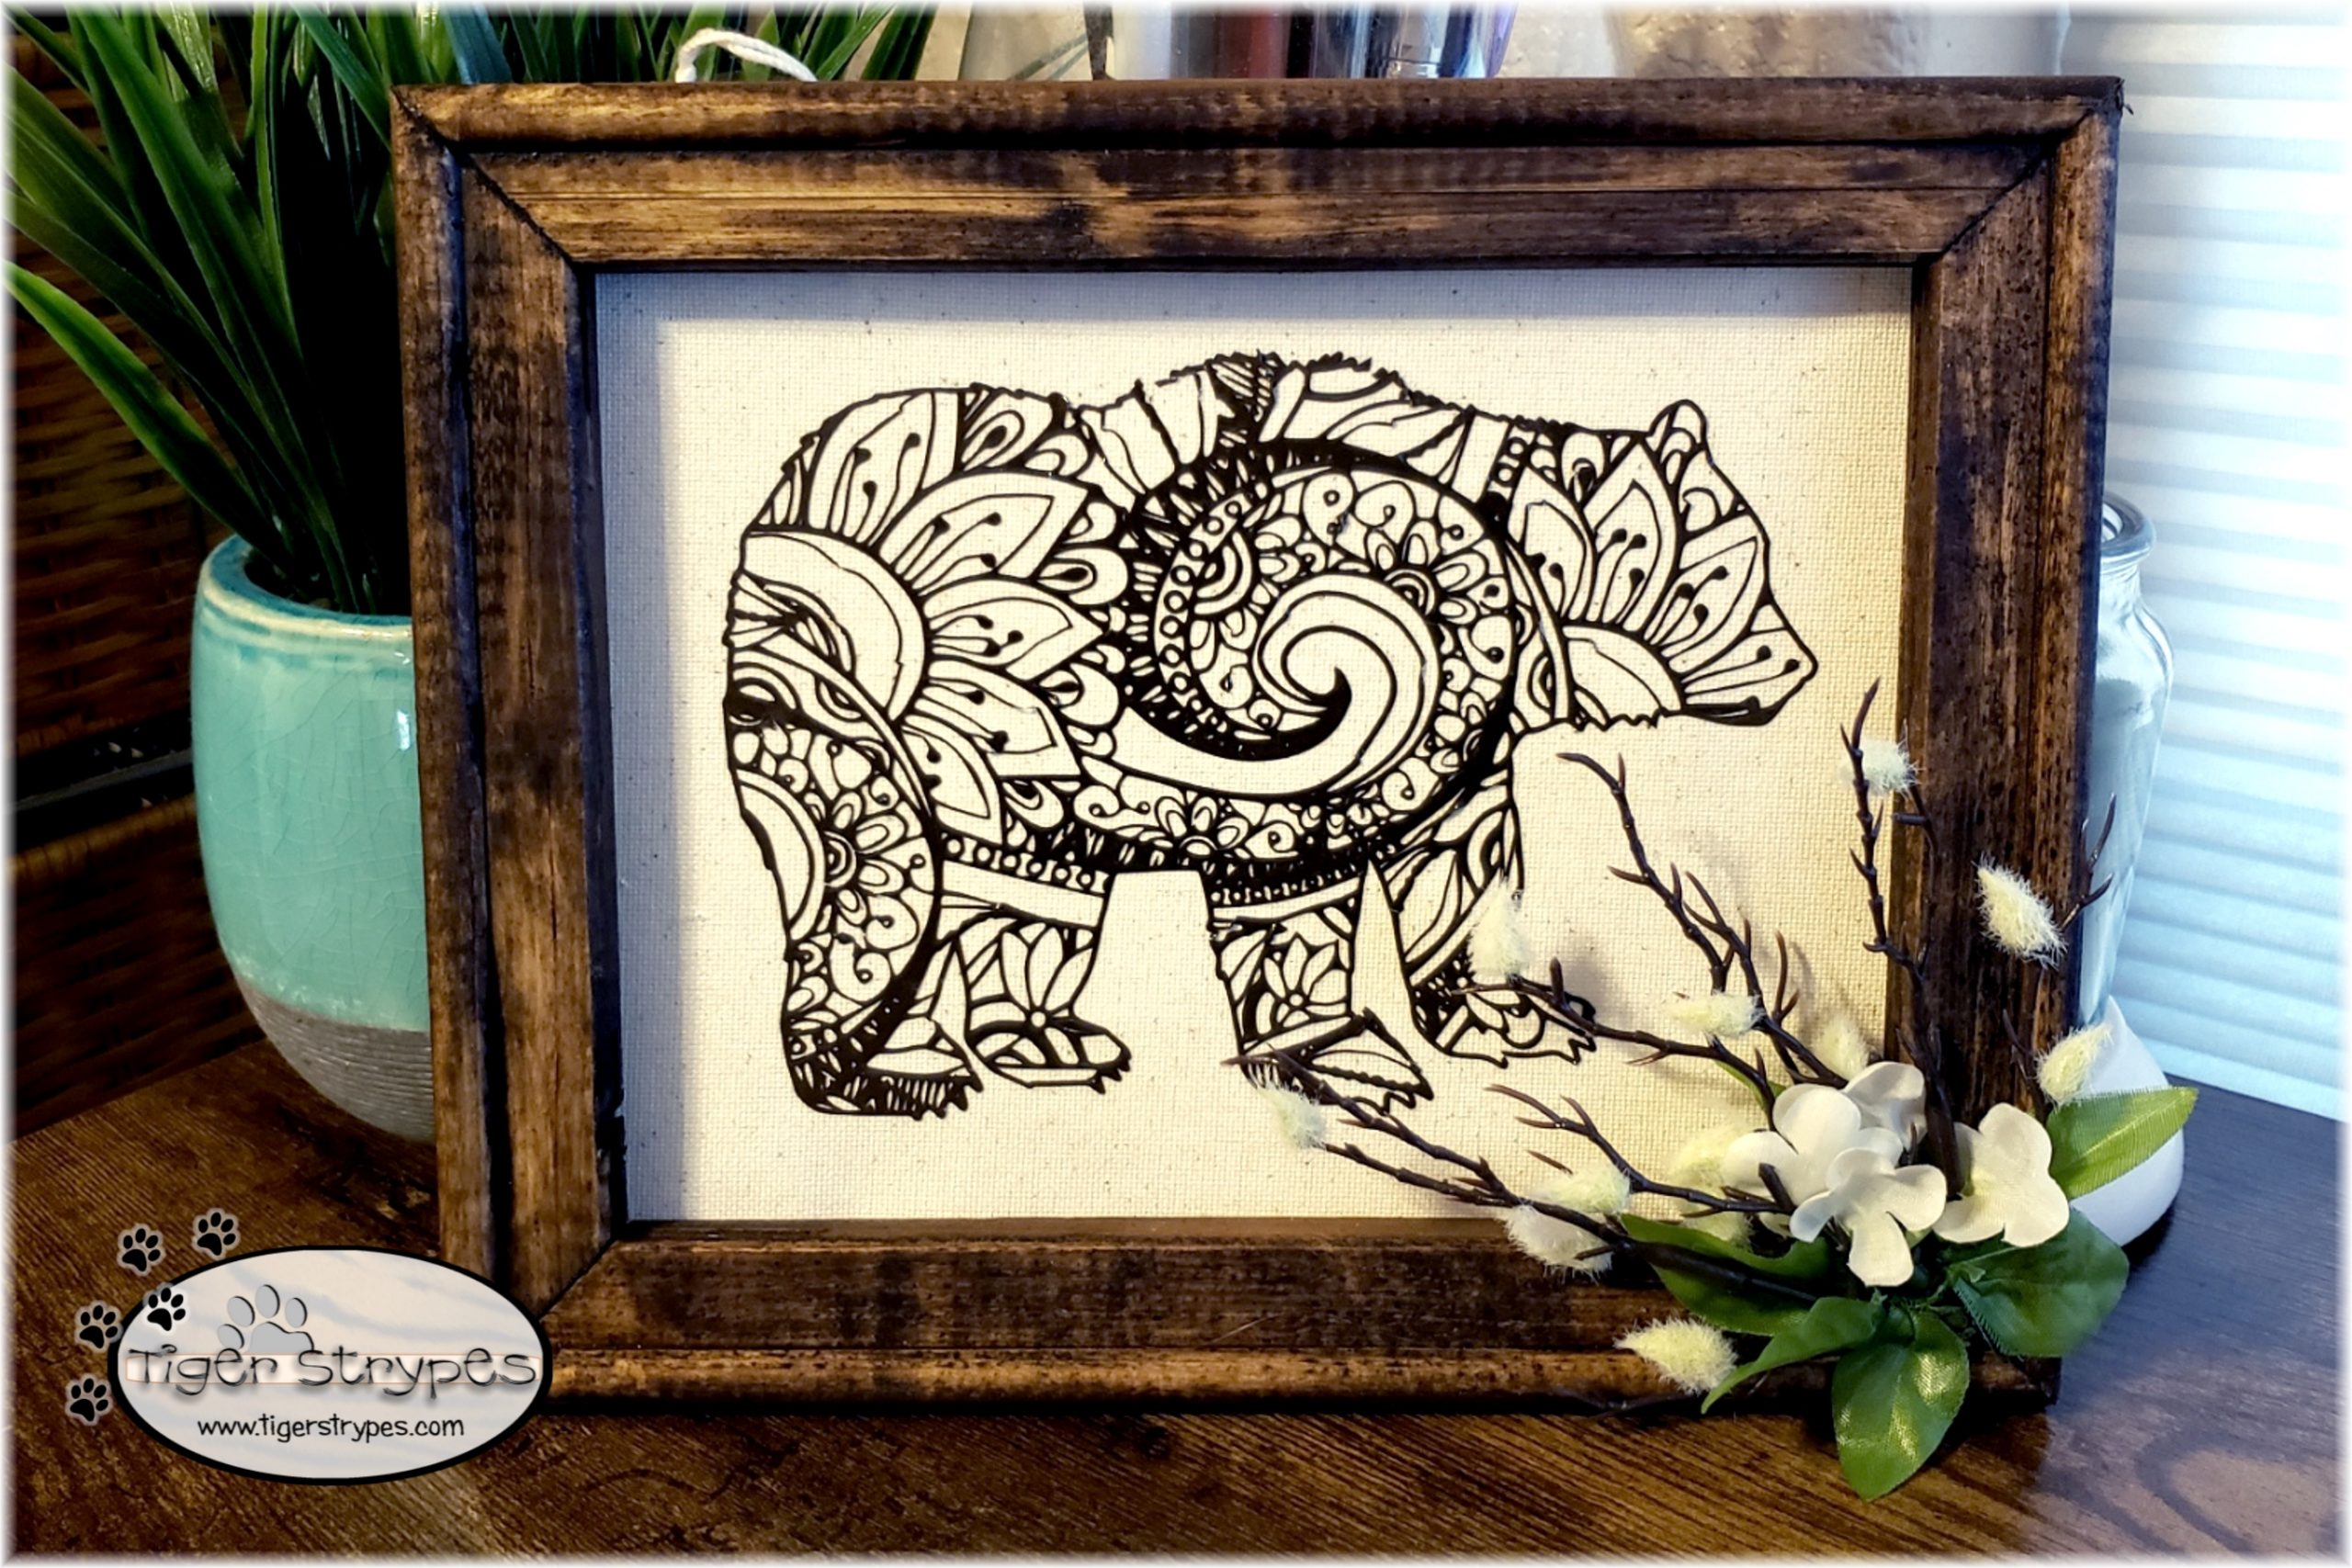
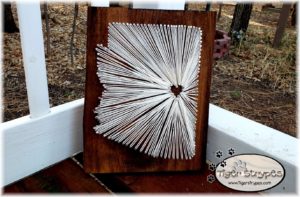
Reverse Canvas Artwork – Bear Mandala
#TigerStrypesBlog #HTV #Cricut
I’ve seen so many mandala designs online, and have always wanted to make one. I just didn’t know what to make, and how to make it. I found this bear mandala just in a Google search, and thought it looked like fun to try. If you haven’t heard of a mandala, it’s a geometric configuration of symbols with a very different application. You sometimes see it as a paisley look, inside a large outline. There are all different types of shapes, details, etc. I just love the look, and wanted to make one for my home.
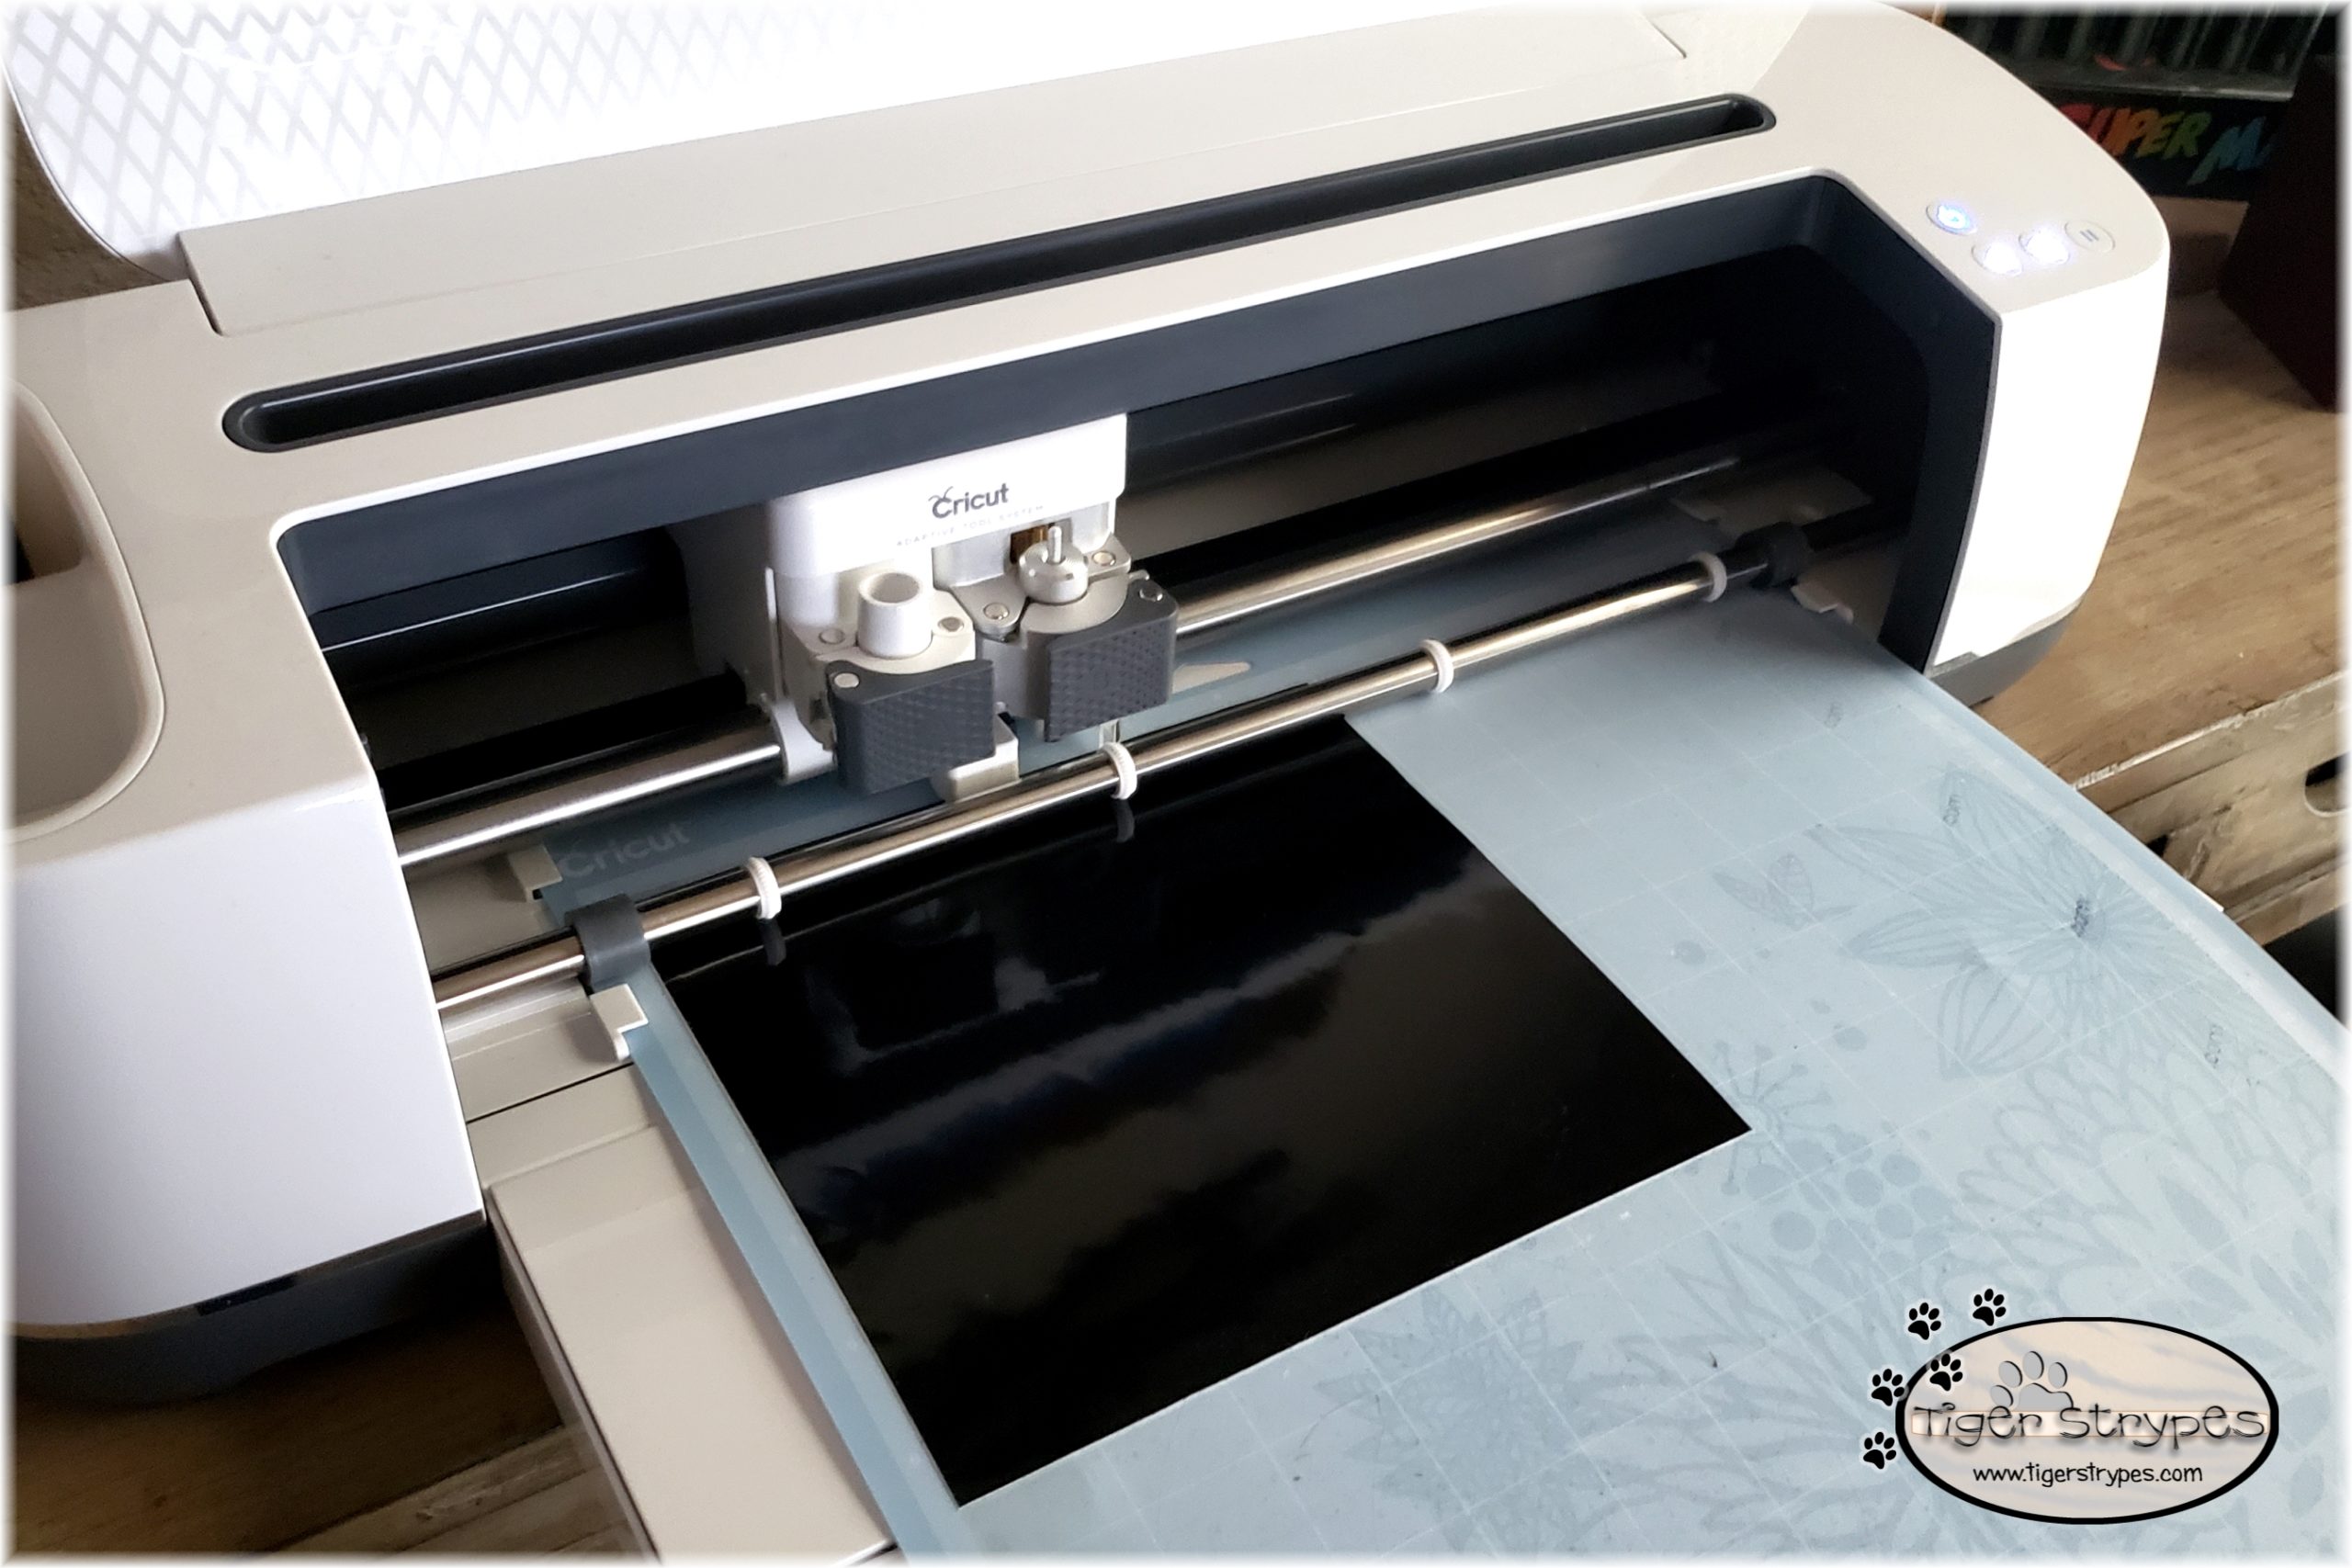
It was pretty easy to do, if you have a Cricut…and time. Some people really dislike the weeding part, which is the removal of the unneeded vinyl. Taking the time to gently remove every piece that isn’t part of the design is a relaxing time for me, and I find it very therapeutic. Just depends on what you like to do. So, let me know what you think about the design in the comments. I sure hope that you like the tutorial, and pray that you have a blessed day!
Please be sure to comment and share this craft on your social media channels – thanks so much!!
Learn how to make a reverse canvas artwork! I used a #Bear #Mandala Fun & easy to make! #DIY #decor #Craft #TigerStrypesBlog - Find out more at Click To Tweet
Materials/Tools Used:
- 8 x 10 Art Canvas
- Stain/Paint
- Adhesive Vinyl or HTV
- Cricut or Printer
- & Time!
Instructions for the Reverse Canvas Artwork:
The project began with cutting out the bear mandala with my Cricut. I just used a scrap piece of heat transfer vinyl that I had and ran it through the machine on the regular HTV setting.
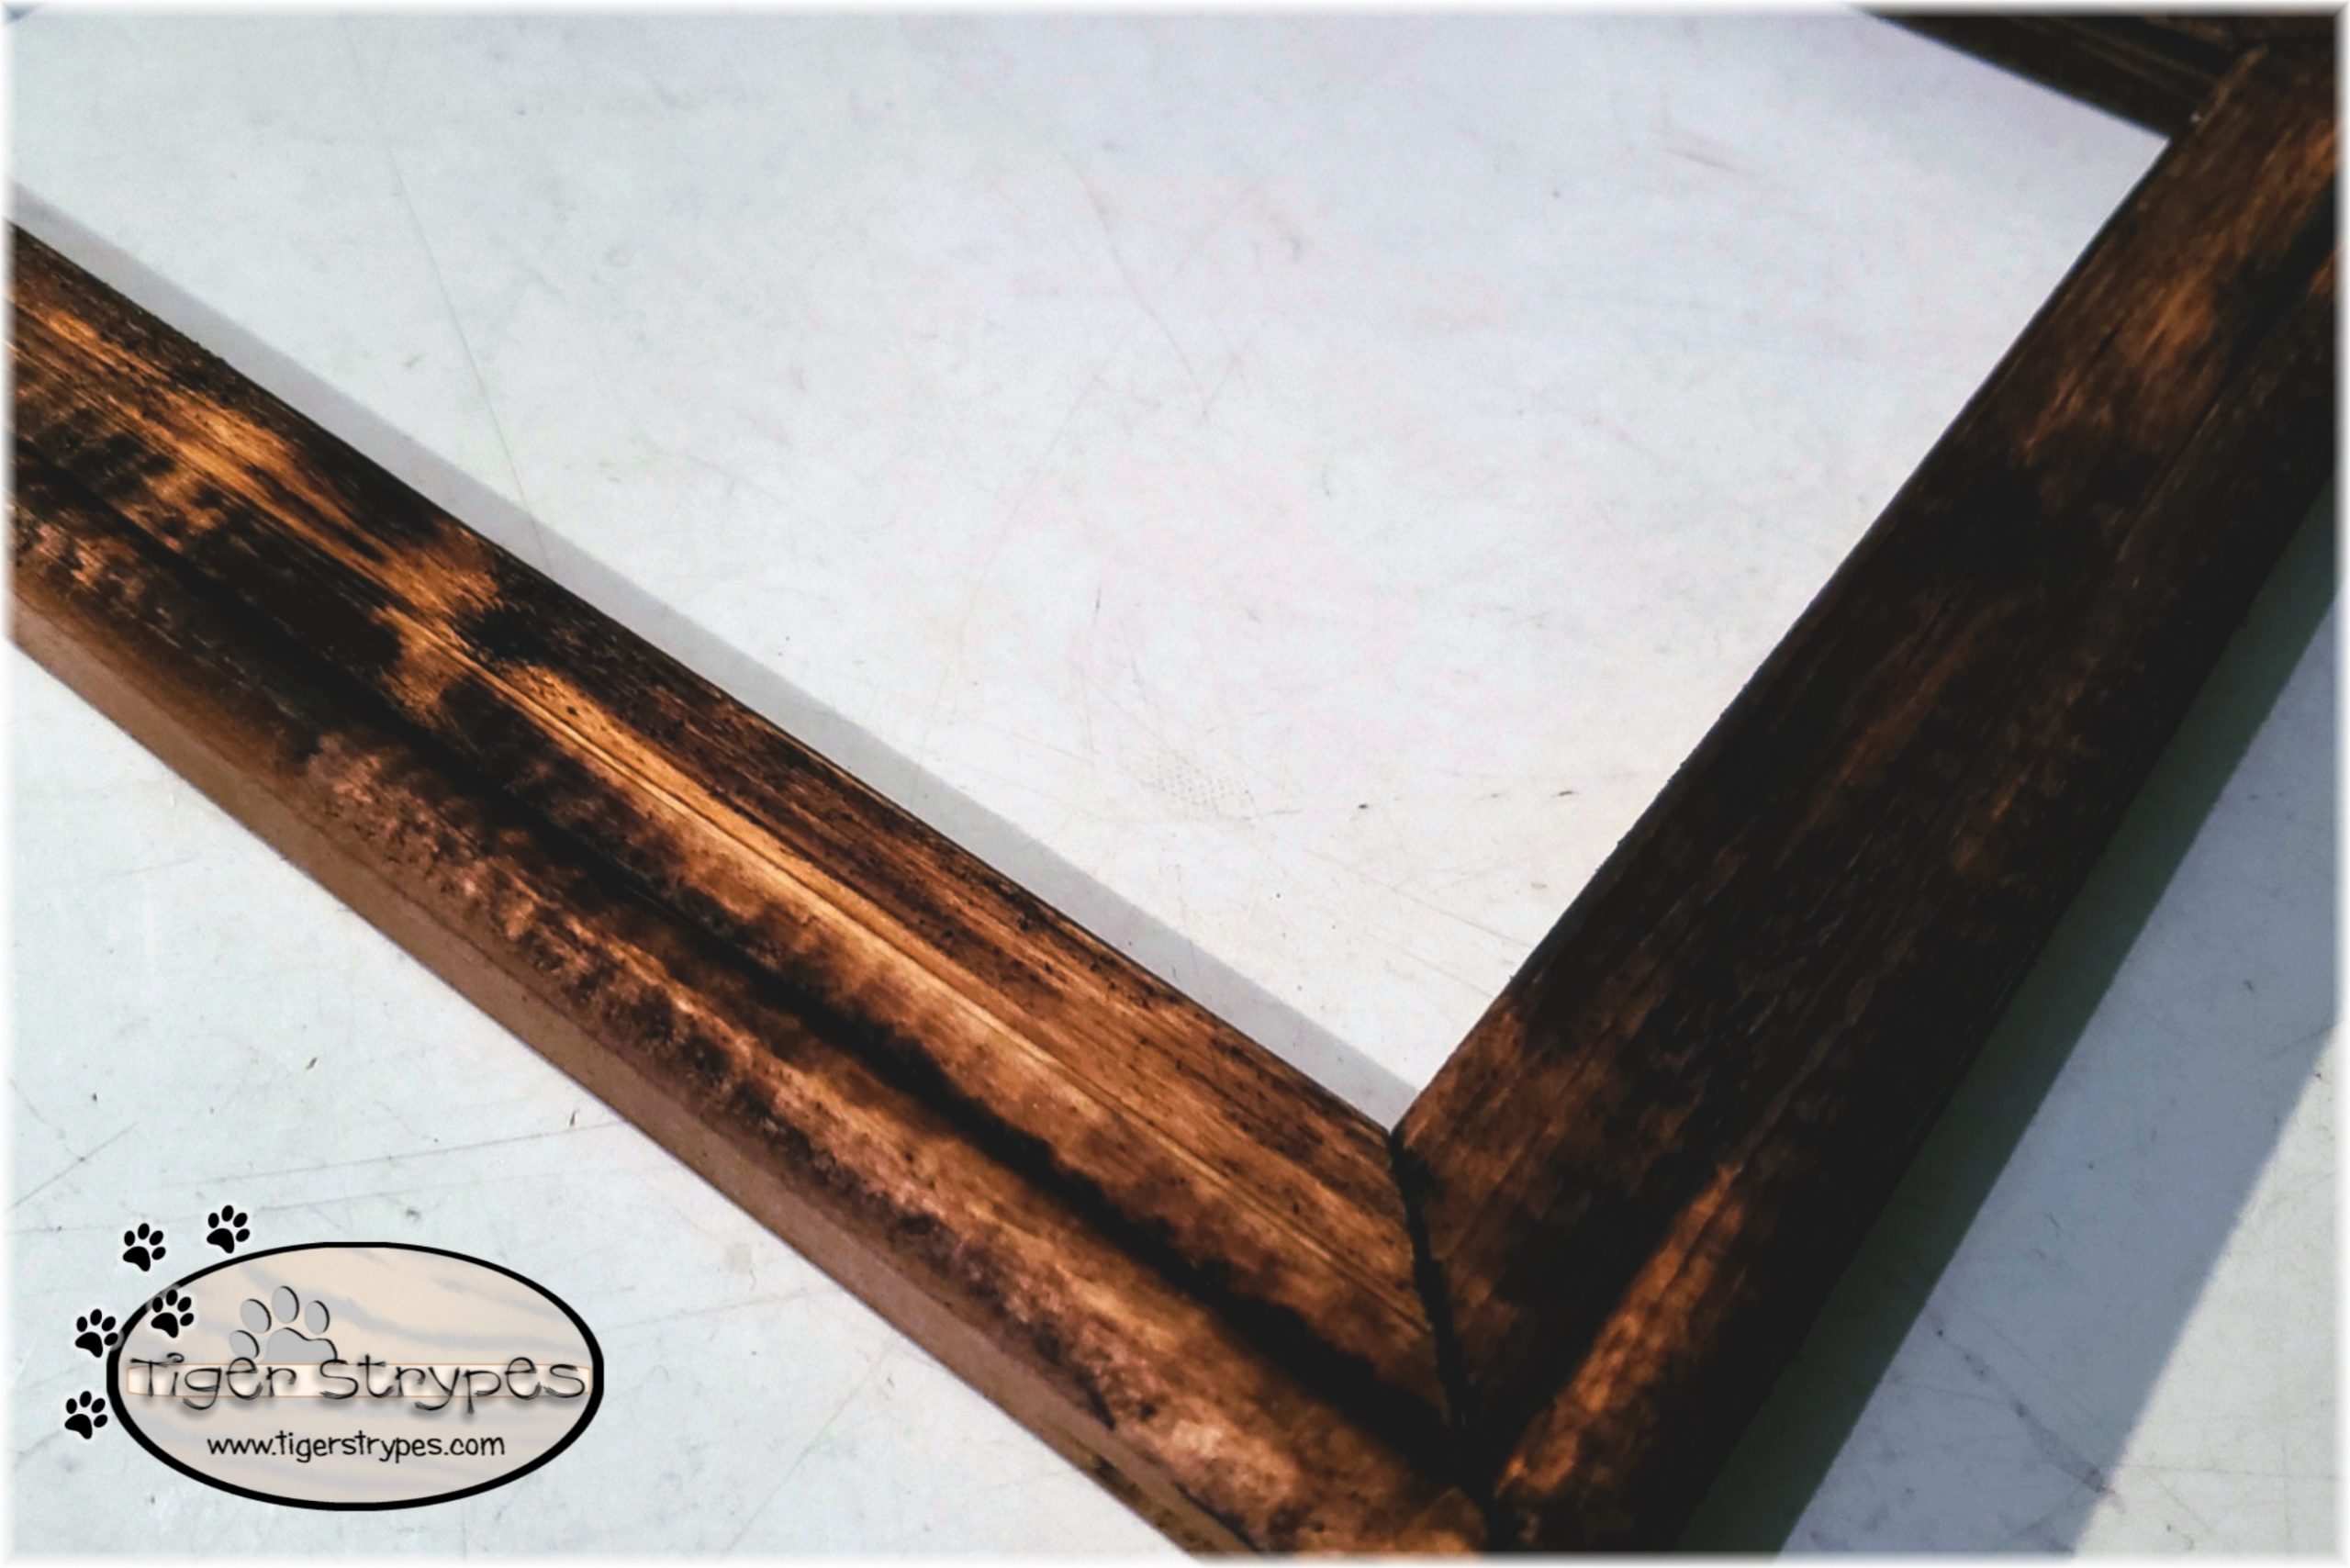
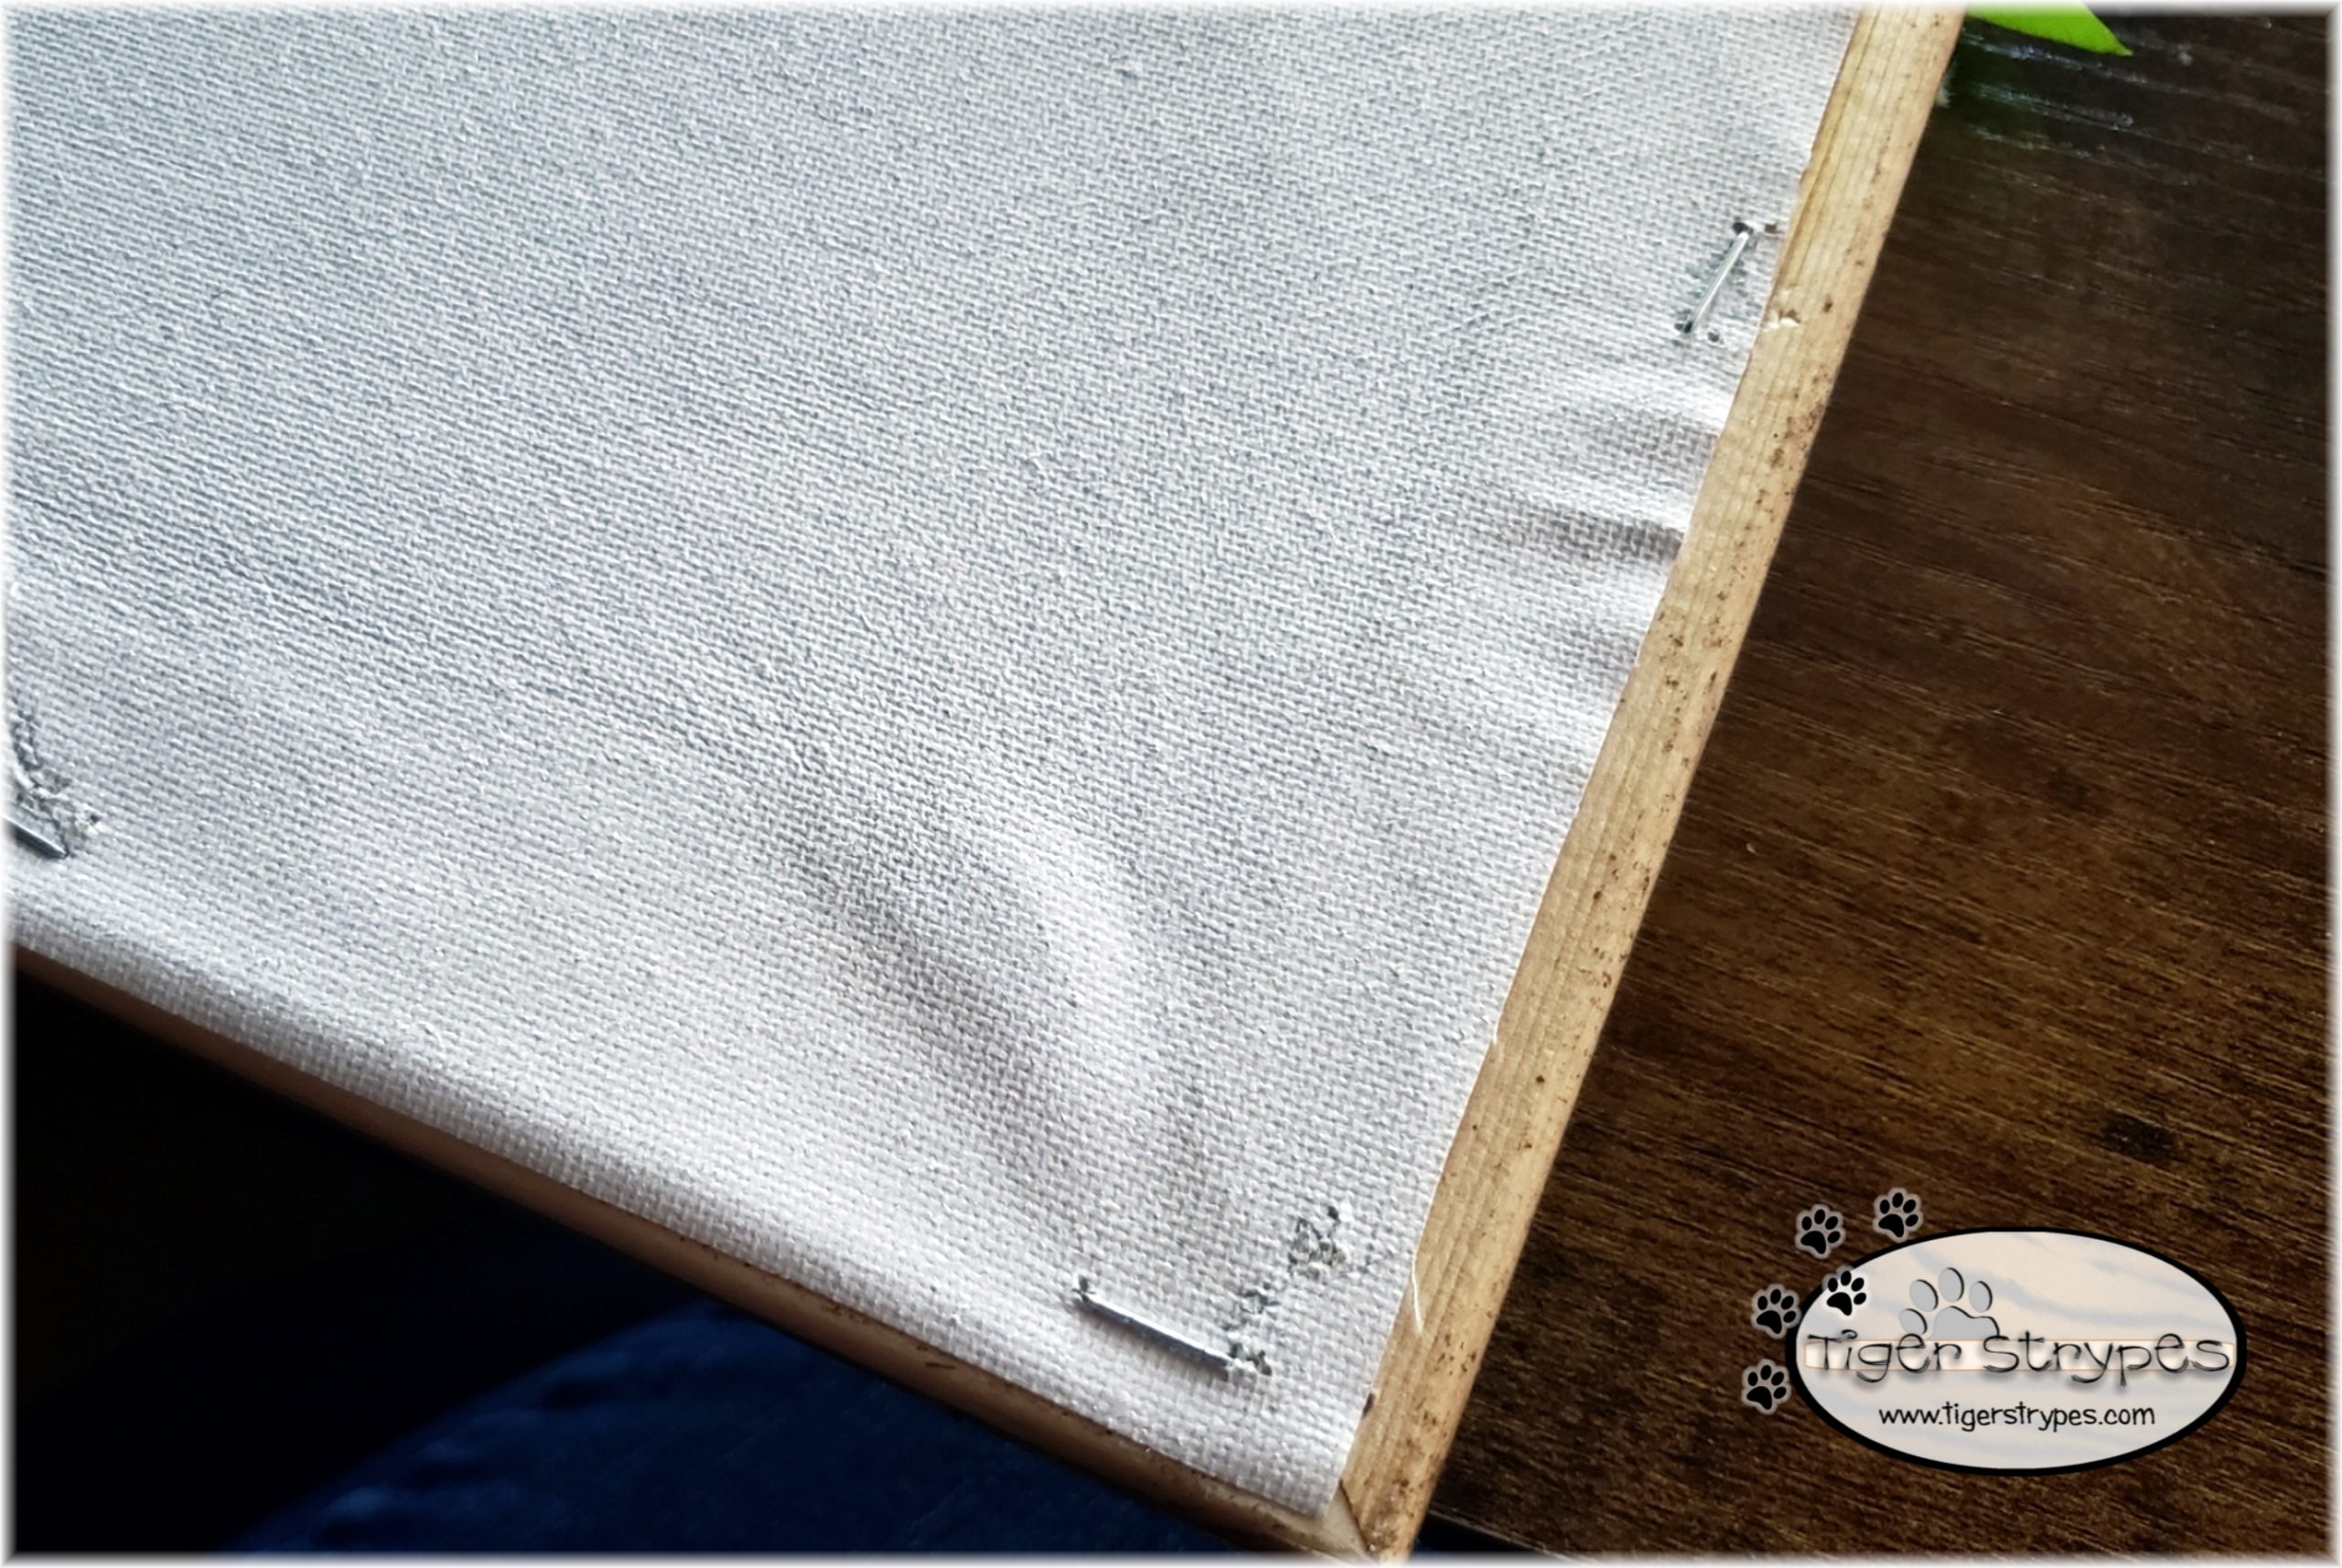
While I was waiting for the cut to finish, I started on the frame. Using an 8″ x 10″ art canvas, you just remove the canvas from the frame. Then you can stain the frame underneath, any color that you want. Let it sit and dry, for however long is needed. When it’s dry, you just staple the canvas to the underside and trim the edges.
Once the HTV cut was complete, I used my Pin Pen to weed everything. That tool makes it so much easier, than the old school fingers or tweezers way.
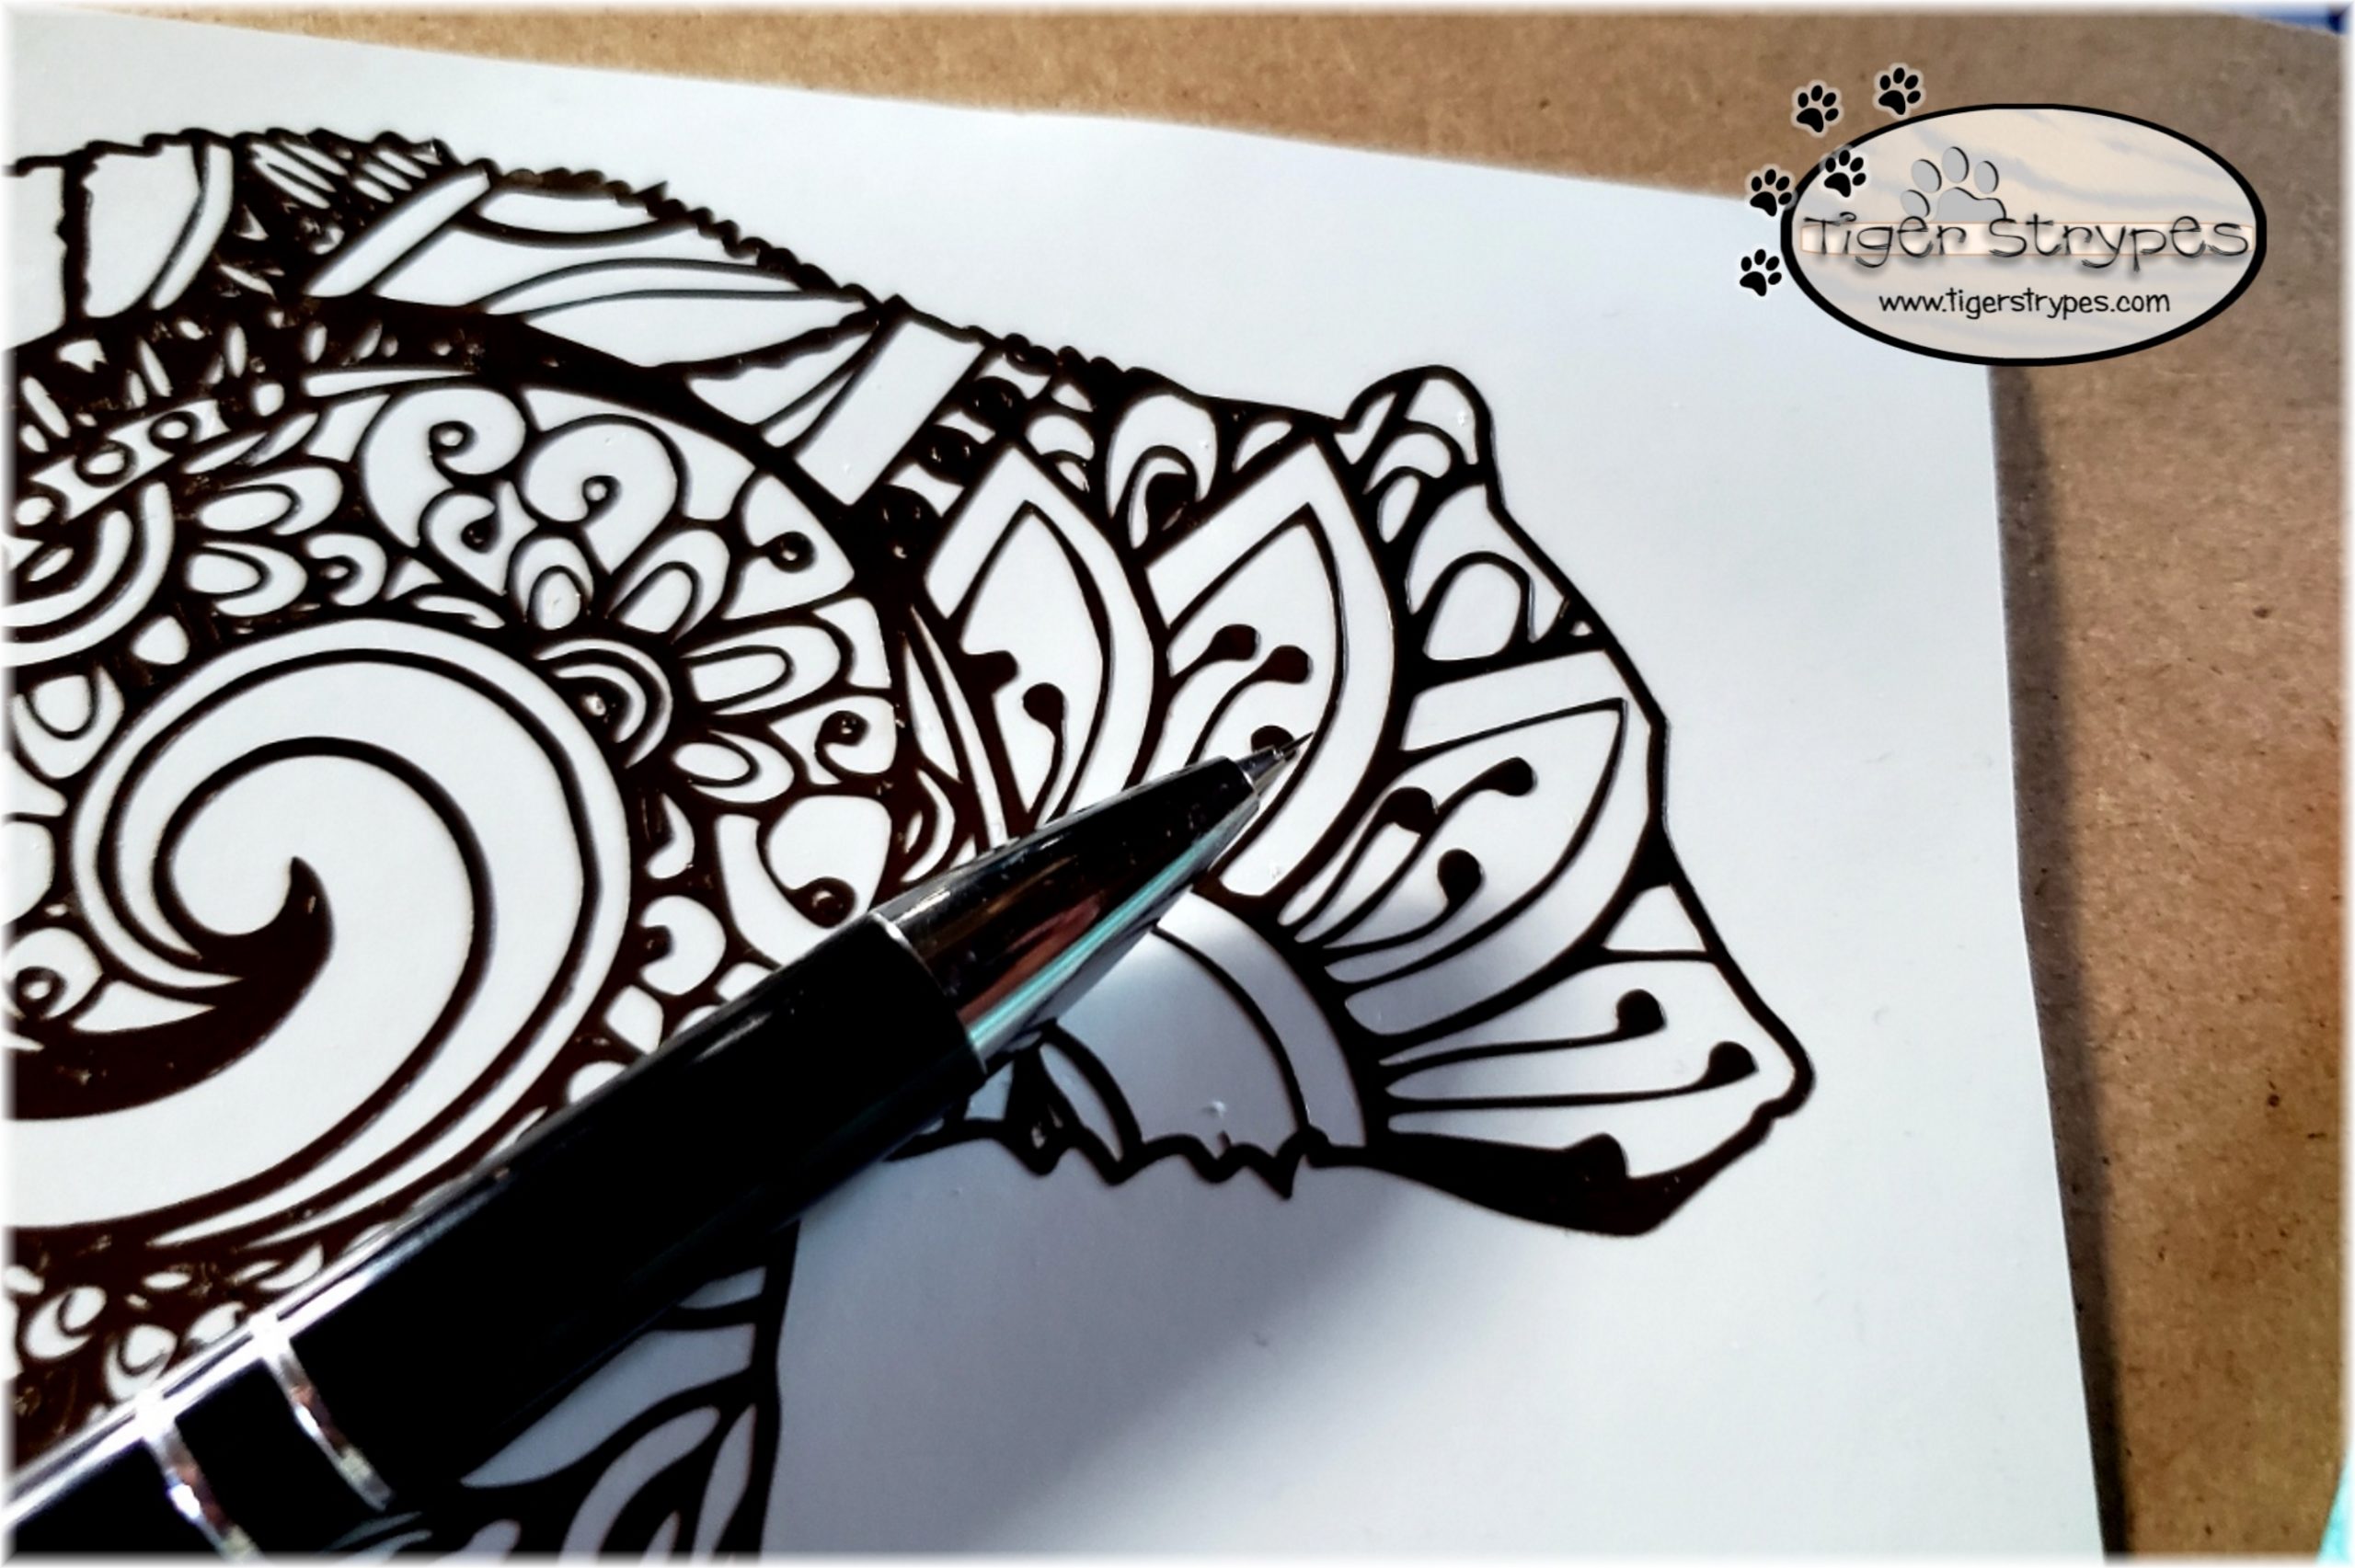
Whenever I’m done (or think that I’m done weeding), I always hold it up to a light source to see if I missed anything. It just seems to help you see anything, that you might not have removed from the design.
I found a few pieces that I had missed, and weeded those out. Now we’re ready for application.
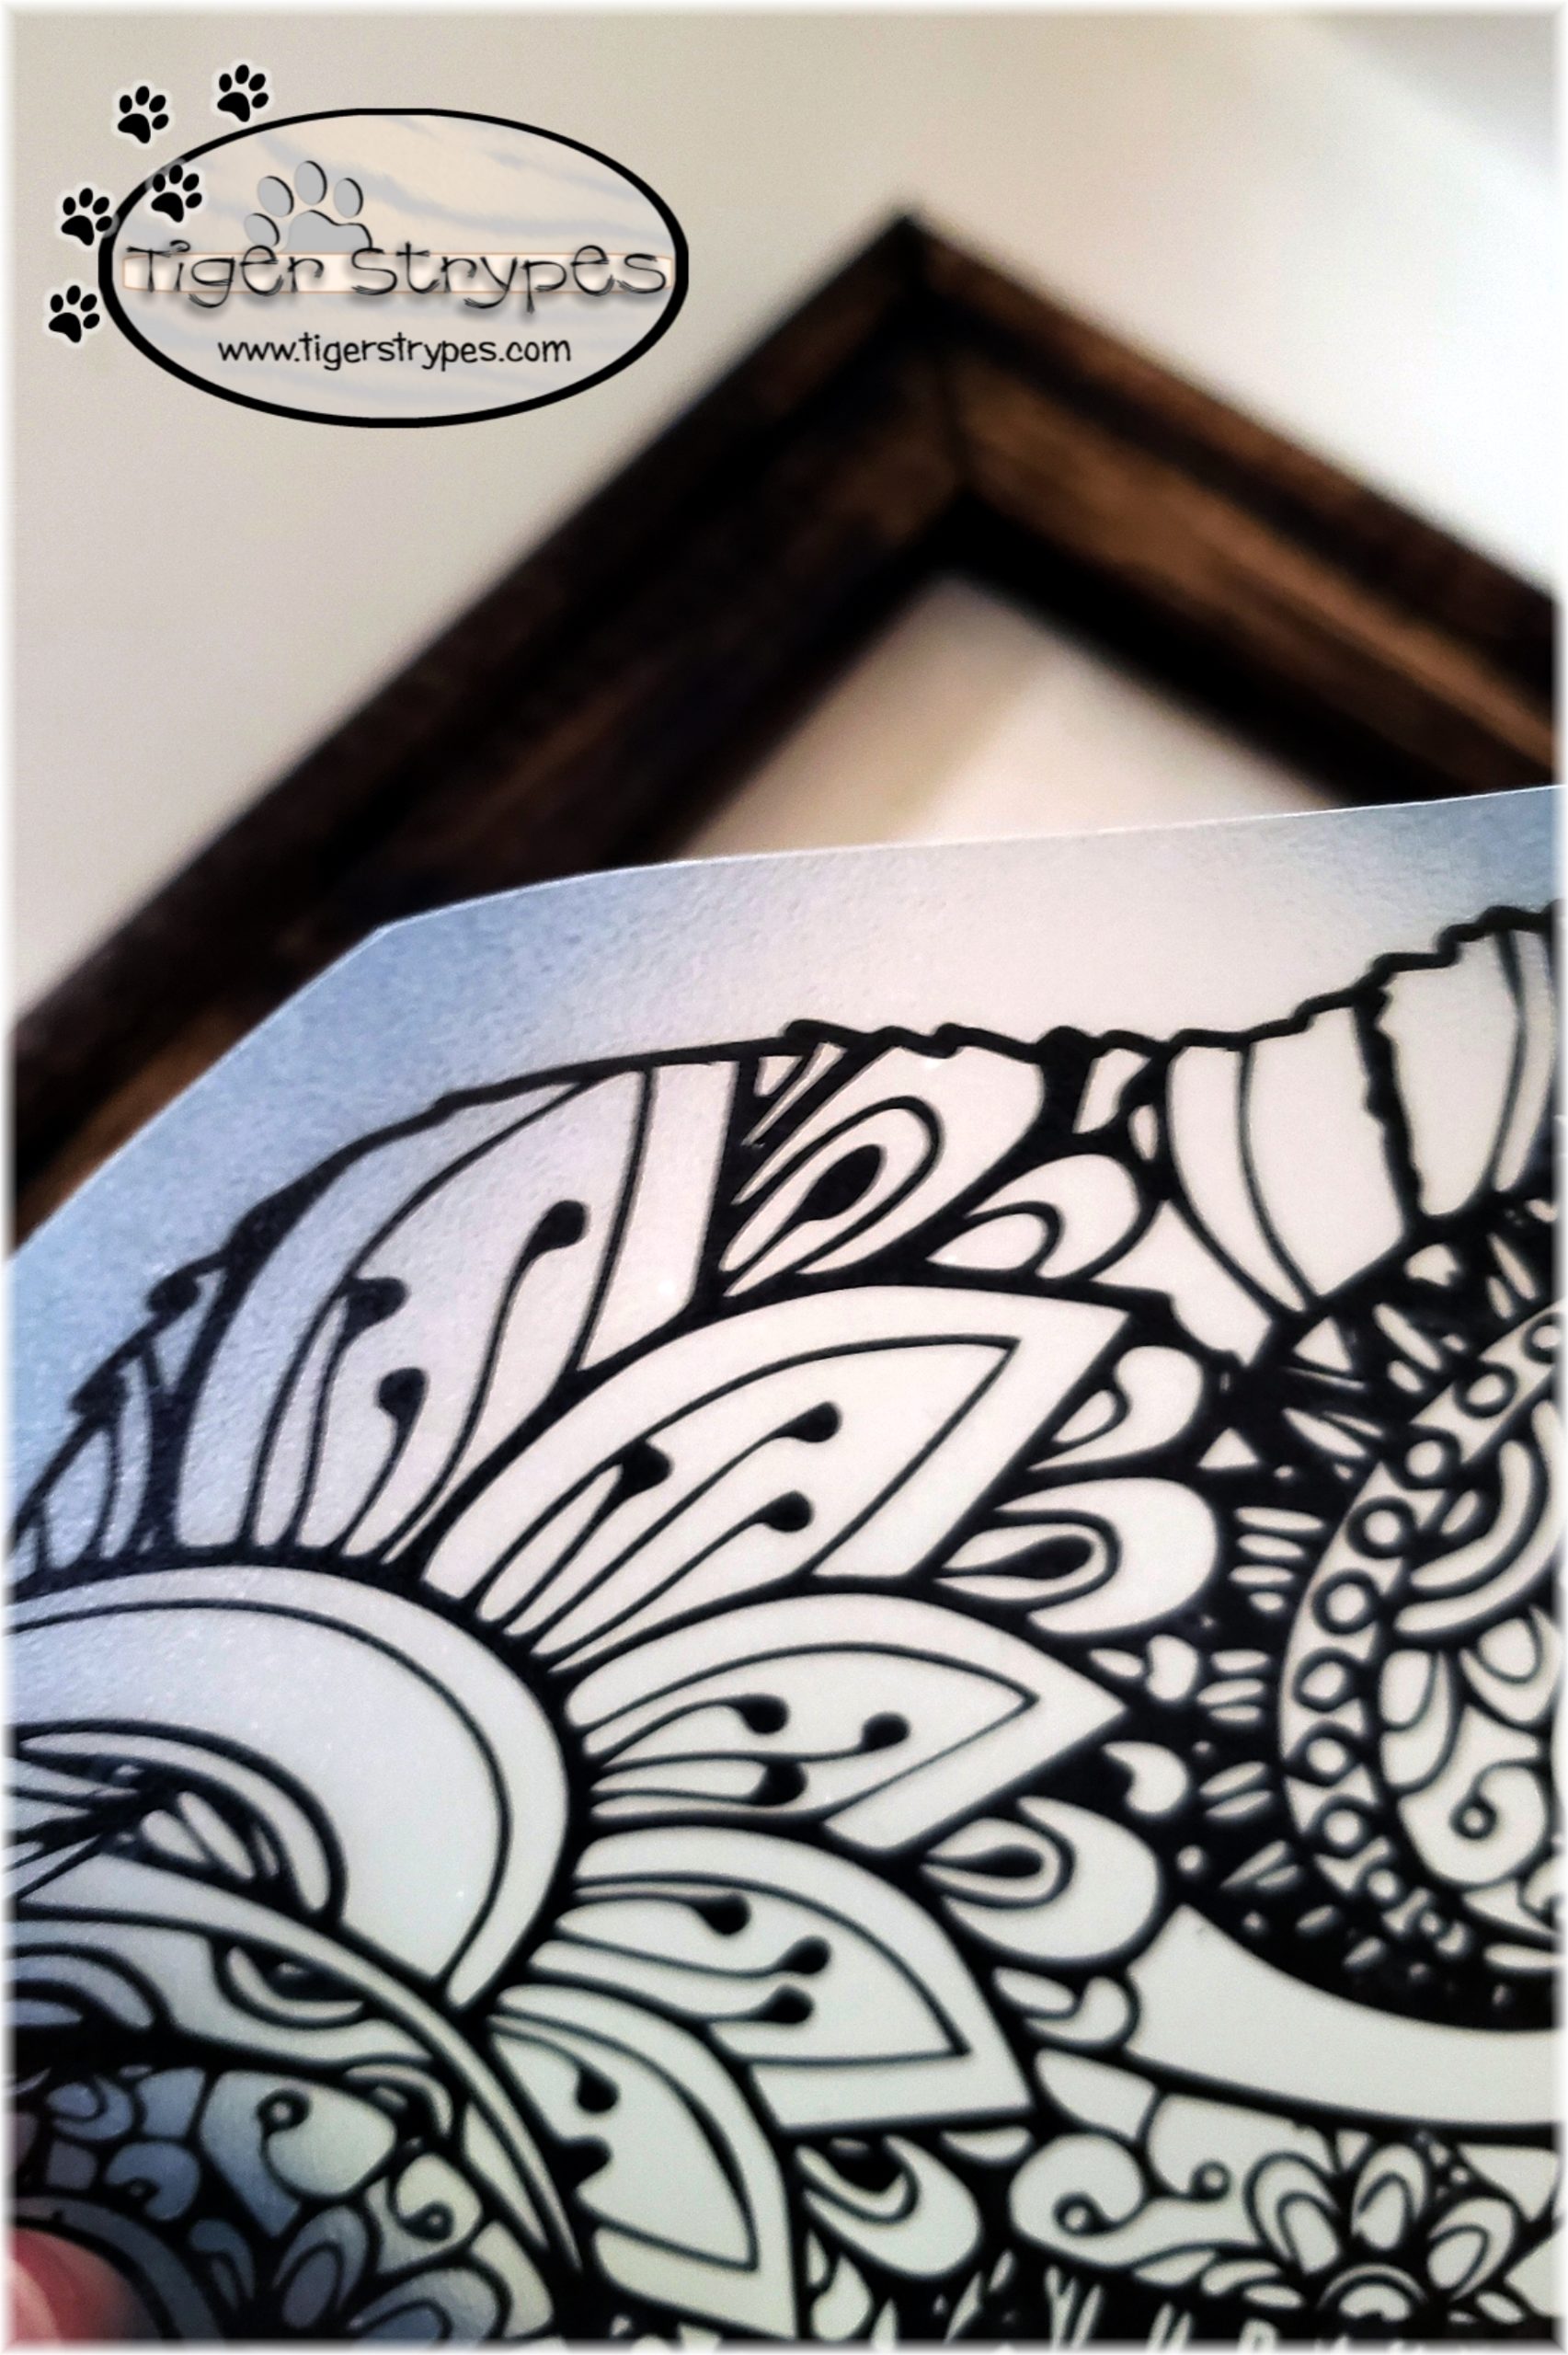
Center the piece inside of the frame where you want it. Using a vinyl hand application tool, you can give it a bit more pressure to stick. Using a heat wand, or heat gun, apply the warmth to the design. You can also do this with a heat press, prior to attaching the canvas to the frame. Whatever works for you. 🙂
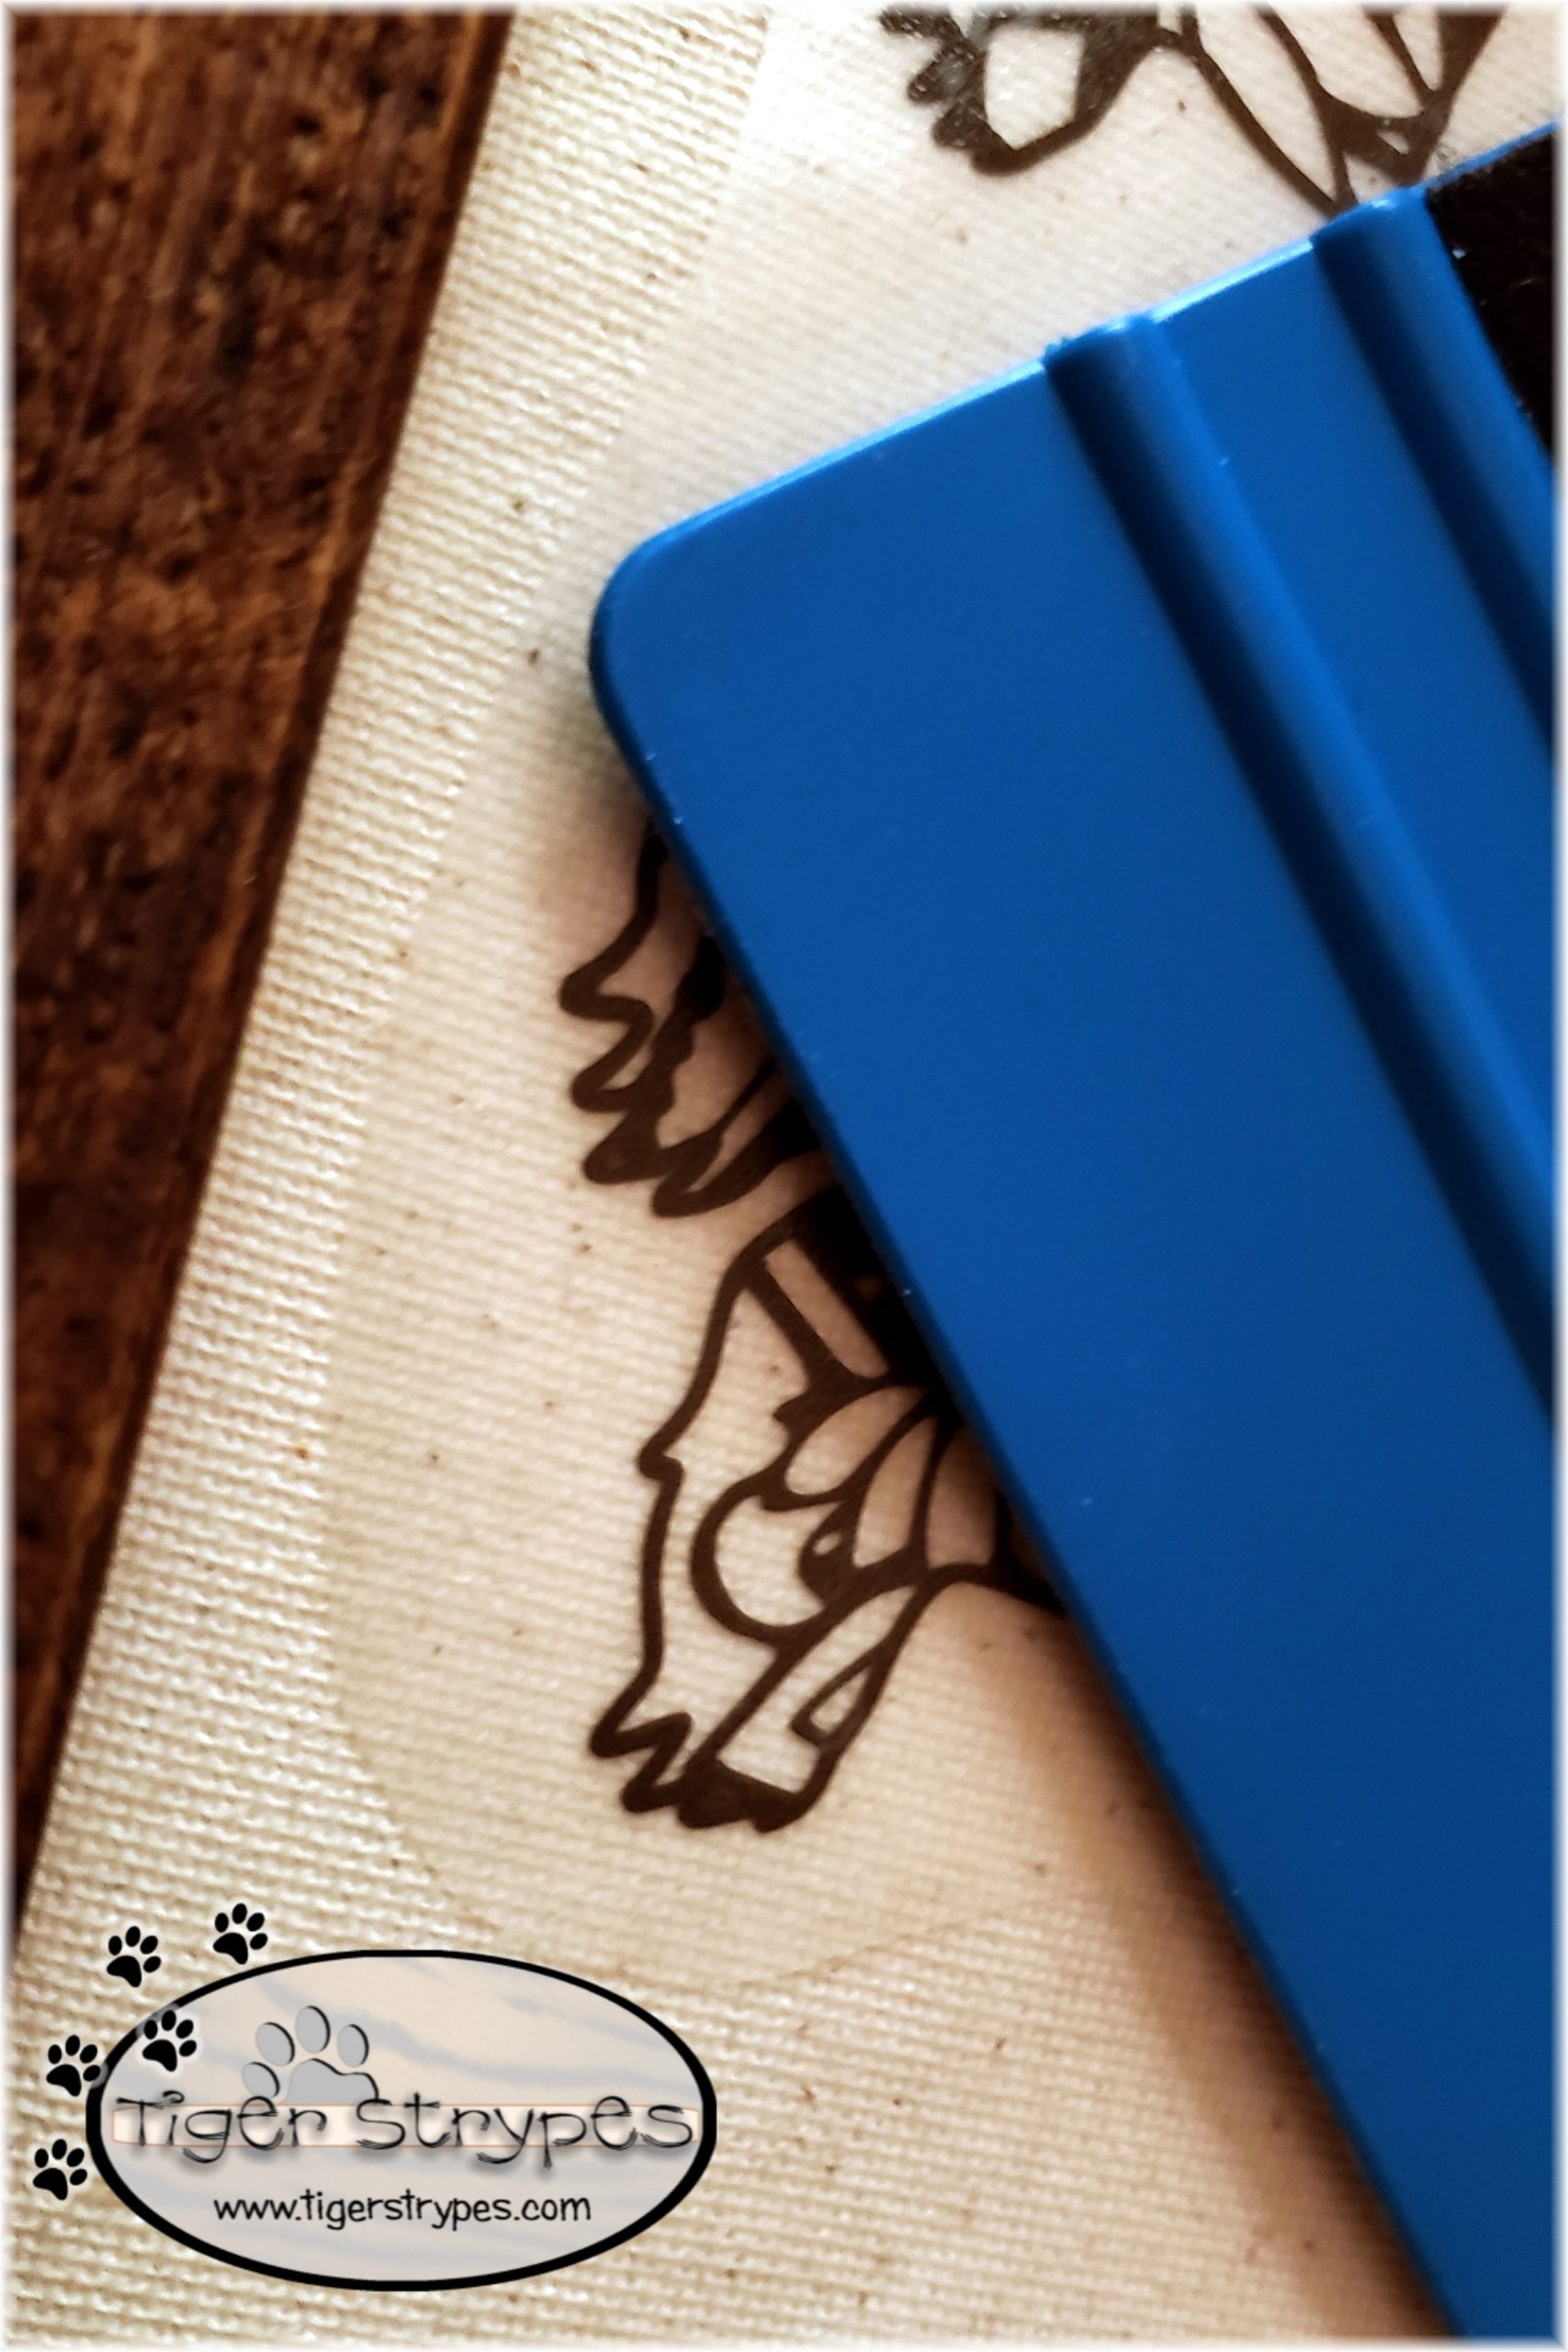
Once it’s transferred, you can remove the transfer tape cautiously, and verify that everything is fully attached. You can heat up spots that need it, if more adhesion is necessary. After that, you can display it anywhere you like. I ended up adding a bit of greenery to a corner, for a little pop.
So, what do you think? I hope you like it!
Please take a minute to leave me a comment on what you would like to create, and maybe if you have any tips on how to do it different, or better!
Be sure to tweet, pin, share, etc. – thanks!!
“Moreover David said, “The Lord, who delivered me from the paw of the lion and from the paw of the bear, He will deliver me from the hand of this Philistine.” And Saul said to David, “Go, and the Lord be with you!”” –1 Samuel 17:37

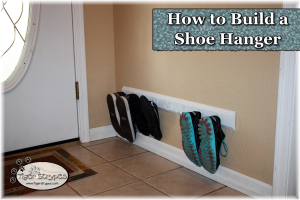
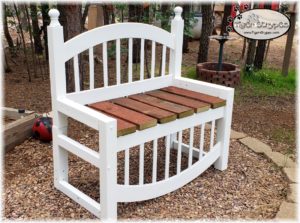
HERE ARE SOME OF MY PREVIOUS PROJECTS:
 |
 |
 |
 |
 |
 |
PLEASE SHARE THIS POST USING THE OPTIONS BELOW…THANKS!
Affiliate links for Amazon are used on my site. This means that when you click on a link, and make a purchase, I earn a commission for that purchase. There is no extra charge for you, it’s just their sites way of saying thank you for helping them get a customer. I use affiliate links to help fund my crafting budget, as well as help provide for our home.
This is amazing. I am asking for a crochet this year, so cool.
Best investment that I ever made! 🙂
Wow! So cool! I have got to make time for my Cricut. I’m a beginner, so I have to ask you for tips!
I’m here for you if you need anything. I love mine!!
That is so awesome! I love it! Really need to put Cricut on my wishlist for the holidays!
One of the best investments that I’ve ever made.
Lovely project. Final product looks really amazing. Good job!
Thanks Natalie!
This is SO COOL! I really need this crafty machine, like pronto!. I’d never be bored hahaha 🙂 Awesome job!
They are so much fun!! You could use so many different types of materials to cut, too. I want to learn how to use a sewing machine a bit better, and then I can cut patterns and sew them easily. 🙂
I have been saving up for a Cricut machine. It seems like the fun things you can create with it are endless! Maybe I could get one in time for Mother’s day! I will bookmark your blog for crafting inspiration.
One of the best investments that I ever made. So many different projects, and mediums that you can use! 🙂
wow! Beautiful! And seems to be easier than it looks. I should give it a try!
Weeding the vinyl takes awhile, but it’s worth it in the end!
That is so cool! I really loved it!
Thanks, Toni! 🙂
I absolutely love this, you are truly so creative!!! Fun fun!
Thank you, Rose! I always love to make things. 🙂
That is so cool looking. This would look nice hanging on a wall in my house
Thanks, Tara. It was fun to make!
I love your talent and this great tutorial. I was thinking about you and your Cricut machine and am considering getting one, so I can learn from you.
Thank you Grace! The Cricut Maker was one of the best things I’ve ever purchased. So many different things to make, and have fun with!
You come up with the coolest projects. I love this one and the quote too.
Thank you, my friend! I’ve had so much time on my hands, I need to come up with more! 🙂